
Articles
How To Use A Laser Level For Backsplash
Modified: October 27, 2024
Learn how to use a laser level for backsplash installation with our step-by-step articles. Achieve precise and professional results effortlessly.
(Many of the links in this article redirect to a specific reviewed product. Your purchase of these products through affiliate links helps to generate commission for Storables.com, at no extra cost. Learn more)
Introduction
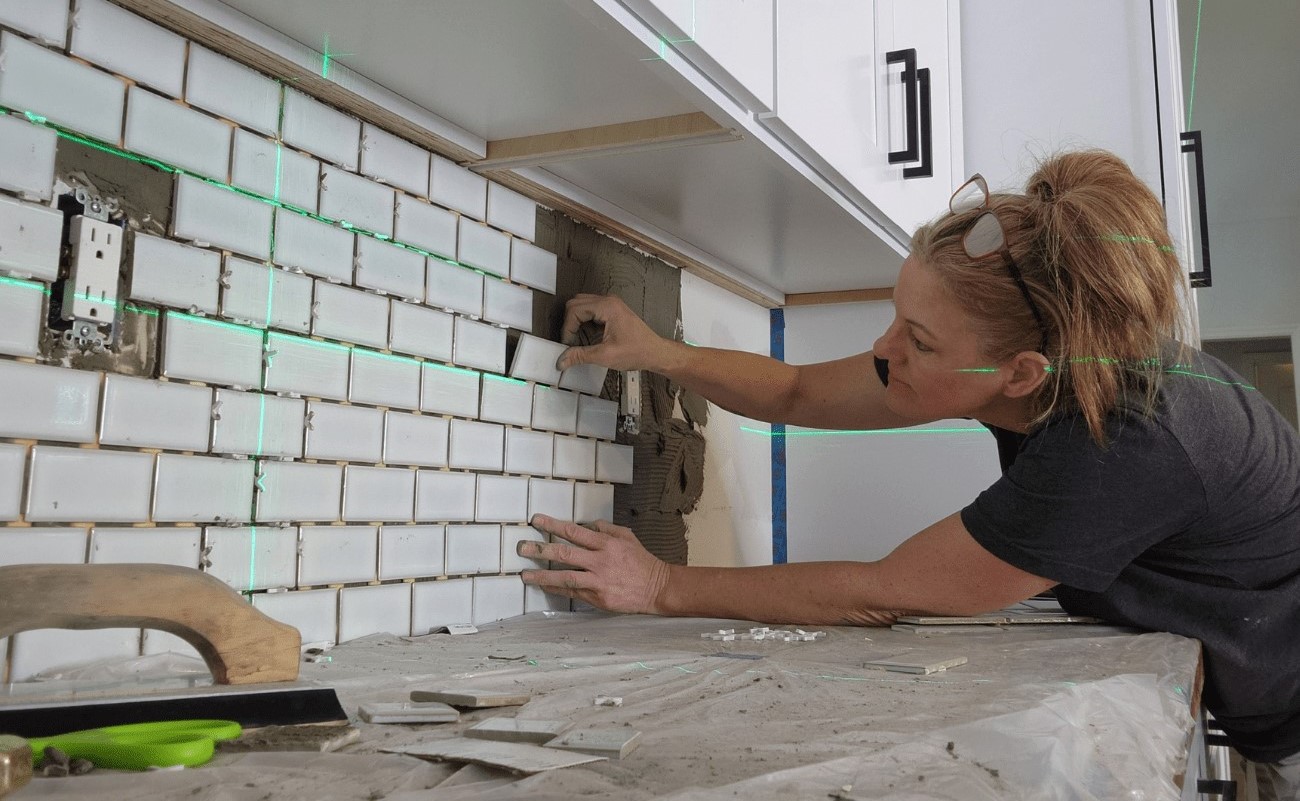
When it comes to installing a backsplash in your kitchen or bathroom, precision is key. A laser level is an essential tool that can greatly simplify this process and ensure that your backsplash is installed evenly and straight. Whether you are a DIY enthusiast or a professional contractor, using a laser level can save you time and effort while achieving professional-looking results.
In this article, we will guide you through the step-by-step process of using a laser level for installing a backsplash. We will cover everything from preparing the area to adjusting the laser level and aligning the tiles. By following these instructions, you can confidently tackle your backsplash project, even if you are a beginner.
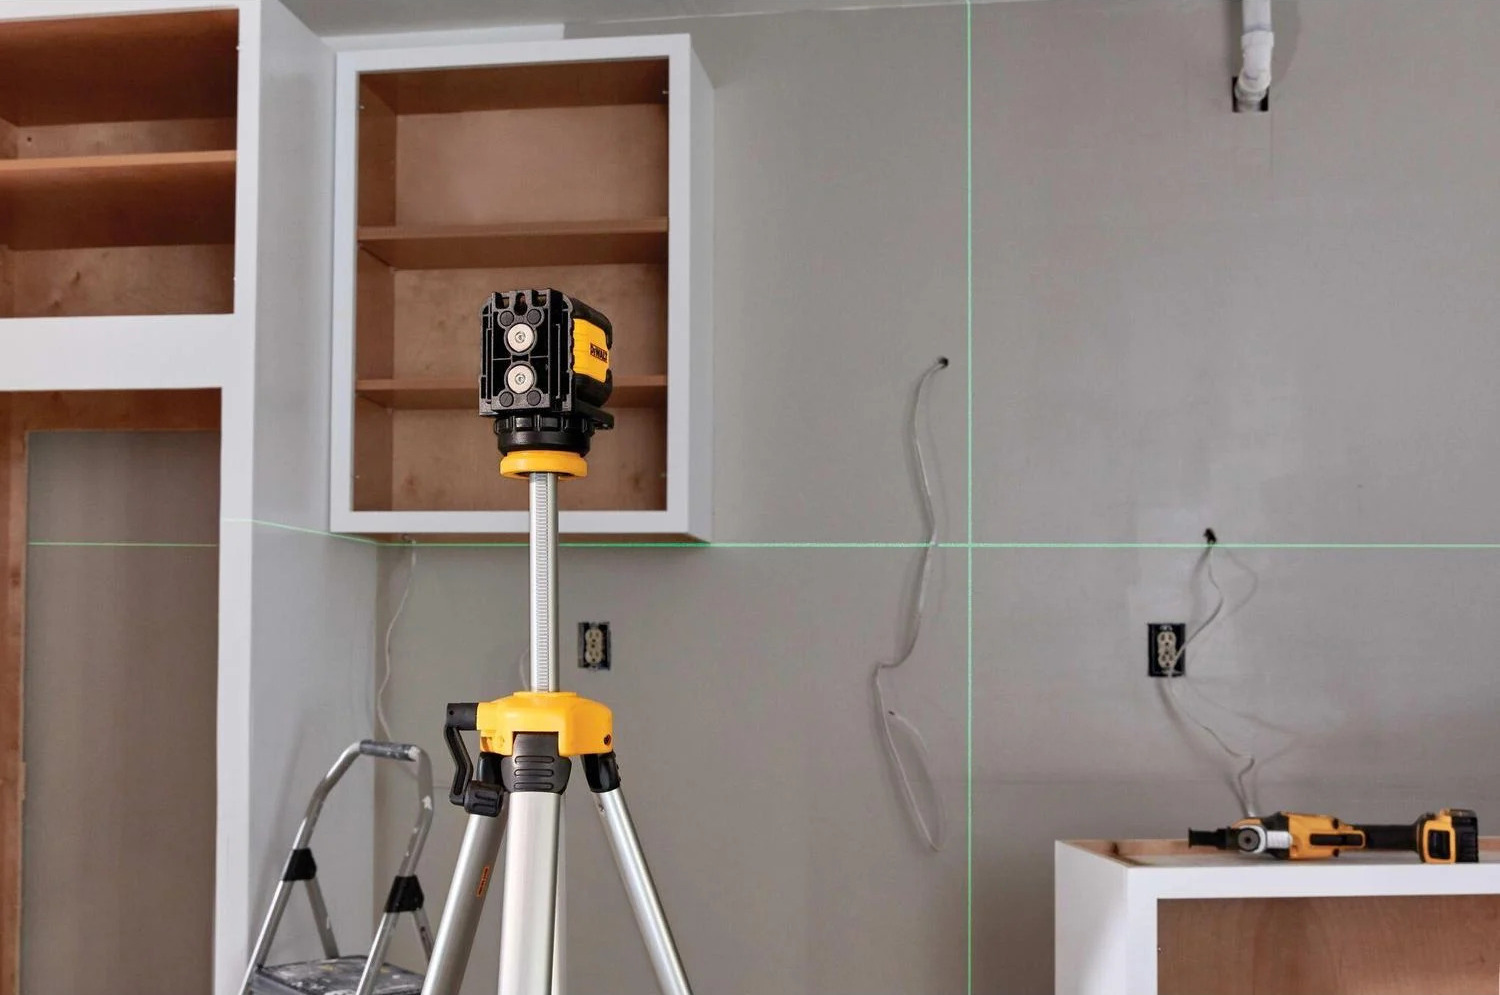
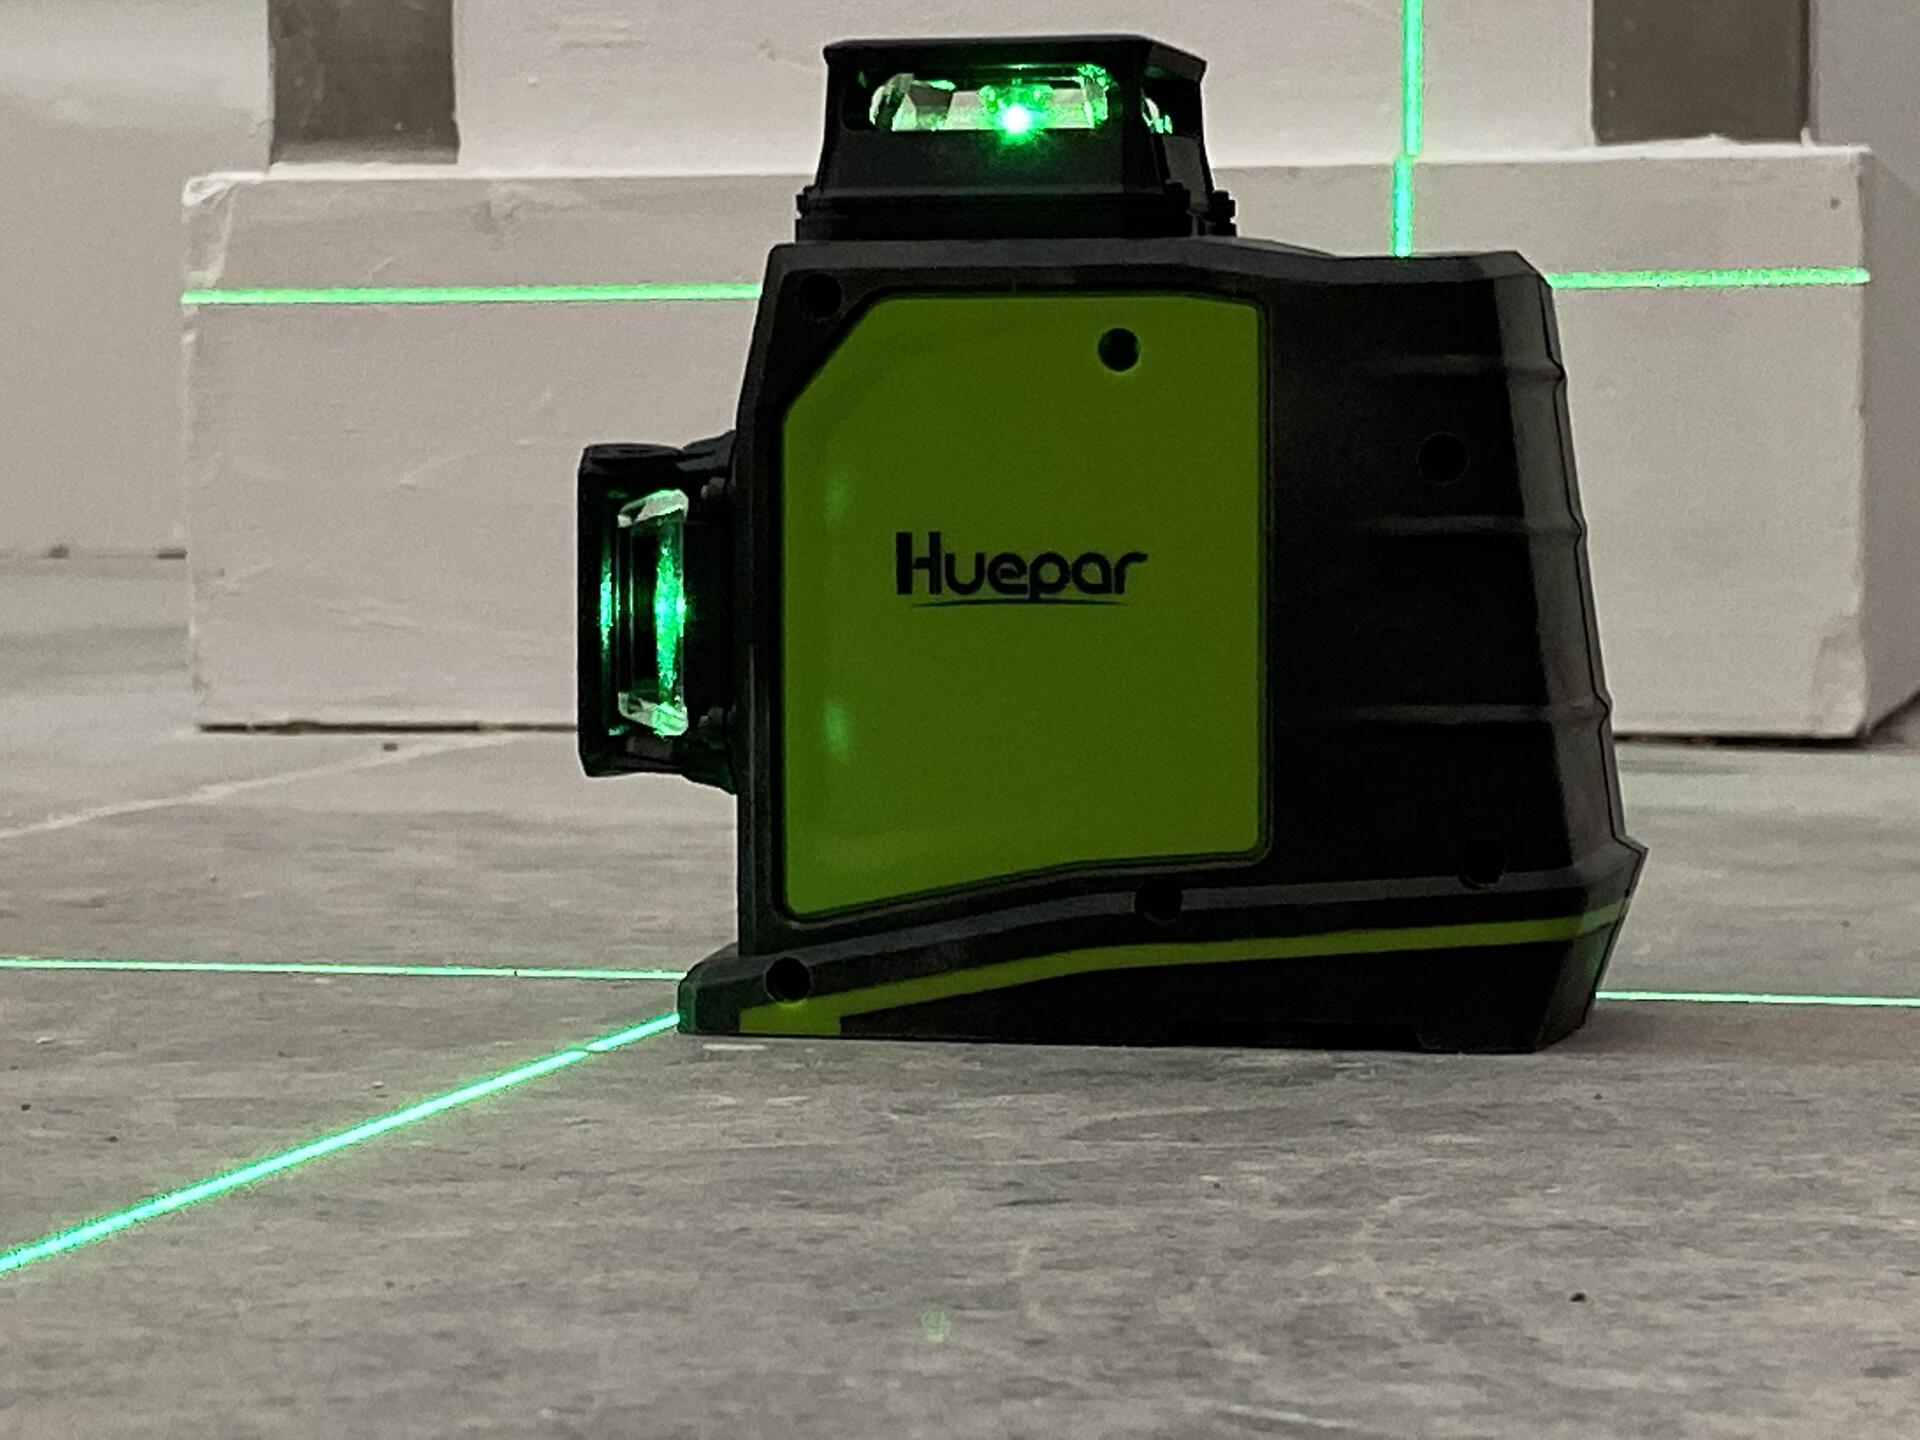
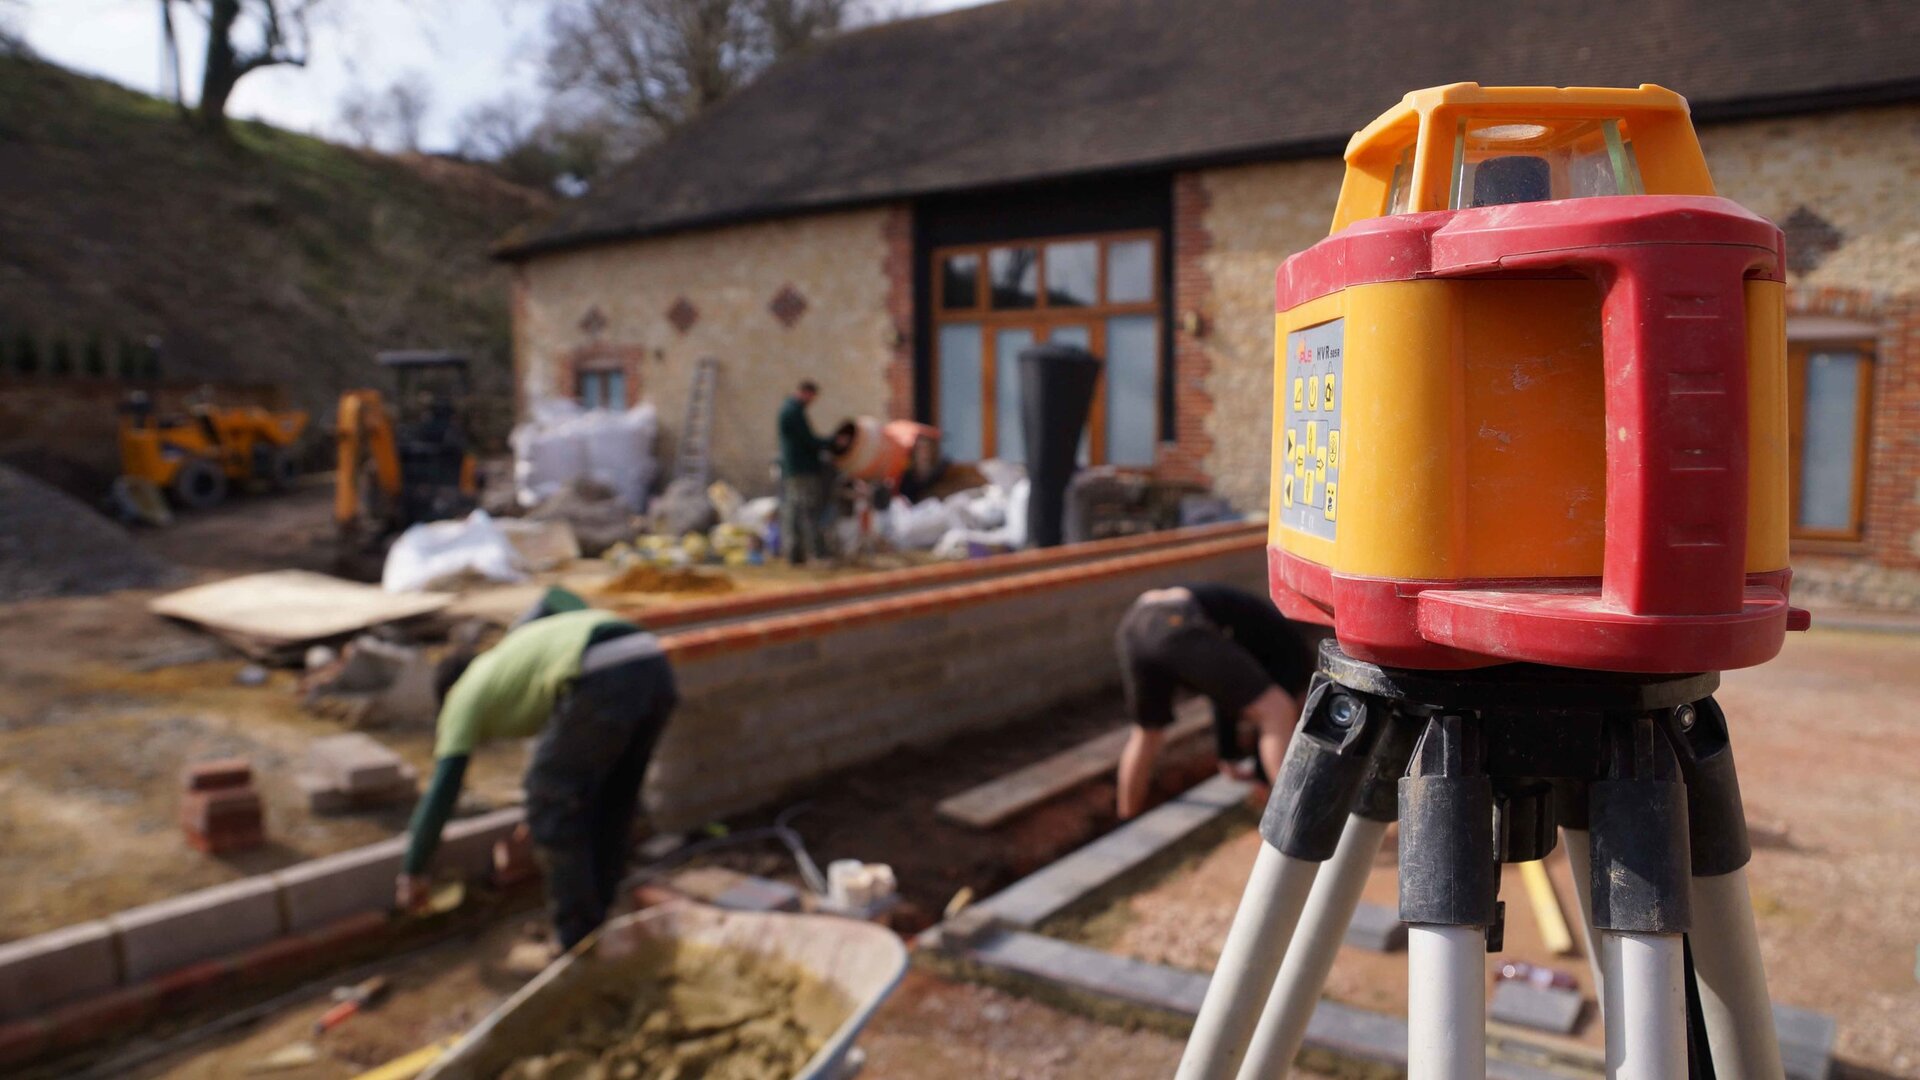
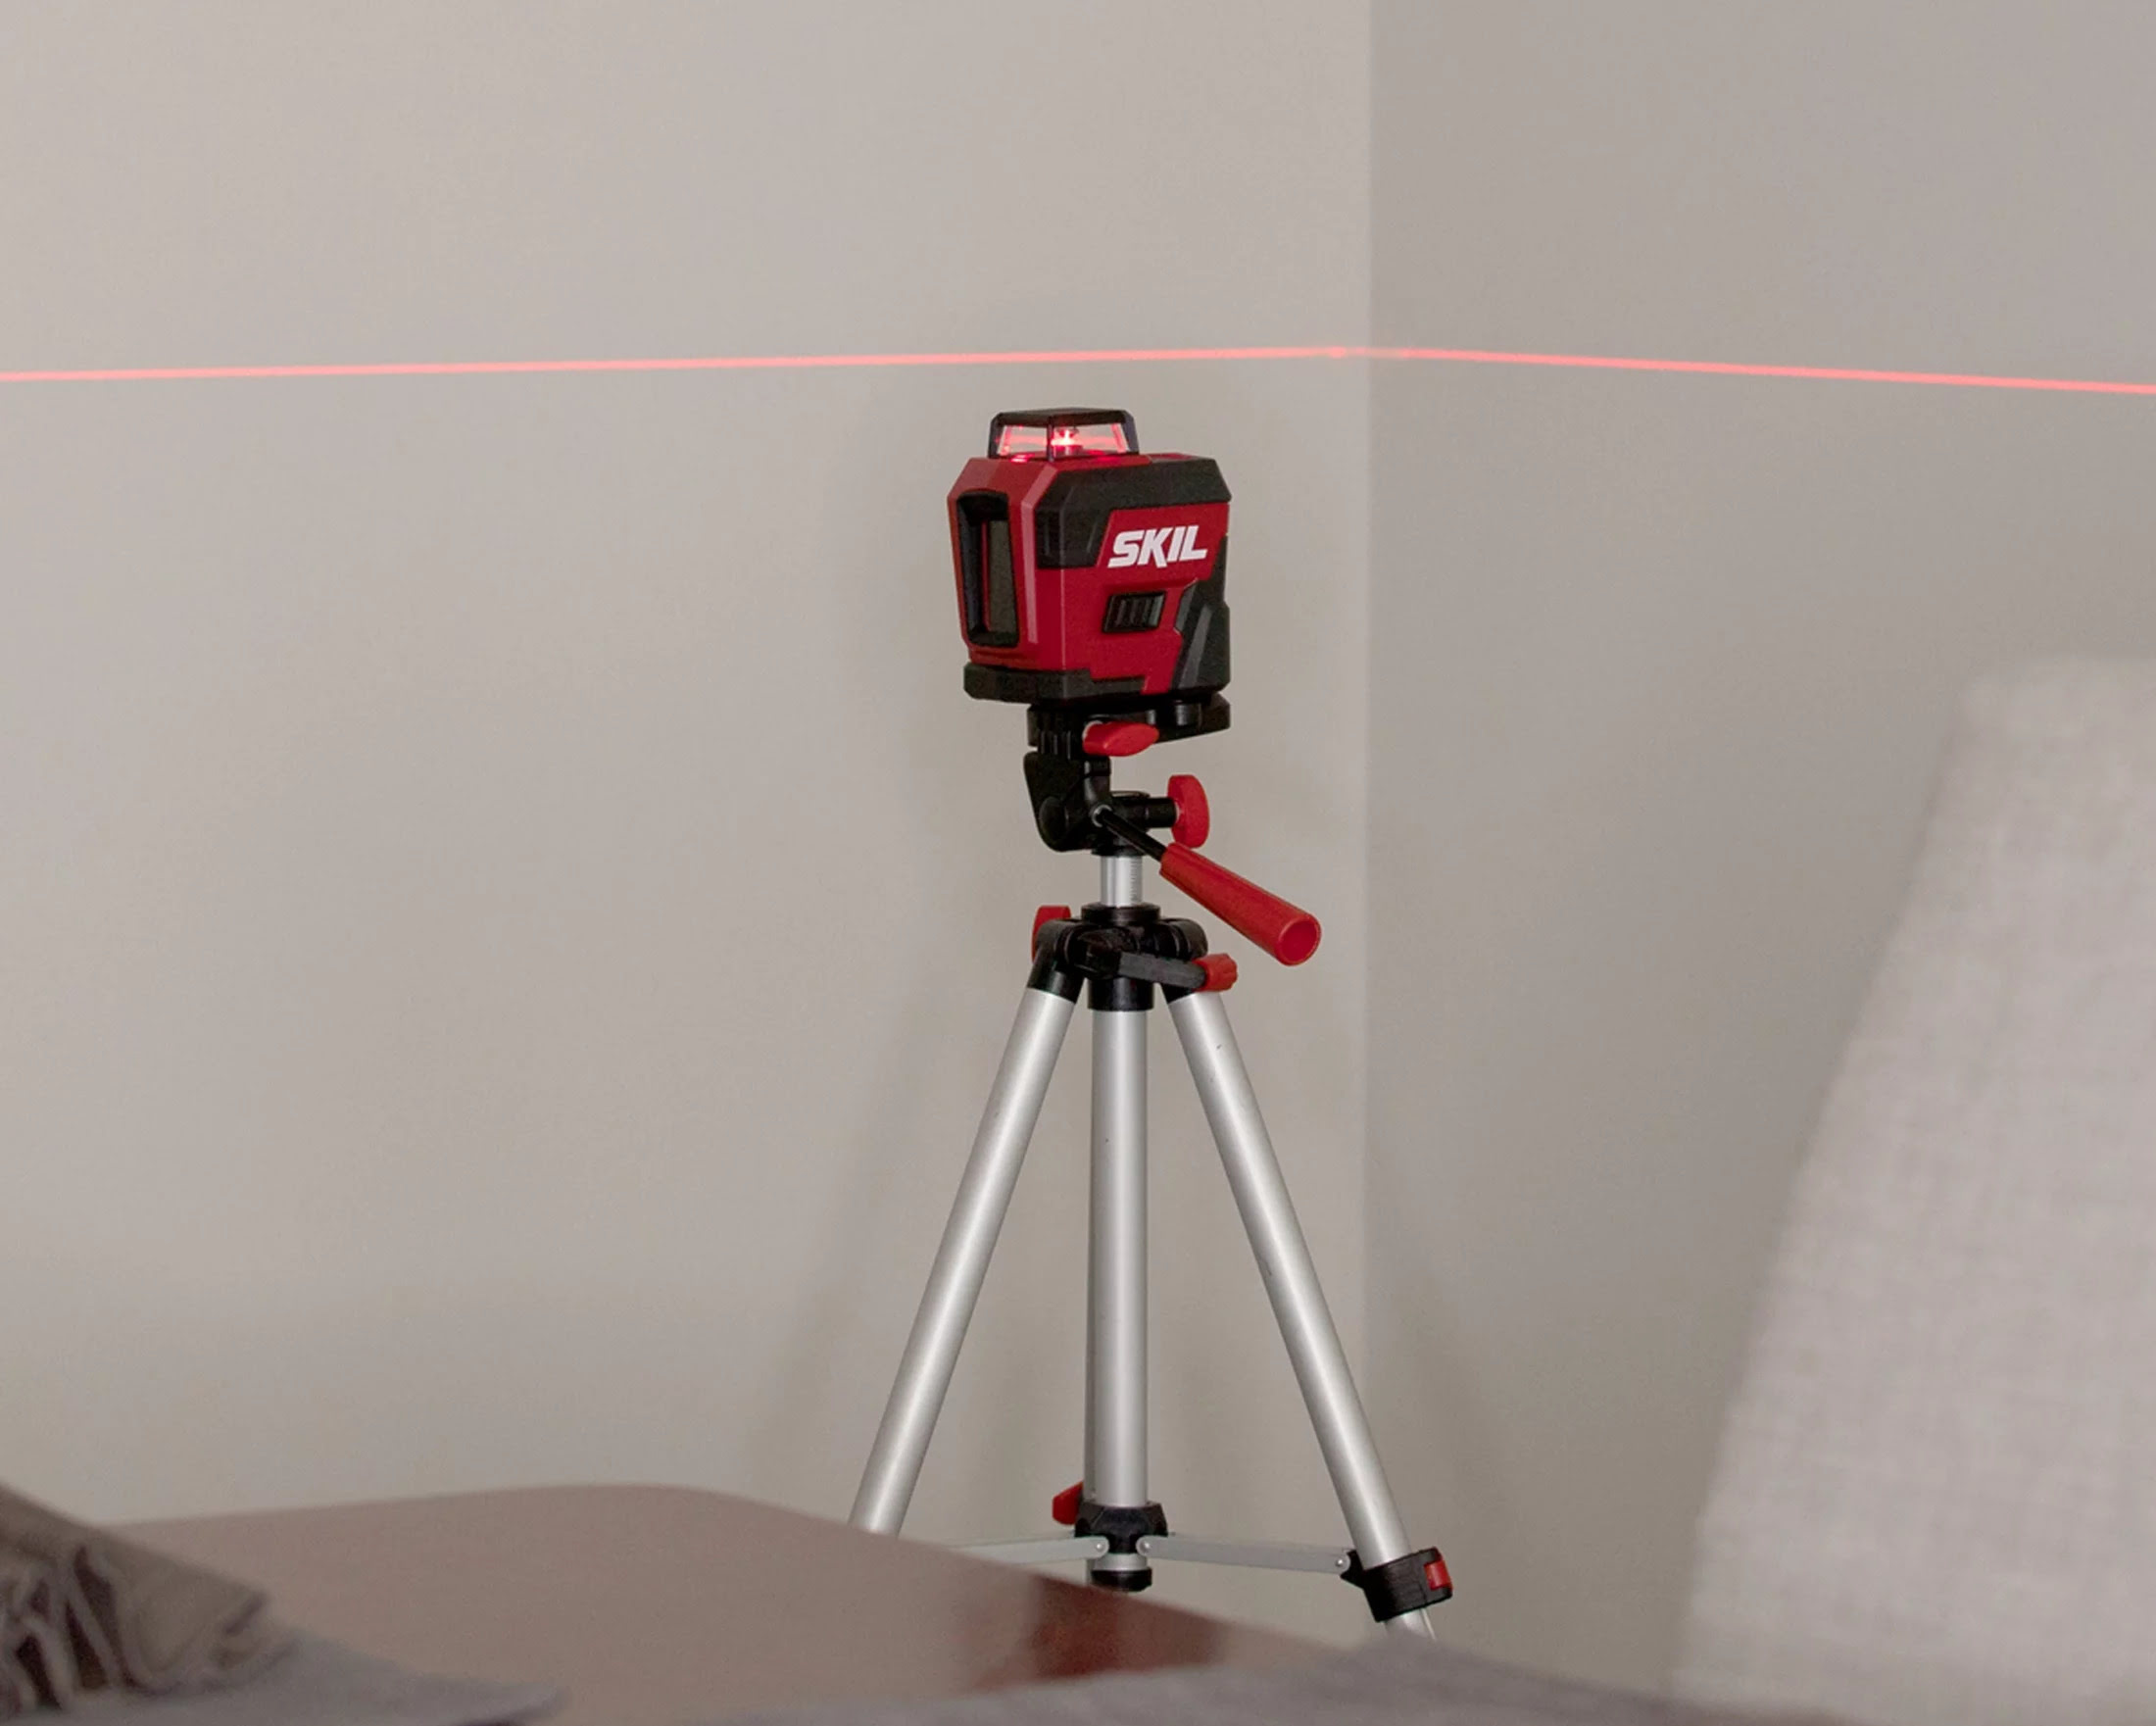
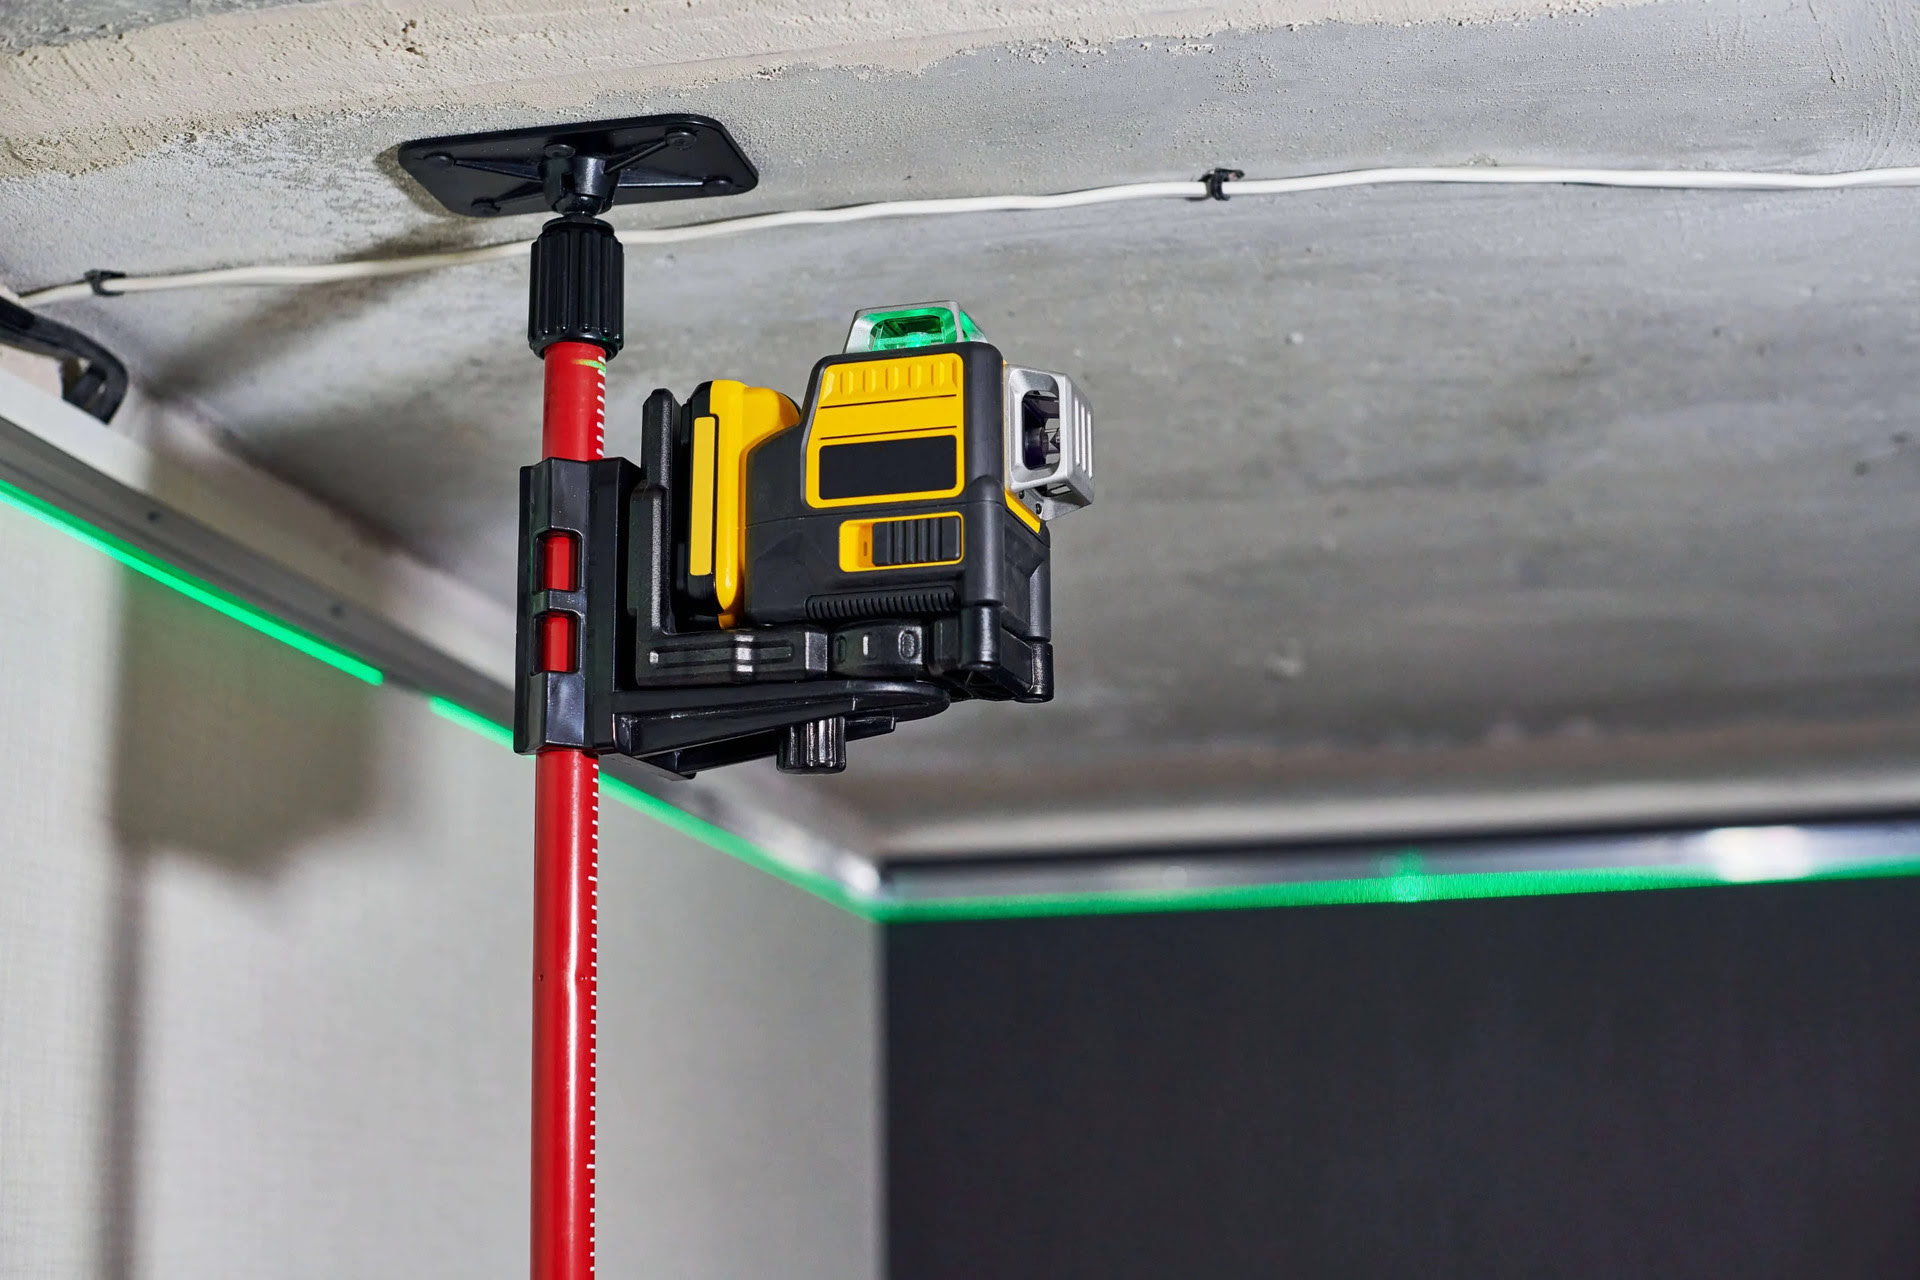
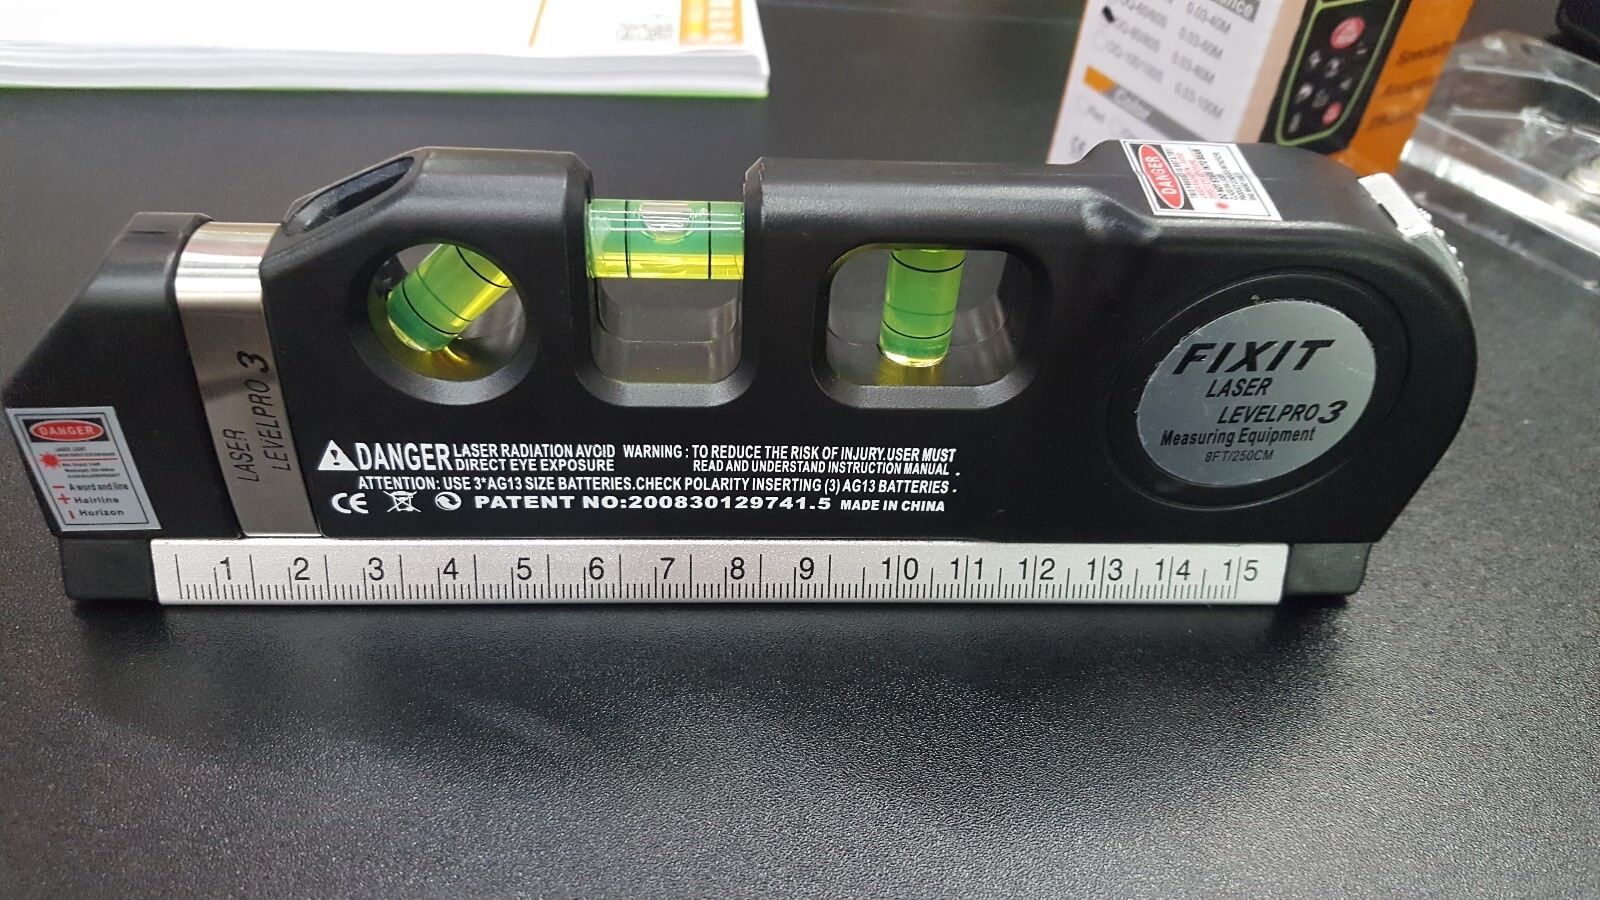
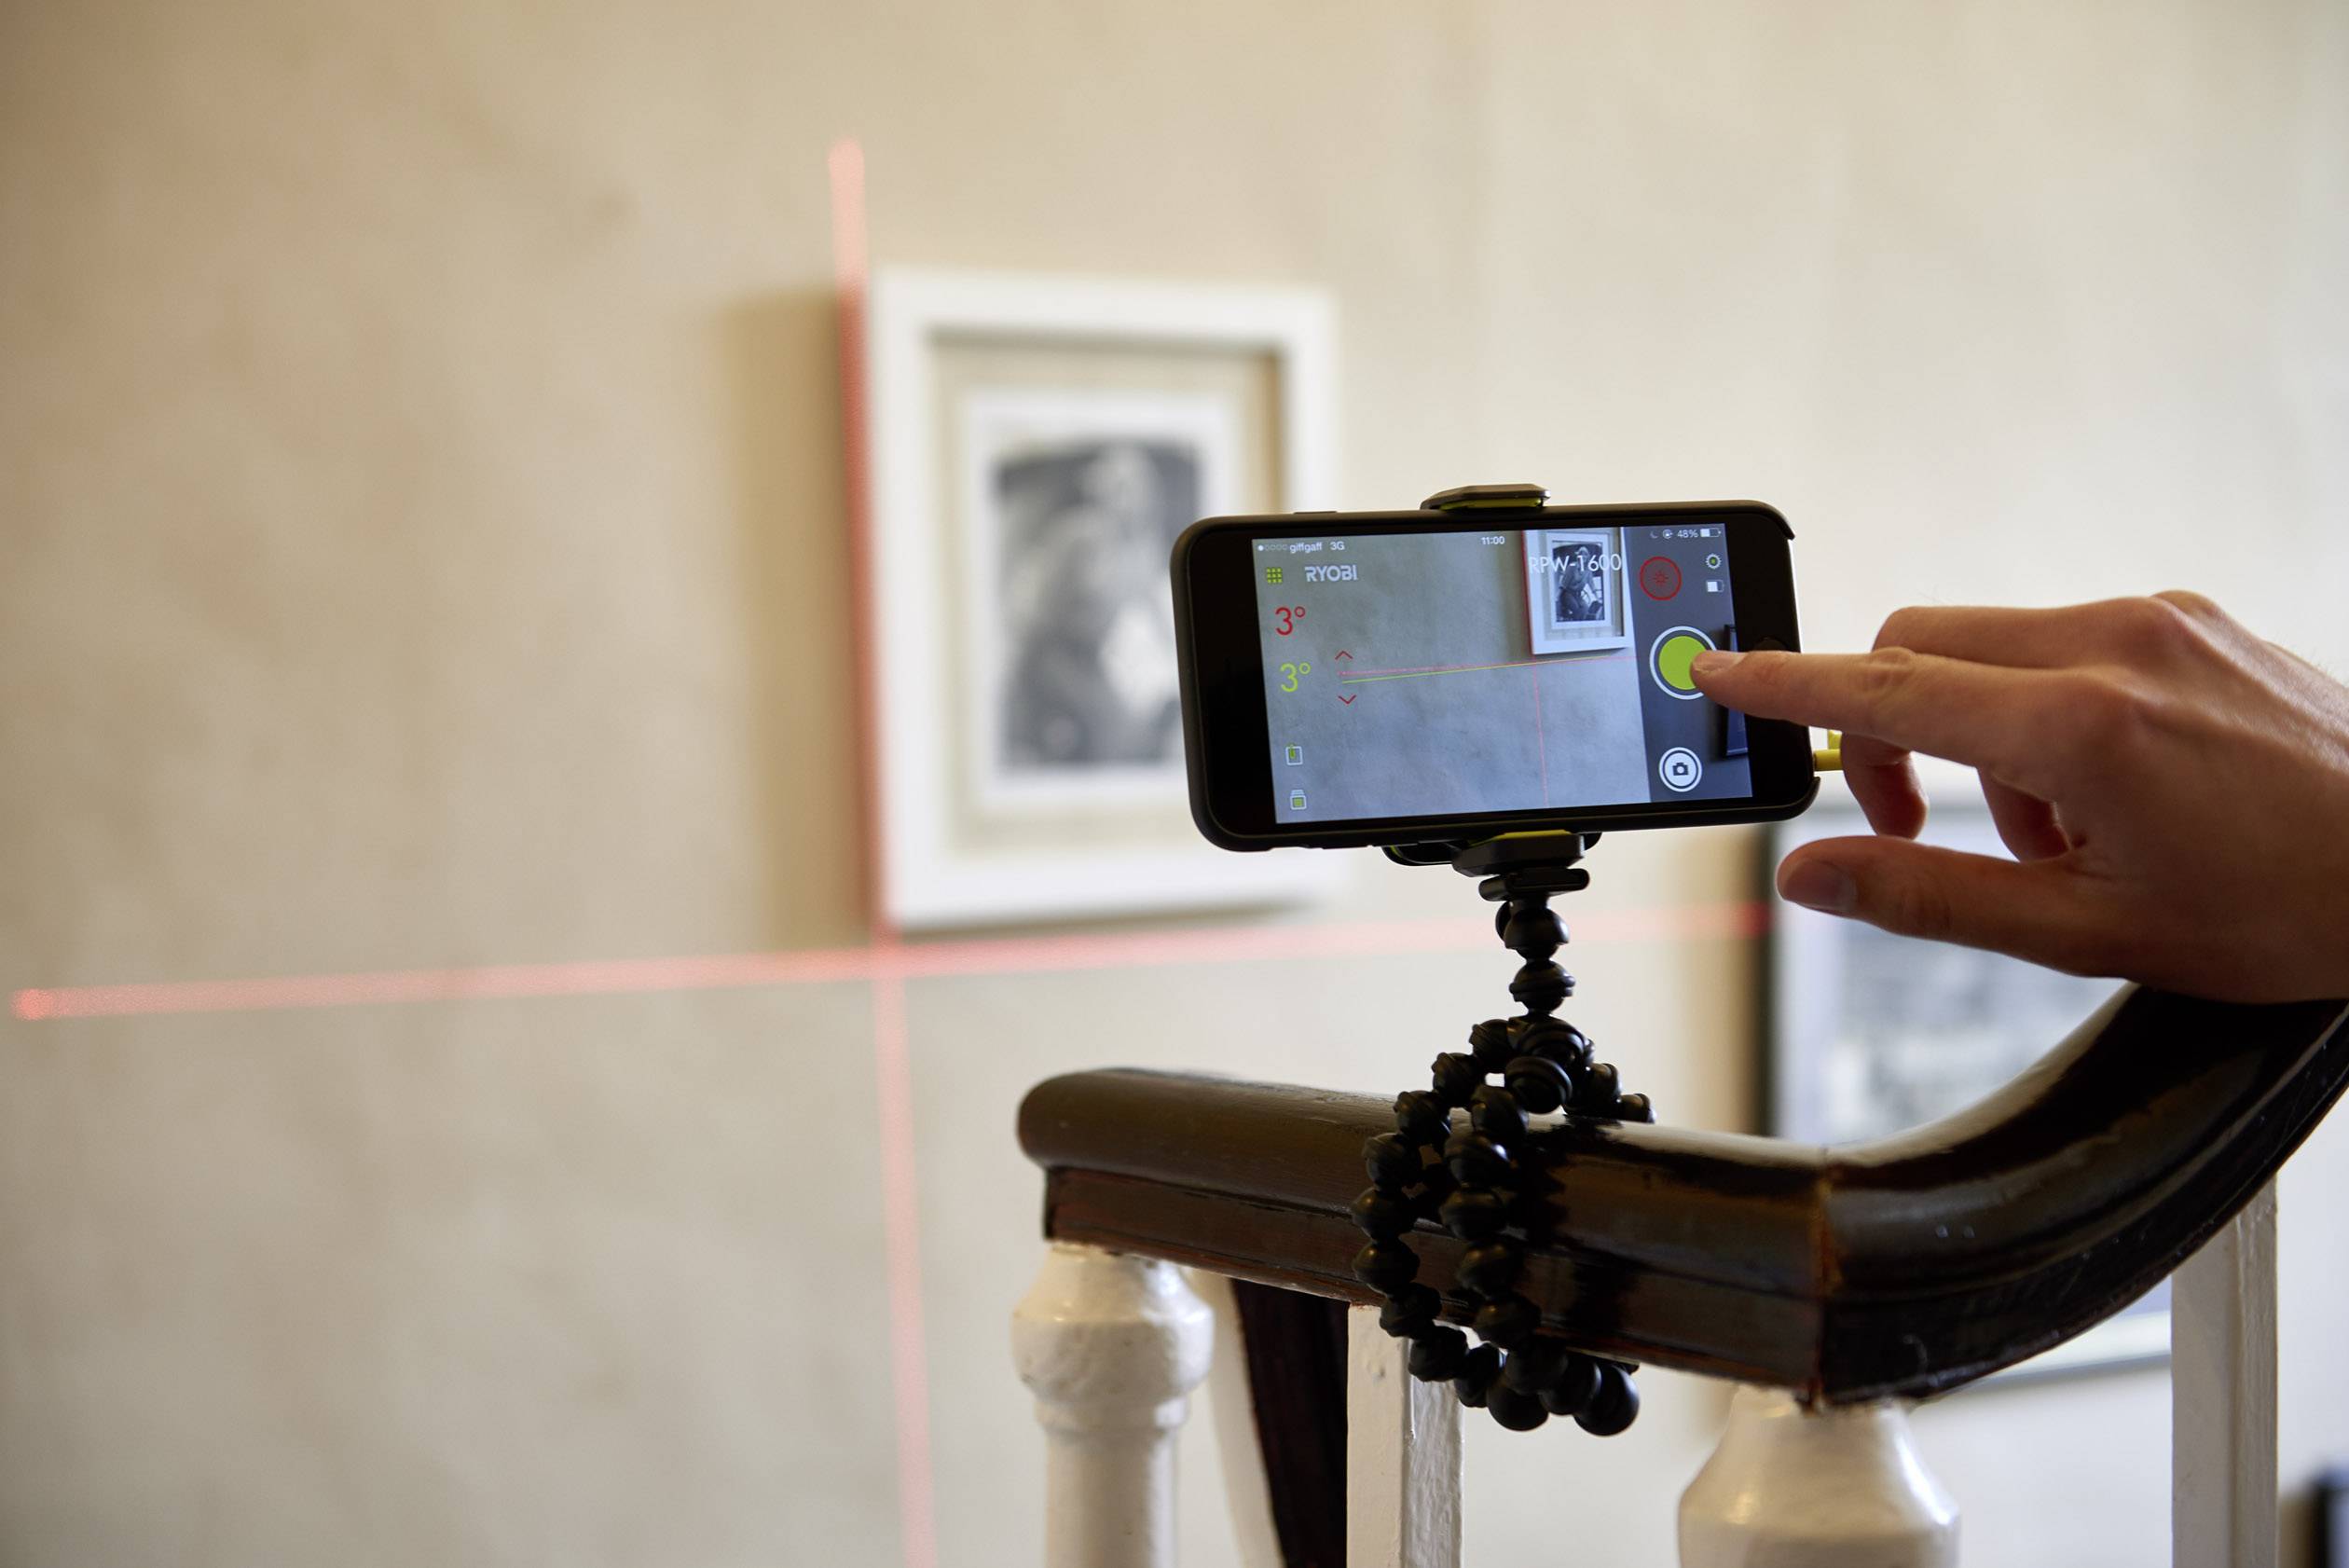
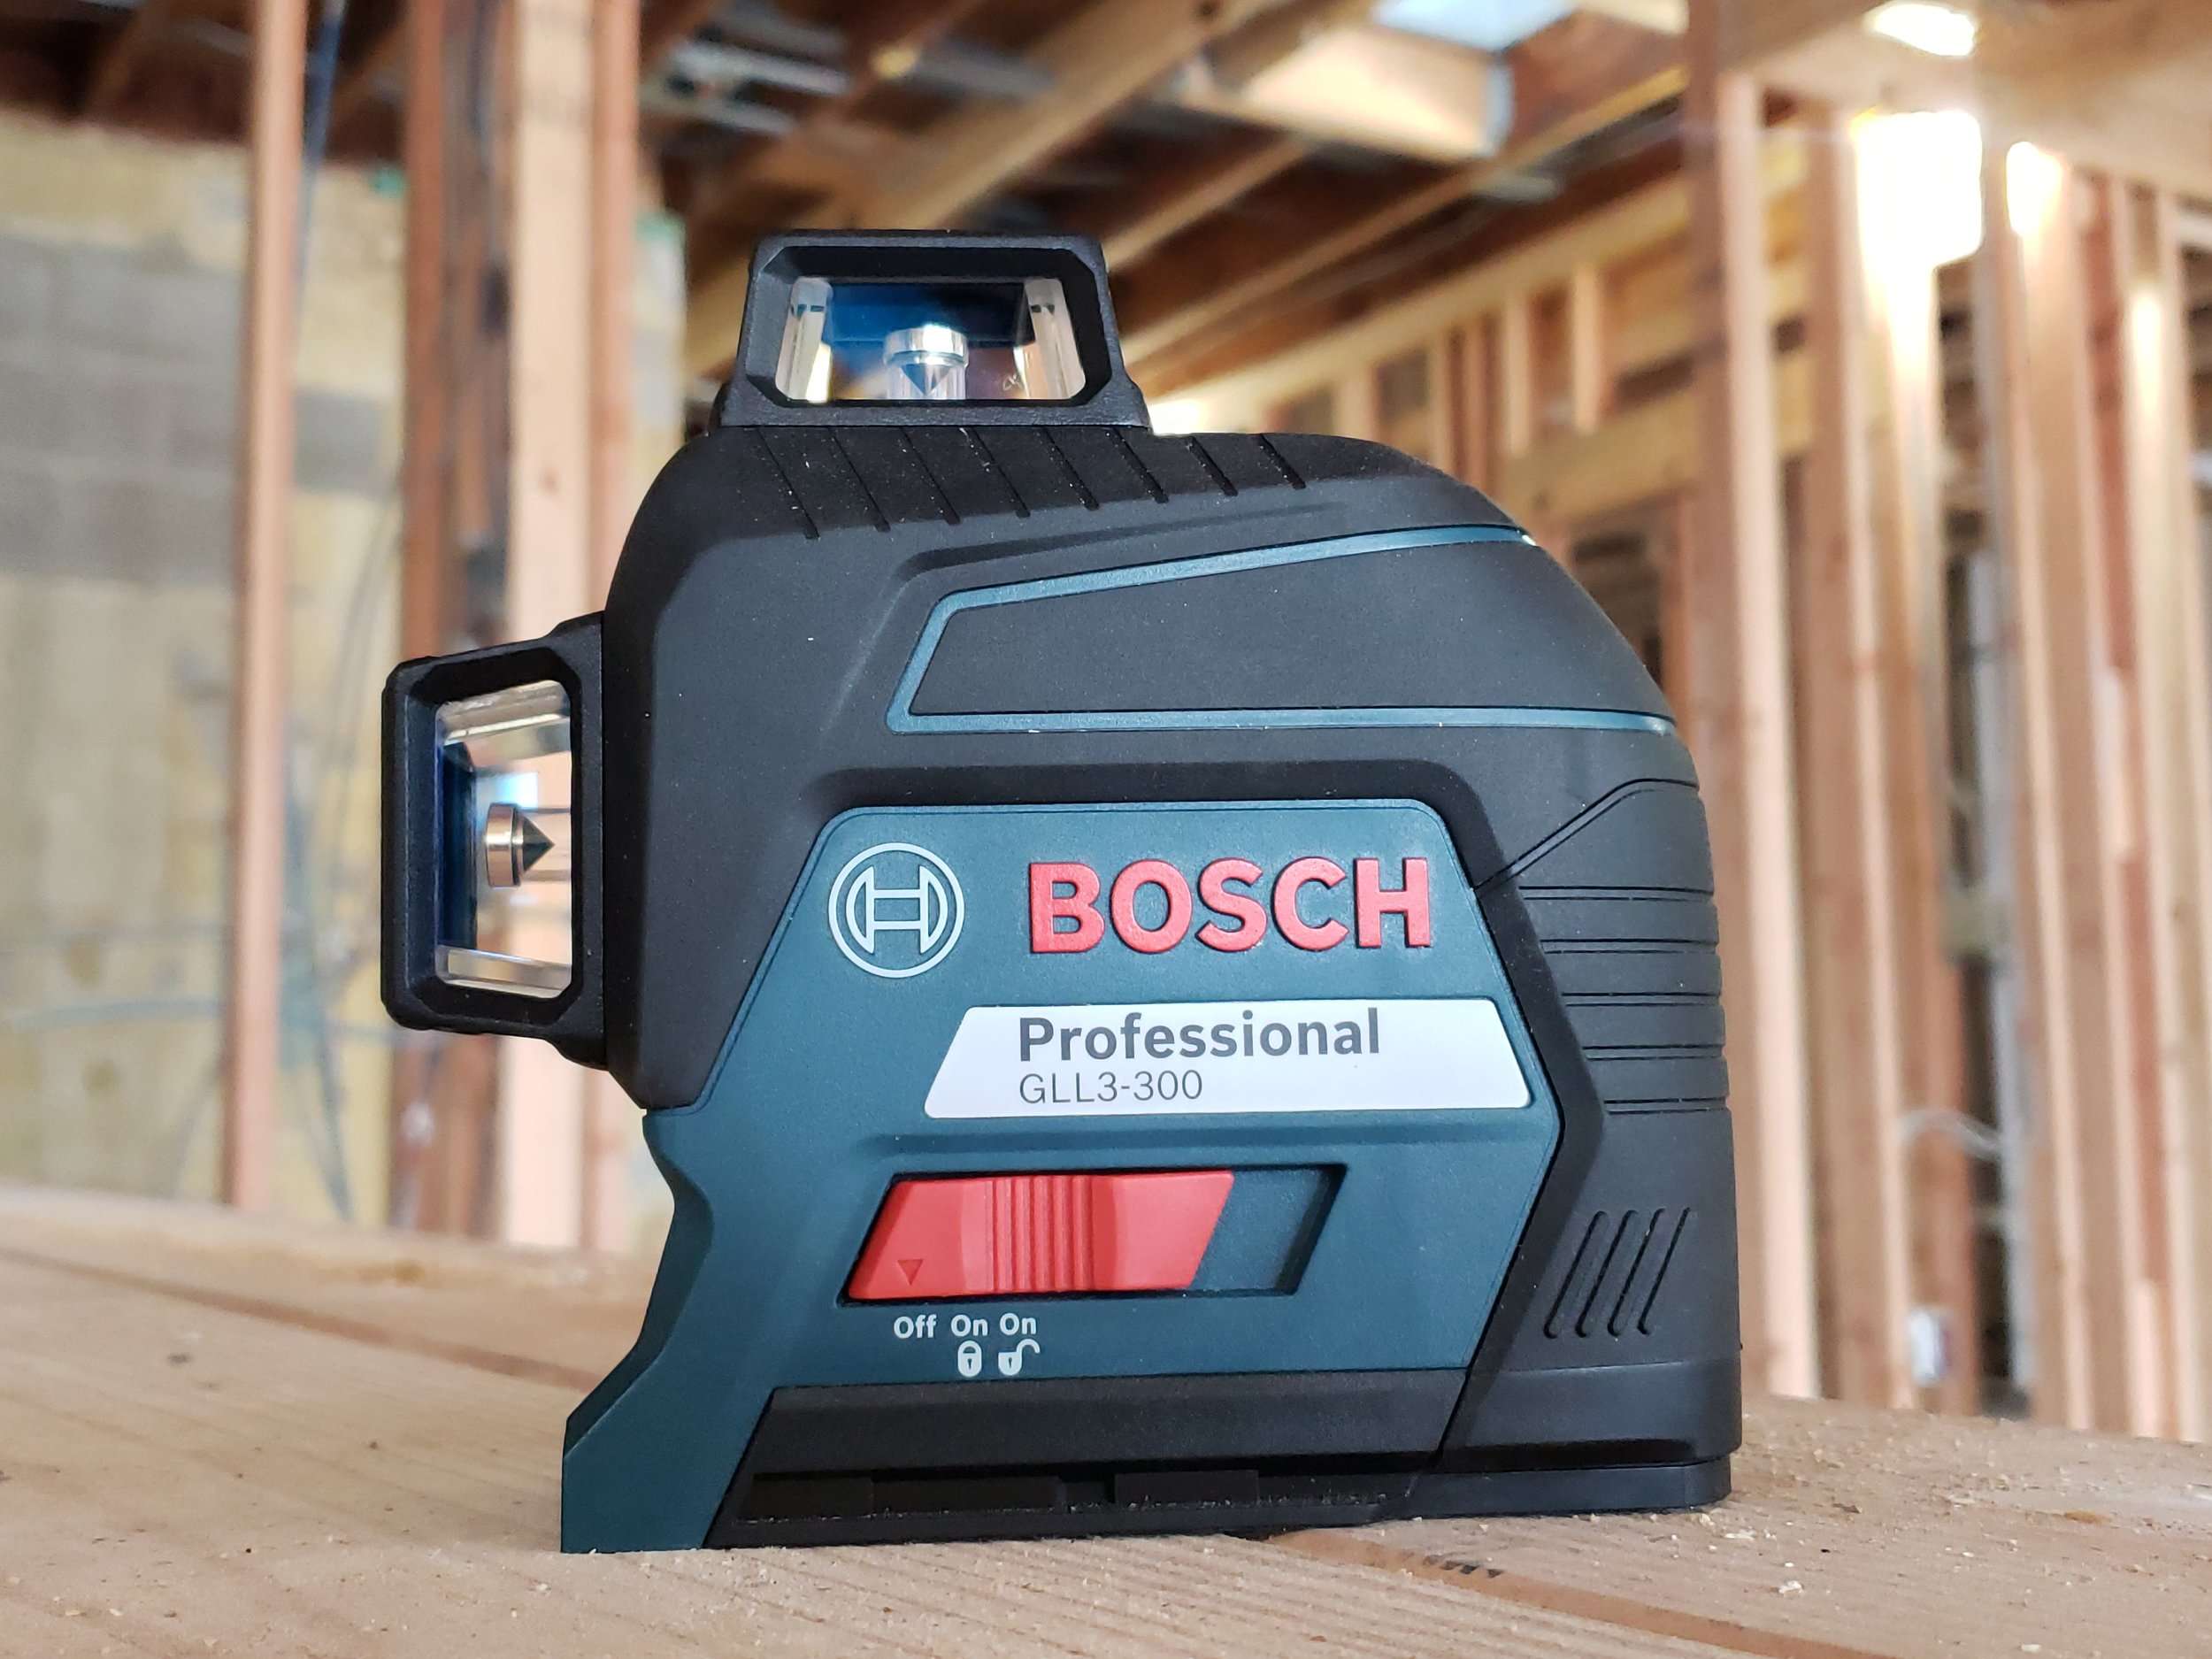
Before we dive into the steps, let’s briefly discuss what a laser level is and why it is beneficial for installing a backsplash. A laser level is a device that emits a laser beam to create a straight, horizontal line. It can be mounted on a tripod or attached to a wall using a bracket. Laser levels are often used in construction and woodworking to ensure accurate measurements and alignments. When it comes to backsplash installation, a laser level can help you achieve a level and consistent line, making the entire process much easier.
Now that we have a basic understanding of laser levels and their benefits, let’s move on to the step-by-step process of using a laser level for installing a backsplash.
Key Takeaways:
- Achieve professional-looking backsplash installation with a laser level by following step-by-step instructions, ensuring precision, alignment, and a visually appealing finish for your kitchen or bathroom.
- Simplify the backsplash installation process with a laser level, saving time and effort while achieving accurate and consistent tile alignment for a polished and professional result.
Step 1: Prepare the Backsplash Area
Before you begin installing the backsplash, it’s important to properly prepare the area to ensure a clean and smooth surface for tile installation.
First, remove any existing backsplash or wall coverings. Use a putty knife or scraper to carefully remove any adhesive or remnants left on the wall. Smooth out any imperfections on the wall by filling in cracks or holes with a patching compound and sanding them down.
Next, thoroughly clean the area to remove any grease, dirt, or debris. Use a mild detergent or a specialized tile cleaner with a sponge or cloth. Make sure to rinse the area well and allow it to dry completely before moving on to the next step. A clean and dry surface will ensure proper adhesion of the tile.
Take measurements of the backsplash area to determine the amount of tile you will need. It’s always a good idea to purchase extra tile to account for any mistakes or future repairs.
Finally, gather all the necessary tools and materials for the installation process. This includes the tiles, adhesive, grout, a tile cutter, spacers, a trowel, a grout float, and, of course, your laser level.
Once you have completed these preparations, you are ready to move on to the next step: setting up the laser level.
Step 2: Set up the Laser Level
Setting up the laser level correctly is crucial to ensure accurate and precise alignment for your backsplash installation. Here’s how to properly set up your laser level:
- Choose a suitable location: Find a stable surface or mount the laser level on a tripod. Make sure the location provides a clear line of sight across the backsplash area.
- Secure the laser level: If you are using a tripod, ensure that it is securely locked in place. If you are attaching the laser level to a wall bracket, use screws or nails to securely fasten it.
- Level the laser: Most laser levels have built-in leveling mechanisms. Use the built-in bubble vials or digital leveling indicators to adjust and ensure that the laser line is perfectly horizontal.
- Set the laser height: Adjust the laser to the desired height, depending on the height of your backsplash. This will determine the line at which the tiles will be installed.
- Power on the laser level: Turn on the laser level according to the manufacturer’s instructions. The laser beam should now be projecting a straight line across the backsplash area.
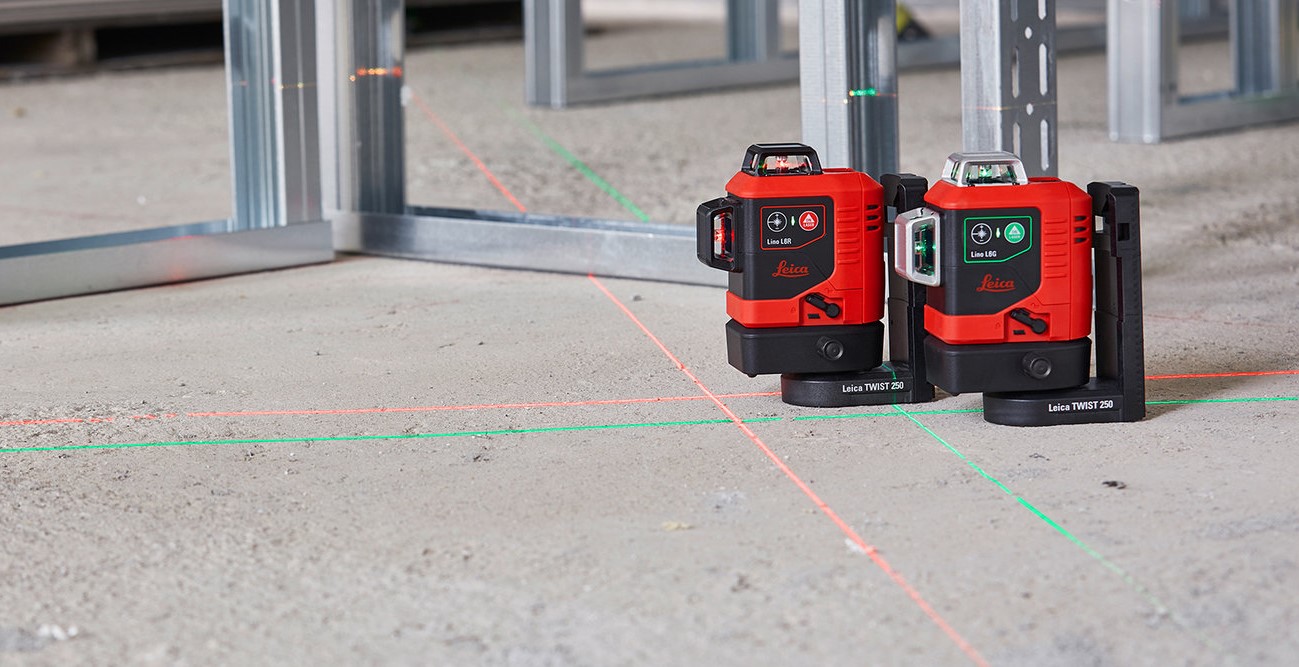
It’s important to note that some laser levels have additional features like vertical and plumb lines. These can be useful for creating reference lines for vertical tile installation or ensuring that the tiles are perfectly aligned with other surfaces. Familiarize yourself with the specific features and controls of your laser level.
Now that your laser level is set up and projecting a level line, you are ready to move on to the next step: adjusting the laser level.
Step 3: Adjust the Laser Level
Adjusting the laser level is necessary to ensure that the projected line is aligned precisely where you want to install the backsplash. Follow these steps to make the necessary adjustments:
- Position the laser line: Use the horizontal adjustment knobs or buttons on the laser level to position the line at the desired height on the wall. This will be the starting point for your tile installation.
- Check the levelness: Use a spirit level or a bubble vial to verify that the laser line is perfectly level. Adjust the laser level as needed to achieve a straight and level line.
- Extend the laser line: Depending on the length of your backsplash area, you may need to extend the laser line. Most laser levels have a feature that allows you to extend the line horizontally. Adjust the laser level accordingly to cover the entire area of the backsplash.
- Double-check the levelness: Once you have extended the laser line, check again to ensure that it remains level throughout the entire length. This step is crucial to maintaining a consistent straight line for tile installation.
- Secure the laser level: Once you are satisfied with the position and levelness of the laser line, make sure to secure the laser level or tripod in place to prevent any accidental movement.
It is important to take your time during the adjustment process to ensure that the laser level is accurately aligned. Remember, the laser line will serve as your guide for installing the backsplash tiles, so precision is key.
With the laser level properly adjusted, you are now ready to move on to the next step: marking the starting point.
Step 4: Mark the Starting Point
Now that you have the laser level set up and adjusted, it’s time to mark the starting point for your backsplash installation. This step will ensure that you have a reference point to begin laying the tiles.
- Position the tile spacer: Place a tile spacer at the endpoint of the laser line. This will create a small gap between the first tile and the countertop, allowing for expansion and contraction.
- Mark the starting line: Using a pencil or marker, make a small mark on the wall at the top edge of the tile spacer. This mark indicates the starting point for your tile installation.
- Continue marking the line: Extend the mark along the entire length of the backsplash area. This line will serve as your guide for aligning the first row of tiles.
By marking the starting point, you can ensure that your tiles are aligned properly and that the backsplash will be even and level. Taking the time to mark this line accurately will save you from potential headaches and rework later on in the installation process.
Once you have marked the starting point, it’s time to move on to the next step: aligning the first row of tiles.
When using a laser level for a backsplash, make sure to secure the level in place and adjust the height to the desired position. Double-check the level’s accuracy before starting to ensure a straight and even installation.
Read more: How To Use A Self Leveling Laser Level
Step 5: Align the First Row of Tiles
With the starting point marked, you are now ready to align and install the first row of tiles for your backsplash. This step will set the foundation for the rest of the installation process.
- Apply adhesive: Using a notched trowel, apply a thin layer of tile adhesive to the area along the marked starting line. Create ridges in the adhesive by holding the trowel at a 45-degree angle. This will help ensure proper adhesion and tile placement.
- Place the first tile: Take your first tile and press it firmly into the adhesive along the starting line. Make sure to align it precisely with the line to achieve a straight and level installation. Use a slight twisting motion to ensure a good bond between the tile and the adhesive.
- Use tile spacers: Insert tile spacers at each corner of the first tile to create even gaps between the tiles. These spacers will help maintain consistent spacing and allow for grout application later on.
- Continue with the rest of the row: Repeat the process for the remaining tiles in the first row, ensuring that each tile is aligned properly with the starting line and with even spacing between them. Use a level to check for any inconsistencies and adjust as needed.
It’s important to work efficiently during this step, as the adhesive may dry quickly. Take your time to ensure that each tile is level and properly aligned before moving on to the next one. This will result in a polished and professional-looking backsplash.
Once the first row is complete, you can proceed to the next step: continuing the installation of the remaining tiles.
Step 6: Continue Installing Tiles
With the first row of tiles in place, it’s time to continue the installation by adding more rows of tiles to complete the backsplash. Follow these steps to ensure a smooth and consistent installation:
- Apply adhesive: Using the notched trowel, apply adhesive to a small section of the wall above the first row of tiles. Spread the adhesive evenly and create ridges as before.
- Place the tiles: Begin placing tiles on the adhesive, aligning them with the starting line and with the spacers in the first row. Press each tile firmly into the adhesive, ensuring that it is level and properly aligned. Use additional spacers between tiles to maintain consistent spacing.
- Continue the pattern: Repeat the process of applying adhesive and placing tiles, row by row, working your way up the backsplash area. Take care to maintain levelness and alignment throughout the installation process.
- Trim tiles if necessary: As you reach the edges of the backsplash area, you may need to cut some tiles to fit. Use a tile cutter or a wet saw to trim the tiles as needed. Take accurate measurements and make precise cuts for a professional finish.
Remember to periodically check the levelness of the tiles and make any adjustments as necessary. Take your time to ensure the tiles are properly aligned, evenly spaced, and flush with each other.
Continue installing the tiles until you reach the end of the backsplash area. Once all the tiles are in place, allow the adhesive to dry according to the manufacturer’s instructions before proceeding to the next step.
Now that the tiles are installed, it’s time to move on to Step 7: checking the level regularly.
Step 7: Check the Level Regularly
Throughout the installation process, it’s essential to regularly check the level of your backsplash to ensure that it remains straight and even. By monitoring the levelness, you can make any necessary adjustments to maintain a professional-looking installation.
- Use a spirit level: Place a spirit level on top of the tiles periodically to check if they are level. If you notice any tiles that are not aligned correctly, gently tap them with a rubber mallet to adjust their position.
- Check for gaps or lippage: Inspect the gaps between tiles to ensure that they are even and consistent. If you notice any large gaps or unevenness, it may be necessary to remove and readjust the tiles.
- Verify vertical alignment: Use a level vertically against the tiles to check for any deviations from a straight vertical line. Adjust tiles if needed to maintain a uniform appearance.
Regularly checking the levelness of the backsplash will help you identify and correct any issues before they become more challenging to address. Taking the time to ensure a level and even installation will result in a visually pleasing and professional finish.
Continue to check the level regularly as you install the remaining tiles, making any necessary adjustments along the way. This attention to detail will contribute to the overall quality of your backsplash installation.
Once you have checked the level and made any necessary adjustments, you can move on to Step 8: applying the finishing touches.
Step 8: Finishing Touches
As you near the completion of your backsplash installation, it’s important to focus on the finishing touches that will enhance the overall appearance and functionality of your project. Follow these steps to add those final touches:
- Remove tile spacers: After the adhesive has fully dried, carefully remove the tile spacers from between the tiles. Gently twist and pull them out, taking care not to disturb the alignment of the tiles.
- Prepare for grouting: Before applying the grout, clean the surface of the tiles to remove any adhesive residue or debris. Use a damp sponge or cloth to wipe down the tiles, ensuring they are clean and ready for grouting.
- Apply grout: Mix the grout according to the manufacturer’s instructions. Using a grout float, spread the grout diagonally across the tiles, pressing it into the gaps. Remove any excess grout from the surface of the tiles with the edge of the grout float.
- Clean and cure: Once the grout has been applied, use a damp sponge to clean the excess grout from the surface of the tiles. Rinse the sponge frequently and continue wiping until the tiles are clean. Allow the grout to cure for the recommended time before proceeding.
- Apply a sealant (optional): Consider applying a sealant over the grout lines to protect them from moisture and staining. Follow the manufacturer’s instructions for the specific sealant you are using.
- Reinstall outlet covers (if applicable): If you had to remove any outlet covers during the installation process, now is the time to reinstall them. Make sure they fit properly and securely.
By paying attention to these finishing touches, you can ensure that your backsplash not only looks visually appealing but also stands up well to regular use and maintenance.
With the finishing touches complete, step back and admire your beautifully installed backsplash. Take the time to clean up your workspace and enjoy the transformed look of your kitchen or bathroom.
Congratulations! You have successfully used a laser level to install a backsplash. By following these steps and giving attention to detail, you have achieved a professional-looking result that will enhance the aesthetic and functionality of your space for years to come.
Read more: How To Use A Laser Level For Framing
Conclusion
Installing a backsplash can be a rewarding project that adds both style and functionality to your kitchen or bathroom. By incorporating the use of a laser level, you can achieve precise alignment and a professional finish.
Throughout this article, we have discussed the step-by-step process of using a laser level for installing a backsplash. From preparing the area to adjusting the laser level, marking the starting point, aligning the tiles, and adding the finishing touches, each step is essential for a successful installation.
By properly preparing the area, setting up the laser level, and adjusting it to ensure a level line, you create a solid foundation for the installation. Marking the starting point and aligning the first row of tiles helps maintain a straight and consistent layout. Continuing the installation with care and checking the level regularly ensures a professional finish. And finally, paying attention to the finishing touches adds the final polish to your project.
Remember, using a laser level not only simplifies the installation process but also saves you time and effort. It provides the accuracy and precision necessary for achieving a seamless and visually appealing backsplash.
Whether you are tackling this project as a DIY enthusiast or a professional contractor, utilizing a laser level will undoubtedly elevate the quality of your work. Embrace the convenience and reliability offered by this tool, and enjoy the satisfaction of a beautifully installed backsplash.
Now that you have the knowledge and understanding of how to use a laser level for backsplash installation, go ahead and embark on your project with confidence. Transform your space and enjoy the functionality and aesthetic appeal of a well-designed backsplash.
Frequently Asked Questions about How To Use A Laser Level For Backsplash
Was this page helpful?
At Storables.com, we guarantee accurate and reliable information. Our content, validated by Expert Board Contributors, is crafted following stringent Editorial Policies. We're committed to providing you with well-researched, expert-backed insights for all your informational needs.




0 thoughts on “How To Use A Laser Level For Backsplash”