
Articles
How To Use Berger Laser Level
Modified: August 21, 2024
Learn how to effectively use the Berger Laser Level in this comprehensive article. Find tips, techniques, and expert advice to achieve precise and accurate leveling.
(Many of the links in this article redirect to a specific reviewed product. Your purchase of these products through affiliate links helps to generate commission for Storables.com, at no extra cost. Learn more)
Introduction
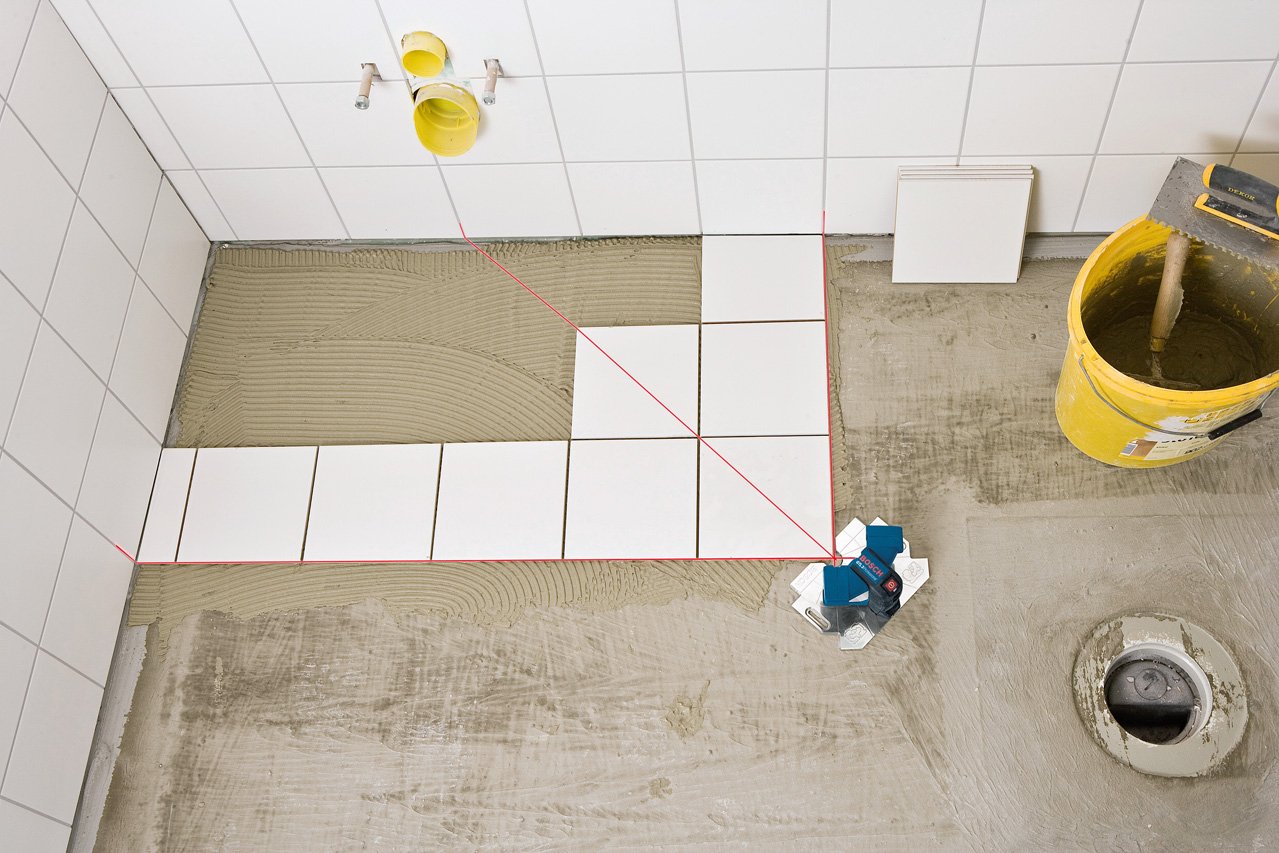
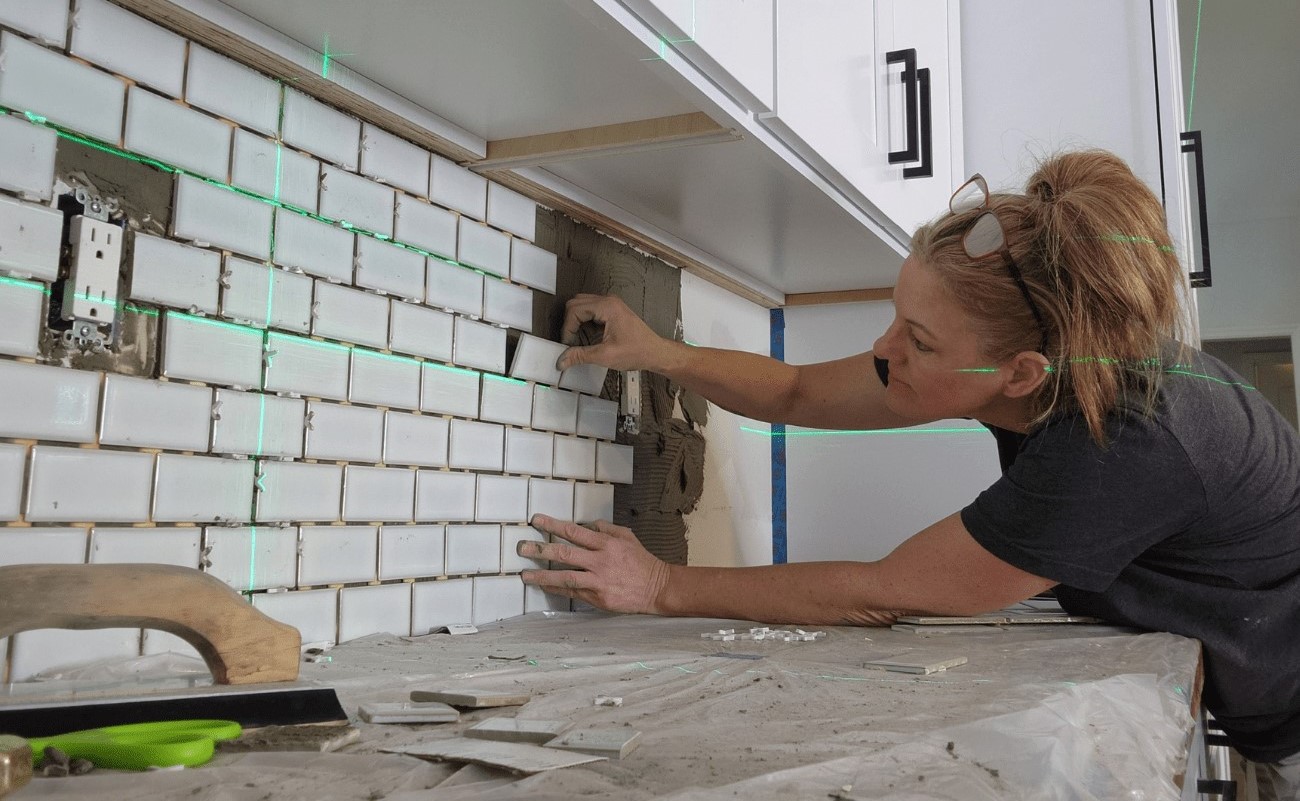
Welcome to our comprehensive guide on how to use the Berger Laser Level. Whether you’re a professional contractor or a DIY enthusiast, a laser level can be an invaluable tool in your toolbox. It helps to ensure precise and accurate measurements for various applications, such as framing, tiling, and aligning objects. In this article, we will walk you through the steps of setting up and operating the Berger Laser Level, as well as provide tips for troubleshooting common issues that you may encounter.
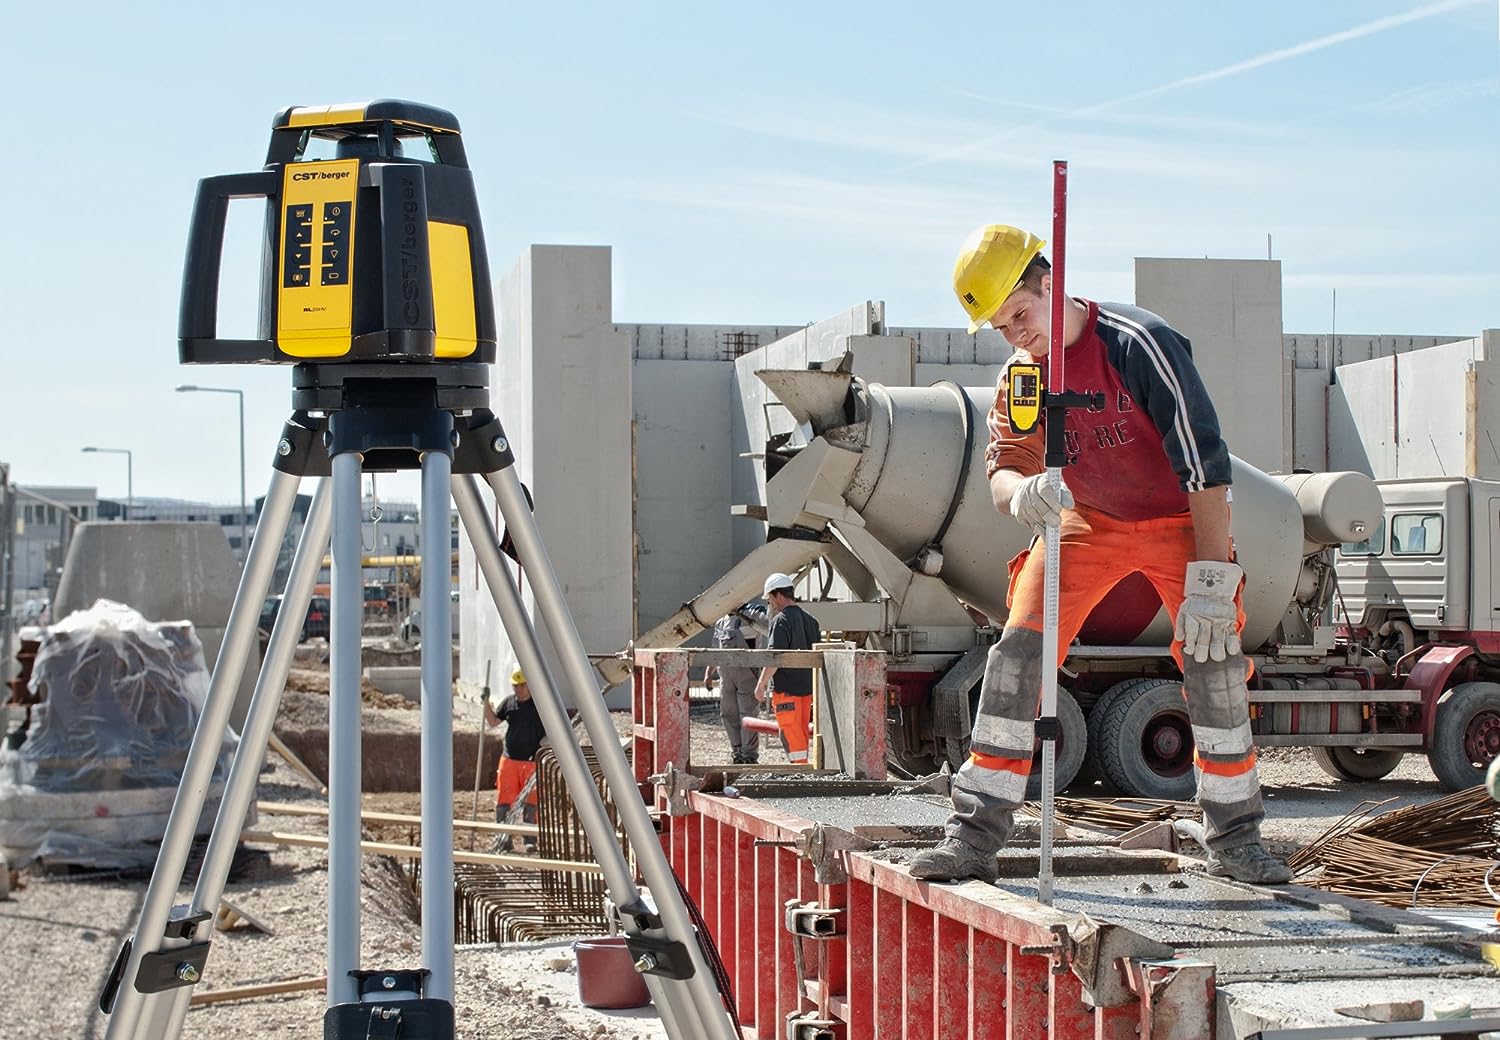
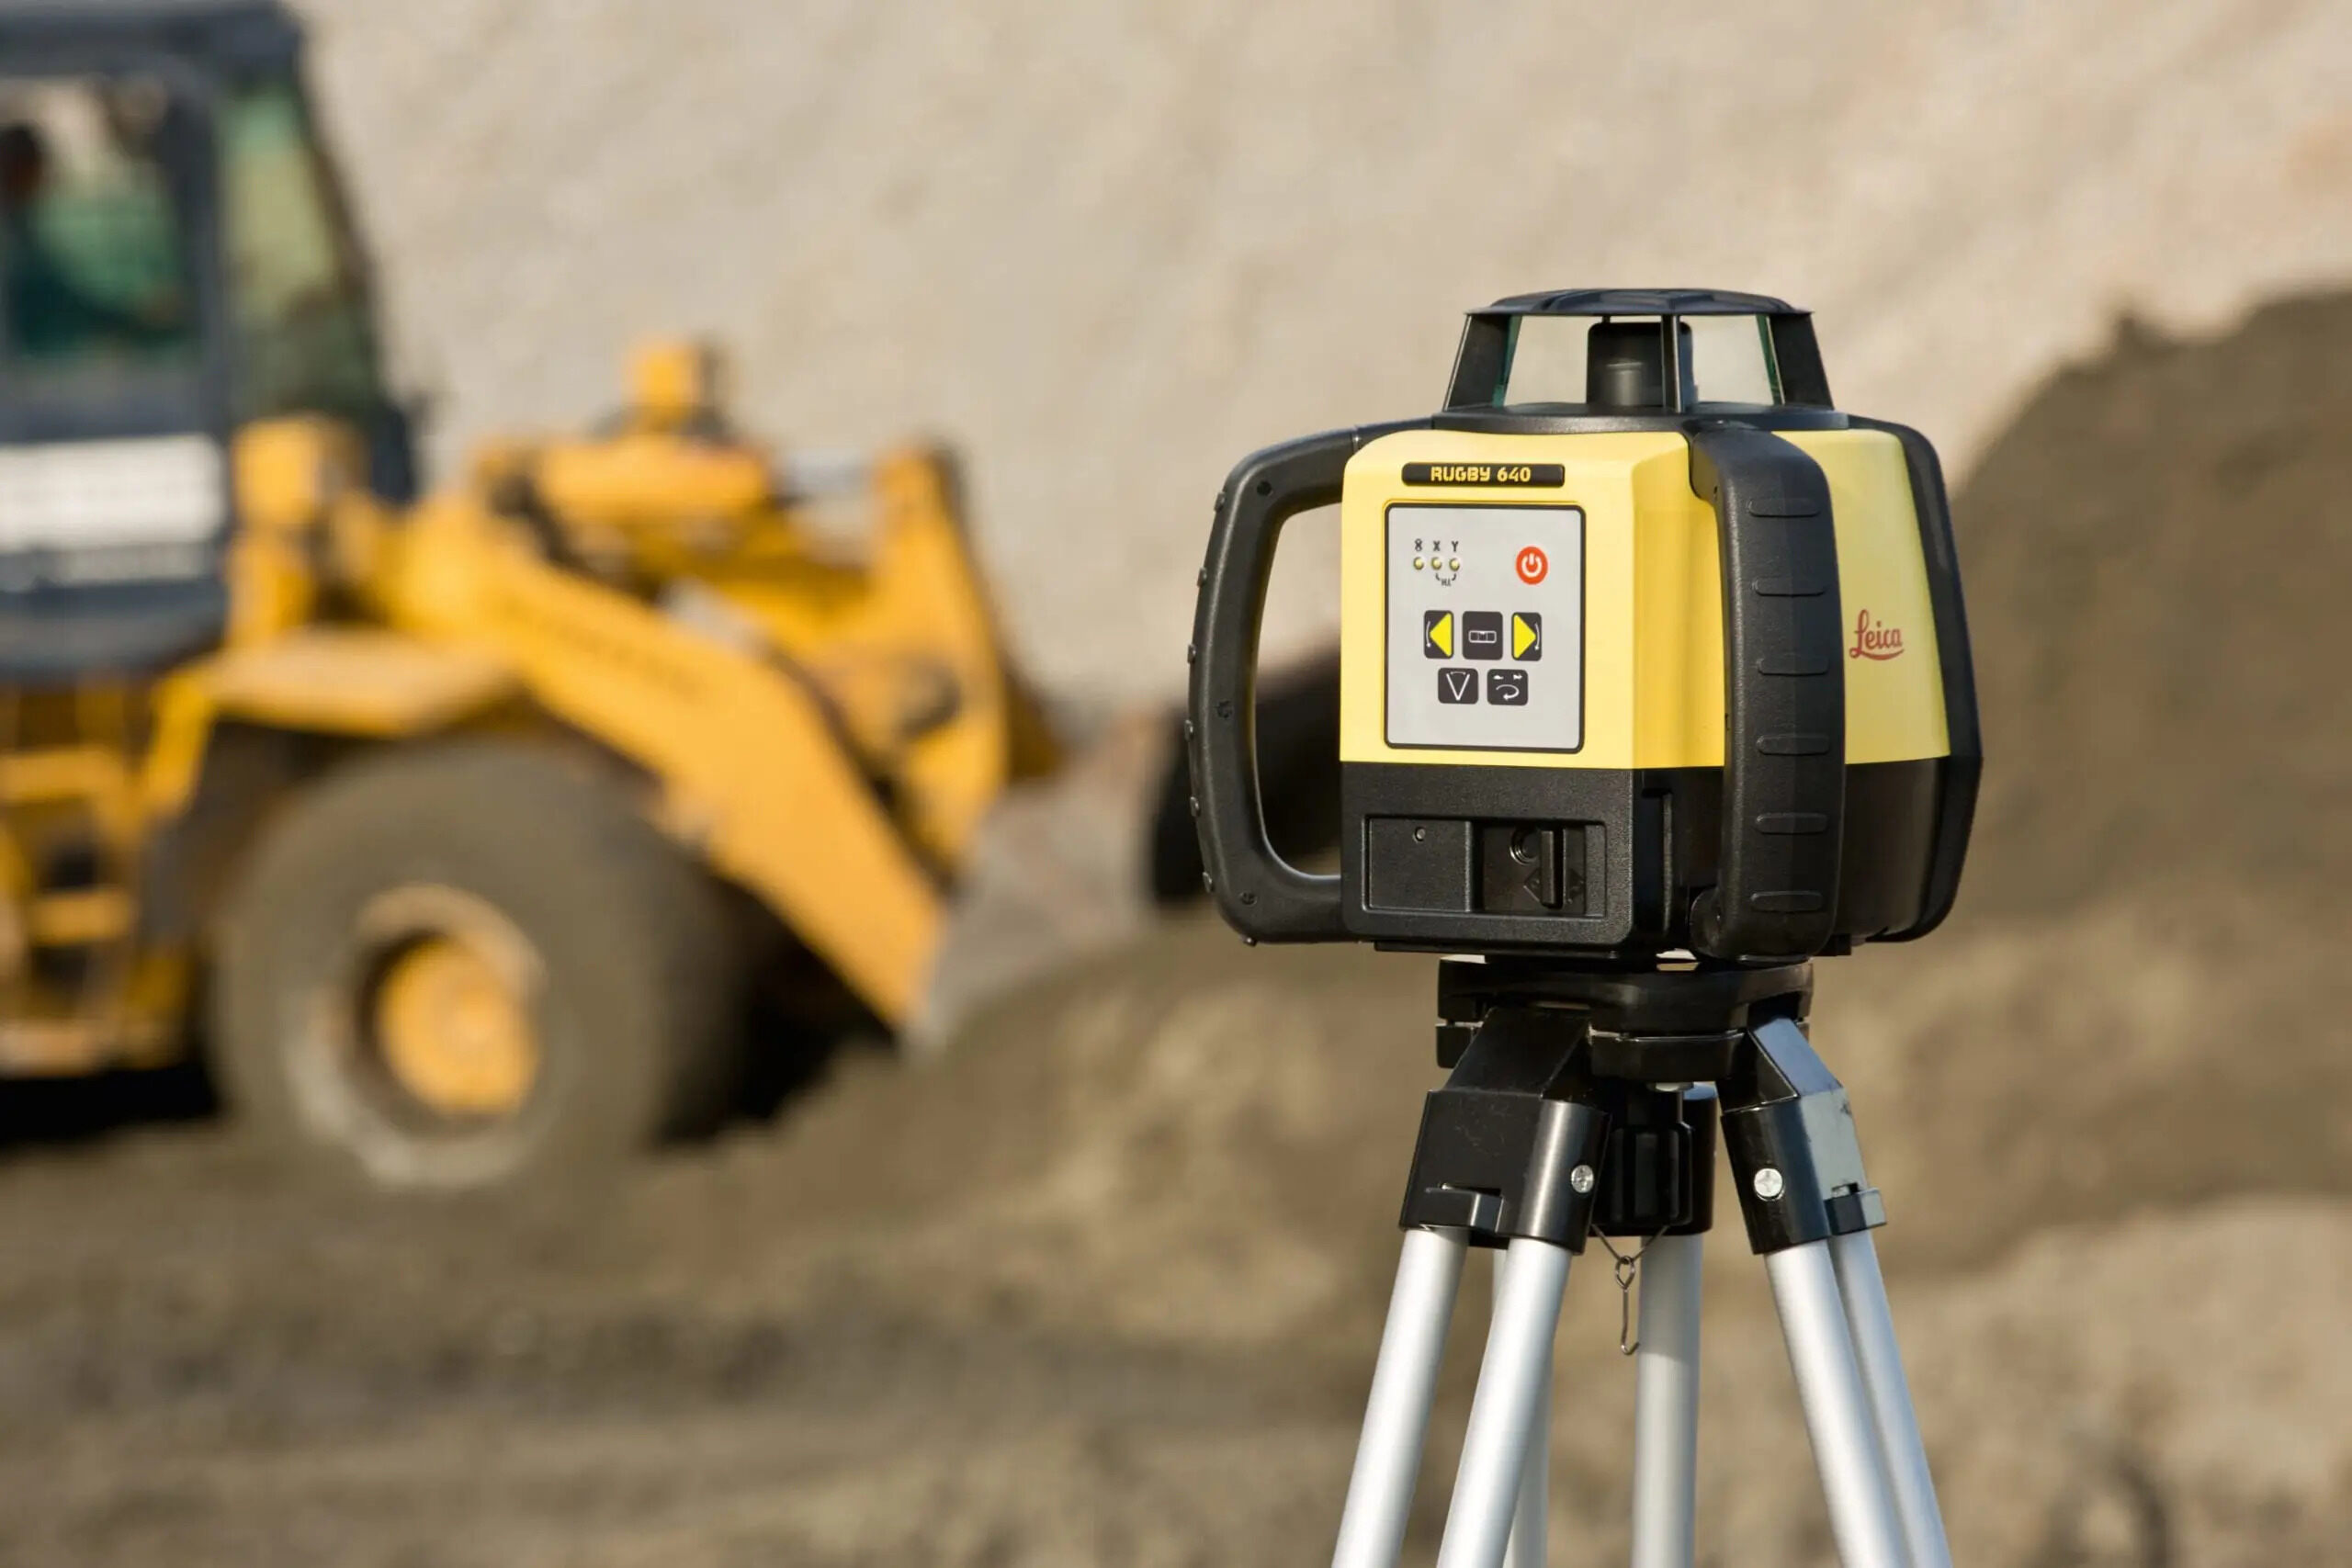
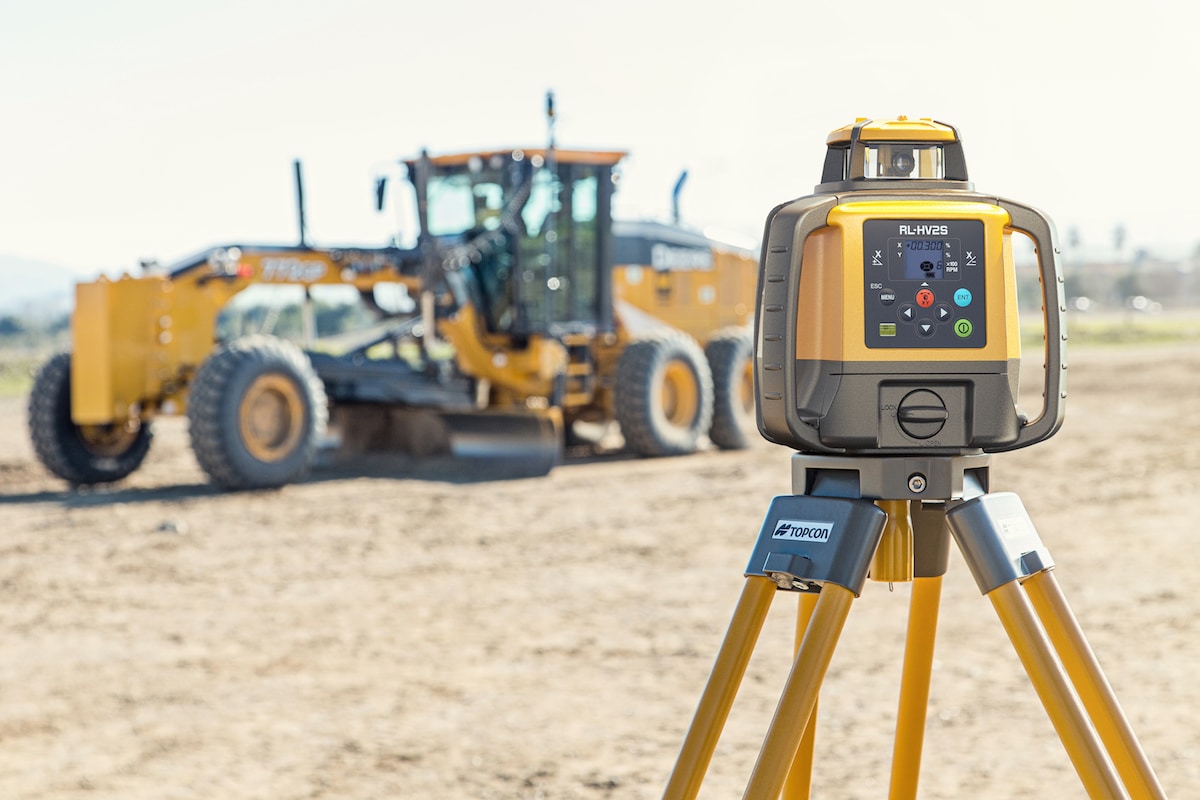
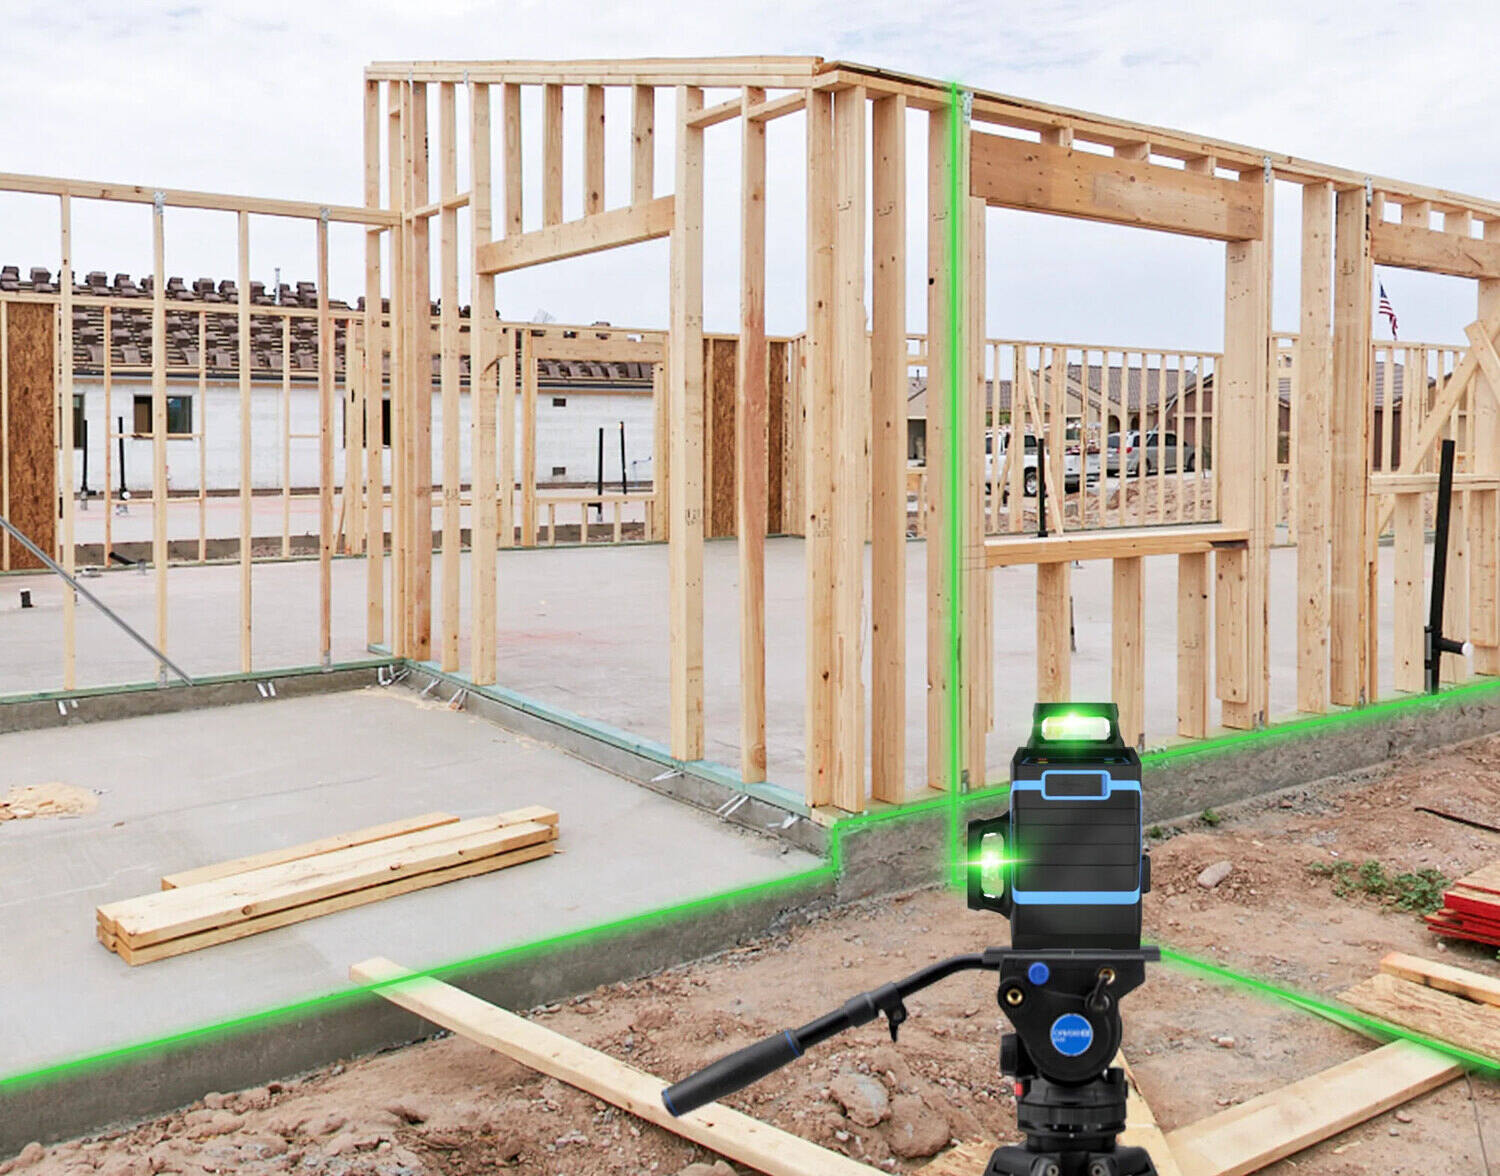
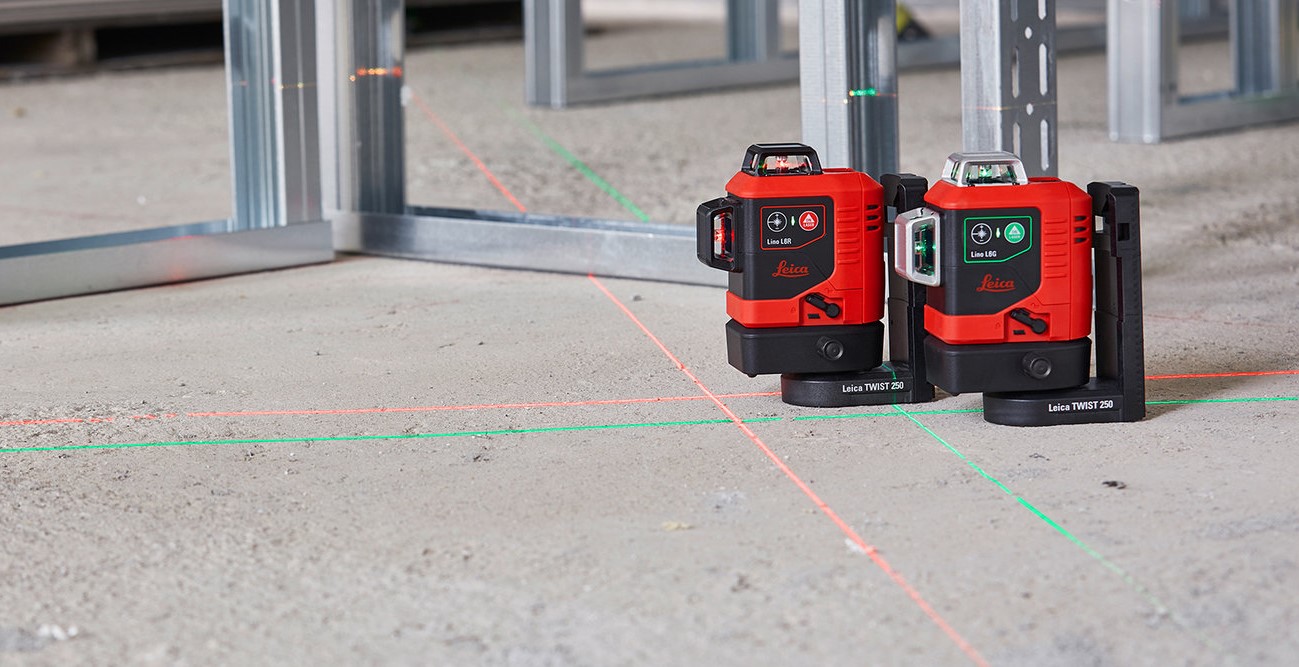
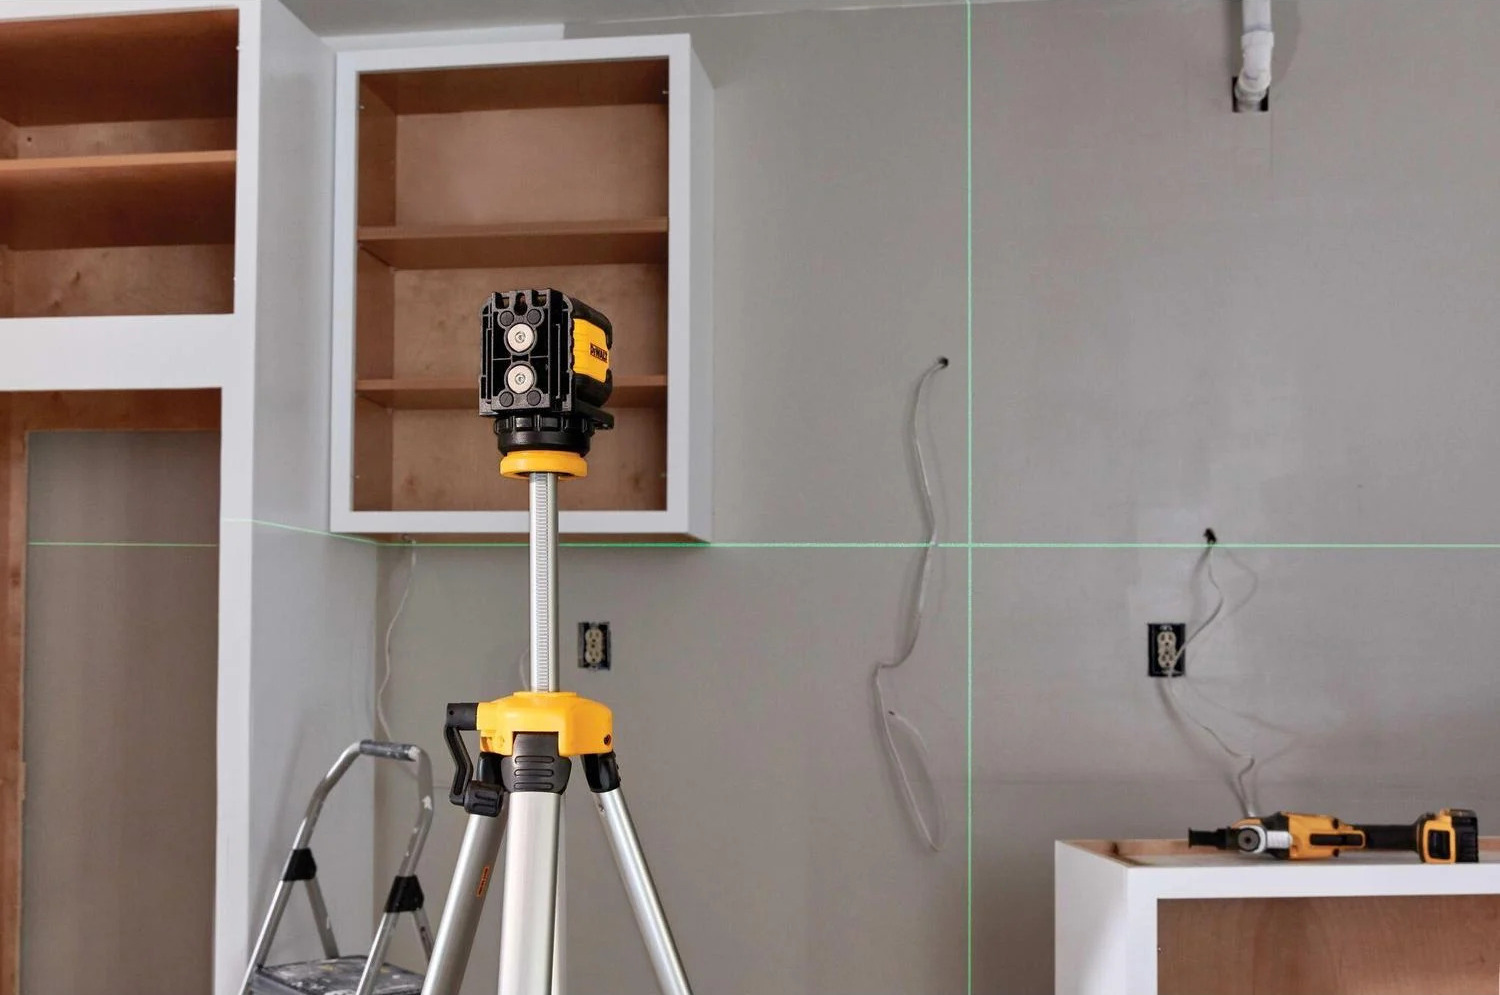
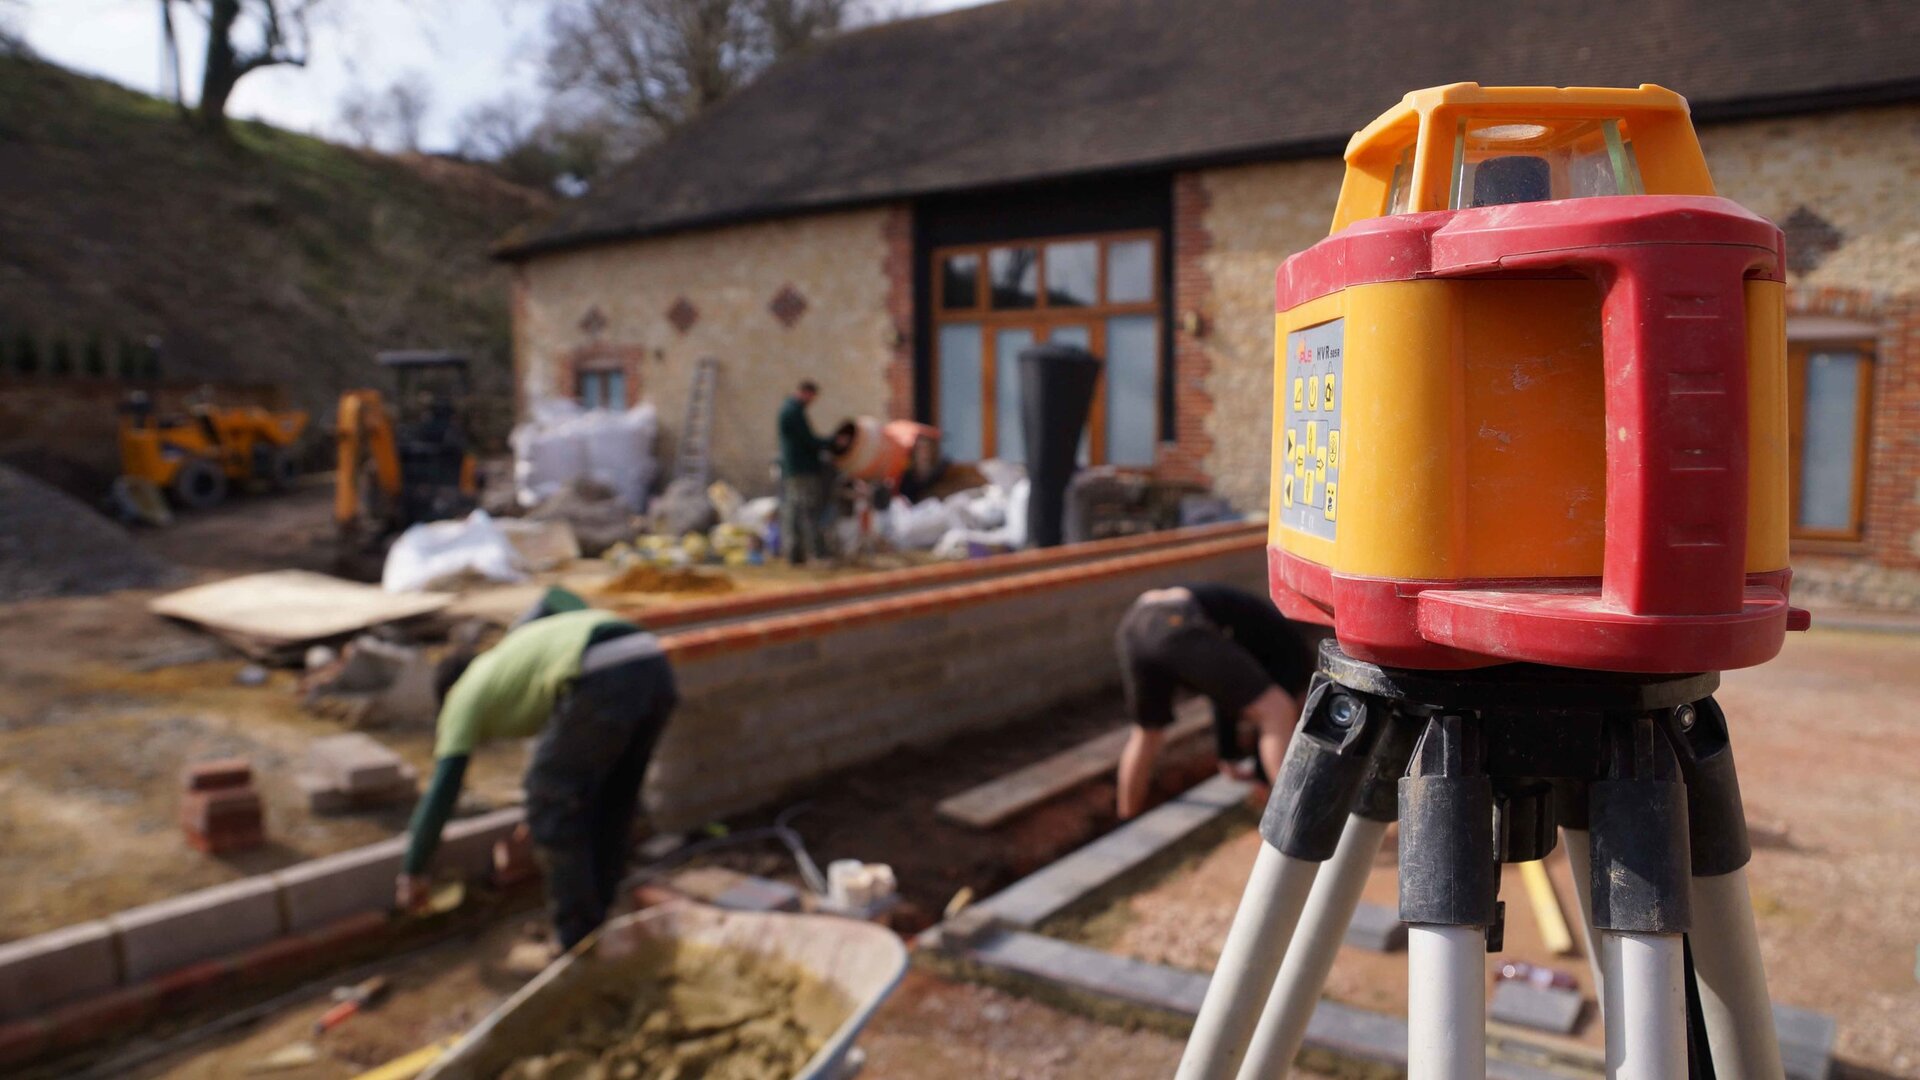
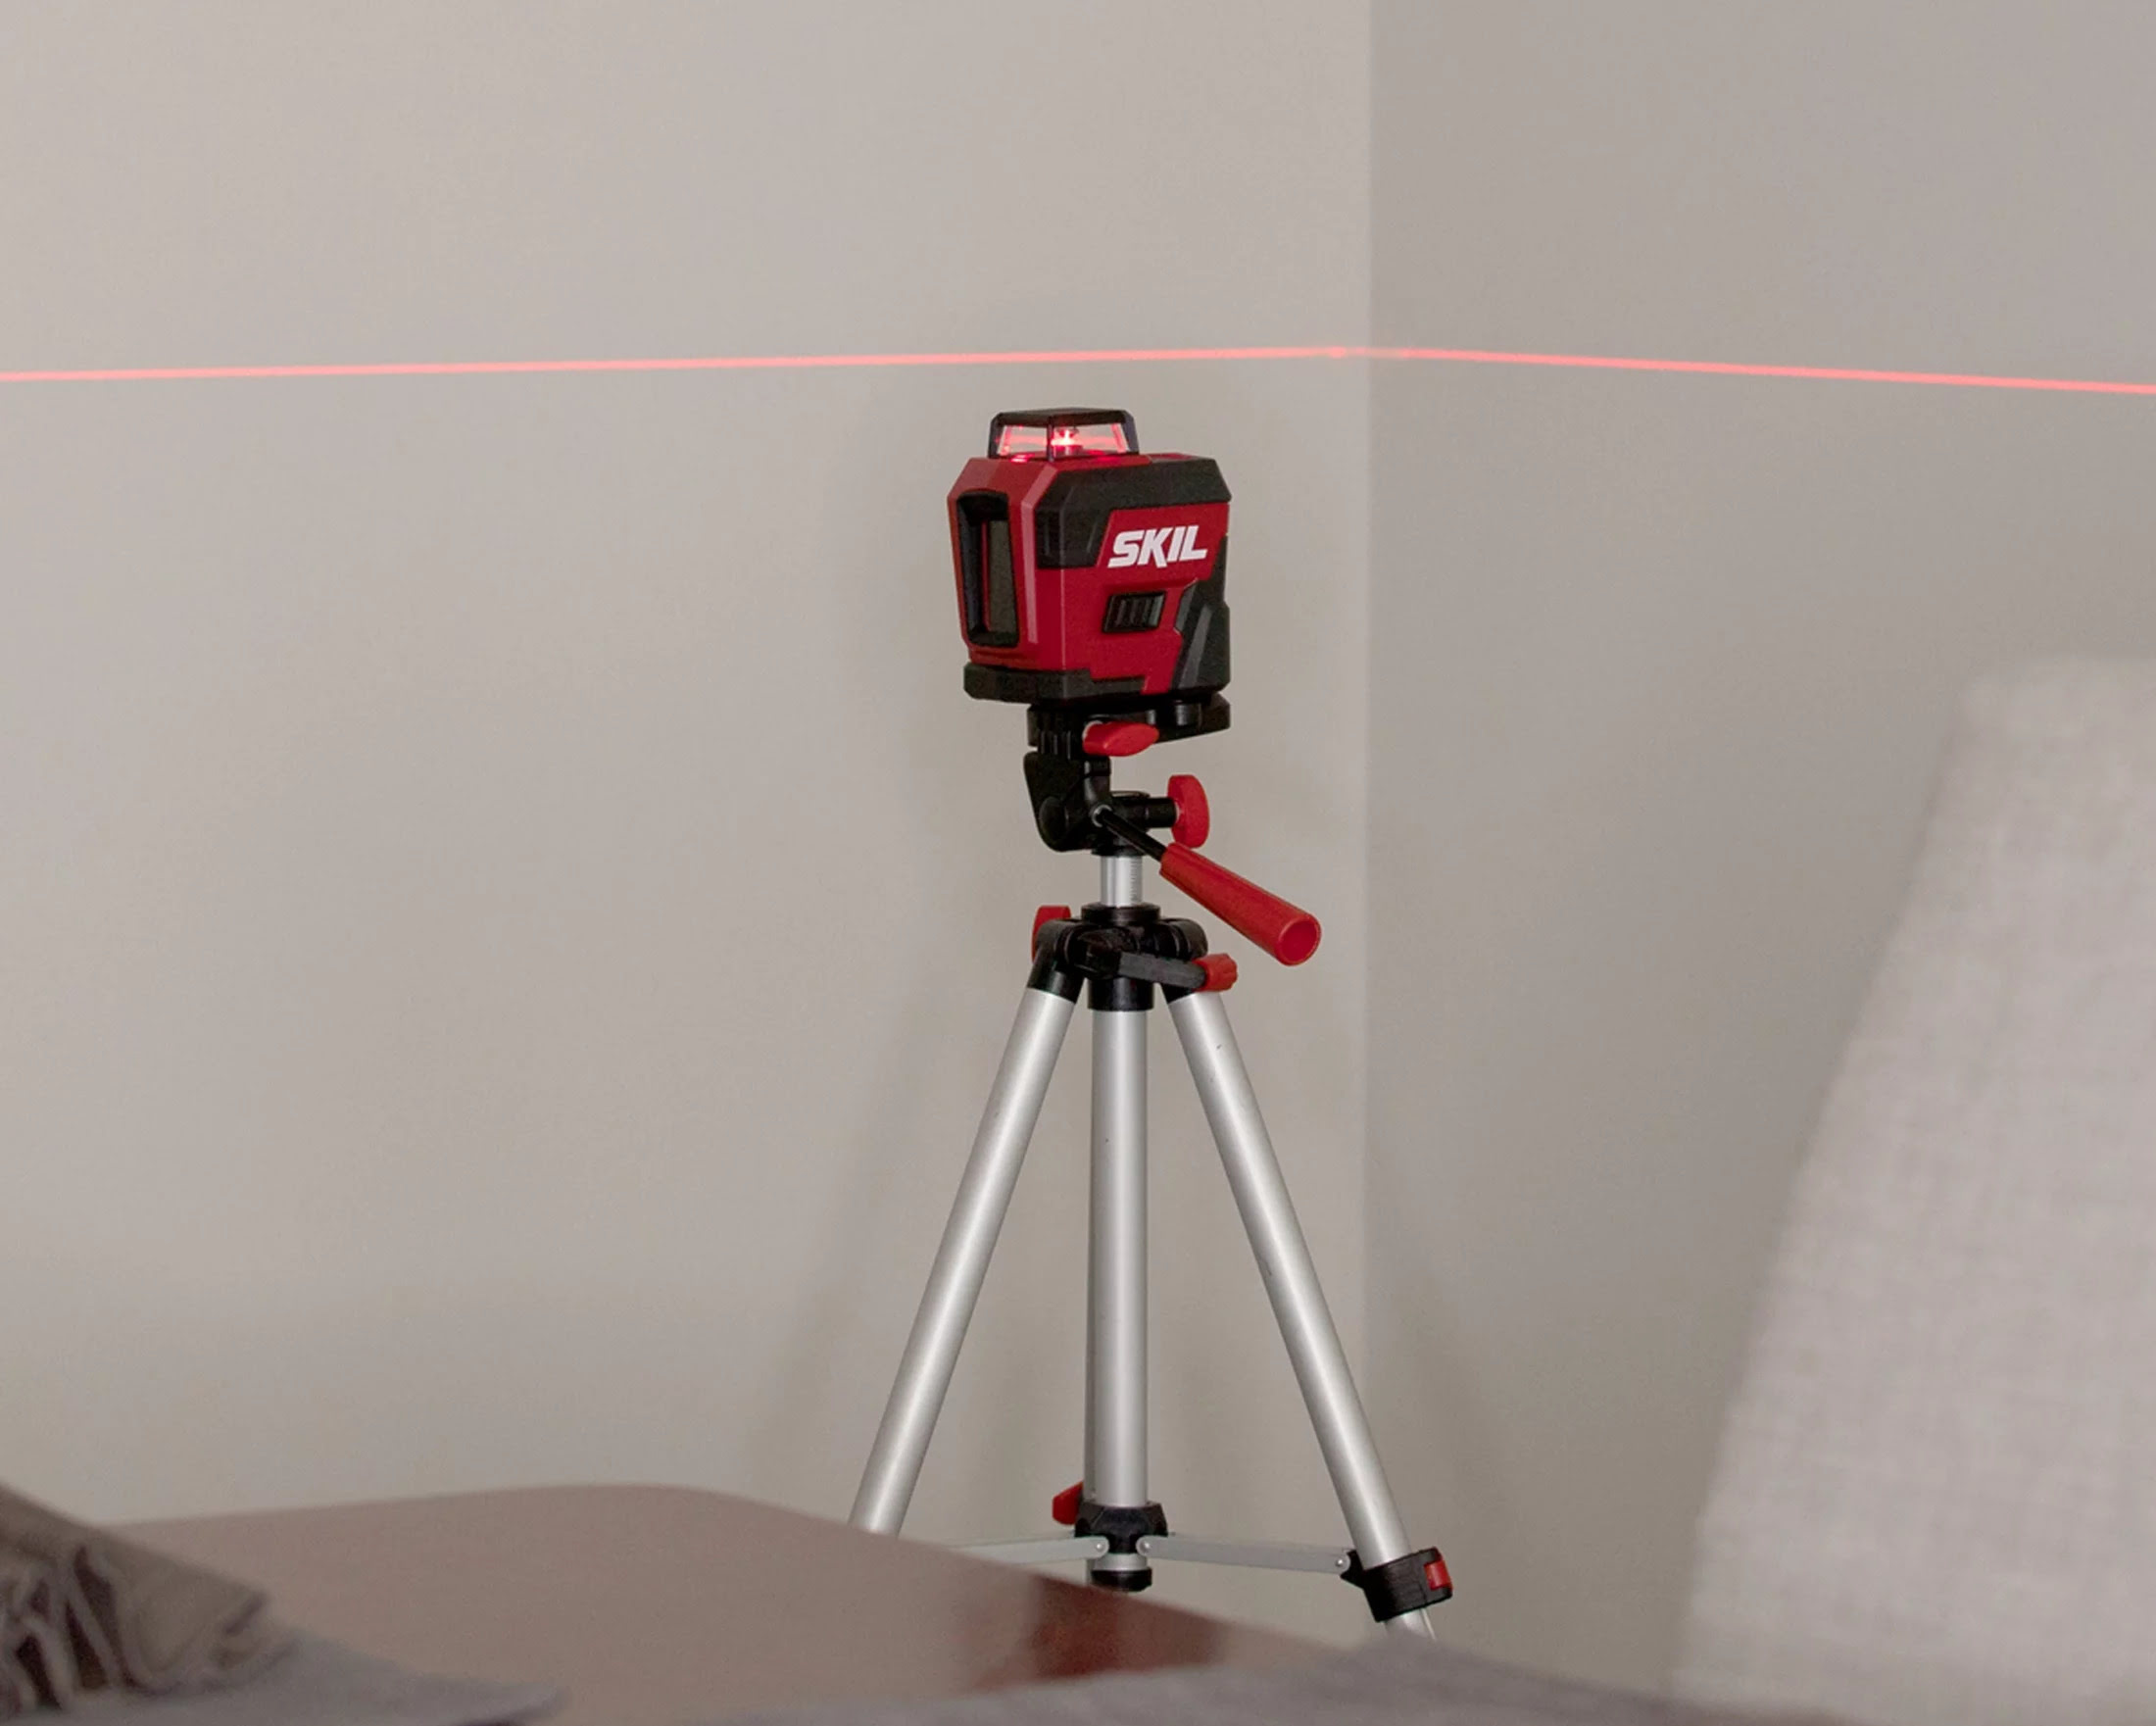
Before we dive into the specifics, let’s briefly discuss what a laser level is and how it works. A laser level is a device that emits a laser beam to create a straight and level reference line or point. It can be mounted on a tripod or attached to a wall, and it uses a built-in pendulum system to self-level. The laser beam is highly visible and can be seen across longer distances, making it ideal for both indoor and outdoor use.
Using a laser level offers several advantages over traditional manual leveling methods. It saves time and effort by providing accurate measurements in a fraction of the time it would take to use a bubble level or string. It also allows for greater precision, especially when working on large projects or complex layouts.
In the following sections, we’ll guide you through each step of using the Berger Laser Level effectively. From setting up the device to troubleshooting common issues, you’ll gain a comprehensive understanding of how to make the most of this powerful tool. So let’s get started!
Key Takeaways:
- Mastering the usage of the Berger Laser Level can save time and effort in projects, providing precise and professional results for both professional contractors and DIY enthusiasts. Proper setup, calibration, and troubleshooting are crucial for optimal performance.
- The Berger Laser Level offers straightforward operation once set up and calibrated. It provides flexibility for adjustments to meet specific project requirements, and troubleshooting common issues ensures continued optimal performance.
Read also: 11 Amazing Cst Berger Laser Level for 2024
Getting Started
Before you begin using the Berger Laser Level, it’s important to familiarize yourself with some basic guidelines and safety precautions. Here are a few things to keep in mind:
1. Read the user manual: Start by thoroughly reading the user manual provided by Berger. This will give you a clear understanding of the features, functions, and limitations of the laser level. Familiarize yourself with any specific instructions or recommendations from the manufacturer.
2. Choose the right location: Select a suitable location for setting up the laser level. Consider factors such as the stability of the surface, the accessibility of the area you need to work in, and the required visibility of the laser beam.
3. Check the batteries: Ensure that the laser level has sufficient power by checking the batteries or power source. Replace any old or weak batteries to ensure optimal performance.
4. Gather necessary accessories: Along with the laser level itself, gather any additional accessories you may need, such as a tripod, mounting brackets, or laser glasses for enhanced visibility.
5. Clear the workspace: Clear the area where you’ll be working from any objects or debris that may obstruct the laser beam or interfere with the accuracy of your measurements.
6. Wear appropriate safety gear: When working with a laser level, it’s essential to protect your eyes from the laser beam. Wear laser safety glasses that are specifically designed for the wavelength emitted by the laser level.
Once you’ve covered these preliminary steps, you’re ready to move on to the next stage: setting up the Berger Laser Level. In the next section, we’ll guide you through the process of getting your laser level ready for use.
Setting up the Berger Laser Level
Setting up the Berger Laser Level correctly is crucial for achieving accurate and reliable measurements. Follow these steps to ensure a proper setup:
1. Select a stable surface: Choose a flat and stable surface to place the laser level. This can be a table, countertop, or any other solid platform. Make sure that the surface is level to avoid any discrepancies in the measurements.
2. Attach the laser level to a tripod or mounting bracket: If your Berger Laser Level comes with a tripod or mounting bracket, attach it securely. Tripods provide stability and allow you to adjust the height and position of the laser level. Ensure that the laser level is tightly secured to the tripod or mounting bracket to prevent any movement during operation.
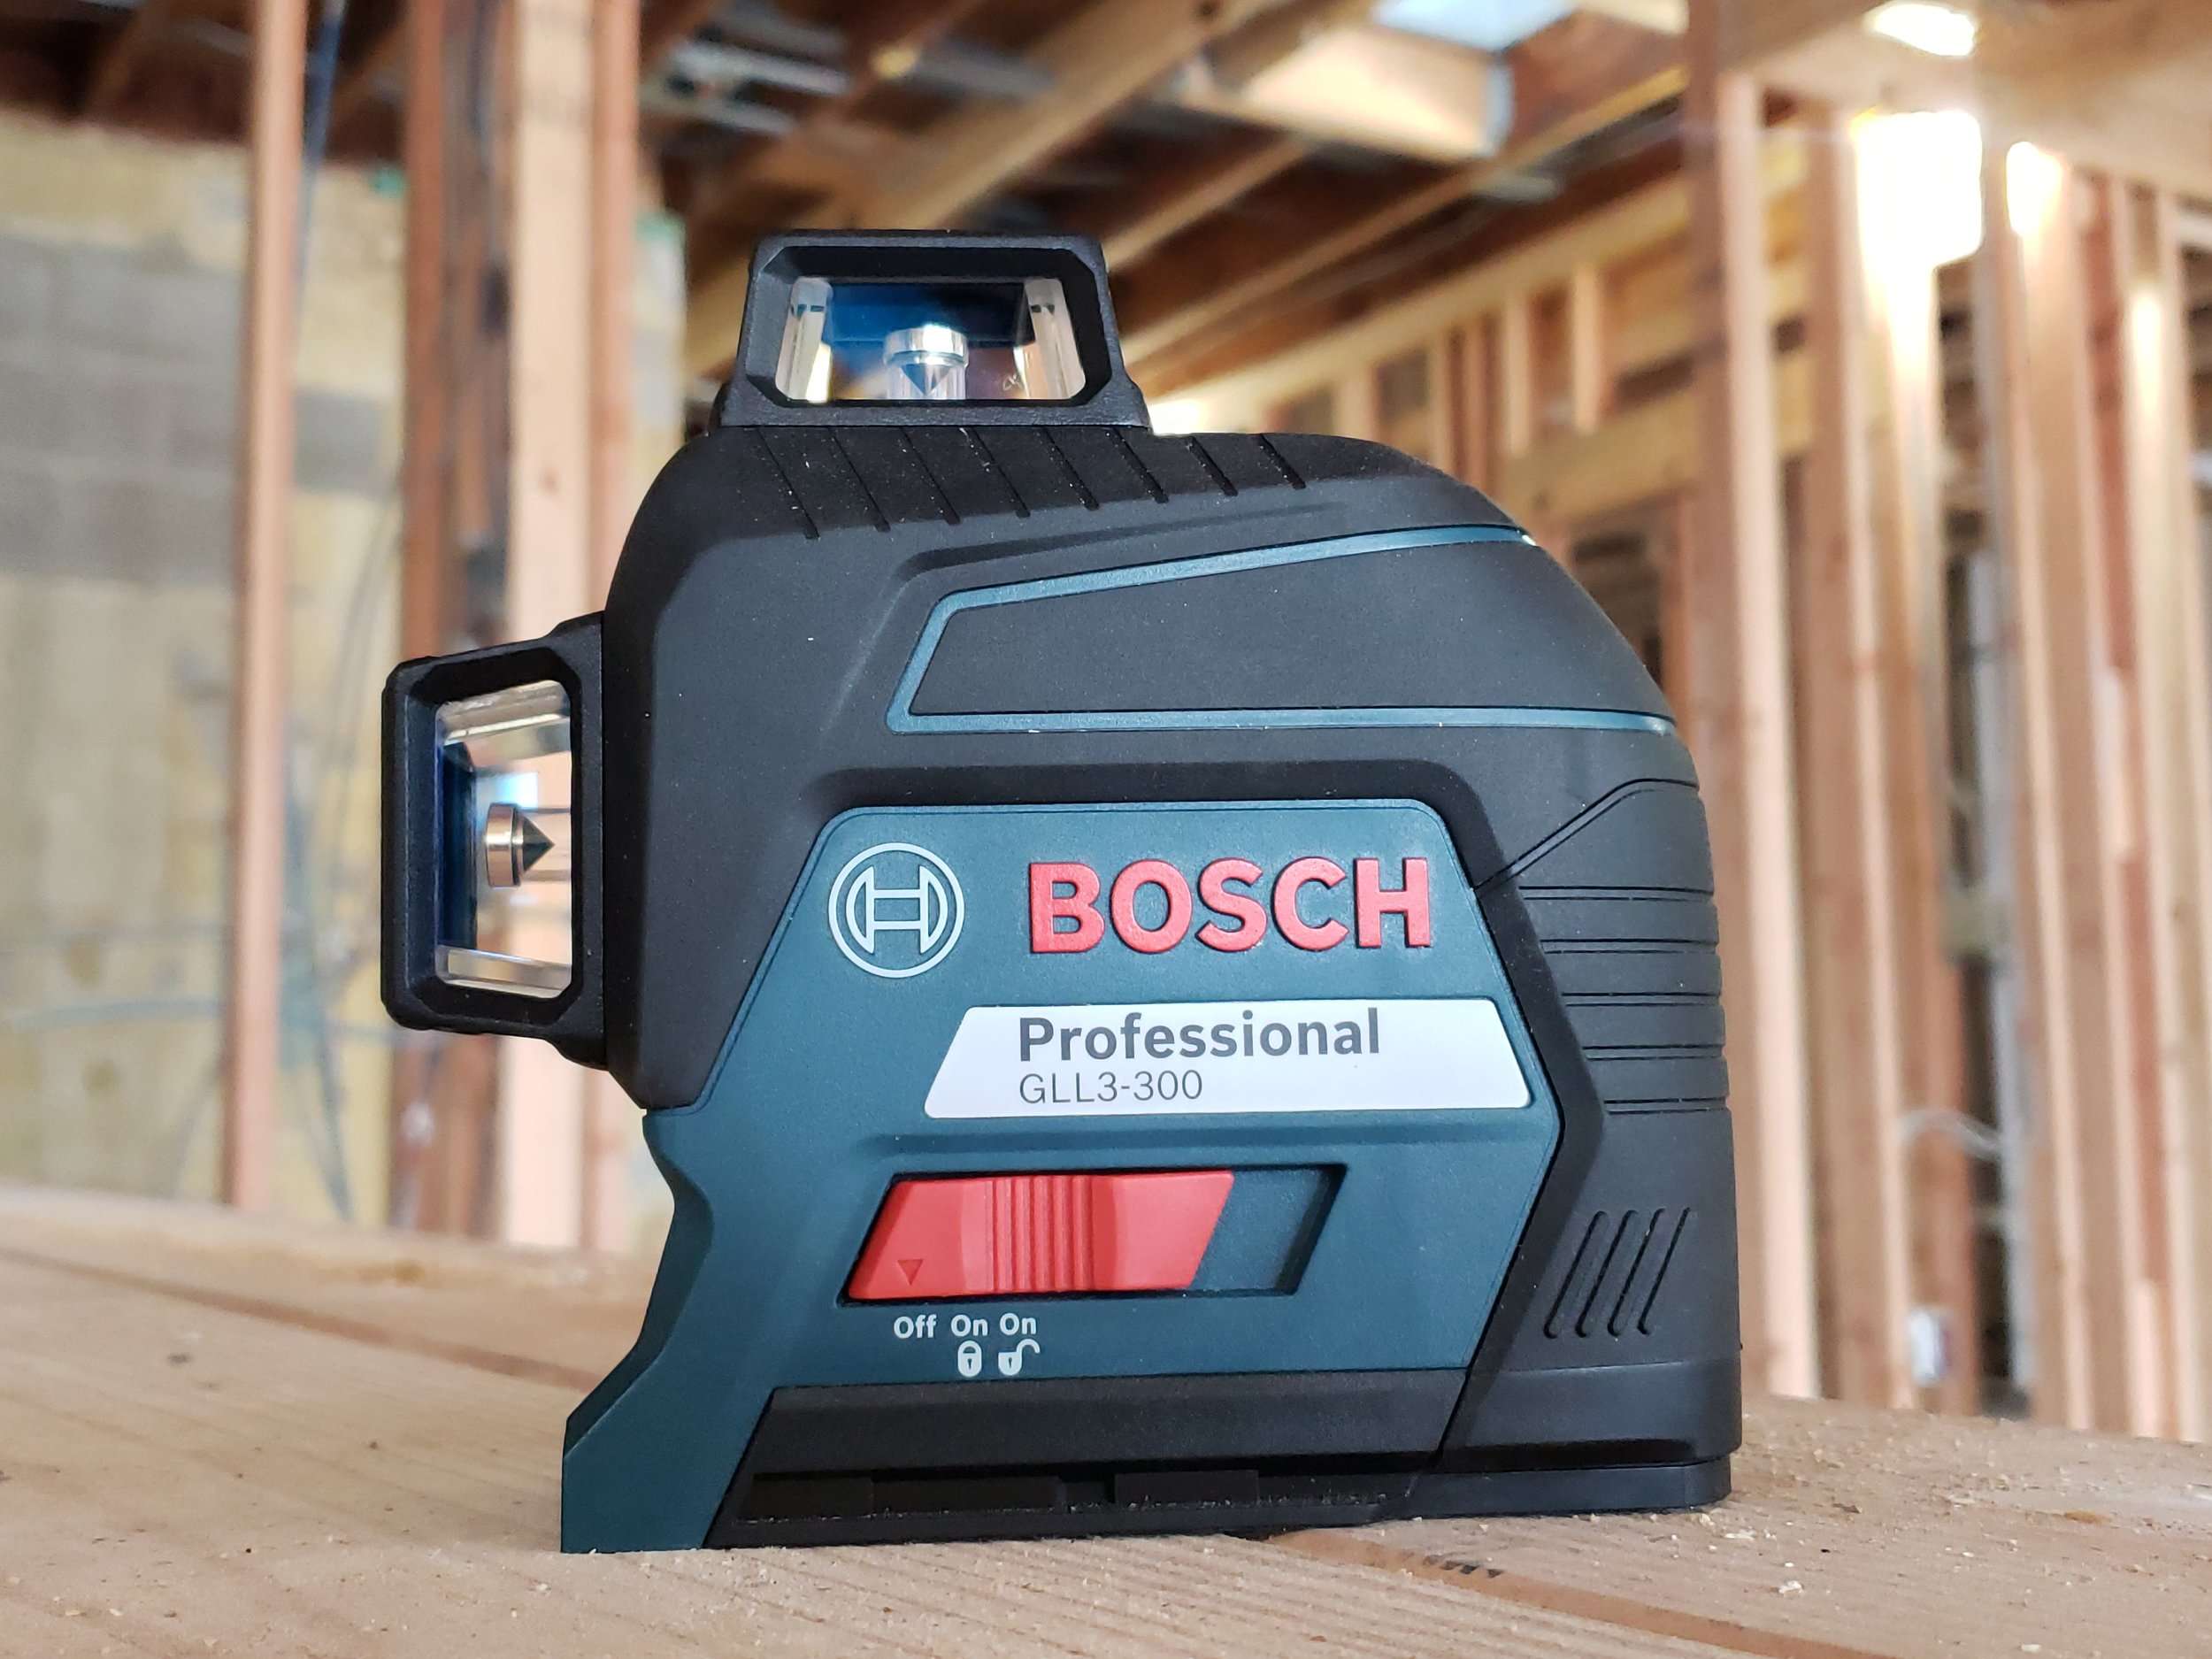
3. Power on the laser level: If your laser level is battery-powered, turn it on using the designated power button. Some models may have an automatic power-on feature when placed in a leveling position. Refer to the user manual for specific instructions on powering on your particular model.
4. Adjust the leveling mechanism: Most laser levels have a self-leveling feature, which automatically adjusts the position of the laser to ensure it is level. Once the laser level is powered on, allow it a few seconds to self-level. Some models may emit a sound or display a visual indicator when they have achieved a level position.
5. Fine-tune the leveling: If necessary, you can make minor adjustments to the leveling mechanism manually. Refer to the user manual for instructions on how to do this for your specific laser level model.
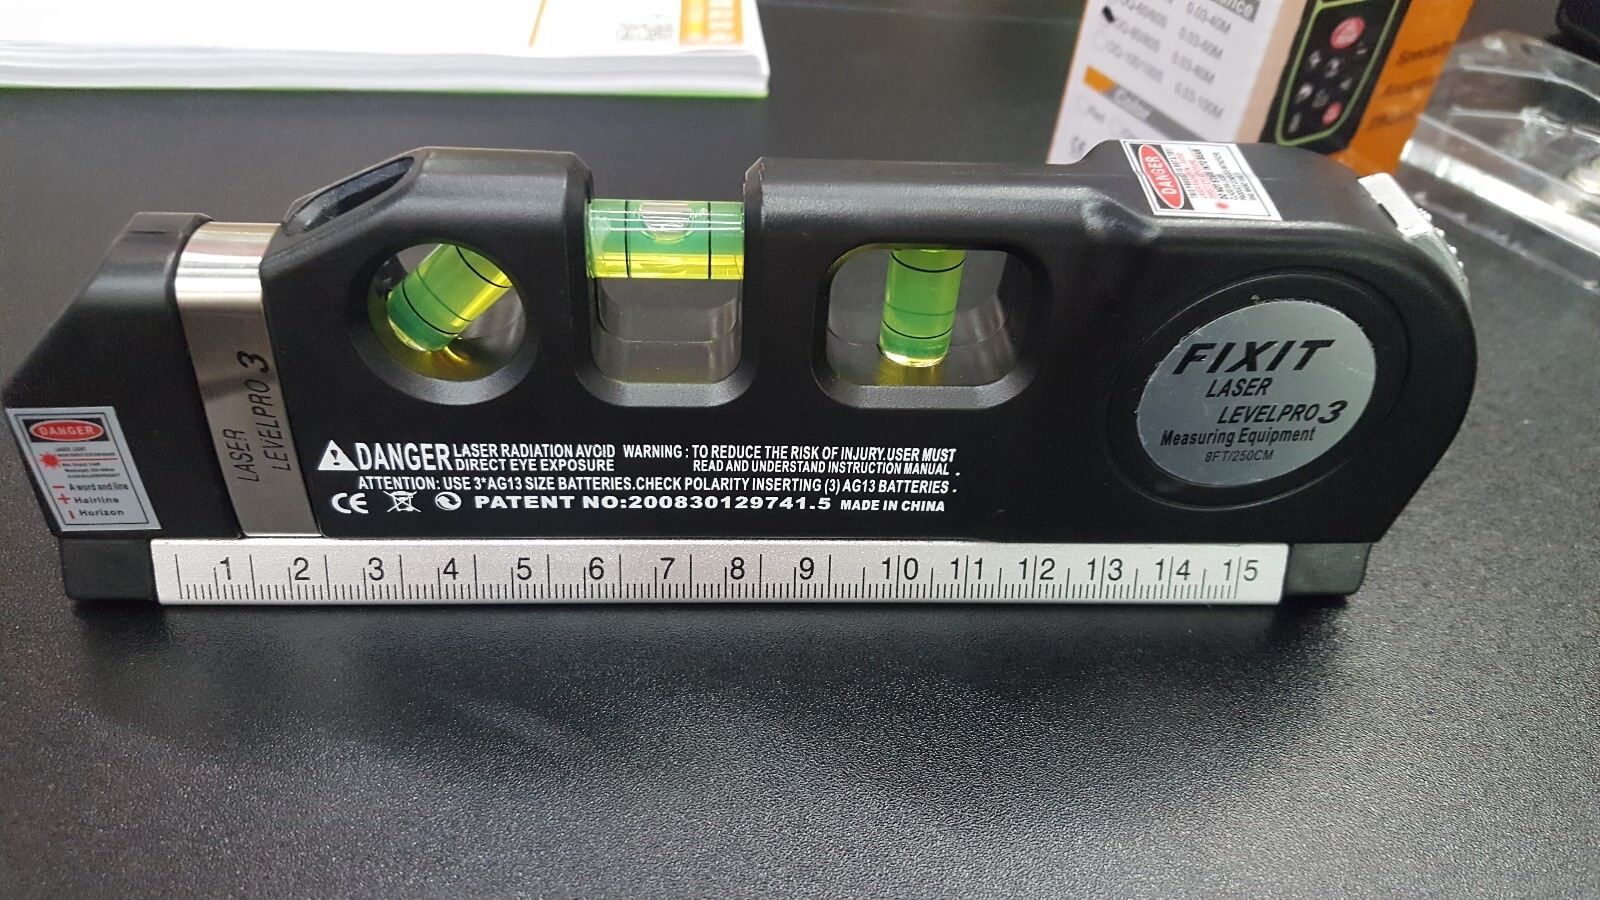
6. Verify the levelness: To ensure the accuracy of the laser level, use a bubble level or a spirit level to check if it is truly level. Adjust the leveling mechanism if required until it aligns perfectly.
7. Test the laser beam: Once the laser level is properly set up and leveled, test the laser beam to verify its visibility and functionality. Depending on the model, you may have options to adjust the brightness or mode of the laser beam.
By following these steps, you will have your Berger Laser Level set up and ready for operation. In the next section, we will discuss how to calibrate the laser level for optimal performance.
Calibrating the Laser Level
Calibrating your Berger Laser Level is an essential step to ensure the accuracy of your measurements. Here’s how to calibrate your laser level:
1. Find a stable and leveled surface: Place the laser level on a flat and stable surface, ensuring that it is level using a bubble level or spirit level.
2. Choose a target distance: Determine the distance at which you want to calibrate the laser level. This will depend on the specific requirements of your project.
3. Set up a target: Place a target at the desired distance from the laser level. The target can be a wall, a piece of paper, or a reflective surface. Make sure the target is perpendicular to the laser beam.
4. Align the laser beam with the target: Rotate the laser level until the laser beam aligns with a specific point on the target. This point will serve as the reference point for calibration.
5. Lock the laser level: Once the laser beam is aligned with the reference point on the target, lock the laser level in place. This will ensure that the laser beam remains fixed and does not move during the calibration process.
6. Measure the deviation: Using a measuring tool, measure the distance between the reference point on the target and the laser beam at multiple points along the vertical axis. Take note of any deviation from the desired distance. This will help you determine if the laser level needs adjustment.
7. Adjust the laser level if necessary: If you notice a significant deviation in the measurements, you may need to make adjustments to the laser level. Refer to the user manual for instructions on how to adjust the calibration settings for your specific model.
8. Repeat the calibration process: After making the necessary adjustments, repeat the calibration process to ensure that the laser level is now accurately aligned with the target at the desired distance. Make any additional adjustments if needed.
Calibrating your Berger Laser Level is crucial to maintain its accuracy, especially if it has been exposed to extreme temperatures or been subjected to rough handling. Regular calibration will ensure that your measurements are precise and reliable. In the next section, we will explore how to operate the Berger Laser Level for different applications.
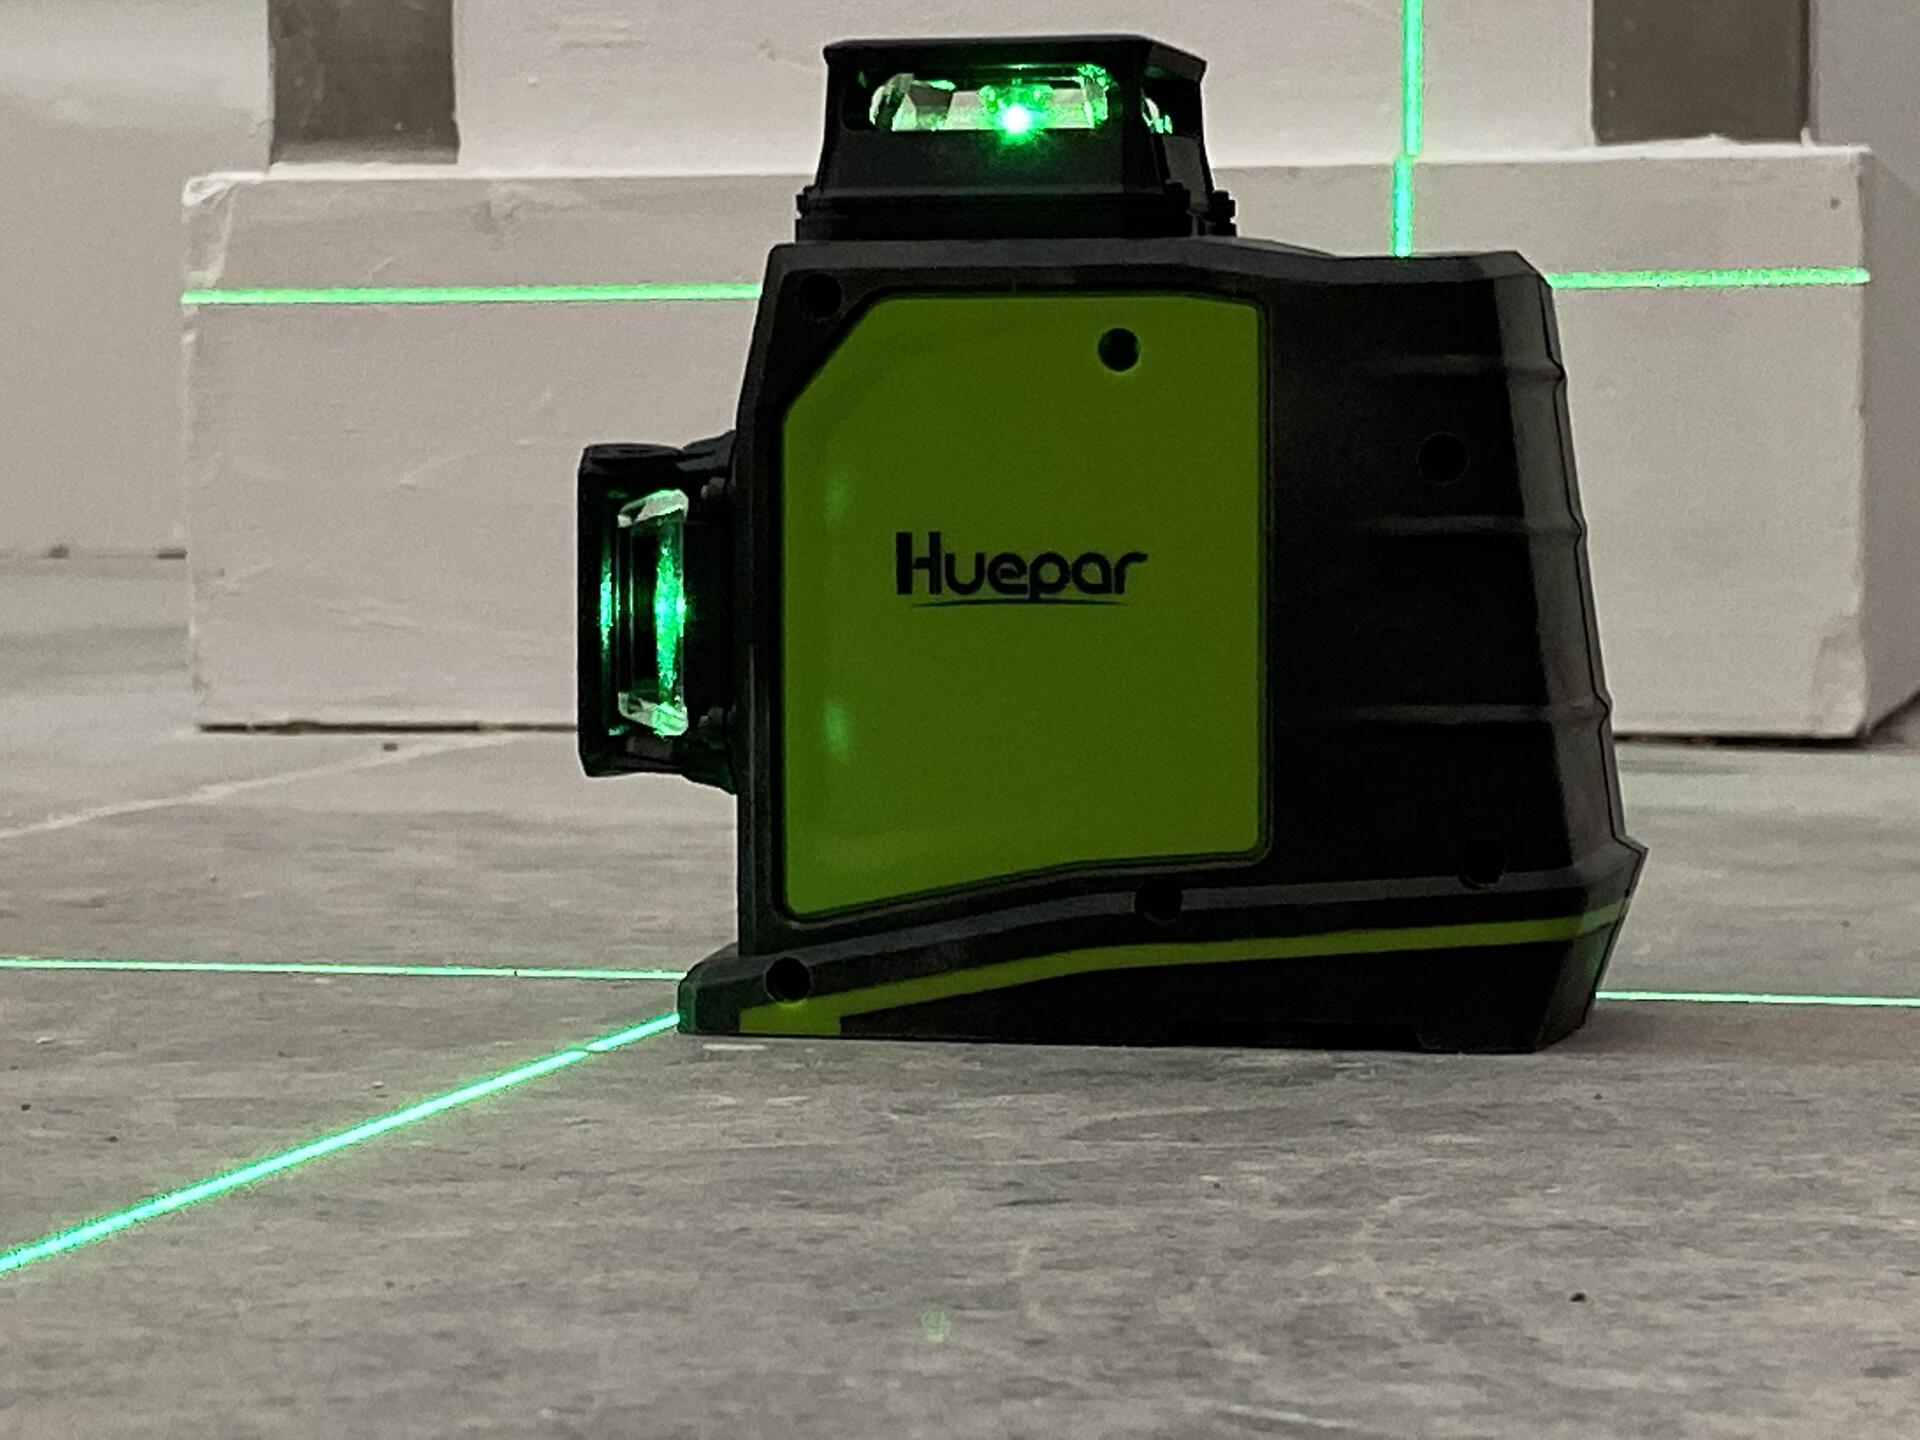
When using a Berger laser level, ensure that the device is placed on a stable surface and that the laser beam is visible on the target surface. Adjust the level until the bubble is centered for accurate results.
Operating the Berger Laser Level
Operating the Berger Laser Level is straightforward once it has been set up and calibrated. Here are the key steps to follow:
1. Power on the laser level: Turn on the laser level using the designated power button or switch. Ensure that it is in a level position for the self-leveling mechanism to engage.
2. Verify the self-leveling status: Once the laser level is powered on, observe the self-leveling indicator or listen for any audible signals to confirm that the device has successfully leveled itself.
3. Choose the desired mode: Depending on your specific model, the laser level may offer different modes such as horizontal, vertical, or cross-line. Select the appropriate mode for your application using the mode button or switch.
4. Position the laser level: Position the laser level at the desired location, aligning it parallel to the surface or wall where you want to project the laser beam. Use the leveling mechanism or tripod adjustments to make fine-tuning adjustments as needed.
5. Activate the laser beam: Once the laser level is properly positioned, activate the laser beam by pressing the corresponding button or switch. The laser beam should project a visible line or dot, depending on the selected mode.
6. Adjust the visibility: Some laser levels offer adjustable brightness settings to enhance visibility. Use the brightness control feature to optimize the laser beam’s visibility, especially in bright or dim lighting conditions.
7. Take measurements: With the laser beam projected, use a measuring tool such as a tape measure or ruler to take measurements based on the placement of the laser line or dot. Ensure that the laser beam aligns with the specific points you need to measure or mark.
8. Lock or fix the laser level: If you require the laser level to remain in a fixed position for an extended period, you can lock or fix it using the provided locking mechanism or by securing it to a stable surface or tripod.
9. Turn off the laser level: When you’re finished using the laser level, turn it off to conserve battery power. Some models may have an automatic power-off feature after a certain period of inactivity.
Remember to always follow safety precautions such as wearing laser safety glasses and avoiding direct eye contact with the laser beam. Additionally, refer to the user manual for any specific instructions or recommendations regarding the operation of your Berger Laser Level.
In the next section, we will discuss how to make adjustments to the Berger Laser Level to ensure precise measurements.
Read more: How To Use A Laser Level
Adjusting the Laser Level
While the Berger Laser Level is designed to provide accurate and level measurements, there may be situations where you need to make adjustments for specific requirements. Here are some common adjustments you can make:
1. Fine-tune the leveling: If you notice slight deviations in the levelness of the laser beam, you can use the fine-tuning mechanism or controls provided on your laser level. This will allow you to make minor adjustments to align the laser beam precisely.
2. Rotate the laser level: Some models offer the ability to rotate the laser level on its vertical axis. This feature is useful for projects that require horizontal leveling or applications where the laser beam needs to be projected in a different direction.
3. Adjust the laser beam height: Depending on the specific application, you may need to adjust the height of the laser beam. This can be achieved by raising or lowering the laser level on the tripod or by placing it on a platform or mounting bracket that adjusts the beam height.
4. Change the laser beam mode: If your Berger Laser Level offers multiple modes such as horizontal, vertical, or cross-line, you can adjust the mode to suit your needs. This allows you to switch between different projections to meet specific project requirements.
5. Use additional accessories: In some cases, you may need to use additional accessories to make specific adjustments to the laser level. This can include laser targets, prisms, or pole mounts that provide greater flexibility and precision in your measurements.
When making adjustments to the laser level, it’s important to refer to the user manual for specific instructions and guidance. Each laser level model may have its own unique set of adjustment mechanisms and procedures.
By making these adjustments, you can ensure that your Berger Laser Level meets the specific requirements of your project and delivers the most accurate and reliable measurements possible.
In the next section, we will address some common issues that you may encounter while using the Berger Laser Level and how to troubleshoot them.
Troubleshooting Common Issues
While the Berger Laser Level is a reliable and precise tool, you may encounter some common issues during its use. Here are a few troubleshooting tips to help resolve these problems:
1. Laser beam not visible: If the laser beam is not visible, check if the brightness setting is too low. Increase the brightness level if necessary. Additionally, ensure that the batteries are fully charged or replace them if needed.
2. Inaccurate measurements: If you are obtaining inconsistent or inaccurate measurements, first double-check that the laser level is properly leveled and calibrated. Ensure that there are no obstacles affecting the laser beam and that the surface is stable. If the issue persists, recalibrate the laser level or consult the user manual for further troubleshooting steps.
3. Self-leveling not functioning properly: If the self-leveling feature is not working as expected, check if the laser level is placed on a stable surface and is within the leveling range specified by the manufacturer. Make sure there are no vibrations or movements that may interfere with the self-leveling mechanism. If the problem persists, contact the manufacturer for assistance.
4. Laser beam drifting: If the laser beam drifts or moves out of alignment over time, it may indicate a problem with the leveling mechanism or the stability of the surface. Check if the laser level is securely fastened to the tripod or mounting bracket and ensure that the surface it is placed on is level and stable. If the issue continues, consult the user manual or contact the manufacturer for further guidance.
5. Error messages or indicators: If your Berger Laser Level displays error messages or warning indicators, refer to the user manual for specific troubleshooting steps. These error messages may indicate issues such as low battery power, exceeded leveling range, or other technical concerns. Follow the recommended actions to resolve the problem.
It’s important to consult the user manual as the first step in troubleshooting any issues with your Berger Laser Level. The manual will provide specific instructions and guidance for your particular model, helping you to identify and resolve problems effectively.
If you continue to experience issues or are unsure how to troubleshoot a problem, contact the manufacturer’s customer support for assistance. They will have the expertise to help you resolve any issues or provide further troubleshooting guidance.
By addressing common issues promptly and accurately, you can ensure that your Berger Laser Level continues to perform optimally and delivers accurate measurements for your projects.
Let’s conclude our guide on using the Berger Laser Level in the next section.
Conclusion
Using the Berger Laser Level can significantly enhance the accuracy and efficiency of your measurements in various applications. By following the steps outlined in this comprehensive guide, you now have the knowledge and understanding to set up, calibrate, operate, and troubleshoot the Berger Laser Level effectively.
Remember to start by familiarizing yourself with the user manual and taking necessary safety precautions before getting started. Proper setup and calibration are crucial for achieving accurate measurements, so make sure to choose a stable surface and calibrate the laser level for optimal performance.
When operating the Berger Laser Level, select the appropriate mode and position it correctly for the desired projection of the laser beam. Take measurements using the projected laser line or dot, and adjust the laser level as needed for specific requirements.
If you encounter any issues, refer to the troubleshooting section for common problems and corresponding solutions. Consult the user manual for your specific model or contact the manufacturer’s customer support for further assistance.
By mastering the usage of the Berger Laser Level, you can save time and effort in your projects while achieving precise and professional results. Whether you’re a professional contractor or a DIY enthusiast, this powerful tool will undoubtedly prove to be an invaluable addition to your arsenal.
We hope this guide has provided you with the necessary knowledge and confidence to work effectively with the Berger Laser Level. Use it wisely, follow the best practices, and enjoy the benefits of accurate and efficient measurements in your projects!
Frequently Asked Questions about How To Use Berger Laser Level
Was this page helpful?
At Storables.com, we guarantee accurate and reliable information. Our content, validated by Expert Board Contributors, is crafted following stringent Editorial Policies. We're committed to providing you with well-researched, expert-backed insights for all your informational needs.



0 thoughts on “How To Use Berger Laser Level”