
Articles
How To Use A Laser Level For Concrete
Modified: October 21, 2024
Learn how to use a laser level for concrete with our informative articles. Improve accuracy and efficiency in your construction projects.
(Many of the links in this article redirect to a specific reviewed product. Your purchase of these products through affiliate links helps to generate commission for Storables.com, at no extra cost. Learn more)
Introduction
Welcome to the world of concrete leveling! If you’re a DIY enthusiast or a professional contractor, using a laser level can greatly enhance your concrete leveling projects. Whether you’re pouring a new concrete slab or correcting uneven surfaces, a laser level provides accuracy, speed, and efficiency in achieving a perfectly leveled finish.
In this article, we will dive into the world of laser levels for concrete and explore the importance of using them for achieving flawless results. We will guide you through the process of preparing for concrete leveling, setting up the laser level, calibrating it, and employing proper techniques for optimal performance.
Using a laser level for concrete is not just a matter of convenience; it’s an essential tool that ensures precision and quality in any concrete leveling project. So, let’s get started and discover the art of leveling concrete with a laser level!
Key Takeaways:
- Embrace the power of laser technology in concrete leveling for accuracy, efficiency, and professional results. Achieve a level and precise surface that meets project requirements with proper techniques and a reliable laser level.
- Prioritize safety, take proper precautions, and be patient throughout the concrete leveling process. Overcome common challenges, improve laser level usage, and achieve successful results with troubleshooting tips and helpful suggestions.
Read more: How To Use A Laser Level
What is a Laser Level?
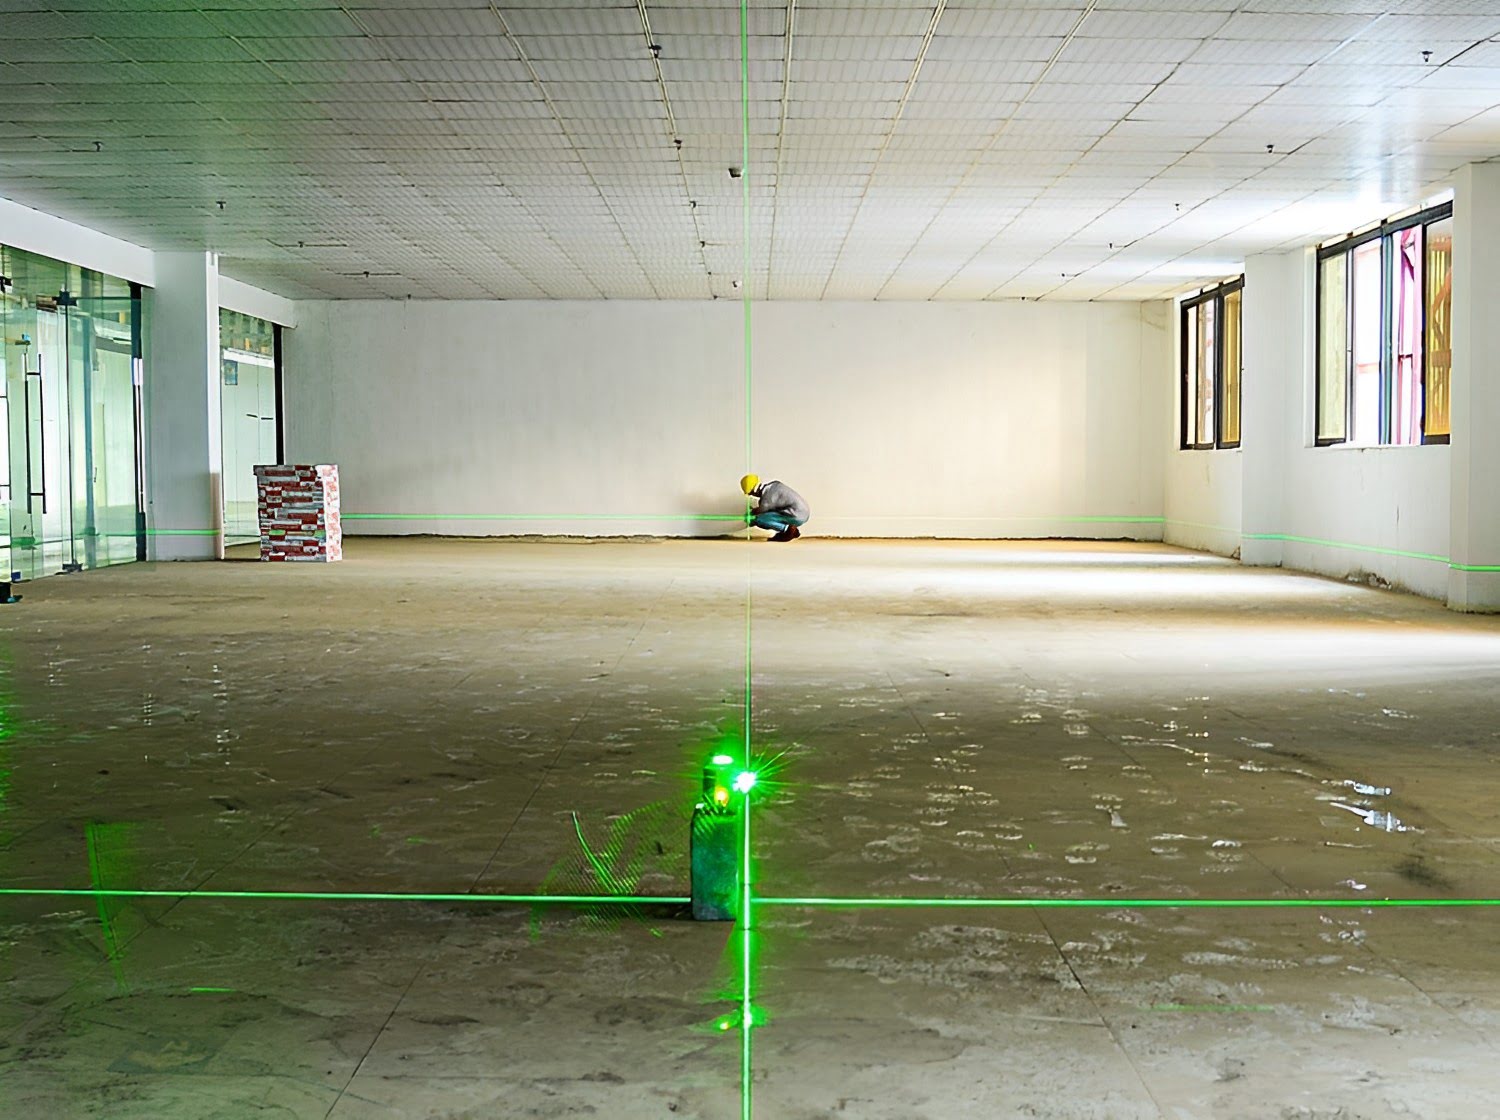
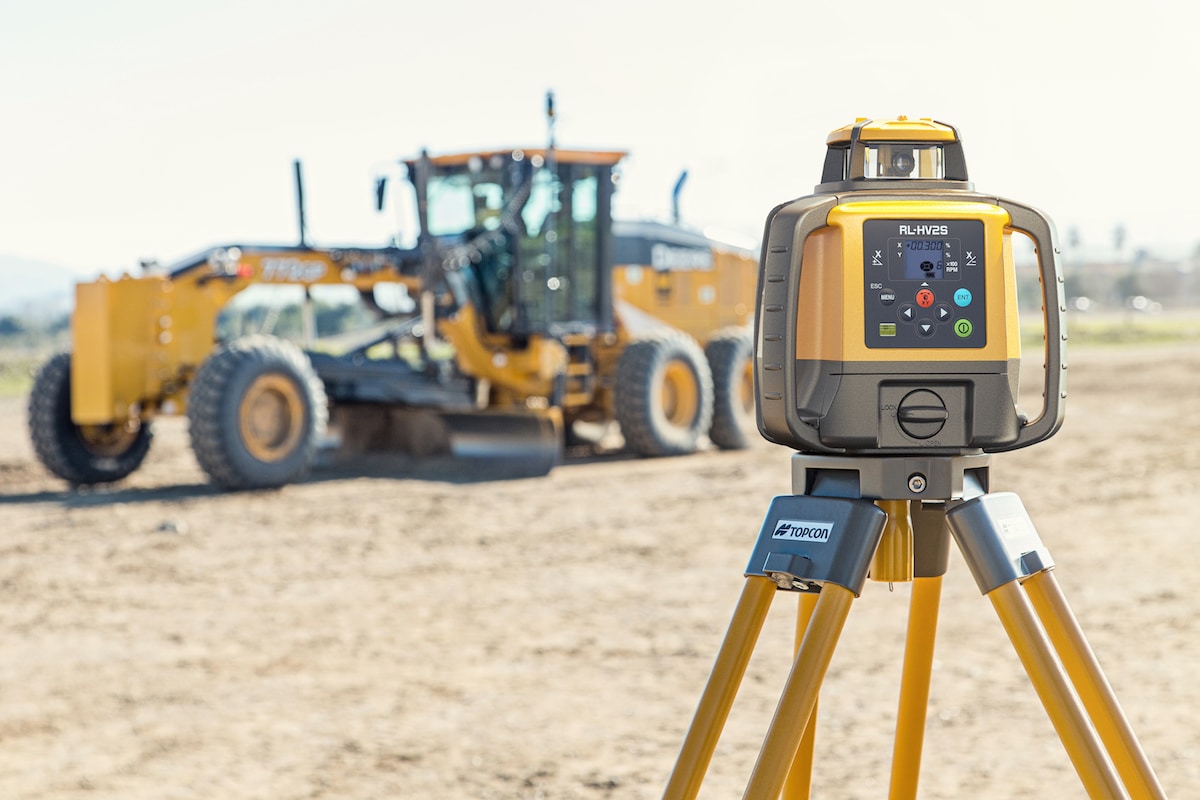
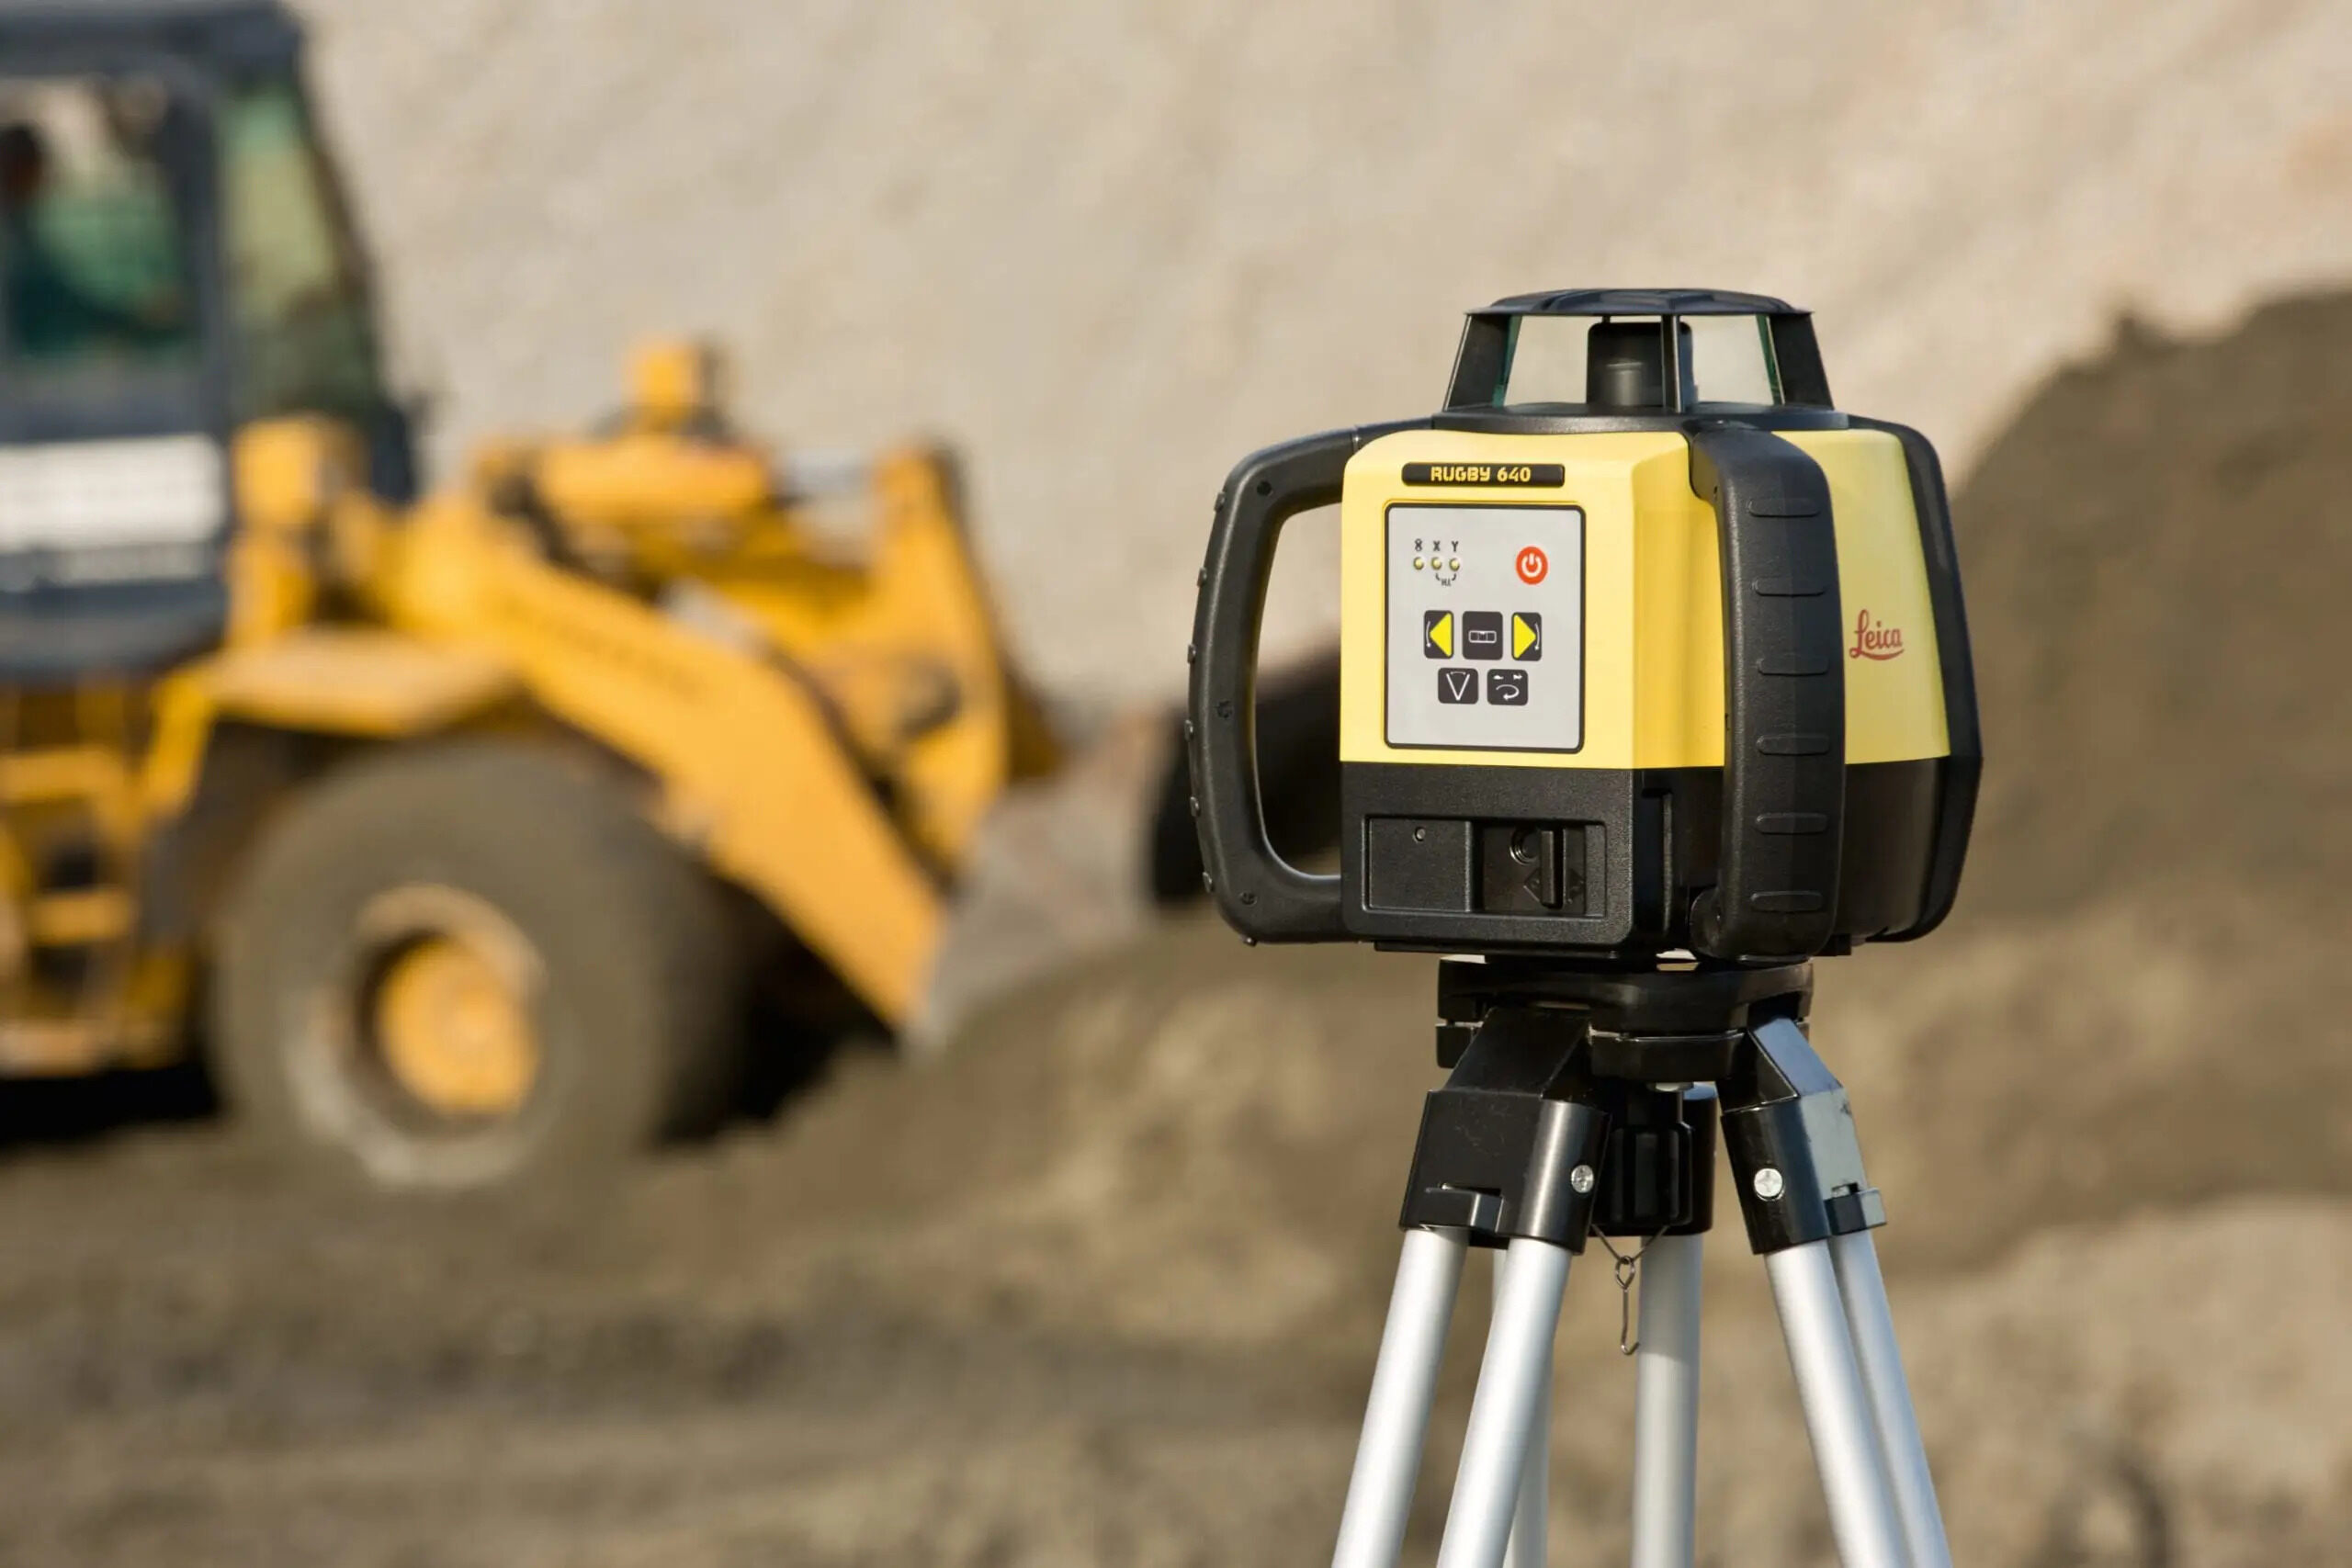
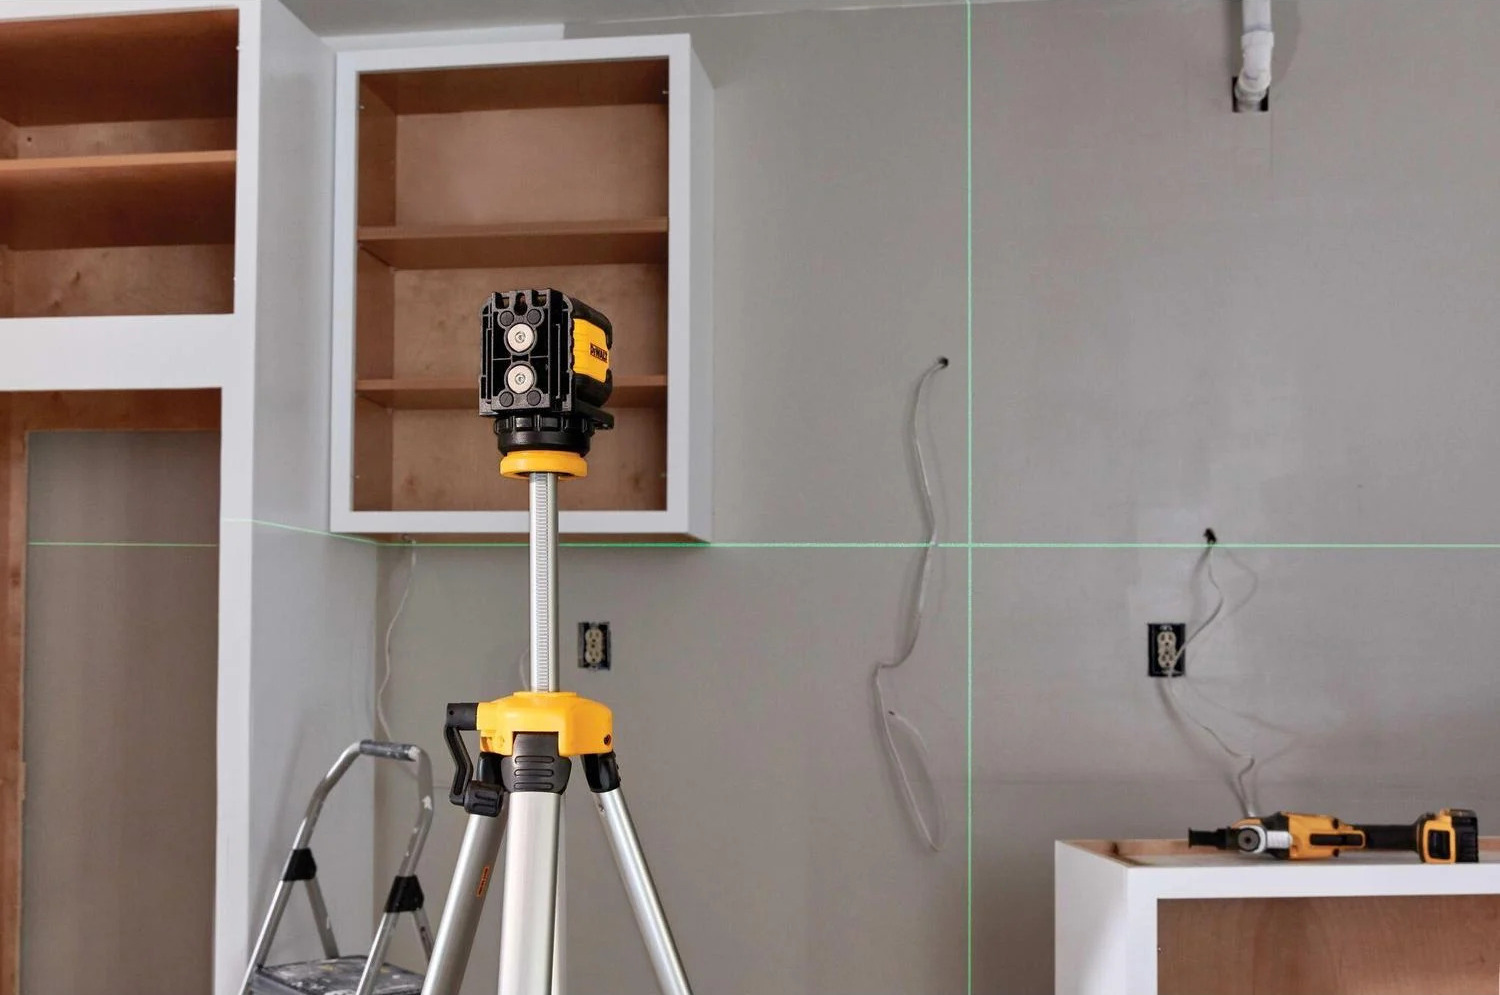
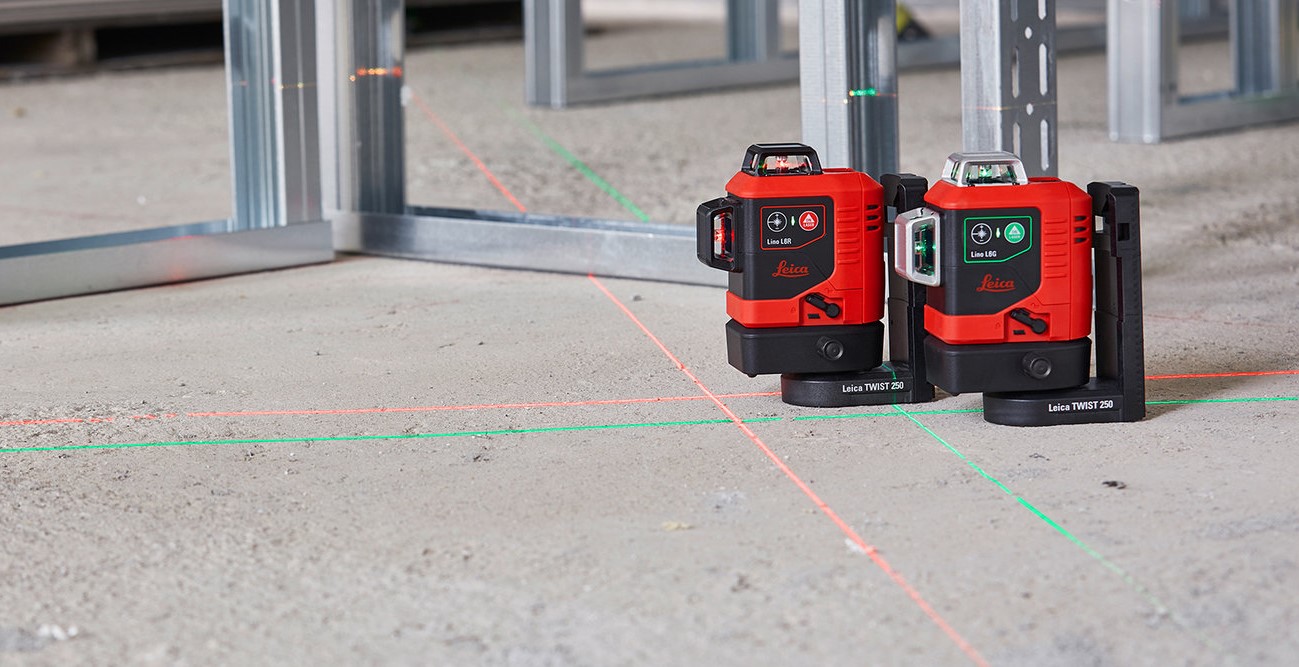
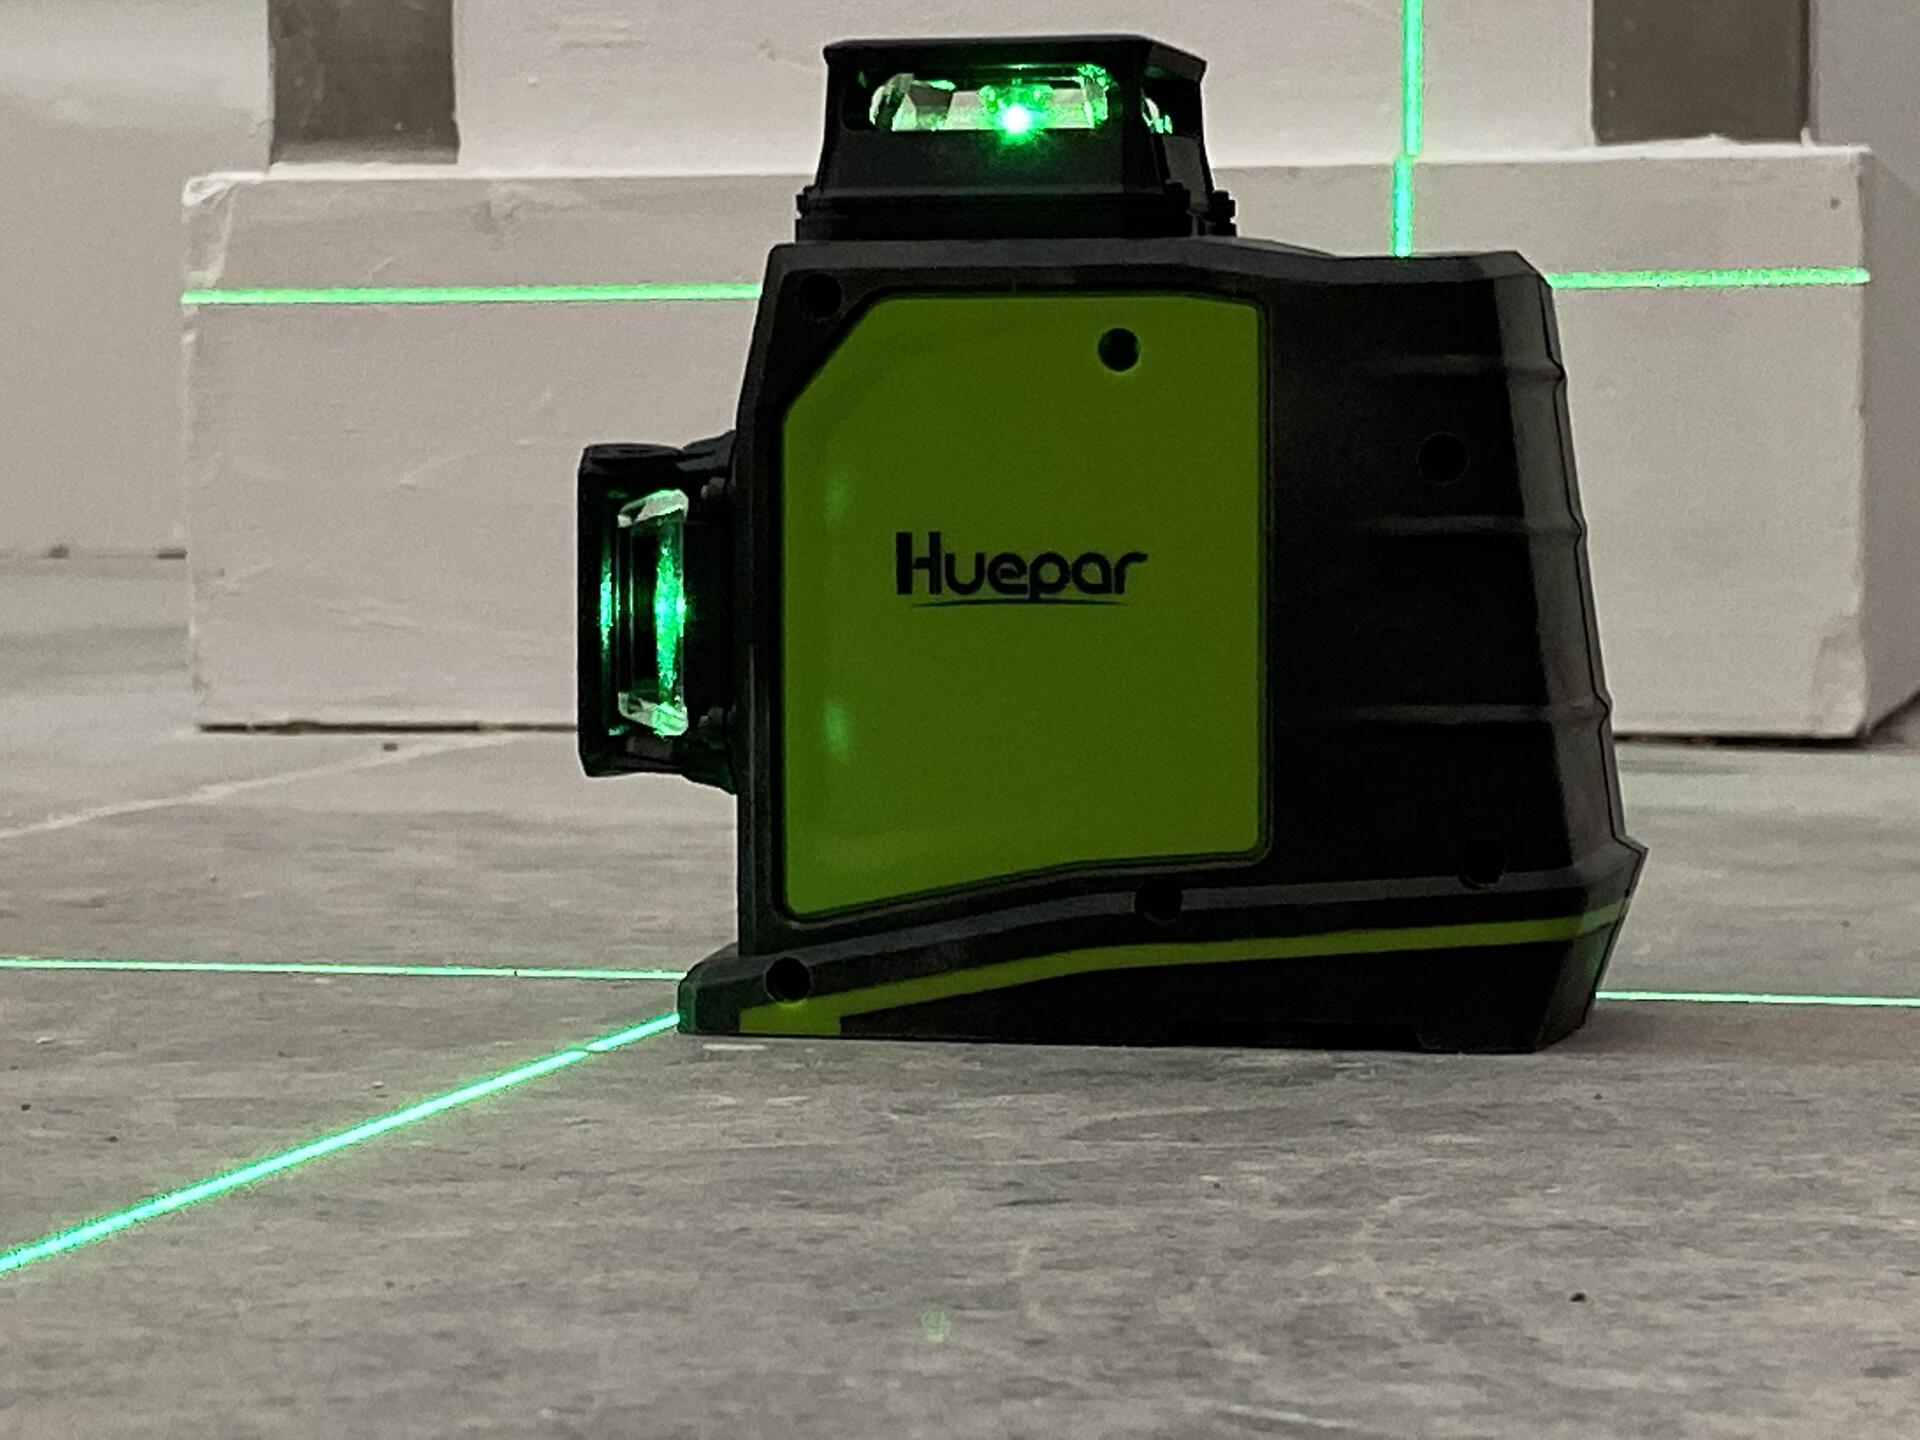
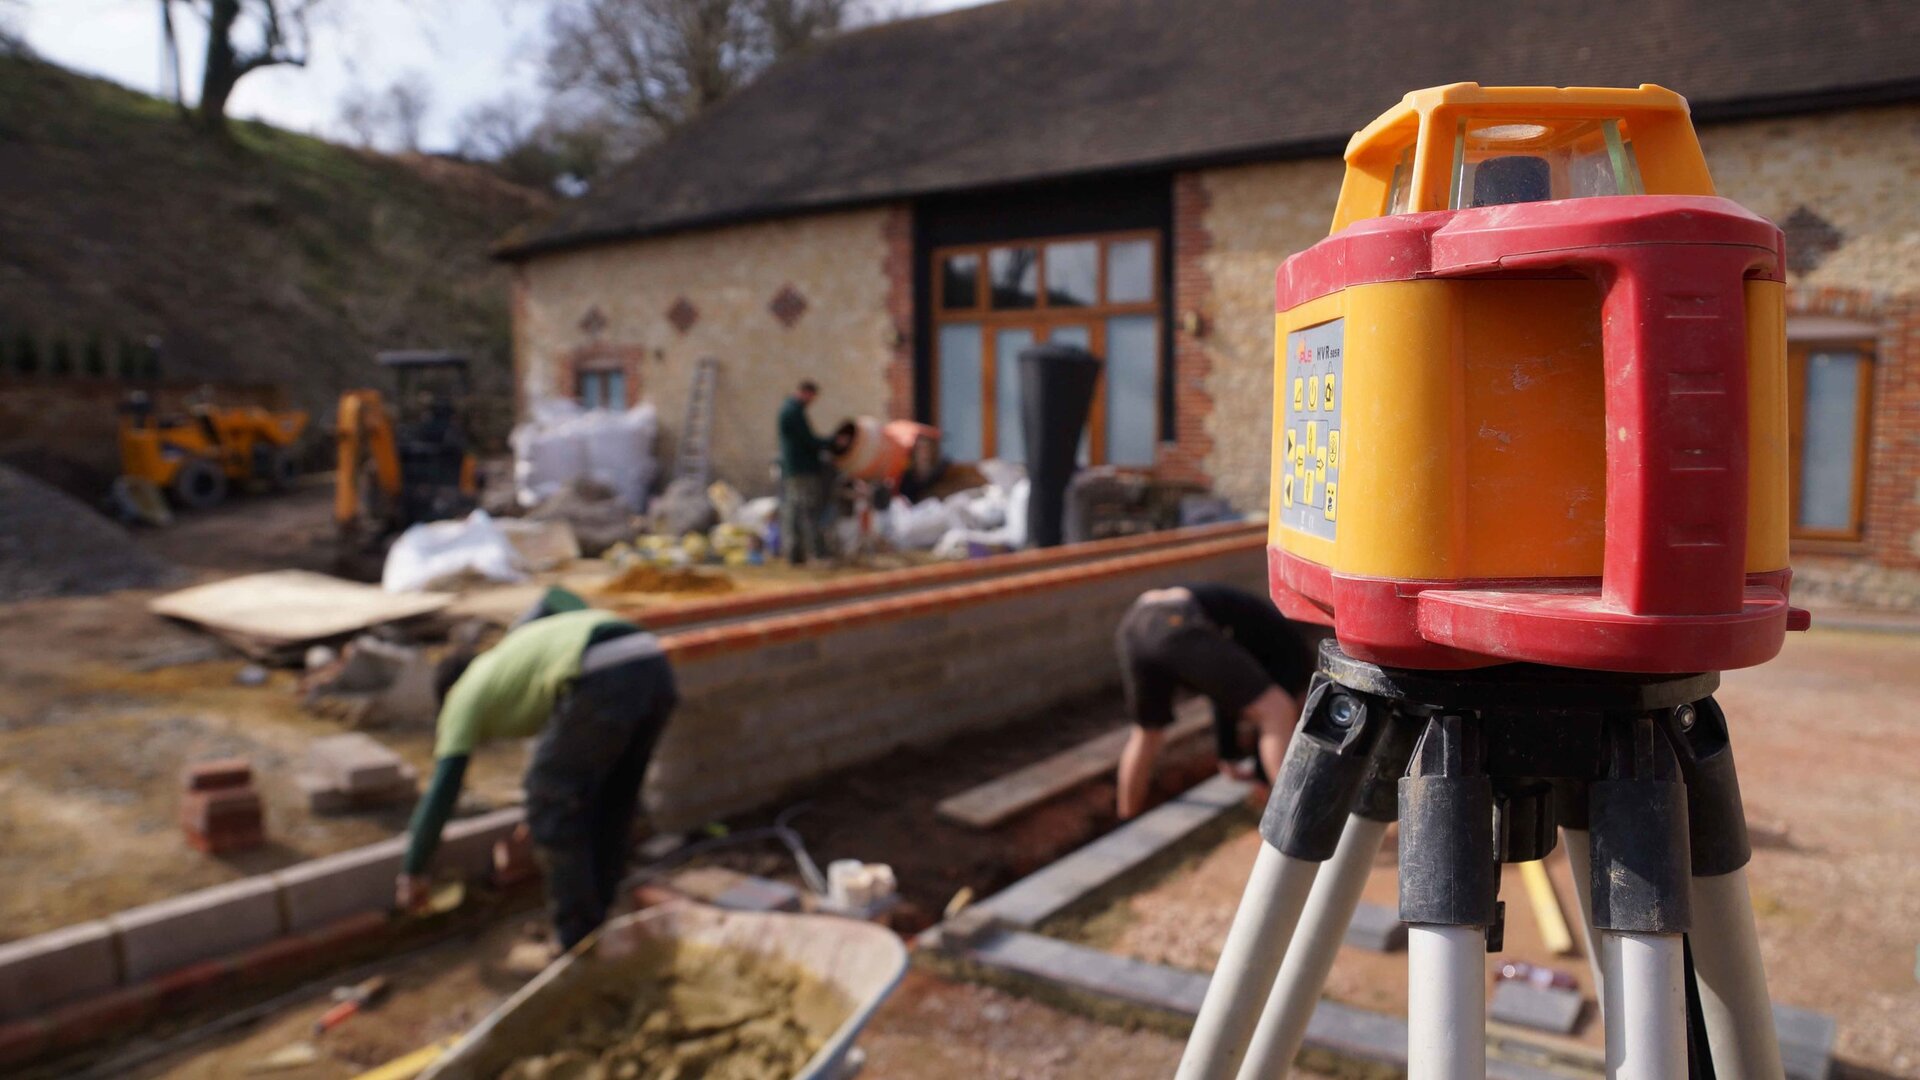
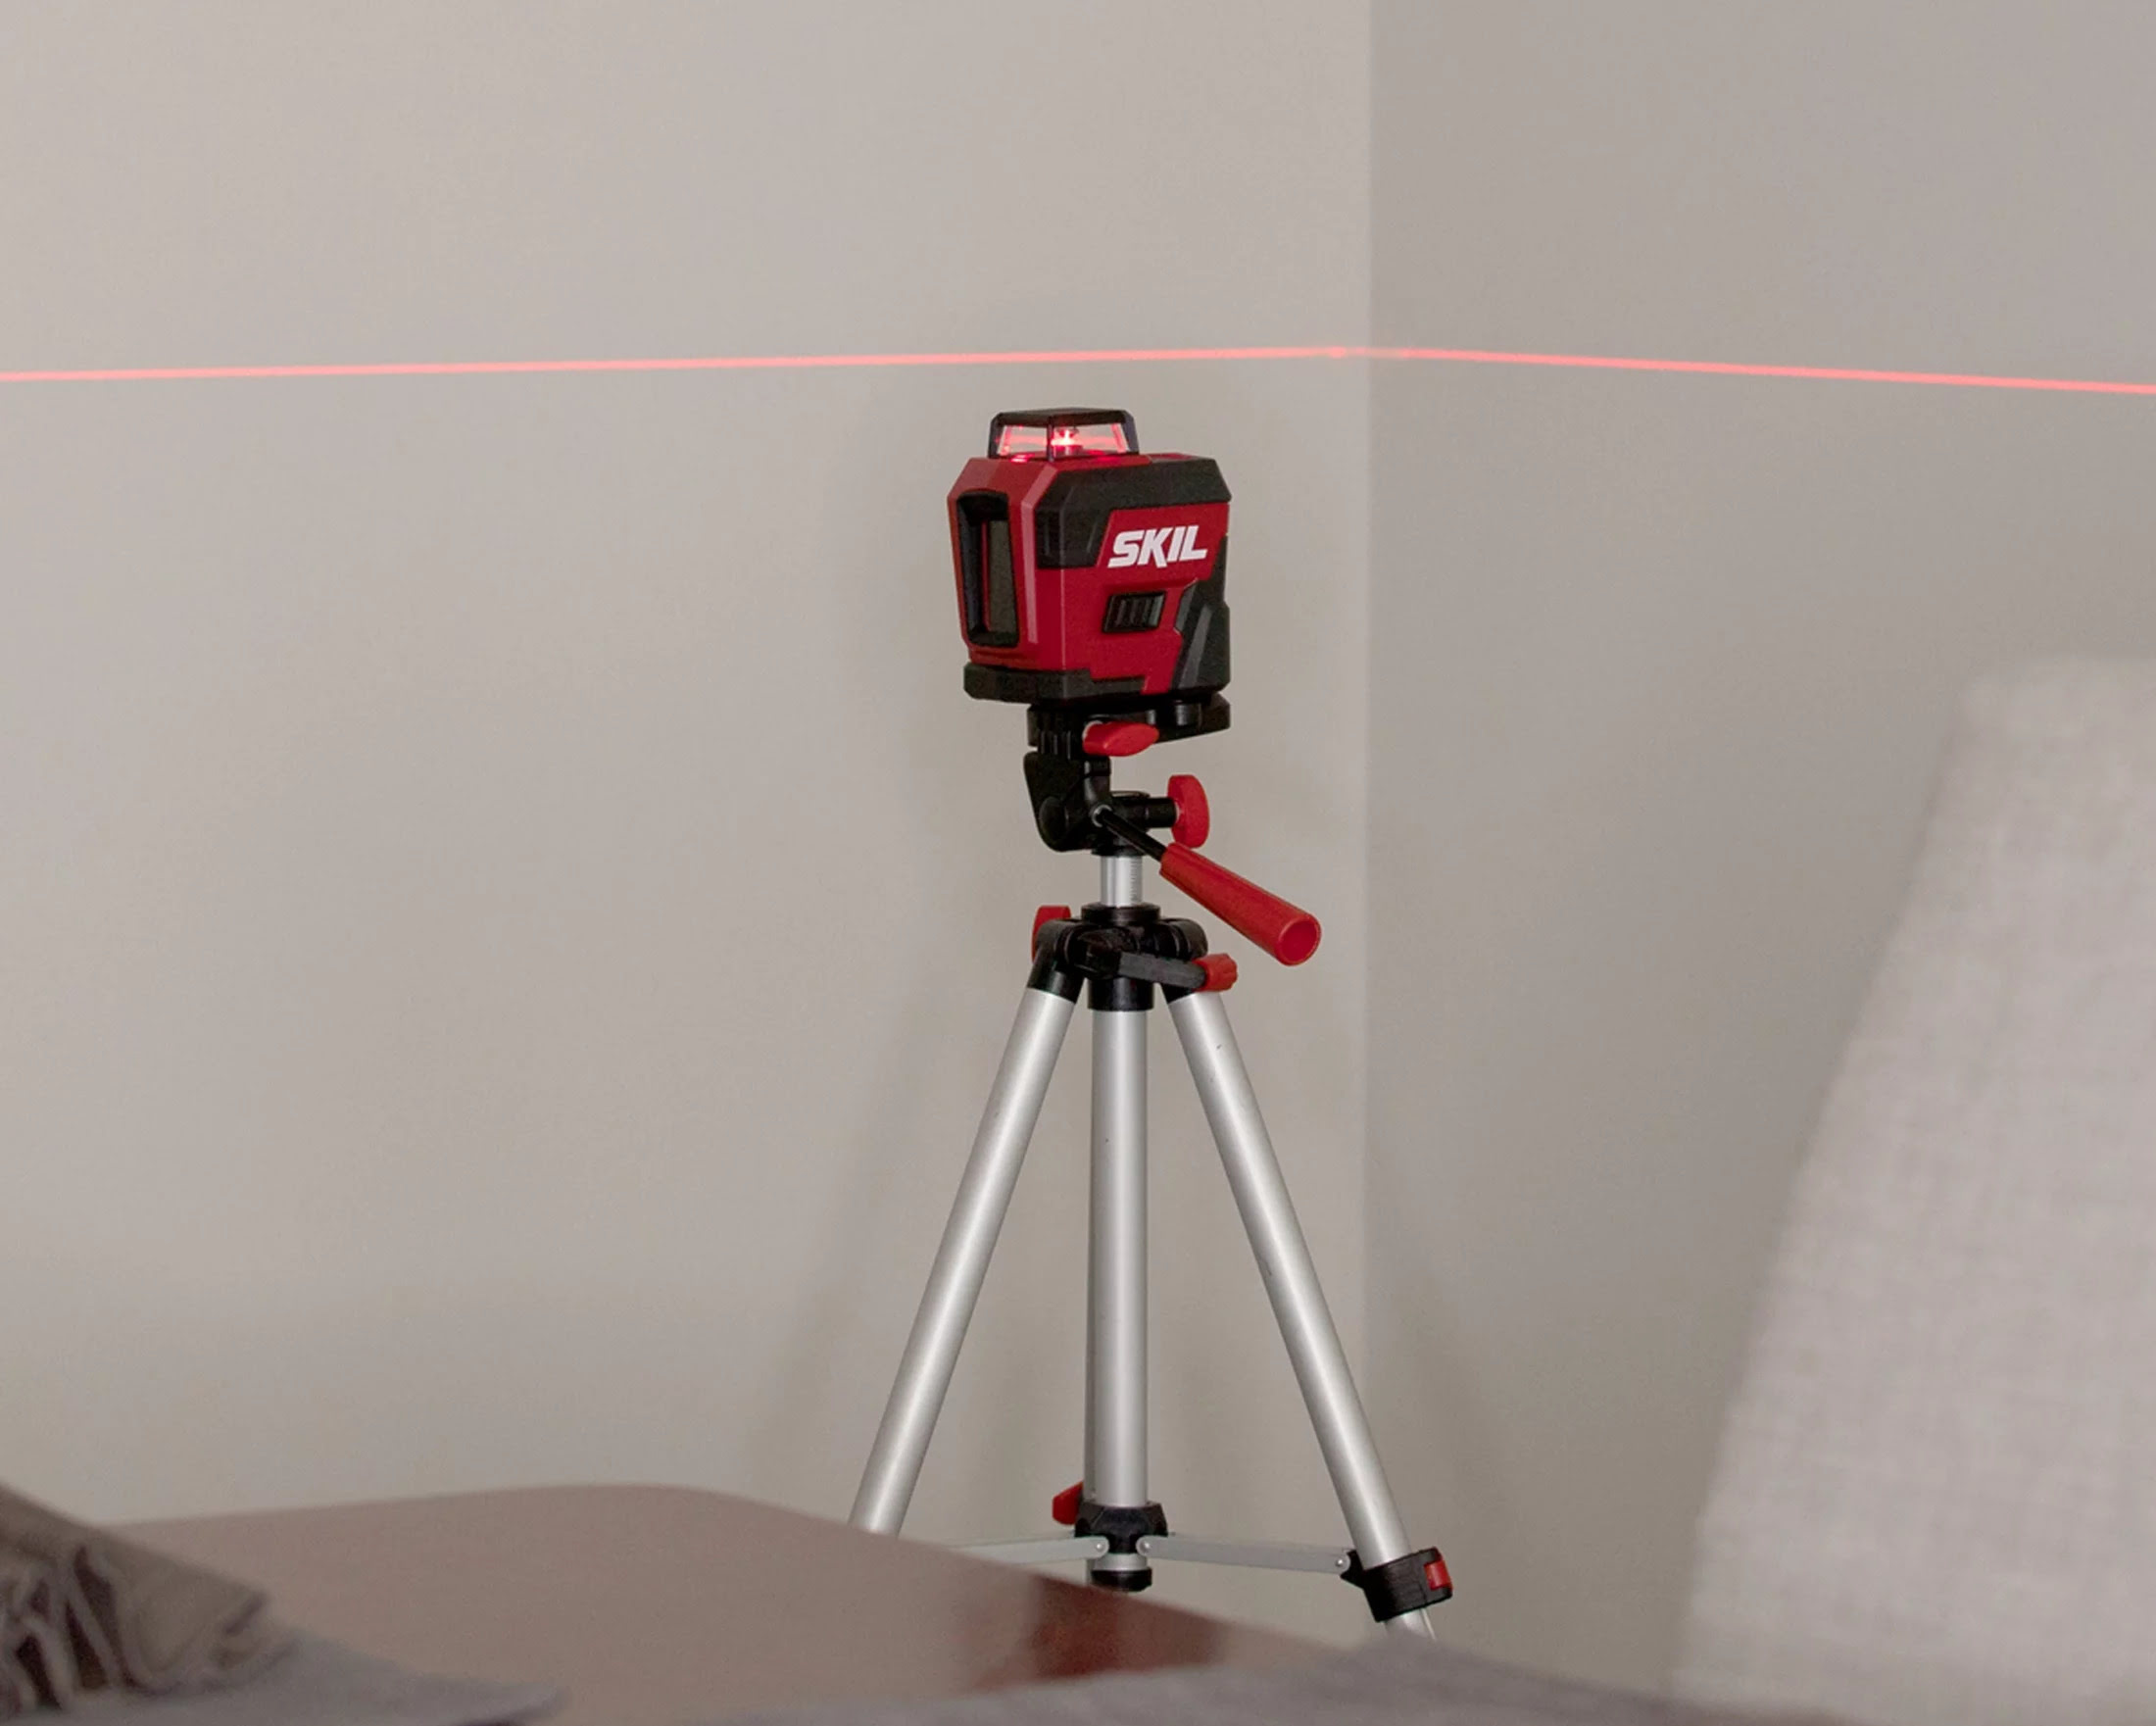
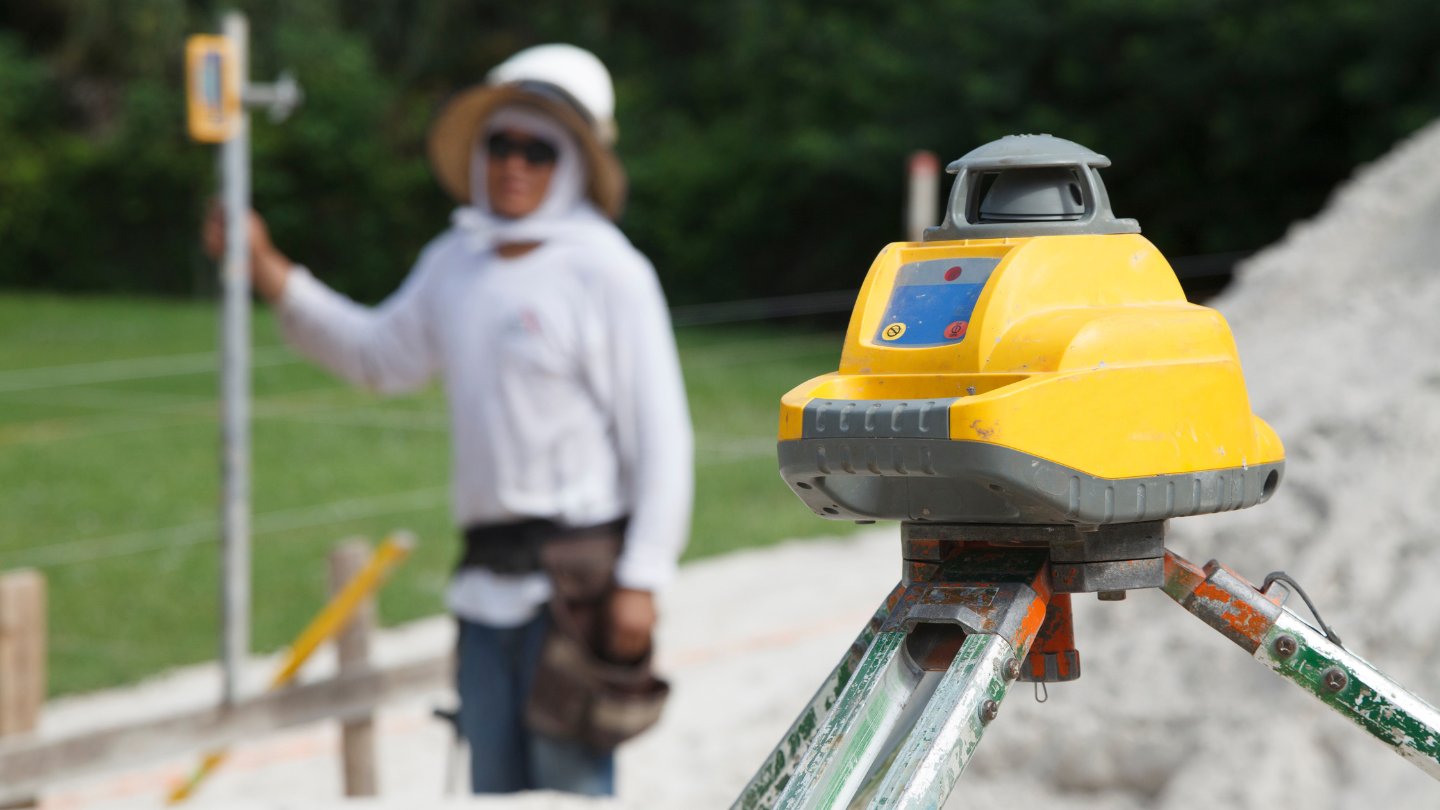
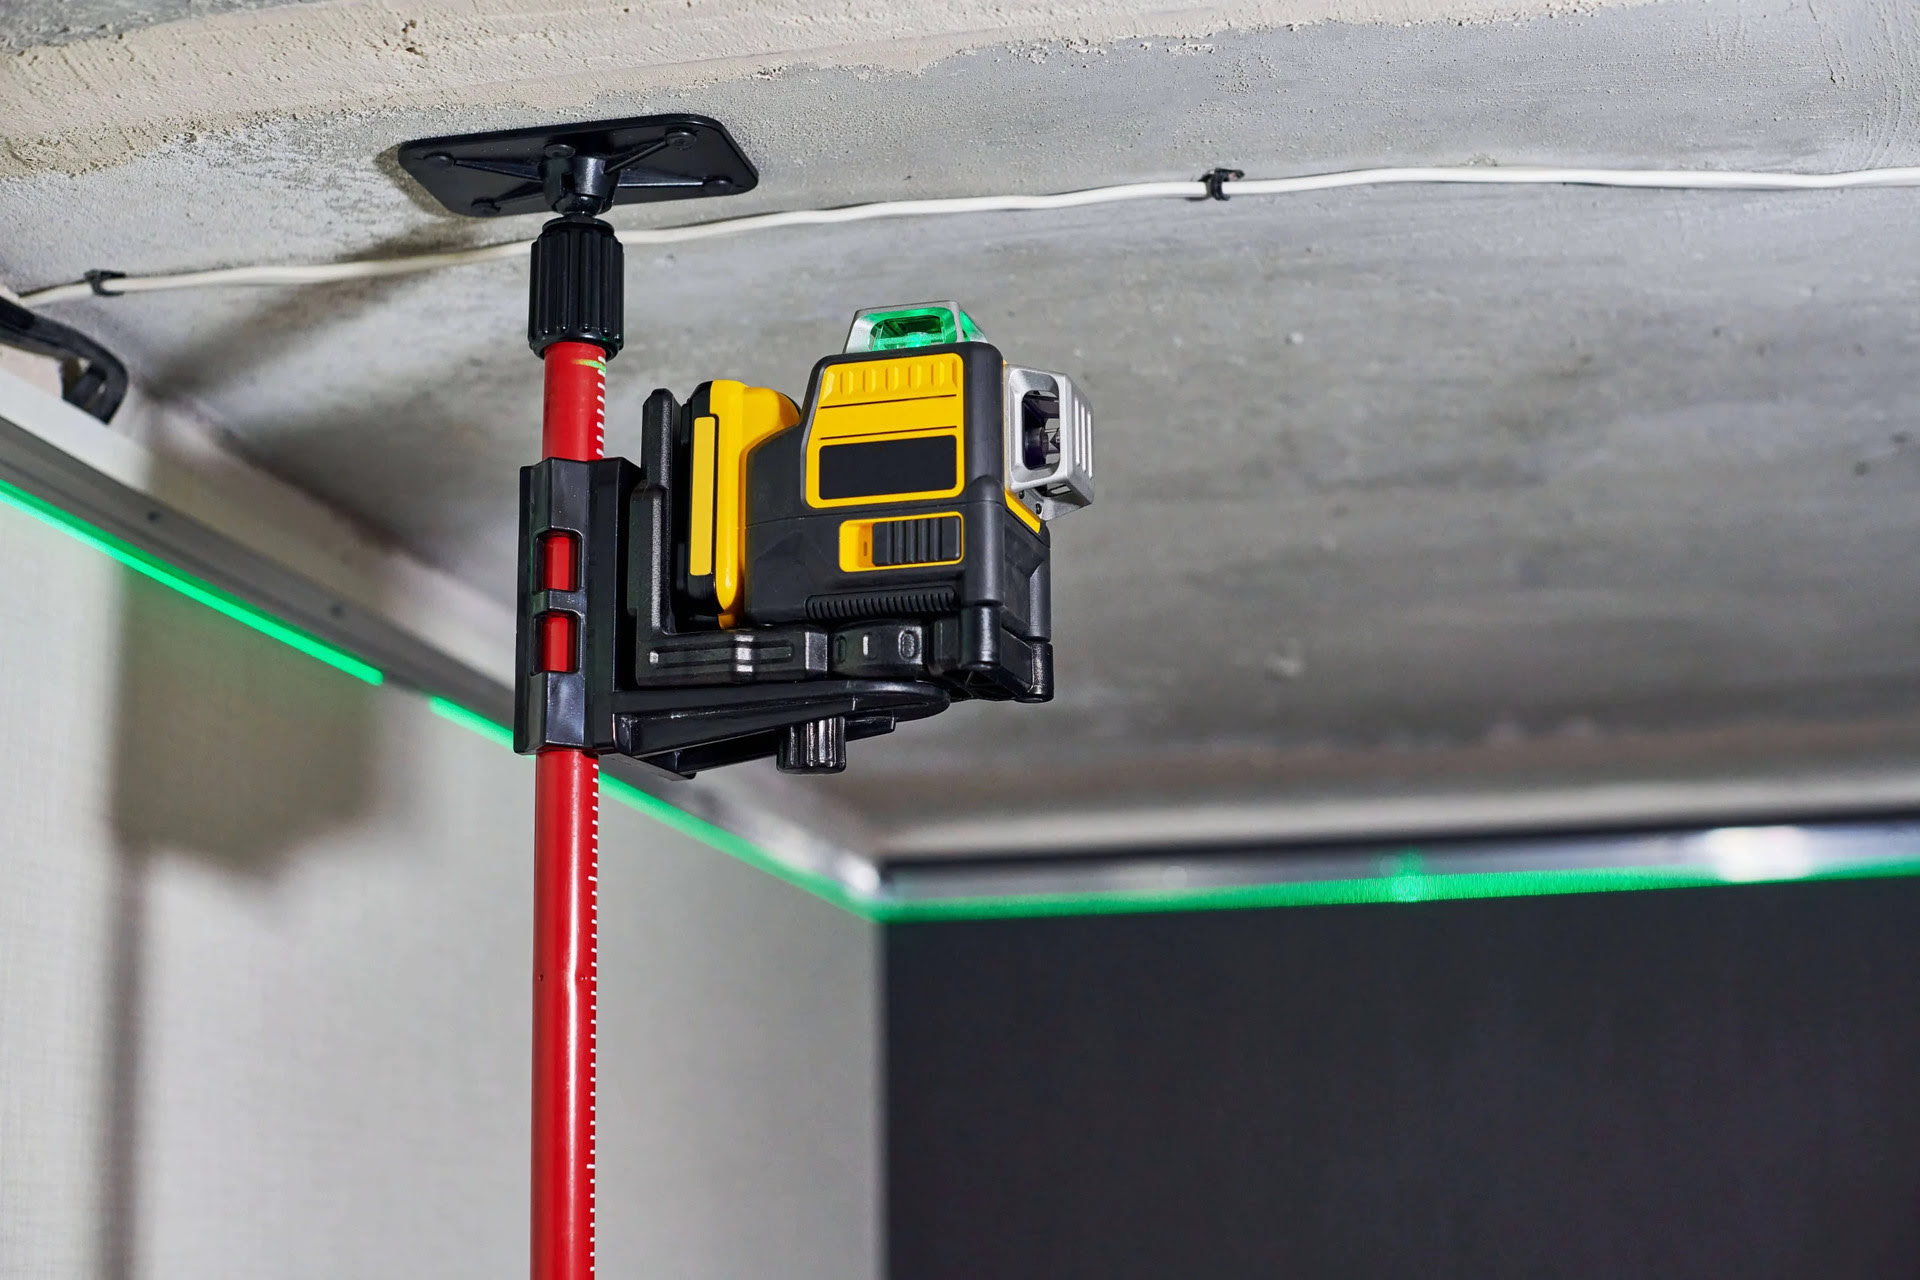
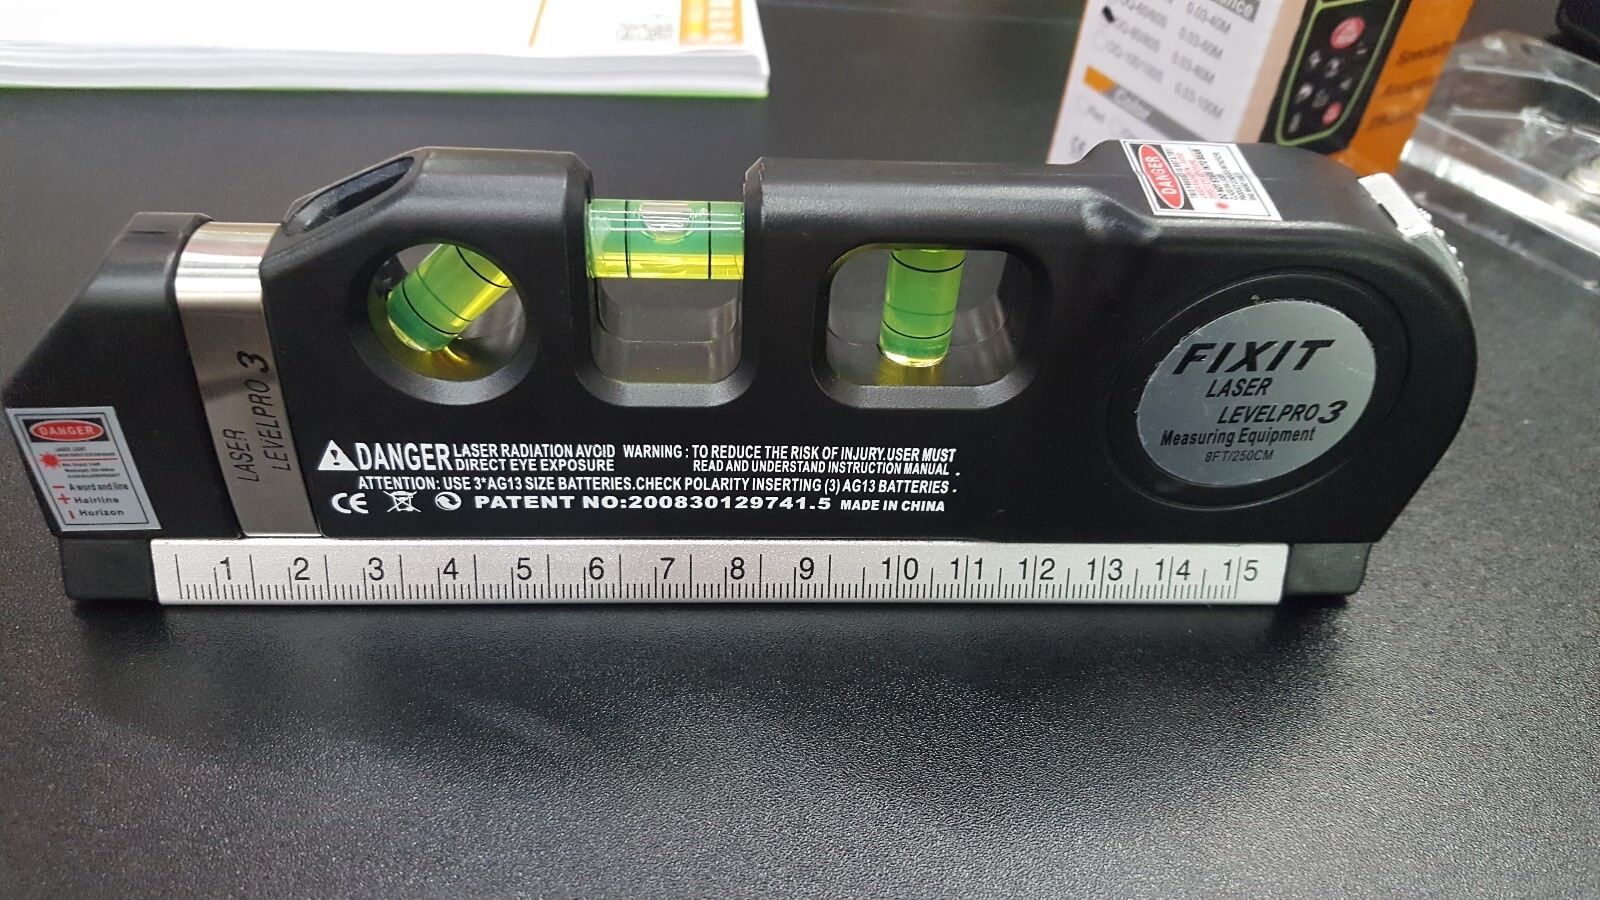
A laser level is a device that emits a laser beam to create a straight and level reference line or plane. It is commonly used in construction projects, including concrete leveling, to ensure accurate measurements and precise alignment. Laser levels come in various types, such as line laser levels, rotary laser levels, and dot laser levels, each serving different purposes.
Line laser levels project a horizontal or vertical laser line onto a surface, providing a reference point for leveling or alignment. Rotary laser levels emit a 360-degree laser beam, which rotates to create a complete level reference plane. Dot laser levels emit multiple laser dots at specific points, useful for transferring or aligning heights.
One of the main advantages of using a laser level for concrete projects is its ability to maintain a consistent level across a large area. This eliminates the need for traditional leveling tools like spirit levels and ensures accuracy and efficiency.
Modern laser levels often come with additional features, such as self-leveling capabilities, remote control operation, and digital displays. Self-leveling laser levels automatically adjust the laser beam to maintain a level reference, even on uneven surfaces. Remote control operation allows users to control the laser level from a distance, enhancing convenience and efficiency on the job site.
Overall, a laser level is an indispensable tool for construction professionals and DIY enthusiasts alike. Its ability to provide accurate and reliable leveling references makes it an invaluable asset for any concrete leveling project.
Importance of Using a Laser Level for Concrete
When it comes to concrete leveling, precision is key. Uneven surfaces can cause structural issues, compromise the integrity of the concrete, and create potential safety hazards. This is where a laser level proves its importance. Let’s explore the benefits of using a laser level for concrete leveling:
- Accuracy: A laser level provides unparalleled accuracy. By emitting a laser beam, it creates a perfectly straight and level reference line or plane. This ensures that the concrete surface is level and eliminates any guesswork.
- Consistency: With a laser level, you can achieve consistent leveling throughout the entire project. The laser beam remains steady and maintains the same level across large distances. This consistency ensures that the concrete surface is uniform and free from any high or low spots.
- Time-saving: Using a laser level speeds up the concrete leveling process. Manual leveling methods can be time-consuming, requiring repeated measurements and adjustments. With a laser level, you can quickly establish a level reference line or plane, reducing the time spent on leveling and allowing you to move on to other tasks.
- Precision: Laser levels allow for precise measurements and alignments. You can easily mark reference points on the concrete surface, ensuring that all areas are correctly leveled. This precision is vital, especially when working on projects that require strict tolerances or when dealing with complex designs.
- Efficiency: By using a laser level, you can work more efficiently. The laser beam provides a clear visual guide, allowing you to make adjustments as needed. This eliminates the need for constant measurement checks and improves overall productivity on the job site.
- Professional Results: When using a laser level, you can achieve professional-level results. The accuracy and consistency provided by the laser beam ensure that the concrete surface is level and visually appealing. This creates a polished and high-quality finish that is both aesthetically pleasing and structurally sound.
Overall, using a laser level for concrete leveling brings numerous advantages. It enhances accuracy, consistency, and efficiency while delivering professional-grade results. Whether you’re a contractor or a DIY enthusiast, investing in a laser level is a wise decision to ensure the success of your concrete leveling projects.
Preparing for Concrete Leveling
Before you begin using a laser level for concrete leveling, it’s crucial to properly prepare the work area. Adequate preparation ensures a smooth and successful leveling process. Here are some essential steps to follow when preparing for concrete leveling:
- Clean the surface: Start by thoroughly cleaning the concrete surface. Remove any debris, dirt, or loose particles that could interfere with the leveling process. Use a broom or pressure washer to ensure a clean and smooth working area.
- Inspect for cracks or damage: Check the concrete surface for any cracks, holes, or significant damage. It’s essential to repair these issues before leveling. Fill in small cracks or joints with appropriate concrete repair materials. For more extensive damage, consult a professional to address the repairs.
- Assess moisture levels: Moisture can affect the concrete leveling process. Use a moisture meter to assess the moisture content of the concrete surface. If the moisture levels are high, it’s necessary to wait for the surface to dry before proceeding with the leveling process.
- Ensure proper curing: If you’re working with freshly poured concrete, allow it to cure according to the manufacturer’s instructions before attempting to level it. Curing time can vary depending on factors such as temperature and humidity, so be patient and let the concrete achieve its full strength.
- Leveling compound or self-leveling concrete: Determine whether you will be using a leveling compound or self-leveling concrete to achieve the desired levelness. Depending on the project requirements, choose the appropriate leveling material. Ensure that the chosen material is compatible with the laser level and the application method you plan to use.
- Gather the necessary tools: In addition to a laser level, gather all the tools and equipment you’ll need for the concrete leveling process. This may include a trowel, bucket, mixing tools, safety goggles, and gloves. Having everything ready in advance will save you time and ensure a smooth workflow.
By thoroughly preparing the work area, addressing any existing issues, and gathering the necessary tools, you set yourself up for a successful concrete leveling project. Adequate preparation lays the foundation for achieving a level and durable concrete surface that meets your desired specifications.
Setting Up the Laser Level
Properly setting up the laser level is crucial to ensure accurate and reliable leveling for your concrete project. Here are the steps to follow when setting up your laser level:
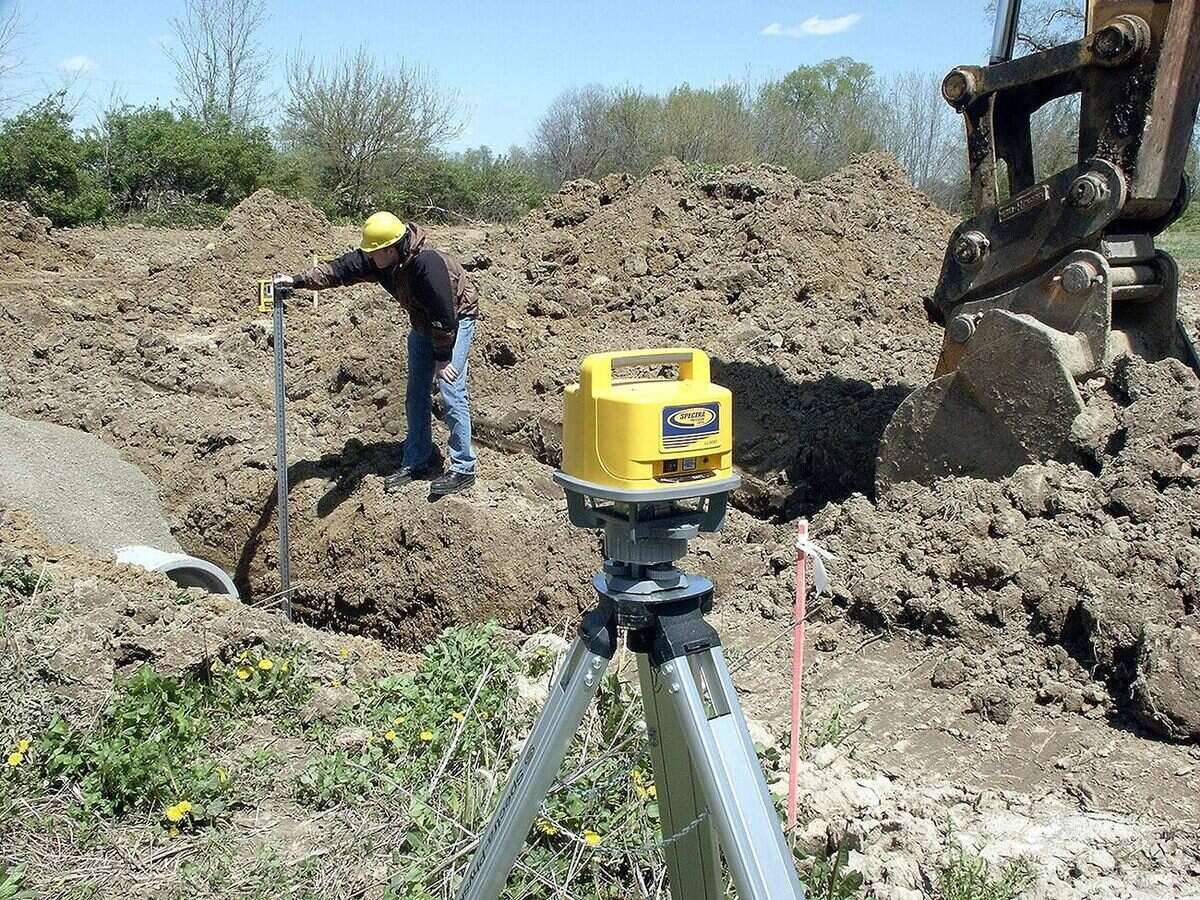
- Choose the right location: Select a stable and level area where you can set up the laser level. This can be a tripod, a leveling rod, or a mounting bracket, depending on the type of laser level you have. Ensure that the location provides a clear line of sight across the entire work area.
- Secure the laser level: Attach the laser level to the tripod or mounting bracket securely. Make sure it is tightly fastened to prevent any movement or wobbling during operation. A stable setup is essential for accurate readings and consistent leveling.
- Adjust the height: Adjust the height of the laser level to match the desired leveling plane or reference line. Use the leveling legs, telescoping sections, or knobs provided with the laser level to achieve the correct height. Ensure that the laser beam is at a convenient height for visibility and accessibility.
- Turn on the laser level: Power on the laser level according to the manufacturer’s instructions. Some laser levels have a manual power switch, while others may have an automatic power-on feature. Wait for the self-leveling mechanism to stabilize before proceeding.
- Check the levelness: Make sure the laser level is perfectly level before proceeding. Most laser levels have a built-in bubble vial or electronic leveling mechanism to help you achieve this. Adjust the leveling screws or knobs until the bubble is centered or the electronic level indicates a level position.
- Verify the laser beam: Take a moment to verify that the laser beam is projected correctly. Ensure that it is visible from the starting point to the ending point of the leveling area. If needed, adjust the laser level position or height to align the beam with the desired reference line or leveling plane.
Setting up your laser level correctly lays the foundation for accurate and efficient concrete leveling. By choosing the right location, securing the laser level properly, adjusting the height, ensuring levelness, and verifying the laser beam, you can proceed with confidence knowing that your laser level is ready to deliver precise results.
When using a laser level for concrete, make sure to set it up on a stable surface and calibrate it properly before starting. This will ensure accurate and precise leveling for your concrete project.
Read more: How To Use A Self Leveling Laser Level
Calibrating the Laser Level
Calibrating your laser level is a critical step to ensure accurate and reliable measurements throughout your concrete leveling project. Follow these steps to properly calibrate your laser level:
- Read the manufacturer’s instructions: Before attempting to calibrate your laser level, carefully read the user manual provided by the manufacturer. Different laser levels may have unique calibration procedures, so it’s important to familiarize yourself with the specific instructions for your model.
- Find a level reference point: Locate a reference point on the leveling surface that you can use to compare the laser’s levelness. This can be a known level surface, an existing level mark, or a leveling tool. Place the laser level near the reference point.
- Adjust the laser level: Activate the laser level and observe the projected beam. Use the adjustment screws or knobs provided to align the laser beam with the reference point. Make small adjustments until the laser beam accurately matches the level of the reference point.
- Check in multiple directions: To ensure the laser level is properly calibrated, check the levelness of the laser beam in multiple directions. Rotate the laser level or move it to different positions while observing the alignment of the laser beam with the reference point. Make adjustments as necessary until consistent levelness is achieved in all directions.
- Verify the calibration: Once you have made the necessary adjustments, verify the calibration by checking the levelness of the laser beam against multiple reference points. Use a reliable leveling tool or a straight edge to ensure the laser beam aligns accurately with the reference points.
- Re-calibrate if needed: If you find any discrepancies or inconsistencies in the calibration, repeat the adjustment process until the laser level provides accurate and consistent results. It’s essential to ensure proper calibration before proceeding with your concrete leveling project.
Properly calibrating your laser level guarantees accurate and reliable measurements, ensuring precise concrete leveling. By carefully following the manufacturer’s instructions, finding a level reference point, adjusting the laser level, checking in multiple directions, verifying the calibration, and re-calibrating if needed, you can confidently move forward with your project, knowing that your laser level is accurately aligned and ready for use.
Proper Techniques for Using a Laser Level on Concrete
Using a laser level on concrete requires attention to detail and proper technique to ensure accurate and efficient leveling. Follow these guidelines to employ the proper techniques for using a laser level on concrete:
- Start with a benchmark: Begin by establishing a benchmark on the concrete surface. This can be a reference point marked with a permanent marker or a temporary stake. Ensure the benchmark is visible and easily identifiable throughout the leveling process.
- Set up the laser level: Refer to the earlier section on setting up the laser level. Choose a stable location, secure the laser level, adjust the height, turn it on, and verify the laser beam. Make sure the laser level is positioned to cover the entire area you intend to level.
- Align the laser level: Position the laser level so that the laser beam aligns with the benchmark you established. Use the leveling screws or knobs to adjust the laser level as needed to achieve the desired alignment. Take your time to ensure precise alignment for accurate leveling.
- Work in small sections: It’s generally best to work in small sections when leveling concrete with a laser level. Divide the entire area into manageable sections and focus on one section at a time. This allows you to maintain control and accuracy as you level each portion.
- Spread and level the material: If you’re using a leveling compound or self-leveling concrete, carefully spread the material over the section using a trowel or other appropriate tools. Follow the manufacturer’s instructions to ensure the proper thickness and coverage. Make sure the material is evenly distributed for consistent leveling results.
- Monitor the laser beam: As you work on each section, continuously monitor the laser beam projected by the laser level. Ensure that the laser beam remains aligned with the benchmark and maintains the desired levelness. Make any necessary adjustments to the material or the laser level position to achieve the desired results.
- Check the level frequently: Regularly check the levelness of the concrete surface using a reliable leveling tool or straight edge. Compare the leveled area with the benchmark to ensure uniformity and consistency. Make any adjustments as needed to achieve the desired levelness throughout the entire project.
By following these proper techniques for using a laser level on concrete, you can achieve accurate and precise leveling results. Taking the time to establish a benchmark, properly set up the laser level, align the laser beam with the benchmark, work in small sections, spread and level the material carefully, monitor the laser beam, and check the level frequently ensures a high-quality and level concrete surface.
Checking the Concrete Level with the Laser Level
Once you have used a laser level to level the concrete surface, it’s essential to verify the accuracy and levelness of your work. Here are the steps to check the concrete level with the laser level:
- Allow the material to dry and cure: If you have used a leveling compound or self-leveling concrete, follow the manufacturer’s instructions regarding the drying and curing time. Allow the material to fully dry and cure before proceeding with the checking process. This ensures that the concrete has settled and achieved its final level.
- Place the laser level on a stable surface: Set up the laser level again on a stable surface near the leveled concrete. Ensure that the laser level is secure and positioned at a convenient height for visibility.
- Turn on the laser level: Activate the laser level and allow it to stabilize. Ensure that the laser beam is projected onto the leveled concrete surface.
- Observe the laser beam: Examine the laser beam projected onto the concrete surface. Look for any deviations or inconsistencies from the desired levelness. Pay attention to any areas that appear higher or lower than the benchmark or the desired level. Take note of these areas for further adjustments.
- Make necessary adjustments: Using appropriate tools, such as a trowel or leveling compound, make the necessary adjustments to correct any areas that are not level. For high spots, remove excess material or lightly sand down the surface. For low spots, apply additional leveling compound or self-leveling concrete as needed.
- Re-check the level: After making adjustments, repeat the checking process with the laser level. Observe the laser beam on the concrete surface and verify that it aligns with the desired levelness. Continue making adjustments and re-checking until you are satisfied with the overall levelness of the concrete surface.
Checking the concrete level with the laser level allows you to ensure the accuracy and levelness of your work. By carefully observing the laser beam, making necessary adjustments, and re-checking, you can achieve a consistently leveled concrete surface that meets your expectations and project requirements.
Troubleshooting and Tips
Using a laser level for concrete leveling can sometimes present challenges or require additional considerations. Here are some troubleshooting tips and helpful suggestions to overcome common issues and ensure successful results:
- Ensure proper lighting conditions: Bright ambient lighting or direct sunlight can interfere with the visibility of the laser beam. If necessary, use a laser detector or target card to enhance visibility in challenging lighting conditions.
- Double-check the calibration: If you notice any inconsistencies or inaccuracies in the leveling results, recheck the calibration of your laser level. Make sure it is properly calibrated and aligned before continuing with the project.
- Use a tripod or mounting bracket: For stability and accuracy, always use a tripod or a sturdy mounting bracket to secure your laser level. This prevents vibrations or movement that can affect the levelness of the beam.
- Maintain a clear line of sight: Ensure that there are no obstructions between the laser level and the surface being leveled. Clear away any objects or debris that may block the laser beam’s path to ensure accurate measurements.
- Practice proper safety precautions: When working with a laser level, wear appropriate personal protective equipment such as safety goggles and gloves. Follow all safety guidelines provided by the manufacturer to avoid accidents and injury.
- Regularly clean and maintain the laser level: Keep your laser level clean and free from dust, dirt, and debris. Regularly inspect and clean the components to ensure optimal performance. Follow the manufacturer’s instructions for maintenance and storage.
- Take breaks for extended projects: Leveled concrete surfaces may take time to dry or cure properly. Plan for breaks or intervals during extended projects to allow adequate drying and curing time. Rushing the process can compromise the quality of the results.
- Practice on smaller projects: If you’re new to using a laser level for concrete leveling, it’s a good idea to start with smaller projects to gain experience and confidence. This allows you to familiarize yourself with the laser level and its operation before taking on larger, more complex projects.
- Seek professional assistance if needed: If you encounter significant challenges or feel unsure about using a laser level, don’t hesitate to seek professional assistance. Concrete leveling is an important task that requires expertise, and professionals can provide guidance and ensure optimal results.
By following these troubleshooting tips and helpful suggestions, you can overcome common challenges, improve your laser level usage, and achieve successful concrete leveling results. Remember to prioritize safety, take proper precautions, and be patient throughout the process for the best outcomes.
Read more: How To Use A Laser Level For Framing
Conclusion
Using a laser level for concrete leveling offers numerous benefits, including accuracy, consistency, and time-saving advantages. Whether you’re a DIY enthusiast or a professional contractor, understanding the proper techniques and following the necessary steps will ensure successful results.
In this article, we explored the importance of using a laser level for concrete leveling and provided detailed instructions for preparing the work area, setting up the laser level, calibrating it, employing proper techniques, checking the concrete level, and troubleshooting common issues. By following these guidelines, you can achieve a level and precise concrete surface that meets your project requirements.
Remember to pay attention to details, carefully monitor the laser beam, and make necessary adjustments when needed. Practice proper safety precautions, maintain your laser level, and seek professional assistance if needed for more complex projects.
Using a laser level for concrete leveling not only enhances the visual appeal of the finished surface but also ensures structural integrity and safety. The accurate and level result is a testament to the quality of your workmanship and attention to detail.
So, embrace the power of laser technology in your concrete projects and enjoy the accuracy, efficiency, and professional results it brings. With the proper techniques and a reliable laser level, you can conquer any concrete leveling task with confidence.
Now that you've mastered using a laser level for concrete, you might wonder what other applications this versatile tool has. If you're eager to expand your skills, our guide on using a five-point layout laser level is just what you need. This piece offers practical advice on achieving precision in complex tasks, ensuring your projects always hit the mark. Don't miss out on elevating your expertise with this essential tool.
Frequently Asked Questions about How To Use A Laser Level For Concrete
Was this page helpful?
At Storables.com, we guarantee accurate and reliable information. Our content, validated by Expert Board Contributors, is crafted following stringent Editorial Policies. We're committed to providing you with well-researched, expert-backed insights for all your informational needs.


0 thoughts on “How To Use A Laser Level For Concrete”