Articles
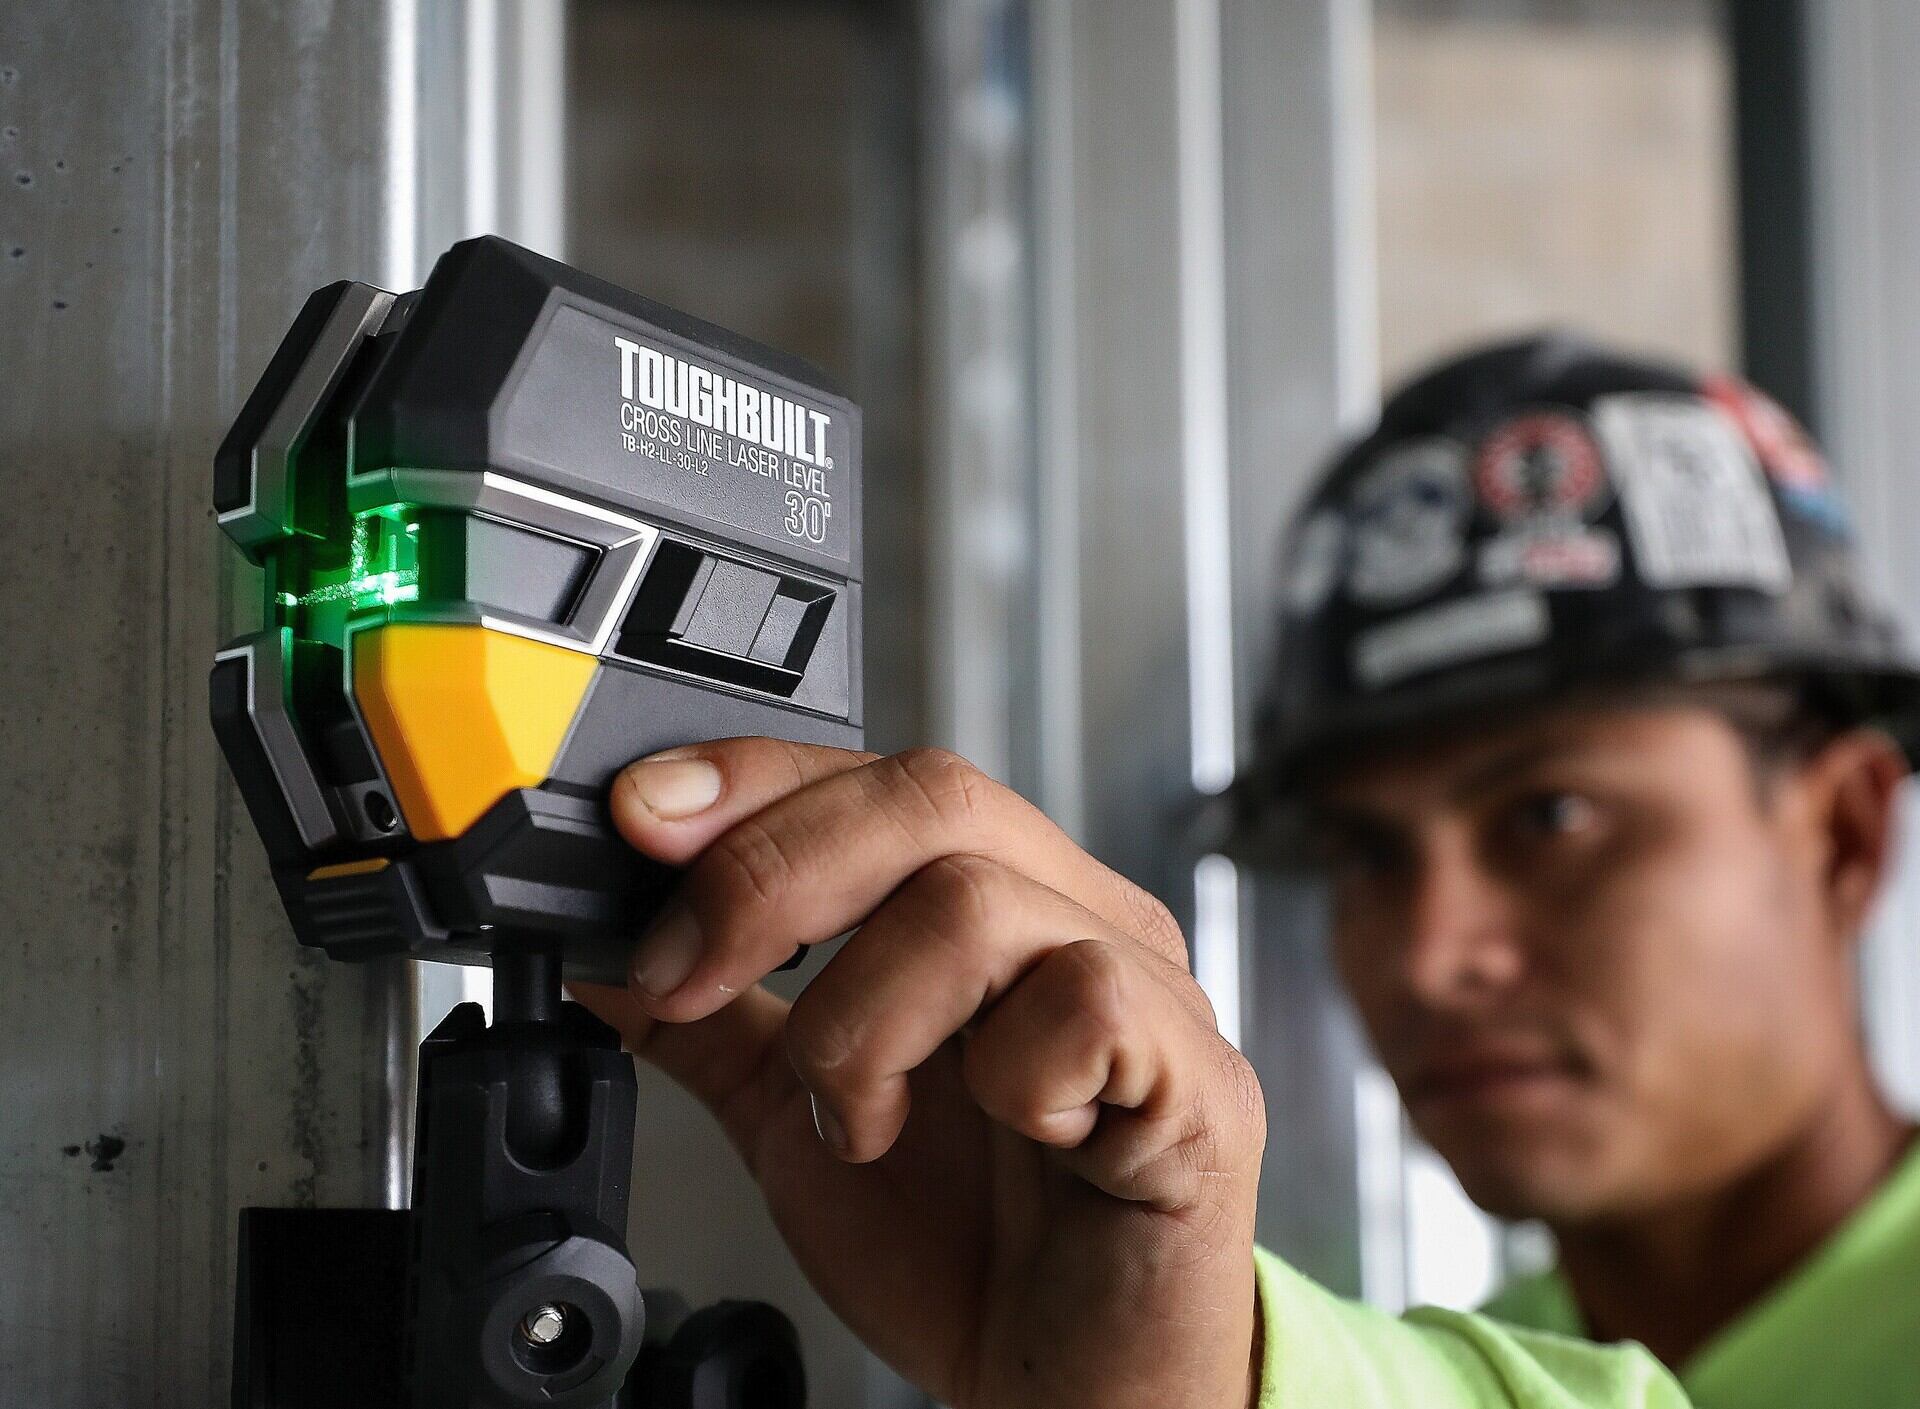
How To Use ToughBuilt 30 Ft. Laser Level
Modified: October 28, 2024
Learn how to effectively use the Toughbuilt 30 Laser Level with our informative articles. Get expert tips and tricks for precise leveling and measuring.
(Many of the links in this article redirect to a specific reviewed product. Your purchase of these products through affiliate links helps to generate commission for Storables.com, at no extra cost. Learn more)
Introduction
Welcome to our comprehensive guide on how to use the Toughbuilt 30 Laser Level. Whether you’re a professional contractor or a DIY enthusiast, having a reliable and accurate laser level is essential for precise measurements and alignment in various construction projects. The Toughbuilt 30 Laser Level is a versatile tool that offers advanced features and functions to help you achieve accurate results with ease.
In this article, we will provide you with a detailed overview of the Toughbuilt 30 Laser Level and guide you through the step-by-step process of using it. From calibrating the laser level to performing horizontal and vertical alignments, you will learn how to make the most of this powerful tool.
With its durable construction, intuitive controls, and impressive range, the Toughbuilt 30 Laser Level is designed to withstand the rigors of any job site. Whether you’re working on installing shelves, hanging pictures, or aligning tiles, this laser level will be your go-to tool for achieving precision and efficiency.
Before we dive into the nitty-gritty details of using the Toughbuilt 30 Laser Level, it’s important to familiarize yourself with its key features and functions. This will give you a better understanding of what this tool can do and how it can elevate your construction projects to the next level.
Now, let’s take a closer look at the Toughbuilt 30 Laser Level and get started on our journey of mastering this indispensable tool.
Key Takeaways:
- The Toughbuilt 30 Laser Level offers 360-degree horizontal and vertical lines, self-leveling capability, and a durable design, making it a versatile and reliable tool for achieving precise measurements and alignments in construction projects.
- Users can easily calibrate, troubleshoot common issues, and utilize the laser level for horizontal and vertical alignments, with additional features such as pulse mode, locking mechanism, and magnetic base enhancing its practicality and performance.
Read more: How To Repair A LM30 Laser Level
Overview of the Toughbuilt 30 Laser Level
The Toughbuilt 30 Laser Level is a high-quality laser leveling tool that offers precision and ease of use. It is designed for both indoor and outdoor applications, making it versatile and suitable for a wide range of projects.
One of the standout features of the Toughbuilt 30 Laser Level is its 360-degree horizontal and vertical lines. This allows for complete coverage and enables you to align and level surfaces in all directions. Whether you’re working on walls, floors, or ceilings, this laser level has got you covered.
The Toughbuilt 30 Laser Level offers a self-leveling feature, which means it automatically adjusts to ensure accurate leveling within a certain range. This saves you time and effort, as you don’t have to manually adjust the level every time you move it to a new position.
With a working range of up to 30 feet, the Toughbuilt 30 Laser Level provides ample coverage for most construction projects. This ensures that you have enough space to work without constantly having to move the laser level.
The laser level also features a durable and compact design, making it easy to carry and store. It is built to withstand job site conditions and is water and dust resistant, providing reliable performance even in challenging environments.
The Toughbuilt 30 Laser Level comes with a variety of mounting options, including a tripod mount and a magnetic base. This gives you flexibility in how you position and secure the laser level, depending on the nature of your project.
In addition to its leveling capabilities, the Toughbuilt 30 Laser Level also offers useful features such as a pulse mode for use with a detector, which extends the range of the laser level, and a locking mechanism to prevent any accidental movement during measurements.
Overall, the Toughbuilt 30 Laser Level is a powerful and versatile tool that is suitable for both professionals and DIY enthusiasts. Its exceptional features, durability, and ease of use make it an essential companion for any construction project where precision and accuracy are required.
Getting Started
Before you can start using the Toughbuilt 30 Laser Level, there are a few important steps to take to ensure that the tool is set up correctly and ready for use.
The first step is to carefully unpack the laser level from its packaging and inspect it for any visible damage. Make sure that all the components are included, such as the laser level itself, mounting accessories, and user manual.
Next, check the battery compartment to ensure that it is empty. The Toughbuilt 30 Laser Level typically uses AA batteries, so make sure you have a fresh set of batteries on hand. Insert the batteries into the compartment, following the correct polarity (+/-).
Once the batteries are inserted, you can proceed to turn on the laser level. Look for the power button, usually located on the side or top of the device, and press it to activate the laser. You should see the laser line(s) projecting onto the surface.
Now, it’s time to select a suitable mounting option for your project. If you’re working on a flat surface, you can attach the laser level to a tripod using the mount provided. If you’re working on a magnetic surface, such as a metal beam, the laser level’s magnetic base will come in handy.
Ensure that the laser level is securely attached to the mounting option of your choice, making sure it is stable and won’t move during operation. This is crucial to ensure accurate measurements and alignments.
Before getting into the specifics of using the Toughbuilt 30 Laser Level, it’s important to mention a few key safety precautions. Always wear appropriate eye protection when using the laser level, as the laser beam can be bright and potentially harmful to the eyes. Additionally, be cautious when working at heights or in potentially hazardous environments.
With your Toughbuilt 30 Laser Level set up and ready to go, you’re now prepared to tackle a variety of leveling and alignment tasks with confidence and precision. In the next section, we will guide you through the step-by-step process of using the laser level for different applications.
Step-by-Step Guide on How to Use the Toughbuilt 30 Laser Level
Using the Toughbuilt 30 Laser Level is a straightforward process that involves a few simple steps. Follow this step-by-step guide to ensure accurate measurements and precise alignments:
- Set up the laser level: Choose a stable surface or mounting option to attach the laser level. This can be a tripod, a magnetic base, or another appropriate method based on your project requirements.
- Turn on the laser: Locate the power button on the laser level and press it to activate the laser beam. As the beam appears, make sure it is projecting onto a flat, visible surface.
- Verify the level’s self-leveling function: Wait for the laser level to self-level. If it is equipped with a self-leveling feature, it will automatically adjust to become horizontal or vertical. Ensure that the level bubble appears centered within the indicated lines, signifying that it is accurately leveled.
- Choose the desired mode: The Toughbuilt 30 Laser Level often offers multiple modes, such as horizontal, vertical, or cross-line projection. Select the appropriate mode based on your specific application needs.
- Align horizontally: If you need to create a level line horizontally, rotate the laser level until the horizontal laser line aligns with your desired reference points. This can be helpful for tasks such as installing shelves or cabinets.
- Align vertically: For vertical alignments, rotate the laser level until the vertical laser line aligns with your desired reference points. This is useful for tasks such as aligning framed pictures or setting up wall partitions.
- Check for accuracy: Use a traditional bubble level or a separate leveling tool to verify the accuracy of the laser level’s projections. Make any necessary adjustments to ensure precise measurements.
- Take measurements: With the laser level properly aligned, you can now use it to measure distances and heights accurately. Simply place a tape measure or ruler against the laser line to determine the desired measurements.
- Ensure safety: Always practice caution and follow safety guidelines when working with the laser level. Avoid looking directly into the laser beam and wear appropriate eye protection.
By following these step-by-step instructions, you can effectively use the Toughbuilt 30 Laser Level for various applications, achieving precise measurements and accurate alignments in your construction projects.
Calibrating the Laser Level
Calibrating the Toughbuilt 30 Laser Level is an essential step to ensure accurate and reliable measurements. While the laser level is designed to be self-leveling, it’s important to periodically calibrate it to maintain its accuracy, especially if you notice any inconsistencies in its performance. Follow these steps to calibrate your laser level:
- Find a level, stable surface: Place the laser level on a flat and stable surface. This can be a table, workbench, or any other suitable area that won’t move or shift during calibration.
- Turn on the laser level: Press the power button to turn on the laser level and activate the laser beam. Make sure it is projecting onto a visible surface.
- Adjust the leveling screws: Look for the leveling screws, usually located on the bottom or the sides of the laser level. These screws allow you to manually adjust the level and bring it into accurate alignment.
- Use a leveling tool: Place a traditional bubble level or another reliable leveling tool on the surface adjacent to the laser level. Align the bubble level or leveling tool and adjust it until it indicates a level position.
- Adjust the laser level: While monitoring the bubble level or leveling tool, slowly and carefully adjust the leveling screws on the laser level. The goal is to bring the laser level into alignment with the leveling tool, ensuring that it is perfectly level in both the horizontal and vertical directions.
- Verify the calibration: After making adjustments, recheck the bubble level or leveling tool to confirm that the laser level is accurately calibrated. Make any necessary additional adjustments until it is perfectly leveled.
- Test the laser level: Once you are confident that the laser level is accurately calibrated, test it by projecting the laser beam onto a surface and checking if the line appears level and straight.
It is important to note that calibration requirements may vary depending on the specific model of the Toughbuilt 30 Laser Level. Always refer to the manufacturer’s instructions and guidelines for the recommended calibration process for your particular laser level.
By regularly calibrating your Toughbuilt 30 Laser Level, you can ensure that it maintains its accuracy and reliability, providing you with precise measurements and alignments for your construction projects.
Read more: How To Use A Laser Level
Using the Laser Level for Horizontal Alignment
The Toughbuilt 30 Laser Level is a versatile tool that can be used for various alignment tasks, including horizontal leveling. Whether you’re installing shelves, cabinets, or countertops, using the laser level for horizontal alignment ensures that your surfaces are even and level. Follow these steps to use the laser level for horizontal alignment:
- Set up the laser level: Choose a stable surface or mounting option for the laser level. Ensure that it is positioned at the desired height and location for your horizontal alignment task.
- Turn on the laser level: Press the power button to activate the laser beam. It should project a horizontal line onto the surface.
- Position your reference points: Determine where you want your horizontal alignment to be. This could be the top or bottom edge of a shelf, the countertop, or any other reference point you wish to align.
- Adjust the laser level: Rotate the laser level until the projected horizontal line aligns with your chosen reference point. Use the leveling screws or the laser level’s controls to make fine adjustments if needed.
- Verify the alignment: Use a measuring tool, such as a tape measure or a level, to confirm that the aligned reference point is level and even. Check multiple points along the horizontal line to ensure consistency.
- Secure your alignment: Once you are satisfied with the alignment, secure or mark your reference point. This can be done by attaching a temporary guide or drawing a straight line to indicate the desired horizontal position.
- Continue with your project: With the horizontal alignment set, you can now proceed with the installation or construction process. Use the laser level as a guide to ensure that other components, such as shelves or cabinets, are installed parallel and level to the aligned reference point.
Using the Toughbuilt 30 Laser Level for horizontal alignment provides you with precise and consistent results, saving you time and effort in achieving level surfaces for your projects. Remember to adjust the laser level as needed and confirm the alignment with additional measuring tools for optimal accuracy.
When using the Toughbuilt 30 Laser Level, make sure to calibrate it before each use to ensure accurate measurements. Additionally, always use a stable surface or tripod to mount the level for precise results.
Using the Laser Level for Vertical Alignment
The Toughbuilt 30 Laser Level is not only useful for horizontal alignment but also an invaluable tool for achieving precise vertical alignment in your construction projects. Whether you’re hanging pictures, setting up wall partitions, or installing light fixtures, using the laser level for vertical alignment ensures that your surfaces are plumb and level. Follow these steps to utilize the laser level for vertical alignment:
- Set up the laser level: Choose a stable surface or mounting option for the laser level. Ensure that it is positioned at the desired height and location for your vertical alignment task.
- Turn on the laser level: Press the power button to activate the laser beam. It should project a vertical line onto the surface.
- Position your reference points: Determine where you want your vertical alignment to be. This could be the edges of a picture frame, the corners of a wall partition, or any other reference point you wish to align.
- Adjust the laser level: Rotate the laser level until the projected vertical line aligns with your chosen reference points. Use the leveling screws or the laser level’s controls to make fine adjustments if needed.
- Verify the alignment: Use a measuring tool, such as a level or plumb line, to confirm that the aligned reference points are plumb and level. Check multiple points along the vertical line to ensure consistency.
- Secure your alignment: Once you are satisfied with the alignment, secure or mark your reference points. This can be done by placing temporary guides or marking the wall to indicate the desired vertical position.
- Continue with your project: With the vertical alignment set, you can now proceed with the installation or construction process. Use the laser level as a guide to ensure that other components, such as pictures or wall partitions, are installed plumb and level to the aligned reference points.
Using the Toughbuilt 30 Laser Level for vertical alignment provides you with accurate and consistent results, eliminating the guesswork and ensuring professional-looking outcomes. Remember to adjust the laser level as needed and confirm the alignment with additional measuring tools for optimal precision.
Additional Features and Functions of the Toughbuilt 30 Laser Level
The Toughbuilt 30 Laser Level offers a range of additional features and functions that enhance its versatility and make it a valuable tool for various construction projects. These features go beyond basic leveling and alignment capabilities, allowing you to tackle more complex tasks with ease. Here are some notable features of the Toughbuilt 30 Laser Level:
- 360-degree leveling: The Toughbuilt 30 Laser Level provides a 360-degree projection of both horizontal and vertical lines, offering complete coverage and making it easier to align and level surfaces in all directions.
- Self-leveling: This laser level is equipped with a self-leveling feature that automatically adjusts the level within a certain range. This saves you time and effort in manually leveling the device and ensures accurate measurements.
- Pulse mode: The Toughbuilt 30 Laser Level often features a pulse mode, which allows you to use it with a compatible detector. This extends the range of the laser level, making it suitable for larger job sites or outdoor applications.
- Locking mechanism: To prevent any accidental movement or shifting during measurements, the laser level includes a locking mechanism. This ensures that your alignments stay in place while you work, providing consistent and reliable results.
- Magnetic base: The laser level is often equipped with a magnetic base, allowing you to easily attach it to metal surfaces. This feature comes in handy when working on metal beams or other magnetic surfaces.
- Tripod mount: The Toughbuilt 30 Laser Level typically includes a tripod mount, providing stability and flexibility in positioning the laser level at different heights. This allows you to work comfortably and efficiently on a variety of projects.
- Durable construction: Built to withstand the demands of job sites, the Toughbuilt 30 Laser Level features a rugged and durable design. It is often water and dust resistant, ensuring reliable performance even in harsh environments.
These additional features and functions of the Toughbuilt 30 Laser Level enhance its versatility and make it suitable for a wide range of construction tasks. Whether you’re working indoors or outdoors, on small projects or large-scale jobs, this laser level offers the capabilities you need to achieve accurate measurements and precise alignments.
Troubleshooting Common Issues
While the Toughbuilt 30 Laser Level is designed to be reliable and user-friendly, there may be instances where you encounter common issues. Understanding how to troubleshoot these problems can help you quickly get back on track with your construction projects. Here are some troubleshooting tips for common issues with the Toughbuilt 30 Laser Level:
- Uneven or distorted laser lines: If the laser lines appear uneven or distorted, check the stability of the laser level. Make sure it is securely mounted or positioned on a stable surface. Adjust the leveling screws to ensure the level is properly aligned.
- Laser not visible: If the laser beam is not visible, check the battery compartment to ensure that the batteries are properly inserted and have sufficient charge. If using rechargeable batteries, make sure they are fully charged. Also, check if there is any obstruction blocking the laser beam, and clean the lens if necessary.
- Laser level not self-leveling: If the laser level is not self-leveling as expected, ensure that it is placed on a stable surface and that the leveling screws are adjusted properly. Check if there are any external factors, such as vibrations or movements, that may be affecting the self-leveling mechanism. If the issue persists, consult the user manual or contact the manufacturer for further assistance.
- Poor visibility in bright conditions: If the laser line is difficult to see or less visible in bright conditions, try adjusting the brightness or intensity settings of the laser level if available. Alternatively, using a laser detector compatible with the Toughbuilt 30 Laser Level can amplify the laser beam and improve visibility in bright environments.
- Inaccurate readings: If you are obtaining inaccurate readings, first check the calibration of the laser level. Make sure it is properly calibrated by following the calibration instructions provided in the user manual. Additionally, ensure that you are using the laser level correctly and following the recommended procedures for alignment and measurements.
- Battery drain: If you notice that the battery life is significantly shorter than expected, check for any power-saving features or mode settings that may be enabled. Also, make sure the laser level is turned off when not in use to conserve battery power. If battery drain continues to be a problem, consider using high-quality or rechargeable batteries.
If you encounter any persistent issues or difficulties in troubleshooting the problems with your Toughbuilt 30 Laser Level, it is advisable to consult the user manual or contact the manufacturer’s customer support for further assistance. They will be able to provide specific guidance and solutions based on your laser level model and circumstances.
By applying these troubleshooting tips, you can effectively address common issues and ensure smooth operation with your Toughbuilt 30 Laser Level, empowering you to achieve precise measurements and alignments in your construction projects.
Read more: How Many Ft. Will Rotary Laser Level Go
Tips and Safety Precautions for Using the Toughbuilt 30 Laser Level
Using the Toughbuilt 30 Laser Level effectively and safely requires following a few tips and precautions. These guidelines will help you maximize the performance of the laser level while ensuring your safety and the safety of others. Here are some valuable tips and safety precautions to keep in mind:
- Read the user manual: Before using the Toughbuilt 30 Laser Level, familiarize yourself with the instructions and guidelines provided in the user manual. This will give you a complete understanding of how to operate the laser level correctly and safely.
- Wear appropriate eye protection: Always wear safety glasses or goggles that are designed to protect your eyes from laser beams. The laser beam emitted by the laser level can be bright and potentially harmful if directly exposed to your eyes.
- Avoid looking directly into the laser beam: Do not look directly into the laser beam, even when wearing eye protection. Direct exposure to the laser beam can still cause damage to your eyes. Keep your eyes focused on the surface where the laser beam is projected instead.
- Secure the laser level: Ensure that the laser level is securely mounted or positioned to prevent any movement during operation. This will help maintain accuracy and consistency in your alignments and measurements.
- Use additional measuring tools for verification: While the Toughbuilt 30 Laser Level provides accurate measurements, it’s always good practice to use additional measuring tools, such as a tape measure or level, to verify and double-check your results. This helps ensure precision and accuracy.
- Avoid exposure to harsh environments: Although the Toughbuilt 30 Laser Level is designed to be durable, it is still important to protect it from extreme temperatures, excessive moisture, dust, and other harsh environmental conditions. Store the laser level in a suitable case when not in use.
- Regularly calibrate the laser level: To maintain optimal accuracy, it is recommended to regularly calibrate the Toughbuilt 30 Laser Level. Refer to the user manual for instructions on how to calibrate the laser level based on its specific model.
- Replace batteries as needed: Monitor the battery life and replace the batteries as necessary. Using fresh and fully charged batteries will ensure consistent performance from the laser level.
- Keep children and pets away: Keep the Toughbuilt 30 Laser Level and all associated equipment out of reach of children and pets. The laser beam can be enticing to them and pose a risk of accidental exposure to their eyes.
- Dispose of batteries properly: When replacing batteries, follow proper disposal guidelines specific to your local regulations. Improper disposal of batteries can harm the environment and pose a hazard to human health.
By following these tips and safety precautions, you can safely and effectively use the Toughbuilt 30 Laser Level, achieving accurate measurements and precise alignments while prioritizing your well-being and the well-being of others around you.
Conclusion
The Toughbuilt 30 Laser Level is a powerful and versatile tool that enhances precision and efficiency in construction projects. With its advanced features and functions, it allows professionals and DIY enthusiasts to achieve accurate measurements and precise alignments with ease.
In this comprehensive guide, we have covered various aspects of using the Toughbuilt 30 Laser Level. We started with an introduction to the tool and its key features, providing an overview of its capabilities. Then, we discussed how to get started with the laser level, from unpacking and powering it on to selecting the appropriate mounting options.
Next, we walked through a step-by-step guide on how to use the Toughbuilt 30 Laser Level. We covered everything from calibrating the laser level to performing horizontal and vertical alignments. Following these instructions ensures accurate results and helps you accomplish your construction projects effectively.
We also explored additional features and functions of the Toughbuilt 30 Laser Level, such as its 360-degree leveling, self-leveling capability, pulse mode, locking mechanism, magnetic base, and tripod mount. Understanding these features expands the tool’s practicality and makes it suitable for a wide range of applications.
Moreover, we provided troubleshooting tips for common issues that may arise and shared important tips and safety precautions to follow when using the Toughbuilt 30 Laser Level. These guidelines ensure optimal performance, protect your eyes, and safeguard the integrity of your construction projects.
In conclusion, the Toughbuilt 30 Laser Level is an indispensable tool for achieving precise measurements and alignments. By harnessing its capabilities and following the guidelines outlined in this guide, you can enhance your construction projects, streamline your workflow, and achieve professional-grade outcomes.
Remember, always refer to the user manual and follow the manufacturer’s instructions for the specific model of your laser level. Stay safe, use appropriate eye protection, and practice caution when operating the Toughbuilt 30 Laser Level.
Now, armed with the knowledge and guidance provided in this article, go ahead and confidently tackle your construction projects with the precision and accuracy that the Toughbuilt 30 Laser Level brings to the table!
Frequently Asked Questions about How To Use ToughBuilt 30 Ft. Laser Level
Was this page helpful?
At Storables.com, we guarantee accurate and reliable information. Our content, validated by Expert Board Contributors, is crafted following stringent Editorial Policies. We're committed to providing you with well-researched, expert-backed insights for all your informational needs.


0 thoughts on “How To Use ToughBuilt 30 Ft. Laser Level”