Furniture
How To Paint A Wooden Dresser
Modified: December 7, 2023
Learn how to transform your wooden dresser with a fresh coat of paint! Our step-by-step guide will help you revamp your furniture and give it a whole new look!
(Many of the links in this article redirect to a specific reviewed product. Your purchase of these products through affiliate links helps to generate commission for Storables.com, at no extra cost. Learn more)
Introduction
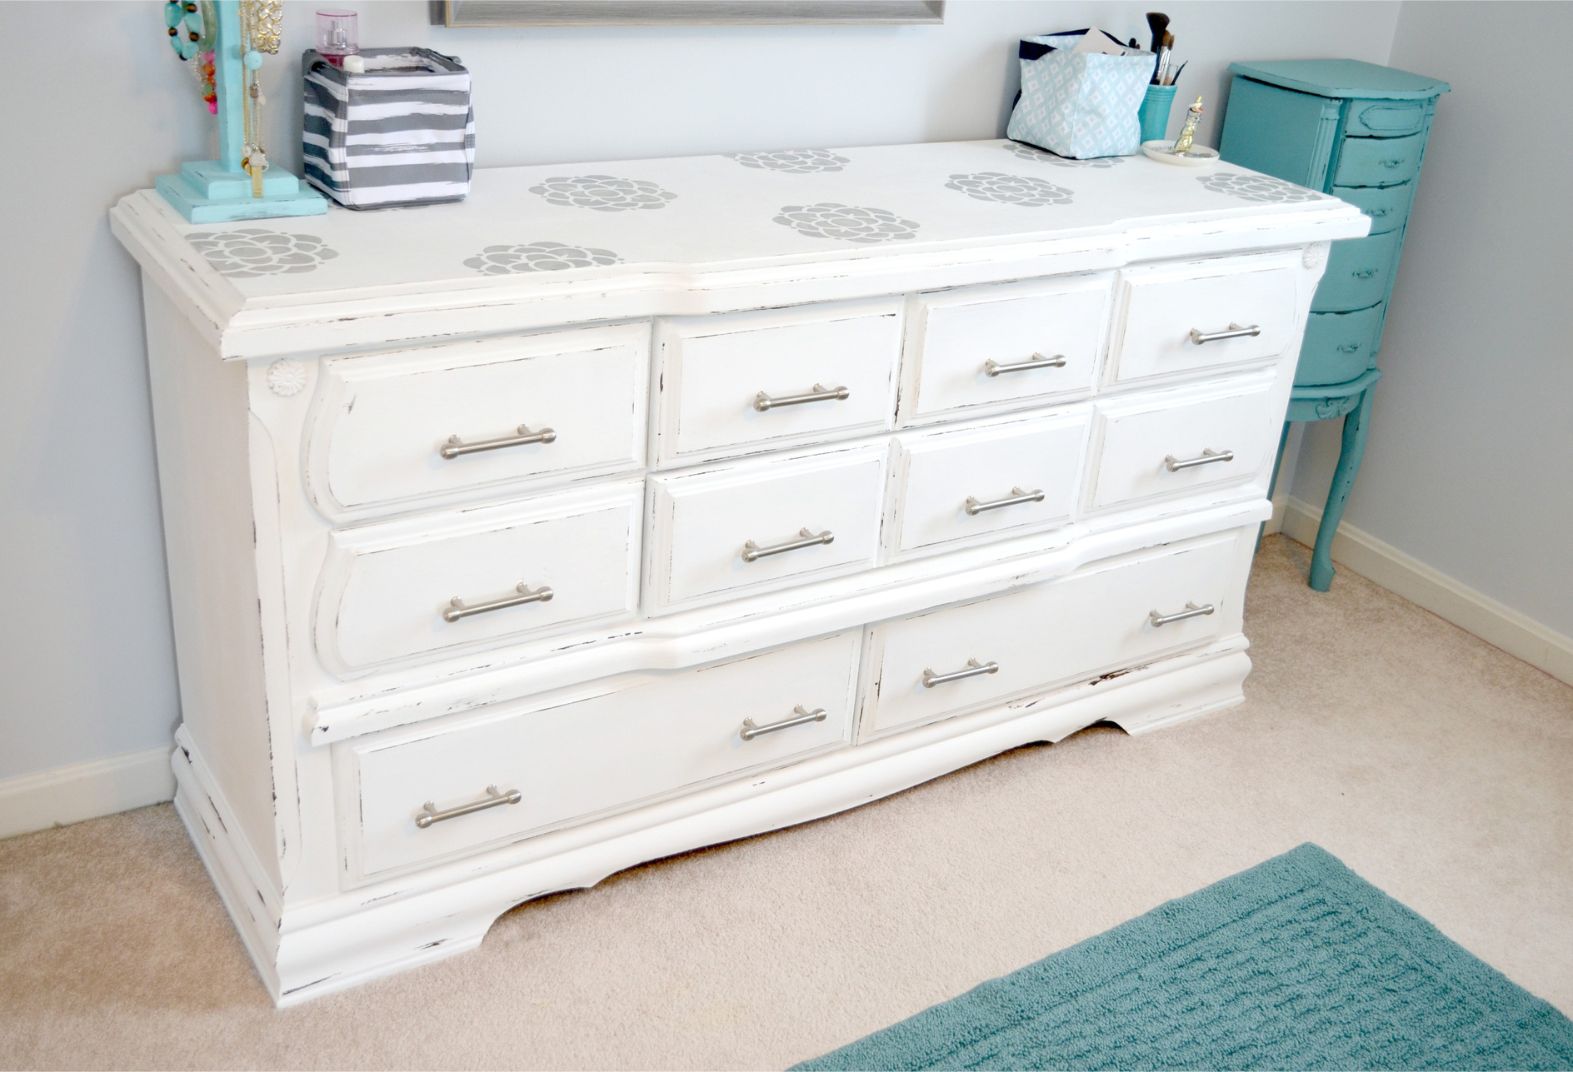
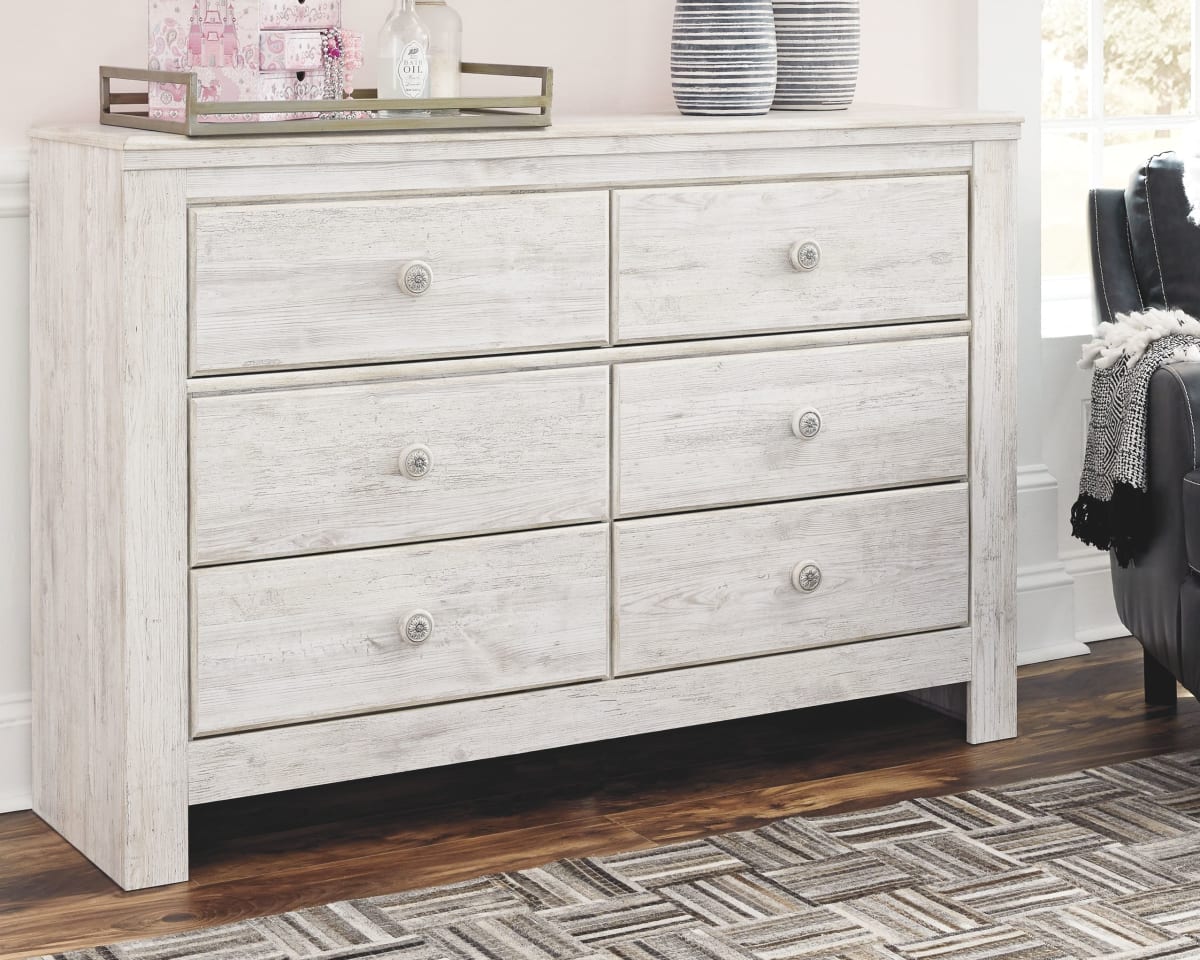
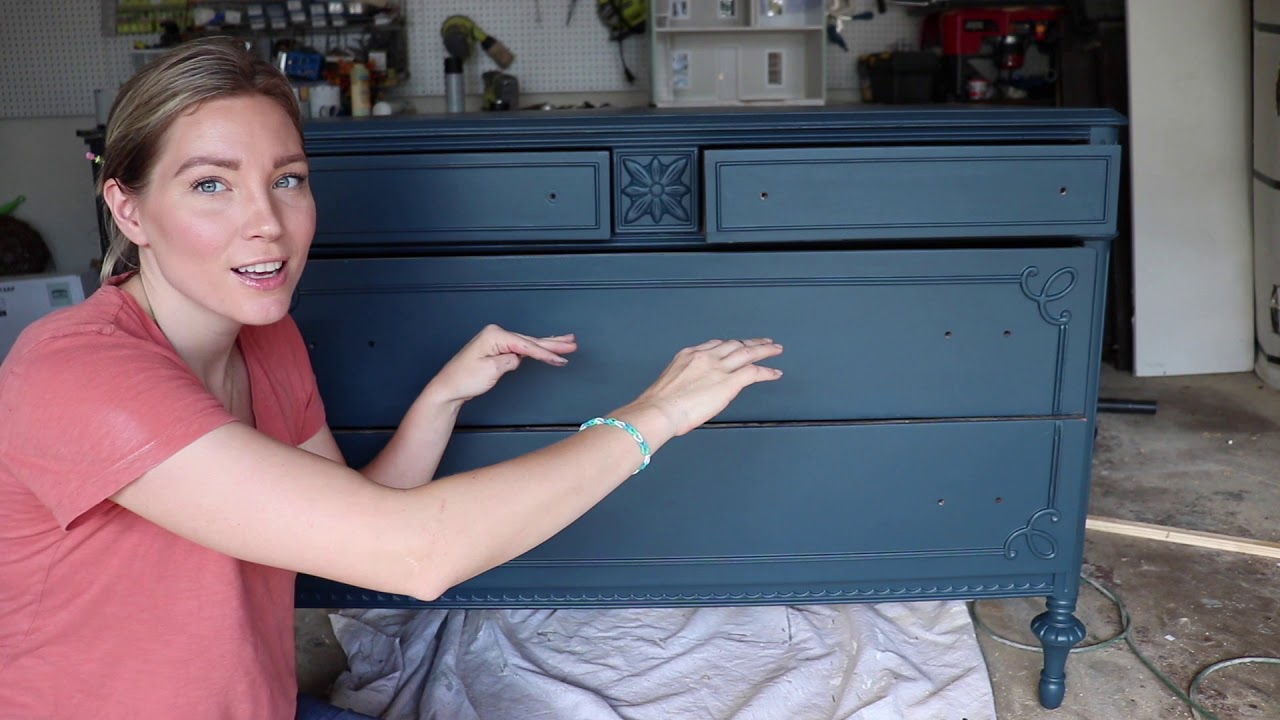
Welcome to our guide on how to paint a wooden dresser! Whether you have an old dresser that needs a fresh makeover or you want to transform a new dresser to match your home decor, painting can be a fun and rewarding project. Not only does painting a wooden dresser give it a new lease on life, but it also allows you to customize it to your own personal style and taste.
In this article, we will walk you through the step-by-step process of painting a wooden dresser. From gathering the necessary supplies to applying the final coat of paint, we’ll cover everything you need to know to achieve a professional-looking finish. So, let’s roll up our sleeves and get started!

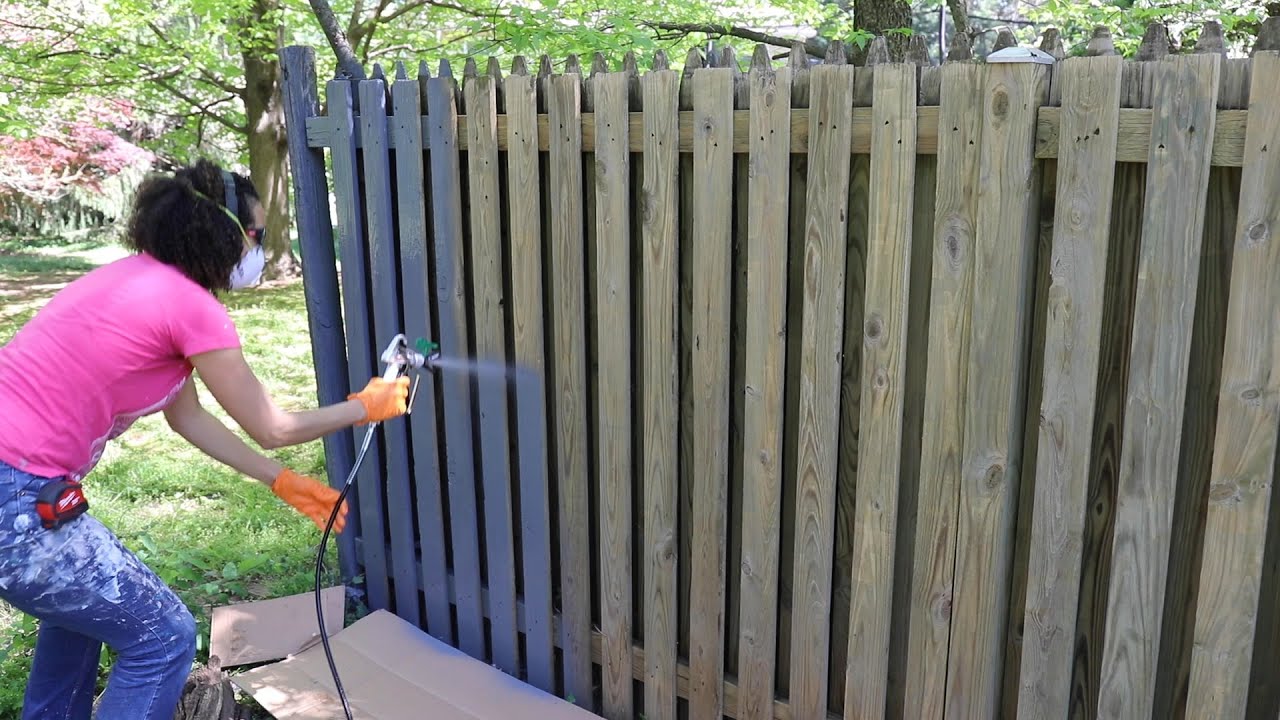
But before we dive into the painting process, there are a few essential things to keep in mind. First, make sure to choose a well-ventilated area to work in, as paint fumes can be strong. Additionally, proper preparation and attention to detail are key to achieving a flawless finish. Taking the time to clean, sand, and prime the dresser will ensure that the paint adheres properly and lasts for years to come.
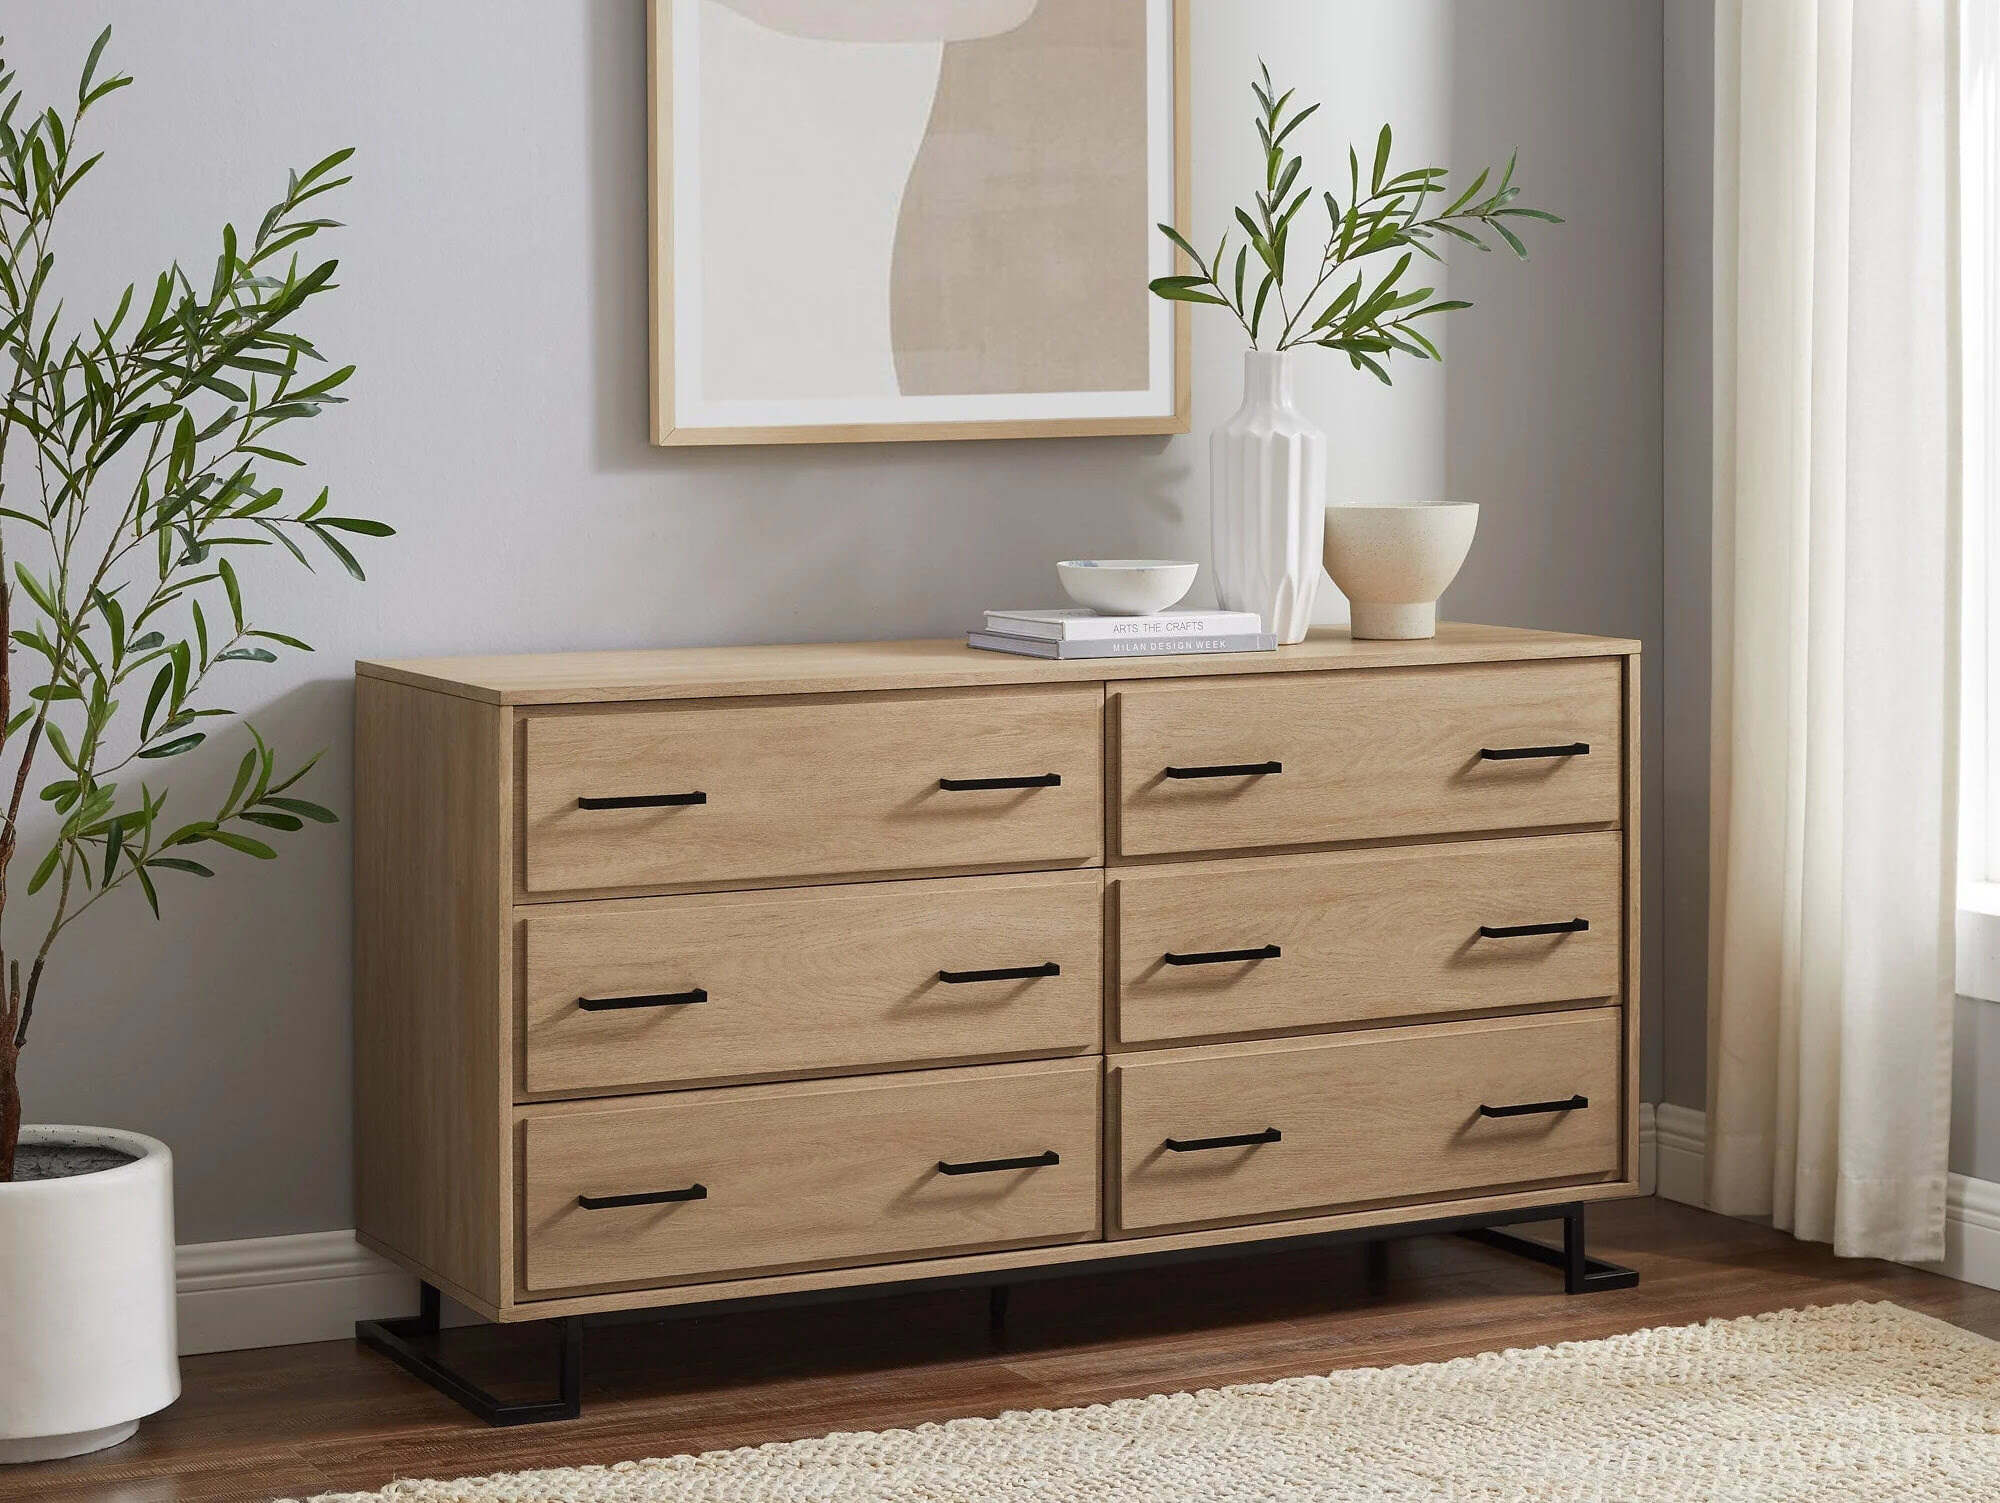
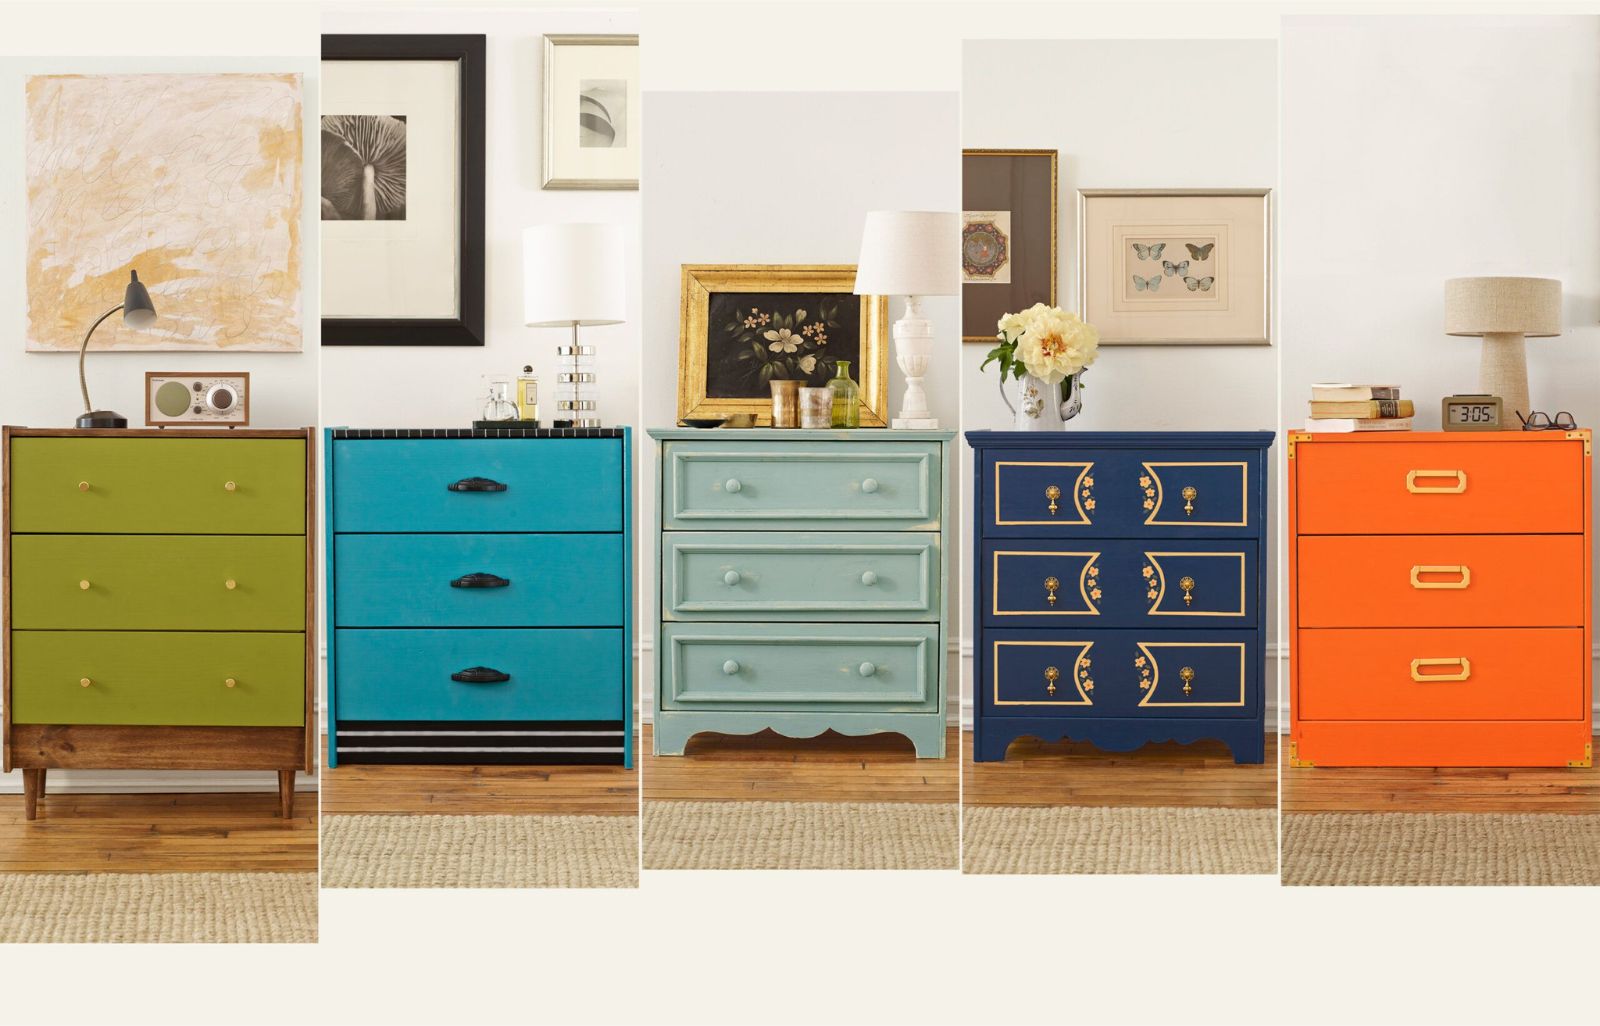
Lastly, don’t be afraid to get creative with color choices! Painting a dresser is a chance to add a pop of color or to create a subtle, neutral piece that fits seamlessly into your space. Whether you prefer bold and vibrant shades or soft and muted tones, the paint you choose can have a big impact on the overall look and feel of the dresser.
Now that we have covered the basics, let’s move on to the first step: gathering the necessary supplies.
Key Takeaways:
- Transforming a wooden dresser with paint is a rewarding DIY project that allows for personalization and creativity. Proper preparation, including cleaning, sanding, and priming, is essential for achieving a professional-looking finish.
- Choosing the right paint, applying it evenly, and allowing ample drying time are crucial for a flawless result. Optional steps such as applying a second coat or a protective topcoat can enhance the durability and appearance of the painted dresser.
Read more: How To Paint A White Wooden Dresser
Step 1: Gather Supplies
Before you begin painting your wooden dresser, it’s essential to gather all the necessary supplies. Having everything you need on hand will help ensure a smooth and efficient painting process. Here is a list of the supplies you’ll need:
- Painter’s tape
- Drop cloths or old newspapers
- Sandpaper (medium and fine grit)
- Tack cloth or a soft, lint-free cloth
- Primer
- Paint of your choice
- Paintbrushes (angled brush for corners and a larger brush for flat surfaces)
- Paint tray
- Optional: Paint rollers and extension pole
- Optional: Topcoat for added protection and durability
When selecting your paint, consider the type of finish you want. Satin or semi-gloss paint works well for dressers as it is durable and easy to clean. Also, keep in mind that the amount of paint you’ll need depends on the size of your dresser and how many coats you plan to apply.
Once you have gathered all of your supplies, make sure to choose a well-ventilated area to work in. It’s also a good idea to cover the surrounding area with drop cloths or old newspapers to protect it from any paint splatters or drips.
With your supplies ready, you are now prepared to move on to the next step: preparing the dresser for painting.
Step 2: Prepare the Dresser
Preparing the dresser before painting is crucial for achieving a smooth and long-lasting finish. This step involves cleaning the surface, removing any hardware, and ensuring that the dresser is free from dust, dirt, and imperfections. Here’s how to prepare your wooden dresser:
- Remove any hardware: Start by removing all the knobs, handles, and other hardware from the dresser. This will make it easier to paint and avoid any accidental drips or smudges on the hardware.
- Clean the surface: Use a mild detergent diluted in water to clean the dresser. Gently scrub the surface with a soft cloth or sponge to remove any dirt, grime, or grease. Rinse thoroughly and allow the dresser to dry completely before moving on to the next step.
- Fill any imperfections: Inspect the dresser for any dents, scratches, or holes. Use a wood filler to fill in these imperfections. Follow the manufacturer’s instructions for application and drying time. Once the filler is dry, sand it lightly to ensure a smooth surface.
- Tape off any areas: If there are any parts of the dresser that you don’t want to paint, such as decorative trim or edges, use painter’s tape to tape off those areas. This will create clean lines and prevent the paint from bleeding onto unwanted surfaces.
By properly preparing the dresser, you are creating an ideal surface for the paint to adhere to, resulting in a professional-looking finish. Once you have completed these preparation steps, you are ready to move on to the next step: sanding the surface.
Step 3: Sand the Surface
Sanding the surface of the dresser is an essential step in preparing it for paint. Sanding helps to smooth out any rough areas, removes old finishes or paint, and creates a rough surface that allows the primer and paint to adhere better. Here’s how to sand the surface:
- Select the appropriate sandpaper: Depending on the condition of your dresser and the level of roughness you want to achieve, choose the appropriate grit sandpaper. For initial sanding, start with medium-grit sandpaper (around 120 to 150 grit). Follow up with fine-grit sandpaper (around 220 grit) for a smoother finish.
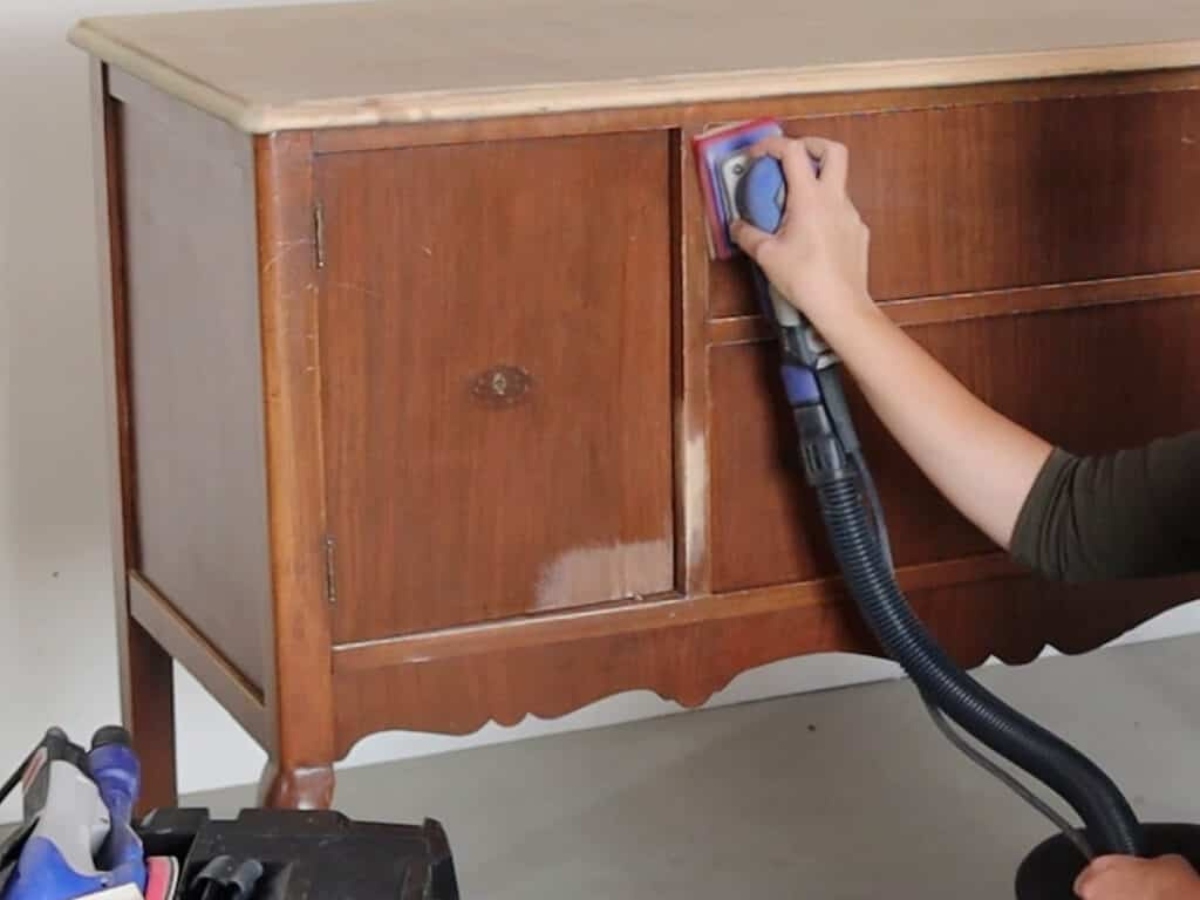
- Sand in the direction of the grain: Use long, even strokes and sand in the direction of the wood grain. This will help prevent any visible scratches or marks on the surface. Be sure to sand all surfaces of the dresser, including the top, sides, and drawers.
- Pay attention to corners and crevices: Use a sanding block or folded sandpaper to reach any tight corners or crevices that may be difficult to access with a regular sanding tool. Take your time and be thorough in your sanding process.
- Remove sanding dust: After sanding, use a tack cloth or a soft, lint-free cloth to remove any sanding dust from the dresser. This will ensure a clean surface for the next step.
Sanding the surface of the dresser not only helps the paint adhere better, but it also smooths out any imperfections, giving you a clean canvas to work with. Once the surface is fully sanded and dust-free, you’re ready to move on to the next step: priming the dresser.
Step 4: Prime the Dresser
Priming the dresser is an important step in the painting process, as it creates a smooth and even base for the paint to adhere to. Primer also helps to seal the wood and prevent any tannins or stains from bleeding through the paint. Here’s how to prime your dresser:
- Choose the right primer: Select a high-quality primer suitable for the type of paint you will be using. If you plan to paint with latex-based paint, use a latex primer. For oil-based paint, choose an oil-based primer. Make sure the primer is specifically designed for wood surfaces.
- Stir the primer: Before beginning, stir the primer thoroughly to ensure a consistent mixture. This will help the primer apply smoothly and evenly.
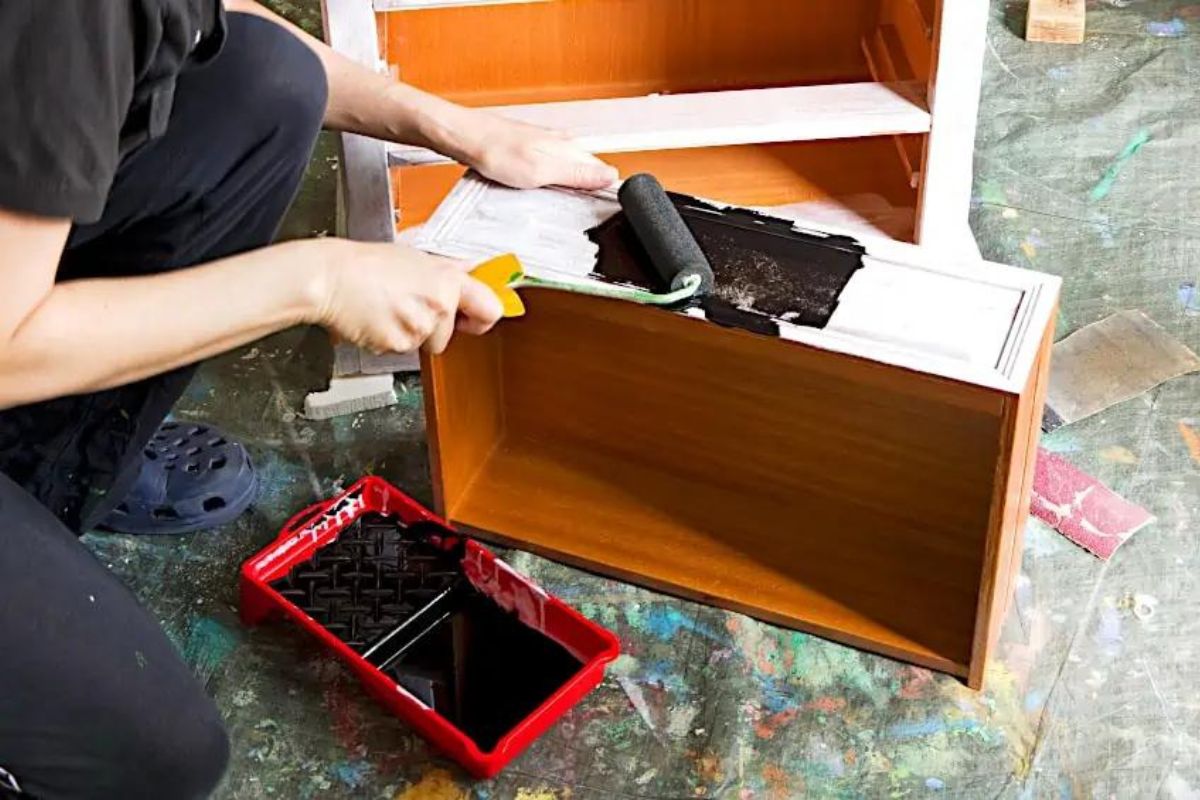
- Apply the primer: Use a paintbrush or a paint roller to apply a thin and even coat of primer to the surfaces of the dresser. Work in long, smooth strokes, following the direction of the wood grain. Make sure to cover all areas, including the edges, corners, and intricate details.
- Allow the primer to dry: Check the manufacturer’s instructions for the recommended drying time. Typically, it takes around 1-2 hours for the primer to dry. Ensure that each coat is completely dry before moving on to the next step.
- Sand the primer (optional): If you notice any rough spots or imperfections on the primed surface, lightly sand them using fine-grit sandpaper. This will create an even smoother surface for the paint to adhere to.
- Remove the primer dust: After sanding, wipe away any dust or debris using a tack cloth or a soft, lint-free cloth.
Priming your dresser will not only enhance the adherence of the paint but also improve the overall durability and longevity of the painted finish. Once the primer is dry, you’re now ready to move on to the exciting part: choosing and applying the paint!
Before painting a wooden dresser, make sure to sand the surface to remove any existing finish and create a smooth base for the new paint to adhere to. This will ensure a professional and long-lasting finish.
Read more: How To Clean A Wooden Dresser
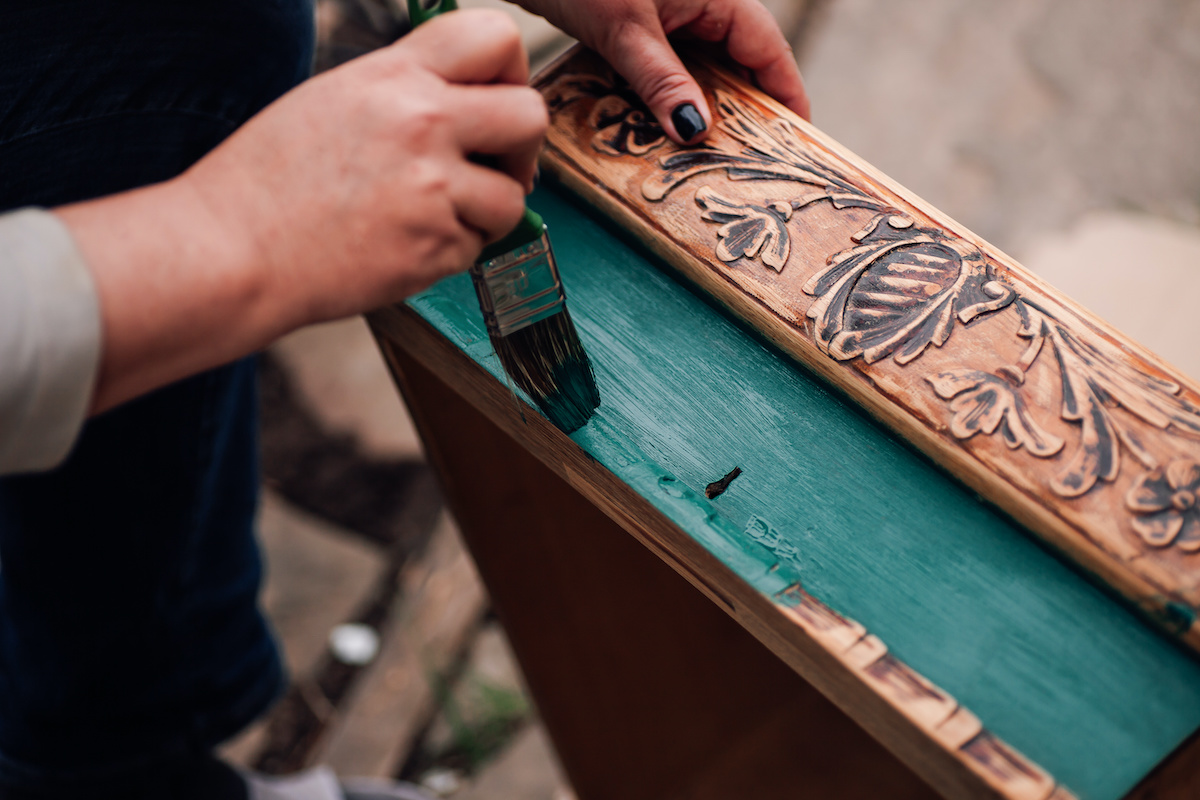
Step 5: Choose and Apply the Paint
Choosing the right paint for your dresser is crucial for achieving the desired look and durability. Consider the style and color scheme of your space, as well as the type of finish you prefer. Here’s how to choose and apply the paint:
- Select the paint: Choose a high-quality paint suitable for the surface, such as latex or oil-based paint. Satin or semi-gloss finishes work well for dressers as they are durable and easy to clean. Consider the color palette of your room and select a paint color that complements your decor.
- Stir the paint: Before you start painting, thoroughly stir the paint to ensure a consistent color and texture.
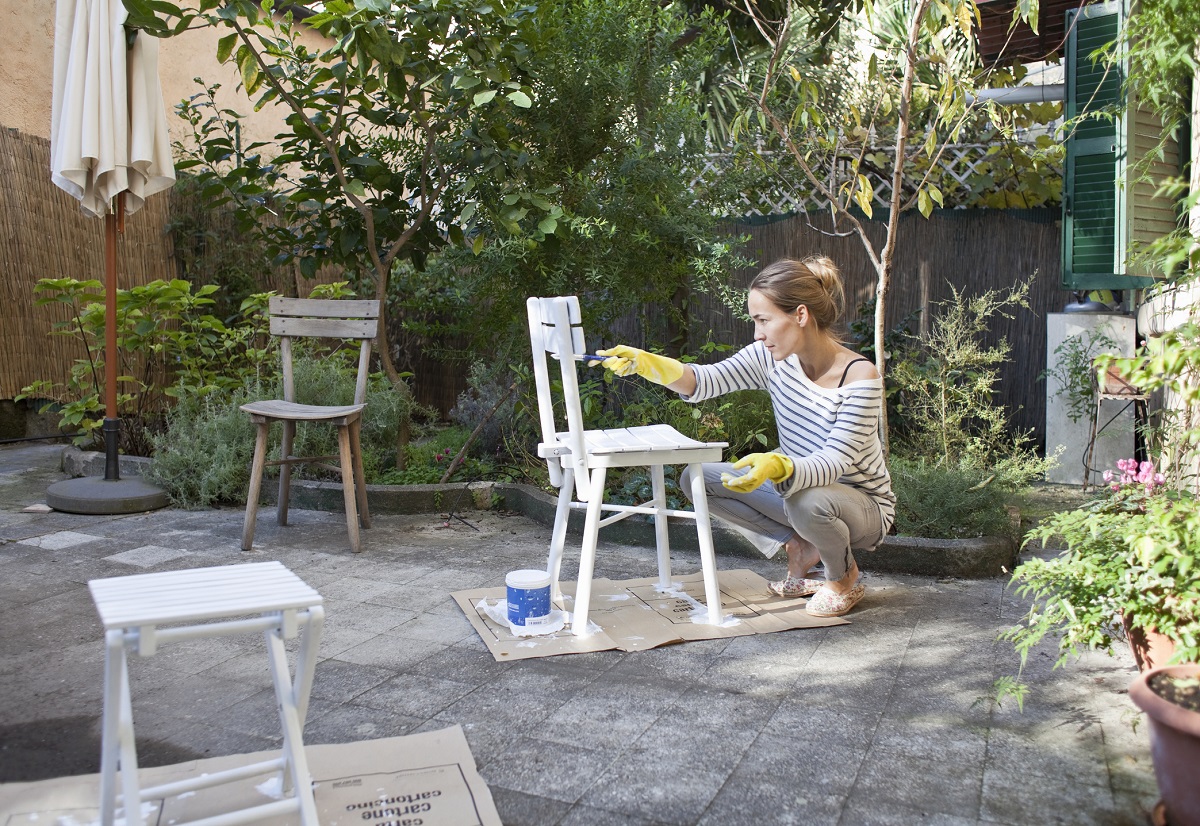
- Apply the paint: Use a paintbrush or a paint roller to apply an even coat of paint to the dresser. Begin with the larger surfaces, making long, smooth strokes in the direction of the wood grain. For corners and edges, use a smaller brush to ensure precision. Work systematically to avoid overlapping and visible brush marks.
- Allow the paint to dry: Follow the manufacturer’s instructions for the recommended drying time between coats. Typically, it takes around 2-4 hours for the paint to dry. Ensure that each coat is completely dry before applying the next one.
- Apply additional coats (if necessary): Depending on the coverage and desired finish, you may need to apply additional coats of paint. Allow each coat to dry before applying the next one. Be patient and take your time to achieve the desired result.
When applying the paint, it’s crucial to maintain a consistent thickness and avoid drips or streaks. Take breaks between coats to inspect the painted surface and make any necessary touch-ups or corrections. Remember to paint all sides of the dresser, including the drawers and any visible interior surfaces.
Once you have applied the final coat of paint and it is completely dry, you are ready to move on to the next step: allowing the paint to fully dry.
Step 6: Allow the Paint to Dry
After applying the final coat of paint to your dresser, it’s important to allow ample time for the paint to dry. Proper drying ensures that the paint cures correctly and creates a durable, long-lasting finish. Here’s what you need to do to allow the paint to dry effectively:
- Follow the manufacturer’s instructions: Check the paint can or label for the recommended drying time. It may vary depending on the type and brand of paint you’re using. Generally, latex paint takes around 24 hours to dry, while oil-based paint may take longer.
- Create proper airflow: Provide good ventilation in the area where the dresser is drying. Open windows or use fans to increase air circulation and help expedite the drying process. This will also help dissipate any lingering paint fumes.
- Avoid touching or moving the dresser: During the drying period, it’s important to resist the temptation to touch or move the dresser. Even if the surface feels dry to the touch, the paint may still be curing underneath. Wait until the recommended drying time has passed before handling the dresser.
- Protect the drying surface: To prevent accidental damage to the painted surface, place the dresser in a safe and clean area where it won’t be bumped or scratched. If necessary, cover it loosely with a cloth to protect it from dust or debris while it dries.
Proper drying time is crucial for achieving a flawless finish on your painted dresser. Rushing the drying process can lead to smudges, smears, or imperfections in the paint. Allow the dresser to dry undisturbed for the recommended time, ensuring a professional-looking result.
Once you’re confident that the paint is fully dry, you can move on to the optional steps of applying a second coat of paint or a topcoat for added protection and durability.
Step 7: Apply a Second Coat (Optional)
Applying a second coat of paint to your dresser is an optional step, but it can greatly enhance the overall appearance and durability of the finished piece. A second coat helps to create a more even and opaque finish, covering any areas that may have been missed or appear slightly transparent. Here’s how to apply a second coat of paint:
- Check the first coat: Before applying a second coat, carefully examine the dresser to assess the coverage and opacity of the first coat. If there are areas where the wood or primer is still visible, or if the color appears uneven, a second coat will help to achieve a more solid and consistent finish.
- Ensure proper drying: Make sure that the first coat of paint is completely dry before applying the second coat. Follow the recommended drying time specified by the paint manufacturer to ensure optimal results.
- Prepare the surface: Lightly sand the dried first coat using fine-grit sandpaper. This will help to create a smoother surface and remove any imperfections or raised brush marks. After sanding, remove any dust with a tack cloth or lint-free cloth.
- Apply the second coat: Using the same techniques as the first coat, apply the second coat of paint to the dresser. Use even strokes, following the direction of the wood grain, and cover all surfaces evenly. Pay special attention to any areas that may need additional coverage.
- Allow the paint to dry: Once again, follow the manufacturer’s instructions for the drying time between coats. It’s essential to allow the second coat to dry completely before proceeding to the next step.
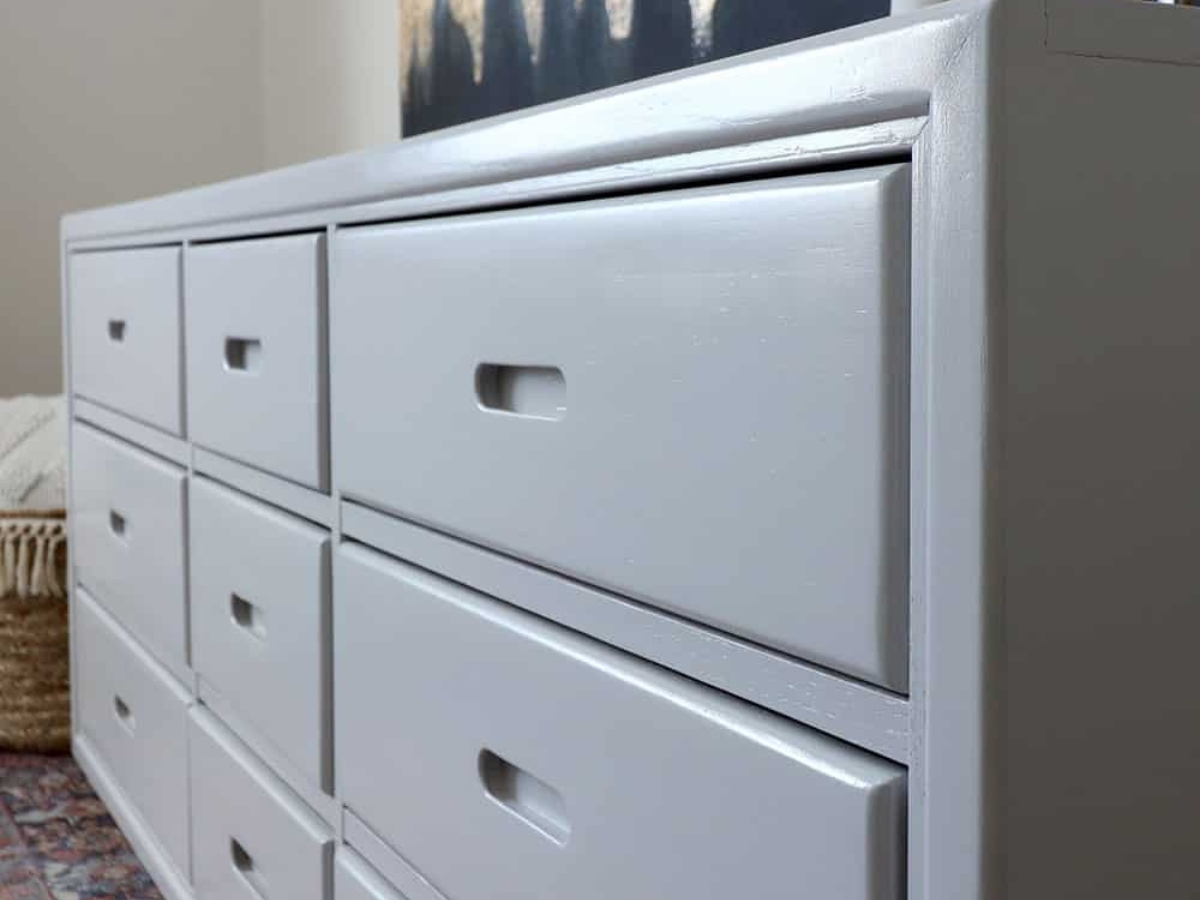
Applying a second coat of paint provides a more polished and professional finish to your dresser. It helps to achieve a more solid and vibrant color, covering up any minor imperfections and ensuring a consistent appearance throughout the piece. This extra layer of paint also adds an extra level of durability and protection to the surface of the dresser.
After applying the second coat of paint and allowing it to dry, you can decide if the dresser’s appearance is satisfactory or if you would like to proceed with an optional topcoat for added protection.
Step 8: Apply a Topcoat (Optional)
Applying a topcoat to your painted dresser is an optional step, but it can provide additional protection and durability to the finish. A topcoat acts as a protective barrier, shielding the paint from wear and tear, as well as moisture and stains. Here’s how to apply a topcoat to your dresser:
- Choose the right topcoat: Select a topcoat that is compatible with the type of paint you used on your dresser. There are various options available, such as water-based polyurethane, acrylic sealer, or wax. Consider factors like the level of sheen you desire and the level of protection needed for your specific project.
- Prepare the surface: Before applying the topcoat, ensure that the painted surface is clean and free from any dust or debris. Use a tack cloth or lint-free cloth to wipe away any particles that may have settled on the dresser.
- Apply the topcoat: Using a brush or roller specifically designed for the type of topcoat you are using, apply an even and thin layer of the product to the entire surface of the dresser. Follow the manufacturer’s instructions regarding the application method and drying time.
- Allow the topcoat to dry: Once the topcoat is applied, allow it to dry completely. This may take several hours or longer, depending on the specific product and environmental conditions. Avoid touching or moving the dresser during this time.
- Apply additional coats (if desired): Depending on the level of protection you desire, you may choose to apply additional coats of the topcoat. Allow each coat to dry fully before proceeding to the next one.
Applying a topcoat not only enhances the appearance of your painted dresser but also provides an added layer of protection against scratches, moisture, and daily wear and tear. The type of topcoat you choose will determine the level of sheen and the specific benefits it offers.
Once the topcoat is dry, you can proceed to reattach any hardware that was removed and prepare to enjoy your beautifully painted and protected dresser!
Read more: How To Clean Wooden Dresser Drawers
Step 9: Reattach Hardware
After the paint and any optional topcoat have fully dried, it’s time to reattach the hardware to your dresser. Reattaching the hardware will provide the finishing touches to your newly transformed piece. Follow these steps to properly reattach the hardware:
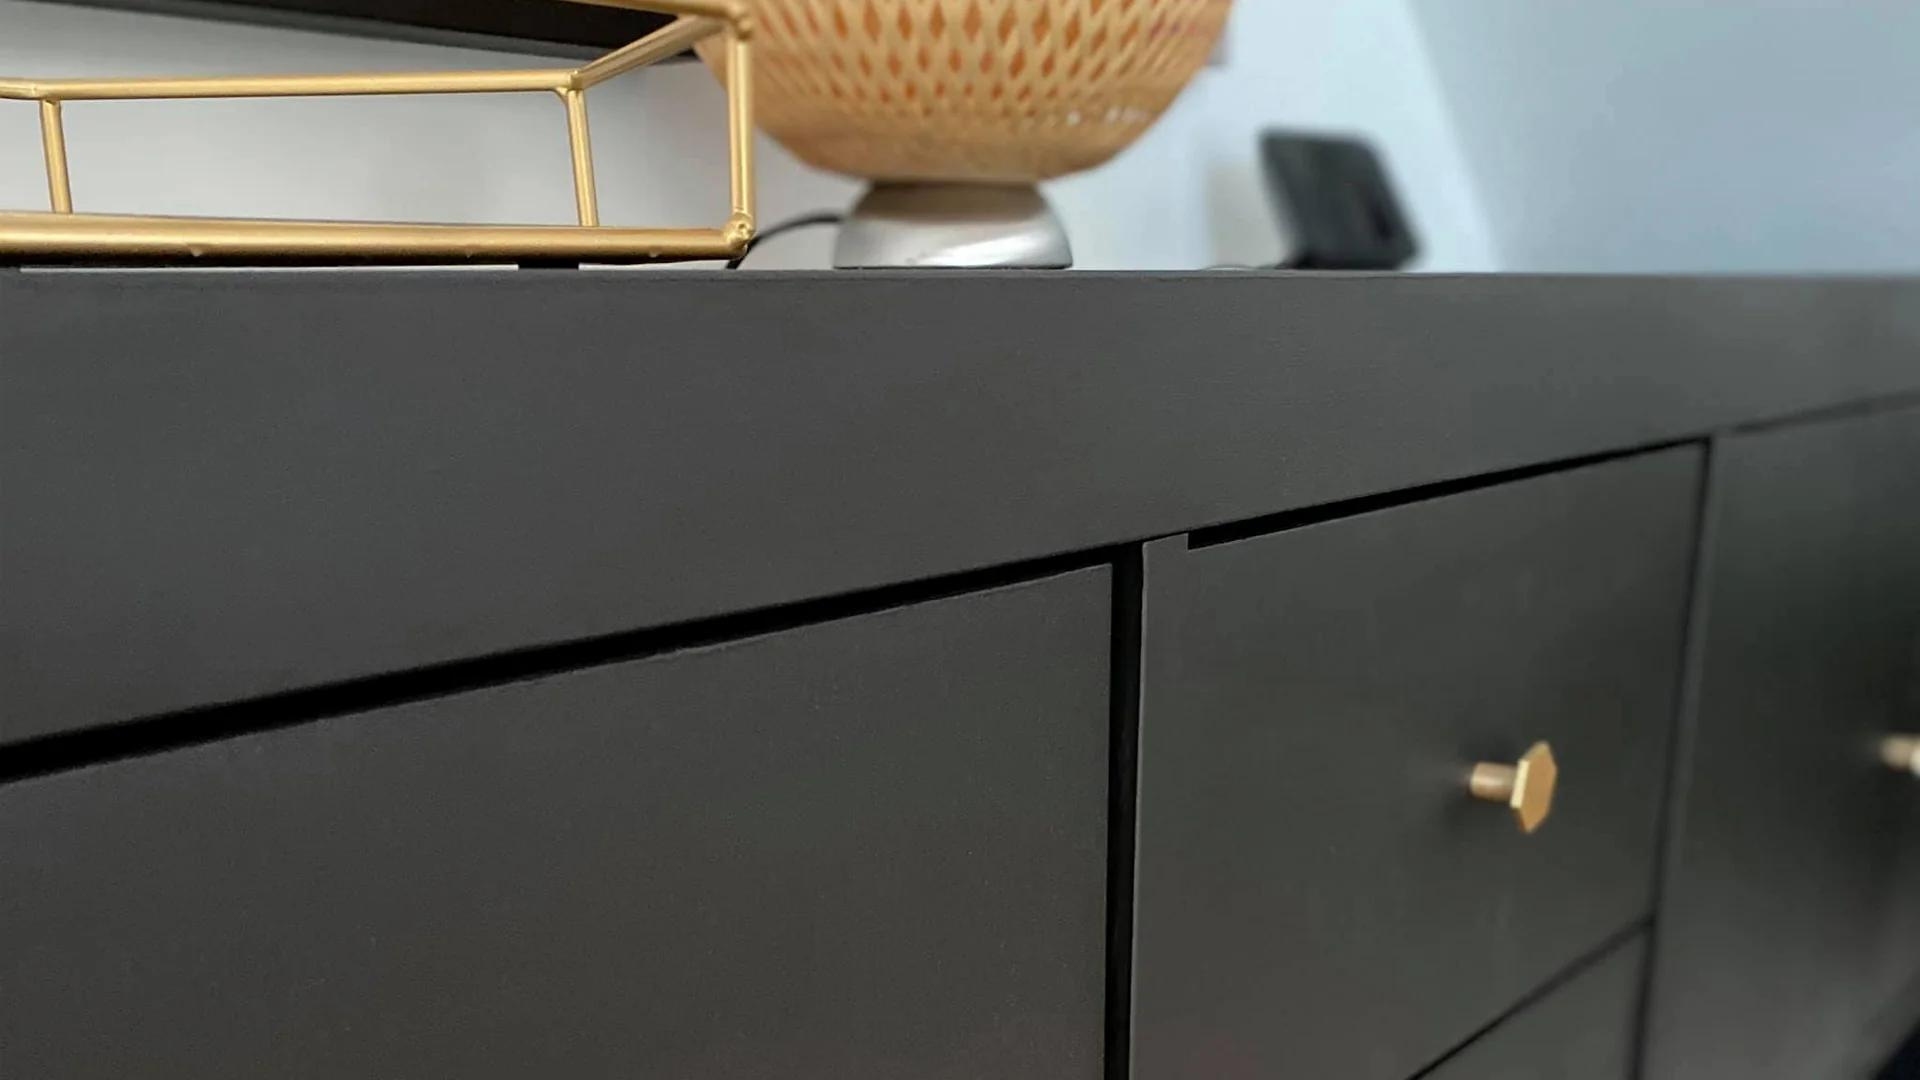
- Gather the hardware: Collect all the knobs, handles, and any other hardware that you removed from the dresser before painting. Ensure that you have all the pieces and that they are clean and in good condition.
- Align the hardware: Carefully align each piece of hardware with its corresponding hole on the dresser. Make sure that the hardware is facing the correct direction and is straight. Take your time to ensure a precise alignment.
- Screw in the hardware: Once the hardware is aligned, insert the screws into the holes and tighten them using a screwdriver or the appropriate tool. Take care not to overtighten, as this could damage the wood or strip the screws.
- Test the hardware: After reattaching all the hardware, give it a gentle tug to ensure that it is securely fastened. Check that the knobs or handles do not wiggle or feel loose. If necessary, adjust the screws slightly for a better fit.
Reattaching the hardware adds both functionality and aesthetic appeal to your dresser. It completes the overall look and allows you to use the drawers and doors with ease. Take your time during this step to ensure that all the hardware is properly installed.
Now that your dresser is fully painted, protected, and equipped with its hardware, it’s time to step back and admire your newly transformed piece!
Frequently Asked Questions about How To Paint A Wooden Dresser
Was this page helpful?
At Storables.com, we guarantee accurate and reliable information. Our content, validated by Expert Board Contributors, is crafted following stringent Editorial Policies. We're committed to providing you with well-researched, expert-backed insights for all your informational needs.


0 thoughts on “How To Paint A Wooden Dresser”