Articles
When To Take Bread Out Of Bread Machine
Modified: May 6, 2024
Discover when the ideal time is to remove bread from your bread machine with our informative articles, offering tips and guidelines for perfect, delicious results.
(Many of the links in this article redirect to a specific reviewed product. Your purchase of these products through affiliate links helps to generate commission for Storables.com, at no extra cost. Learn more)
Introduction
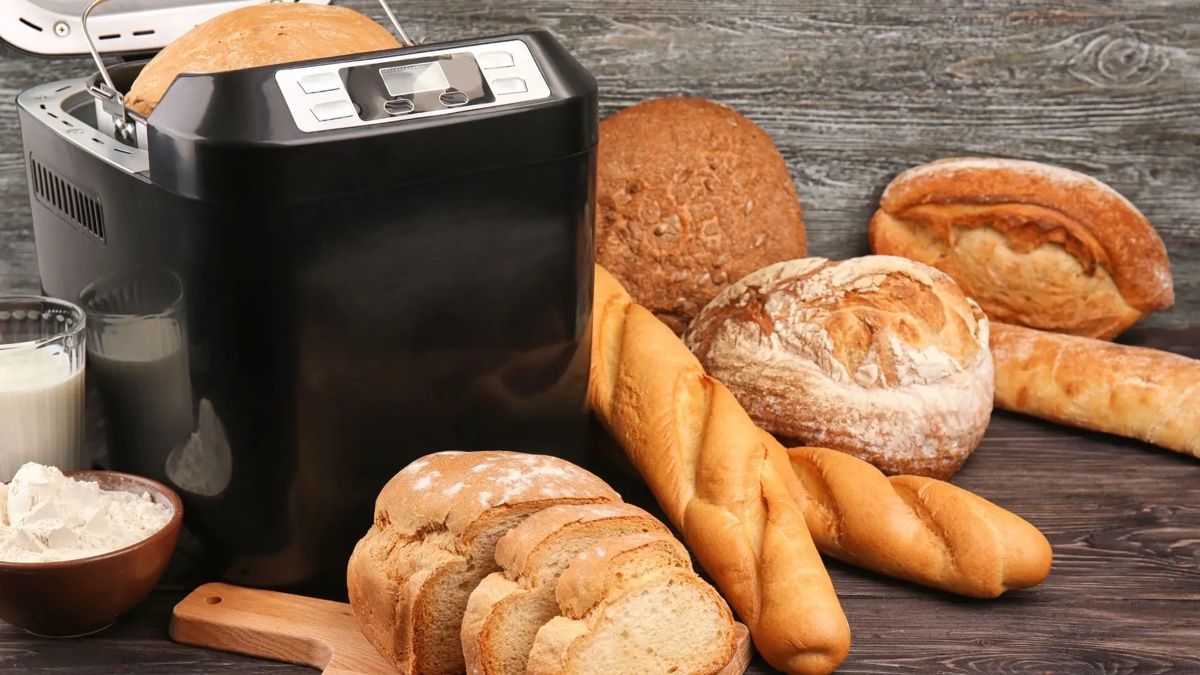
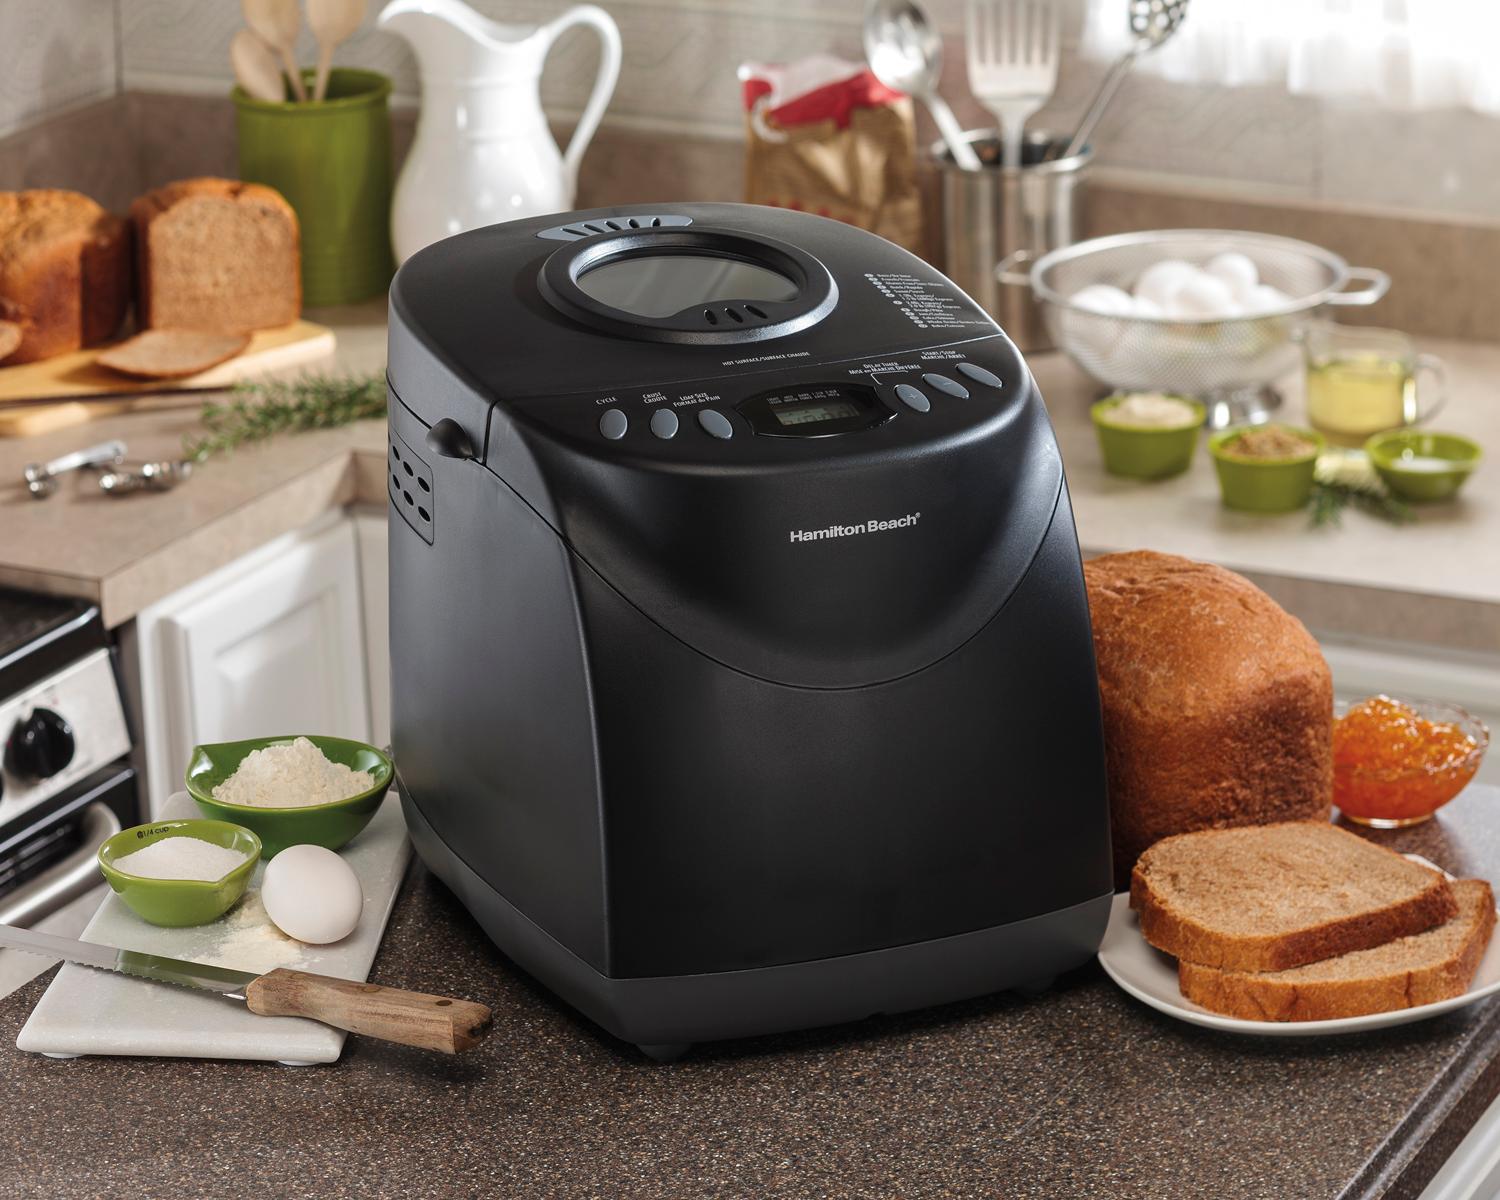
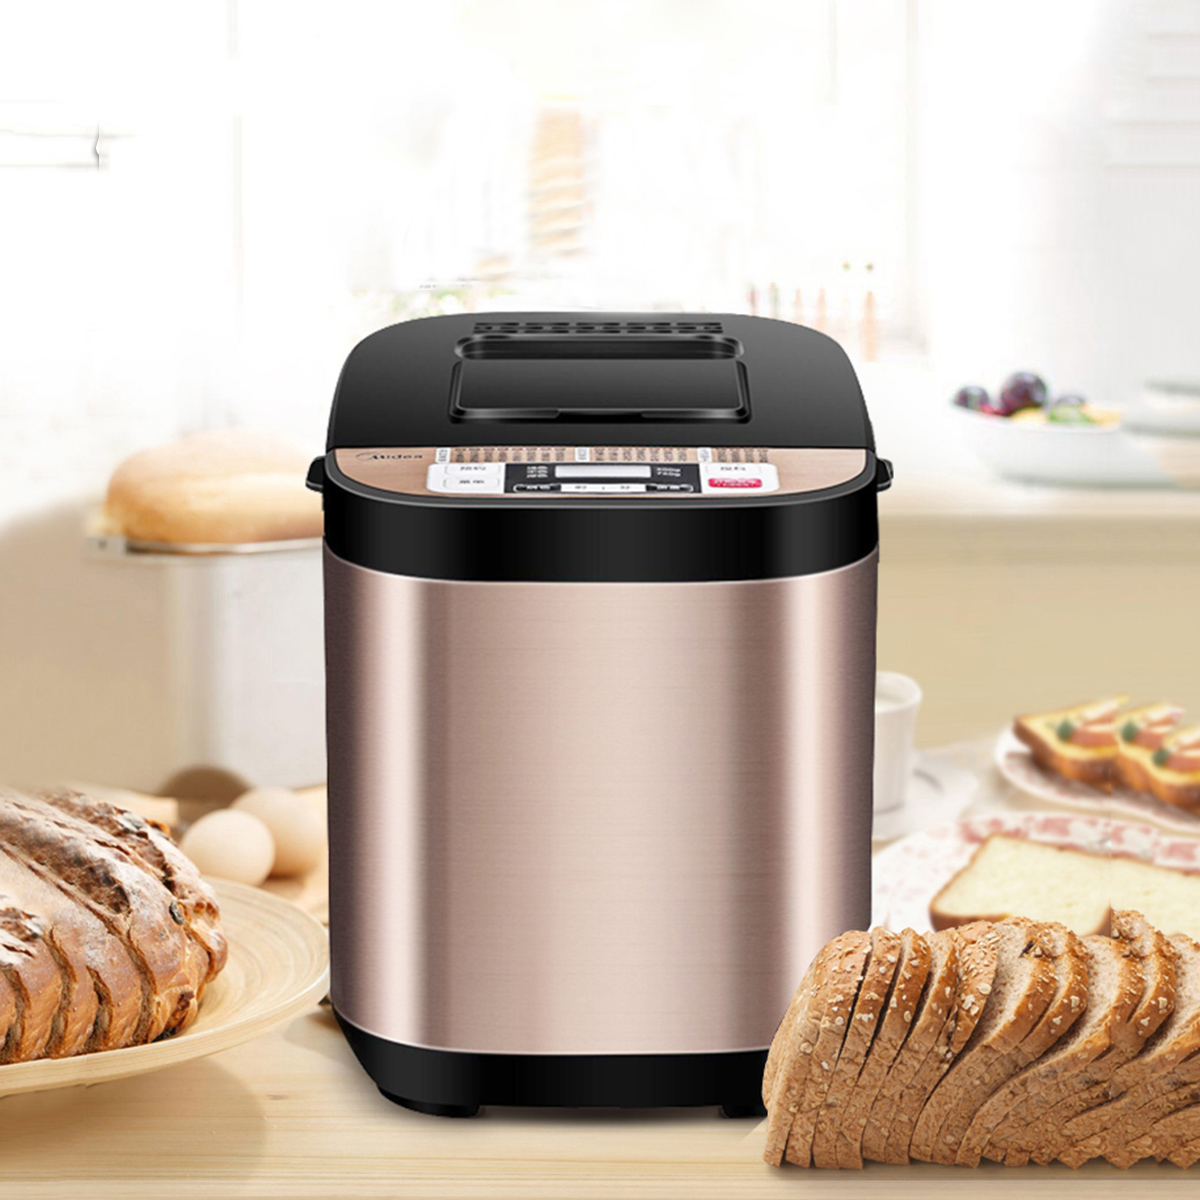
Welcome to the world of bread machines! These incredible appliances have revolutionized the way we bake bread at home. With just a few simple ingredients and the touch of a button, you can have delicious, freshly-baked bread ready to enjoy in no time.
However, one question that often arises when using a bread machine is when to take the bread out. It can be a bit tricky to determine the perfect time, as over or undercooking can greatly affect the texture and taste of the final product.
In this article, we will guide you through the process of determining the optimal time to take your bread out of the bread machine. We will explore the inner workings of bread machines, factors to consider when determining doneness, and different types of bread that require unique baking times. By the end, you’ll be equipped with all the knowledge you need to confidently bake perfect bread with your machine.
So, let’s dive in and uncover the mysteries of when to take bread out of the bread machine!
Key Takeaways:
- Master the art of bread machine baking by considering factors like recipe, bread size, crust color, and gluten content to confidently determine the optimal time to take your bread out.
- Use simple tests like the skewer or toothpick method to ensure your bread is perfectly baked, resulting in delicious homemade loaves every time.
Understanding Bread Machines
Before we delve into the intricacies of determining when to take bread out of the bread machine, let’s first understand how these magical appliances work.
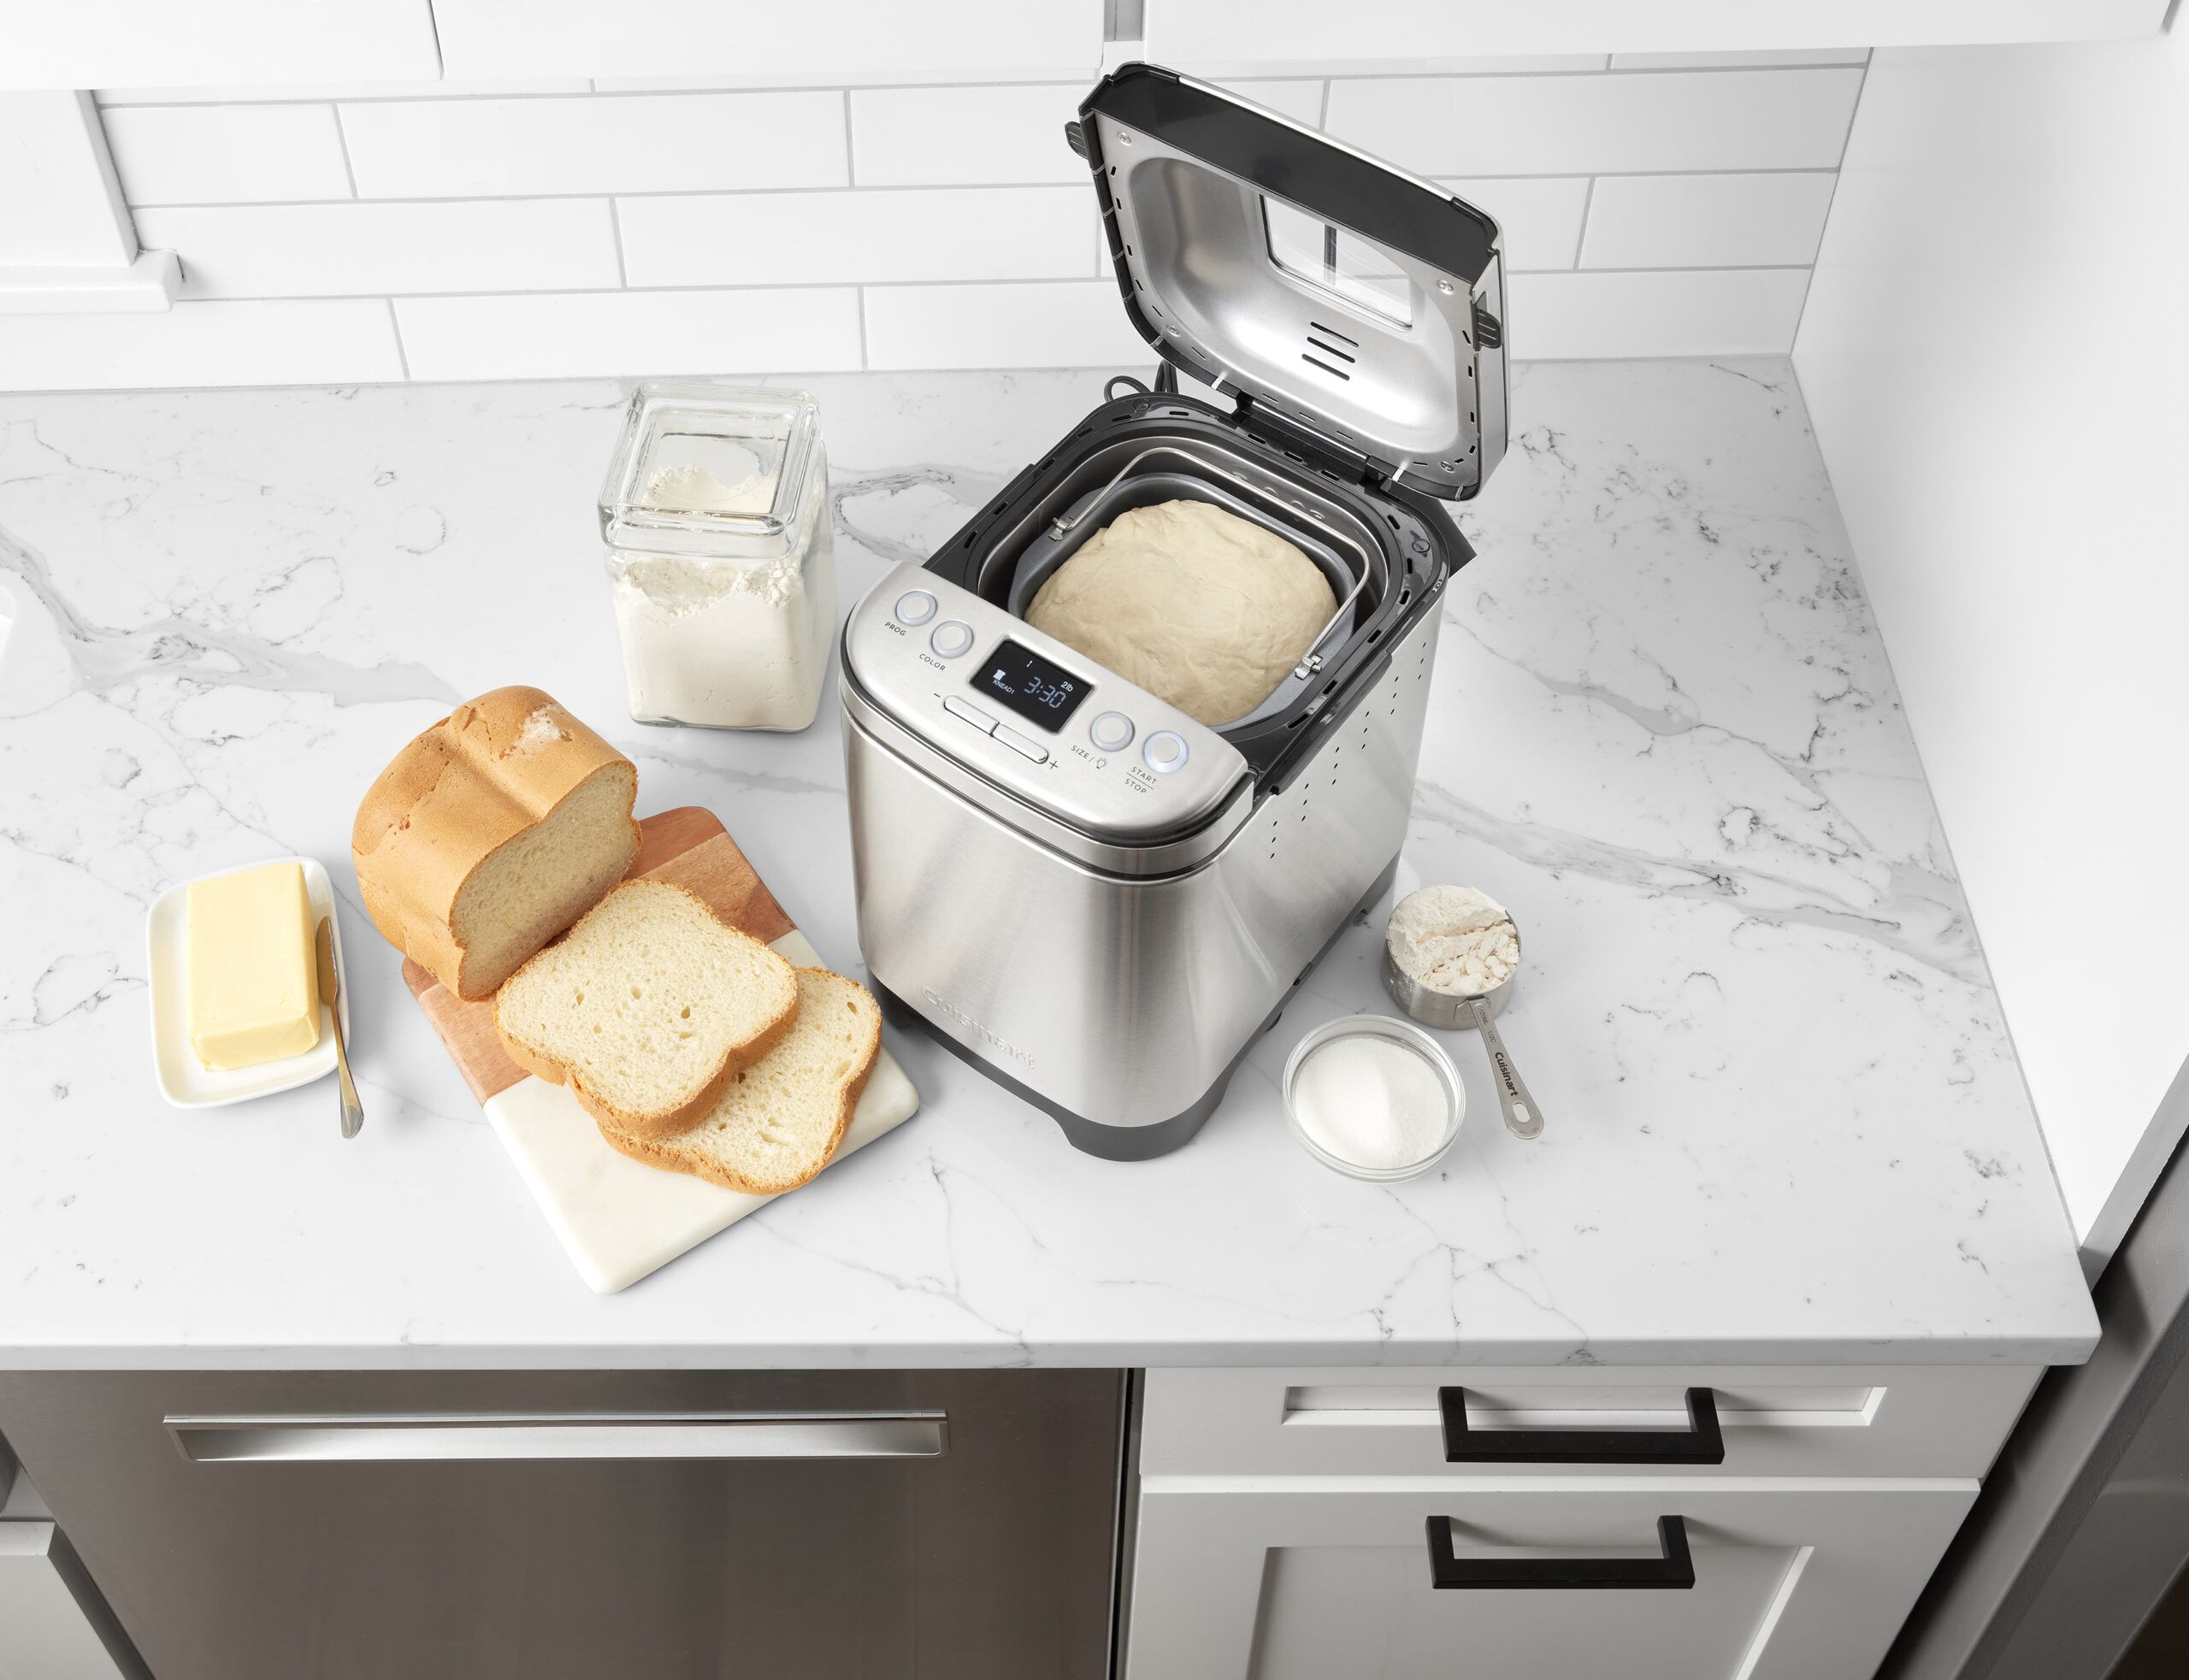
Bread machines, also known as breadmakers, are compact kitchen appliances that automate the process of bread baking. They consist of a bread pan, a kneading paddle, and a heating element. The machine takes care of mixing, kneading, rising, and baking the bread, allowing you to effortlessly enjoy homemade bread with minimal effort.
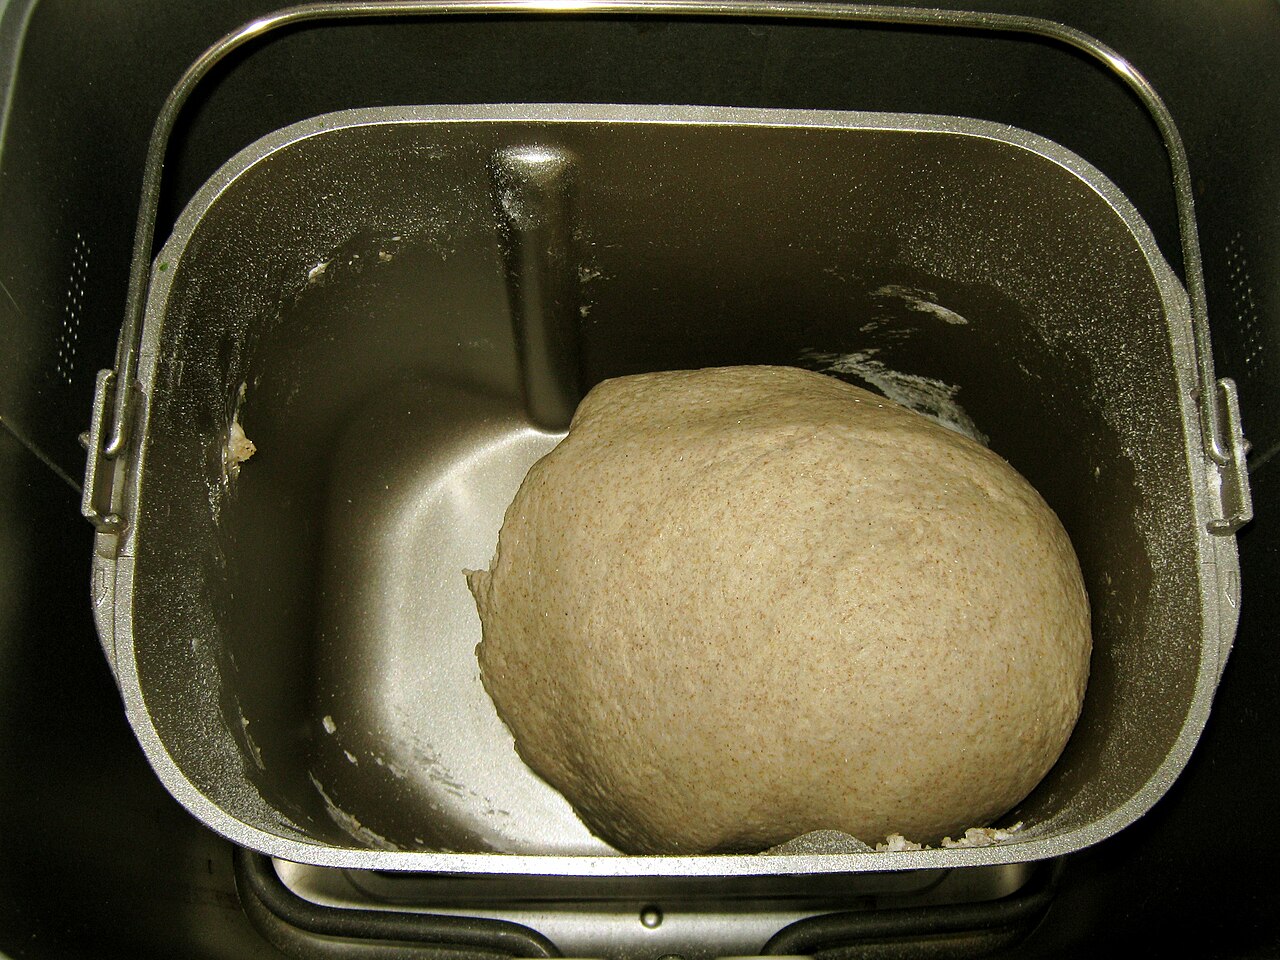
When you load your ingredients into the bread machine, the first step is generally the mixing phase. The machine gently stirs the ingredients together, ensuring they are evenly blended. Once mixed, the machine transitions into the kneading phase. The kneading paddle vigorously works the dough, developing the gluten and giving your bread its structure and texture.
After the kneading phase, the dough is left to rise. The machine provides the perfect environment for the dough to proof, with a consistent temperature and humidity level. Once the dough has risen to the desired size, the machine begins the baking phase. The heating element kicks in, and the bread is baked until it reaches a golden brown color and a deliciously aromatic aroma fills your kitchen.
Now that we have a basic understanding of how bread machines work, let’s explore the factors that come into play when it comes to determining the optimal time to take the bread out of the machine.
The Bread Machine Baking Process
The bread machine baking process can be divided into several key stages: mixing, kneading, rising, and baking. Each stage plays a crucial role in achieving a perfectly baked loaf of bread.
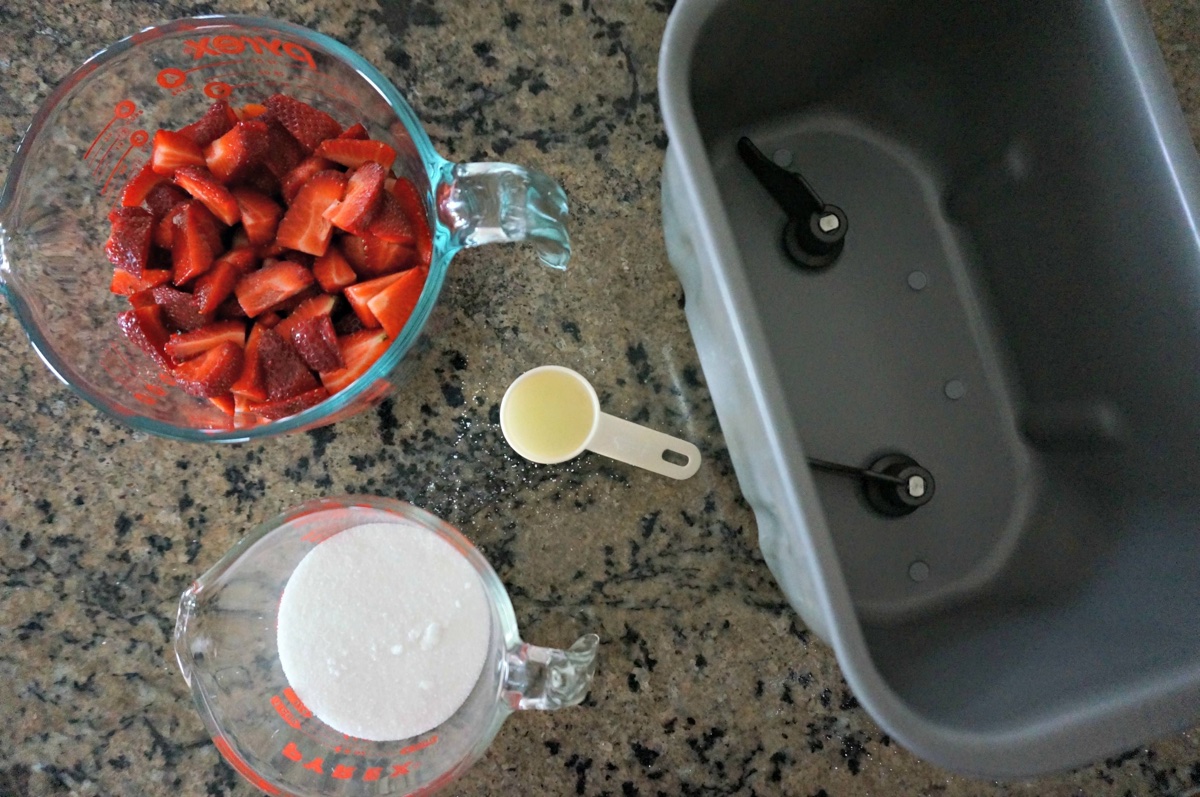
Mixing: The first stage of the bread machine baking process is the mixing phase. This is when all the ingredients, including flour, yeast, salt, sugar, and liquids, are combined in the bread pan. The machine uses paddles or blades to mix the ingredients thoroughly, ensuring they are evenly distributed.
Kneading: After the mixing phase, the machine moves on to the kneading stage. This is where the dough is worked and stretched, allowing the gluten to develop. The kneading process gives the bread its structure, texture, and elasticity.
Rising: Once the dough has been adequately kneaded, it’s time for it to rise. During this stage, the yeast ferments and produces carbon dioxide, causing the dough to expand. The bread machine provides a warm and controlled environment for the dough to rise, ensuring optimal fermentation and flavor development.
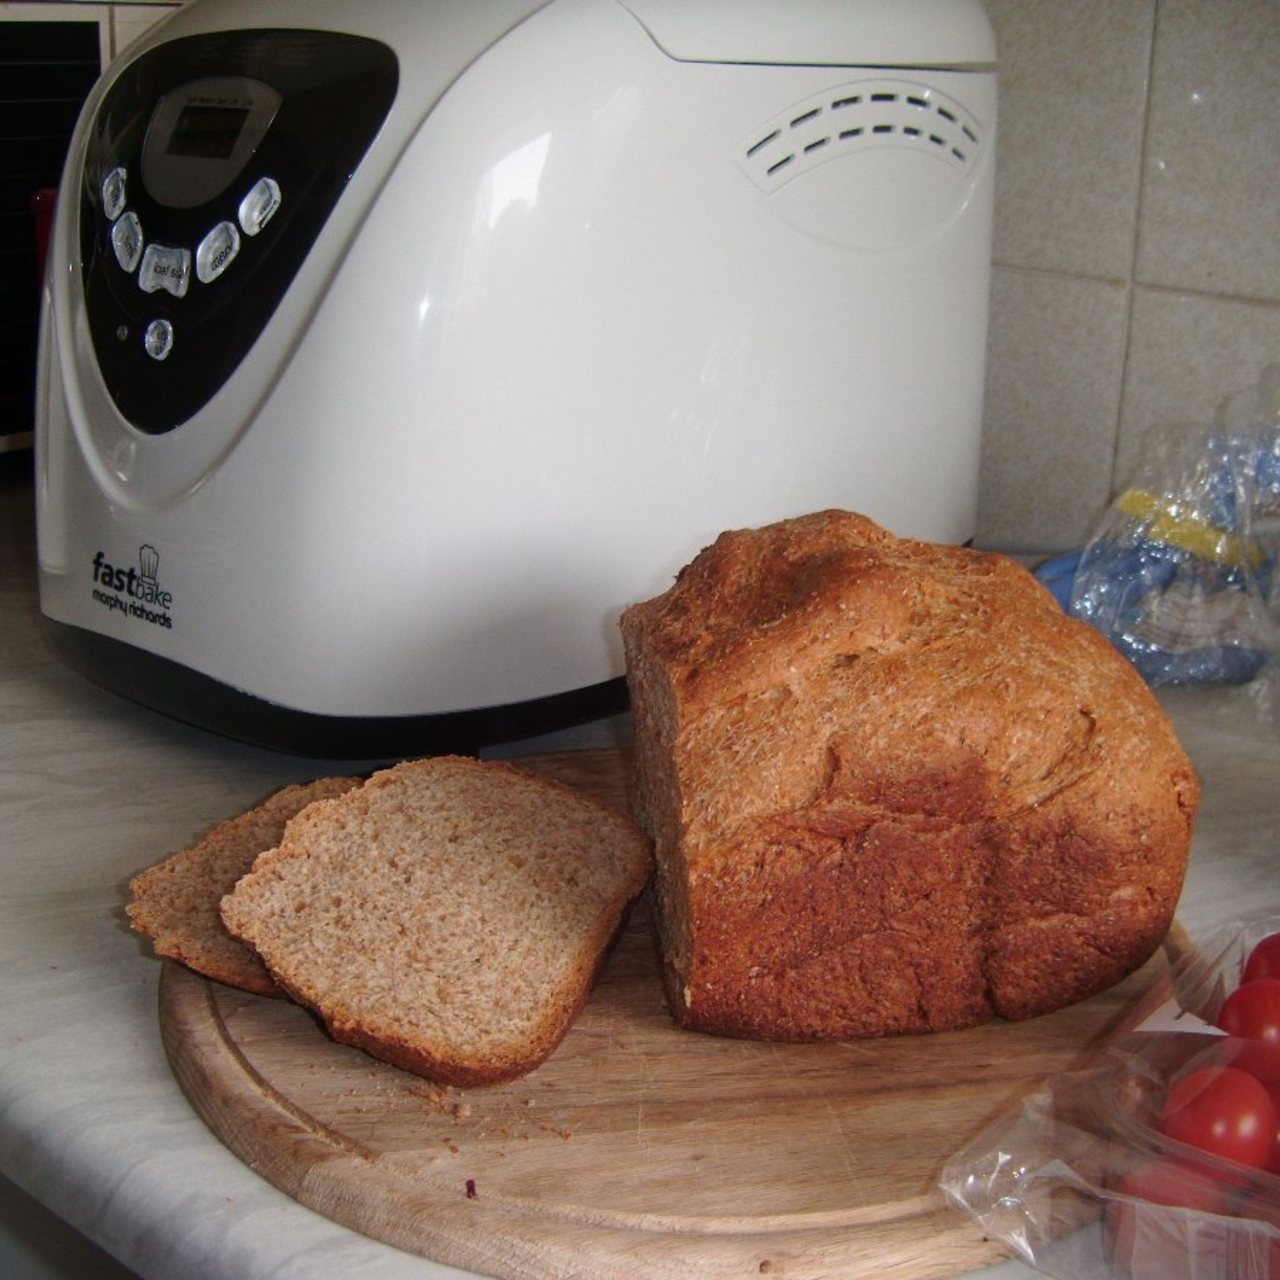
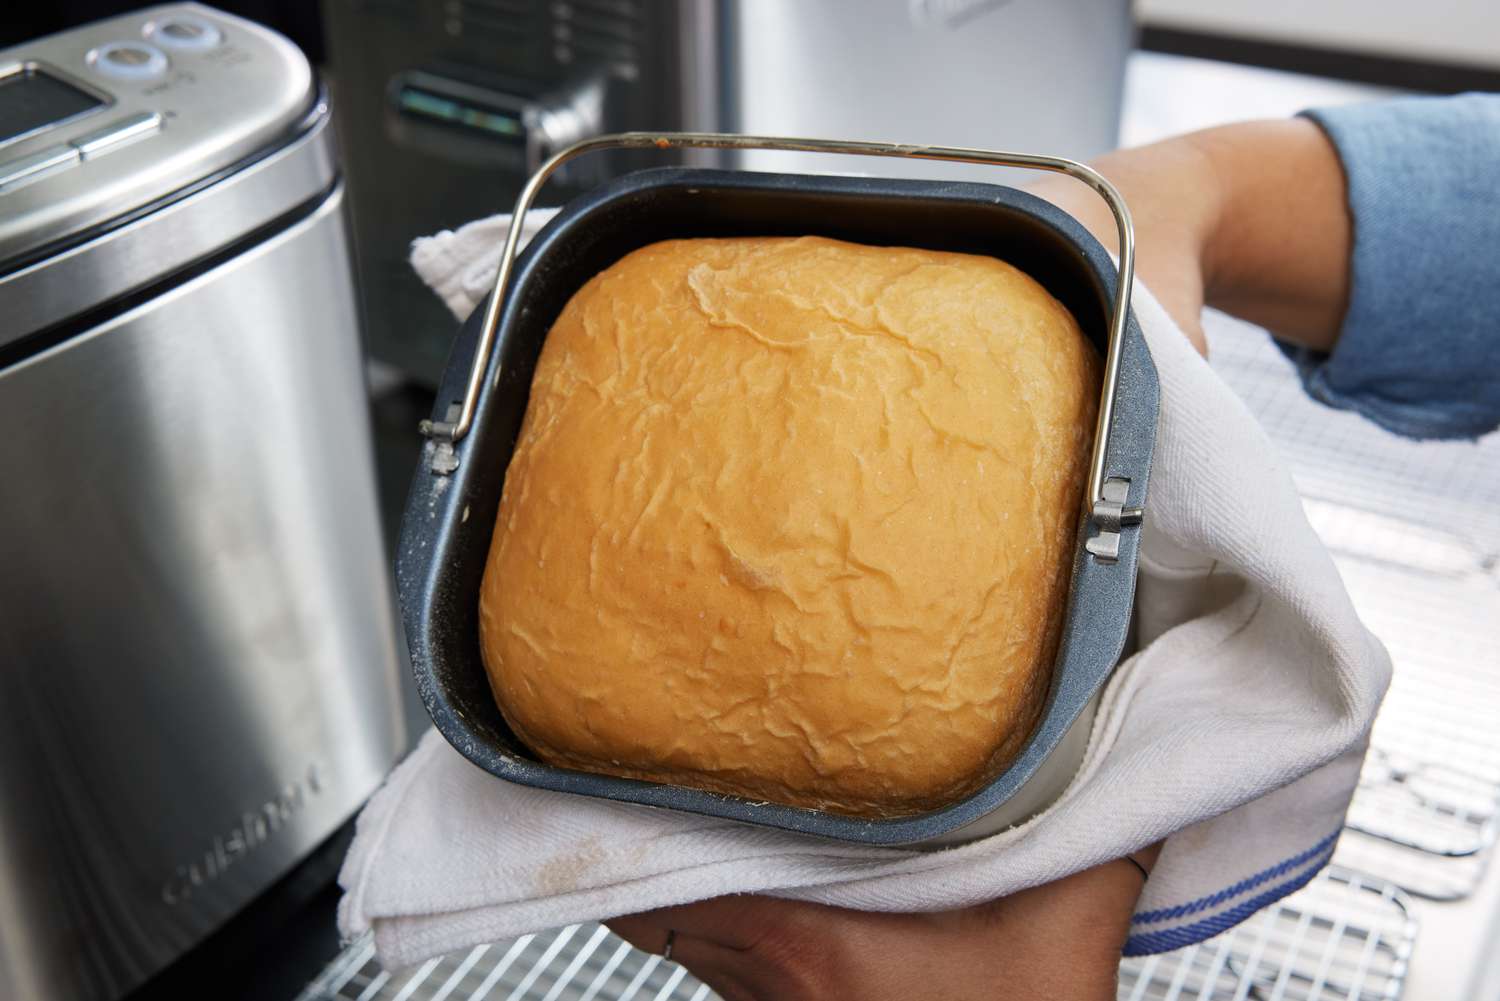
Baking: After the dough has risen to its desired size, the baking phase begins. The heating element in the bread machine activates, and the dough transforms into a beautifully golden and cooked loaf of bread. The baking time will depend on various factors, including the type of bread, size of the loaf, and your personal preferences.
Now that we have a better understanding of the bread machine baking process, let’s move on to discussing the factors you need to consider when determining the optimal time to take your bread out of the machine.
Factors to Consider
When it comes to determining the optimal time to take your bread out of the bread machine, several key factors should be taken into consideration:
1. Recipe: Different bread recipes have varying baking times. Some may require longer baking times due to the ingredients used, such as high-fiber or dense breads. It’s important to follow the recipe instructions and adjust the baking time accordingly.
2. Bread Size: The size of the bread loaf can affect the baking time. Larger loaves will generally require more time to bake compared to smaller ones. If you’re unsure about the optimal baking time for your bread size, refer to the bread machine’s user manual or consult the recipe guidelines.
3. Crust Color: Another factor to consider is the desired crust color. If you prefer a lighter crust, you may want to take the bread out of the machine earlier. On the other hand, if you love a deep, rich crust, you might want to leave the bread in the machine for a few extra minutes.
4. Gluten Content: The gluten content in your bread can also impact the baking time. Bread with a high gluten content may take longer to bake, as the gluten structure requires more time to set and develop properly.
5. Ambient Temperature: The temperature of your kitchen or the environment where the bread machine is placed can affect the baking time. If the room is colder, it may take longer for the bread to bake. You can compensate for this by adjusting the baking time or using warmer ingredients.
6. Testing for Doneness: The most reliable way to determine if your bread is ready is by testing for doneness. This can be done by inserting a skewer or toothpick into the center of the bread. If it comes out clean with no sticky dough attached, your bread is likely fully baked.
By considering these factors, you can confidently determine the optimal time to take your bread out of the bread machine and ensure a perfectly baked loaf every time.
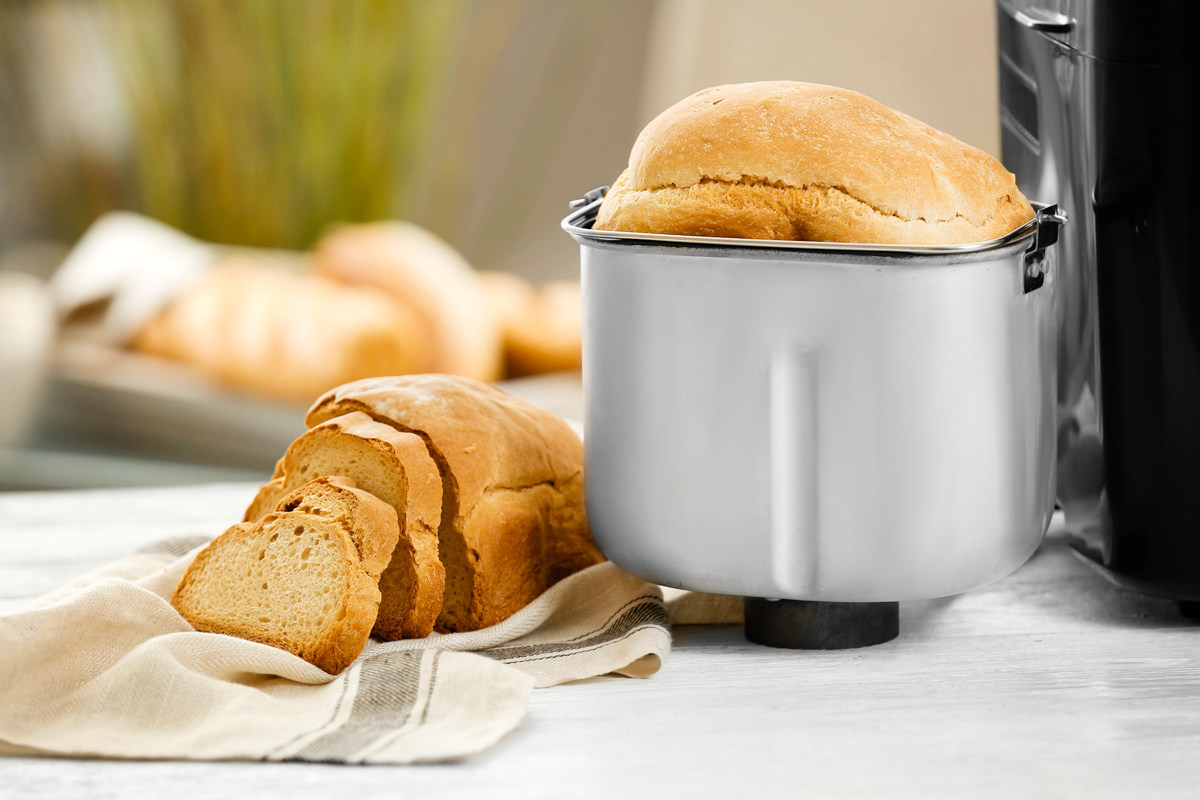
When using a bread machine, it’s best to remove the bread from the machine as soon as the baking cycle is complete. Allowing the bread to cool outside the machine will prevent it from becoming soggy.
Types of Bread
When it comes to bread machines, there is a wide variety of bread types that you can bake. Understanding the different types of bread and their specific baking requirements will help you determine the optimal time to take your bread out of the machine.
1. White Bread: White bread is a classic and versatile option. It is made with refined wheat flour and has a light and fluffy texture. White bread typically requires a shorter baking time as it doesn’t contain any additional ingredients that may impact the baking process.
2. Whole Wheat Bread: Whole wheat bread is made from whole wheat flour, which contains all parts of the wheat grain. It has a denser texture and a nuttier flavor compared to white bread. Whole wheat bread typically requires a longer baking time due to the higher protein and fiber content, which affects the fermentation and baking process.
3. Multigrain Bread: Multigrain bread is made from a combination of various grains, such as oats, barley, flaxseed, and millet. It provides a hearty and nutritious option. Baking time for multigrain bread can vary depending on the specific grains used and their texture.
4. Gluten-Free Bread: Gluten-free bread is made without any gluten-containing grains, such as wheat, barley, or rye. Instead, alternative flours like rice flour, almond flour, or tapioca flour are used. Gluten-free bread often requires a longer baking time because the absence of gluten affects the structure and rise of the bread.
5. Sweet Bread: Sweet breads, like cinnamon raisin bread or banana bread, contain sugar, fruits, or spices, which add flavor and sweetness. The baking time for sweet breads may be longer due to the additional moisture from the fruits and sugar content.
6. Artisan Bread: Artisan bread is characterized by its rustic appearance, chewy texture, and intense flavor. It often requires a longer baking time to develop the crust and enhance the flavors.
Each type of bread has its own unique characteristics and may require specific adjustments in baking time. By familiarizing yourself with the different types of bread, you can better determine when to take your specific bread out of the bread machine.
Determining the Optimal Time
Now that we have covered the factors to consider and the different types of bread, let’s discuss how to determine the optimal time to take your bread out of the bread machine.
1. Recipe and Machine Guidelines: Start by consulting the recipe instructions and the user manual of your specific bread machine. These resources will provide you with a recommended baking time range for the type of bread you are making. Use this as a starting point and adjust as needed based on the factors mentioned earlier.
2. Visual Indicators: Pay attention to the appearance of the bread during the baking process. As the bread bakes, it will undergo a transformation from doughy to golden brown. When the crust reaches your desired color, this can be an indication that the bread is close to being done. However, keep in mind that the crust color alone is not a foolproof indicator of doneness.
3. Internal Temperature: To ensure that your bread is fully baked, you can use an instant-read thermometer to measure the internal temperature. The optimal temperature for fully baked bread is generally around 190-205°F (88-96°C). Insert the thermometer into the center of the loaf to get an accurate reading. If the temperature falls within the recommended range, your bread is likely done.
4. Finger Tap Test: Another method to determine if your bread is fully baked is by performing a finger tap test. Gently tap the top of the loaf with your fingers. If the bread sounds hollow and the crust feels firm, it is a good indication that the bread is done. However, it’s important to combine this test with other methods to ensure accuracy.
5. Testing for Doneness: As mentioned earlier, one of the most reliable ways to check if your bread is done is by using the skewer or toothpick test. Insert a skewer or toothpick into the center of the loaf, and if it comes out clean with no sticky dough attached, your bread is likely fully baked.
Remember that practice makes perfect, and each bread machine may have slight variations in baking time. It may take a few tries to find the optimal timing for your specific machine and preferences. Don’t be discouraged if your first few loaves are not perfect; use the factors and tests mentioned here as a guide and make adjustments accordingly.
With time and experience, you’ll become more confident in determining the optimal time to take your bread out of the bread machine, resulting in delicious homemade bread that is perfectly baked to your liking.
Test for Doneness
One of the most reliable methods to determine if your bread is fully baked and ready to be taken out of the bread machine is by conducting a simple test for doneness. This test involves inserting a skewer or toothpick into the center of the bread and observing the results.
Here is how to perform the test for doneness:
- Wait for the bread machine’s baking cycle to complete or at least reach the recommended baking time for the specific type of bread you are making.
- Open the lid of the bread machine and carefully remove the bread pan using oven mitts or potholders to avoid burning yourself.
- Insert a clean skewer or toothpick into the center of the loaf. Make sure to insert it all the way down to the bottom of the loaf.
- Slowly pull out the skewer or toothpick and examine it for any signs of uncooked dough.
If the skewer or toothpick comes out clean, with no sticky dough clinging to it, then your bread is likely fully baked and ready to be taken out of the bread machine. The center of the loaf should be soft and springy to the touch.
However, if the skewer or toothpick comes out with moist crumbs or sticky dough attached to it, your bread needs more time to bake. Place the bread pan back into the machine, close the lid, and continue the baking process for a few more minutes. Keep testing for doneness periodically until the skewer or toothpick comes out clean.
It’s important to note that the specific baking time may vary depending on the type of bread, the size of the loaf, and the temperature and settings of your bread machine. Always refer to the recipe instructions and machine manual as a general guideline.
Using the skewer or toothpick test is a reliable way to ensure that your bread is fully baked, as it provides a visual and tactile confirmation of doneness. By conducting this simple test, you can avoid underbaked or gummy centers, resulting in perfectly baked bread that is ready to enjoy.
Conclusion
Congratulations! You are now equipped with the knowledge and understanding to determine the optimal time to take your bread out of the bread machine. By considering factors such as the recipe, bread size, crust color, gluten content, ambient temperature, and testing for doneness, you can confidently bake delicious homemade bread that is perfectly baked to your liking.
Remember that each bread machine may have slight variations in baking time, so it may take some experimentation and adjustments to find the ideal timing. Practice and observation will help you develop a better understanding of your specific machine and the type of bread you are baking.
Learning when to take bread out of the bread machine is a skill that will greatly enhance your bread baking experience. You’ll be able to enjoy a fresh loaf of bread with the perfect texture, aroma, and flavor every time.
So, don’t be afraid to try new bread recipes and explore different types of bread. Whether it’s a classic white bread, a hearty whole wheat loaf, or a sweet cinnamon raisin bread, your bread machine will become your trusted partner in creating homemade goodness.
Experiment, have fun, and enjoy the process of baking bread in your machine. With time and experience, you’ll become a bread-baking pro, delighting yourself and your loved ones with homemade bread that rivals any bakery.
Happy bread baking!
Excited about mastering bread making? If you found our guide on the perfect timing to remove bread from a machine useful, you'll love our next piece on crafting bread without relying on a mixer. This article is packed with handy tips that simplify the bread-making process, making it accessible for everyone. Whether you're looking to impress guests or just want to enjoy homemade bread, this guide ensures you'll achieve great results every time. Get ready to turn your kitchen into a bakery!
Frequently Asked Questions about When To Take Bread Out Of Bread Machine
Was this page helpful?
At Storables.com, we guarantee accurate and reliable information. Our content, validated by Expert Board Contributors, is crafted following stringent Editorial Policies. We're committed to providing you with well-researched, expert-backed insights for all your informational needs.

0 thoughts on “When To Take Bread Out Of Bread Machine”