Home>Construction & Tools>Building Materials>How To Install A Brick Veneer Wall
Building Materials
How To Install A Brick Veneer Wall
Modified: January 23, 2024
Learn how to install a brick veneer wall using building materials and step-by-step instructions. Create a beautiful and durable wall with our expert tips.
(Many of the links in this article redirect to a specific reviewed product. Your purchase of these products through affiliate links helps to generate commission for Storables.com, at no extra cost. Learn more)
Introduction
So, you're considering adding a touch of timeless charm and rustic elegance to your living space by installing a brick veneer wall. Congratulations on taking the first step toward enhancing the aesthetic appeal and value of your home!
Brick veneer offers a classic, enduring look that can transform any interior or exterior wall into a focal point. Whether you're aiming to create a cozy fireplace surround, an accent wall in your living room, or an eye-catching facade for your home, the warm, earthy tones and textured surface of brick can bring your vision to life.
In this comprehensive guide, I'll walk you through the step-by-step process of installing a brick veneer wall. From gathering the necessary materials and tools to applying mortar and laying the brick veneer, each stage of the installation is crucial to achieving a professional, durable result. By following these instructions and tips, you'll be well-equipped to tackle this rewarding project with confidence.
Before we dive into the nitty-gritty of brick veneer installation, it's important to note that this process requires attention to detail, patience, and a willingness to get your hands a little dirty. While the end result is undeniably stunning, proper preparation and execution are essential for a successful outcome. So, roll up your sleeves, put on your DIY cap, and let's get started on creating a stunning brick veneer wall that will be the envy of all who behold it!
Key Takeaways:
- Transform your living space with a stunning brick veneer wall by following the step-by-step installation guide. From gathering materials to finishing joints, create timeless charm and enduring value with DIY prowess.
- Achieve a visually stunning and structurally sound brick veneer wall by meticulously preparing the surface, installing metal lath, and laying the brick veneer with precision. Your dedication will create a lasting masterpiece.
Read more: How To Install Exterior Brick Veneer
Step 1: Gather Materials and Tools
Before embarking on the installation of a brick veneer wall, it’s essential to gather all the necessary materials and tools. Ensuring that you have everything at your disposal will streamline the installation process and prevent unnecessary delays. Here’s a comprehensive list of what you’ll need:
Materials:
- Brick veneer
- Metal lath
- Mortar mix
- Portland cement
- Masonry sand
- Water
- Vapor barrier (if installing on an exterior wall)
- Flashing and weep holes (for exterior walls)
- Masonry sealer
Tools:
- Trowel
- Notched trowel
- Wire cutters
- Level
- Tape measure
- Masonry brush
- Mixing paddle
- Bucket for mixing mortar
- Grout bag
- Jointer tool
- Work gloves
- Safety glasses
- Dust mask
It’s crucial to use high-quality materials to ensure the longevity and structural integrity of your brick veneer wall. When selecting brick veneer, consider the color, texture, and size that best align with your design vision. Additionally, investing in durable metal lath and the appropriate mortar mix is essential for a successful installation.
Equipping yourself with the right tools is equally important. From trowels and wire cutters to safety gear, having the proper equipment at hand will facilitate a smoother and safer installation process. With everything gathered and organized, you’re ready to move on to the next step: preparing the surface for the brick veneer installation.
Step 2: Prepare the Surface
Preparing the surface is a critical precursor to installing a brick veneer wall. Whether you’re working on an interior or exterior wall, ensuring that the surface is clean, structurally sound, and properly prepped will contribute to the longevity and visual appeal of the finished project. Here’s a detailed guide on how to prepare the surface for the installation:
Read more: How To Build A Brick Veneer Wall
Interior Wall Preparation:
- Start by removing any existing wall coverings, such as paint or wallpaper, and ensure that the surface is free of dust, debris, and grease.
- Inspect the wall for any cracks, holes, or uneven areas. Patch and repair any imperfections with a suitable filler or patching compound, and allow it to dry completely.
- Once the wall is smooth and even, clean it thoroughly to remove any residual dust or debris. A clean surface will promote better adhesion of the brick veneer.
Exterior Wall Preparation:
- If you’re installing brick veneer on an exterior wall, it’s crucial to install a vapor barrier to prevent moisture infiltration. Ensure that the vapor barrier is properly sealed and overlaps at the seams.
- Inspect the wall for any signs of water damage, mold, or mildew. Address any issues before proceeding with the installation to prevent future complications.
- Install flashing at the base of the wall and around any openings, such as windows and doors. This will help direct water away from the structure and prevent moisture-related issues.
By taking the time to properly prepare the surface, you’ll create a stable and secure foundation for the brick veneer installation. Whether you’re working indoors or outdoors, attention to detail during this stage will contribute to the overall success and durability of your project. With the surface meticulously prepped, you’re now ready to move on to the next phase: installing the metal lath.
Step 3: Install the Metal Lath
Installing the metal lath is a crucial step in the process of creating a sturdy and long-lasting base for your brick veneer wall. The metal lath serves as a key component in supporting the mortar and brick veneer, ensuring proper adhesion and structural integrity. Here’s a comprehensive guide on how to install the metal lath:
Materials and Tools:
- Metal lath
- Galvanized nails or screws
- Hammer or screwdriver
- Safety gloves
Installation Process:
- Measure and cut the metal lath to fit the dimensions of the wall, ensuring that it overlaps at the edges and corners for a seamless application.
- Wear safety gloves to protect your hands from sharp edges, and carefully position the cut metal lath against the prepared wall surface.
- Secure the metal lath to the wall using galvanized nails or screws, ensuring that it is firmly attached and free of any loose areas or gaps.
- Overlap subsequent sheets of metal lath by at least 2 inches to create a continuous and uniform surface for the application of mortar and brick veneer.
- Inspect the installed metal lath to ensure that it is securely fastened and free of any sharp protrusions that could interfere with the mortar application.
By meticulously installing the metal lath, you create a stable and supportive foundation for the subsequent stages of the brick veneer installation. The metal lath provides the necessary grip and reinforcement for the mortar and brick veneer, contributing to the overall strength and durability of the finished wall. With the metal lath securely in place, you’re now prepared to mix and apply the mortar, a pivotal step in the installation process.
Step 4: Mix and Apply Mortar
As you progress in the installation of your brick veneer wall, the proper mixing and application of mortar play a pivotal role in achieving a professional and enduring result. The mortar serves as the adhesive that bonds the brick veneer to the wall, providing strength and stability. Here’s a detailed guide on how to mix and apply mortar for your brick veneer installation:
Mixing the Mortar:
- Start by selecting a high-quality mortar mix specifically designed for masonry applications. Ensure that the mix is suitable for both interior and exterior installations, depending on the location of your project.
- In a clean bucket, combine the mortar mix with the appropriate amount of water, following the manufacturer’s instructions for the correct water-to-mix ratio. Use a mixing paddle attached to a drill to achieve a smooth and uniform consistency.
- Avoid over-mixing the mortar, as this can lead to air entrapment and weaken its bonding properties. Aim for a workable, creamy consistency that holds its shape without being too stiff or runny.
Applying the Mortar:
- Using a trowel, scoop a generous amount of mortar onto the metal lath, spreading it evenly to create a 1/2-inch thick layer across the surface.
- Utilize a notched trowel to create grooves in the mortar, which will enhance the adhesion of the brick veneer and promote a strong bond.
- Work in small sections to ensure that the mortar remains workable during the brick veneer installation. Avoid applying mortar to areas larger than you can cover with brick veneer within a reasonable timeframe.
- As you apply the mortar, maintain a consistent thickness and texture to facilitate the placement and alignment of the brick veneer.
The proper mixing and application of mortar are essential for creating a solid foundation for the brick veneer installation. By following these guidelines, you’ll ensure that the mortar provides the necessary support and adhesion for the subsequent placement of the brick veneer. With the mortar in place, you’re now ready to move on to the exciting stage of laying the brick veneer and bringing your vision to life.
Read more: What Is Brick Veneer?
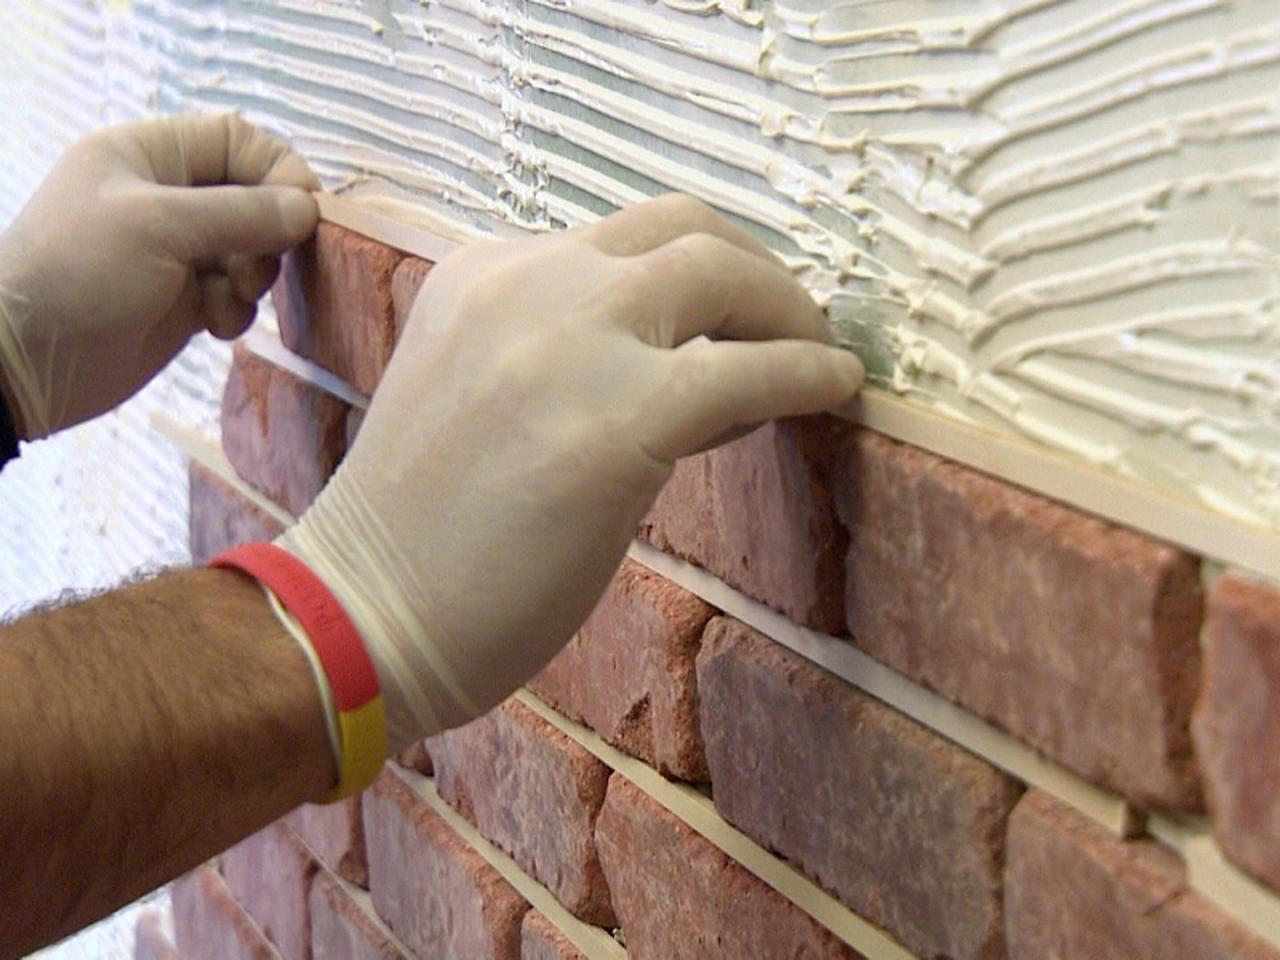
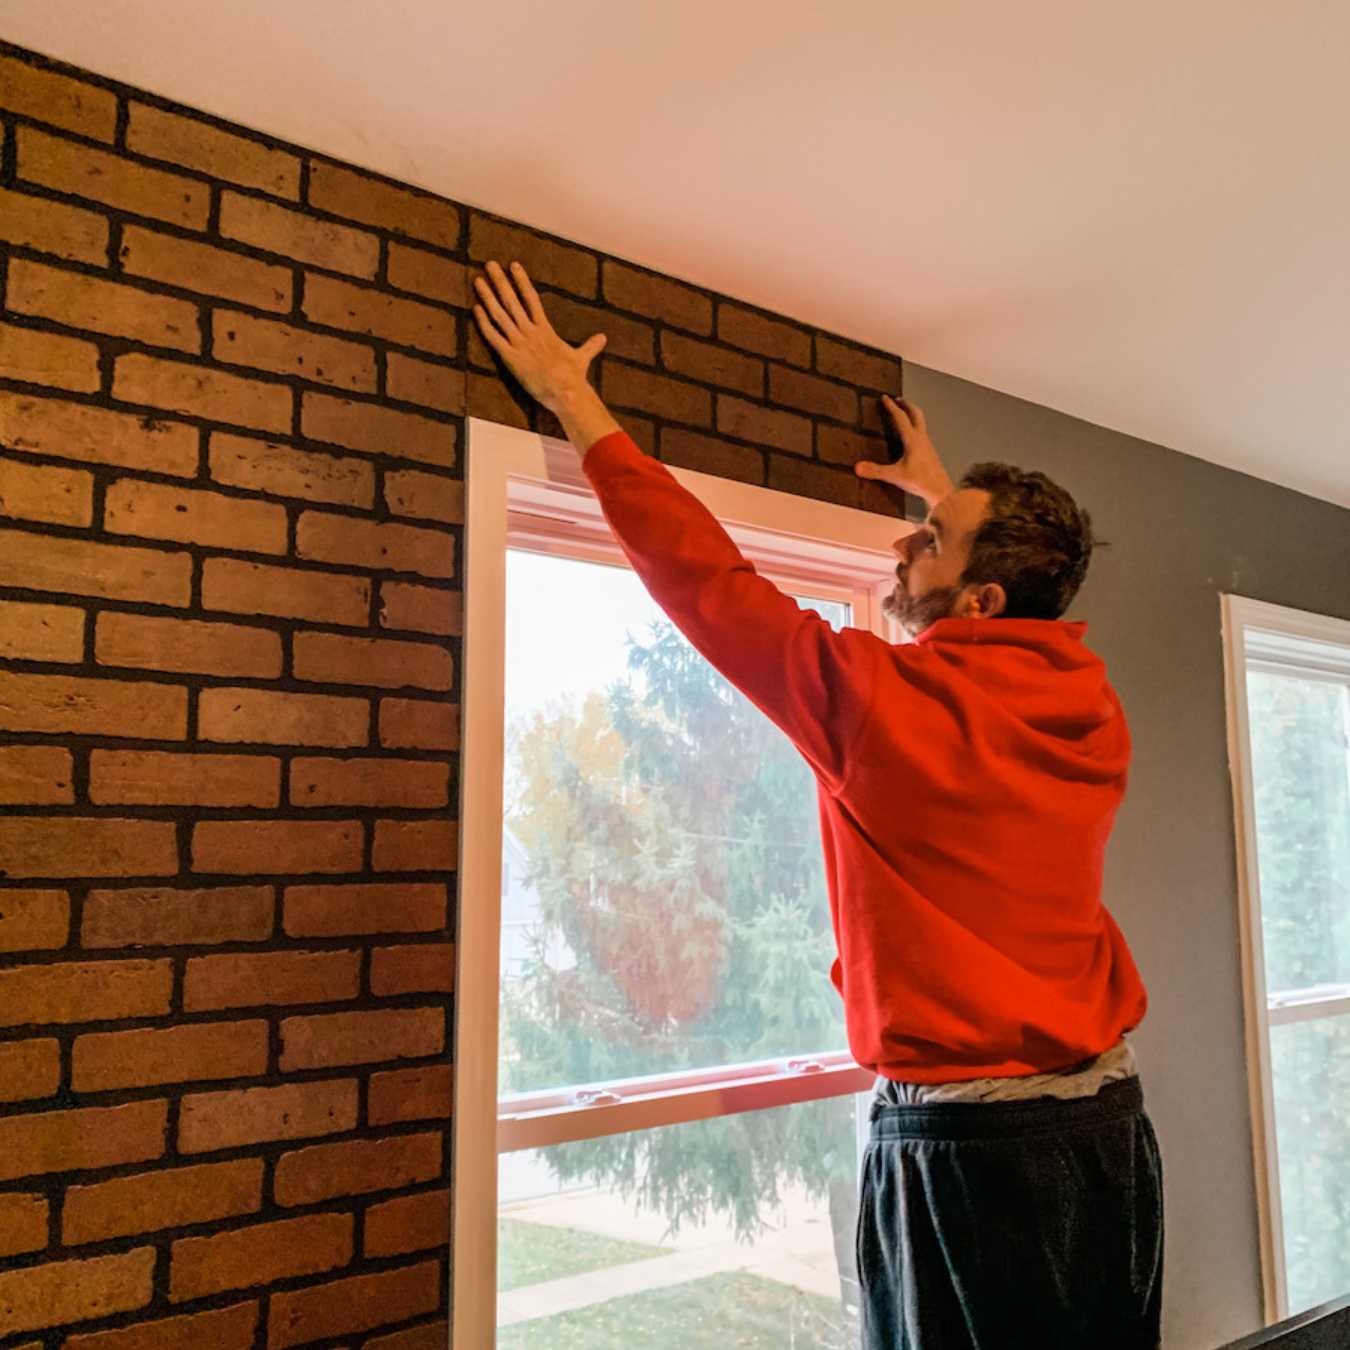
Step 5: Lay the Brick Veneer
As you approach the heart of the brick veneer installation process, the meticulous and artful placement of the brick veneer will bring your vision to life, creating a stunning and enduring wall surface. Laying the brick veneer requires attention to detail, precision, and a keen eye for alignment and aesthetics. Here’s a comprehensive guide on how to lay the brick veneer for your project:
Materials and Tools:
- Brick veneer
- Trowel
- Level
- Jointer tool
- Grout bag
Installation Process:
- Begin by applying a thin layer of mortar to the back of each brick veneer unit using a trowel. This will ensure proper adhesion to the wall surface.
- Position the first brick veneer unit at the starting point of your installation, pressing it firmly into the mortar and ensuring that it is level and aligned with neighboring units.
- Continue placing subsequent brick veneer units, applying mortar to the back of each unit and maintaining consistent spacing between them for a uniform and visually appealing layout.
- Use a level to verify the vertical and horizontal alignment of the brick veneer as you progress, making adjustments as needed to maintain a straight and even surface.
- Once the brick veneer units are in place, utilize a jointer tool to finish the mortar joints, creating a clean and polished appearance.
- Fill a grout bag with mortar and carefully squeeze it into the vertical joints between the brick veneer units, ensuring that the joints are adequately filled and sealed.
Laying the brick veneer is a transformative and rewarding stage of the installation process, where the beauty and character of the brick come to life. By following these guidelines and taking your time to ensure precision and alignment, you’ll create a visually stunning brick veneer wall that exudes timeless charm and craftsmanship. With the brick veneer in place, you’re now ready to proceed to the final step of finishing the joints and completing the installation.
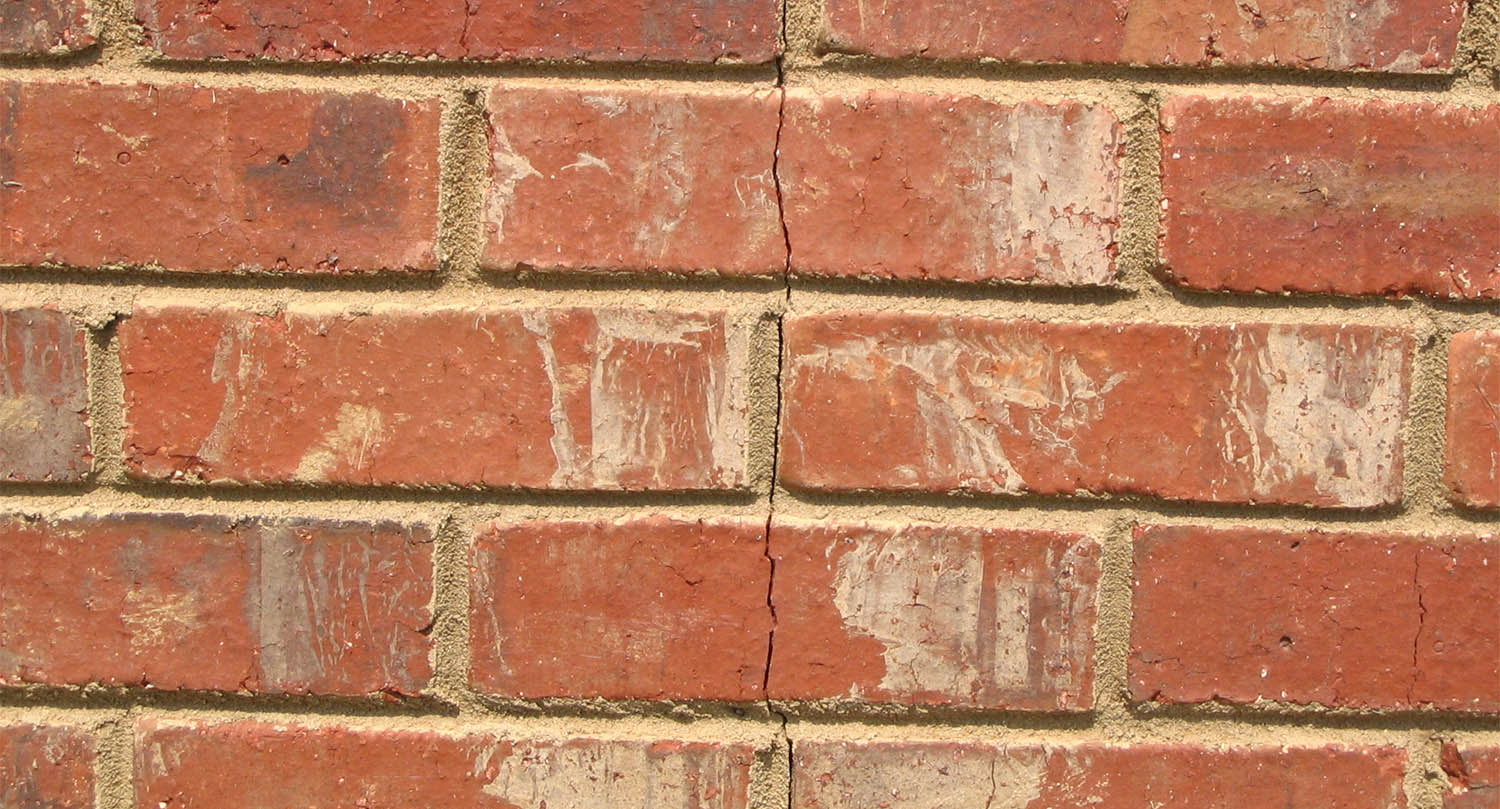
Step 6: Finish the Joints
As you near the completion of your brick veneer wall installation, the finishing of the joints is a crucial step that adds the final touch of finesse and durability to the project. Properly finished joints not only enhance the visual appeal of the brick veneer but also contribute to the structural integrity and longevity of the wall. Here’s a detailed guide on how to finish the joints for a professional and polished result:
Materials and Tools:
- Jointer tool
- Grout bag
- Masonry brush
- Masonry sealer
Finishing Process:
- Utilize a jointer tool to smooth and shape the mortar joints between the brick veneer units, ensuring a consistent and tidy appearance throughout the wall surface.
- Inspect the joints for any irregularities or excess mortar, and make necessary adjustments to achieve uniformity and a clean finish.
- Fill a grout bag with mortar and carefully apply it to any areas where the joints require additional filling or touch-ups, ensuring that the mortar is evenly distributed and well-sealed.
- Once the mortar has set but is still slightly malleable, utilize a masonry brush to lightly brush the joints, creating a subtle texture and blending the mortar with the brick veneer for a cohesive look.
- Allow the mortar to cure according to the manufacturer’s recommendations, ensuring that it achieves the necessary strength and stability.
- Finally, apply a masonry sealer to the finished brick veneer wall to protect it from moisture, staining, and wear, enhancing its longevity and preserving its aesthetic appeal.
By meticulously finishing the joints and applying a protective sealer, you’ll elevate the visual impact and durability of your brick veneer wall, ensuring that it stands the test of time with enduring beauty and resilience. With the joints finished and the wall sealed, you’ve successfully completed the installation of a stunning and enduring brick veneer wall that enhances the character and value of your space.
Conclusion
Congratulations on successfully completing the installation of your brick veneer wall! By following the comprehensive steps outlined in this guide, you’ve embarked on a transformative journey that has added timeless charm, rustic elegance, and enduring value to your living space. As you admire the stunning brick veneer wall you’ve created, it’s essential to reflect on the accomplishment and the craftsmanship that went into every stage of the installation process.
From gathering the necessary materials and tools to meticulously preparing the surface, installing the metal lath, mixing and applying mortar, laying the brick veneer, and finishing the joints, each step has contributed to the creation of a visually stunning and structurally sound wall. Your attention to detail, precision, and dedication to the craft have culminated in a masterpiece that will be admired for years to come.
As you revel in the beauty of your new brick veneer wall, it’s important to maintain its integrity and aesthetics for the long term. Regular maintenance, such as inspecting for any signs of wear, cleaning the surface, and resealing the mortar joints as needed, will preserve the wall’s allure and structural strength.
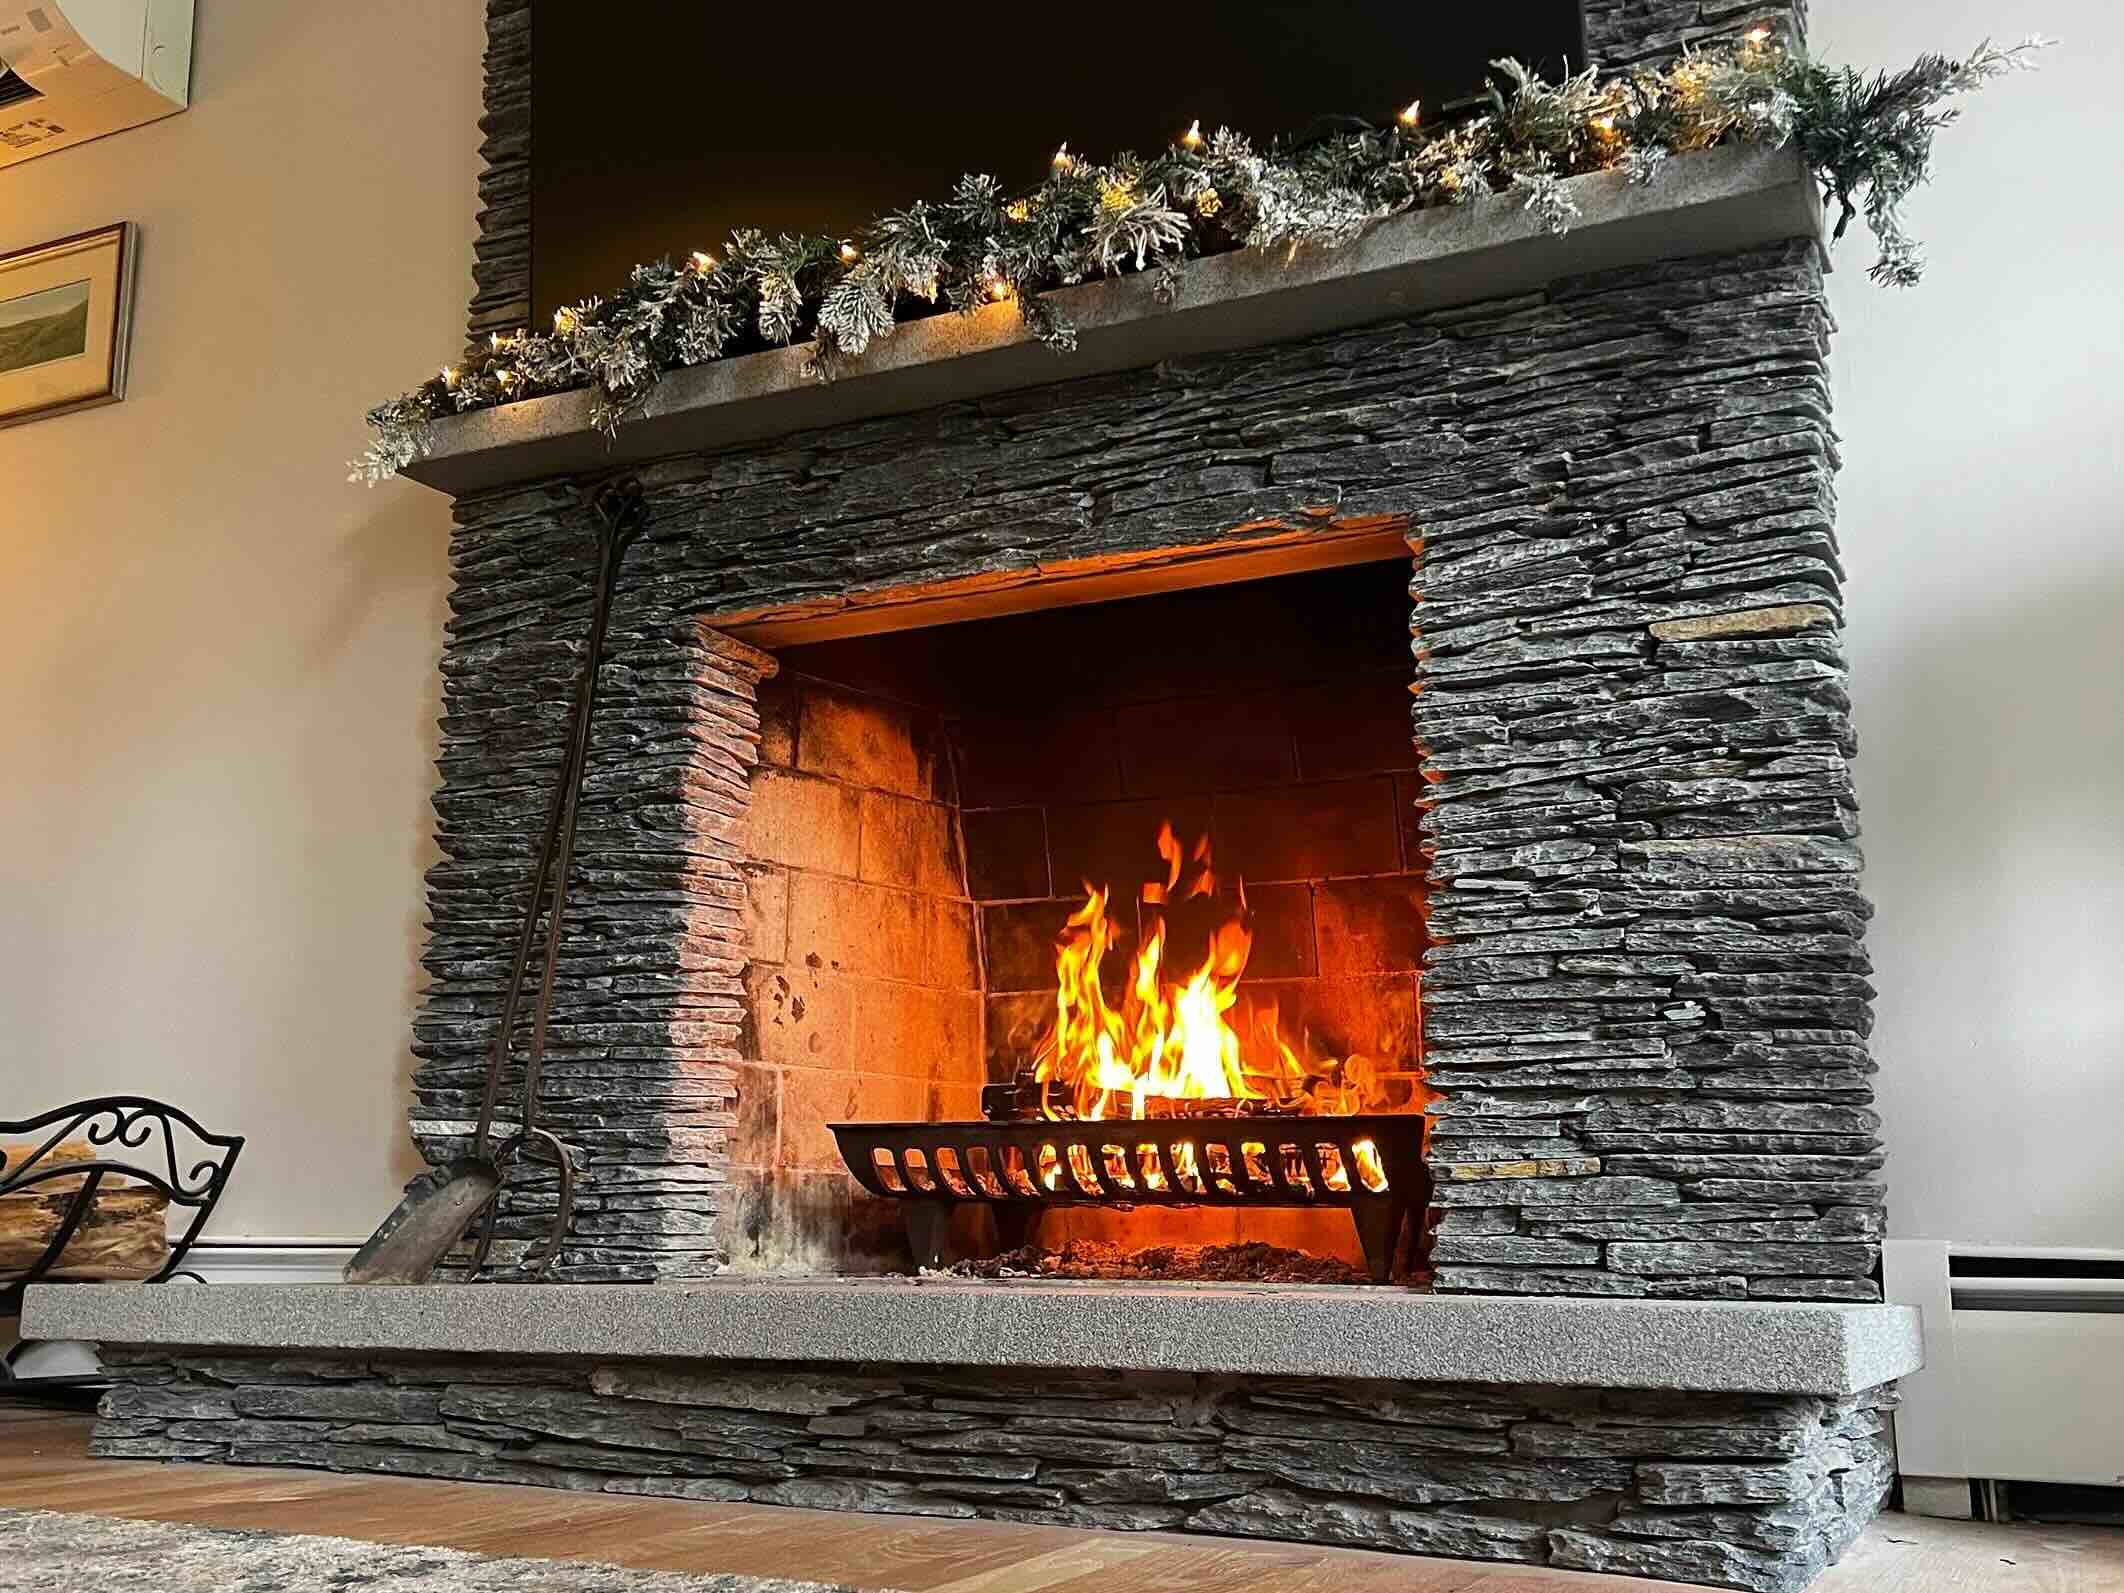
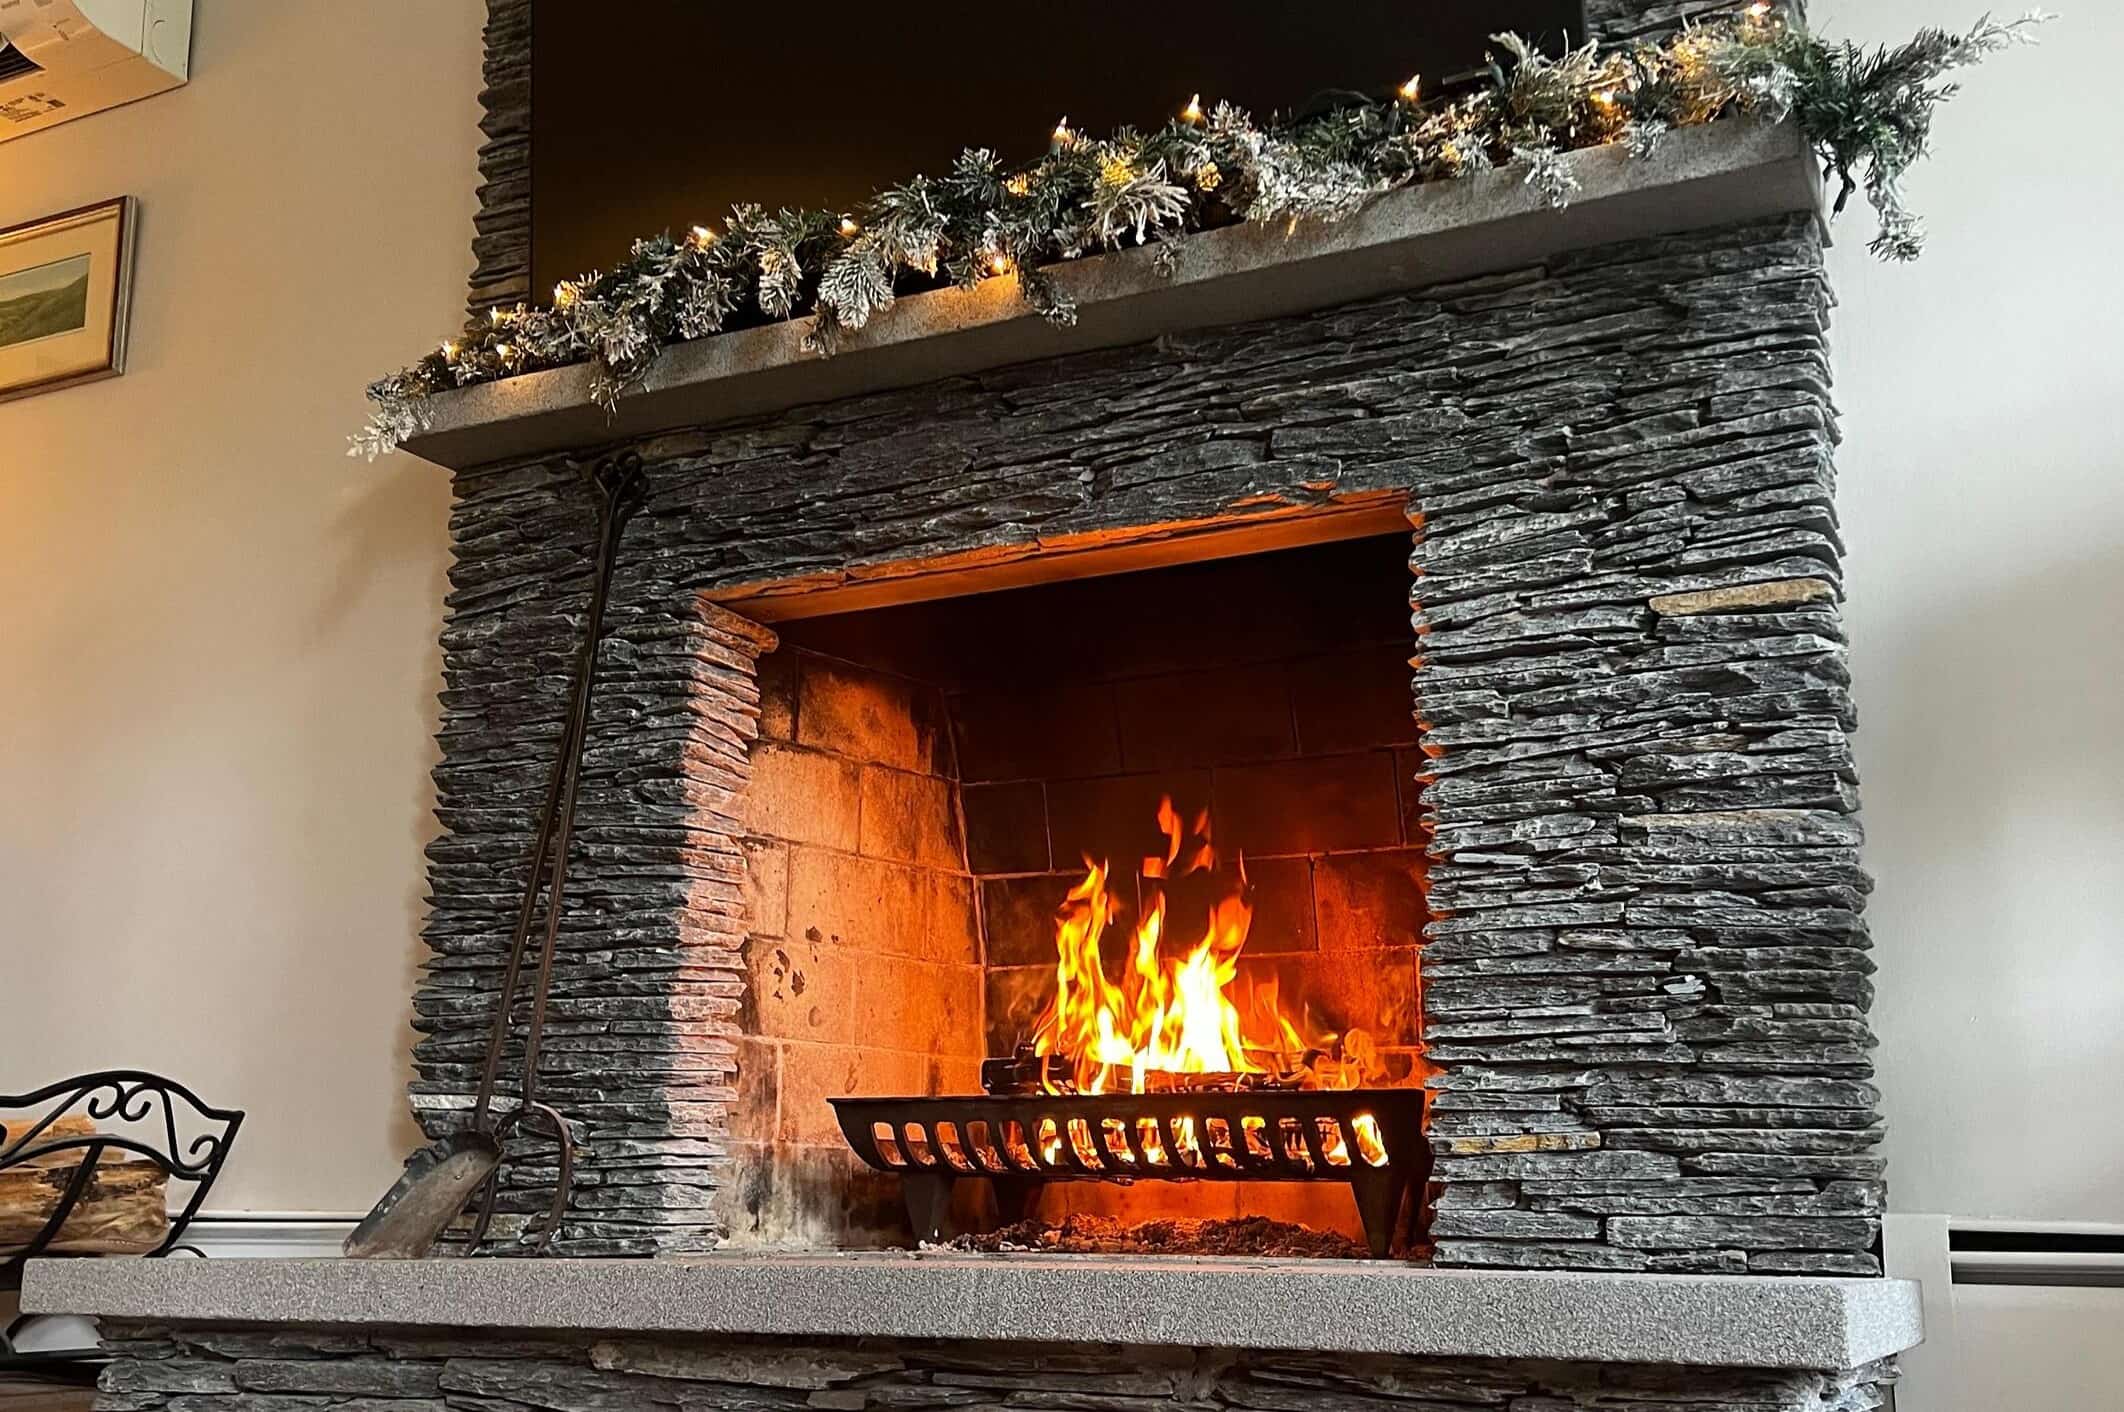
Whether you’ve installed the brick veneer as an accent wall in your living room, a captivating fireplace surround, or an eye-catching exterior facade, its warm, earthy tones and textured surface have undoubtedly become a focal point that draws admiration and evokes a sense of timeless craftsmanship. Your dedication to this project has not only enhanced your living space but has also provided a lasting testament to your creativity and DIY prowess.
As you bask in the glow of your completed brick veneer wall, take pride in the accomplishment and the enduring beauty you’ve brought to your home. Your commitment to excellence and the artistry of brick veneer installation have left a lasting impression that will be cherished for years to come.
With your brick veneer wall standing as a testament to your vision and dedication, may it continue to inspire and captivate all who behold it, creating a space that exudes warmth, character, and timeless allure.
Frequently Asked Questions about How To Install A Brick Veneer Wall
Was this page helpful?
At Storables.com, we guarantee accurate and reliable information. Our content, validated by Expert Board Contributors, is crafted following stringent Editorial Policies. We're committed to providing you with well-researched, expert-backed insights for all your informational needs.


0 thoughts on “How To Install A Brick Veneer Wall”