Home>Construction & Tools>Building Materials>How To Lay Brick Pavers On Concrete

Building Materials
How To Lay Brick Pavers On Concrete
Modified: January 23, 2024
Learn how to lay brick pavers on concrete with our step-by-step guide. Find all the building materials and tools you need for this DIY project.
(Many of the links in this article redirect to a specific reviewed product. Your purchase of these products through affiliate links helps to generate commission for Storables.com, at no extra cost. Learn more)
Introduction
Read more: How To Lay Brick Pavers
Introduction
Are you looking to enhance the aesthetic appeal of your outdoor space? One of the most effective ways to achieve this is by laying brick pavers on a concrete surface. Whether you want to create a stunning patio, a charming walkway, or a durable driveway, brick pavers can add a touch of timeless elegance to any area. In this comprehensive guide, we will walk you through the process of laying brick pavers on concrete, providing you with the knowledge and confidence to tackle this rewarding project.
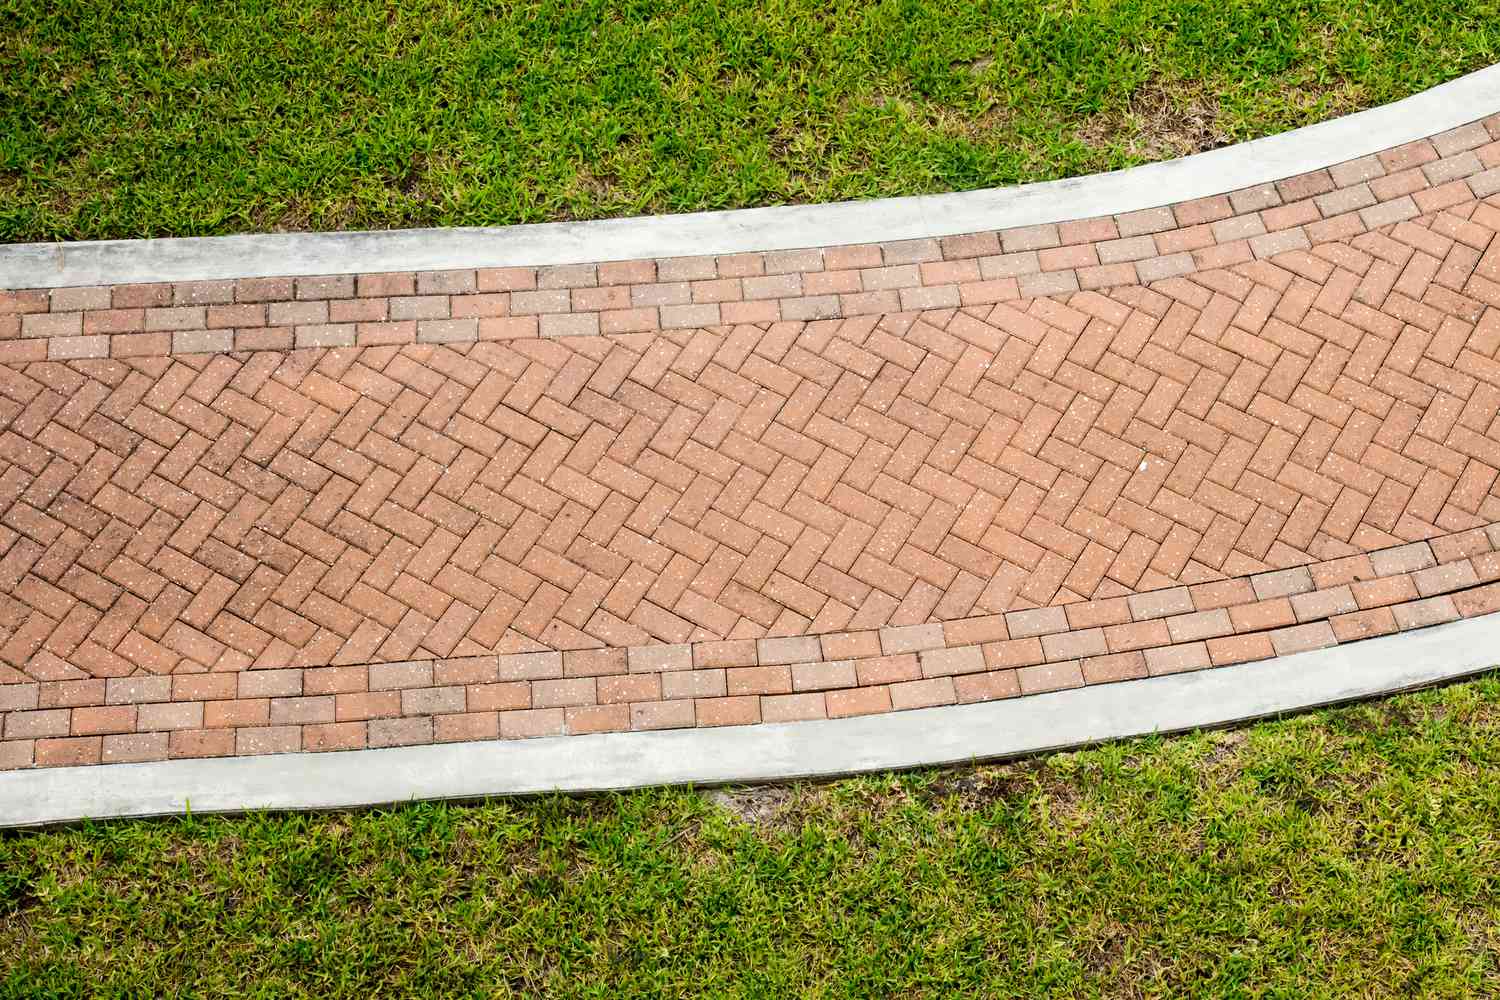
Laying brick pavers on a concrete base not only offers durability and stability but also presents an opportunity to unleash your creativity. The versatility of brick pavers allows you to experiment with various patterns and designs, giving you the freedom to personalize your outdoor space according to your preferences. From traditional herringbone patterns to contemporary basket-weave designs, the possibilities are endless.
Before diving into the nitty-gritty of the installation process, it's essential to understand the tools and materials required for the project. Equipping yourself with the right tools and materials will streamline the process and ensure a successful outcome. Additionally, proper preparation of the concrete surface is crucial for achieving a level and stable foundation for the brick pavers.
As we embark on this journey of transforming your concrete surface into a stunning display of brick pavers, we will explore each step in detail, providing valuable insights and practical tips to help you navigate the intricacies of the installation process. By the end of this guide, you will be equipped with the knowledge and expertise to embark on your brick paver project with confidence, turning your outdoor space into a captivating oasis of charm and functionality. So, roll up your sleeves and let's dive into the world of laying brick pavers on concrete!
Tools and Materials
Key Takeaways:
- Transform your outdoor space with timeless elegance by laying brick pavers on concrete. From preparation to finishing touches, create a captivating oasis of charm and functionality with endless design possibilities.
- Embrace the art of brick paver installation to craft a visually stunning and structurally sound outdoor environment. Personalize your space and enrich your outdoor living experience with creativity and craftsmanship.
Tools and Materials
Before embarking on the exciting journey of laying brick pavers on concrete, it’s essential to gather the necessary tools and materials to ensure a smooth and efficient installation process. Here’s a comprehensive list of the items you’ll need:
Tools:
- Measuring tape
- Chalk line
- String level
- Spade
- Wheelbarrow
- Tamper
- Plate compactor
- Masonry saw
- Hammer
- Level
- Broom
- Rubber mallet
- Protective eyewear
- Ear protection
- Gloves
Materials:
- Brick pavers
- Base material (such as crushed stone or gravel)
- Edge restraints
- Polymeric sand
- Concrete adhesive
- Sealer (optional)
It’s crucial to select high-quality materials to ensure the longevity and stability of your brick paver installation. When choosing brick pavers, consider factors such as durability, color variations, and surface textures to achieve the desired aesthetic appeal. Additionally, the base material plays a pivotal role in providing a sturdy foundation for the pavers, so opt for a reliable and well-graded material for optimal results.
Equipping yourself with the right tools and materials sets the stage for a successful brick paver installation. With these essentials at your disposal, you’re ready to embark on the next steps of preparing the concrete surface and laying the base material, bringing you closer to the realization of your vision for a captivating outdoor space adorned with beautiful brick pavers.
Preparing the Concrete Surface
Read more: How To Lay Brick Pavers On Dirt
Preparing the Concrete Surface
Before laying brick pavers on a concrete surface, proper preparation of the existing concrete is essential to ensure a stable and level foundation. Here’s a step-by-step guide to preparing the concrete surface for the installation:
1. Clean the Surface: Begin by thoroughly cleaning the concrete surface, removing any dirt, debris, and vegetation that may have accumulated over time. Use a broom and a pressure washer, if available, to achieve a clean and debris-free foundation.
2. Repair Cracks and Imperfections: Inspect the concrete for any cracks or imperfections. Fill in any cracks with a high-quality concrete patch or repair compound, ensuring that the surface is smooth and level. Addressing these issues before laying the brick pavers will prevent future structural problems.
3. Apply Concrete Adhesive: To enhance the bond between the existing concrete and the base material for the pavers, apply a layer of concrete adhesive to the cleaned and repaired surface. This adhesive will promote adhesion and minimize the risk of shifting or movement over time.
4. Allow for Proper Drying Time: After applying the concrete adhesive, allow sufficient time for it to dry and cure according to the manufacturer’s recommendations. This ensures that the adhesive forms a strong and durable bond with the concrete, setting the stage for the subsequent steps of the installation process.
By meticulously preparing the concrete surface, you establish a solid groundwork for the successful installation of brick pavers. This proactive approach not only promotes stability and longevity but also minimizes the likelihood of future issues, allowing you to enjoy your beautifully paved outdoor space with confidence and peace of mind.
Laying the Base Material
Laying the Base Material
Once the concrete surface is meticulously prepared, the next crucial step in the process of laying brick pavers is to establish a stable and well-compacted base material. This base layer serves as a foundation for the pavers, providing support and ensuring uniformity throughout the installation. Here’s a detailed guide to laying the base material:
1. Determine the Thickness: Assess the required thickness of the base material based on the type and size of the brick pavers being used. Typically, a base material thickness of 4 to 6 inches is recommended to accommodate the pavers and achieve a level surface.
2. Spread the Base Material: Distribute the base material, such as crushed stone or gravel, evenly over the prepared concrete surface. Use a spade to spread and level the material, ensuring uniform coverage across the entire area where the pavers will be laid.
3. Compact the Base Material: Utilize a tamper or plate compactor to compact the base material thoroughly. This crucial step helps to stabilize the base, minimize settling, and create a firm foundation for the brick pavers. Repeat the compaction process multiple times to achieve optimal density.
4. Verify the Level: Use a long straight board or a level to verify the evenness and levelness of the compacted base material. Make any necessary adjustments to ensure a uniformly level surface, as this will directly impact the appearance and structural integrity of the paver installation.
5. Establish Proper Sloping: Create a slight slope in the base material to facilitate proper drainage, ensuring that water does not pool on the surface. A gentle slope away from structures or towards designated drainage areas promotes effective water runoff and helps prevent potential water-related issues.
By meticulously laying and compacting the base material, you set the stage for a successful brick paver installation, characterized by stability, durability, and uniformity. This foundational layer not only supports the pavers but also contributes to the overall longevity and structural integrity of the paved surface, allowing you to enjoy your outdoor space for years to come.
Placing the Brick Pavers
Read more: How To Lay Pavers On A Concrete Patio
Placing the Brick Pavers
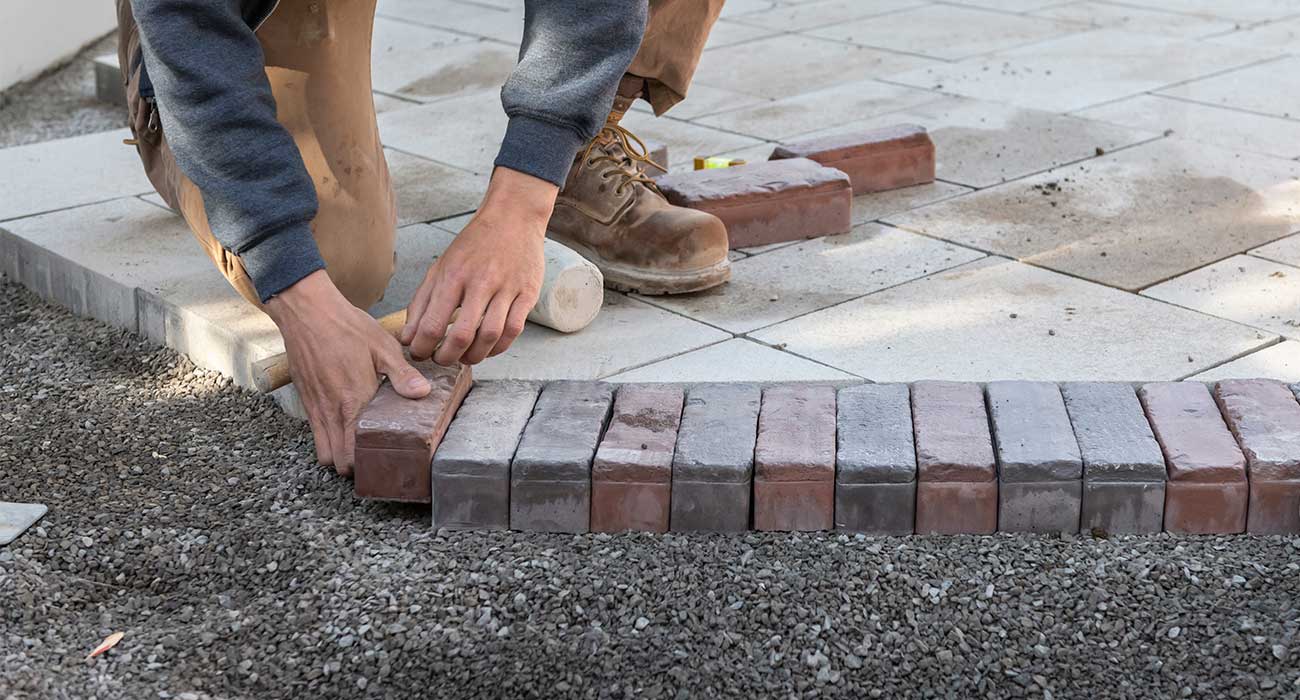
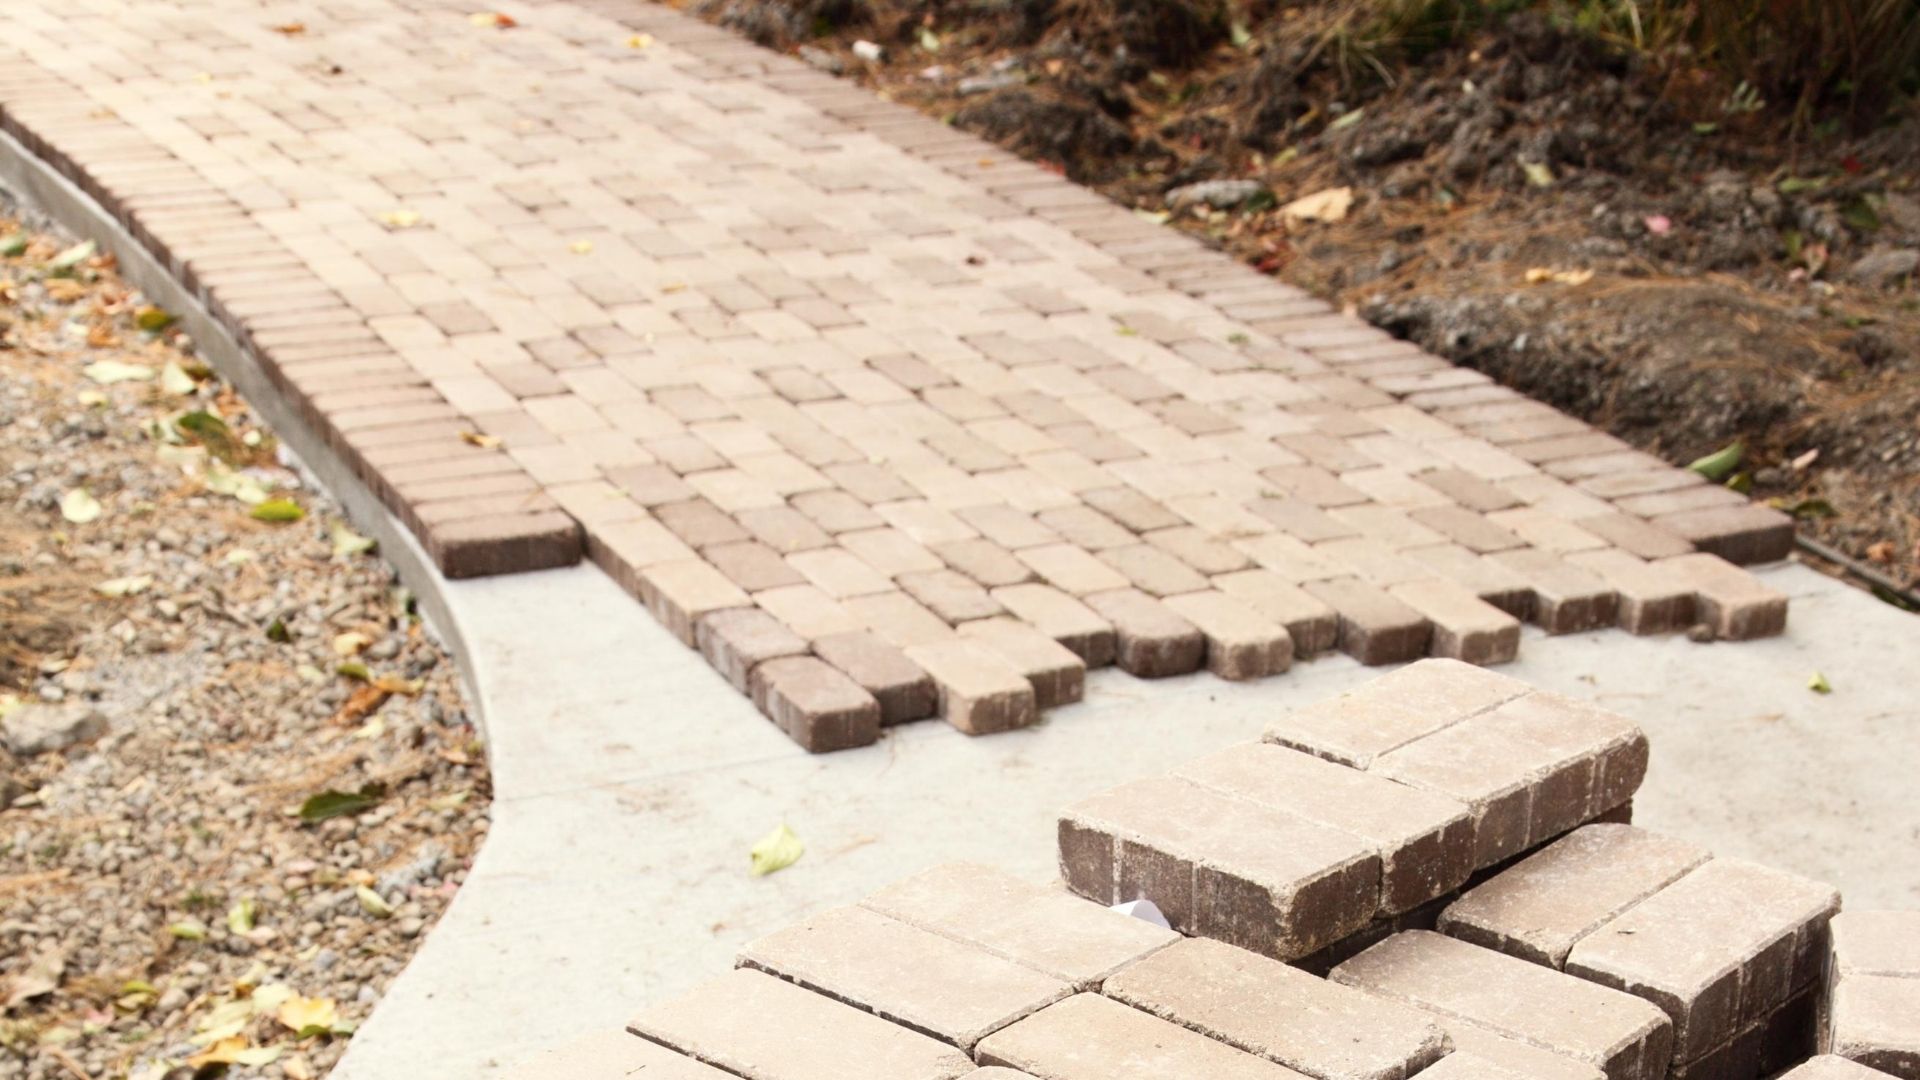
With the concrete surface prepared and the base material meticulously laid, it’s time to embark on the exciting phase of placing the brick pavers. This step brings your vision to life as the pavers take their rightful place, transforming the area into a captivating display of timeless elegance. Here’s a detailed guide to placing the brick pavers:
1. Plan the Layout: Before placing the pavers, plan the layout and design, considering patterns, borders, and any specific arrangements that align with your vision for the space. Experiment with different configurations to find the most visually appealing and structurally sound layout.
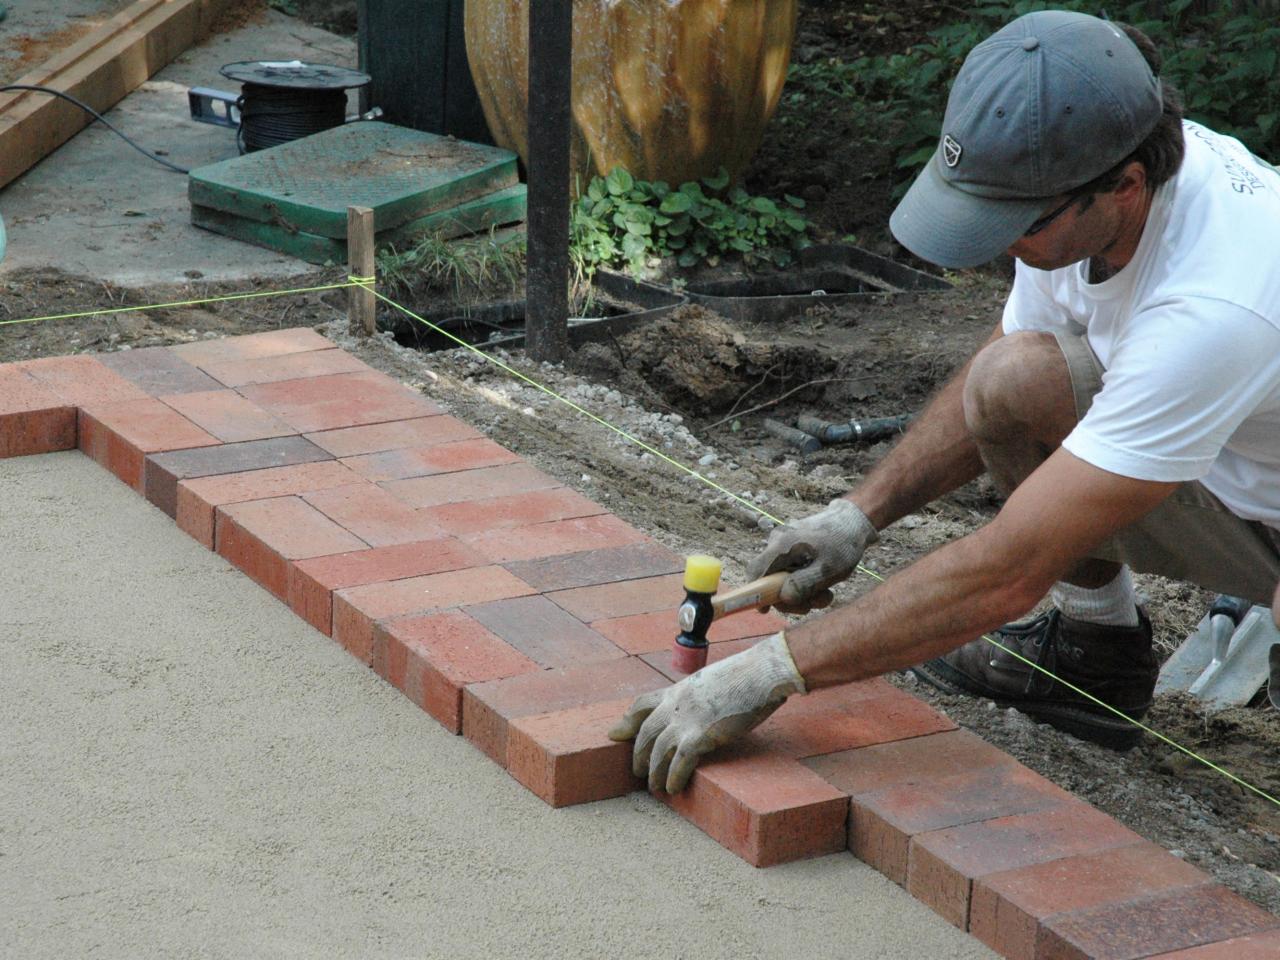
2. Start at a Fixed Point: Begin placing the pavers at a fixed point, such as a straight edge or a focal area, to establish a consistent starting point for the installation. This approach provides a reference for maintaining straight lines and ensures a cohesive, professional-looking result.
3. Maintain Even Spacing: Place spacers between the pavers to maintain consistent spacing and allow for the insertion of jointing material, such as polymeric sand, later in the process. This practice promotes uniformity and precision, resulting in a polished and visually appealing paved surface.
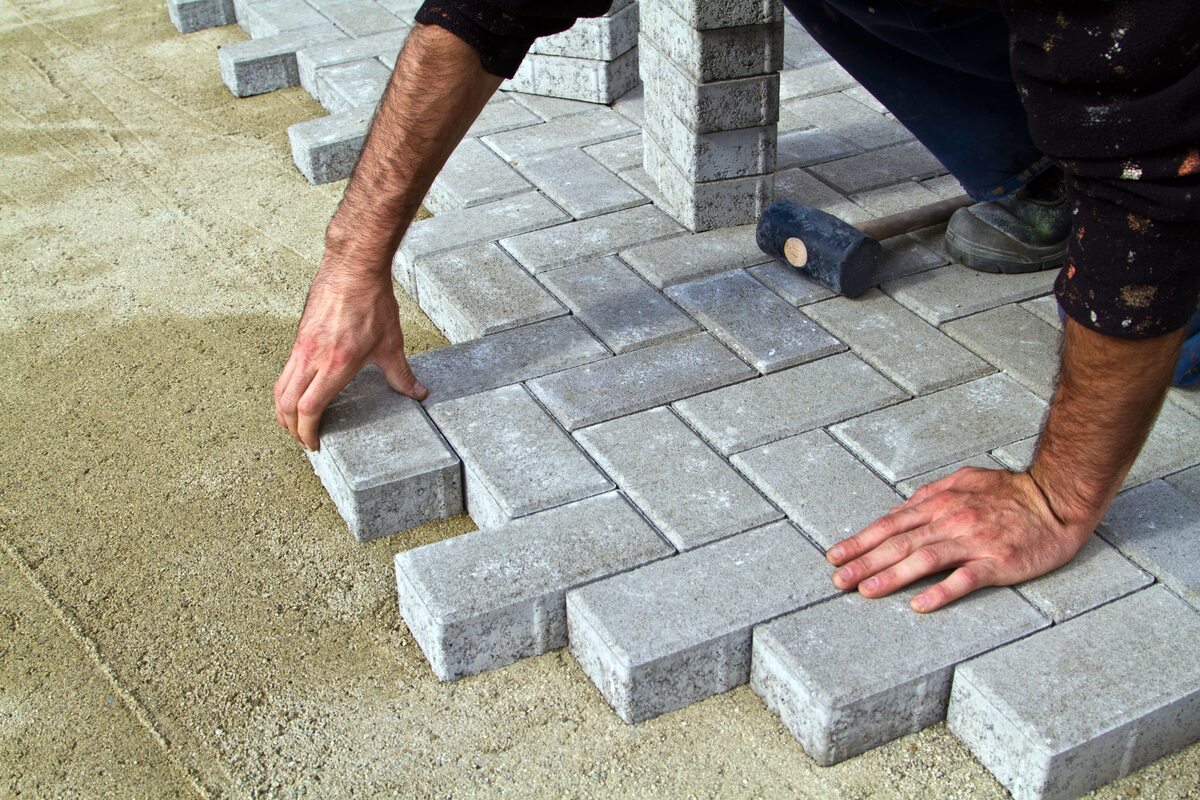
4. Tap the Pavers Into Place: Use a rubber mallet to gently tap each paver into position, ensuring that they are level with the surrounding pavers and the desired elevation. This process helps to seat the pavers securely while maintaining the planned layout and design.
5. Verify Alignment and Levelness: Periodically check the alignment and levelness of the pavers as you progress, making adjustments as needed to maintain straight lines, consistent spacing, and a level surface. Attention to detail during this phase contributes to a professional and visually striking outcome.
6. Cut Pavers as Needed: Use a masonry saw to cut pavers to fit along the edges, borders, or around obstacles, ensuring a seamless and tailored fit that complements the overall design. Precision in cutting and placing pavers enhances the cohesiveness and aesthetic appeal of the paved area.
By meticulously placing the brick pavers with attention to detail and precision, you bring your outdoor space to life, infusing it with charm and character. Each carefully positioned paver contributes to the overall visual impact and structural integrity of the installation, setting the stage for the next steps of securing the pavers and adding the finishing touches.
Cutting Pavers
Cutting Pavers
As you progress with the installation of brick pavers, it’s common to encounter areas where standard-sized pavers may not fit perfectly. This is where the process of cutting pavers comes into play, allowing you to tailor the pavers to fit specific areas, edges, or intricate patterns. Here’s a comprehensive guide to cutting pavers with precision and finesse:
1. Safety First: Before proceeding with any cutting tasks, prioritize safety by wearing protective eyewear and following all safety guidelines recommended for operating the masonry saw. Ensuring a safe working environment is essential when handling cutting equipment.
2. Measure and Mark: Use a measuring tape and a chalk line to mark the cutting lines on the pavers, indicating the precise areas that need to be trimmed to achieve the desired fit. Double-check the measurements to avoid errors before proceeding with the cutting process.
3. Set Up the Saw: Position the paver on a stable surface and adjust the masonry saw according to the marked cutting lines. Ensure that the saw’s blade is suitable for cutting through the specific type of paver material being used, whether it’s clay brick, concrete, or natural stone.
4. Execute the Cuts: Carefully guide the paver through the saw, following the marked cutting lines with steady and controlled movements. Exercise caution and patience, allowing the saw to do the work while maintaining a firm grip on the paver to ensure precise and clean cuts.
5. Verify the Fit: After making the cuts, place the trimmed paver in its intended position to verify the fit and alignment. Make any necessary adjustments to achieve a seamless integration with the surrounding pavers and ensure a polished and professional appearance.
6. Dispose of Waste Safely: Properly dispose of the waste material resulting from the cutting process, ensuring that the work area remains tidy and hazard-free. Dispose of the discarded pieces responsibly, adhering to local waste disposal regulations.
By mastering the art of cutting pavers with precision and attention to detail, you ensure that every element of the installation fits seamlessly into the overall design, contributing to a cohesive and visually stunning result. This meticulous approach allows you to overcome spatial challenges and create a polished and tailored finish that elevates the aesthetic appeal of your outdoor space.
Securing the Pavers
Read more: How To Lay A Brick Floor On Concrete
Securing the Pavers
Once the brick pavers are meticulously placed and any necessary cuts are made, the next critical step in the installation process is to secure the pavers in place, ensuring stability and longevity. Properly securing the pavers not only enhances their structural integrity but also contributes to the overall visual appeal of the paved surface. Here’s a comprehensive guide to securing the pavers with precision and care:
1. Fill the Joints: Use polymeric sand to fill the joints between the pavers, ensuring that the sand is evenly distributed and fully penetrates the spaces between the bricks. This jointing material plays a crucial role in stabilizing the pavers and preventing weed growth while allowing for adequate drainage.
2. Compact the Pavers: Utilize a plate compactor to gently compact the pavers, helping to set them firmly in place and further distribute the jointing material within the gaps. This process promotes cohesion and stability throughout the paved surface, minimizing the risk of shifting or unevenness.
3. Apply Concrete Adhesive (Optional): In areas where additional reinforcement is desired, consider applying concrete adhesive along the edges of the pavers to further secure them to the underlying base material. This optional step provides added stability in high-traffic areas or regions prone to movement.
4. Verify Alignment and Levelness: Once the pavers are secured, verify the alignment and levelness of the entire paved surface, making any necessary adjustments to ensure uniformity and visual appeal. Attention to detail during this phase contributes to a professional and visually striking outcome.
5. Edge Restraints: Install edge restraints along the perimeter of the paved area to contain the pavers and prevent spreading or shifting over time. Edge restraints provide structural support and help maintain the integrity of the installation, particularly in areas subject to external forces.
6. Seal the Pavers (Optional): Consider applying a sealer to the brick pavers to enhance their longevity, protect them from stains, and intensify their natural colors. A high-quality sealer can provide added durability and resistance to environmental elements, prolonging the life of the paved surface.
By meticulously securing the brick pavers with attention to detail and precision, you ensure that the installation withstands the test of time, remaining resilient and visually captivating for years to come. This proactive approach not only promotes stability and longevity but also allows you to enjoy your beautifully paved outdoor space with confidence and peace of mind.
Finishing Touches
Finishing Touches
As you near the completion of the brick paver installation, attention to detail and thoughtful finishing touches can elevate the overall aesthetic appeal and functionality of the paved surface. These final steps add polish and finesse to the project, ensuring that your outdoor space exudes charm and durability. Here’s a comprehensive guide to the finishing touches that will bring your brick paver installation to its full potential:
1. Clean the Surface: Thoroughly clean the entire paved area, removing any residual debris, excess jointing material, or marks left during the installation process. A pressure washer or a gentle hose spray can be used to achieve a pristine and inviting surface.
2. Inspect for Imperfections: Conduct a meticulous inspection of the entire paved surface, addressing any imperfections, uneven joints, or misplaced pavers. Making minor adjustments at this stage ensures a flawless and visually appealing outcome.
3. Enhance with Landscaping: Surround the paved area with complementary landscaping elements, such as vibrant plants, decorative stones, or outdoor lighting, to accentuate the beauty of the brick pavers and create a harmonious outdoor environment.
4. Consider Decorative Borders: Introduce decorative borders or contrasting paver patterns along the edges of the paved area to add visual interest and define the space with a touch of elegance. Thoughtful border designs can enhance the overall aesthetic impact of the installation.
5. Add Functional Elements: Incorporate functional elements, such as outdoor furniture, fire pits, or water features, to transform the paved area into a versatile and inviting outdoor living space. These additions complement the charm of the brick pavers while enhancing the usability of the area.
6. Regular Maintenance: Establish a maintenance routine that includes periodic cleaning, jointing material replenishment, and proactive repairs to uphold the integrity and visual appeal of the brick paver installation over time. Regular maintenance preserves the beauty and functionality of the paved surface for years to come.
By attending to the finishing touches with care and creativity, you infuse your outdoor space with character and allure, creating a captivating environment that beckons relaxation and enjoyment. Thoughtful details and proactive maintenance ensure that your brick paver installation remains a source of pride and pleasure, enriching your outdoor living experience for years to come.
Conclusion
Conclusion
Congratulations on completing the transformative journey of laying brick pavers on a concrete surface! The dedication and attention to detail you’ve invested in this project have culminated in the creation of a captivating outdoor space that exudes timeless elegance and enduring charm. As you reflect on the comprehensive process of preparing the concrete surface, laying the base material, placing and securing the pavers, and adding the finishing touches, it’s evident that your efforts have yielded a visually stunning and structurally sound installation.
By embracing the art of brick paver installation, you’ve not only enhanced the aesthetic appeal of your outdoor environment but also crafted a functional and inviting space that beckons relaxation and enjoyment. The versatility of brick pavers allows for endless design possibilities, enabling you to personalize your outdoor area according to your unique vision and preferences.
As you bask in the beauty of your newly paved outdoor space, remember that regular maintenance and proactive care will preserve the longevity and allure of the installation. By establishing a maintenance routine and attending to the needs of the paved surface, you ensure that your investment continues to enrich your outdoor living experience for years to come.
Whether you’ve created a charming patio for al fresco gatherings, a welcoming walkway that guides visitors with grace, or a durable driveway that exudes curb appeal, your brick paver installation stands as a testament to your creativity and craftsmanship. The enduring beauty and functionality of the paved surface reflect your commitment to creating a captivating outdoor oasis that enriches your daily life.
As you embark on future projects and continue to cultivate your outdoor space, may the knowledge and expertise gained from this endeavor serve as a source of inspiration and empowerment. Your mastery of brick paver installation empowers you to transform ordinary surfaces into extraordinary showcases of enduring beauty and functionality, leaving a lasting impression on your outdoor environment.
With the completion of this project, you’ve not only laid brick pavers on concrete but also laid the foundation for countless moments of joy, relaxation, and connection within your outdoor sanctuary. Your dedication and craftsmanship have transformed a mere surface into a captivating canvas of elegance and charm, enriching your outdoor lifestyle in profound ways.
Embrace the beauty and functionality of your newly paved space, and let it serve as a testament to your creativity, perseverance, and unwavering commitment to creating an outdoor environment that inspires and delights. Your brick paver installation stands as a testament to your vision and craftsmanship, enriching your outdoor oasis for years to come.
Frequently Asked Questions about How To Lay Brick Pavers On Concrete
Was this page helpful?
At Storables.com, we guarantee accurate and reliable information. Our content, validated by Expert Board Contributors, is crafted following stringent Editorial Policies. We're committed to providing you with well-researched, expert-backed insights for all your informational needs.


0 thoughts on “How To Lay Brick Pavers On Concrete”