
Articles
How To Lay Brick Walkway
Modified: December 7, 2023
Learn how to lay a beautiful brick walkway with our step-by-step articles. Create a stunning entrance for your home with our easy-to-follow instructions and expert tips.
(Many of the links in this article redirect to a specific reviewed product. Your purchase of these products through affiliate links helps to generate commission for Storables.com, at no extra cost. Learn more)
Introduction
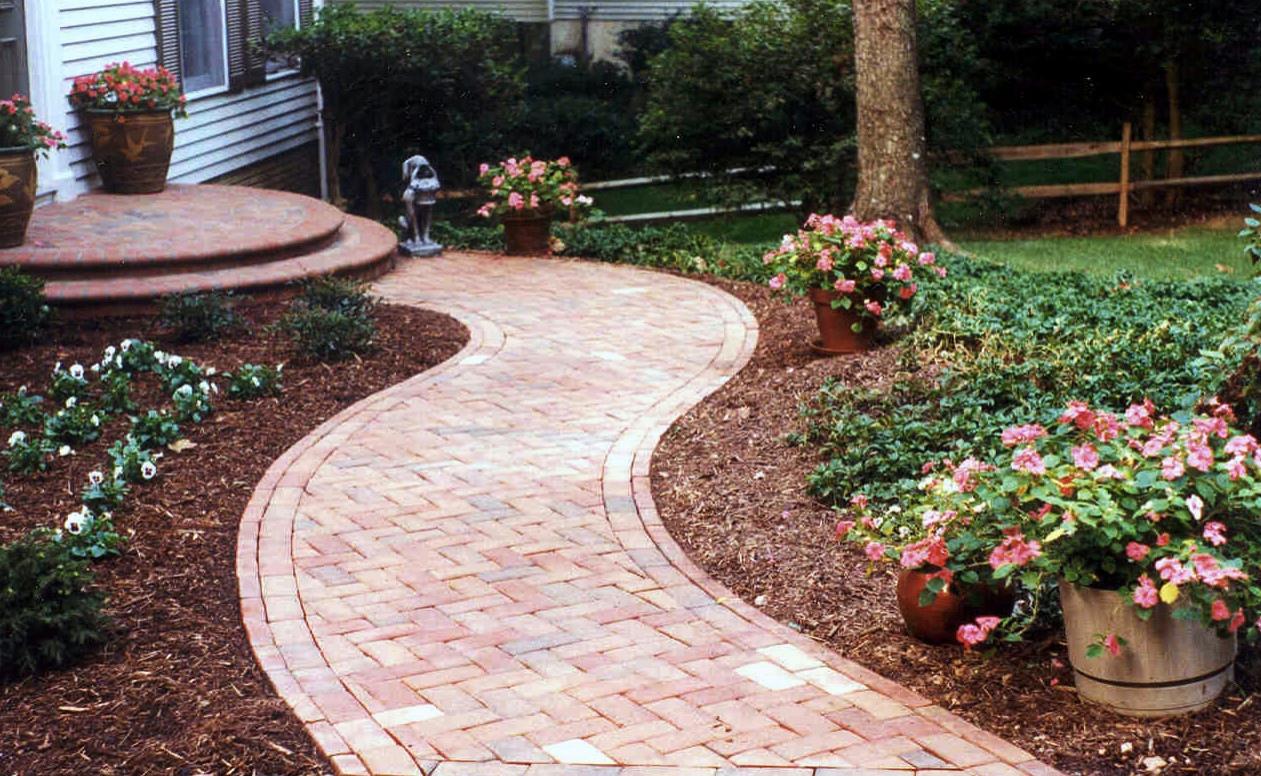
Welcome to the ultimate guide on how to lay a brick walkway. A brick walkway can add charm, character, and functionality to any outdoor space. Whether you want to create a path in your garden, lead guests to your front door, or connect different areas of your backyard, a brick walkway is a timeless and durable choice.
In this article, we will walk you through the step-by-step process of planning, preparing, and laying a brick walkway. From choosing the right materials to adding the finishing touches, we have got you covered. So, grab your tools and let’s get started on transforming your outdoor space into a beautiful and functional walkway.
Key Takeaways:
- Proper planning, material selection, and precise brick laying are crucial for creating a durable and visually appealing brick walkway. Don’t rush the process – take your time and enjoy the transformation of your outdoor space.
- The finishing touches, such as sealing the bricks, enhancing the edges, and adding landscaping, elevate the functionality and beauty of your brick walkway. These final details ensure your walkway becomes a standout feature in your outdoor space.
Read more: How To Lay A Brick Walkway Over Concrete
Step 1: Planning and Preparation
Before you begin any construction project, careful planning and preparation are essential. This is especially true when it comes to laying a brick walkway. Here are a few key considerations to help you get started:
- Design: Decide on the layout and design of your walkway. Consider the size, shape, and path you want to create. Look for inspiration online or in landscaping magazines to help you visualize your project.
- Measuring: Measure the area where you want to lay the walkway. This will help you determine the amount of material required and ensure you have enough bricks for the job. Remember to account for any curves or turns in the path.
- Marking: Use stakes and string to mark the edges of the walkway. This will provide a clear guide when you start excavating the area and laying the bricks.
- Permits and Regulations: Check with your local authorities regarding any permits or regulations that may be required for your project. This will ensure that you comply with any building codes or restrictions in your area.
- Budget: Determine your budget for the project. This will help you make decisions regarding the cost of materials, tools, and any professional assistance you may need.
- Tools and Materials: Gather all the necessary tools and materials for the job. This may include shovels, a wheelbarrow, a level, a rubber mallet, safety goggles, gloves, bricks, sand, and gravel.
- Timeframe: Estimate the amount of time it will take to complete the project. This will help you plan your schedule accordingly and ensure you have enough time to complete each step.
By taking the time to plan and prepare, you will set yourself up for success when it comes to laying your brick walkway. So, grab a pen and paper, and start brainstorming your design ideas and gathering your materials. Once you have everything in place, you’ll be ready to move on to the next step in the process.
Step 2: Choosing the Bricks and Materials
Choosing the right bricks and materials is a crucial step in the process of laying a brick walkway. The materials you select will not only affect the aesthetics of your walkway but also its durability and longevity. Here’s what you need to consider:
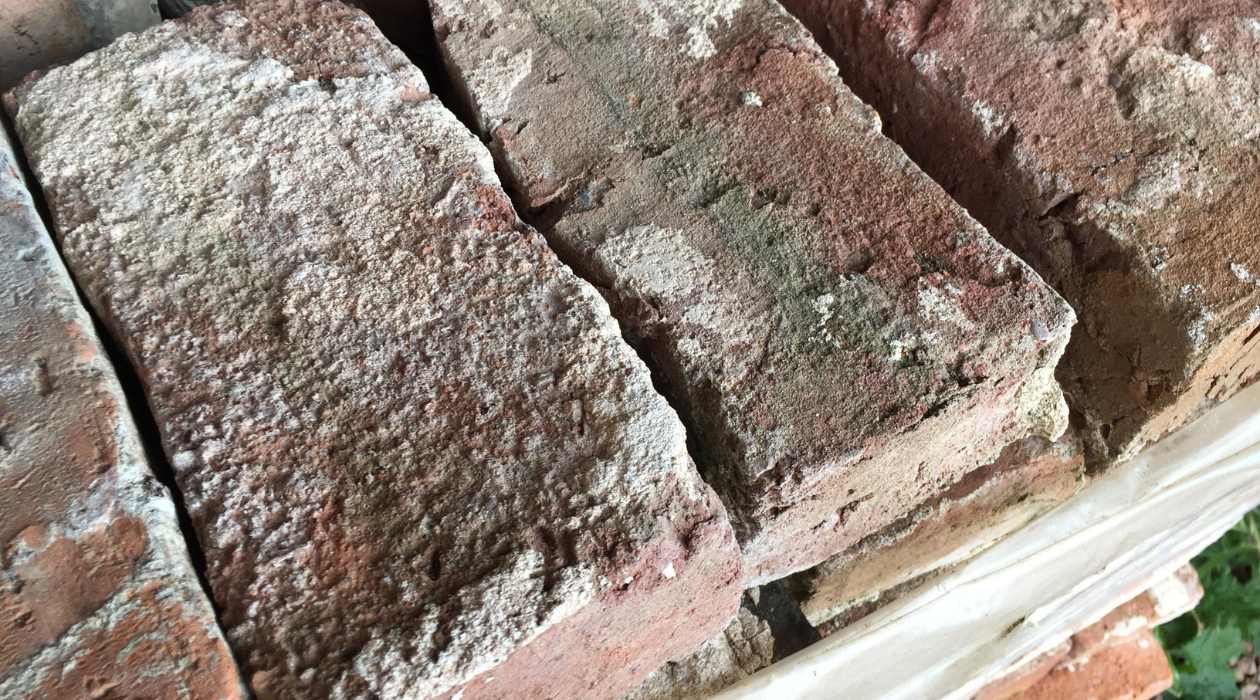
- Type of Bricks: There are various types of bricks available, including clay bricks and concrete bricks. Clay bricks offer a classic and timeless look, while concrete bricks are more versatile and affordable.
- Size and Shape: Bricks come in different sizes and shapes. Common sizes include standard size bricks (2 ⅝” x 3 ⅝” x 8″), modular bricks (2 ¼” x 3 ⅝” x 7 ⅝”), and jumbo bricks (3 ⅝” x 3 ⅝” x 9 ⅝”). Choose the size and shape that best suits your design and aesthetic preferences. Consider whether you want straight or curved edges for your walkway.
- Color: Bricks can be found in a variety of colors, ranging from traditional red and brown to more unique shades like gray and tan. Choose a color that complements the overall aesthetic of your outdoor space.
- Additional Materials: In addition to bricks, you will need other materials to complete your walkway. This includes sand for the base layer and joint filling, gravel or crushed stone for drainage, and landscape fabric to prevent weed growth.
When selecting your materials, consider factors such as durability, maintenance, and cost. It’s important to choose high-quality materials that can withstand foot traffic, weather conditions, and time. Take your time to explore different options and consult with a local supplier or contractor if you need assistance.
Once you have chosen your bricks and materials, you’re one step closer to creating your dream brick walkway. In the next step, we will guide you on marking the pathway, ensuring that you have a clear direction before you start the construction process.
Step 3: Marking the Pathway
Now that you have chosen the bricks and materials for your walkway, it’s time to mark the pathway. Properly marking the path will ensure that you have a clear guide when excavating the area and laying the bricks. Here’s how to do it:
- Gather the Tools: You will need stakes, string, a tape measure, and a can of marking paint or powdered chalk.
- Plan the Pathway: Use your design plan from the planning stage to determine the layout of the walkway. Consider any curves or turns you want to incorporate.
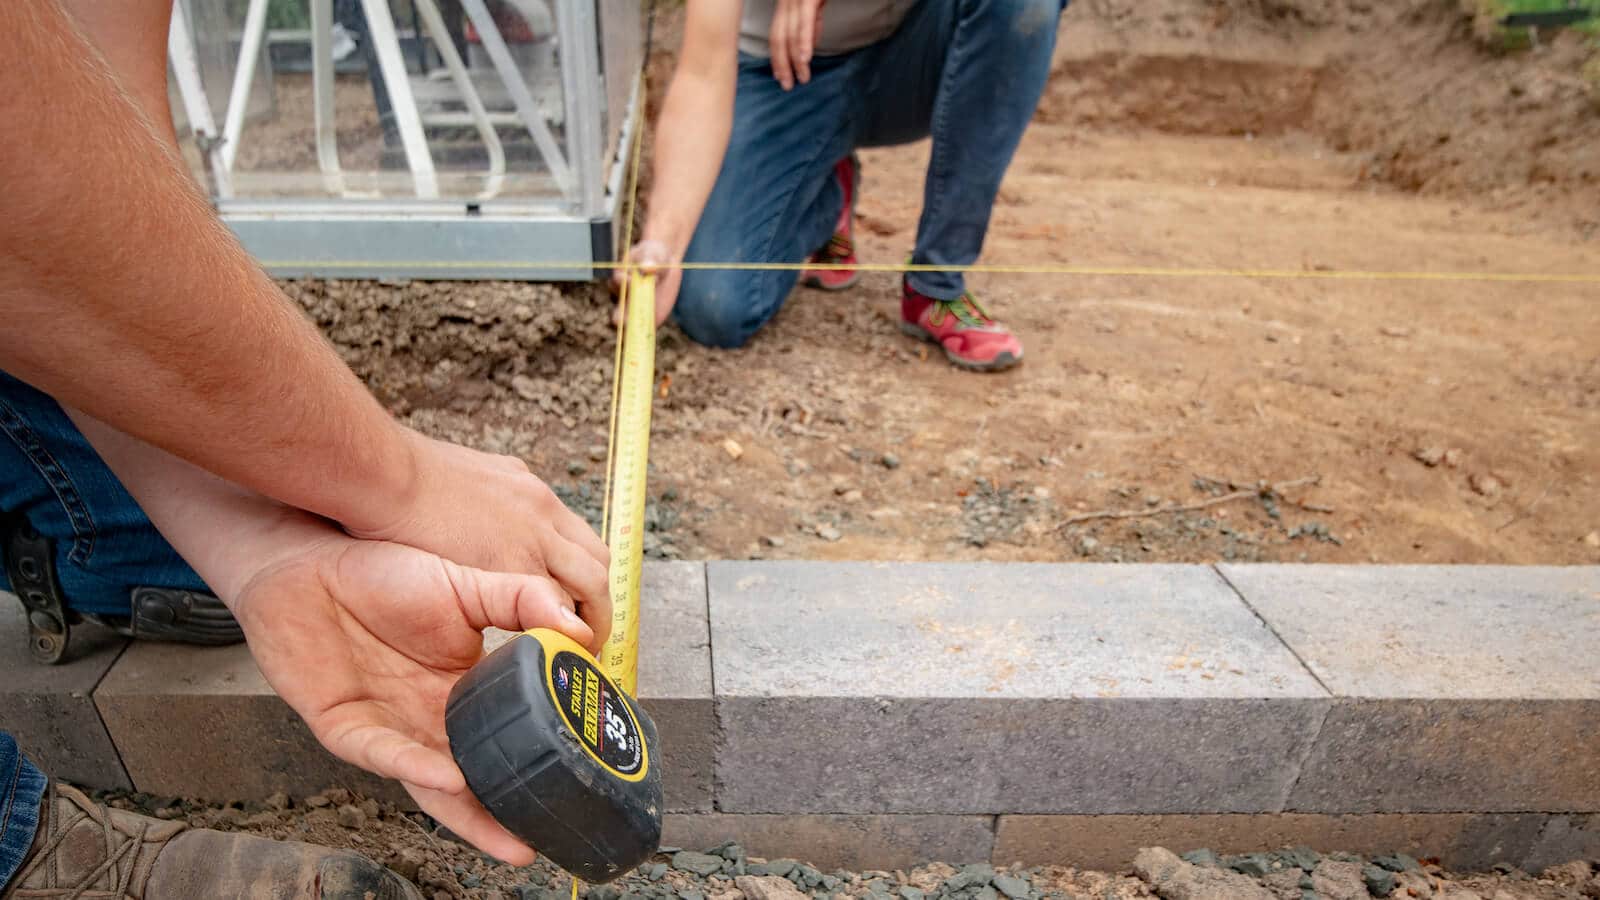
- Mark the Edges: Start by placing stakes at each end of the walkway. Attach a string tightly between the stakes, ensuring that it follows the desired path. Use the tape measure to create equal spacing between the stakes.
- Mark the Centerline: Measure the width of the walkway and divide it in half. From the centerline of the walkway, measure and mark half of the width on either side of the string. This will create a guide for laying the bricks.
- Verify Accuracy: Take a step back and inspect the marked pathway. Ensure that the string is straight and the measurements are accurate. Adjust as necessary until you are satisfied with the alignment.
- Apply Marking Paint or Chalk: Once you are confident with the pathway, use marking paint or powdered chalk to trace the outline of the walkway on the ground. This will serve as a visual reference during the excavation and construction process.
By carefully marking the pathway, you will have a clear and precise guide to follow. This will help you maintain the desired width, shape, and alignment of the walkway. With the path marked, you are now ready to move on to the next step: excavating the area to prepare for the walkway construction.
Step 4: Excavating the Area
With the pathway marked, it’s time to start excavating the area to prepare for the construction of your brick walkway. Excavation involves removing any existing materials, such as grass, soil, or old pavement, to create a level and stable base for the walkway. Follow these steps to ensure a successful excavation:
- Gather the Necessary Tools: You will need a shovel, a spade, a wheelbarrow, and a rake.
- Start Excavating: Begin by removing any grass or vegetation within the marked pathway area. Use the shovel or spade to cut through the sod and lift it away.
- Remove Soil: Dig down to a depth of about 6 inches or the desired depth of your walkway. Use the shovel to scoop out the soil and place it into the wheelbarrow. Repeat this process until the entire pathway area is excavated.
- Ensure Evenness: As you excavate, keep an eye on the depth and evenness of the area. Use a rake to level the ground and remove any large rocks or debris that may interfere with the placement of the bricks.
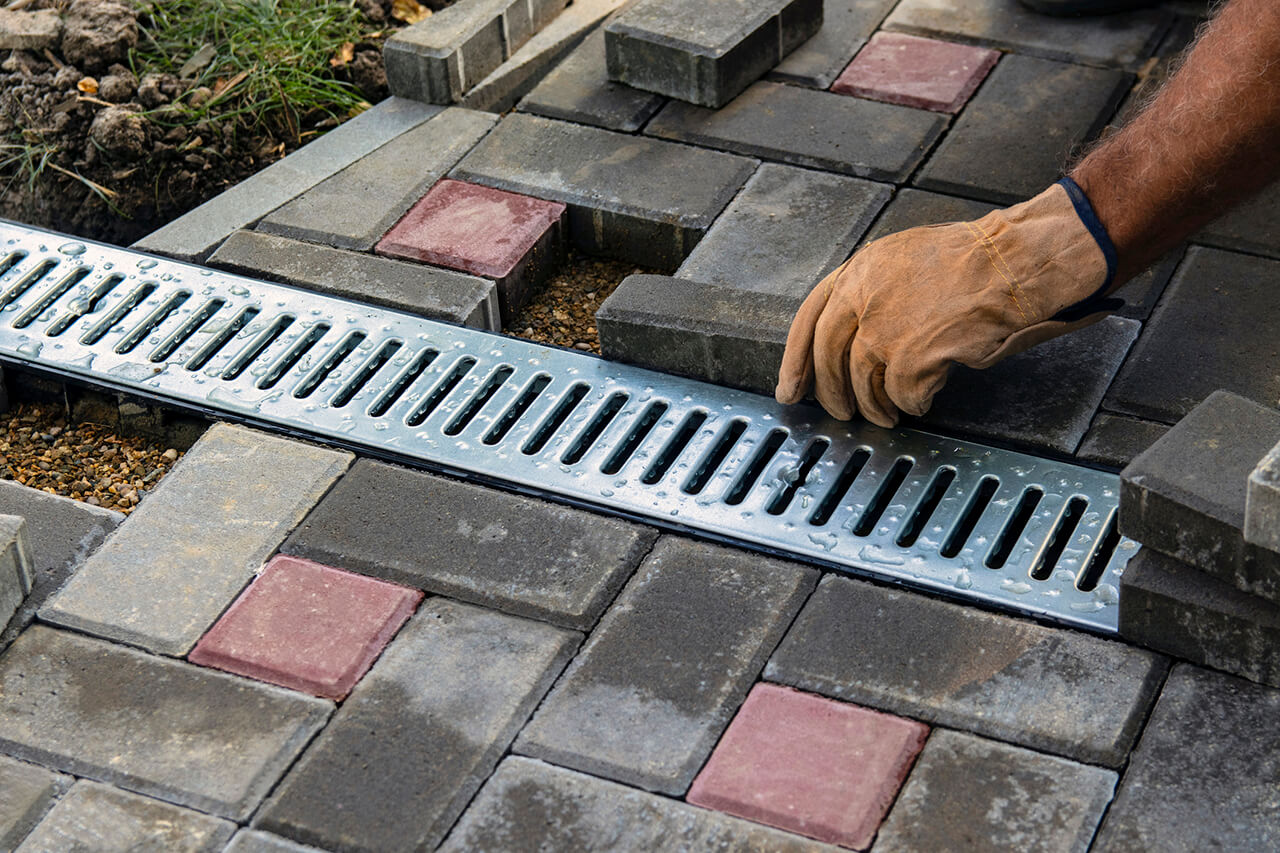
- Check Slope and Drainage: Pay attention to the slope of the walkway, ensuring that it has a slight incline to facilitate proper drainage. This will help prevent water pooling and ensure the longevity of your brick walkway.
- Compact the Base: After the excavation is complete, use a hand tamper or a plate compactor to firmly compact the soil. This will create a solid and stable base for your walkway.
Excavating the area may seem like a tedious task, but it is a crucial step in ensuring the long-term stability and durability of your brick walkway. Be diligent in removing any obstacles and maintaining an even surface. With the area excavated and compacted, you are ready for the next step: creating a base for the walkway.
When laying a brick walkway, make sure to properly prepare the base by excavating and compacting the soil, then adding a layer of gravel for drainage and stability. This will help prevent shifting and settling over time.
Read more: How To Lay A Brick Walkway Like A Pro
Step 5: Creating a Base for the Walkway
Now that the area has been excavated, it’s time to create a solid base for your brick walkway. A proper base is essential for supporting the weight of the bricks and ensuring long-term stability. Follow these steps to create a sturdy base:
- Gather the Necessary Materials: You will need gravel or crushed stone, mason sand, a rake, and a hand tamper or plate compactor.
- Add a Layer of Gravel: Start by adding a layer of gravel or crushed stone to the excavated area. Spread the gravel evenly to a depth of about 2-3 inches, using the rake to level it.
- Compact the Gravel: Use a hand tamper or plate compactor to firmly compact the layer of gravel. This will help create a stable and solid base for your walkway.
- Add a Layer of Sand: Once the gravel is compacted, spread a layer of mason sand on top, with a depth of about 1 inch. Use the rake to level the sand evenly across the surface.
- Compact the Sand: Similar to the gravel, use a hand tamper or plate compactor to compact the layer of sand. This will ensure a smooth and level surface for laying the bricks.
- Check for Evenness: Take the time to inspect the compacted base for evenness. Make any necessary adjustments to ensure a level surface for the walkway. Use a level or a straightedge to guide you.
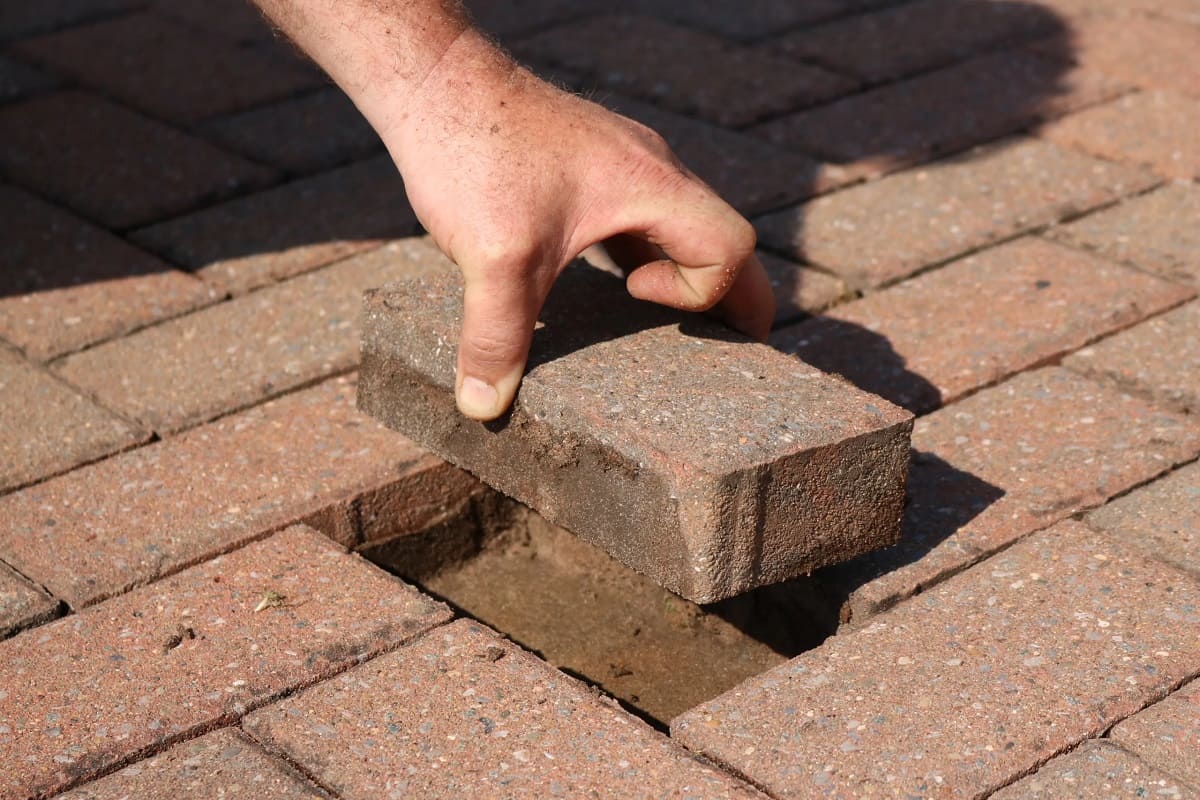
- Make Adjustments: If you notice any low spots or areas that are not level, add or remove sand as needed. Rake and compact the sand again to maintain a consistent base.
By creating a solid base, you are providing a stable foundation for your brick walkway. This will help prevent shifting, settling, and unevenness over time. Take your time to ensure the base is compacted and level before proceeding to the next step: laying the bricks.
Step 6: Laying the Bricks
Now comes the exciting part – it’s time to start laying the bricks for your walkway! This step requires precision and patience to ensure a professional-looking result. Follow these steps to successfully lay the bricks:
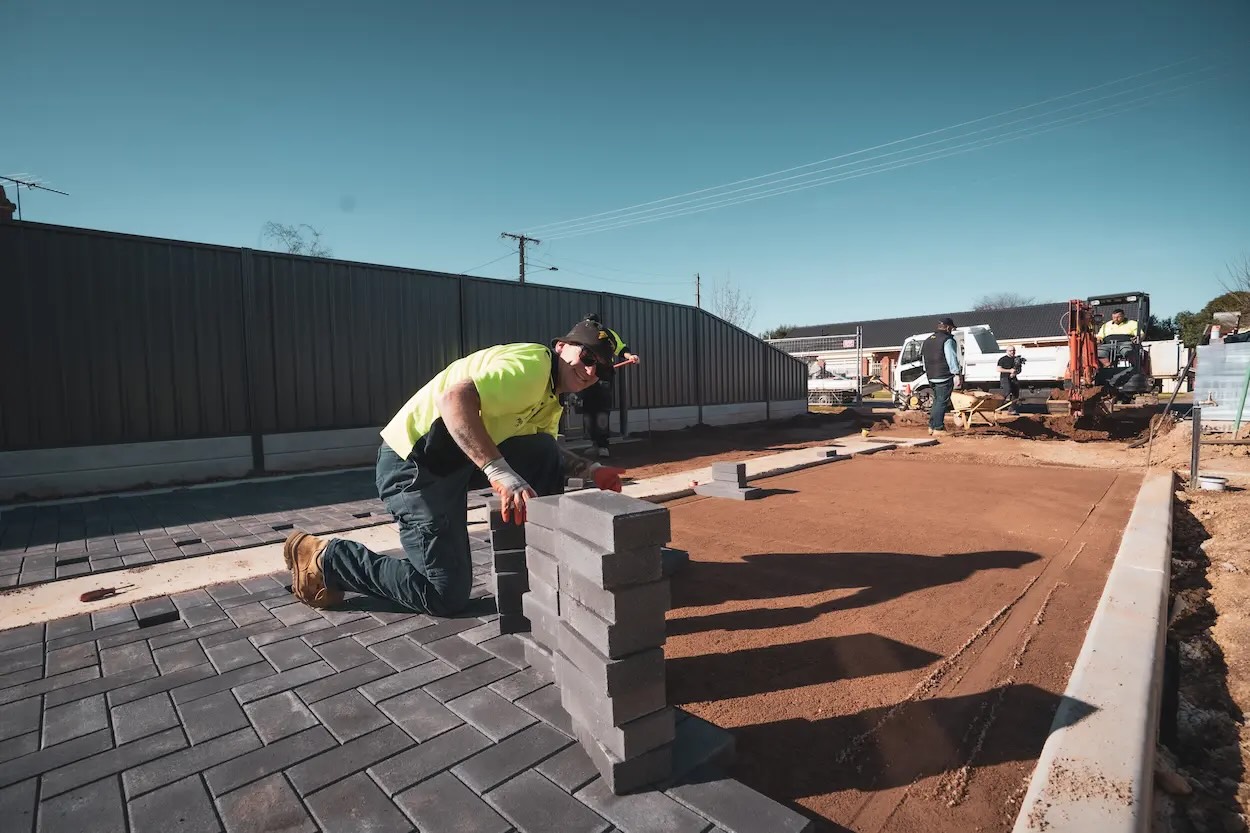
- Start from the Beginning: Begin at one end of the marked pathway. This will allow you to work your way across and ensure a consistent pattern as you lay the bricks.
- Apply a Thin Layer of Sand: Before placing the bricks, spread a thin layer of mason sand across the compacted base. This will provide a cushion and allow for slight adjustments in the placement of the bricks.
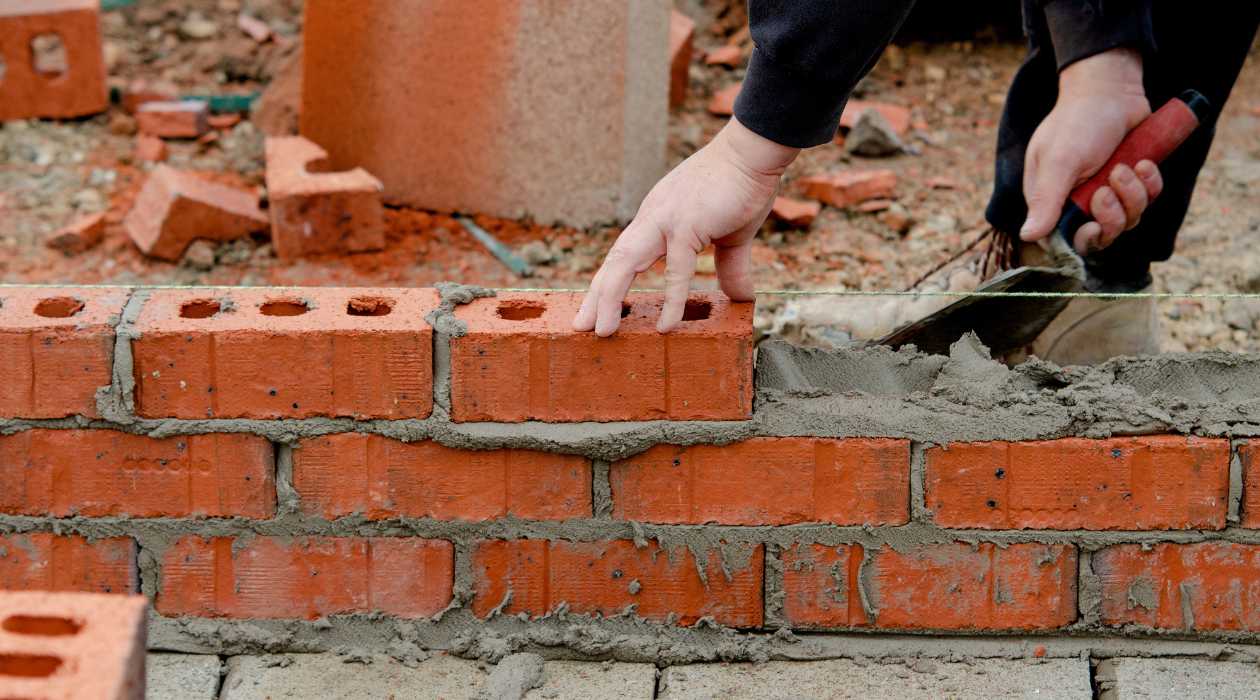
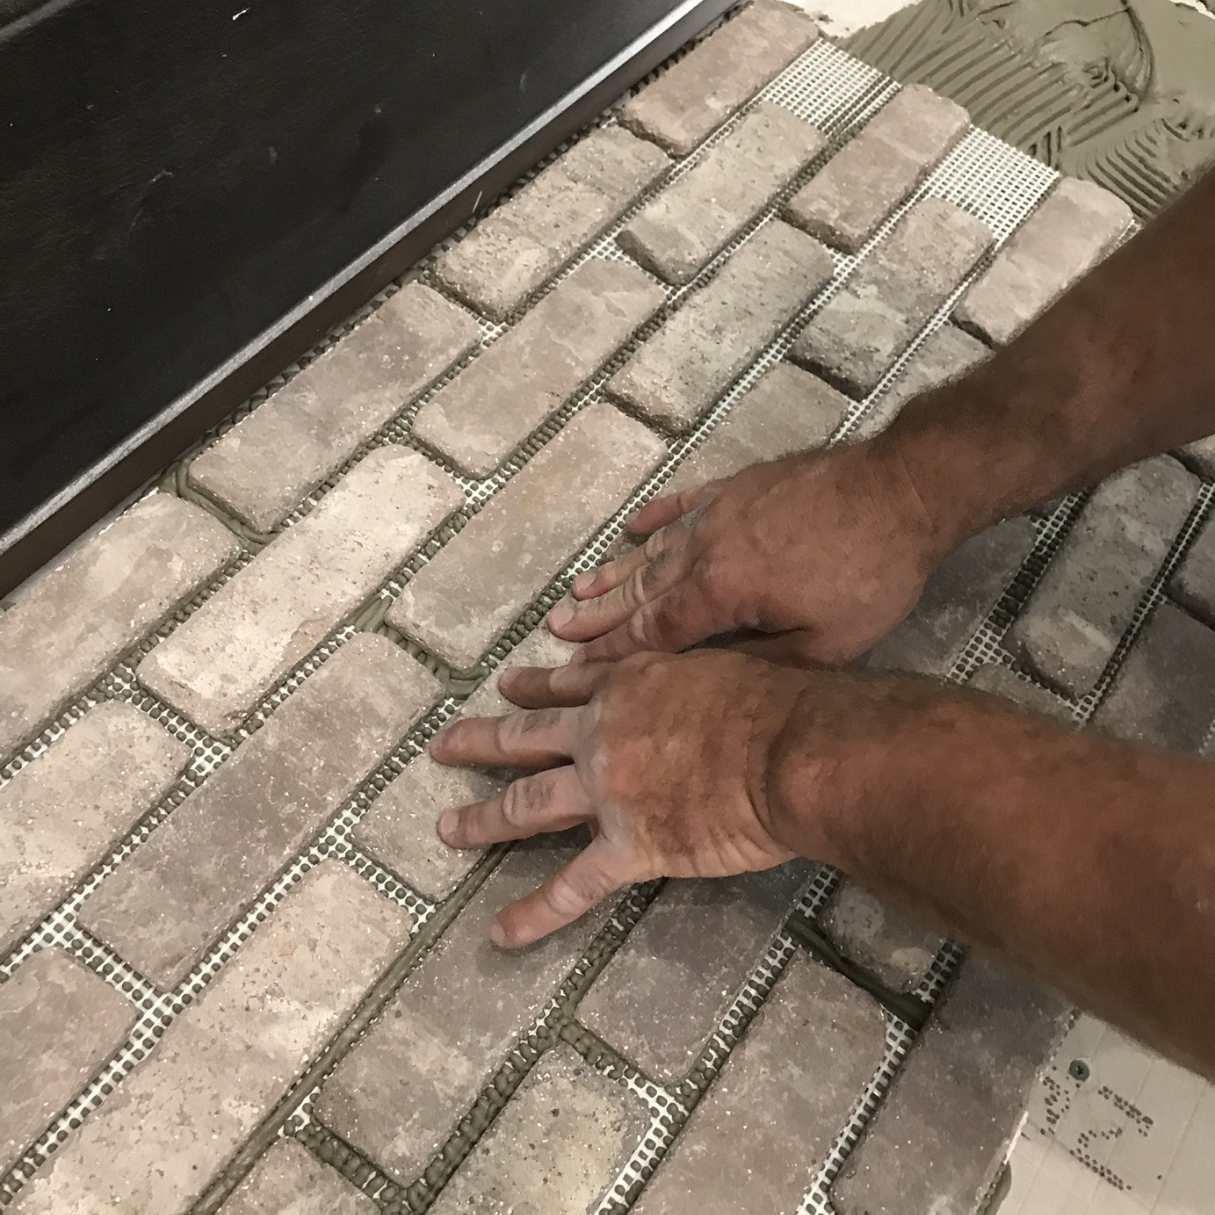
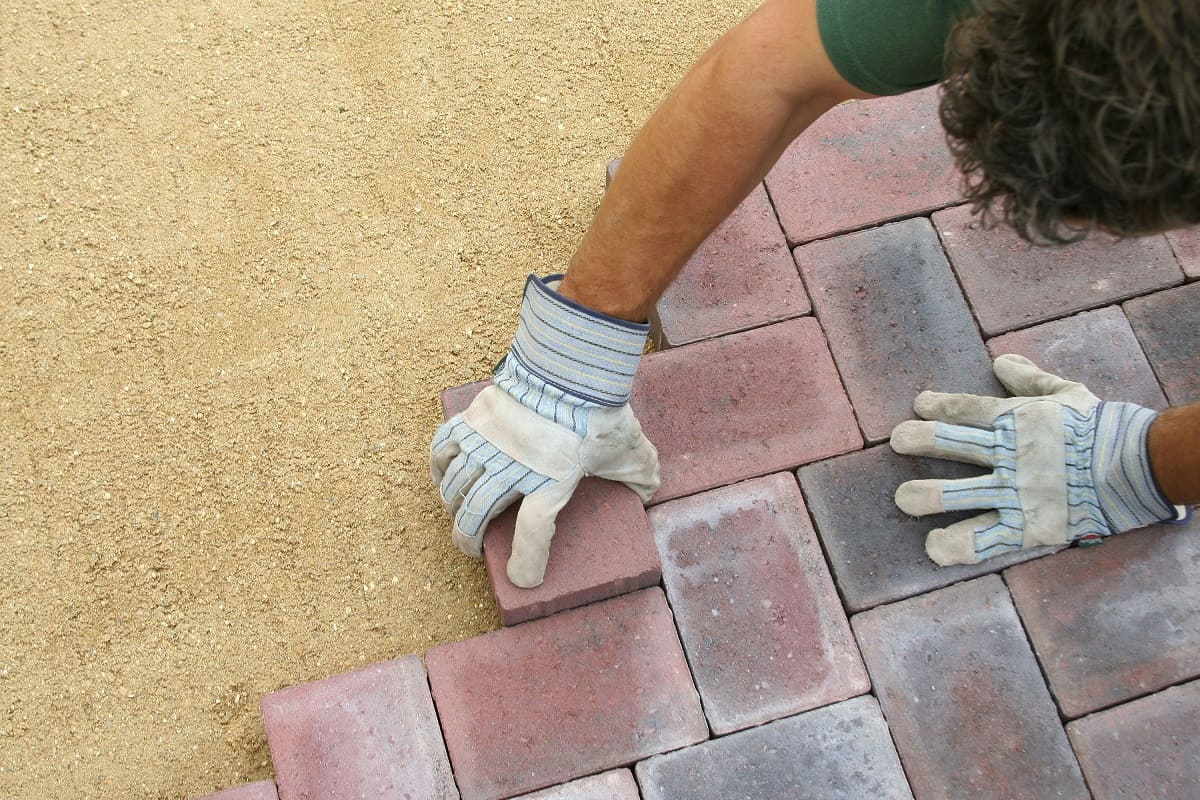
- Begin Placing the Bricks: Start placing the bricks, following the pattern or design you have chosen. Press each brick firmly into the sand, ensuring it is level and snug against the adjacent bricks.
- Check for Levelness and Alignment: Use a level to ensure that each brick is level both vertically and horizontally. Adjust the sand beneath the bricks as necessary to achieve proper alignment.
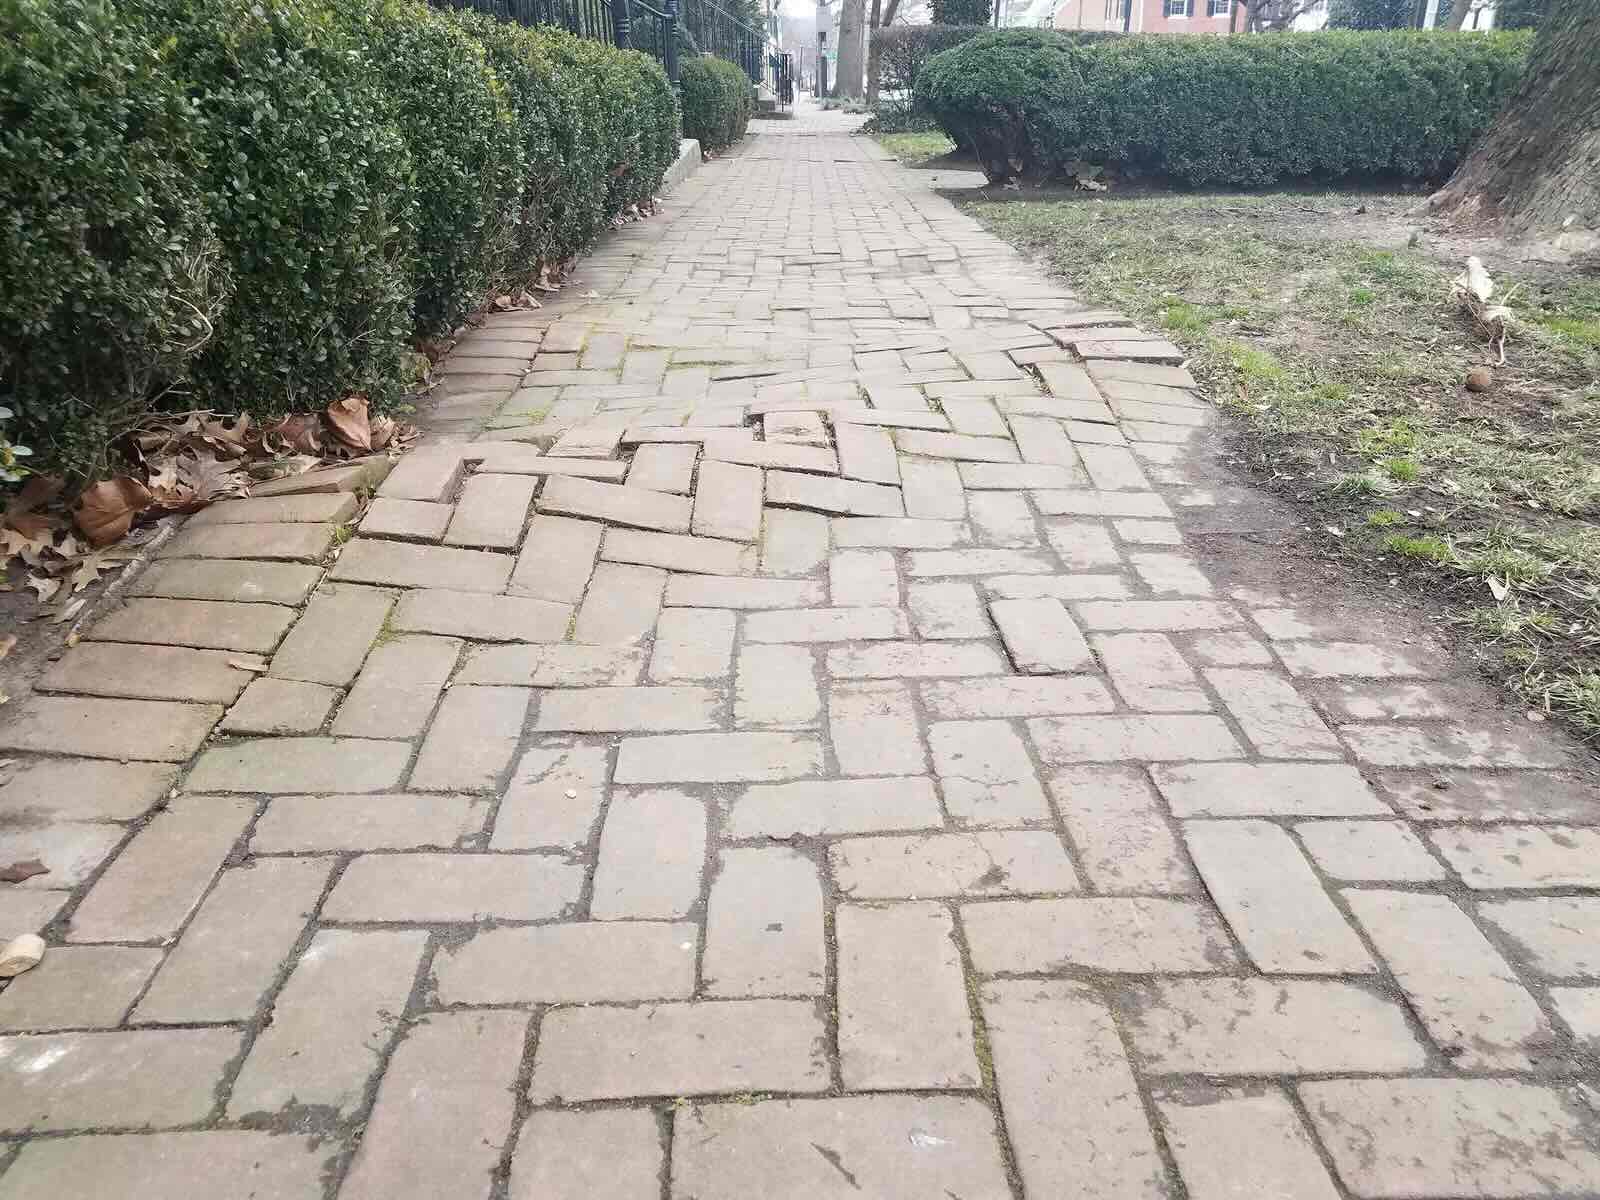
- Leave Space for Joints: As you lay the bricks, leave a small gap between each one to create joints. These joints will allow for sand or mortar to be filled later, providing stability and preventing the bricks from shifting.
- Create Curves and Patterns: If your walkway includes curves or patterns, cut the bricks using a brick saw or chisel to fit the desired shape. Take your time to ensure precise cuts for a seamless look.
- Continue the Process: Repeat the process of placing bricks, checking for levelness, and leaving gaps for joints. Work your way across the pathway, being mindful of maintaining the desired alignment and pattern.
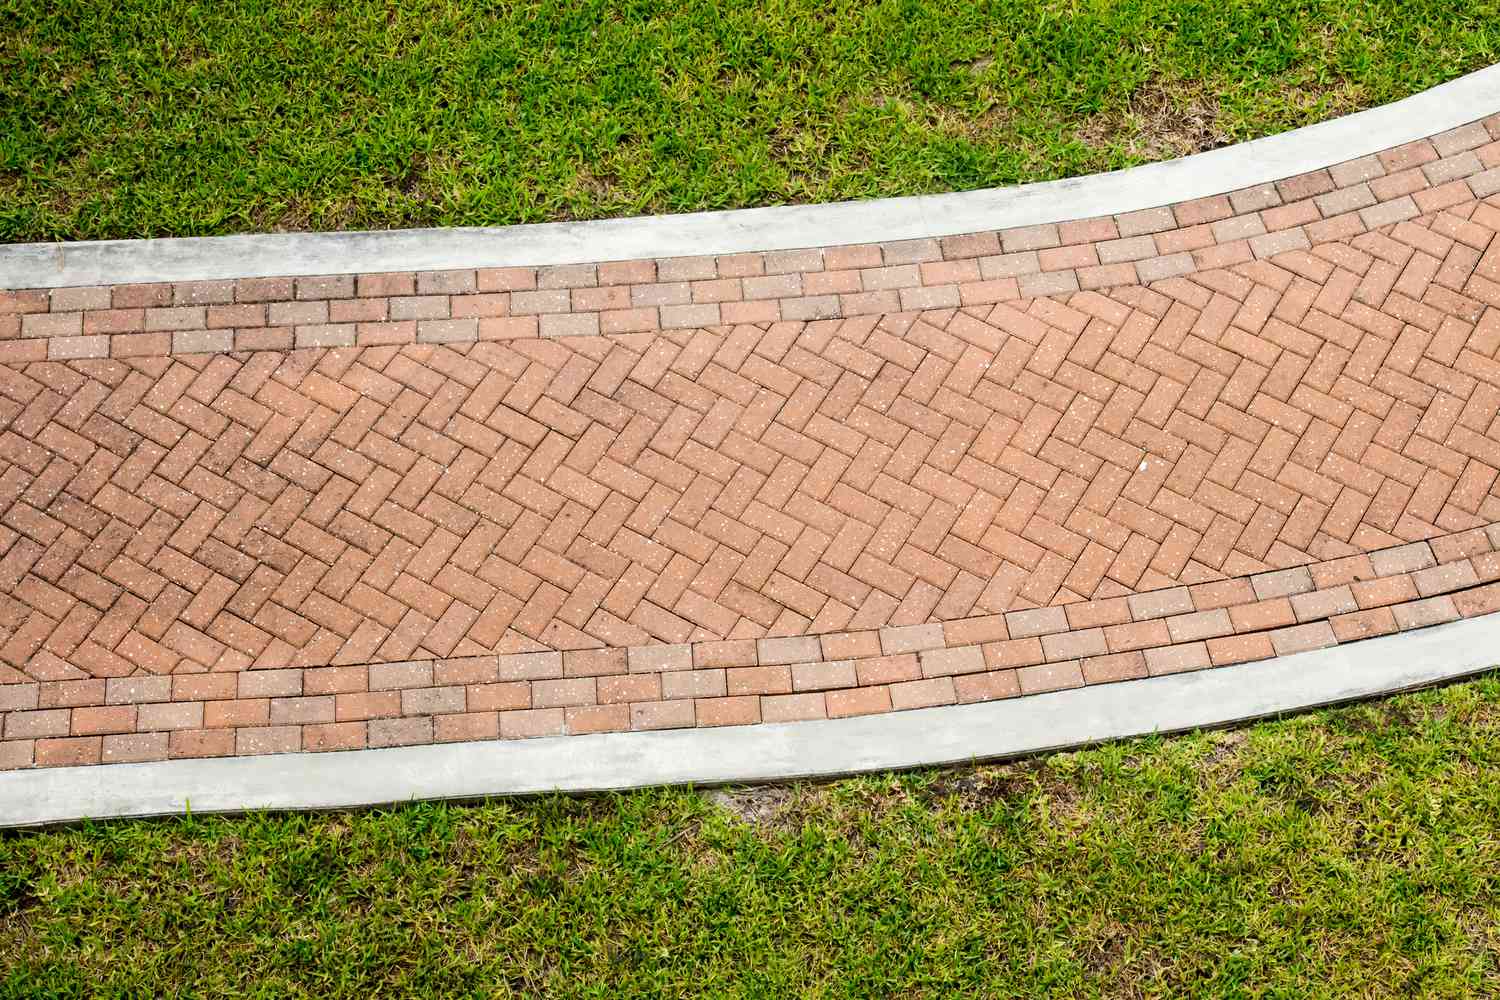
- Secure the Edges: Pay special attention to the edges of the walkway. Use edging materials or brick pavers to secure the outer edges, maintaining a neat and finished appearance.
As you lay the bricks, take breaks to step back and assess the overall look and alignment of the walkway. Adjust as needed to maintain consistency and achieve your desired design. With each brick placed, you are one step closer to completing your beautiful brick walkway.
Step 7: Filling the Joints
After laying the bricks, it’s time to fill the joints between them to provide stability and enhance the overall appearance of your walkway. The joint filling process involves adding sand or mortar to the gaps between the bricks. Follow these steps to fill the joints:
- Gather the Necessary Materials: You will need fine mason sand, a broom, and a garden hose.
- Prepare the Sand: Pour the sand onto the surface of the walkway. Use a broom to sweep the sand into the joints, ensuring it fills the gaps completely.
- Compact the Sand: Once the sand is in place, use a hand tamper or the backside of a trowel to compact the sand into the joints. This will help stabilize the bricks and prevent them from shifting over time.
- Brush Off Excess Sand: Use the broom to sweep off any excess sand from the surface of the bricks. Angle the broom bristles to brush the sand into the joints while removing any loose debris.
- Water the Sand: Lightly mist the surface of the walkway with water from a garden hose. This will help settle the sand and aid in the curing process.
- Reapply Sand if Needed: As the water settles the sand, you may notice some settling or gaps in the joints. If necessary, add more sand and repeat the compacting and watering process until the joints are completely filled.
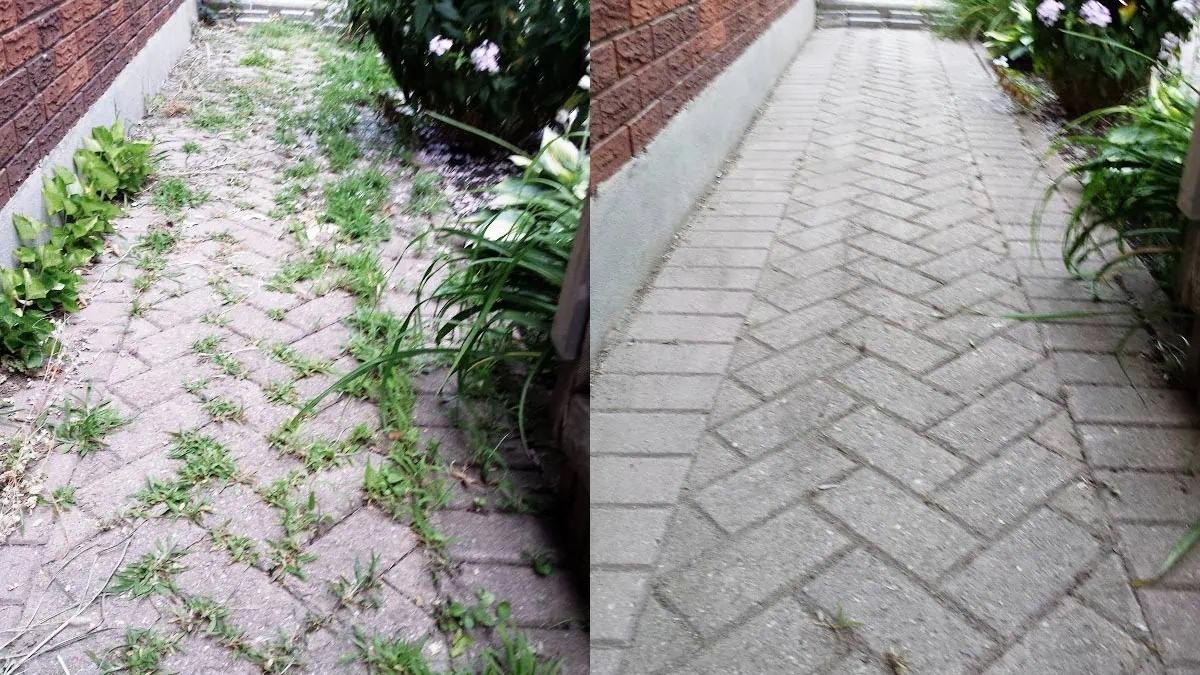
Properly filling the joints is crucial for stabilizing the bricks and preventing the growth of weeds or vegetation between them. The sand filler allows for flexibility and helps absorb any movement or shifting over time. With the joints filled and the sand settled, your brick walkway is almost complete.
Step 8: Finishing Touches
With the bricks laid and the joints filled, you’re in the final stretch of creating your beautiful brick walkway. Step 8 focuses on adding those finishing touches to complete the project and ensure your walkway is both functional and visually appealing. Here’s what you need to do:
- Clean the Surface: Take a broom and sweep off any remaining debris or loose sand from the surface of the walkway. This will give it a clean and polished appearance.
- Seal the Bricks: Consider applying a sealer to the bricks to protect them from stains and weather damage. Follow the instructions on the sealer packaging for application details and drying time.
- Enhance the Edges: Pay attention to the edges of the walkway. You can add edging materials such as bricks, stones, or metal borders to give a polished look and help define the pathway.
- Add Landscaping: Consider incorporating landscaping elements alongside your walkway to enhance its beauty. Plant flowers, shrubs, or small trees along the edges to create a vibrant and inviting atmosphere.
- Install Lighting: If desired, install low-voltage outdoor lighting to illuminate the walkway during the evening hours. This will not only enhance safety but also add a touch of elegance to your outdoor space.
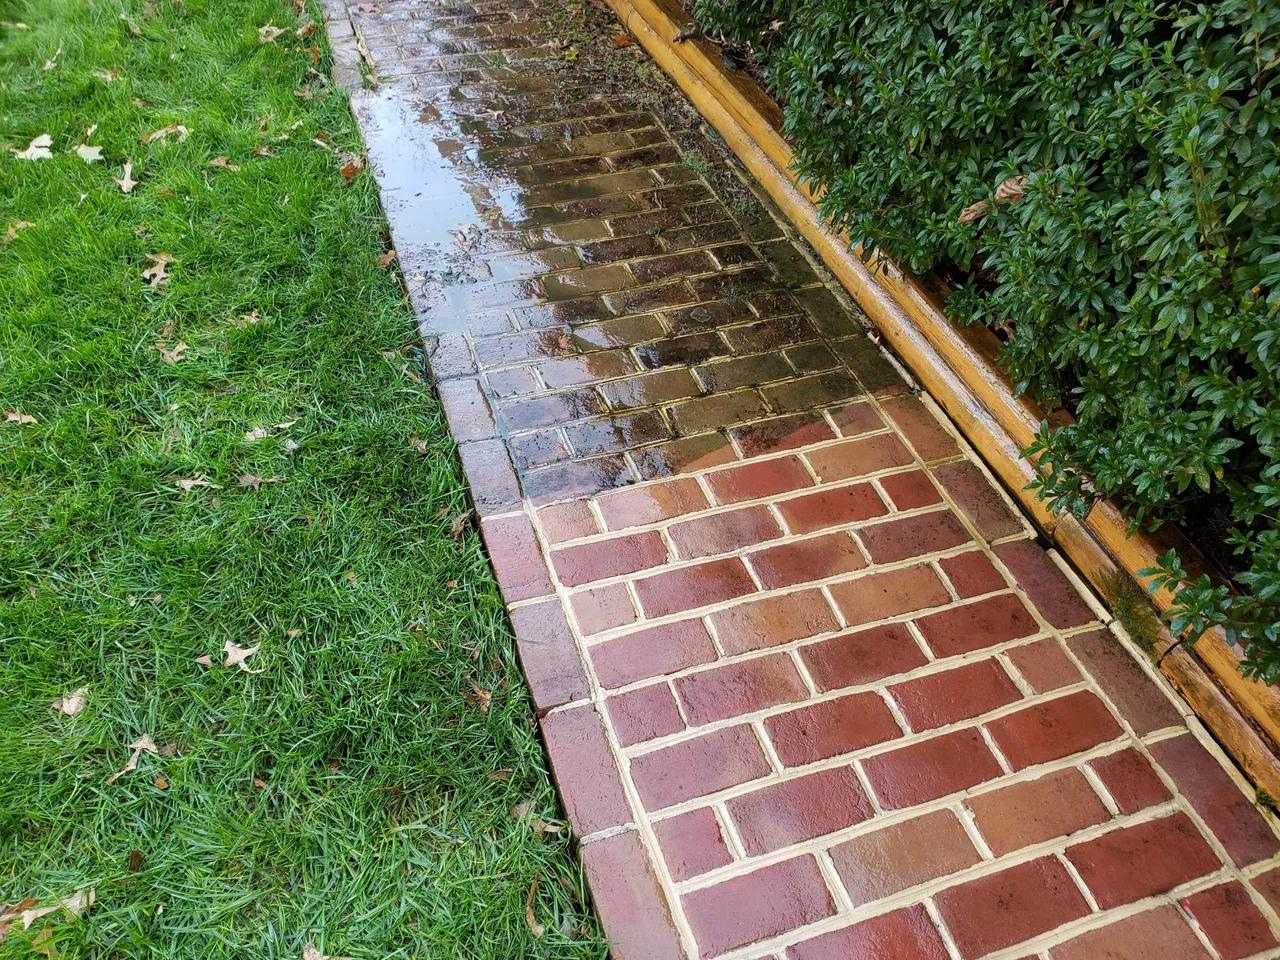
- Maintain and Care for the Walkway: Regularly sweep the walkway to remove debris and prevent buildup. Periodically inspect the joints and add more sand as needed. Consider pressure washing to remove stubborn stains or dirt.
By attending to these finishing touches, you can elevate the overall appearance and functionality of your brick walkway. Whether it’s enhancing the edges, adding landscaping, or incorporating lighting, these final details will ensure your walkway becomes a standout feature in your outdoor space.
Congratulations! You have successfully completed all the steps to lay a brick walkway. Now, take a moment to admire your hard work and enjoy the beautiful pathway you have created.
Read more: How To Lay Cobblestone Walkway
Conclusion
Congratulations on completing your brick walkway! By following the step-by-step guide outlined in this article, you have transformed your outdoor space into a functional and visually appealing pathway. A brick walkway adds charm and character to any home or garden, and with proper maintenance, it can last for years to come.
Throughout the process, you have learned the importance of careful planning and preparation, choosing the right materials, marking the pathway, excavating the area, creating a solid base, laying the bricks, filling the joints, and adding those final finishing touches. Each step was crucial in ensuring the stability, durability, and aesthetic appeal of your walkway.
Remember to maintain and care for your brick walkway regularly. Sweep off debris, inspect the joints, and add sand if needed. Consider applying a sealer to protect the bricks from stains and weather damage. By doing so, you will extend the lifespan of your walkway and keep it looking beautiful for years.
Now that you have completed your brick walkway, take the time to enjoy it. Whether you use it as a path in your garden, a way to welcome guests to your front door, or simply as a beautiful addition to your outdoor space, your walkway will undoubtedly enhance the overall appeal and functionality of your home.
Thank you for joining us on this journey of creating a brick walkway. We hope this guide has been informative and helpful. Happy walking!
Frequently Asked Questions about How To Lay Brick Walkway
Was this page helpful?
At Storables.com, we guarantee accurate and reliable information. Our content, validated by Expert Board Contributors, is crafted following stringent Editorial Policies. We're committed to providing you with well-researched, expert-backed insights for all your informational needs.

0 thoughts on “How To Lay Brick Walkway”