Articles
How To Remove Ceiling Light
Modified: October 20, 2024
Learn how to remove a ceiling light with our helpful articles. Get step-by-step instructions and tips for safely removing and replacing ceiling lights.
(Many of the links in this article redirect to a specific reviewed product. Your purchase of these products through affiliate links helps to generate commission for Storables.com, at no extra cost. Learn more)
Introduction
Welcome to this guide on how to remove a ceiling light. Whether you’re looking to update your lighting fixtures, change a burnt-out bulb, or make repairs, knowing how to safely remove a ceiling light is an essential skill for any homeowner or DIY enthusiast. With the right tools and precautions, you can successfully remove a ceiling light while ensuring your safety and preventing any damage to your home.
Before we dive into the step-by-step process, it’s important to emphasize the significance of safety when working with electricity. Always remember to turn off the power at the circuit breaker or fuse box before attempting any electrical work. Additionally, if you are unsure or uncomfortable about working with electrical systems, it’s best to consult a professional electrician.
In this guide, we will walk you through the process of removing a ceiling light in a safe and efficient manner. We will cover everything from turning off the power to patching and painting the ceiling, ensuring that you have a comprehensive understanding of the entire process.
Note: It’s important to follow the manufacturer’s instructions specific to your light fixture, as different models may have slight variations in installation and removal processes. With that said, let’s get started on removing your ceiling light!
Key Takeaways:
- Prioritize safety by turning off the power at the circuit breaker before removing a ceiling light. Handle wires and fixtures with caution to prevent accidents and ensure a smooth and efficient removal process.
- Whether updating lighting fixtures or making repairs, knowing how to remove a ceiling light is a valuable skill for homeowners. Consider optional steps like patching and painting the ceiling or installing a new fixture for a complete transformation.
Read more: How To Remove A Dome Ceiling Light
Step 1: Turn off the power
The first and most crucial step in removing a ceiling light is to turn off the power supply. This will ensure your safety and prevent any risk of electric shock during the removal process.
To turn off the power, locate your home’s electrical panel, commonly known as the circuit breaker or fuse box. It is usually located in a utility room or basement. Open the panel cover and look for the circuit breaker that controls the power to the area where the ceiling light is installed.
Identify the correct circuit breaker by looking for labels or using a circuit tester. Turn off the breaker by flipping the switch to the “off” position. It’s always a good idea to double-check that the power is off by attempting to turn on the light switch or using a non-contact voltage tester to ensure there is no electrical current flowing.
Important: Do not rely solely on turning off the light switch. In some cases, the switch may not completely cut off the power, especially if the wiring has been modified. Always turn off the power at the circuit breaker to ensure safety.
Once you’ve confirmed that the power is off, it’s a good practice to tape a note on the circuit breaker panel indicating that work is being done on the electrical system. This will serve as a reminder to others in your household to avoid accidentally turning the power back on while you’re working.
Now that you have successfully turned off the power to the ceiling light, you can proceed to remove the light cover in the next step.
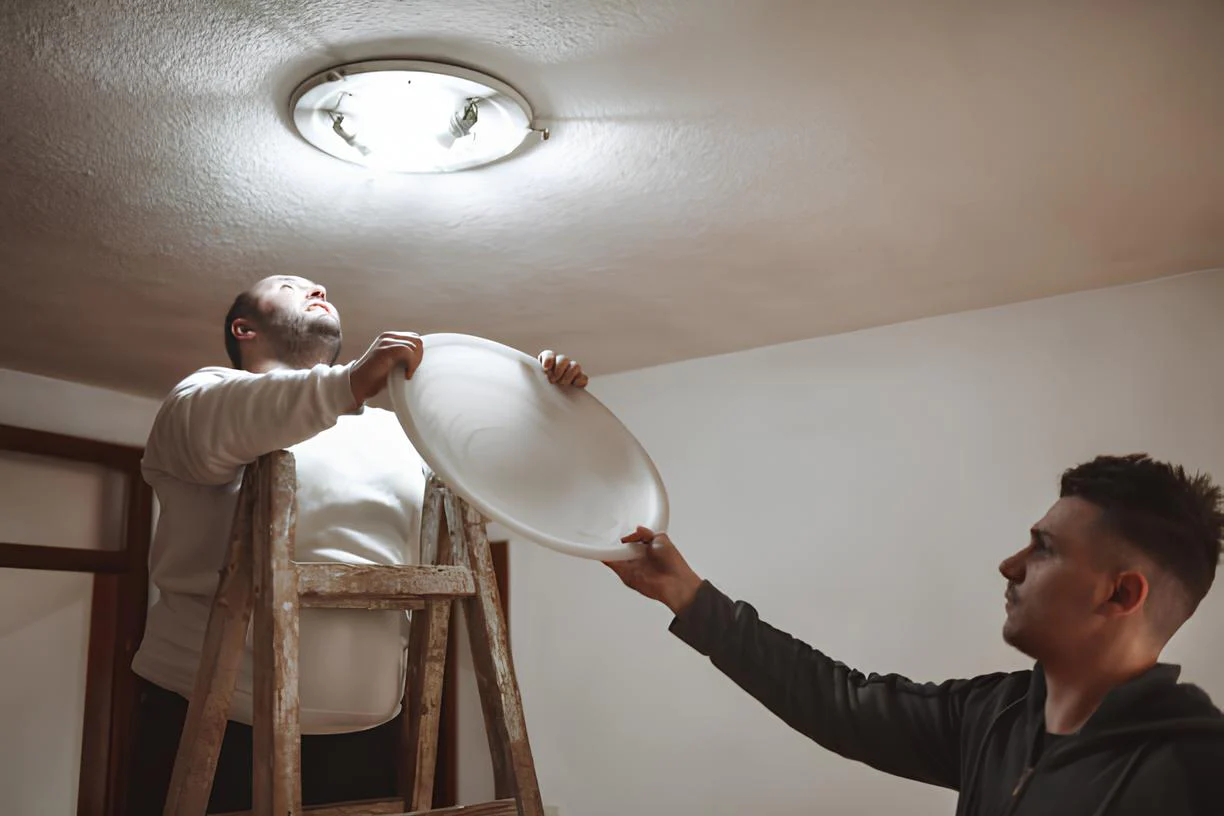
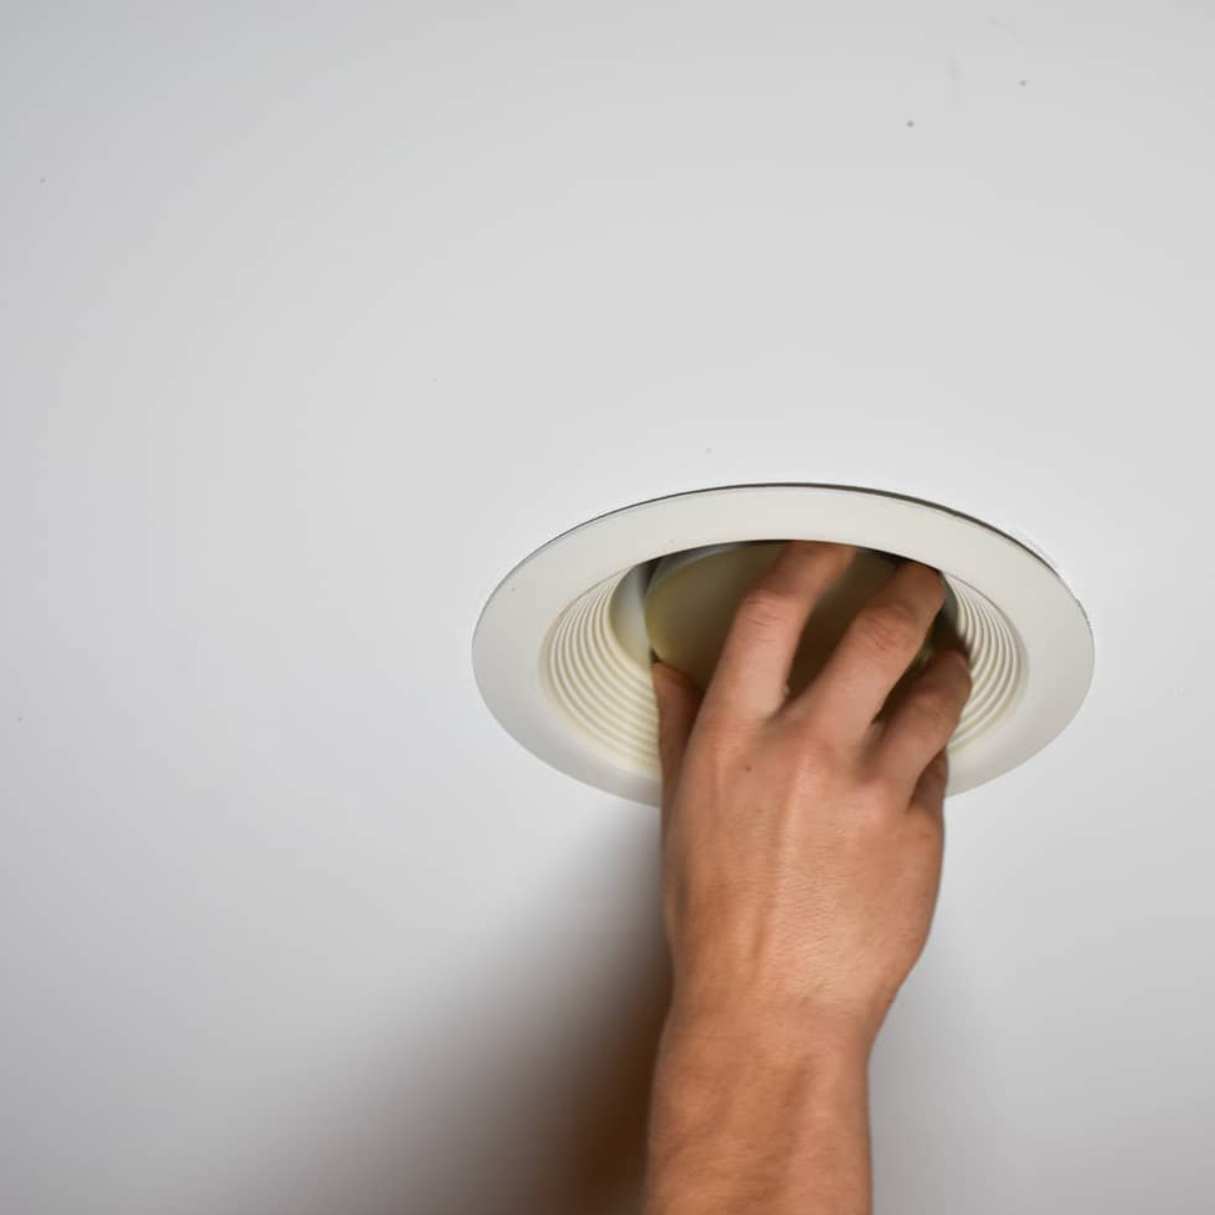
Step 2: Remove the light cover
With the power turned off, it’s time to remove the light cover. The light cover is typically a decorative or protective piece that attaches to the ceiling and covers the light bulb and wiring.
Start by examining the light fixture and identifying how the cover is attached. Most covers will either have screws, clips, or a twist-lock mechanism.
If there are screws securing the cover, use a screwdriver to carefully remove them. Place the screws in a safe location for reassembly later.
If the cover has clips, gently press or squeeze them towards the center of the cover to release them from the ceiling fixture. Be cautious not to apply too much pressure, as the clips can break or damage the cover.
For twist-lock covers, twist the cover counterclockwise to unlock it from the fixture. Some covers may require a slight push upwards while twisting to disengage from the ceiling.
Once the cover is released, carefully lower it and set it aside. Take note of any insulation or dust accumulation that may be present inside the cover. Clean or replace the cover if necessary before reinstalling it later.
Inspect the exposed wiring inside the fixture and identify the wire connectors or terminal screws. These connectors or screws are used to secure the wires, and they will be addressed in the next step.
It’s important to handle the light cover with care to avoid any damage. Depending on the material and design, some covers can be fragile or easily scratched. Handle it gently and avoid applying excessive force.
Now that you have successfully removed the light cover, let’s move on to disconnecting the wires in the next step.
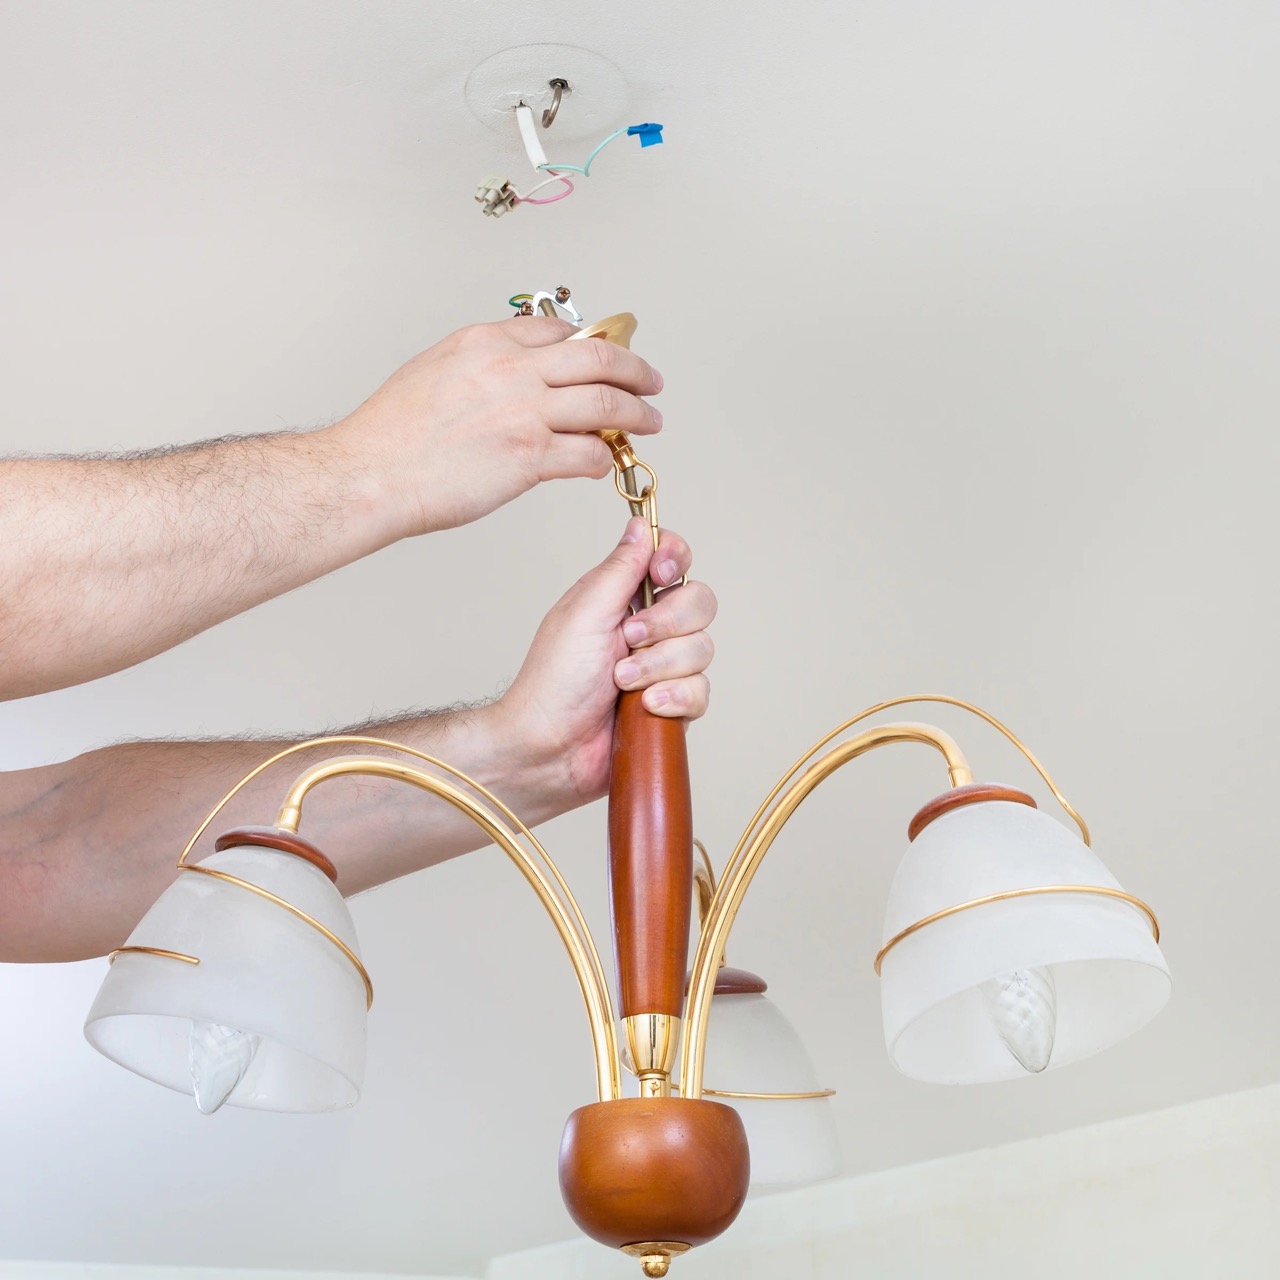
Step 3: Disconnect the wires
Now that the light cover is removed, the next step is to disconnect the wires that are attached to the ceiling light fixture. Before proceeding, ensure that the power is still turned off at the circuit breaker to avoid any electrical accidents.
Typically, you will encounter two types of wire connections: wire connectors (also known as wire nuts) and terminal screws. The method used will depend on the specific light fixture and wiring configuration.
If the wires are connected using wire connectors, follow these steps:
- Hold the wire nut with one hand and place your other hand on the wires that are connected by the nut.
- Using a twisting motion, unscrew the wire connector counterclockwise until it comes loose from the wires.
- Once the wire connector is removed, gently separate the wires by pulling them apart.
If the wires are attached to terminal screws, follow these steps:
- Using a screwdriver, carefully loosen the terminal screws by turning them counterclockwise.
- Once the screws are loosened, gently pull the wires away from the screws.
Some light fixtures may have multiple sets of wires connected together. In such cases, it’s essential to keep track of which wires are connected to ensure proper reconnection later.
As you disconnect the wires, take note of their color coding. Typically, black wires are hot or live wires, white wires are neutral wires, and green or bare copper wires are ground wires. This information will be useful when installing a new light fixture or troubleshooting any wiring issues.
Remember to handle the wires carefully and avoid bending or damaging them. If you encounter any difficulties in disconnecting the wires or have any uncertainty about the wiring, it’s recommended to consult a professional electrician for assistance.
With the wires safely disconnected, we are now ready to move on to the next step: unscrewing the mounting screws.
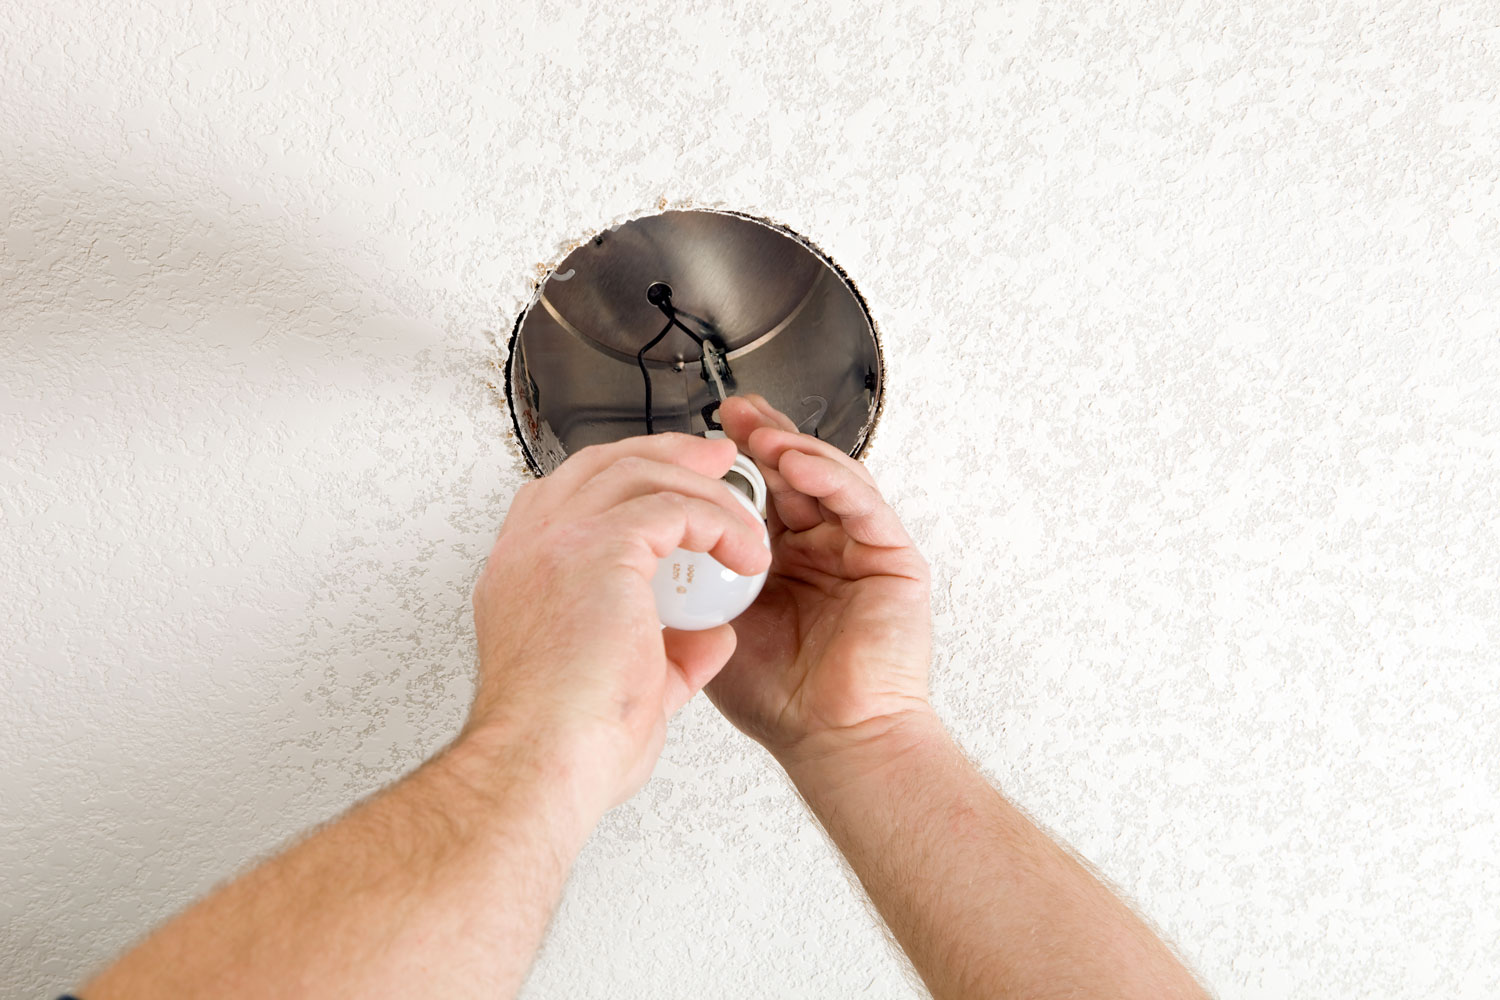
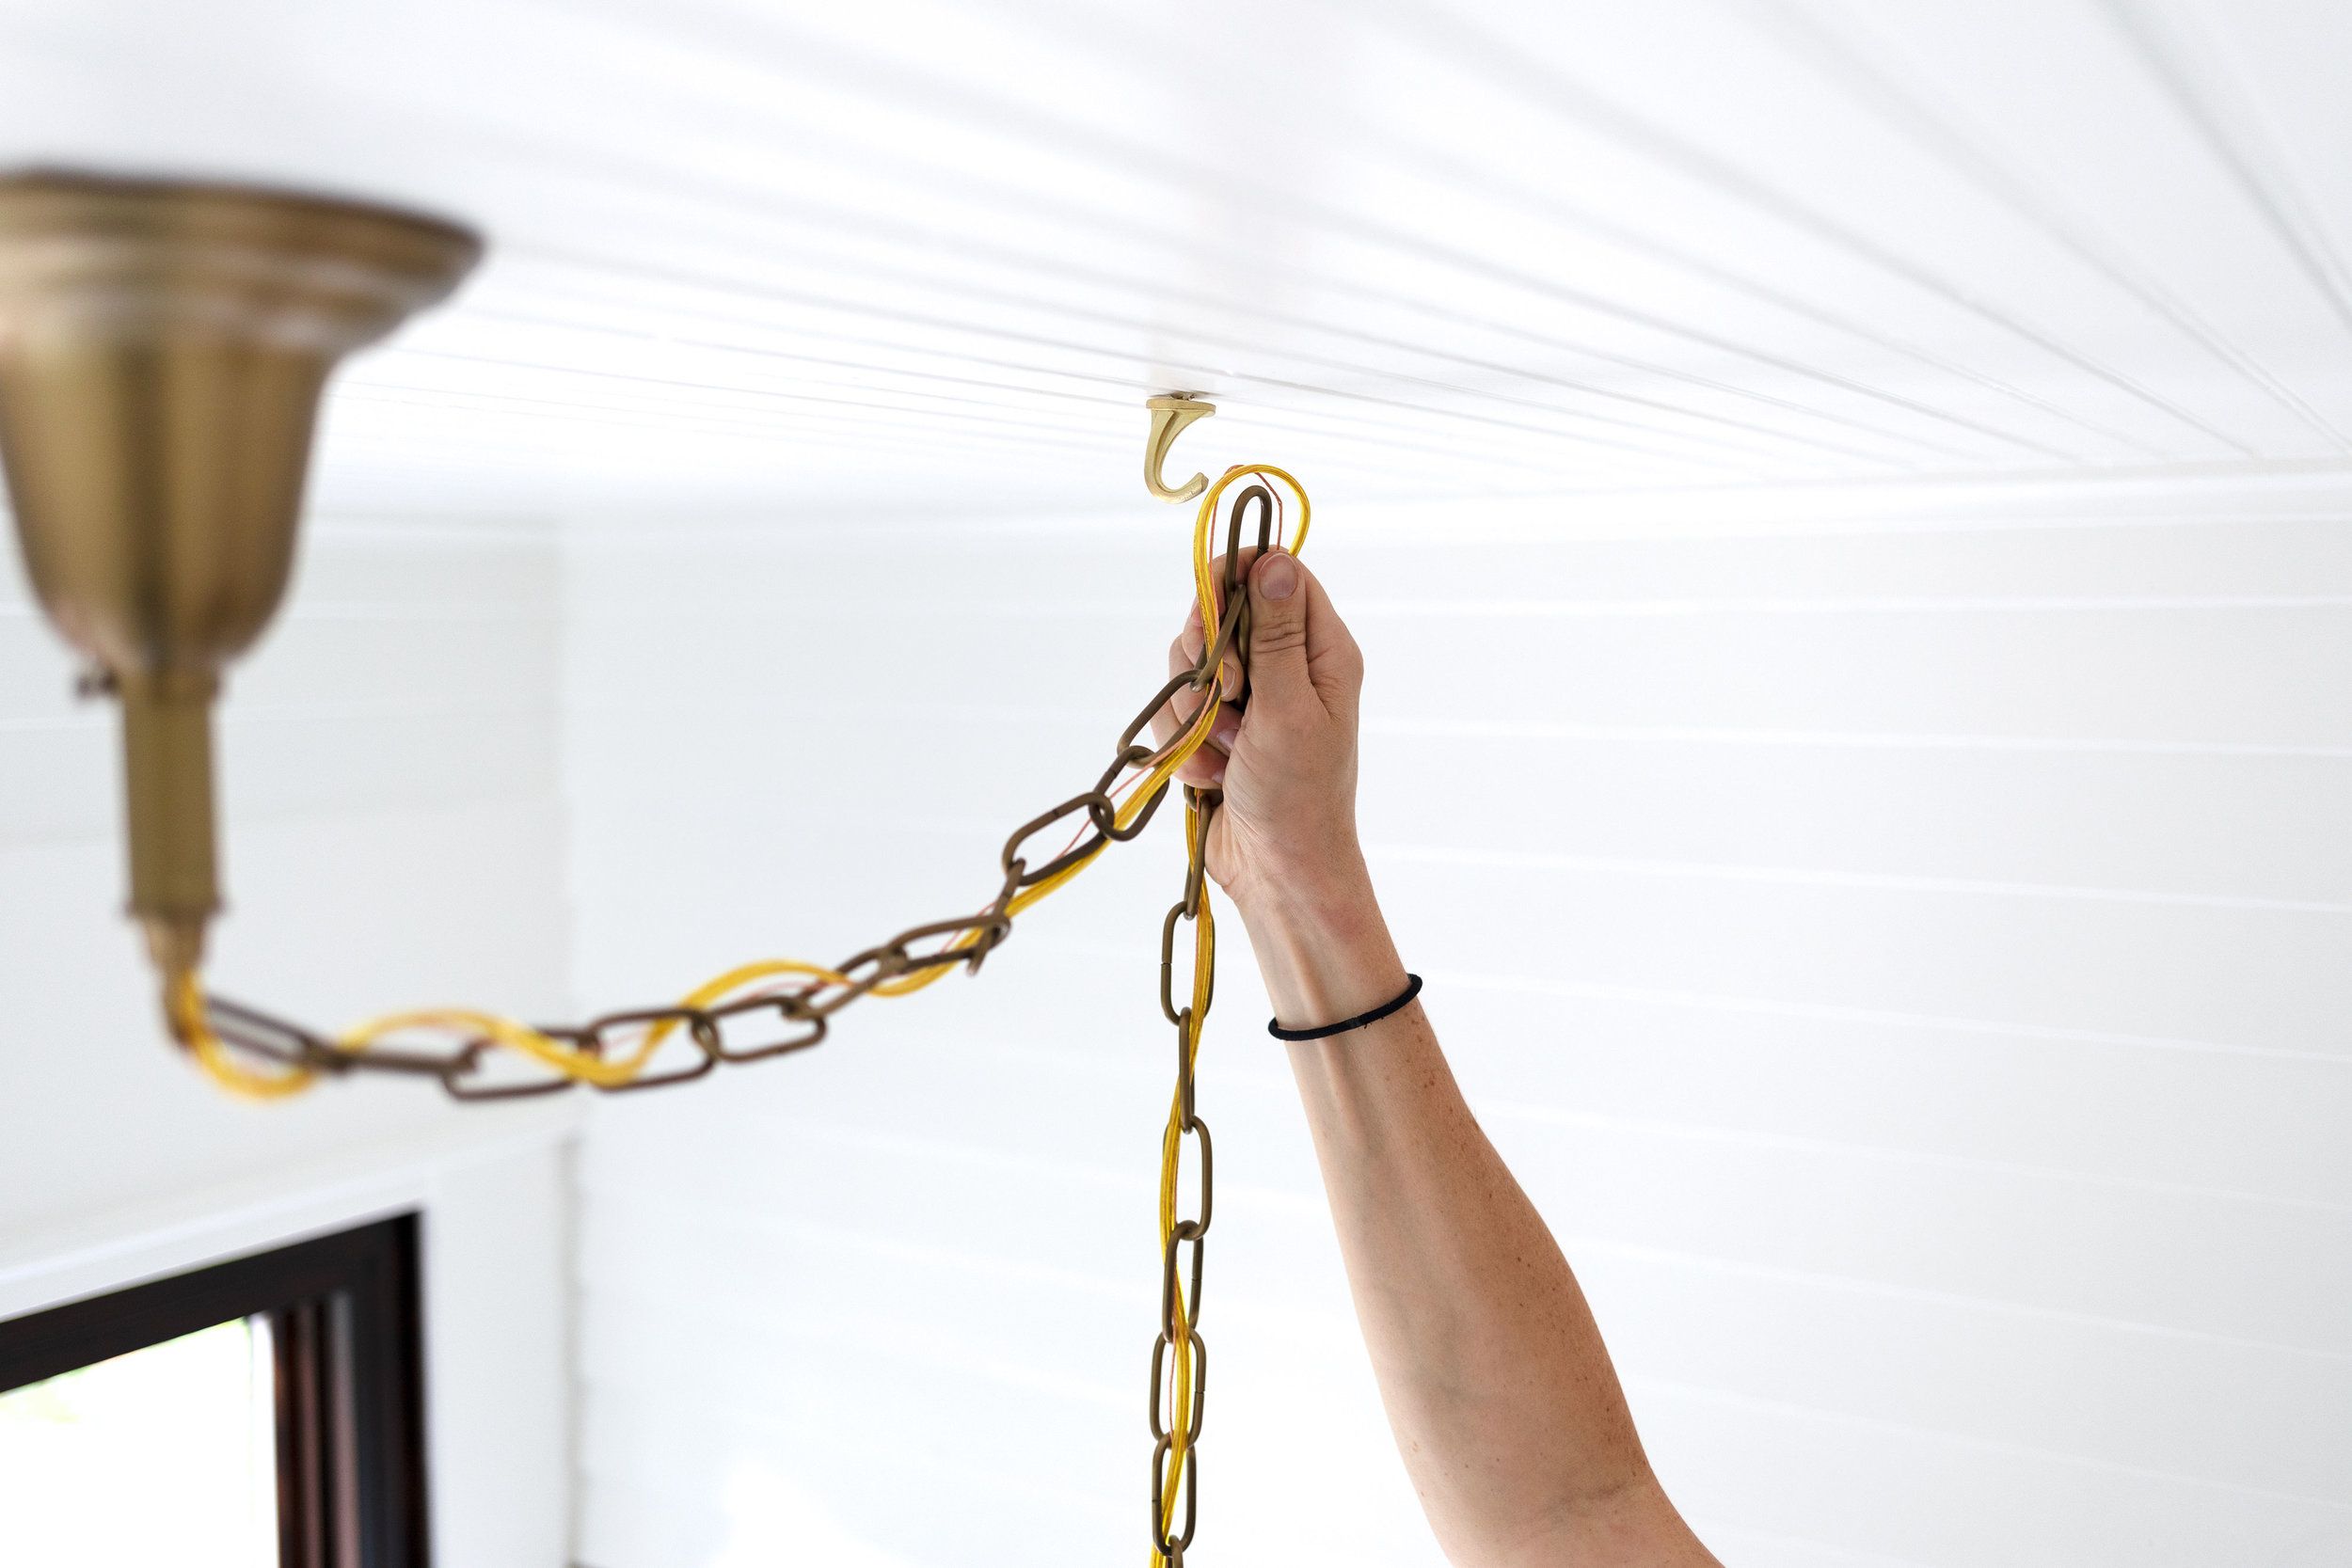
Step 4: Unscrew the mounting screws
With the wires disconnected, the next step is to unscrew the mounting screws that secure the ceiling light fixture to the electrical box. These screws are typically located near the outer edges of the fixture.
Using a screwdriver or a drill with the appropriate bit, turn the screws counterclockwise to loosen and remove them. It’s important to note that some fixtures may have multiple mounting screws, so ensure that all screws are removed.
As you remove the screws, it’s common for the light fixture to hang from the wires. To prevent any accidents or damage, use your free hand to support the fixture while removing the screws.
Once all the screws are removed, carefully lower the fixture from the ceiling, allowing the weight to be supported by your hand. Take caution as the fixture may still be attached to the electrical box by the wires.
Set the light fixture aside in a safe location to avoid any damage or interference while you continue with the removal process.
Now that the mounting screws are removed and the fixture is safely detached from the electrical box, we can proceed to the next step: lowering the light fixture.
Before removing a ceiling light, turn off the power at the circuit breaker to avoid any electrical hazards. Use a ladder and a screwdriver to carefully remove the screws holding the light fixture in place. Disconnect the wires and remove the fixture.
Read more: How To Remove A Boob Ceiling Light
Step 5: Lower the light fixture
With the mounting screws removed, it’s time to lower the light fixture from the ceiling. This step requires caution as the fixture may still be attached by the electrical wires.
Begin by carefully lowering the fixture while supporting its weight with your hand. Slowly lower it until you have enough slack in the wires to work comfortably.
It’s important to be mindful of any delicate or fragile parts of the fixture to prevent damage during this process. Take your time and be gentle to ensure a smooth and safe removal.
As you lower the fixture, keep an eye on the wires to ensure they don’t become tangled or snagged on any components. If you encounter any resistance, inspect for any wires that may be caught and gently free them to ensure a smooth descent.
Once the fixture is lowered, you can examine the wiring and take note of any issues such as frayed wires, loose connections, or other signs of damage. This is an excellent opportunity to address any necessary repairs or maintenance.
At this point, the light fixture should be completely detached from the ceiling, and you can proceed with the next steps, which will be either removing the mounting bracket or patching and painting the ceiling, depending on your specific needs.
Make sure to handle the light fixture with care as you set it aside in a safe location. Avoid placing it in a precarious position or stacking heavy objects on top of it to prevent any accidental damage.
Now that the light fixture is successfully lowered, we can proceed to the next step based on your requirements: removing the mounting bracket or patching and painting the ceiling.
Step 6: Remove the mounting bracket
If you’re looking to replace your ceiling light fixture or make significant changes to the electrical box, you may need to remove the mounting bracket as well. The mounting bracket is the metal or plastic piece that attaches the fixture to the electrical box.
Here’s how you can remove the mounting bracket:
- Start by examining the mounting bracket and identifying how it is secured to the electrical box. Most mounting brackets will have screws or clips holding them in place.
- If there are screws, use a screwdriver to loosen and remove them. Depending on the design, there may be two or more screws securing the bracket.
- Once the screws are removed, carefully detach the bracket from the electrical box. Wiggle it gently if it seems stuck or use a flathead screwdriver to pry it away.
- If the mounting bracket has clips, press or squeeze them towards the center to release them from the electrical box. Be cautious not to apply excessive force, as the clips can break.
Once the mounting bracket is removed, inspect the electrical box to ensure it’s in good condition. Take note of any loose or damaged parts that may need attention before installing a new fixture.
It’s essential to keep the mounting bracket in a safe place in case you need to reattach it when installing a new light fixture. Store it together with any screws or other hardware that came with it to ensure easy reassembly later.
Now that the mounting bracket is removed, you can proceed to the next step, which is optional: patching and painting the ceiling to cover any holes or marks left from the previous fixture.
Remember to handle the mounting bracket with care, as it may have sharp edges or protruding parts. Use caution to avoid injury while removing and handling it.
With the mounting bracket successfully removed, you’re one step closer to completing the process of removing the ceiling light fixture.
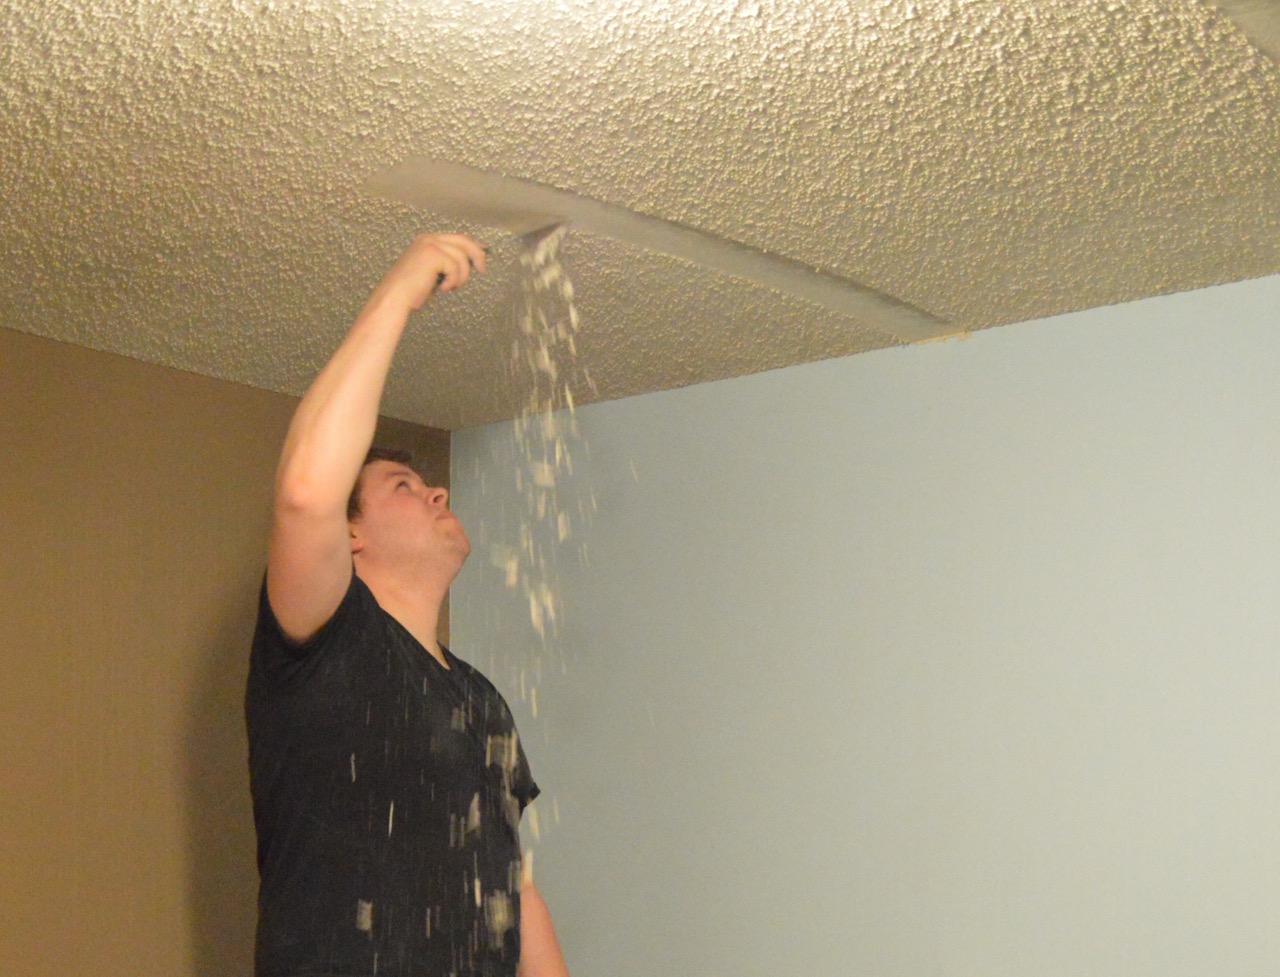
Step 7: Patch and paint the ceiling (optional)
If you have removed an old light fixture and are planning to install a new one, or if you simply want to refresh the appearance of your ceiling, you may consider patching and painting the ceiling. This step is optional but can help create a seamless, finished look.
Here’s how you can patch and paint the ceiling:
- Start by preparing the area around the removed light fixture. Use a drop cloth or plastic sheeting to protect the surrounding surfaces from any dust or debris.
- Inspect the ceiling for any holes, cracks, or other imperfections that may need patching. Small holes can be filled with spackling compound or patching plaster, while larger holes may require a patching kit.
- Follow the instructions on the product you’re using to patch the holes. Typically, you’ll need to apply the compound or patching material with a putty knife, smooth it out, and let it dry according to the recommended time.
- Once the patched areas are dry, sand them gently with fine-grit sandpaper to ensure a smooth and even surface. Wipe away any dust with a clean cloth or sponge.
- Now it’s time to paint the ceiling. Choose a paint color and finish that matches your desired aesthetic. Use painter’s tape to protect any areas you don’t want to paint, such as the walls or trim.
- Start by cutting in the edges of the ceiling with a paintbrush, then use a roller to apply the paint to the larger areas. Work in small sections, applying even strokes and allowing each coat to dry before applying the next.
- Once the final coat of paint is dry, remove the painter’s tape and take a step back to admire your freshly painted ceiling.
Patching and painting the ceiling can help create a polished, finished look in your space. It’s also an excellent opportunity to address any imperfections or damage that may have been hidden by the previous light fixture.
Remember to follow safety precautions while working with patching compounds and paint, such as working in a well-ventilated area and using proper protective gear.
Now that you have patched and painted the ceiling, you can move on to the final optional step: installing a new light fixture.
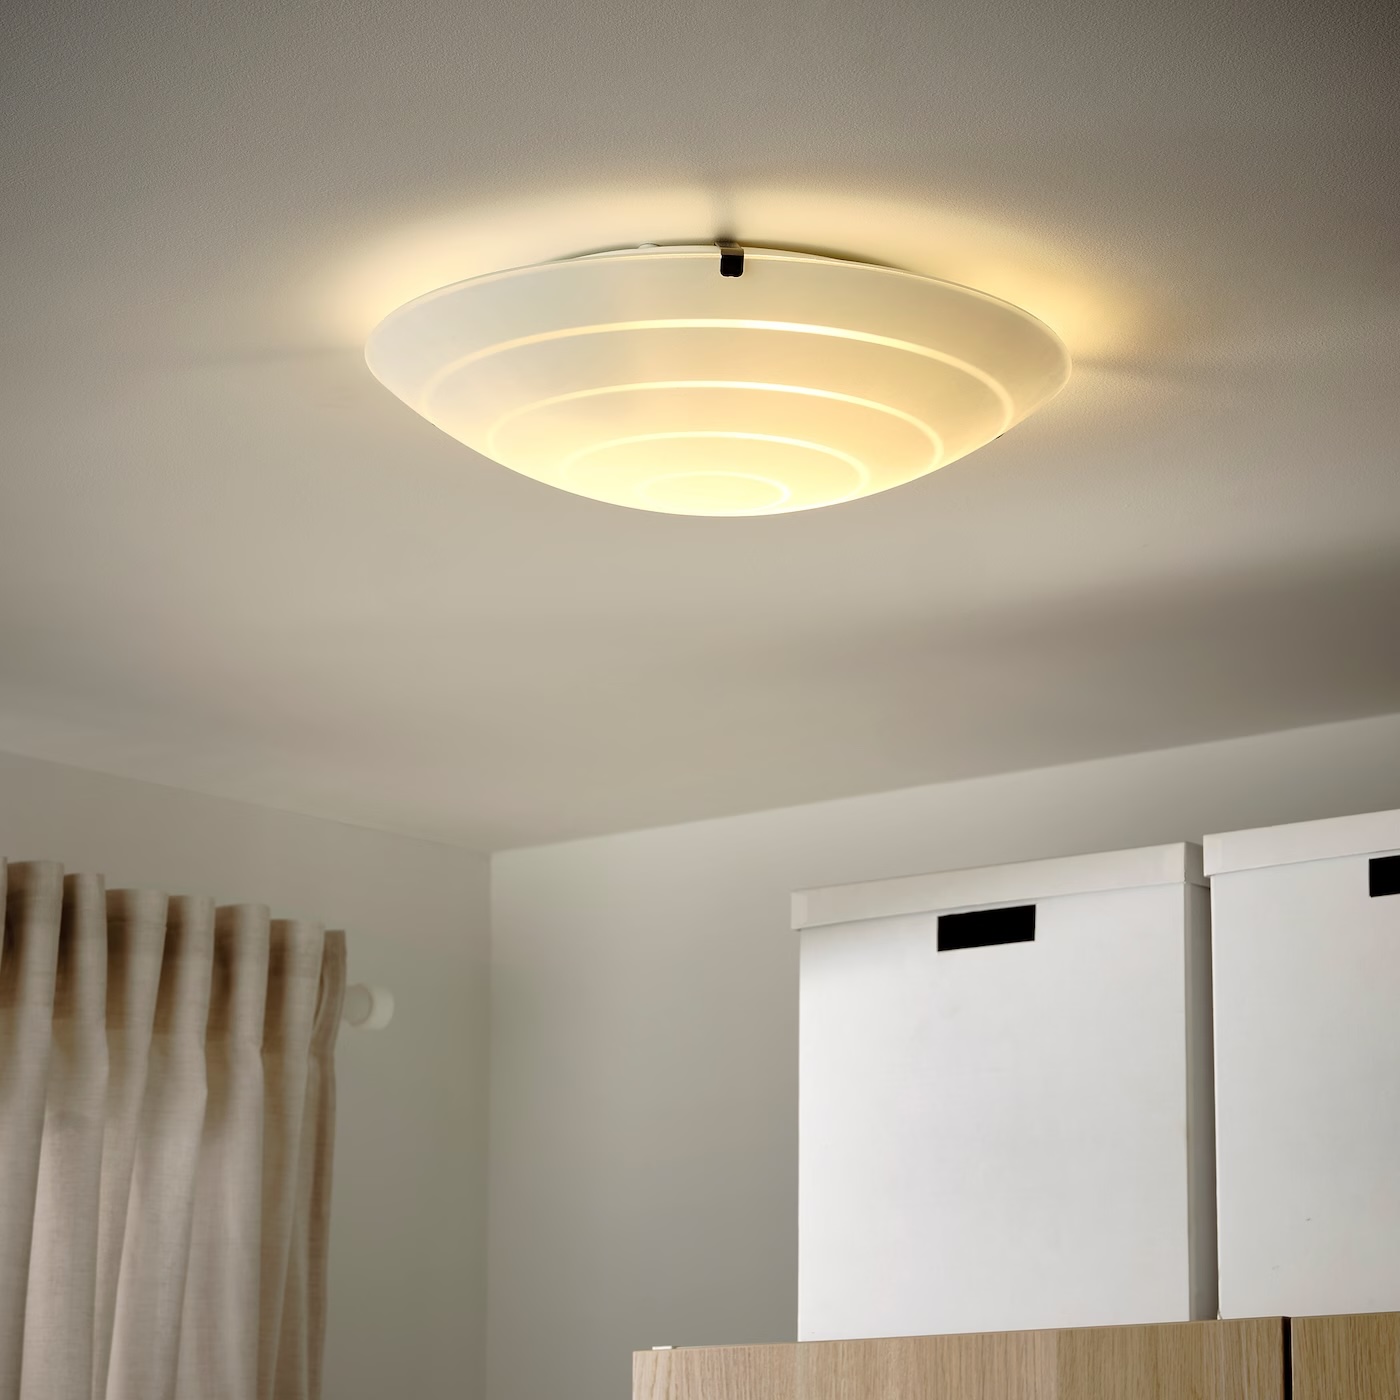
Step 8: Install a new light fixture (optional)
If you have removed an old light fixture and are looking to update or replace it, this step will guide you through the process of installing a new light fixture. Please note that this step is optional and should only be performed if you are comfortable working with electrical systems.
Here’s how you can install a new light fixture:
- Start by ensuring that the power to the area is turned off at the circuit breaker. Double-check that there is no electrical current flowing to avoid any accidents.
- Remove the existing mounting bracket from the electrical box, if it is still attached. Follow the reverse instructions for Step 6 to remove it.
- Prepare the new light fixture for installation. This may involve attaching any necessary mounting hardware, assembling the fixture components, and connecting any wire leads provided.
- If the new fixture requires additional support, such as a crossbar or ceiling brace, follow the manufacturer’s instructions to install them securely to the electrical box.
- Elevate the new light fixture close to the ceiling and carefully connect the corresponding wires. Match the color-coded wires (black to black, white to white, and ground to ground) and secure them together using wire connectors or terminal screws.
- Once the wires are securely connected, gently guide the excess wire into the electrical box, ensuring that it does not interfere with the fixture installation.
- Align the holes on the base of the light fixture with the mounting screws or slots on the mounting bracket or crossbar.
- Using a screwdriver or a drill with the appropriate bit, tighten the mounting screws clockwise to secure the new light fixture to the ceiling. Ensure that the fixture is securely attached and does not sway or wobble.
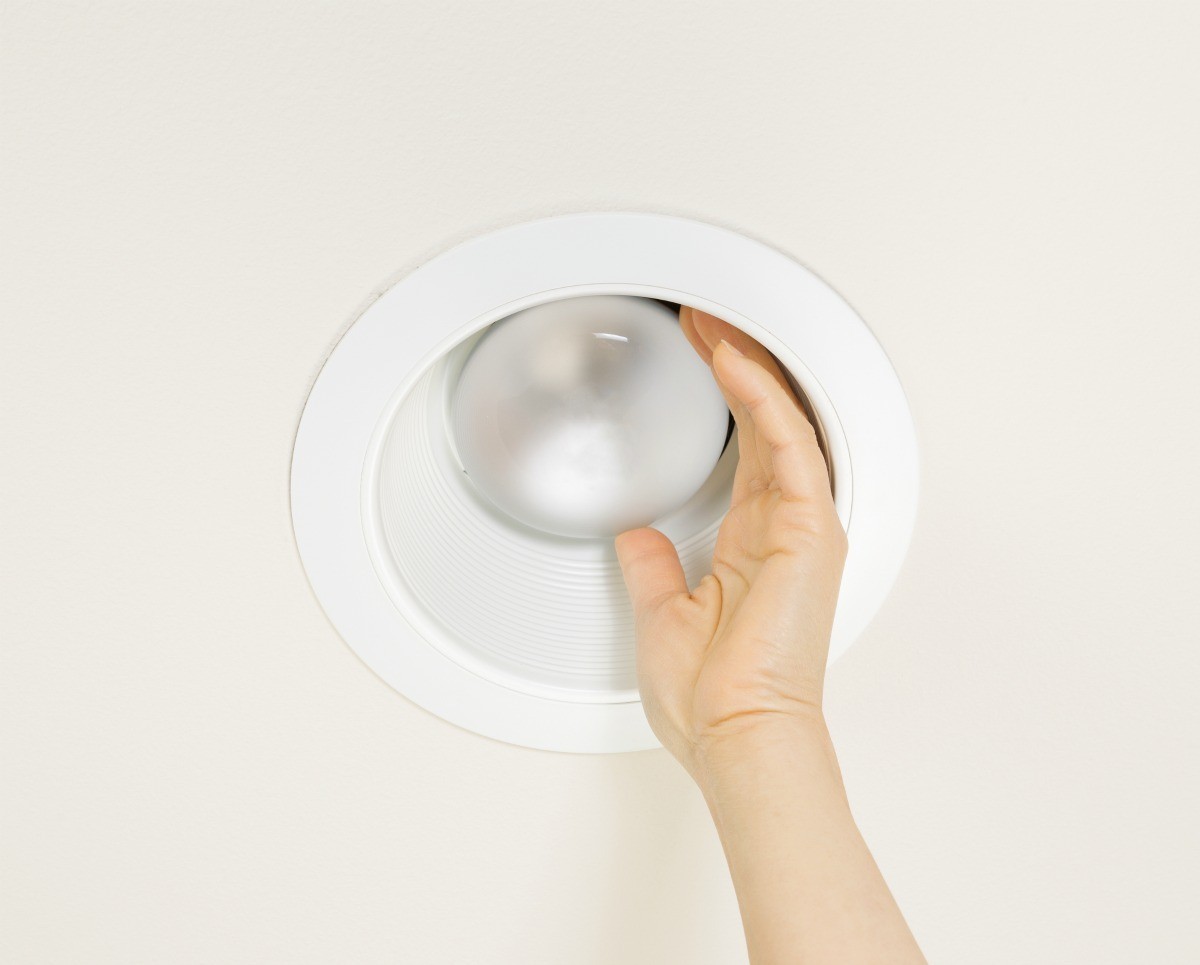
- Install any included light bulbs or shades according to the manufacturer’s instructions.
- Turn on the power at the circuit breaker and test the new light fixture by switching it on. Ensure that it functions properly and that you are satisfied with the lighting it provides.
Remember to exercise caution while working with electrical systems. If you encounter any difficulties during the installation process or have any concerns, it’s advisable to seek the assistance of a licensed electrician.
By following these steps, you will be able to safely and successfully install a new light fixture, giving your space a fresh and updated look.
Congratulations on completing the optional step of installing a new light fixture!
Read more: How To Remove An LED Ceiling Light
Conclusion
Congratulations! You have successfully learned how to remove a ceiling light fixture. By following the step-by-step guide outlined in this article, you have gained the knowledge and skills necessary to safely and efficiently remove a ceiling light.
Remember, the key to a successful removal process is to prioritize safety by turning off the power at the circuit breaker before starting any electrical work. Additionally, always exercise caution when handling wires, light fixtures, and mounting hardware to prevent any accidents or damage.
Throughout the process, you have learned how to turn off the power, remove the light cover, disconnect the wires, unscrew the mounting screws, lower the light fixture, remove the mounting bracket (if necessary), patch and paint the ceiling (optional), and install a new light fixture (optional).
Whether you’re updating your lighting fixtures, replacing a burnt-out bulb, or making repairs, knowing how to remove a ceiling light is a valuable skill to have as a homeowner or DIY enthusiast. By following the proper procedures, you can ensure the safety of yourself, your home, and those around you.
If you decide to install a new light fixture, be sure to carefully read and follow the manufacturer’s instructions specific to your fixture. And, as always, if you are uncertain or uncomfortable working with electrical systems, it is highly recommended to consult a professional electrician for assistance.
We hope this guide has been informative and helpful to you. Now go ahead and confidently remove your ceiling light fixture and embark on your next home improvement project!
Frequently Asked Questions about How To Remove Ceiling Light
Was this page helpful?
At Storables.com, we guarantee accurate and reliable information. Our content, validated by Expert Board Contributors, is crafted following stringent Editorial Policies. We're committed to providing you with well-researched, expert-backed insights for all your informational needs.


0 thoughts on “How To Remove Ceiling Light”