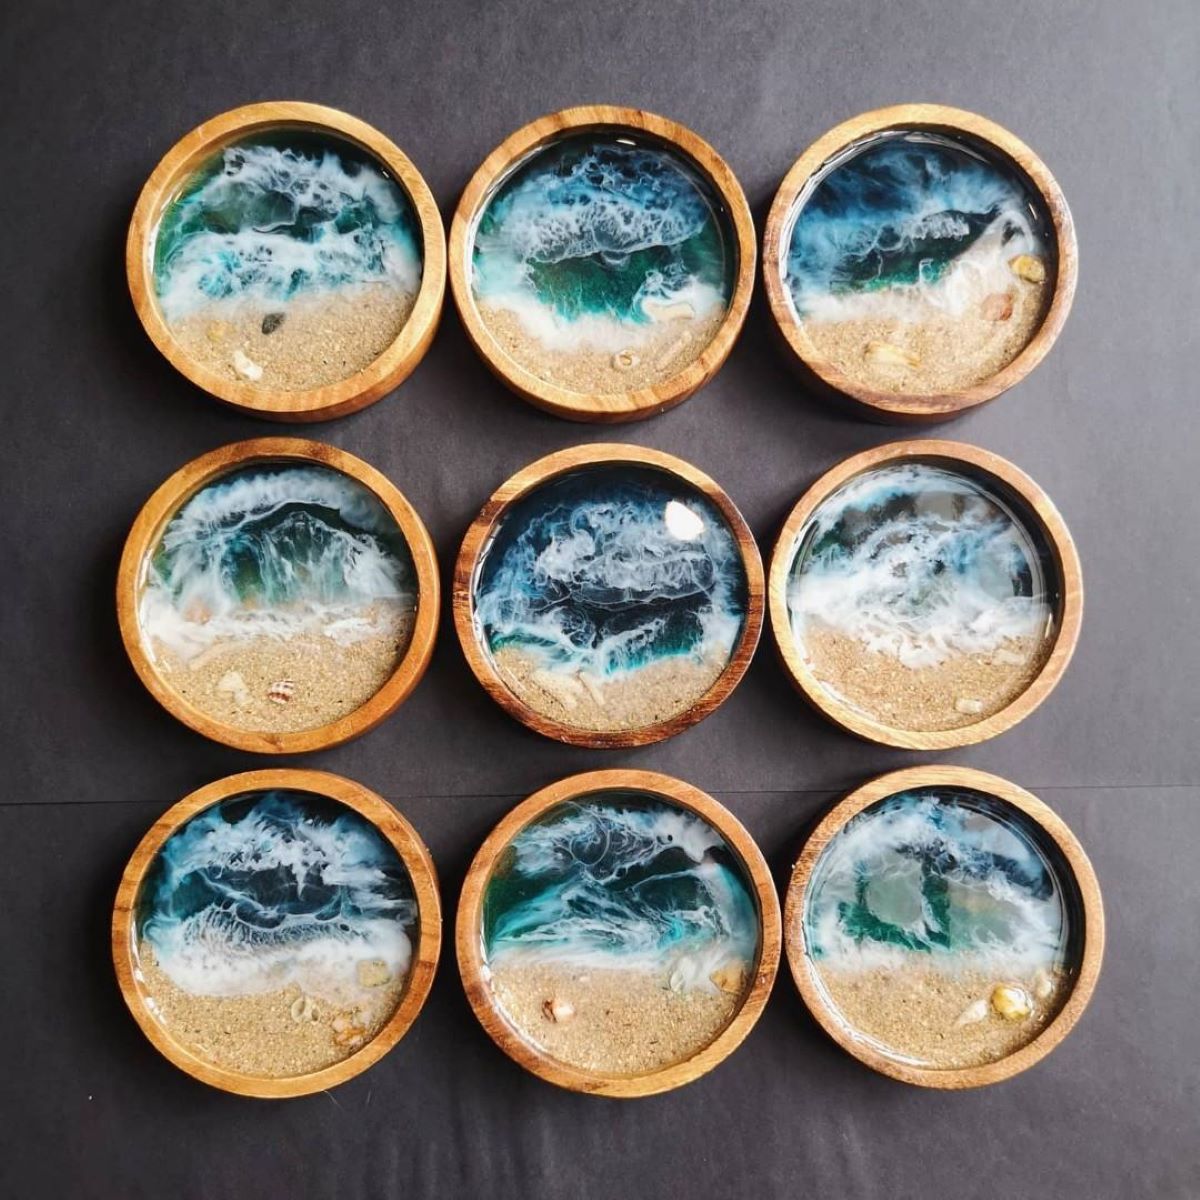
Tableware
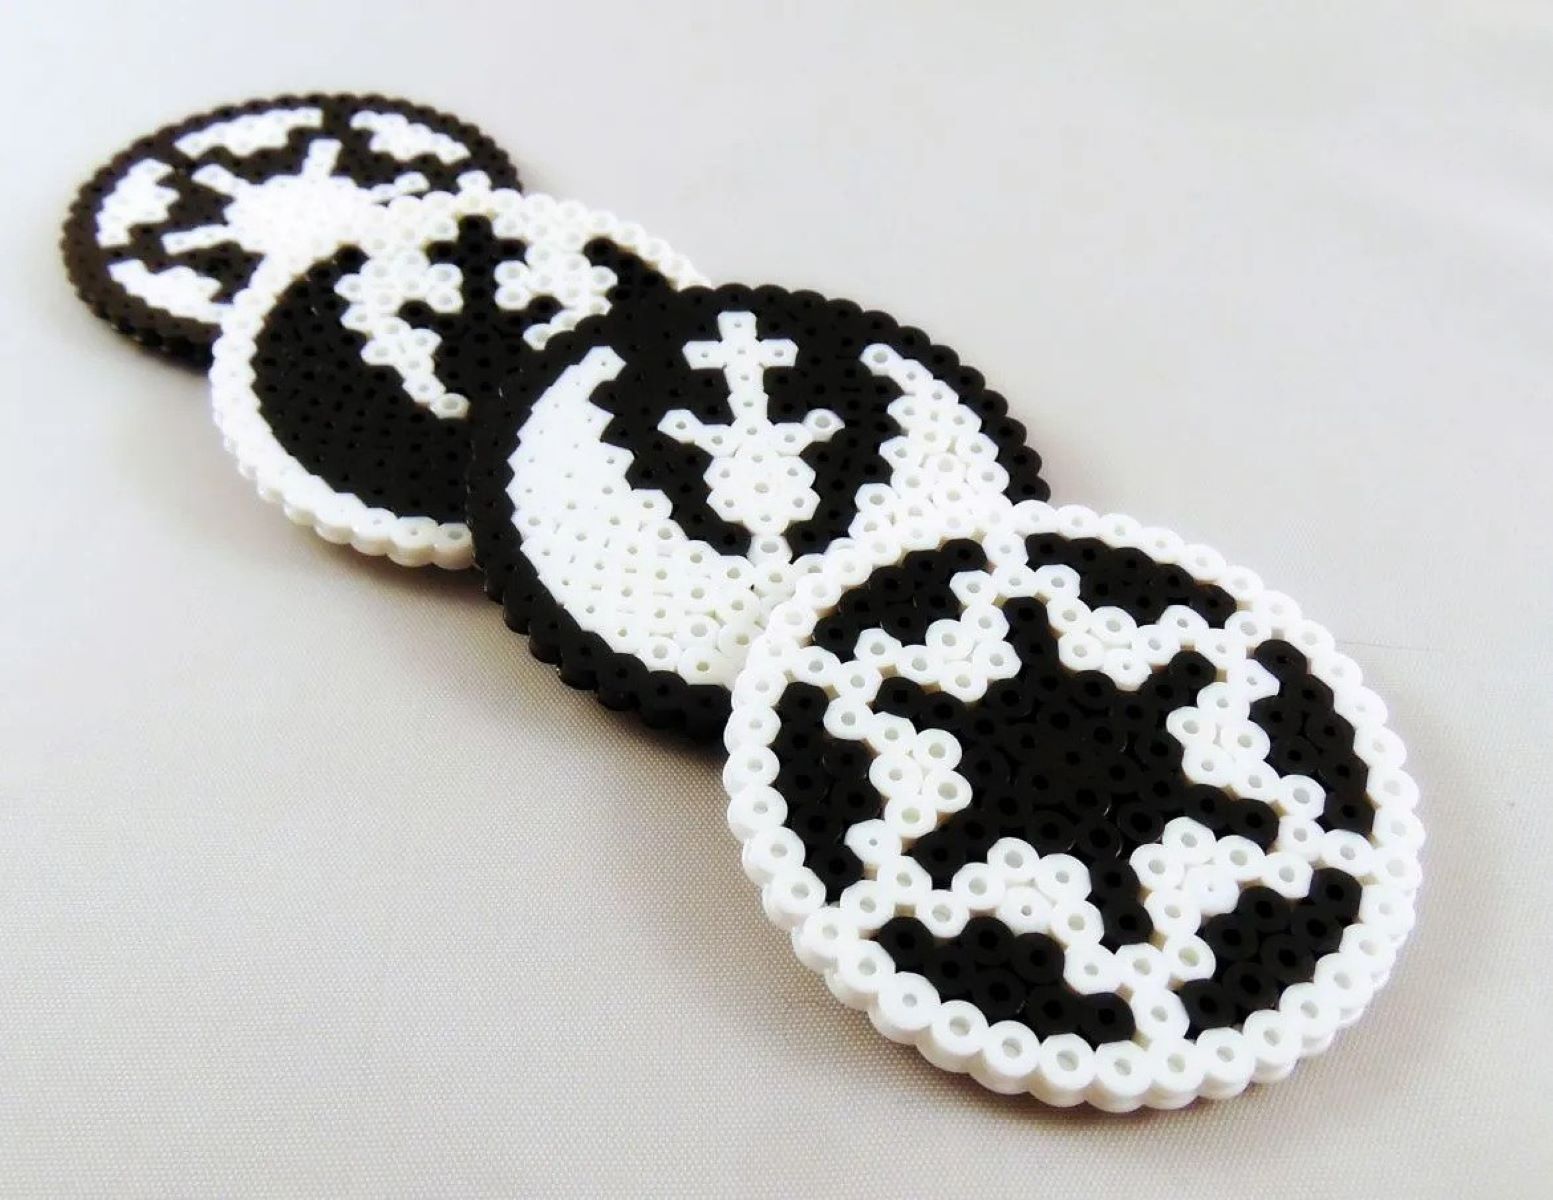
How To Make Perler Bead Coasters
Modified: January 4, 2024
Learn how to create stunning and functional tableware with Perler beads. Step-by-step instructions on making colorful and durable coasters for your home.
(Many of the links in this article redirect to a specific reviewed product. Your purchase of these products through affiliate links helps to generate commission for Storables.com, at no extra cost. Learn more)
Introduction
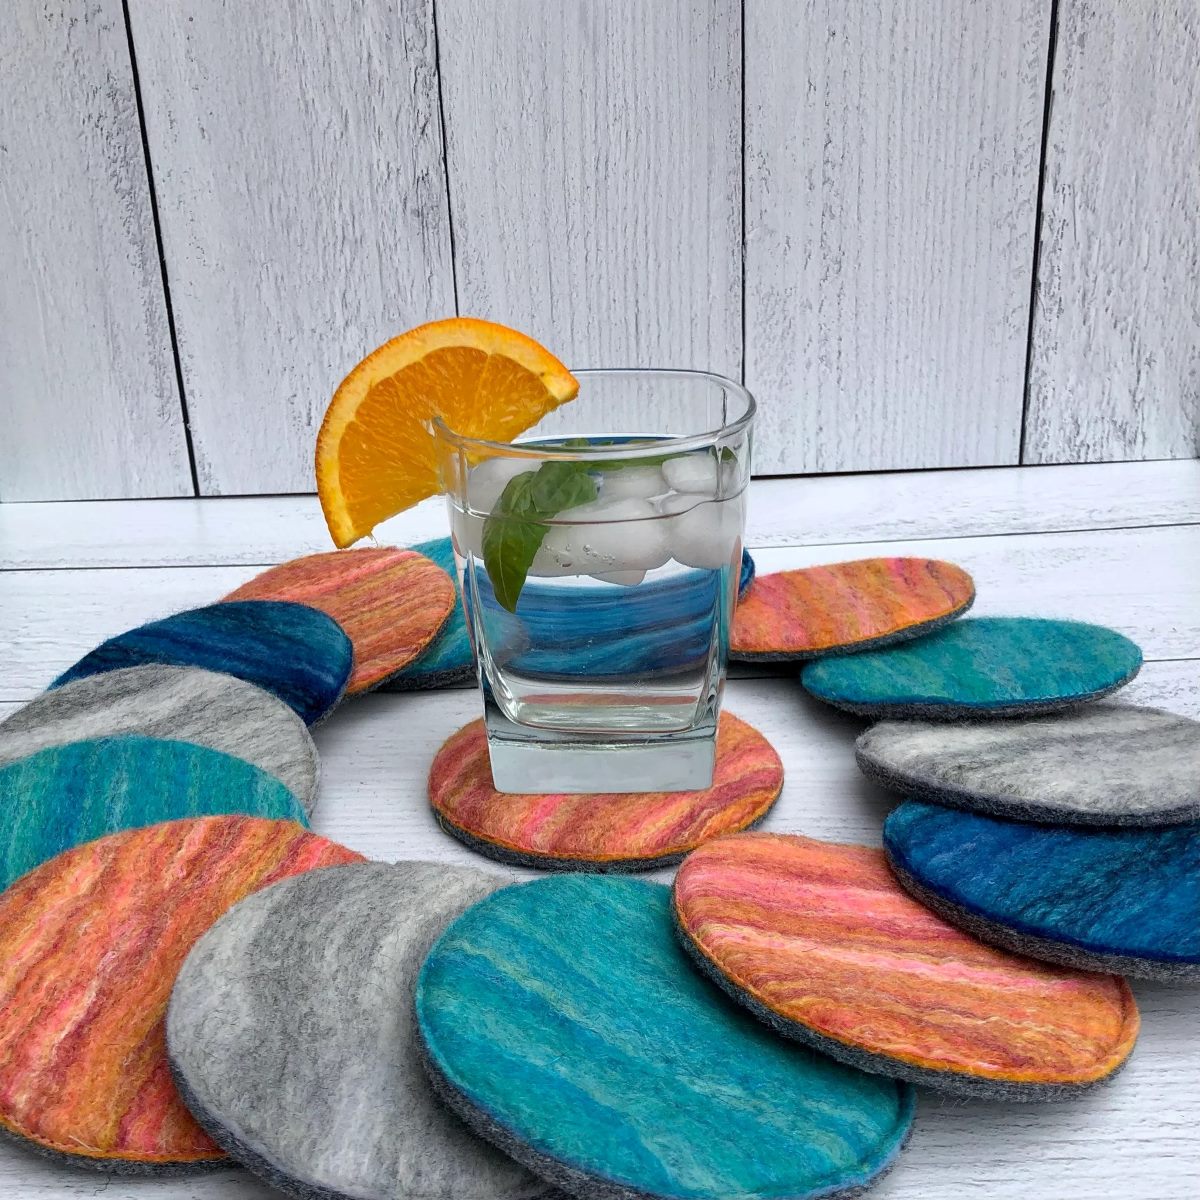
Tableware plays an essential role in our daily lives, whether it’s dining with family, hosting a dinner party, or enjoying a casual meal with friends. The right choice of tableware can elevate the dining experience and add a touch of style to any occasion. One popular and customizable option for tableware is Perler bead coasters.
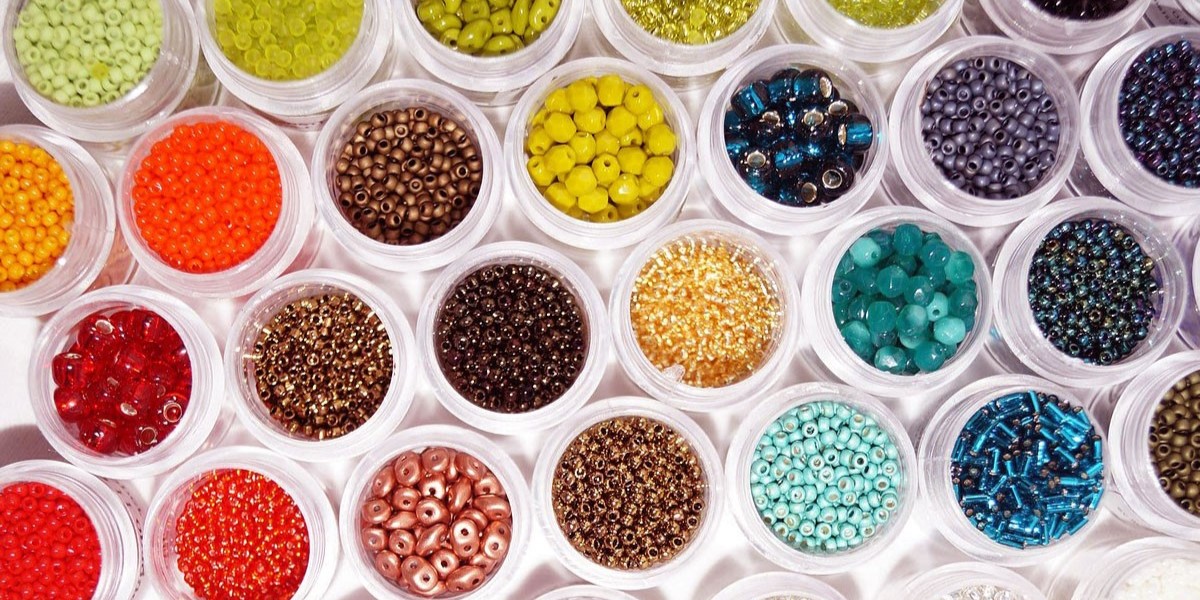
Perler beads, also known as fuse beads, are small plastic beads that can be arranged in various patterns and designs. They are typically placed on a pegboard and then fused together using heat, creating a solid and durable coaster. The best part? You can unleash your creativity and design unique coasters that reflect your personal style.
In this article, we’ll guide you through the process of making your own Perler bead coasters. From gathering the necessary supplies to adding the finishing touches, you’ll learn step by step how to create stunning coasters that will impress your guests and add a charming touch to your table setting.
Key Takeaways:
- Elevate your dining experience with personalized Perler bead coasters, adding a touch of style and creativity to your tableware. Unleash your imagination and create stunning coasters that reflect your unique personality.
- Gather your supplies, plan your design, and melt the beads to craft beautiful and functional Perler bead coasters. Embrace the creative process, experiment with different designs, and enjoy the satisfaction of handcrafting your own tableware.
Read more: How To Make Glass Beads
Materials Needed
To create your own Perler bead coasters, you’ll need a few essential materials. Before you get started, make sure you have the following items:
- Perler beads in various colors: These can be found at craft stores or ordered online. Choose colors that match your desired design or theme.
- Pegboard: This is where you’ll arrange your Perler beads. You can find pegboards in different sizes and shapes, depending on your preference.
- Parchment paper: This will be used to protect your iron and the beads while they heat up and fuse together.
- Iron: A household iron will be used to melt the beads and fuse them together. Make sure it’s in proper working condition.
- Ironing paper or light-colored fabric: This will be placed on top of the pegboard to protect it from direct heat during the fusing process.
- Tweezers or bead scoops: These tools will help you handle and place the small beads more precisely.
- Heat-resistant surface: You’ll need a heat-resistant surface to work on while ironing your coasters. A heat-resistant mat or a folded towel should suffice.
- Optional: Patterns or templates: If you prefer to follow a specific design, you can print or draw patterns to guide your bead placement.
With these materials on hand, you’ll have everything you need to start creating your own unique Perler bead coasters. Now, let’s move on to the step-by-step process of making these beautiful table accessories.
Step 1: Gathering the Supplies
Before you dive into creating your Perler bead coasters, it’s essential to gather all the necessary supplies. Having everything organized and readily available will make the crafting process more enjoyable and efficient. Here’s how to gather your supplies:
- Make a list: Start by writing down all the materials needed for making Perler bead coasters. Refer to the previous section for a comprehensive list of supplies.
- Check your inventory: Take a quick inventory check to see if you have any of the supplies already. This will ensure you don’t purchase unnecessary duplicates.
- Buy or order the missing items: Visit a local craft store or browse online to purchase any missing supplies on your list. Make sure to choose Perler beads in various colors to allow for creative customization.
- Prepare your work area: Find a clean and well-lit workspace where you can comfortably assemble your coasters. Clear any clutter and place a heat-resistant surface, such as a heat-resistant mat or a folded towel, on your work area.
- Organize your materials: Sort your Perler beads by color and place them in separate containers or small bowls for easy access during the crafting process. This will make it easier to locate specific colors and keep your workspace organized.
- Gather your tools: Collect the necessary tools, such as a pegboard, iron, parchment paper, tweezers or bead scoops, and any optional pattern or template you plan to use for your designs.
By following these steps, you’ll have all your supplies in order and a well-prepared workspace, paving the way for a smooth and enjoyable coaster crafting experience. Now that you’re ready, let’s move on to the next step: planning your design.
Step 2: Planning Your Design
Now that you have all your supplies gathered, it’s time to plan the design for your Perler bead coasters. Whether you want to create a pattern, a picture, or a combination of both, thinking through your design beforehand will ensure a cohesive and visually pleasing result. Here are some steps to help you in the planning process:
- Draw it out: If you have a particular design in mind, sketch it out on a piece of paper. This will give you a visual representation of how your coaster will look and serve as a guide during the bead placement process.
- Consider the shape and size: Determine the shape and size of your coaster. Round, square, or hexagonal are popular coaster shapes, but feel free to get creative and try different shapes. Keep in mind that larger coasters will require more beads and may take longer to complete.
- Choose a color palette: Decide on the color palette that you want to incorporate into your design. Consider using complementary colors or monochromatic shades to add visual interest to your coasters.
- Experiment with patterns: If you’re interested in creating geometric patterns, mosaic designs, or other intricate patterns, spend some time experimenting with different layouts on your pegboard. This will help you determine how the colors and patterns interact with each other.
- Use templates or patterns: If you prefer not to freestyle your design, you can find Perler bead coaster templates or patterns online. Print them out or draw them on graph paper to guide your bead placement.
Remember, the planning stage is your opportunity to unleash your creativity and create coasters that reflect your personal style. Take your time, try out different ideas, and don’t be afraid to make adjustments along the way. Once you have your design planned, it’s time to move on to the next step: placing the beads.
Step 3: Placing the Beads
With your design planned out, it’s time to start placing the Perler beads on the pegboard. This step is where your creativity truly comes to life as you bring your envisioned design into reality. Follow these steps to ensure accurate bead placement:
- Start with the outline: Begin by placing the beads along the outer edges of your design. This will create a solid border and help define the shape of your coaster.
- Fill in the colors: Once you have the outline in place, start filling in the colors for the different sections of your design. Use the tweezers or bead scoops to pick up individual beads and place them on the pegboard. Take your time to ensure the beads are placed in the desired positions.
- Be mindful of spacing: As you place the beads, be mindful of spacing between them. Leave a small gap between beads to allow for melting and fusing during the ironing process.
- Refer to your design or pattern: If you’re following a specific design or pattern, use it as a reference to guide your bead placement. Pay attention to color placement and the arrangement of beads to achieve the desired look.
- Get creative: Don’t be afraid to experiment with different bead placements or incorporate additional patterns or shapes into your design. This is your chance to customize your coasters and make them truly unique.
Remember to have patience and take breaks if needed. Placing the beads can be a meticulous task, but it’s also a creative and enjoyable process. Once all the beads are in place, you’re ready to move on to the next step: melting the beads together.
Read more: How To Make Beaded Curtains
Step 4: Melting the Beads
Now that you have successfully placed your Perler beads on the pegboard, it’s time to melt them together to form a solid coaster. The melting process is accomplished using an iron, which applies heat to the beads, causing them to fuse together. Follow these steps to ensure a successful melting process:
- Preheat your iron: Set your iron to a medium heat setting. Irons can vary, so it’s important to find the right temperature that will melt the beads without overheating them.
- Place the ironing paper or light-colored fabric: Before applying the iron directly to the beads, place a sheet of ironing paper or a light-colored fabric on top of the beads. This acts as a protective barrier and prevents the beads from sticking to the iron.
- Iron in a circular motion: Starting from the center of your design, move the iron in a circular motion over the beads. Apply gentle pressure and ensure that the heat is evenly distributed across the entire surface. This will gradually melt the beads together.
- Monitor the melting process: Continuously monitor the beads as they melt. As the beads heat up, they will start to fuse together and flatten. Be careful not to overheat the beads, as this can cause them to lose their shape or distort the design.
- Iron both sides: Once one side of the coaster is melted and solid, carefully flip it over and repeat the ironing process on the other side. This will ensure that the beads are fully fused together and create a sturdy coaster.
- Allow the coaster to cool: After melting both sides, allow the coaster to cool completely before removing it from the pegboard. This will ensure that the beads have fully set and hardened into a solid shape.
It’s important to note that the melting process should be done in a well-ventilated area to avoid inhaling any fumes that may be emitted during the melting of the plastic beads. Once your coaster has cooled, you can move on to the next step: removing the coasters from the pegboard.
When ironing Perler bead coasters, use a piece of parchment paper between the beads and the iron to prevent them from sticking to the iron.
Step 5: Removing the Coasters from the Pegboard
After your Perler bead coasters have cooled and fully hardened, it’s time to carefully remove them from the pegboard. This step requires a gentle touch to prevent any beads from becoming dislodged or accidentally pulling apart. Follow these steps to safely remove your coasters:
- Check for fully cooled coasters: Ensure that the coasters have cooled completely. If any areas still feel warm to the touch, allow them to cool further before proceeding.
- Flip the pegboard: Flip the entire pegboard over, placing it with the bead side facing down on a flat surface. This will expose the backside of the coaster.
- Gently bend the pegboard: Carefully flex the pegboard to loosen the coaster from the plastic pegs. Start from one corner and gradually work your way around the coaster, applying gentle pressure to release it from the pegboard.
- Use a flat tool or your fingers: Once the coaster is loosened, you can use a flat tool, such as a spatula or a flat-edged knife, to lift it off the pegboard. Alternatively, you can use your fingers to carefully peel it away from the pegs.
- Inspect for loose or misaligned beads: As you remove the coaster, inspect it for any loose or misaligned beads. If you notice any, gently press them back into place to ensure a secure and uniform surface.
It’s important to handle the coasters with care during this process to avoid causing any damage or disrupting the bead arrangement. Once you have successfully removed the coasters, you can move on to the final step: adding the finishing touches.
Step 6: Finishing Touches
Now that your Perler bead coasters are off the pegboard and looking fantastic, it’s time to add some finishing touches to make them truly shine. These final steps will help enhance the appearance and durability of your coasters. Follow these recommendations to complete your project:
- Trim any excess plastic: Inspect the edges of your coaster to see if there are any excess plastic from the melted beads. Use a pair of scissors or a craft knife to carefully trim off any unwanted edges. This will give your coasters a clean and polished look.
- Smooth rough edges: If the edges of your coasters have any rough spots or sharp edges, gently sand them with fine-grit sandpaper. Be cautious not to sand too aggressively, as it might damage the beads.
- Apply a sealant (optional): If you want to add extra protection and shine to your coasters, consider applying a clear sealant. There are various types of sealants available, such as UV-resistant or heat-resistant sealants, which can help preserve your coasters and make them more resistant to spills and heat damage.
- Clean and polish: Before using your coasters, give them a gentle wipe down with a soft cloth to remove any dust or debris. This will ensure a clean surface for your glasses and cups to rest on.
By following these finishing touches, your Perler bead coasters will be ready to use and impress your guests. Enjoy your creative and functional tableware!
Conclusion
Creating your own Perler bead coasters is a fun and rewarding craft project that allows you to showcase your creativity and personalize your tableware. With just a few simple steps, you can transform plastic beads into stunning and functional coasters that add a unique touch to your dining experience.
Throughout this article, we’ve covered the step-by-step process of making Perler bead coasters, from gathering the necessary supplies to adding the finishing touches. By following these instructions and letting your imagination soar, you can design and create coasters that reflect your personal style and add a pop of color to your table setting.
Whether you choose to create intricate patterns, vibrant mosaics, or simple designs, the possibilities with Perler bead coasters are endless. These coasters also make wonderful gifts for friends and family, allowing you to share your creativity and handcrafted touch with others.
Remember to take your time, experiment with different designs, and embrace the creative process. Placing the beads, melting them together, and adding the finishing touches are all steps that add to the overall satisfaction of creating your own coasters.
So why not gather your materials, fire up your iron, and embark on a journey of creativity and tableware customization? Start crafting your Perler bead coasters today, and soon you’ll have a collection of beautiful and functional pieces that will impress your guests and bring joy to your everyday dining experiences.
Read more: How To Make Concrete Coasters
Tips and Tricks
Creating Perler bead coasters can be a fun and enjoyable experience. To help you make the most of your crafting adventure, here are some helpful tips and tricks:
- Sort your beads: Organize your beads by color before you start. This will make it easier to find the colors you need and keep your workspace tidy.
- Use tweezers or bead scoops: Handling small beads can be tricky, so using tweezers or bead scoops can help with precision and avoid accidentally knocking beads out of place.
- Iron carefully: When applying heat to the beads, be cautious not to overheat them. Test different iron temperatures on a few practice beads to find the right heat level.
- Keep a pattern reference nearby: If you’re following a specific design or pattern, keep a reference nearby to guide your bead placement and ensure accuracy.
- Experiment with bead placement: Don’t be afraid to try different arrangements and layouts. Play around with colors and patterns to create unique designs.
- Consider using bead patterns: If you’re new to Perler bead crafting or prefer a more structured approach, there are many bead patterns available online that you can follow.
- Protect your workspace: Place a heat-resistant mat or a folded towel under your pegboard to protect your work surface from the heat of the iron.
- Add texture or embellishments: Get creative and add different textures or even additional embellishments to your coasters to give them a unique and personal touch.
- Gift them: Perler bead coasters make thoughtful and handmade gifts. Consider making a set for a friend or loved one on special occasions.
- Practice makes perfect: Like any craft, practice and experimentation will improve your skills. Don’t worry if your first attempts aren’t flawless – enjoy the process and keep refining your technique.
With these tips and tricks, you’ll be well-equipped to create stunning Perler bead coasters and enjoy a fantastic crafting experience. Remember to embrace your creativity, have fun, and let your imagination guide you as you design and craft your unique tableware!
Frequently Asked Questions
Here are some commonly asked questions about creating Perler bead coasters:
1. Can I reuse the beads if I make a mistake?
Yes, Perler beads can be reused if you haven’t melted them yet. Simply scoop up the misplaced beads with tweezers or a bead scoop and place them back in their appropriate spots on the pegboard.
2. Can I mix different brands of beads?
While it’s generally best to use beads from the same brand for consistent melting and fusing results, you can experiment with mixing different brands if you choose. Be aware that different brands may have slight variations in size and appearance.
3. Can I wash the Perler bead coasters?
It is not recommended to submerge Perler bead coasters in water or place them in a dishwasher. While the melted beads are generally sturdy, prolonged exposure to water may cause them to warp or lose their shape. Instead, clean them gently with a soft cloth or damp towel.
4. How do I store my Perler bead coasters?
To prevent scratching or damage, store your Perler bead coasters in a safe and dry place, preferably in a soft pouch or container. Avoid placing heavy objects on top of them to maintain their shape.
5. Can I create other items with Perler beads?
Absolutely! Perler beads can be used to create various projects, such as keychains, wall art, jewelry, and more. Let your imagination run wild and explore the endless possibilities of this versatile craft material.
6. Can I make oversized coasters with Perler beads?
Yes, you can create larger coasters by using a larger pegboard and increasing the number of beads. Keep in mind that larger coasters may take more time to complete and require additional supplies.
7. Can I add additional layers to my coasters?
Absolutely! Once the first layer of beads on your coaster is melted and solid, you can add additional layers on top to create a three-dimensional effect. Just remember to continue the melting process gradually and evenly to avoid overheating.
These are just a few of the common questions you may have when creating Perler bead coasters. Remember, don’t hesitate to experiment, explore new techniques, and have fun along the way!
Frequently Asked Questions about How To Make Perler Bead Coasters
Was this page helpful?
At Storables.com, we guarantee accurate and reliable information. Our content, validated by Expert Board Contributors, is crafted following stringent Editorial Policies. We're committed to providing you with well-researched, expert-backed insights for all your informational needs.
0 thoughts on “How To Make Perler Bead Coasters”