Home>Dining>Table Decor>How To Make Mason Jar Centerpieces
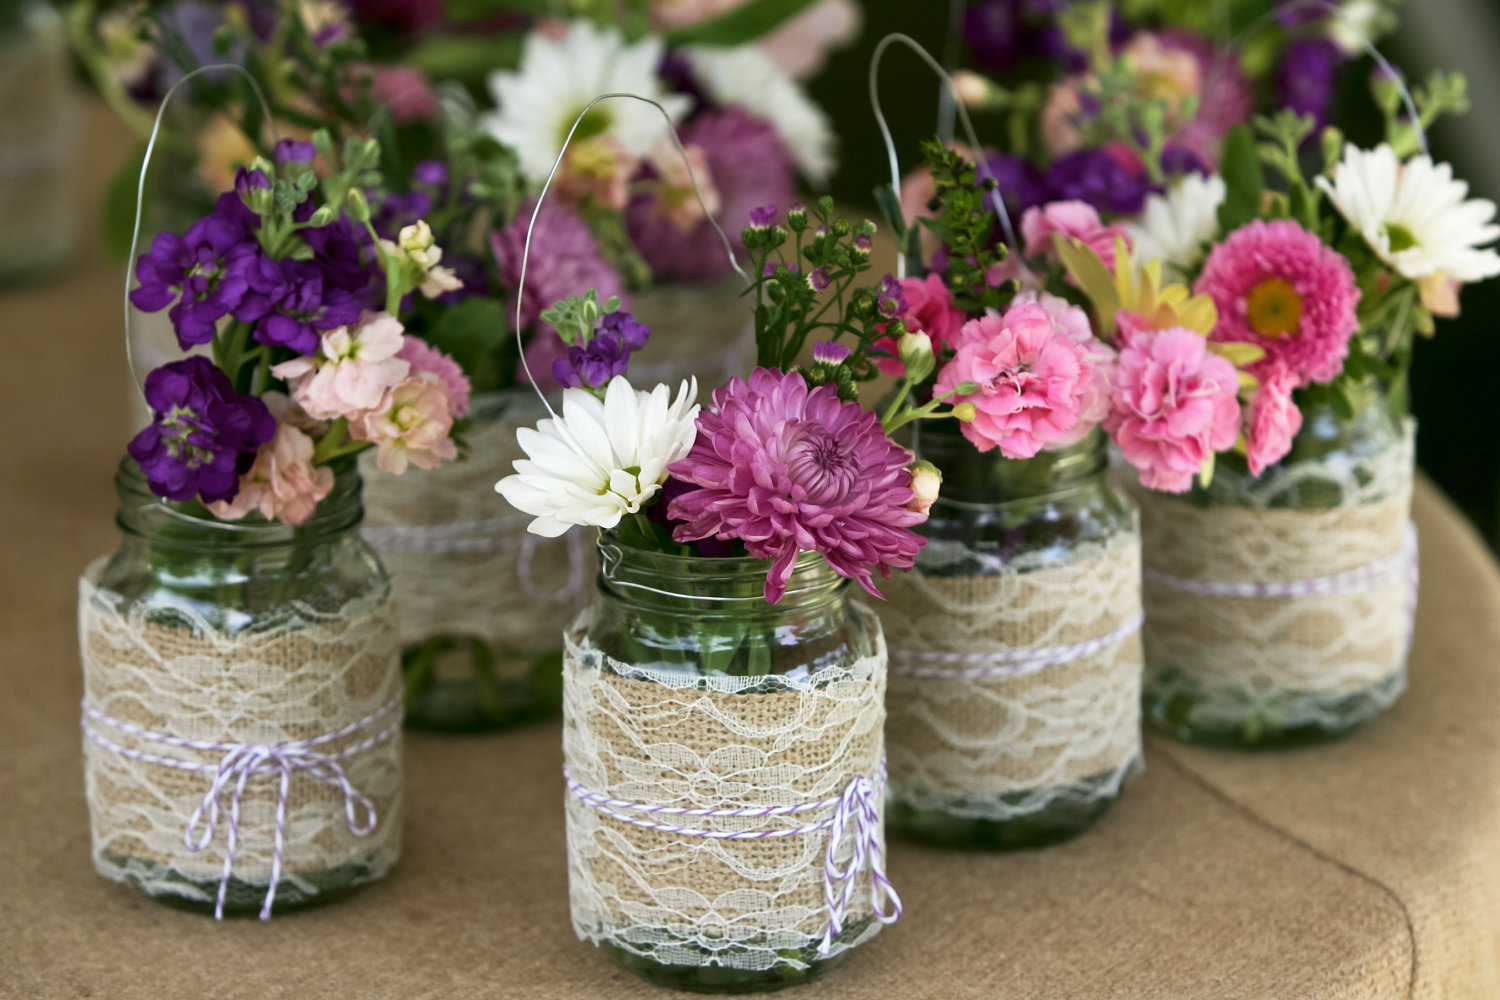

Table Decor
How To Make Mason Jar Centerpieces
Modified: May 6, 2024
Create stunning table decor with these DIY mason jar centerpieces. Learn how to make beautiful arrangements that will impress your guests.
(Many of the links in this article redirect to a specific reviewed product. Your purchase of these products through affiliate links helps to generate commission for Storables.com, at no extra cost. Learn more)
Introduction
When it comes to decorating tables for special occasions, mason jar centerpieces have become increasingly popular. These versatile and charming decorations can add a touch of rustic elegance to any event, whether it’s a wedding, a birthday party, or a cozy dinner with friends. With their simple yet stylish design, mason jar centerpieces can be customized to suit any theme or color scheme.
In this article, we will guide you through the process of creating stunning mason jar centerpieces that will impress your guests and elevate your table decor game. We will provide you with tips on selecting the right mason jars, choosing the perfect flowers, preparing the jars, arranging the flowers, and adding decorative elements to enhance the overall look. By the end of this article, you’ll be ready to create beautiful and Instagram-worthy centerpieces that will leave a lasting impression.
So, grab your mason jars and let’s get started on this creative journey!
Key Takeaways:
- Elevate your table decor game with stunning mason jar centerpieces that add rustic elegance to any event. From selecting the perfect jars and flowers to adding greenery and decorative elements, create Instagram-worthy arrangements that leave a lasting impression.
- Unleash your creativity and personalize mason jar centerpieces to match any theme or color scheme. With the right supplies and attention to detail, you can design captivating works of art that enhance the ambiance of your event and delight your guests.
Read more: How To Make Candles In A Mason Jar
Supplies Needed
Before you begin creating your mason jar centerpieces, it’s essential to gather all the necessary supplies. Here’s a list of items you’ll need:
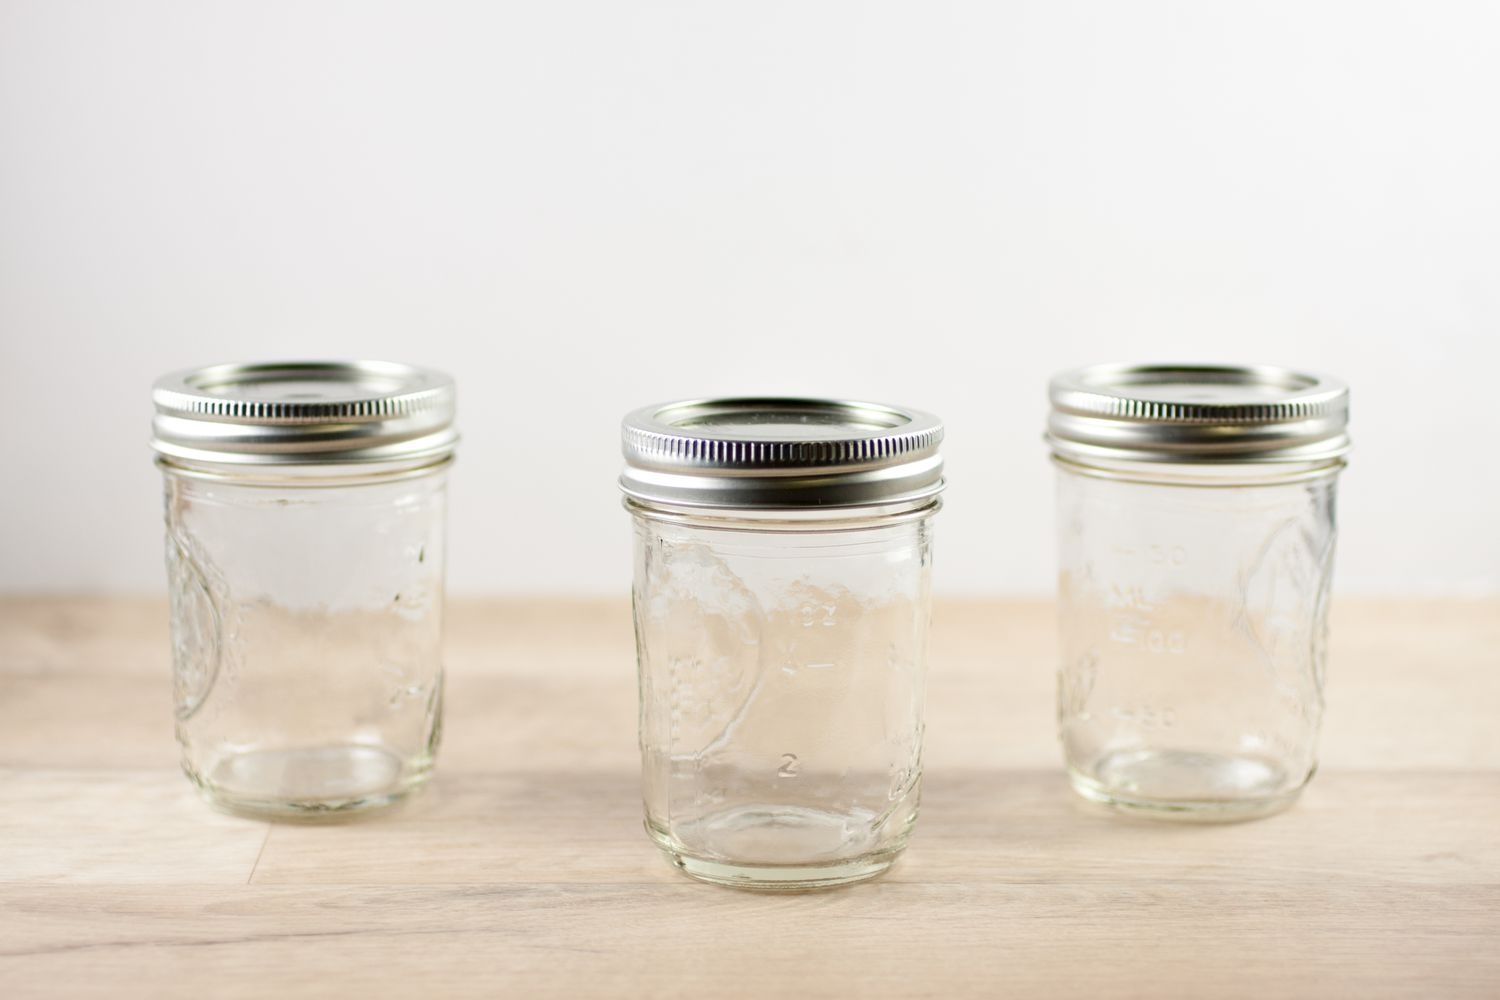
- Mason jars – You can choose different sizes and styles depending on your preference. Make sure they are clean and free from any stickers or labels.
- Flowers – Select a variety of flowers that match your theme or color scheme. You can use fresh flowers or opt for artificial ones for a long-lasting centerpiece.
- Greenery and fillers – These elements will add texture and dimension to your arrangement. Consider using eucalyptus, ferns, or baby’s breath as fillers.
- Floral foam or water gel beads – These will help keep your flowers hydrated throughout the event. Floral foam is ideal for fresh flowers, while water gel beads are perfect for artificial flowers.
- Scissors or floral shears – You’ll need these tools to trim the stems and shape the flowers.
- Ribbons or twine – Use these to wrap around the mason jar rims or tie bows for an added decorative touch.
- Decorative elements – Get creative and consider adding items like fairy lights, feathers, pearls, or small trinkets that match your theme.
- Tablecloth or placemats – Choose a tablecloth or placemats that complement your overall table decor.
Having these supplies ready will make the process of creating your mason jar centerpieces much smoother. Now that you have everything you need, let’s move on to selecting the perfect mason jars for your centerpiece.
Choosing the Right Mason Jars
When choosing mason jars for your centerpieces, there are a few factors to consider that will help you achieve the desired aesthetic and functionality. Here’s what to keep in mind:
1. Size and Shape: Mason jars come in various sizes, from small to large. Consider the size of your table and the space available for the centerpieces before making a decision. Additionally, think about the shape of the jar. You can choose traditional round-shaped jars or opt for square or hexagonal ones for a unique look.
2. Transparency: Decide whether you want clear or colored mason jars. Clear jars allow the natural beauty of the flowers to shine through, while colored jars can add a pop of color and complement your overall theme.
3. Lids or no lids: Determine if you want to use the jar lids as part of the centerpiece or if you prefer to have the flowers exposed and the lid removed. Lids can provide a more polished look, but exposed flowers can create a more natural and effortless vibe.
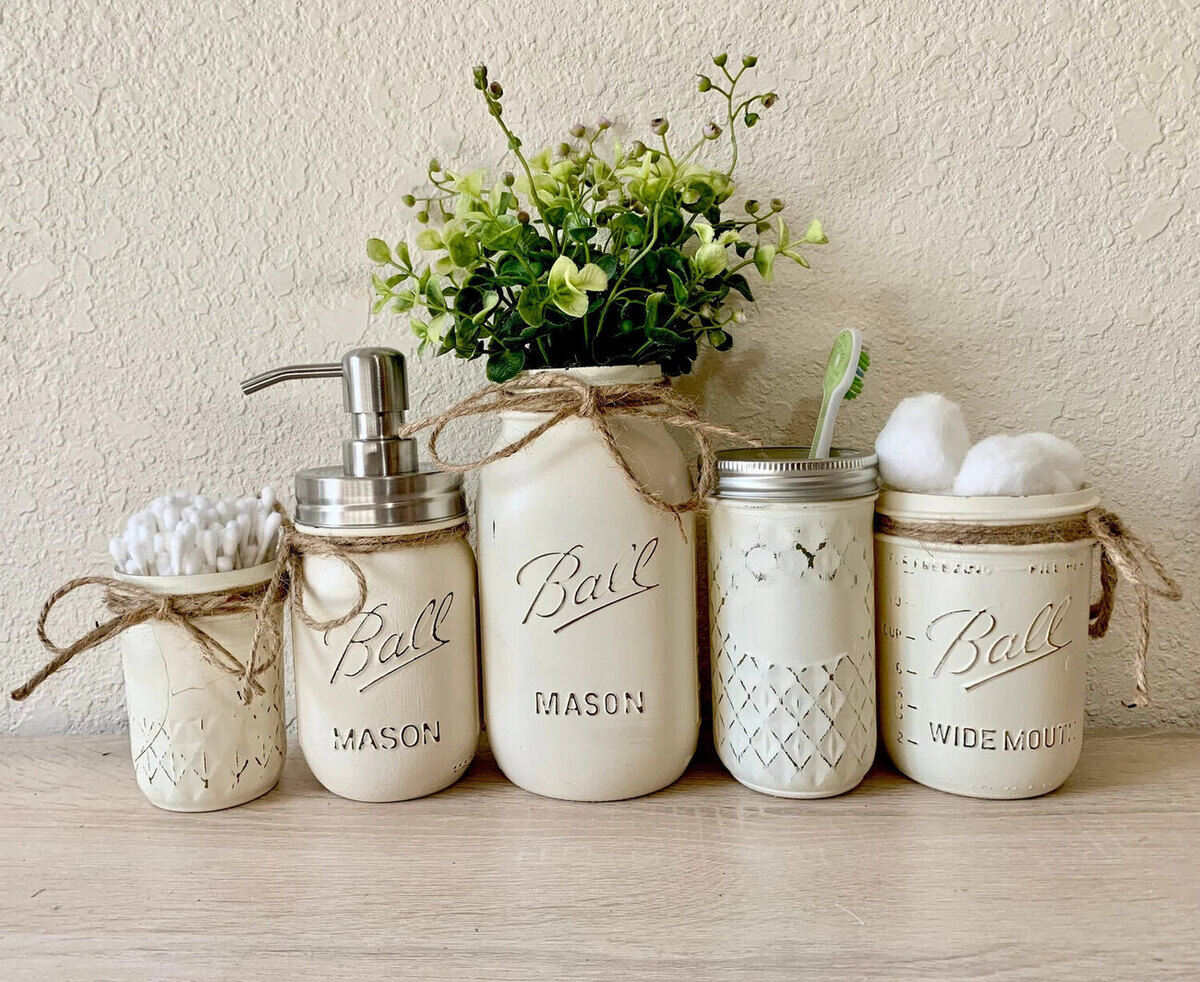
4. Personalization: If you want to add a personal touch or incorporate a theme, consider using customized mason jars. You can paint them, add stickers, or apply vinyl decals to match the occasion or your personal style.
5. Quantity: Calculate the number of mason jars you’ll need based on the size of your event and the number of tables you’re decorating. It’s always a good idea to have a few extra jars as backups.
Remember, the choice of mason jars will ultimately depend on your personal preferences and the overall look you want to achieve. Once you’ve selected the perfect jars, it’s time to move on to choosing the flowers that will adorn them.
Selecting the Perfect Flowers
Choosing the right flowers is crucial to create stunning mason jar centerpieces that captivate your guests. Here are some tips to help you select the perfect flowers:
1. Theme and Color Scheme: Consider the theme or color scheme of your event. You want the flowers to complement the overall decor and create a cohesive look. If you’re going for a romantic vibe, opt for soft pastel shades like blush pink or lavender. For a vibrant and tropical theme, choose bold and vibrant flowers like orchids or sunflowers.
2. Seasonality: Take into account the season in which your event is taking place. Select flowers that are readily available and in season as they will be fresher, more affordable, and easier to source. Popular options for spring include tulips and daffodils, while roses and peonies are perfect for summer.
3. Size and Shape: Consider the size and shape of the flowers in relation to the mason jar. For smaller jars, choose delicate and petite blooms like baby’s breath or daisies. Larger jars can accommodate more substantial flowers like roses or dahlias. Also, think about the shape of the flower and how it will complement the shape of the jar.
4. Fragrance: Determine whether you want your centerpieces to have a fragrant aroma. Some flowers, like lavender or jasmine, carry a lovely scent that can add an extra sensory element to your table decor. However, be mindful that strong floral scents may not be suitable for everyone, especially those with allergies.
5. Texture and Contrast: Create visual interest by incorporating flowers with different textures and colors. Mix soft and fluffy blooms like peonies with spiky flowers like delphiniums or add interesting foliage like eucalyptus leaves for a touch of greenery. Contrasting colors can make your centerpieces more eye-catching and dynamic.
6. Longevity: Consider the lifespan of the flowers you choose. If your event will last for several hours, opt for blooms with a longer vase life to ensure they stay fresh throughout the occasion. If you’re using artificial flowers, this won’t be a concern, but be sure to choose high-quality faux blooms that look realistic.
When you set your table with mason jar centerpieces, the choice between fresh or artificial flowers plays a crucial role in defining their overall look and feel. After selecting the perfect blooms, the next step involves preparing the mason jars for their decorative debut.
Preparing the Mason Jars
Properly preparing the mason jars is essential to ensure the longevity and visual appeal of your centerpieces. Follow these steps to get your jars ready:
1. Cleaning: Start by thoroughly cleaning the mason jars. Remove any stickers or labels, and wash them with warm soapy water. Rinse and dry the jars completely to prevent watermarks or residue.
2. Paint or Decorate (optional): If you want to add a personal touch or customize the jars to match your theme, now is the time to do it. Consider painting the jars with acrylic paint in your desired color or applying decorative elements like twine, lace, or ribbon around the rim.
3. Add Water Gel Beads or Floral Foam (if using): If you’re using artificial flowers, water gel beads can provide stability and hydration without the need for water. Soak the beads according to the instructions, and fill them into the mason jars. If you’re using fresh flowers, floral foam is a better option. Cut the foam to fit the jar’s size and soak it in water until saturated.
4. Trim Flower Stems: Trim the stems of your fresh flowers at an angle using scissors or floral shears. This allows the flowers to absorb water more efficiently and prolongs their freshness. For artificial flowers, you may need to adjust or trim the stems to fit the height of the jar.
5. Insert Flowers: Gently insert the flower stems into the water gel beads or floral foam. Start with the focal flowers, which are the largest and most eye-catching blooms. Then, add the filler flowers and greenery to create a balanced and layered arrangement. Arrange them in a way that creates a pleasing visual flow and avoids overcrowding.
6. Adjust and Secure: Once you’ve arranged the flowers, take a step back and assess the overall look. Make any necessary adjustments to ensure the arrangement is symmetrical and visually appealing. If needed, use additional floral foam, water gel beads, or floral tape to secure the stems in place.
With the mason jars properly prepared, your centerpieces are ready to shine. In the next steps, we will explore how to add greenery, arrange the flowers, and enhance the centerpieces with decorative elements. Let’s continue our journey to create stunning mason jar centerpieces!
When making mason jar centerpieces, consider using a variety of jar sizes for visual interest. This will create a dynamic and eye-catching display for your table.
Read more: How To Make A Mason Jar Chandelier
Adding Greenery and Fillers
Greenery and fillers are essential elements that add texture, depth, and visual interest to your mason jar centerpieces. They provide a lush backdrop for the main flowers and help create a balanced and harmonious arrangement. Here’s how to incorporate greenery and fillers:
1. Select the Right Greenery: Choose greenery that complements your chosen flowers and adds a natural touch. Popular options include eucalyptus, ivy, ferns, or dusty miller. Consider the shape and color of the greenery to ensure it enhances the overall look and feel of the centerpiece.
2. Trim the Stems: Trim the stems of the greenery to the desired length, making sure they are proportionate to the mason jar. Remove any leaves near the bottom of the stems to create a clean and neat arrangement.
3. Place the Greenery: Start by inserting the greenery stems into the water gel beads or floral foam, creating a base for the focal flowers. Position the leaves and branches in a way that frames the main blooms and fills any gaps or spaces within the arrangement.
4. Layer the Fillers: Fillers add volume, texture, and delicate details to your centerpieces. Baby’s breath, wax flowers, or gypsophila make excellent fillers. Carefully insert the filler stems in between the focal flowers and the greenery, distributing them evenly to create a balanced and full look.
5. Balance and Adjust: Step back and assess the arrangement. Look for any empty areas or imbalances and add more greenery or fillers as needed. Aim for a natural and effortless appearance, allowing the greenery and fillers to complement the flowers without overpowering them.
Adding greenery and fillers to your mason jar centerpieces will elevate their visual appeal and create a lush and inviting atmosphere. Once you’re satisfied with the arrangement, it’s time to move on to the next step: arranging the flowers to create a stunning display.
Arranging the Flowers
Arranging the flowers is the most exciting and creative part of creating your mason jar centerpieces. It’s where you can let your personal style shine and create a beautiful display. Follow these steps to arrange the flowers:
1. Start with the Focal Flowers: Begin by placing your focal flowers in the center of the arrangement. These are typically the largest, most eye-catching blooms that will draw attention. Experiment with different heights and angles to find the best positioning for each flower.
2. Create Height and Balance: Add taller flowers or blooms with longer stems around the focal flowers to create height and balance. This will give the arrangement a dynamic and visually appealing look. Be mindful of the jar’s height and make sure the flowers do not exceed it.
3. Layer with Medium-Sized Flowers: Fill in the gaps between the focal flowers with medium-sized blooms. These flowers should be slightly smaller than the focal flowers but still visually impactful. Place them strategically to ensure a well-balanced and cohesive arrangement.
4. Add Small Accent Flowers: Use smaller accent flowers to add delicate details and fill any remaining spaces. These flowers can have unique shapes, textures, or colors that complement the main blooms. Consider flowers like baby’s breath, ranunculus, or carnations for this purpose.
5. Consider Flower Placement: As you arrange the flowers, think about how they interact with each other. Allow them to naturally curve or intertwine, creating a sense of movement and flow. Vary the heights and angles of the flowers to add depth and dimension to the arrangement.
6. Step Back and Assess: Take a step back and examine the overall arrangement. Make any necessary adjustments to ensure proper balance, symmetry, and visual appeal. Trim any excess foliage or stems that may distract from the arrangement’s focal point.
Remember that arranging flowers is a creative process, and there are no strict rules. Allow your intuition and personal style to guide you in creating a beautiful and unique centerpiece. Once you’re satisfied with the arrangement, you can further enhance the mason jar centerpieces with decorative elements.
Enhancing with Ribbons and Decorative Elements
To add an extra touch of beauty and personalization to your mason jar centerpieces, consider enhancing them with ribbons and other decorative elements. Here are some ideas to inspire you:
1. Ribbons and Bows: Wrap a ribbon around the rim of the mason jar and tie it into a bow for a charming and rustic look. Choose a ribbon that complements your color scheme or matches the theme of your event. Experiment with different ribbon widths and textures to add visual interest.
2. Twine or Jute: For a more natural and organic feel, substitute ribbons with twine or jute. Wrap it around the jar, tying it into a simple knot or a bow. Twine can give your centerpieces a rustic and down-to-earth vibe that pairs well with a farmhouse or country-themed event.
3. Lace or Doilies: For a touch of vintage elegance, incorporate lace or doilies into your mason jar decor. Wrap lace around the jar or place a doily underneath it to create a delicate and romantic look. This works especially well for bridal showers, afternoon teas, or garden parties.
4. Decorative Charms or Trinkets: Add a personalized touch to your centerpieces by attaching small charms or trinkets to the mason jar. These can be anything from miniature keys, heart-shaped lockets, or small figurines that reflect your event’s theme or have personal significance to you or your guests.
5. Fairy Lights or LED Candles: Create a magical ambiance by incorporating fairy lights or LED candles inside the mason jars. Wrap the lights around the jar or place small battery-operated candles inside to add a warm and enchanting glow. This is perfect for evening events, creating a cozy and romantic atmosphere.
6. Feathers, Beads, or Gems: Add a touch of glamor to your centerpieces by embellishing the mason jars with feathers, beads, or gems. Glue feathers around the jar or attach small beads or gemstones to create a sparkling effect. This works well for formal events or those with a glamorous theme.
Remember, the key is to enhance the mason jar centerpieces without overwhelming the beauty of the flowers. Choose decorative elements and add-ons that complement the overall design and style of the arrangement. Once you’ve added these finishing touches, your centerpieces are ready to be displayed and admired.
Displaying and Caring for the Centerpieces
Once you’ve created your beautiful mason jar centerpieces, it’s time to showcase them on your tables and ensure they stay fresh throughout the event. Here are some tips for displaying and caring for your centerpieces:
1. Choose the Right Placement: Select the location for your centerpieces that allows them to be the focal point of the table. Consider the size of the arrangements and the table size, ensuring they do not obstruct the view or hinder conversation among guests.
2. Use Table Runners or Placemats: Add a touch of elegance by placing a table runner or placemats underneath the centerpieces. This not only protects the table surface but also adds a polished look and ties together your overall table decor.
3. Keep Away from Direct Sunlight and Heat: Mason jar centerpieces are best displayed away from direct sunlight or heat sources. Exposure to heat can wilt the flowers quickly and cause them to fade. Place them in a cool and well-ventilated area to prolong their freshness.
4. Hydrate Fresh Flowers: If you’re using fresh flowers in your centerpieces, make sure to keep them hydrated throughout the event. Check the water level in the mason jars regularly and add more water as needed. Mist the flowers with water to keep them looking fresh, especially in hot or dry environments.
5. Remove Wilting Flowers: To maintain the appearance of your centerpieces, promptly remove any wilting or dead flowers. This will not only keep the arrangement looking fresh but also allow the remaining flowers to thrive and last longer.
6. Adjust the Arrangement: Throughout the event, take a moment to check and adjust the arrangement if needed. Flowers may shift or loosen over time, so gently reposition them to maintain the desired shape and composition. This will ensure your centerpieces look their best until the event concludes.
By following these tips, you can ensure that your mason jar centerpieces are displayed beautifully and cared for throughout your event. Remember, proper placement and regular maintenance will keep your centerpieces looking fresh and vibrant, creating an inviting atmosphere for your guests.
Read more: How To Make A Mason Jar Lamp
Conclusion
Creating stunning mason jar centerpieces can elevate the ambiance of any event and add a touch of charm to your table decor. With the right supplies, a creative mindset, and a little attention to detail, you can design beautiful arrangements that will leave a lasting impression on your guests. From selecting the perfect mason jars and flowers to adding greenery, arranging the blooms, and enhancing with decorative elements, each step contributes to the overall beauty and uniqueness of your centerpieces.
Remember to consider the theme and color scheme of your event when choosing the mason jars and flowers. Tailor the arrangement to suit the occasion, whether it’s a rustic wedding, an elegant dinner party, or a whimsical garden gathering. Adding greenery and fillers will provide texture and depth, while incorporating ribbons, charms, or lights will add that extra touch of personalization.
Once your mason jar centerpieces are complete, display them prominently on your tables, taking care to keep them away from direct sunlight and heat sources. Hydrate fresh flowers regularly and remove any wilting blooms to maintain their freshness. By following these guidelines, your centerpieces will remain vibrant and beautiful throughout your event.
Whether you’re celebrating a special occasion or simply enhancing your everyday table decor, mason jar centerpieces offer both versatility and charm. So, gather your supplies, unleash your creativity, and create breathtaking centerpieces that will delight and impress your guests. With a blend of artistry, attention to detail, and a touch of personal flair, you can turn simple mason jars into captivating works of art.
Now, go forth and let your creativity bloom!
After mastering the art of creating mason jar centerpieces, why not continue enhancing your living space with some unique rustic flair? Our next guide focuses on integrating timeless rustic decor into your home, offering you simple yet effective ways to give your surroundings a cozy, welcoming vibe. Imagine transforming your space with pieces that tell a story, adding warmth and charm effortlessly. Ready to infuse your home with a touch of the countryside? Dive into our guide on rustic home decor.
Frequently Asked Questions about How To Make Mason Jar Centerpieces
Was this page helpful?
At Storables.com, we guarantee accurate and reliable information. Our content, validated by Expert Board Contributors, is crafted following stringent Editorial Policies. We're committed to providing you with well-researched, expert-backed insights for all your informational needs.

0 thoughts on “How To Make Mason Jar Centerpieces”