Furniture
How To Make A Mason Jar Lamp
Modified: August 27, 2024
Learn how to create a stunning and unique mason jar lamp with step-by-step instructions. Explore our DIY furniture projects for more creative ideas.
(Many of the links in this article redirect to a specific reviewed product. Your purchase of these products through affiliate links helps to generate commission for Storables.com, at no extra cost. Learn more)
Introduction
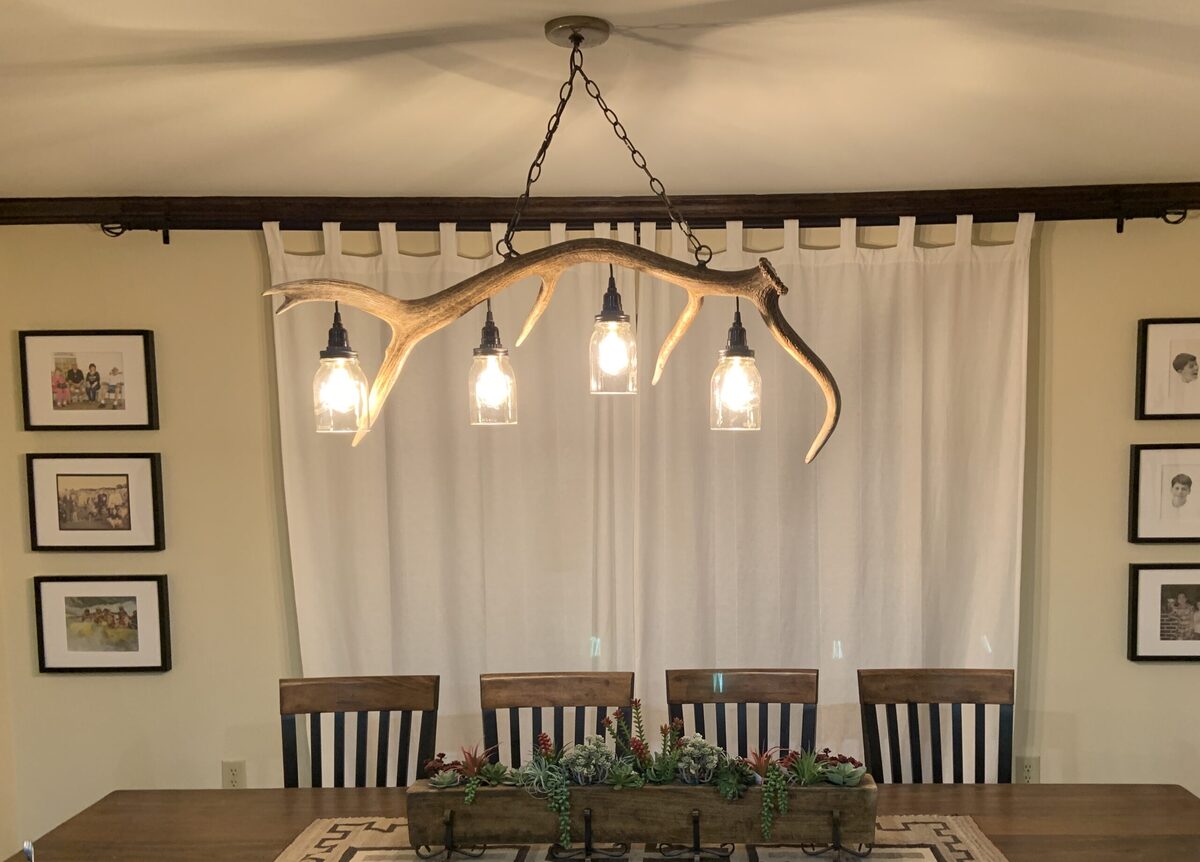
Creating your own unique lamp can be a fun and rewarding project, and one option that has been gaining popularity in recent years is the mason jar lamp. Mason jars have a charming vintage appeal that can add a touch of rustic elegance to any space. Plus, they are versatile and easy to work with, making them an ideal choice for a DIY lamp.
In this article, we will guide you through the process of making your own mason jar lamp. We will provide you with a list of materials you’ll need, as well as a step-by-step tutorial on how to assemble and wire the lamp. By the end of this article, you will have a stunning and functional mason jar lamp that you can proudly display in your home.
Before we dive into the project, let’s take a quick look at why mason jar lamps have become so popular. First and foremost, mason jars evoke a sense of nostalgia. They harken back to a simpler time when practicality and functionality were highly valued. People appreciate the charm and character that mason jars bring to a space, especially when repurposed into a unique lighting fixture.
Furthermore, mason jars are readily available and relatively inexpensive. You can find them at most grocery stores, hardware stores, or even online. They come in various sizes and shapes, allowing you to choose the perfect jar for your lamp.
Lastly, mason jar lamps offer a wide range of creative possibilities. You can use different types of bulbs, experiment with different jar designs, or even paint the jars to match your décor. The possibilities are endless, making it a project that you can truly customize to your taste.
Now that you understand the appeal of mason jar lamps, let’s get started on creating your own. Grab your mason jar, gather the materials, and let’s dive into the step-by-step process of making a stunning mason jar lamp.
Key Takeaways:
- Create a charming mason jar lamp to add rustic elegance to your space. Enjoy the versatility of mason jars and customize your lamp to reflect your personal style and decor.
- Embrace the warm glow and nostalgia of a handmade mason jar lamp. Follow safety precautions, get creative, and illuminate your home with this DIY project.
Read more: How To Make Mason Jar Centerpieces
Materials Needed
Before you begin the process of making your mason jar lamp, it’s essential to gather all the necessary materials. Here is a list of what you’ll need:
- A wide-mouth mason jar
- A lamp kit (including a socket, cord, and plug)
- A lightbulb
- A lampshade (optional)
- A drill with a glass drill bit
- A marker or pen
- Electrical tape
- A screwdriver
- Wire cutters
The most crucial item on this list is the mason jar. Choose a wide-mouth jar to allow for easy access when assembling and changing the bulb. You can select a clear jar to showcase the bulb or opt for a colored or tinted jar for a unique look. Select a jar size that fits well with your intended use and the space where you plan to display the lamp.
When it comes to the lamp kit, you can find one at your local hardware store or online. Ensure that it includes a socket, cord, and plug. It’s essential to select a kit that suits the size of your jar and the specific design you have in mind.
As for the lightbulb, choose one that complements the aesthetics of your mason jar lamp. Depending on the mood and ambiance you want to create, you can go for a soft warm glow or a brighter, more energetic light.
If you wish to add a finishing touch to your mason jar lamp, consider getting a lampshade. This is entirely optional but can elevate the overall look of your lamp. Choose a shade that complements the size and style of your mason jar.
In addition to the main components, you’ll need several tools to complete the project. A drill with a glass drill bit is necessary to create a hole in the mason jar lid for the socket. Use a marker or pen to mark where you want the hole to be drilled. Electrical tape is essential for securing and insulating the wire connections. A screwdriver and wire cutters will come in handy for assembling and wiring the lamp.
Now that you have all the necessary materials ready, let’s move on to the step-by-step process of making your own mason jar lamp.
Step 1: Preparing the Mason jar
The first step in creating your mason jar lamp is to prepare the jar itself. Follow these instructions to ensure your jar is ready for the next steps:
- Start by removing the metal lid from the mason jar. You won’t be needing it for this project, so set it aside.
- If your mason jar has any labels or stickers on it, soak it in warm, soapy water to remove them. Gently scrub away any residue using a sponge or a soft cloth.
- Ensure that the jar is clean and dry before proceeding to the next step. You want a clear and pristine jar for your lamp.
- Decide where you want the hole for the socket to be drilled on the mason jar lid. This will be where the lightbulb will go.
- Using a marker or pen, mark the center of the lid to guide you when drilling.
- Attach the glass drill bit to your drill. Make sure to use a bit specifically designed for drilling into glass.
- Place the mason jar lid on a sturdy surface, such as a wooden block or work table. This will prevent any damage to the surface and provide stability during drilling.
- Slowly and carefully drill a hole through the marked center of the lid. Apply light pressure and let the drill do the work. Keep the lid and drill bit cool by periodically dipping them in water while drilling.
- Once the hole is drilled, remove any debris and metal shavings from the lid. Rinse it in clean water and dry it thoroughly.
- Your mason jar is now ready for the next step in the process.
Preparing the mason jar is an important initial step that ensures a secure and well-functioning lamp. Take your time to drill the hole accurately, and remember to wear safety goggles and gloves to protect yourself during this step.
Now that you have prepared your mason jar, it’s time to move on to the next step: wiring the lamp.
Step 2: Wiring the Lamp
Now that you have prepared your mason jar, it’s time to wire the lamp. Follow these step-by-step instructions to ensure your lamp is safe and functional:
- Start by unraveling the cord from the lamp kit, making sure it is fully extended.
- At one end of the cord, you will find a plug. Use a screwdriver to loosen the screws on the plug and separate the two halves.
- Slide the cord through the hole in the mason jar lid, ensuring that the plug end is inside the jar. The lid will act as a support for the socket.
- Next, locate the socket in your lamp kit. It should have two screw terminals on the side.
- Take the cord and separate the two wires, exposing about an inch of the insulating covering at the end of each wire.
- Take the exposed end of the cord’s neutral wire (usually identified by a ribbed surface or a different color) and wrap it around the silver screw terminal on the socket. Tighten the screw to secure the connection. Repeat this step with the cord’s hot wire (typically smooth or a different color) and the gold screw terminal on the socket.
- Once the wires are securely connected, use electrical tape to wrap around the screw terminals, covering any exposed metal and providing insulation.
- Now, carefully screw the socket into the mason jar lid. Make sure it is secure and positioned properly in the center of the lid.
- Gently pull the excess cord through the lid and out of the jar, leaving a sufficient amount of cord to reach a nearby electrical outlet. You can adjust the length of the cord later if needed.
- Reassemble the plug by screwing the two halves back together. Ensure that the cord is properly inserted into the plug and that the screw terminals are tightened securely.
Wiring the lamp requires attention to detail and precision. Take your time to ensure that the connections are secure and that there is no exposed wiring that could cause a hazard.
Now that you have successfully wired your lamp, it’s time to move on to the next step: assembling the lamp.
When making a mason jar lamp, ensure that the jar is clean and dry before adding the light fixture. This will prevent any moisture from causing damage to the electrical components.
Step 3: Assembling the Lamp
With the mason jar prepared and the lamp wired, it’s time to assemble the various components and bring your mason jar lamp to life. Follow these step-by-step instructions to complete the assembly:
- Start by unscrewing the decorative ring at the bottom of the socket. This will allow you to thread the socket through the hole in the mason jar lid.
- Slide the socket through the hole, ensuring that it fits securely. The decorative ring should be on the top side of the lid, while the socket is underneath the lid.
- Once the socket is in place, screw the decorative ring back onto the socket, securing it tightly to the mason jar lid.
- If you have chosen to add a lampshade to your mason jar lamp, now is the time to attach it. Simply slide the lampshade onto the socket and adjust it until it sits securely in place.
- With the lampshade in position, it’s time to add the lightbulb. Screw your chosen lightbulb into the socket, ensuring that it is properly seated and secure.
Take a moment to inspect the lamp, ensuring that all components are properly attached and secure. Double-check that the socket is fitted snugly in the mason jar lid and that the lampshade is level and stable.
Congratulations! You have successfully assembled your mason jar lamp. Now, it’s time for the final step: testing the lamp.
Read more: How To Make Candles In A Mason Jar
Step 4: Testing the Lamp
Before you can enjoy the warm glow of your mason jar lamp, it’s crucial to test it to ensure it is functioning correctly and safely. Follow these steps to test your lamp:
- Plug the lamp into a nearby electrical outlet. Ensure that the cord is properly inserted and that the plug is securely connected.
- If your lamp has a switch on the cord, turn it on. Otherwise, you can use the switch on the socket to turn on the lamp.
- Observe the lamp to ensure that it is working properly. The light should illuminate, casting a soothing glow through the mason jar.
- Check for any signs of flickering, dimness, or unusual noise. If you notice any of these issues, turn off the lamp immediately and check the connections and wiring.
- Take a moment to appreciate the ambiance created by your mason jar lamp. Adjust the position of the lampshade, if necessary, to achieve your desired lighting effect.
If your mason jar lamp is working correctly, congratulations! You have successfully completed the project and can now enjoy the warm, rustic charm of your handmade creation. Remember to follow proper safety precautions when using the lamp, such as keeping it away from flammable materials and never leaving it unattended while lit.
If you encounter any issues during the testing process, double-check the wiring and connections. Ensure that the lightbulb is properly screwed into the socket and that there are no loose or exposed wires. If necessary, consult an electrician or seek assistance to resolve any electrical problems.
Now that your lamp has passed the testing phase, it’s time to find the perfect spot to showcase your mason jar lamp and bask in its cozy glow.
Congratulations once again on creating your own unique mason jar lamp. Enjoy the warm and inviting atmosphere it brings to your living space!
Conclusion
Creating a mason jar lamp is a rewarding and enjoyable DIY project that allows you to add a touch of charm and character to your home. With just a few materials and some simple steps, you can transform a mason jar into a stunning lighting fixture that radiates warmth and nostalgia.
Throughout this article, we guided you through the process of making your own mason jar lamp. From preparing the jar and wiring the lamp to assembling the components and testing the final product, each step was designed to ensure safety and functionality.
The beauty of a mason jar lamp lies in its versatility. You can customize it to match your personal style and the décor of your space. Experiment with different jar sizes, shapes, and colors to create a truly unique lamp that reflects your individuality. Add a decorative lampshade to enhance the overall aesthetic, or paint the jar to complement your existing color scheme.
Remember to always prioritize safety when working with electrical components. Make sure to follow proper wiring instructions and consult a professional if you have any concerns or questions. Safety should always be the top priority when handling electricity.
Now that you have completed your mason jar lamp, find the perfect spot to showcase it in your home. Whether it graces your bedroom nightstand, illuminates your living room, or becomes a centerpiece on your dining table, your mason jar lamp will bring a warm and inviting glow to any space.
Don’t hesitate to create multiple mason jar lamps and experiment with different designs. They also make wonderful gifts for friends and family, as they are both practical and decorative.
We hope this article has inspired you to embark on the journey of creating your own mason jar lamp. Enjoy the process, let your creativity shine, and embrace the cozy ambiance that your handmade lamp brings to your living space.
Illuminate your home with the nostalgia and charm of a mason jar lamp – a true testament to the beauty of DIY projects.
Frequently Asked Questions about How To Make A Mason Jar Lamp
Was this page helpful?
At Storables.com, we guarantee accurate and reliable information. Our content, validated by Expert Board Contributors, is crafted following stringent Editorial Policies. We're committed to providing you with well-researched, expert-backed insights for all your informational needs.