
Tableware
How To Make Purses Out Of Placemats
Modified: January 4, 2024
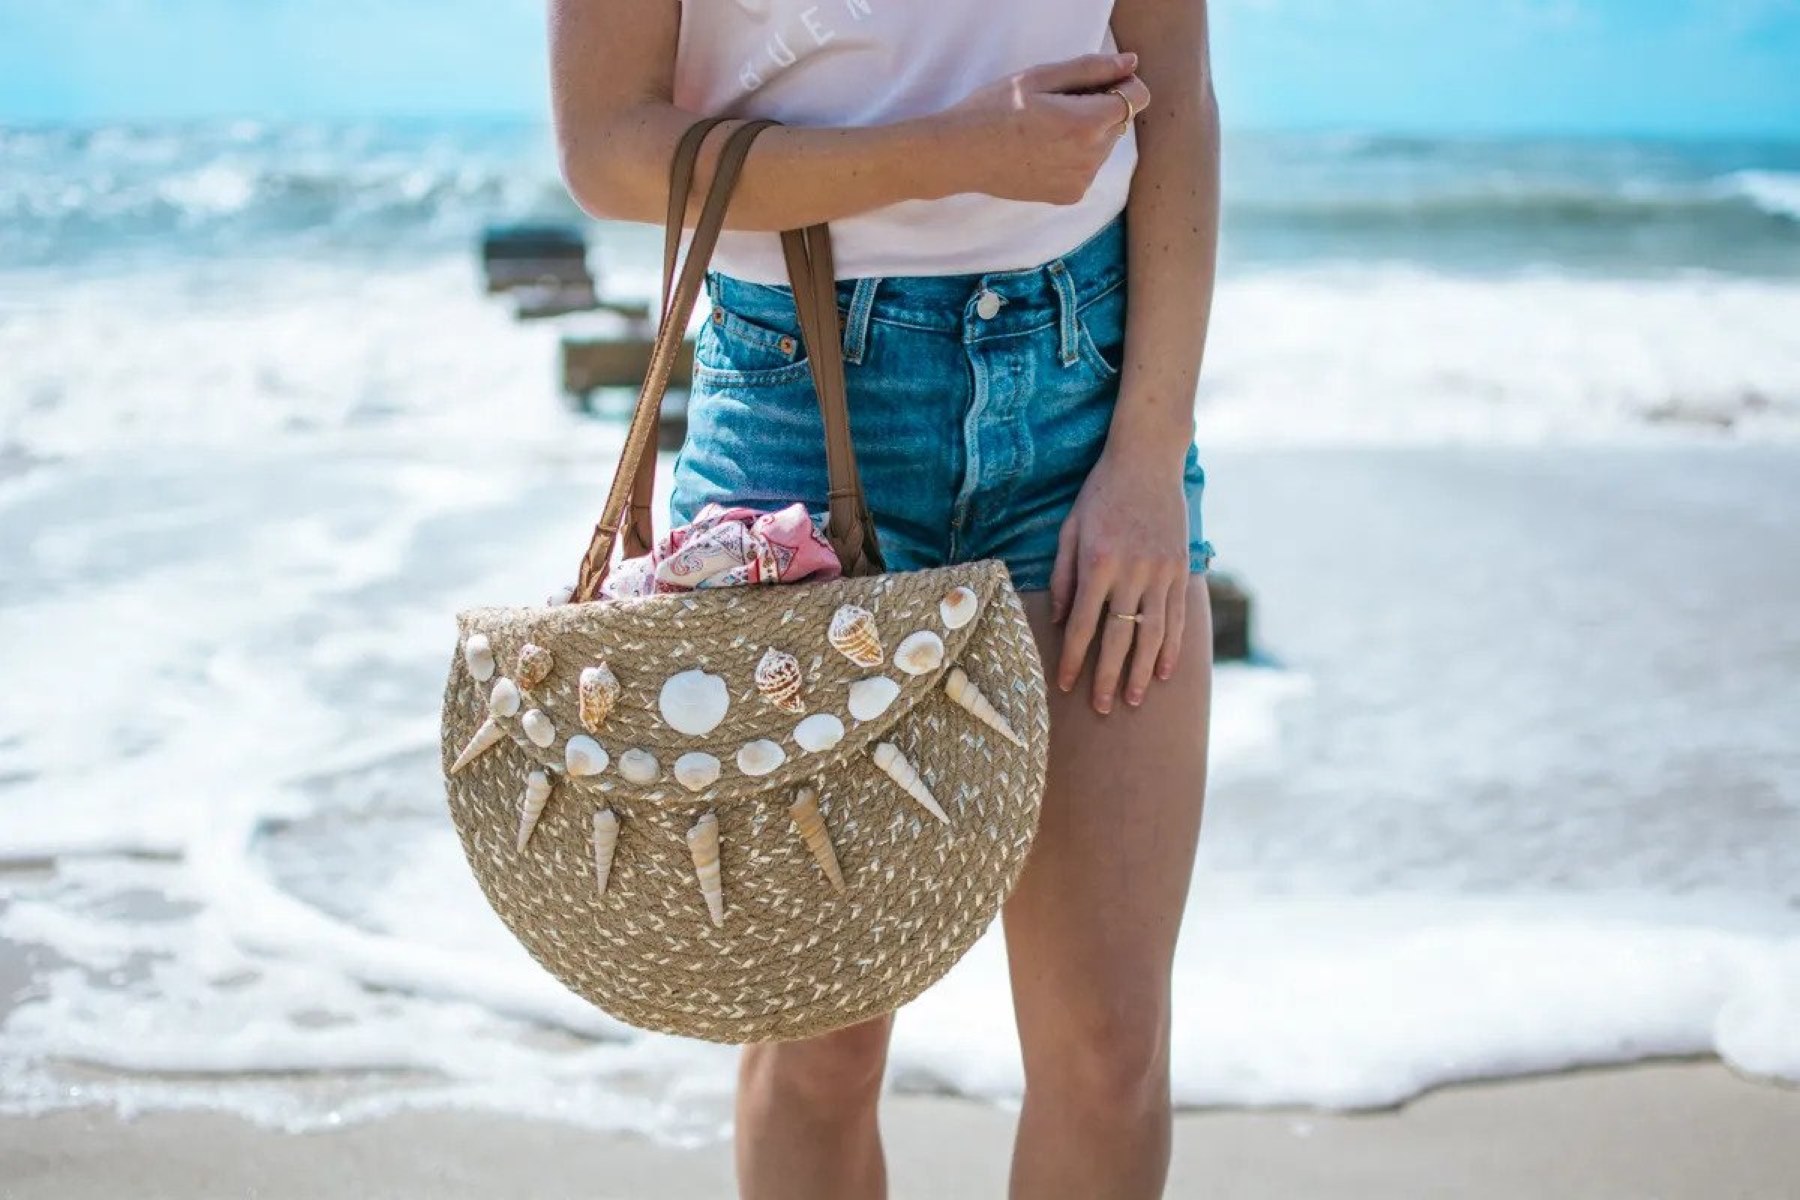
Learn how to transform ordinary placemats into stylish purses using tableware and create your own unique fashion statement. Start crafting today!
(Many of the links in this article redirect to a specific reviewed product. Your purchase of these products through affiliate links helps to generate commission for Storables.com, at no extra cost. Learn more)
Introduction
Welcome to the wonderful world of tableware crafting! If you have some old placemats lying around or simply want to get creative with your tableware, then making purses out of placemats might be just the project for you. Not only is it a fun and unique way to repurpose your placemats, but it also allows you to create personalized and stylish accessories that will surely impress your friends and family.
In this article, we will guide you through the process of transforming ordinary placemats into fabulous purses. Whether you’re a seasoned crafter or a beginner looking to kickstart your creative journey, we’ve got you covered. So, gather your supplies and get ready to embark on this exciting DIY adventure!
To make your purse out of placemats, you’ll need a few basic materials and tools. Don’t worry, they’re all easy to find and won’t break the bank. Here’s what you’ll need:
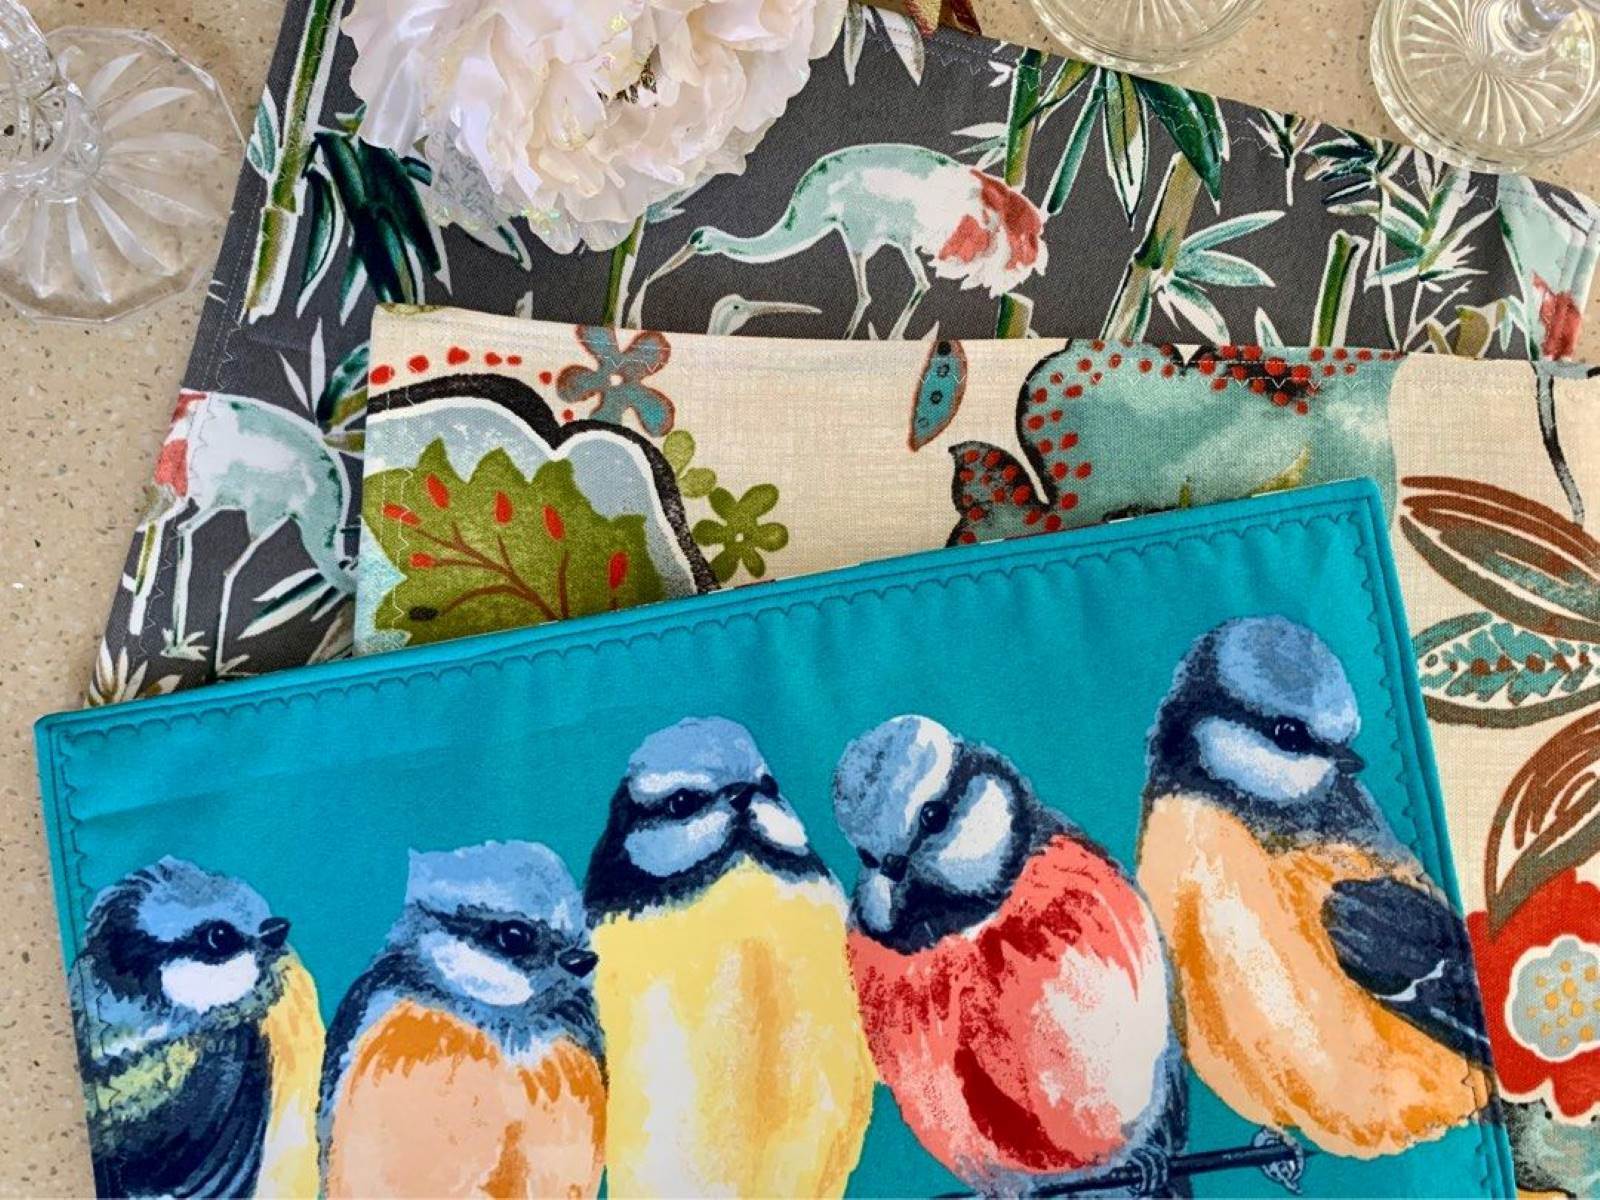
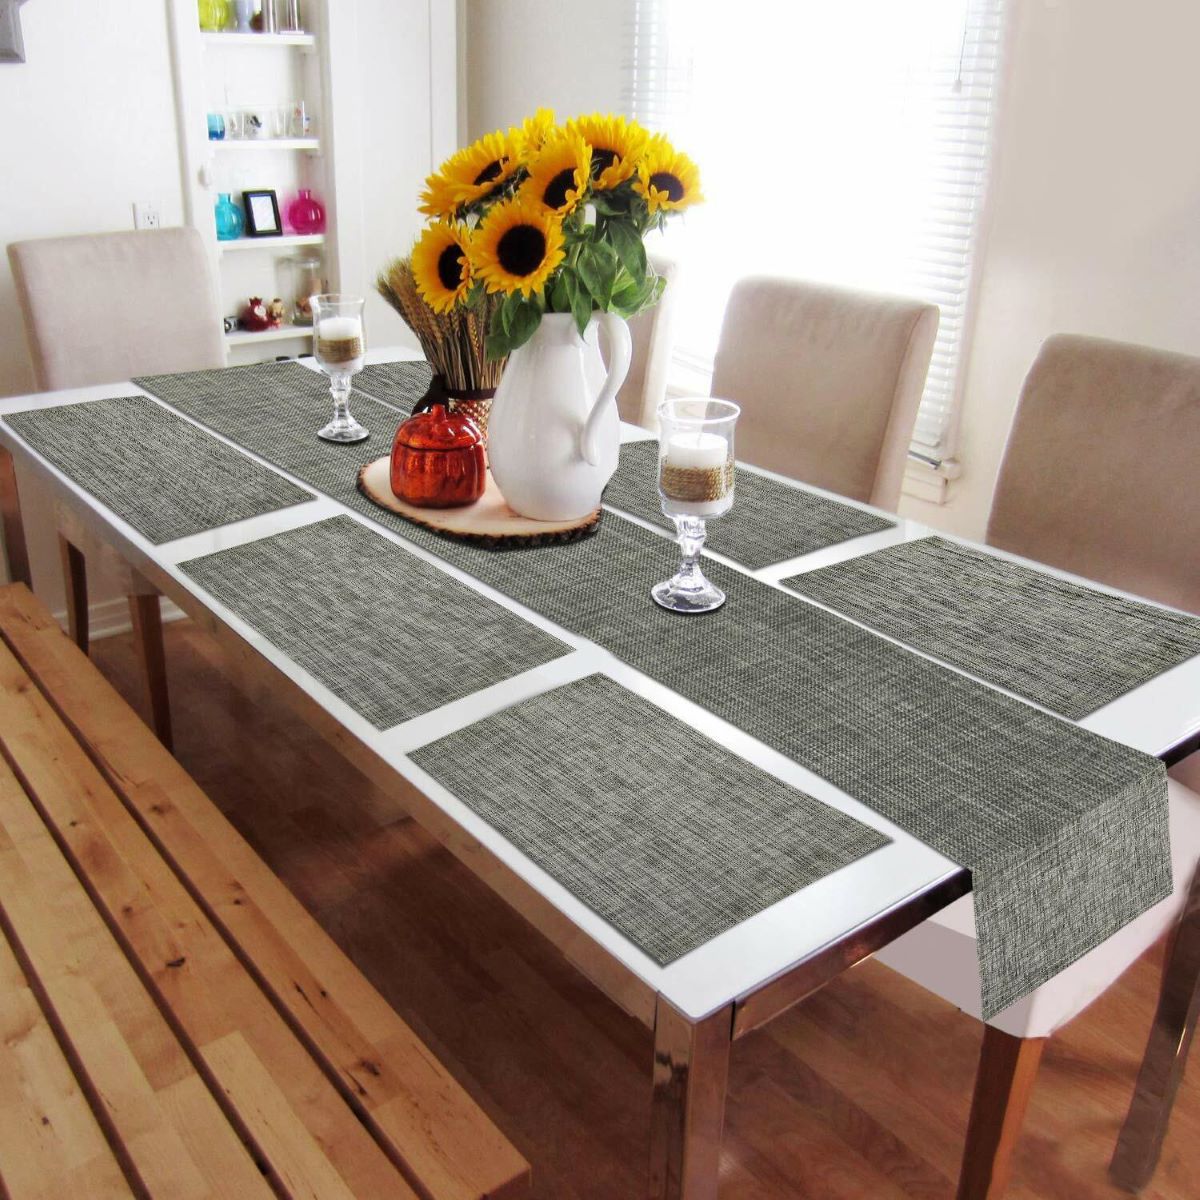
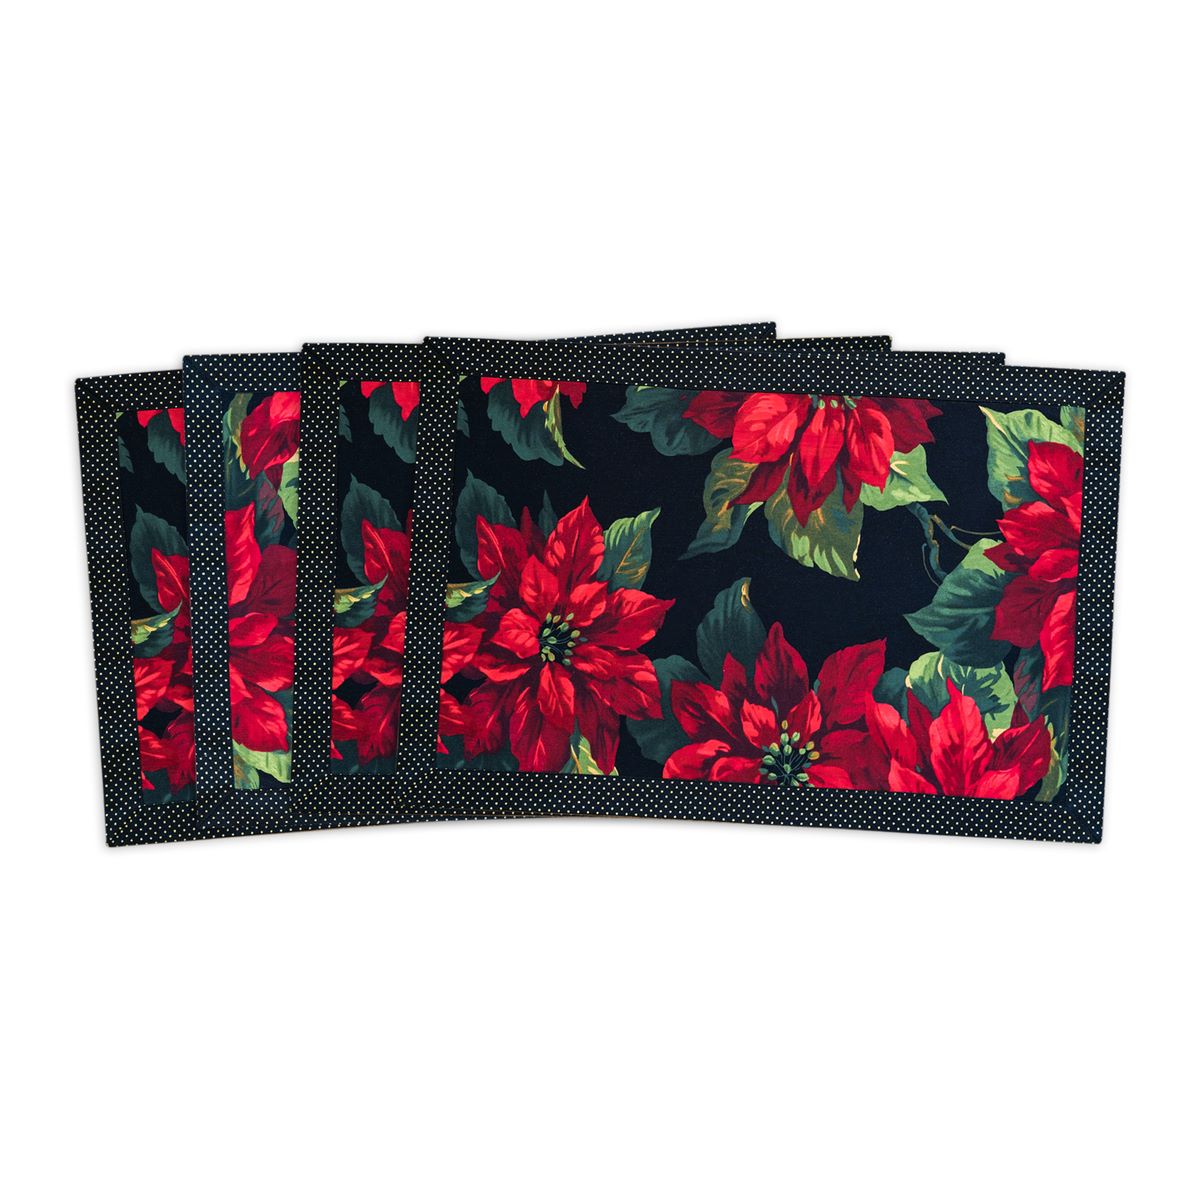
- Placemats: Choose placemats that are sturdy and made of a material you prefer—it could be fabric, vinyl, or even woven straw. Make sure the size and design of the placemats align with the type of purse you want to create.
- Scissors: A good pair of scissors is essential for cutting and shaping the placemats.
- Needle and thread: Basic sewing supplies such as needles and thread in colors that complement your placemats.
- Measuring tape or ruler: These tools will come in handy when you need to measure and cut the placemats with precision.
- Decorative elements: Get creative and gather decorative elements like buttons, beads, ribbons, or any other embellishments you want to add to your purse.
- Handles or straps: Decide whether you want to attach handles or straps to your purse. This can be in the form of fabric strips, chains, or even repurposed handles from old bags.
Now that you’ve got all the necessary materials, it’s time to dive into the step-by-step process of creating your very own placemat purse. Let’s begin by choosing the right placemats for your project.
Key Takeaways:
- Transform ordinary placemats into stylish, personalized purses using basic materials and simple sewing techniques. Embrace your creativity and repurpose everyday items into fashionable accessories that reflect your unique style.
- Enjoy the process of crafting placemat purses and unleash your creativity through DIY projects. Repurpose tableware into one-of-a-kind accessories, and share your handmade creations with friends and loved ones for thoughtful, personalized gifts.
Read more: How To Make A Quilted Placemat
Materials Needed
To make purses out of placemats, you’ll need the following materials:
- Placemats: Choose placemats made of fabric, vinyl, or woven straw in a design and size that aligns with your desired purse style. Make sure they are sturdy enough to withstand the weight of your belongings.
- Scissors: A sharp pair of scissors will be essential for cutting and shaping the placemats accurately.
- Sewing machine or needle and thread: If you have a sewing machine, it will speed up the sewing process. However, if you prefer hand-sewing, a needle and thread will work just fine.
- Measuring tape or ruler: These tools will help you measure and cut the placemats accurately, ensuring the desired size and shape for your purse.
- Decorative elements: Gather buttons, beads, ribbons, or any other embellishments you wish to add to your purse to personalize and enhance its appearance.
- Handles or straps: Decide on the type of handles or straps you want for your purse. Options include fabric strips, chains, or repurposed handles from old bags.
- Adhesive or glue (optional): If you prefer not to sew, you can use adhesive or fabric glue to secure certain parts of the purse.
These materials are readily available at craft stores, online retailers, or even in your own home. Once you have gathered all the necessary materials, you’re ready to start creating your placemat purse. With a little creativity and a touch of craftsmanship, you’ll soon have a unique and stylish accessory that’s bound to turn heads.
Step 1: Choosing the Right Placemats
The first step in making purses out of placemats is selecting the perfect placemats for your project. Here are a few things to consider when choosing the right placemats:
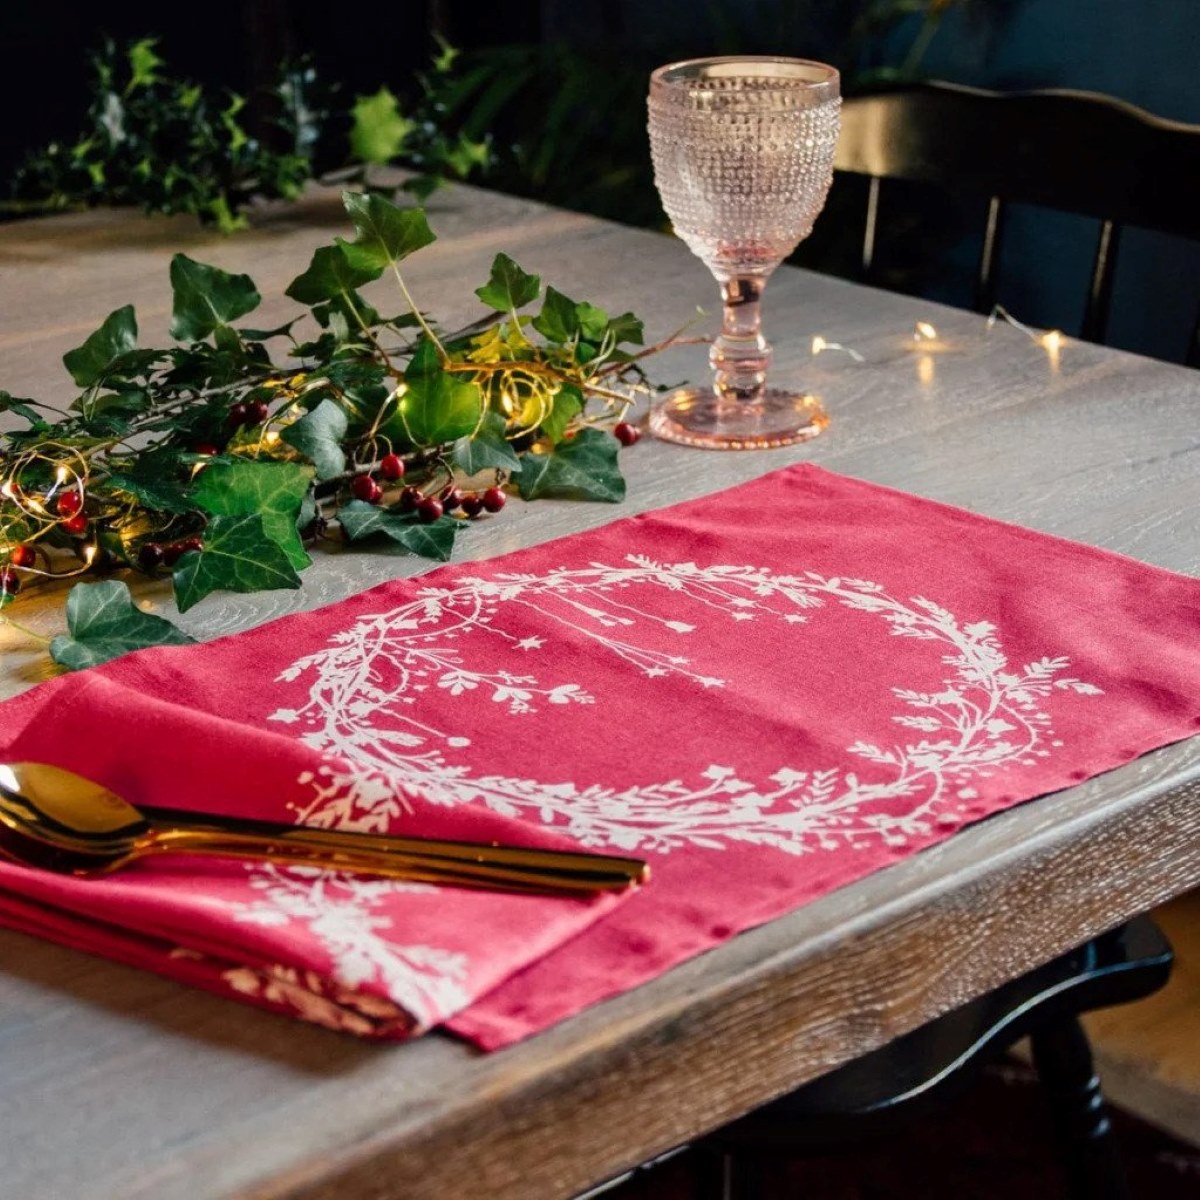
- Material: Placemats are available in various materials such as fabric, vinyl, or woven straw. Each material has its own unique characteristics, so choose one that suits your preference and desired purse style. Fabric placemats offer a soft and elegant appeal, while vinyl or woven straw placemats provide durability and a more casual vibe.
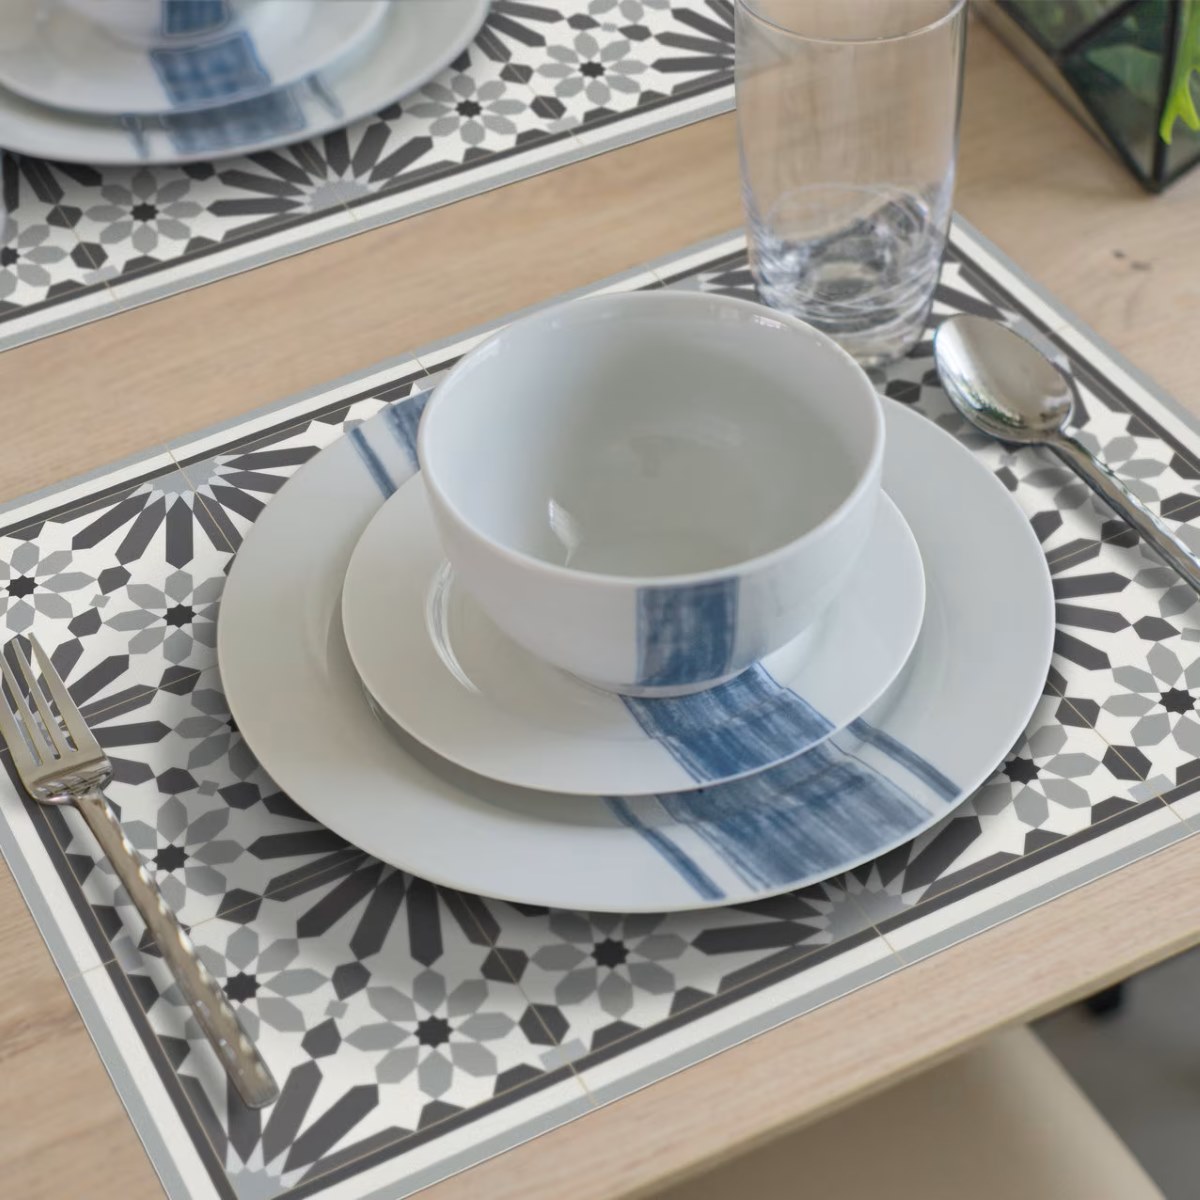
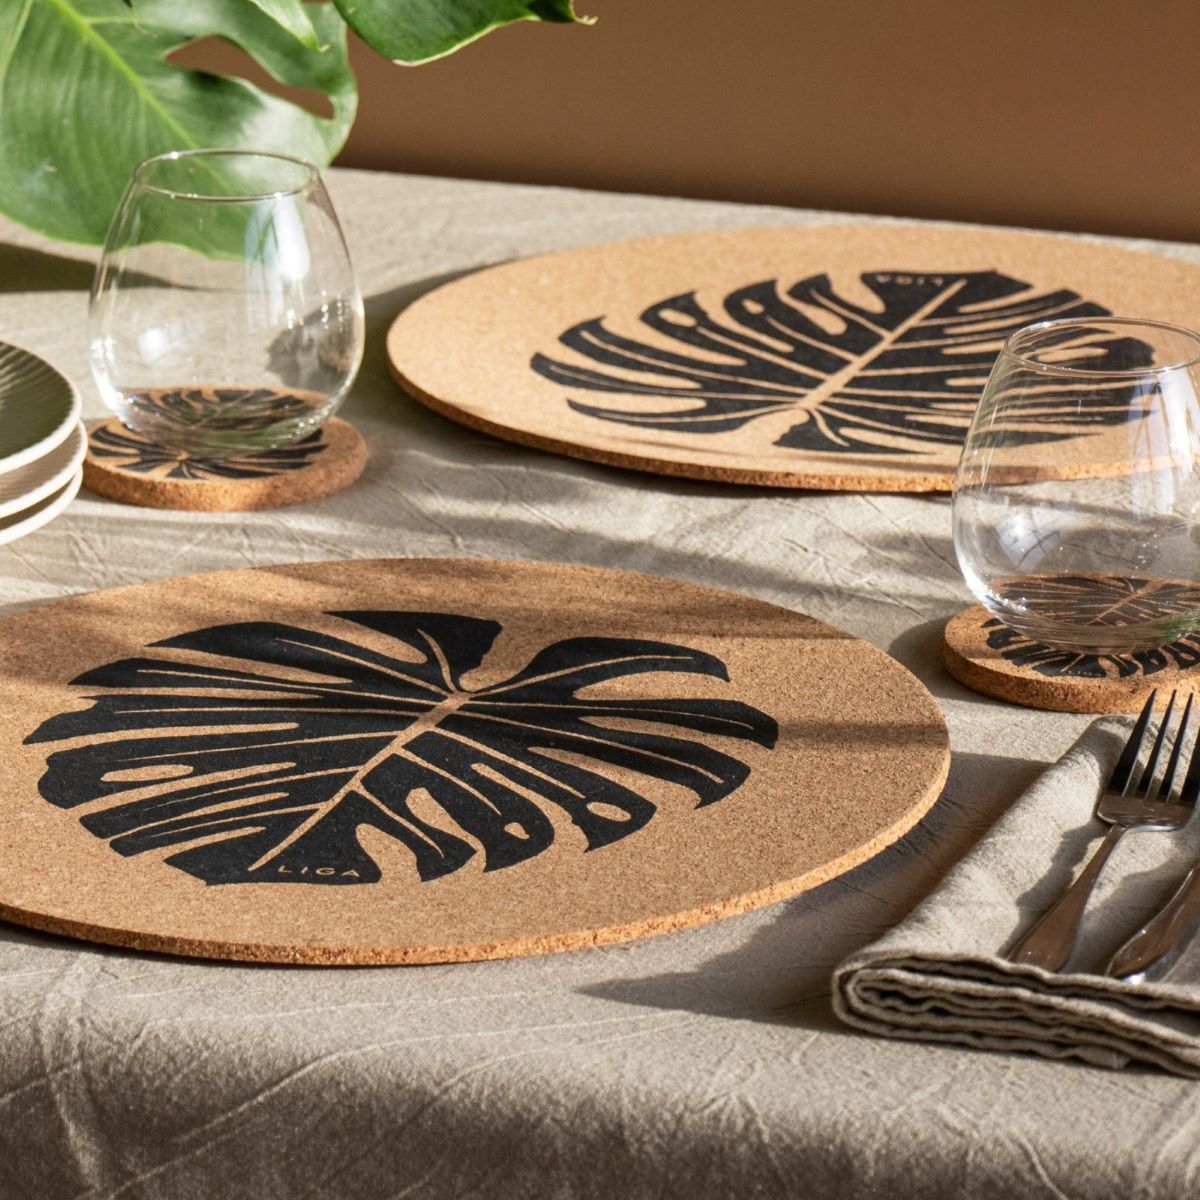
- Size and Shape: Consider the size and shape of the placemats as it determines the size and shape of your purse. Rectangular placemats are great for creating long and spacious purses, while square or round placemats lend themselves well to smaller and more compact designs.
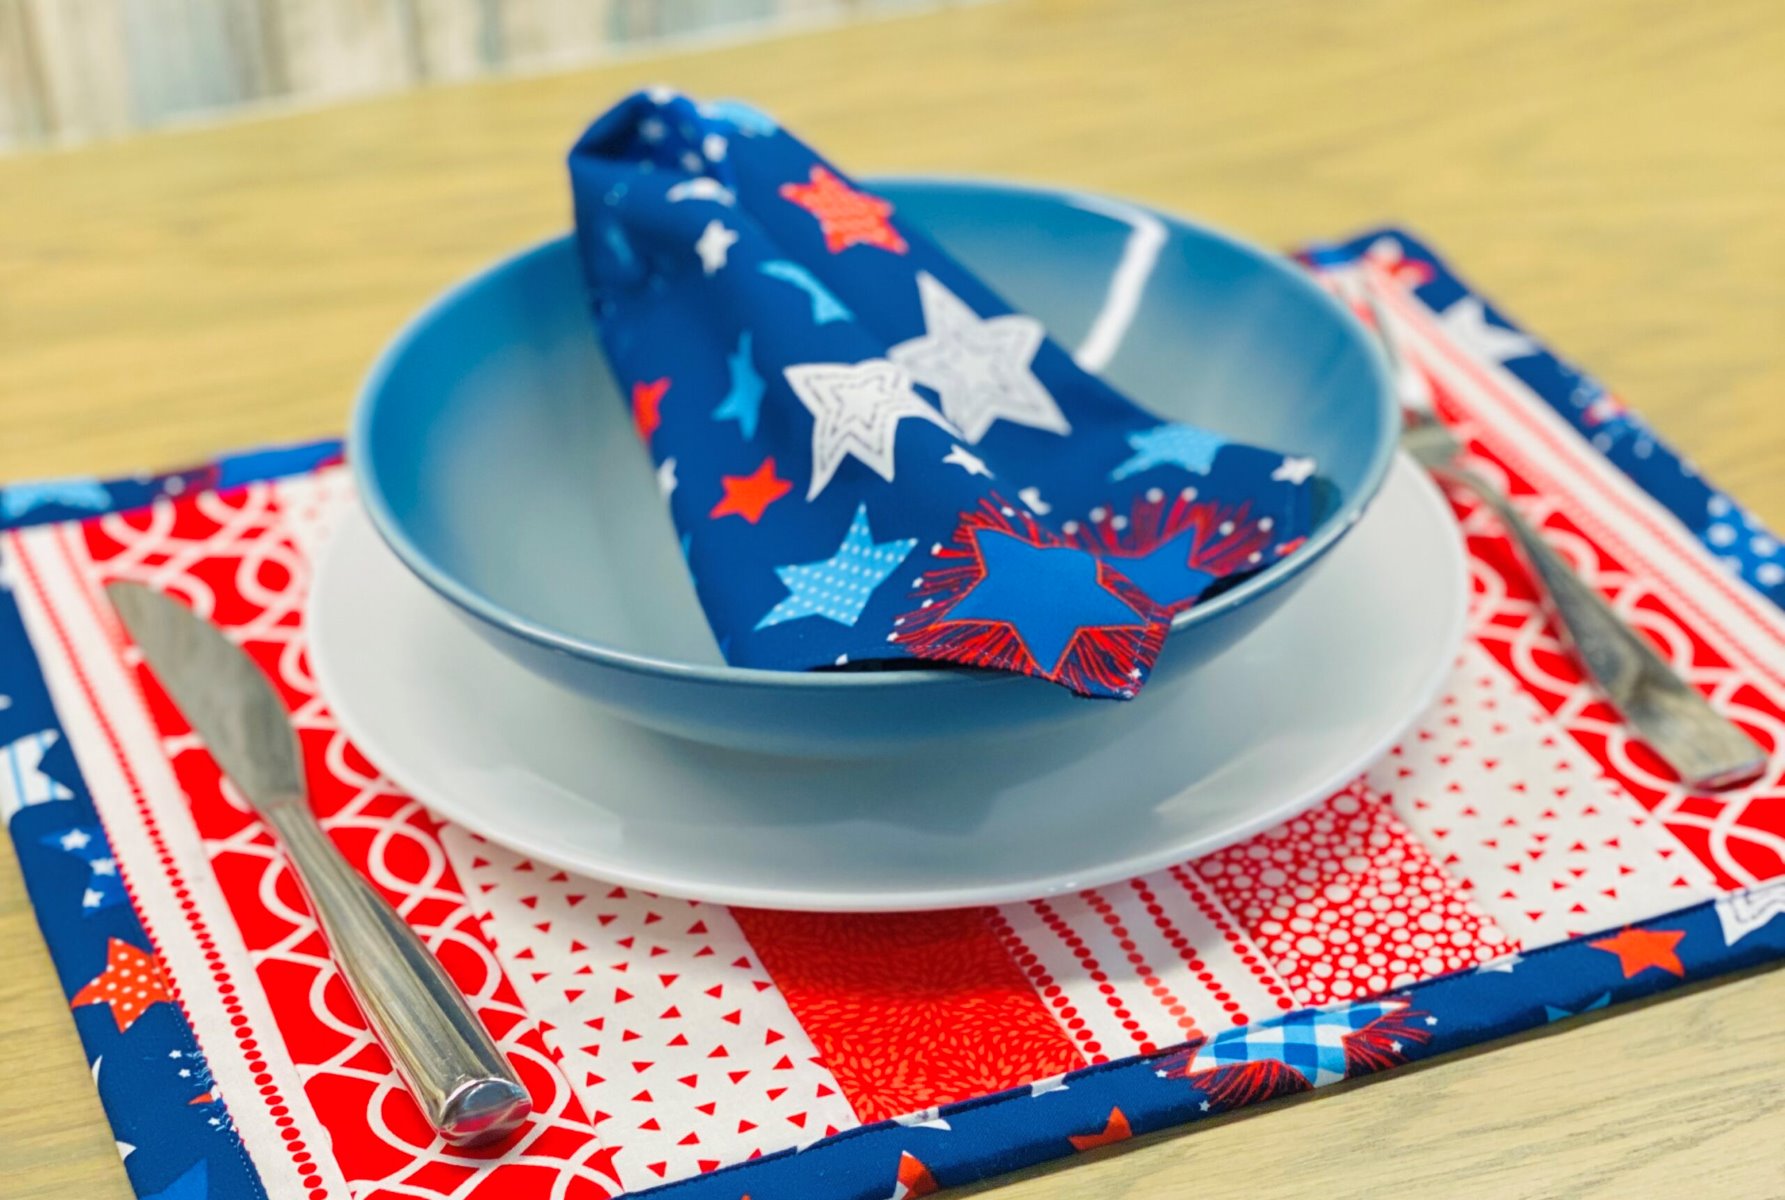
- Design: Placemats come in a wide array of designs, from simple and solid colors to intricate patterns. Choose a design that speaks to your personal style and complements your wardrobe. If you’re feeling adventurous, you can even mix and match different placemat designs for a unique and eclectic look.
- Sturdiness: Ensure that the placemats you choose are sturdy enough to withstand the weight of your belongings. They should be able to hold their shape even after sewing and adding contents to the purse.
When selecting placemats, consider your own preferences and the purpose of the purse. If you’re creating a purse for everyday use, choose durable materials and a style that suits your daily activities. For special occasions, opt for a more stylish and eye-catching design.
Remember, the beauty of making purses out of placemats is that you have the freedom to experiment with different styles and materials. Don’t be afraid to get creative and think outside the box. Once you’ve chosen the perfect placemats, it’s time to move on to the next step: preparing the placemats for transformation.
Step 2: Preparing the Placemats
Before you can begin transforming your placemats into purses, it’s important to properly prepare them. Follow these steps to ensure your placemats are ready for the next stages of the project:
- Clean the Placemats: If your placemats are dirty or have any stains, give them a gentle wash or wipe them down with a damp cloth. Make sure they are completely dry before proceeding.
- Iron the Placemats: Ironing your placemats will help remove any creases or wrinkles, ensuring a smoother finish. Lay the placemats flat on an ironing board and use a medium heat setting to avoid damaging the material. Take your time and iron both sides until they are nice and smooth.
- Plan the Placement: Lay out your placemats and visualize how they will come together to form your purse. If your placemats have a specific pattern or design, consider how you want to showcase it on your finished purse. This step will help you plan where to cut and sew the placemats.
- Mark Your Measurements: Use a measuring tape or ruler to mark the dimensions of your desired purse on the placemats. This step will ensure that your purse is proportionate and meets your desired size and shape.
- Cut Out any Unwanted Parts: If your placemats have excess material or parts that you don’t want to include in your purse, carefully cut them away using sharp scissors. Be precise and follow the marked measurements to ensure clean and even edges.
- Consider Lining: If your placemats are made of a thin or see-through material, you may want to consider adding a fabric lining. This will not only add durability but also provide a more polished and professional finish to your purse.
Properly preparing your placemats before sewing is crucial to achieving a high-quality end result. Take your time and pay attention to details during this step to ensure a smooth and successful crafting process. Once your placemats are prepped and ready, it’s time to move on to the next exciting step: cutting and sewing the placemats to transform them into a purse.
When making purses out of placemats, choose sturdy placemats with a fabric that can withstand sewing. Consider adding a lining for durability and a professional finish.
Step 3: Cutting and Sewing the Placemats
Now that you’ve prepared your placemats, it’s time to bring out your inner seamstress and start cutting and sewing. Follow these steps to transform your placemats into a stylish and functional purse:
- Measure and Mark: Using your measuring tape or ruler, mark the dimensions of your purse on the placemats. This will help guide your cutting and ensure that your purse is the desired size and shape.
- Cut the Placemats: Carefully cut along the marked lines using sharp scissors. Remember to cut both the front and back layers of the placemats if they are layered. Take your time to ensure clean and even edges.
- Align and Pin: Place the cut placemats together, aligning the edges that need to be sewn. Pin the layers together with sewing pins to hold them in place during the sewing process. Make sure the right sides of the placemats are facing each other.
- Choose Your Sewing Method: Depending on your sewing skills and available tools, you can choose between hand-sewing with a needle and thread or using a sewing machine. Both methods work well, so go with what you are most comfortable with.
- Sew the Edges: Starting from one edge, sew along the sides and bottom of the placemats, leaving the top open. Use a straight stitch or a zigzag stitch if you want extra reinforcement. Remember to backstitch at the beginning and end to secure the stitches.
- Trim Excess Threads: Once you have finished sewing, carefully trim any excess threads for a neat and tidy finish. Be careful not to cut through the stitches.
Remember, precision is key when cutting and sewing the placemats. Take your time and sew with steady hands to achieve professional-looking results. Once you have sewn the edges, your placemat purse will start to take shape. However, the journey isn’t over just yet! In the next step, we’ll learn how to add handles or straps to complete your purse.
Read more: How To Make Woven Placemats
Step 4: Adding Handles or Straps
Adding handles or straps to your placemat purse not only enhances its functionality but also adds a stylish touch. Follow these steps to complete your purse by incorporating handles or straps:
- Choose Your Handle or Strap Material: Decide on the type of handle or strap you want for your purse. You can use materials like fabric strips, chains, or even repurpose handles from old bags. Choose a material that complements your placemat design and aligns with your desired purse style.
- Measure and Cut: Measure the desired length for your handles or straps and cut them accordingly using scissors or wire cutters, depending on the material you’re using. Ensure that the lengths are equal for symmetry.
- Attach Handles or Straps: There are a few different methods you can use to attach handles or straps to your purse:
- Sewing: If you’re using fabric strips as handles, fold the ends of the fabric inward and sew them securely to the sides of the purse. Make sure to reinforce the attachment by sewing several stitches back and forth.
- Hardware Elements: For chain or metal handles, use pliers to attach jump rings and lobster clasps to the purse. This will allow you to easily attach and detach the handles, giving you flexibility in style.
- Repurpose Handles: If you’re using handles from old bags, carefully remove them from the bags and attach them to the placemat purse using sewing or hardware elements, depending on the handle type.
- Secure the Attachments: Whichever method you choose, make sure the handles or straps are securely attached to the purse. Give them a gentle tug to ensure they won’t come loose during use.
Adding handles or straps to your placemat purse not only serves a functional purpose but also adds a decorative element. Feel free to get creative with different handle styles and materials to make your purse truly unique. With the handles or straps securely attached, your placemat purse is almost complete.
However, there’s one final step left to add those finishing touches and make your purse truly shine. Let’s move on to the last step.
Step 5: Finishing Touches
Now that your placemat purse is taking shape, it’s time to add those final finishing touches to make it truly stand out. These steps will add a touch of personalization and refinement to your creation:
- Add Embellishments: Get creative and decorate your purse with embellishments such as buttons, beads, ribbons, or any other decorative elements. Sew or glue them onto the placemat surface to create a unique and eye-catching design.
- Consider a Closure: Depending on your preference, you may want to add a closure mechanism to your purse. This can be a zipper, a magnetic snap, a button, or any other closure type that suits your design. Ensure the closure is functional and secure.
- Line the Interior: If your placemat purse has a fabric lining, sew it onto the inside of the purse to provide a finished look. This will also help protect the contents of your purse and reinforce the overall structure.
- Inspect and Reinforce the Seams: Carefully inspect the seams of your placemat purse to ensure they are secure. If any areas seem loose or weak, reinforce them with additional stitches or a sewing machine.
- Give it a Final Press: Before showing off your placemat purse, give it a final press with an iron on a low heat setting. This will smooth out any wrinkles or creases and give it a polished appearance.
By adding these finishing touches, you’ll transform your placemat purse into a truly unique and personalized accessory. Don’t be afraid to let your creativity shine through and make it reflect your own style and personality.
Now that you’ve completed all the steps, you can proudly admire your handcrafted placemat purse. Whether you use it as an everyday bag or for special occasions, you can be confident that you have a one-of-a-kind accessory that is sure to turn heads and spark conversations.
Congratulations on successfully making purses out of placemats! Embrace your newfound craftiness and continue exploring your creativity through other DIY projects. Remember, the possibilities are endless when it comes to repurposing everyday items.
Enjoy using and showing off your unique placemat purse, and be prepared for the compliments that will surely come your way!
Conclusion
Congratulations on completing your journey of transforming ordinary placemats into stylish and functional purses! Through the steps outlined in this article, you’ve learned how to choose the right placemats, prepare them for sewing, cut and sew them into a purse, add handles or straps, and apply finishing touches to make your purse truly unique.
Making purses out of placemats is not only a fun and creative project but also a sustainable way to repurpose items that might otherwise go to waste. By giving new life to placemats, you’ve created a fashionable accessory that showcases your personal style and craftsmanship.
Remember, the possibilities for customization are endless. Experiment with different materials, designs, and embellishments to create purses that perfectly match your wardrobe and personality. Add your own creative flair to make each purse a reflection of your individuality;
Furthermore, these placemat purses make for thoughtful handmade gifts for friends and loved ones. Personalize them based on recipients’ preferences and you’ll have a unique and meaningful present that will be cherished for years to come.
Now that you’ve mastered the art of making purses out of placemats, you can continue exploring other creative endeavors with tableware or discover additional ways to repurpose everyday items into something extraordinary.
Thank you for joining us on this crafting adventure. We hope this step-by-step guide has inspired you to unleash your creativity and embark on many more DIY projects in the future. Happy crafting!
Frequently Asked Questions about How To Make Purses Out Of Placemats
Was this page helpful?
At Storables.com, we guarantee accurate and reliable information. Our content, validated by Expert Board Contributors, is crafted following stringent Editorial Policies. We're committed to providing you with well-researched, expert-backed insights for all your informational needs.

0 thoughts on “How To Make Purses Out Of Placemats”