Tableware
How To Make Self-Binding Placemats
Modified: May 23, 2024
Learn how to make self-binding placemats and add a touch of elegance to your tableware. Enhance your dining experience with these beautiful and functional accessories.
(Many of the links in this article redirect to a specific reviewed product. Your purchase of these products through affiliate links helps to generate commission for Storables.com, at no extra cost. Learn more)
Introduction
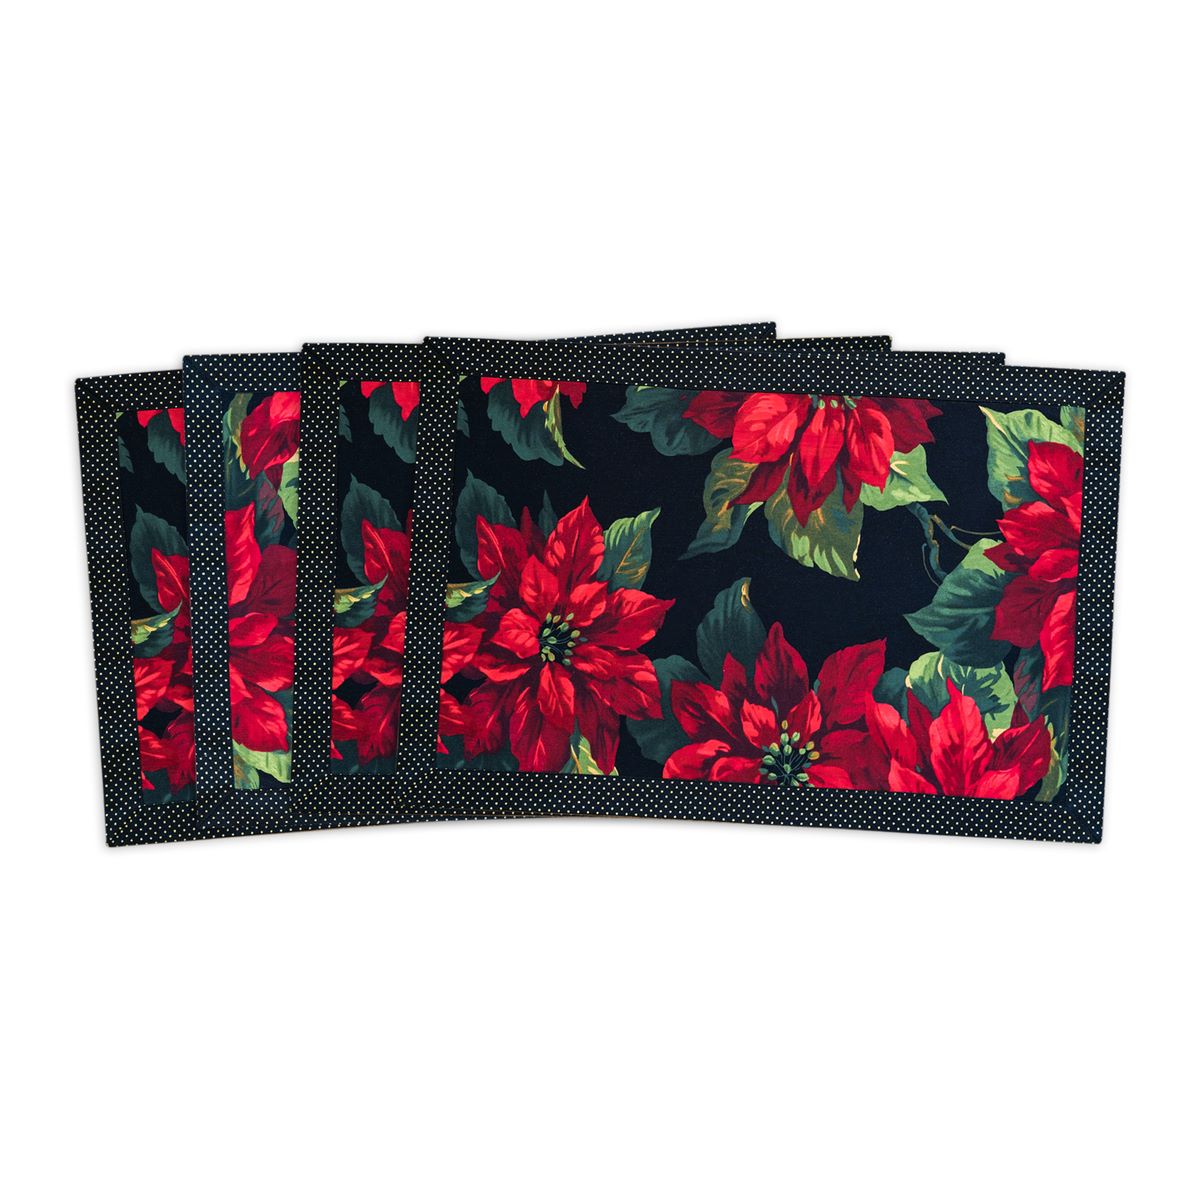
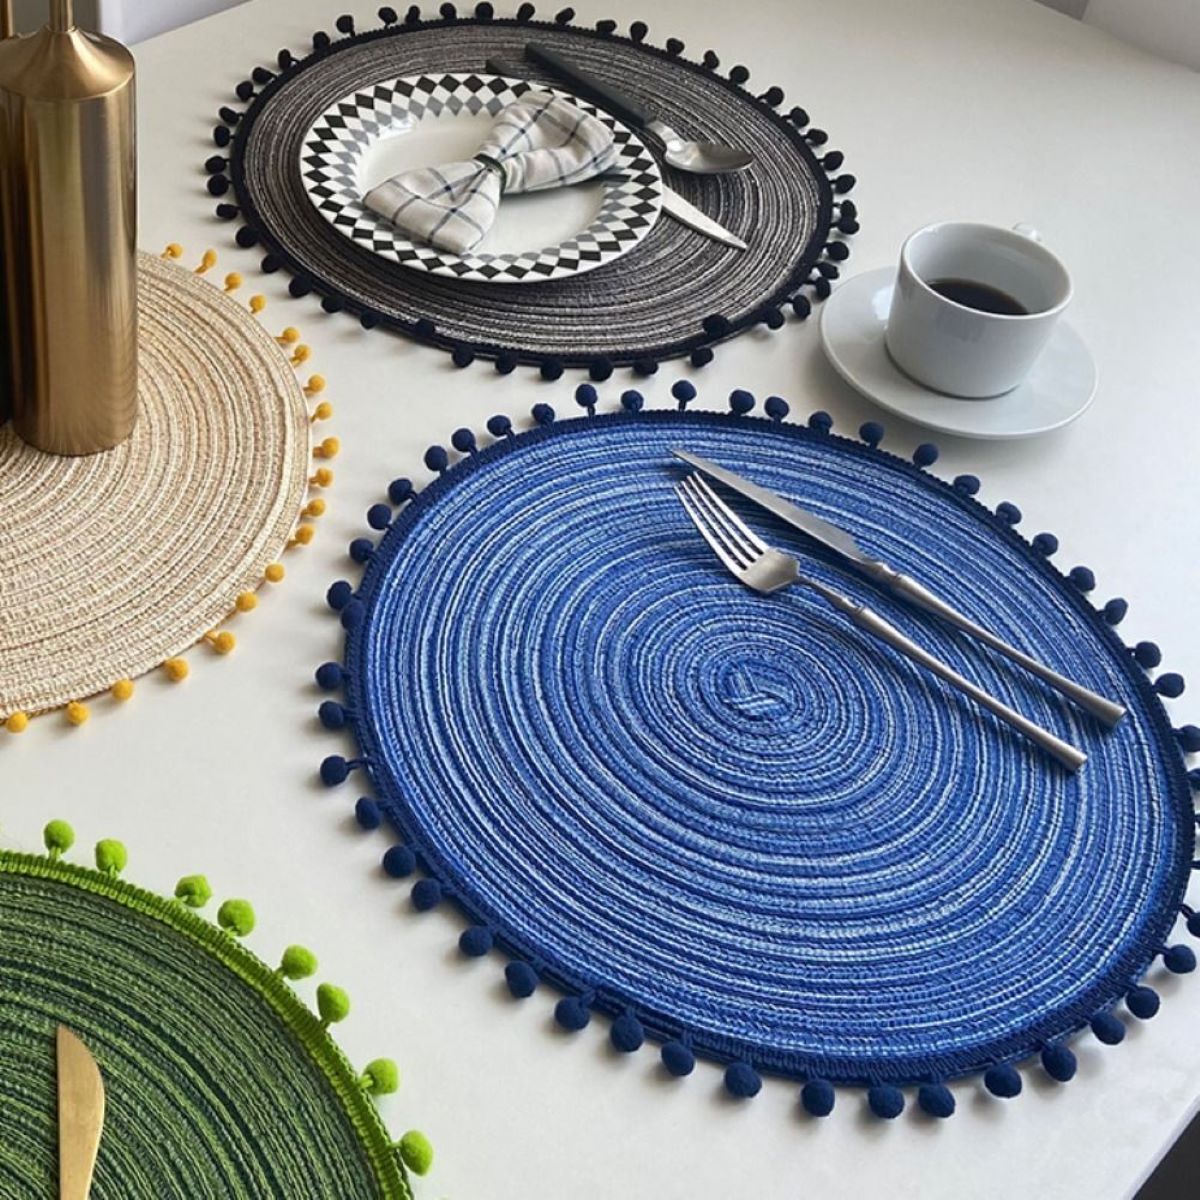
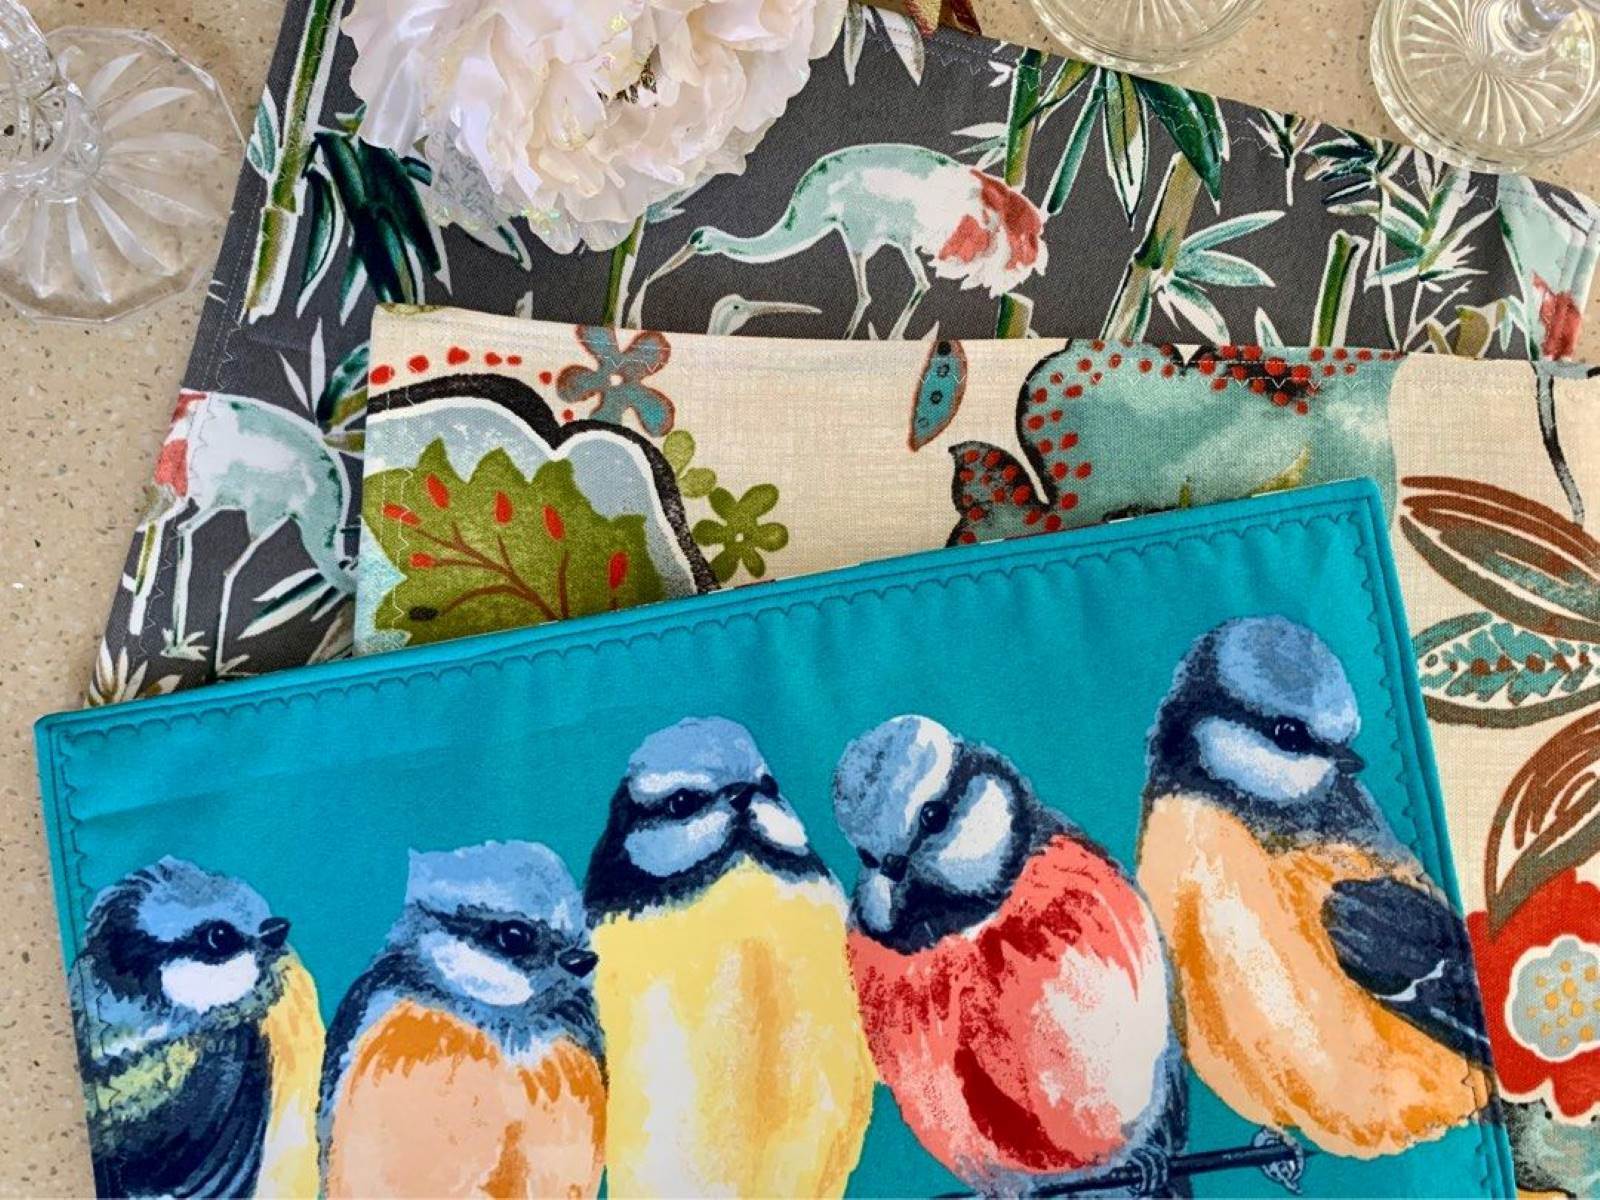
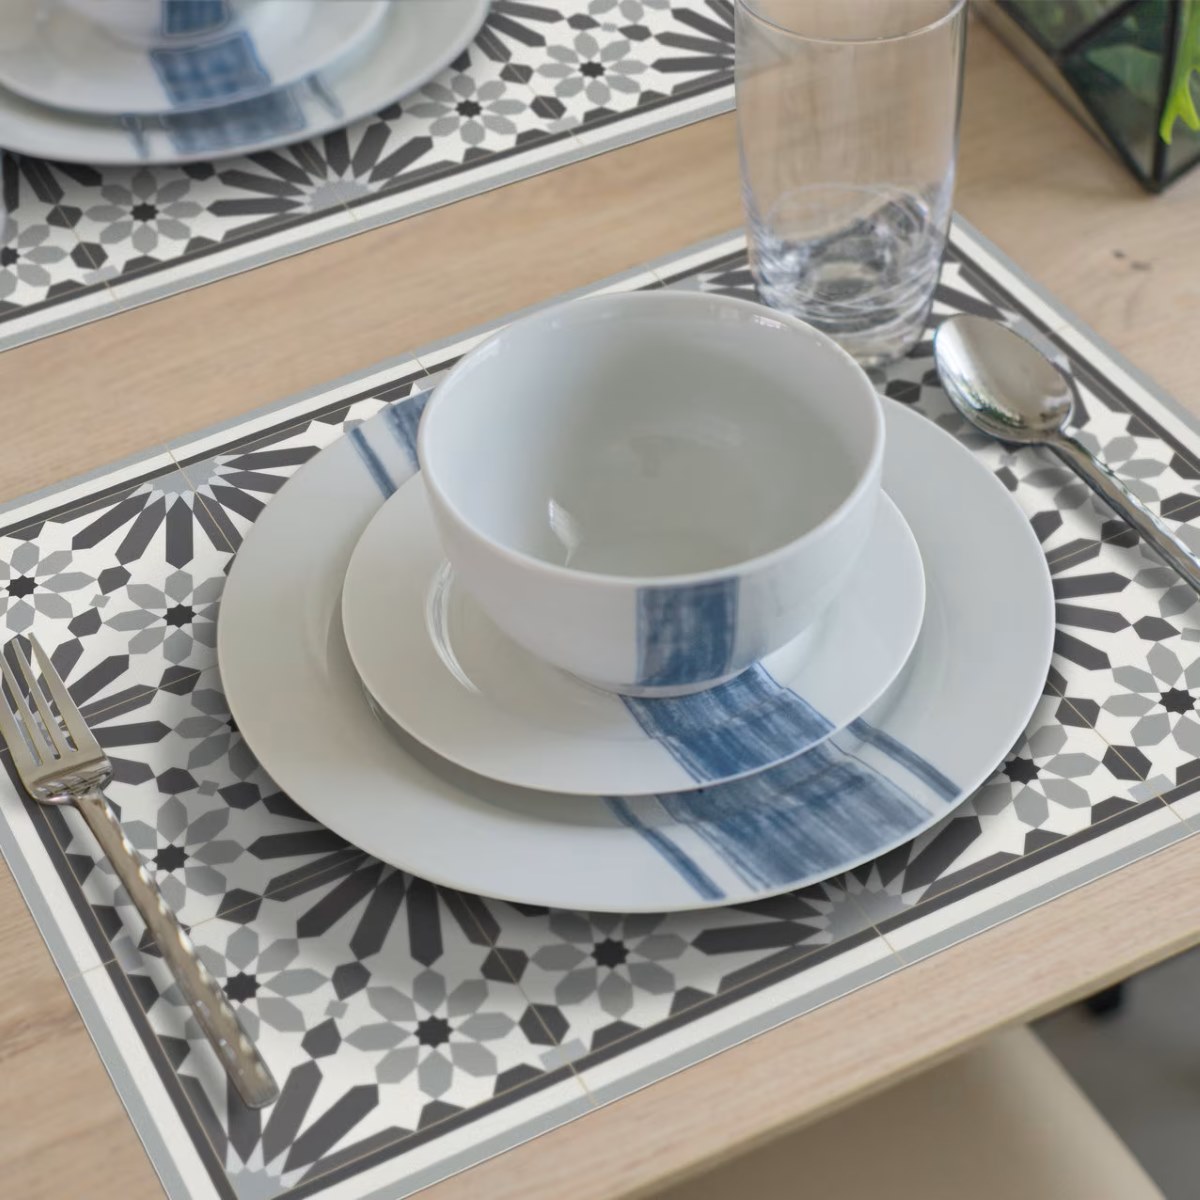
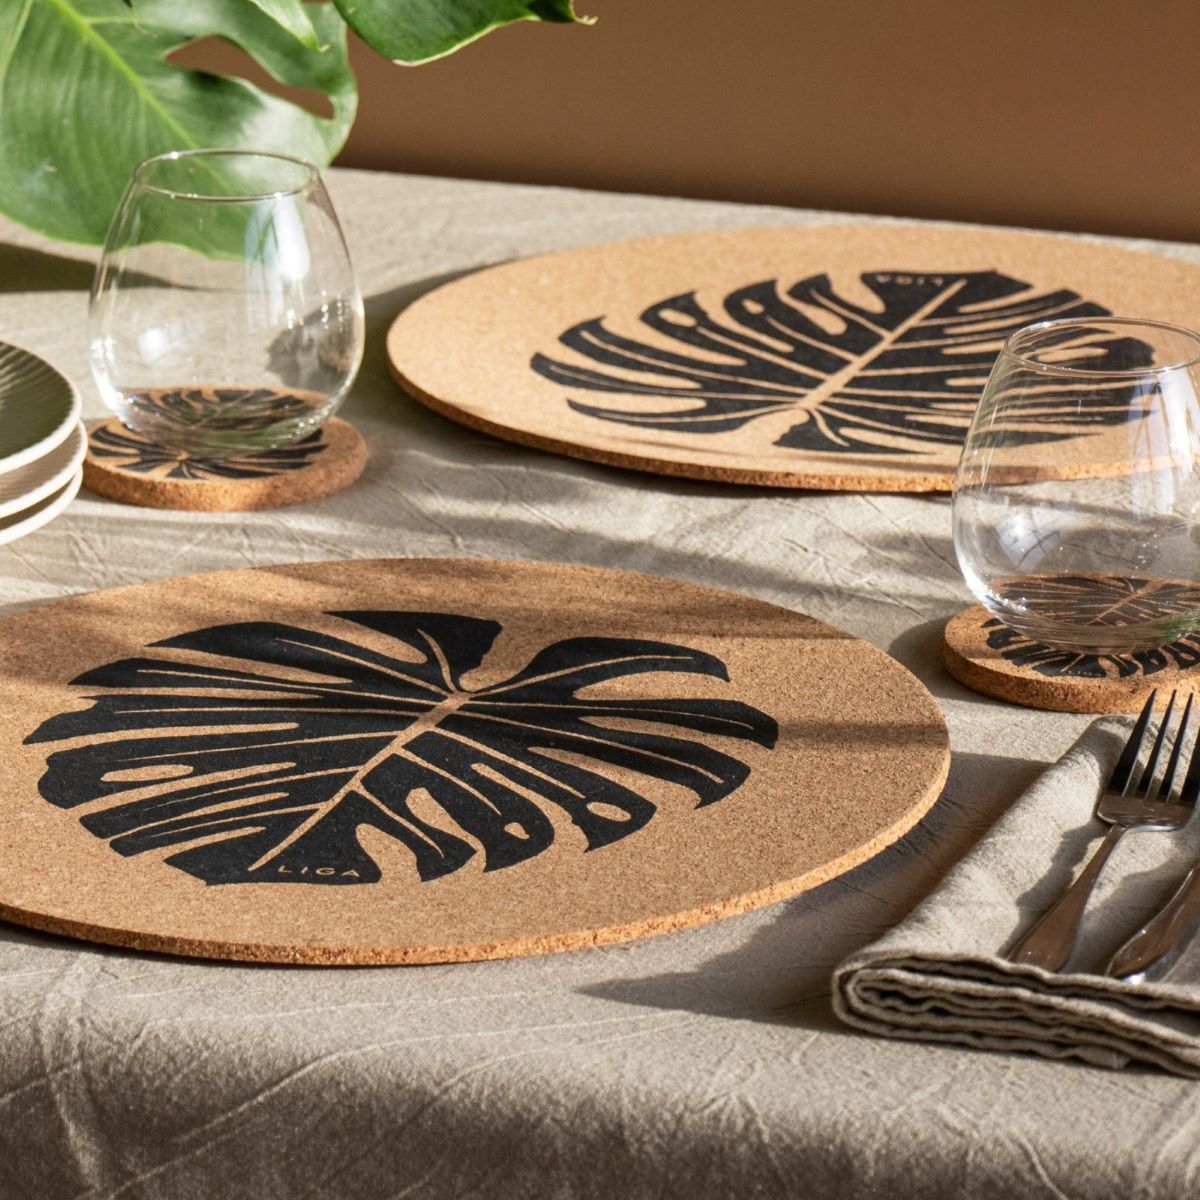
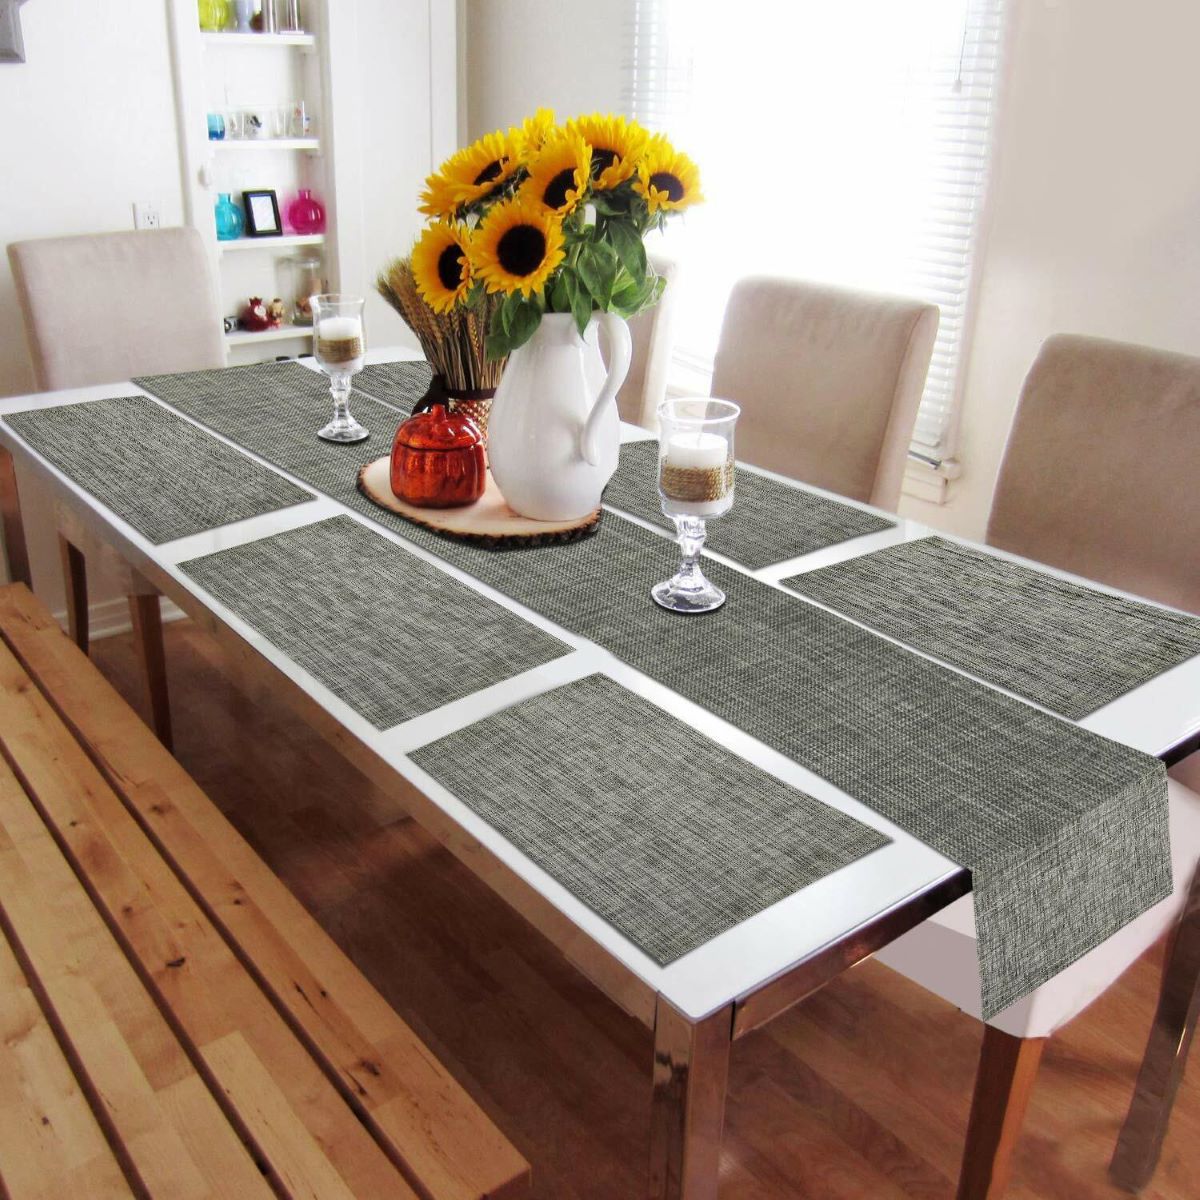
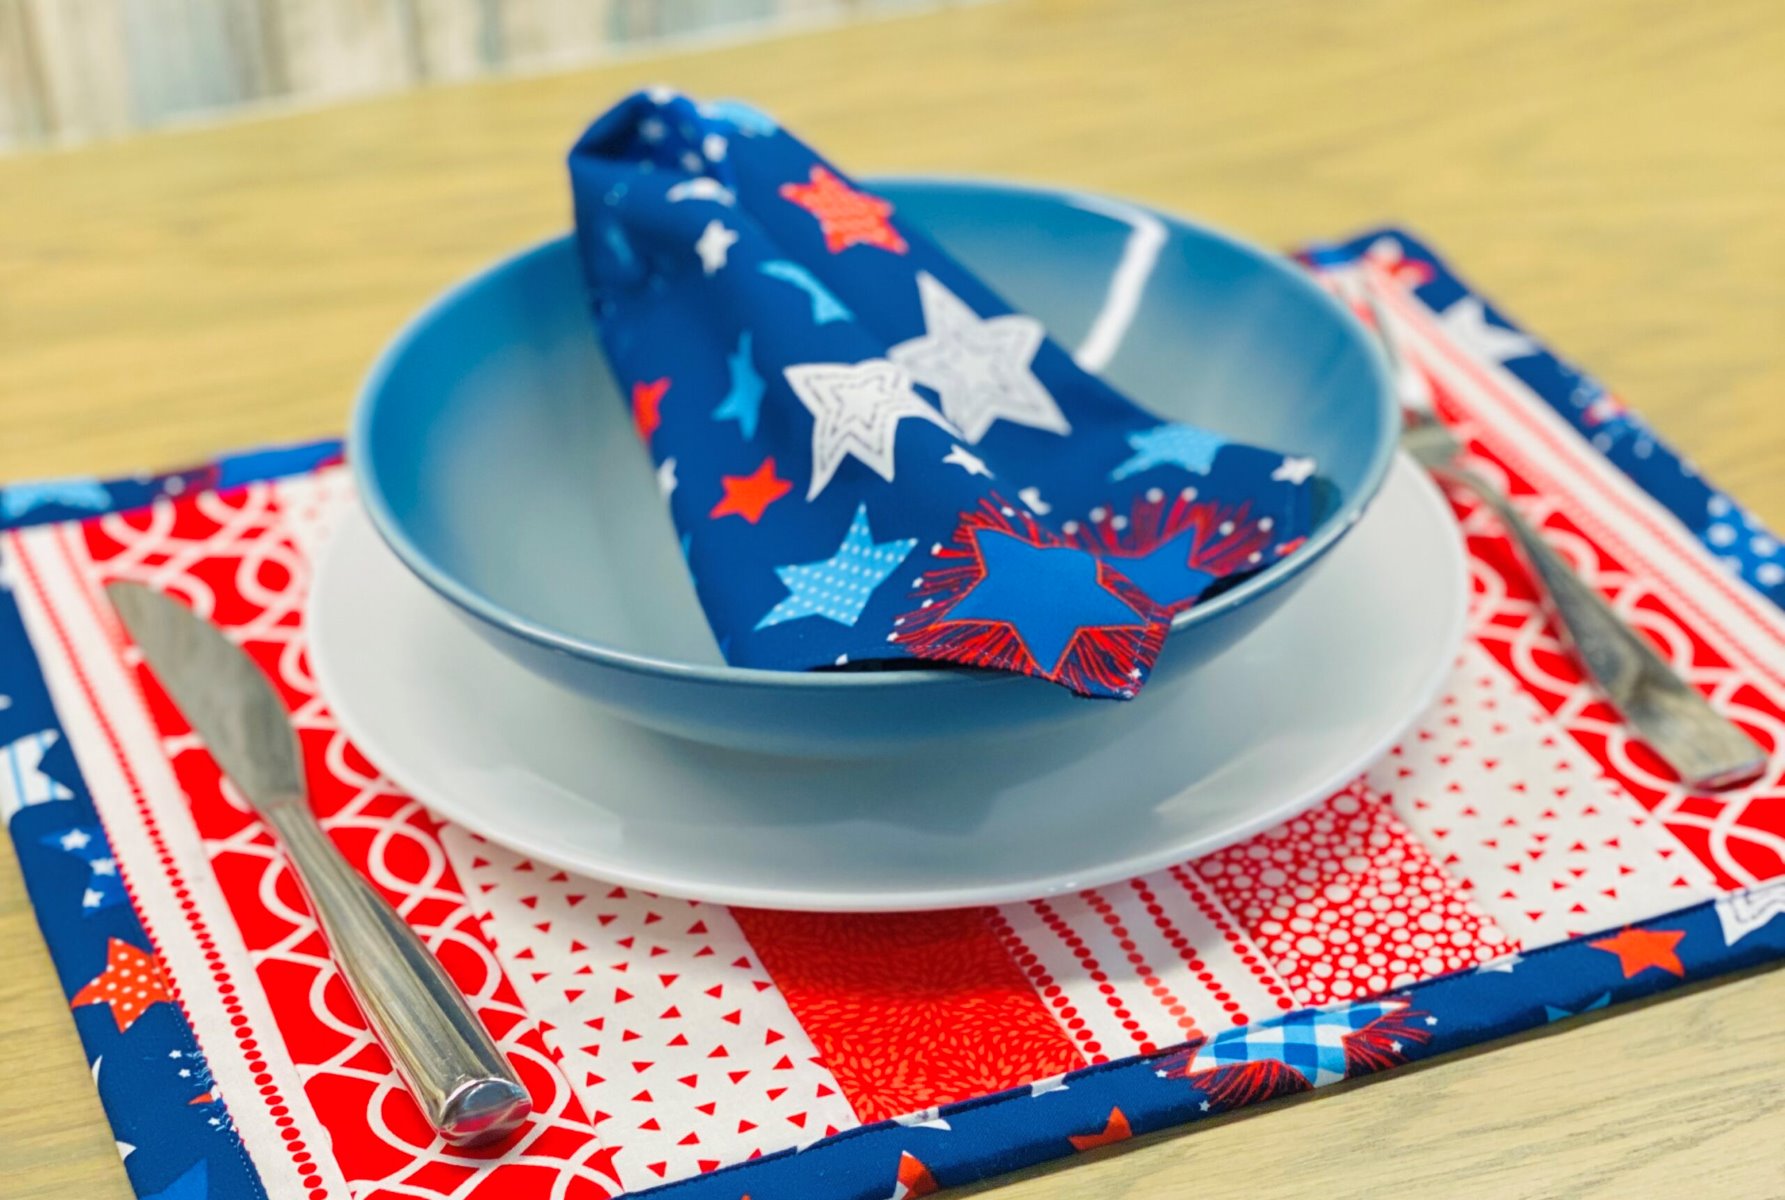
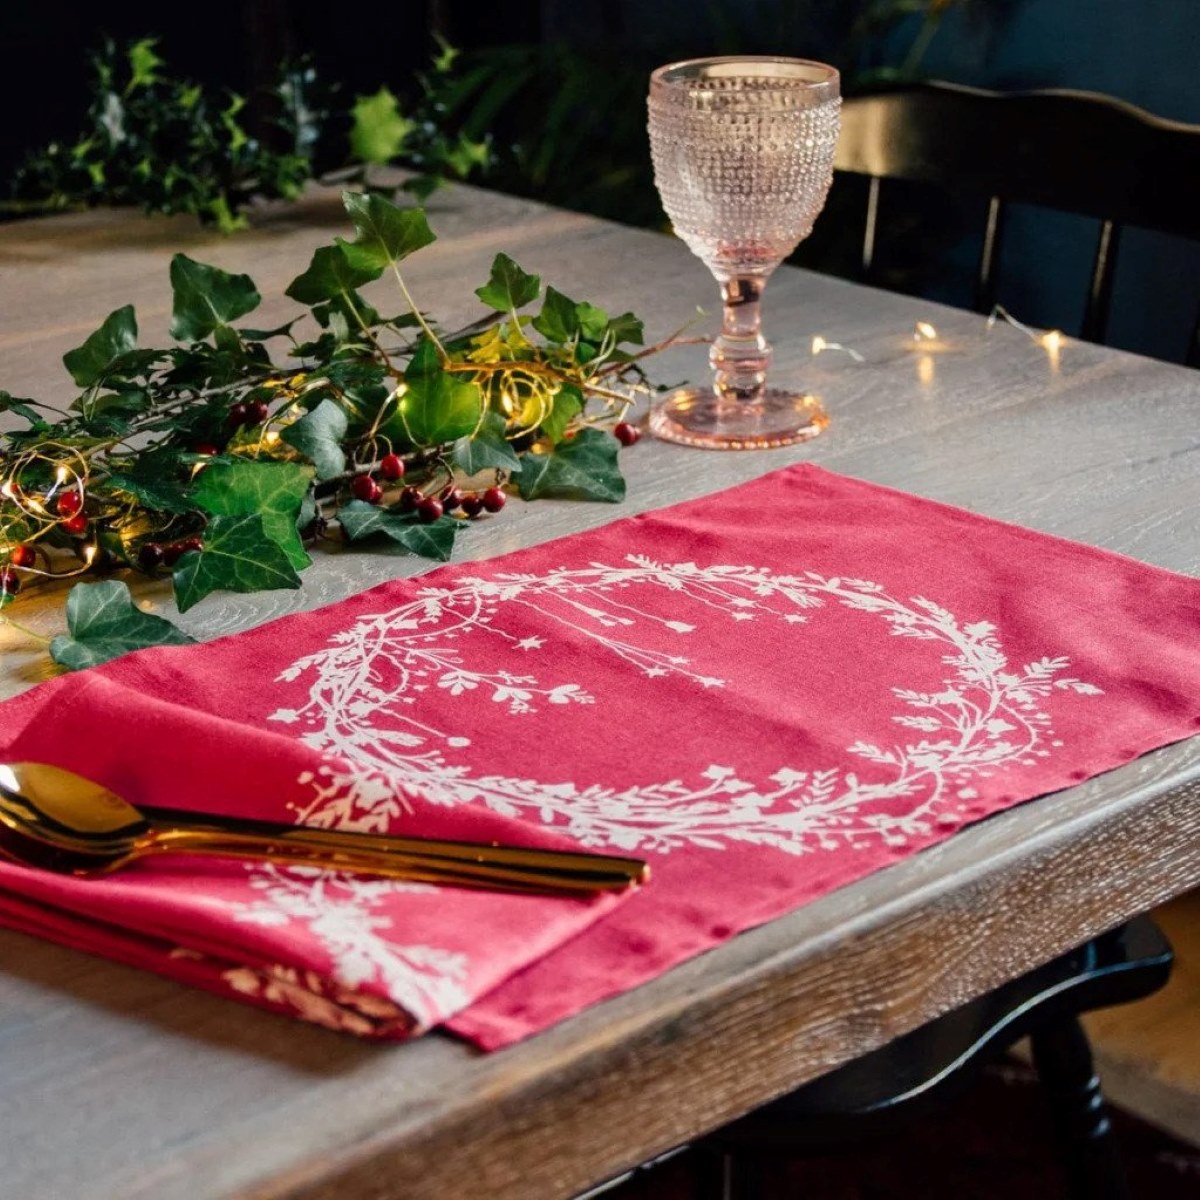
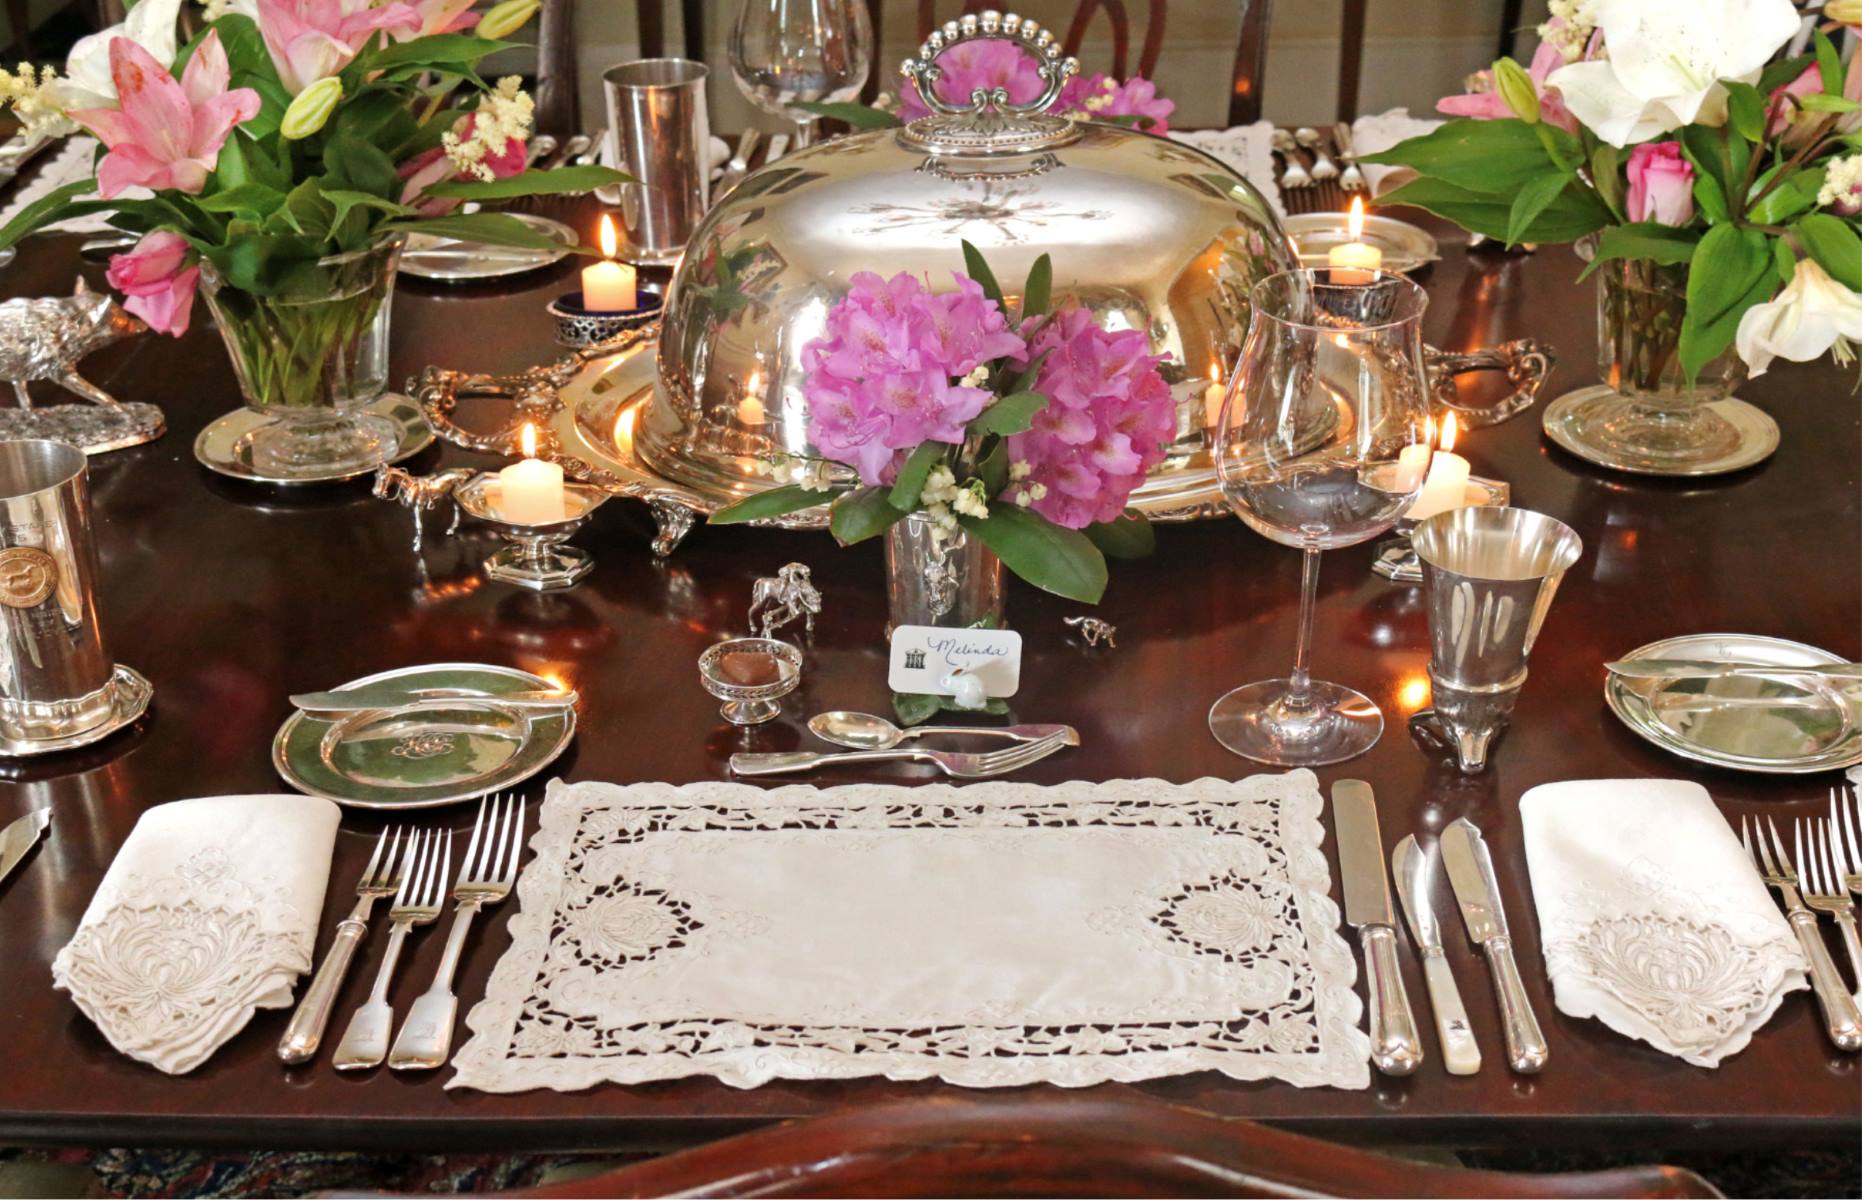
Welcome to the world of tableware where stylish and functional pieces take center stage. Whether you are hosting a dinner party or simply enjoying a meal with your loved ones, having the right tableware can elevate your dining experience. One essential item in any table setting is placemats, which not only protect your table but also add a touch of elegance to your décor. While there are various types of placemats available in the market, self-binding placemats are a popular choice due to their versatility and customizable design.
Self-binding placemats are not only practical but also a fun and creative DIY project. By making your own self-binding placemats, you can choose the fabrics, patterns, and colors that complement your personal style and home décor. Plus, it’s a great way to showcase your sewing skills and create unique pieces that will impress your guests.
This article will guide you through the step-by-step process of making self-binding placemats. From choosing the right materials to sewing the self-binding, we’ll cover everything you need to know to create beautiful and functional placemats for your dining table.
So, grab your sewing machine and let’s get started on this exciting DIY adventure!
Key Takeaways:
- Elevate your dining experience with DIY self-binding placemats, showcasing your creativity and sewing skills while adding elegance to your tableware collection.
- Create personalized self-binding placemats to protect your table and impress guests, mastering valuable sewing skills for endless customization opportunities.
Read more: How To Make Binding On Quilt
Materials Needed
Before we dive into the process of making self-binding placemats, let’s gather all the necessary materials. Here’s what you’ll need:
- Fabric: Choose a sturdy and durable fabric that suits your style and complements your dining table. Cotton is a popular choice for placemats due to its durability and easy maintenance.
- Interfacing: This is a thin, woven or non-woven material that adds structure and stability to the placemats. Look for a medium-weight interfacing that is compatible with your chosen fabric.
- Thread: Select a thread color that matches or complements your fabric choice.
- Scissors: A good pair of fabric scissors will be your best friend throughout this project.
- Measuring Tape or Ruler: Accurate measurements are crucial for perfectly sized placemats, so make sure you have a measuring tape or ruler handy.
- Pins: These will help secure your fabric layers together during the sewing process.
- Sewing Machine: A basic sewing machine with straight stitch capabilities is sufficient for this project.
- Iron and Ironing Board: Ironing your fabric and seams is essential for professional-looking placemats.
- Optional: Rotary Cutter and Cutting Mat – These tools can make the cutting process quicker and more precise.
Once you have gathered all the materials, ensure that your sewing machine is in good working condition and your workspace is clean and properly lit. Now, you’re ready to start creating your self-binding placemats!
Step 1: Cutting the Fabric
The first step in making self-binding placemats is cutting the fabric to the desired size. The standard size for a placemat is around 18×12 inches, but you can adjust the measurements based on your preference.
Here’s how to cut the fabric:
- Begin by measuring and marking the dimensions of the placemat on the fabric using a measuring tape or ruler.
- Using fabric scissors or a rotary cutter, carefully cut along the marked lines to create your placemat pieces. Make sure to cut through both the top fabric and the lining fabric if you are using one.
- If you want your placemats to have rounded corners, mark the desired curve using a round object such as a plate or a cup. Then, cut along the marked curve to create the rounded corners.
- Repeat this process for the number of placemats you wish to make, depending on the size of your dining table and the number of guests you usually have.
Remember to take your time and cut the fabric accurately to ensure that all your placemats are uniform in size and shape.
Once you have cut the fabric pieces, set them aside and move on to the next step of adding interfacing to give your placemats structure and stability.
Step 2: Adding Interfacing
Adding interfacing to your placemats provides structure and stability, making them more durable and able to withstand regular use. Interfacing also helps the placemats lay flat on the table.
Follow these steps to add interfacing to your fabric:
- Place one fabric piece on your ironing board with the wrong side facing up.
- Measure and cut a piece of interfacing slightly smaller than the fabric piece. This allows for easier folding and sewing in the later steps.
- Position the interfacing on top of the wrong side of the fabric, aligning the edges.
- Using a hot iron, press the interfacing onto the fabric. Follow the manufacturer’s instructions to determine the appropriate heat setting and ironing time for your specific interfacing brand.
- Repeat this process for all the fabric pieces you have cut for your placemats.
Adding interfacing will give your placemats a more substantial feel and ensure that they maintain their shape even after multiple uses and washes.
With the interfacing securely adhered to the fabric, you’re now ready to move on to the next step of sewing the hem of your placemats.
Step 3: Sewing the Hem
Creating a neat and finished hem is an important step in making self-binding placemats. The hem not only adds a professional touch to the placemats but also prevents fraying of the fabric edges.
Follow these steps to sew the hem:
- Fold and press one long edge of the fabric piece about 1/4 inch towards the wrong side. Use an iron to create a crisp fold.
- Fold and press the same edge again, this time about 1 inch towards the wrong side. Again, use an iron to create a neat fold.
- Pin the folded hem in place to keep it secure during sewing.
- Using a straight stitch on your sewing machine, sew along the inner folded edge of the hem. Remove the pins as you sew, ensuring smooth and even stitching.
- Repeat this process for the other long edge of the fabric piece.
Remember to backstitch at the beginning and end of each seam to secure the stitches.
By sewing the hem, you give your placemats a polished look and prevent the fabric edges from unraveling. Once the hems are sewn, it’s time to move on to the next step of creating the self-binding.
When making self-binding placemats, be sure to measure and cut your fabric accurately to ensure a clean and professional finish. Take your time when folding and pressing the binding to create neat, crisp edges.
Read more: How To Make A Quilted Placemat
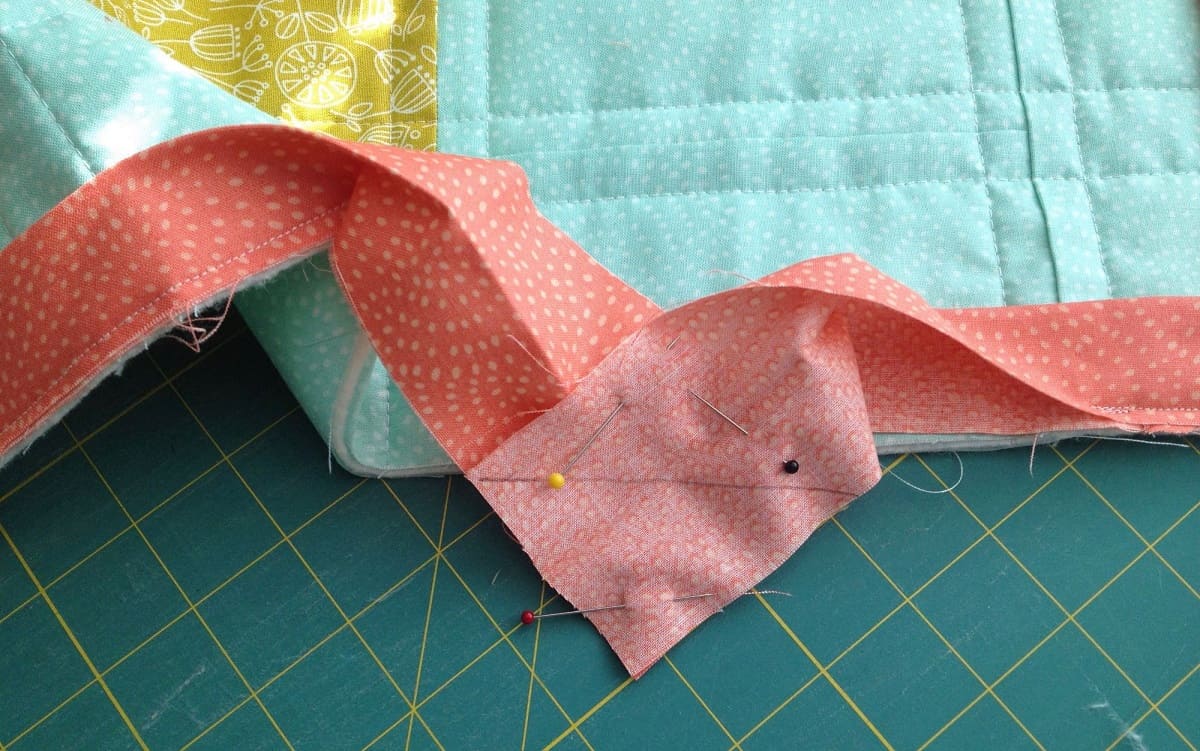
Step 4: Creating the Self-Binding
Self-binding is a technique that allows you to finish the edges of your placemats with the same fabric used for the main body. This results in a clean and coordinated look, adding a stylish touch to your placemats.
Follow these steps to create the self-binding:
- Measure and cut strips of fabric for the binding. The width of the strips should be 2.5 inches, and the length should be equal to the perimeter of your placemat plus 1 inch to allow for overlapping and folding.
- Take two binding strips and place them right sides together at a 90-degree angle, forming an L shape.
- Using a sewing machine, stitch diagonally across the corner where the two strips intersect. This will create a diagonal seam.
- Trim the excess fabric, leaving a 1/4 inch seam allowance.
- Press the seam open with an iron to create a flat and smooth binding strip.
- Repeat this process for all the other binding strips, creating one continuous binding strip.
Creating the self-binding may seem intricate, but it is a crucial step in achieving a professional and cohesive finish for your placemats.
Now that you have created the self-binding, it’s time to move on to the next step of sewing the binding onto the placemats.
Step 5: Sewing the Self-Binding
Now that you have created the self-binding, it’s time to sew it onto the placemats to give them a finished look. This step will secure the binding in place and complete the edges of your self-binding placemats.
Follow these steps to sew the self-binding:
- Start by unfolding one end of the self-binding strip and align it with one of the short edges of the placemat, right sides together.
- Leave a small tail of about 1 inch at the beginning of the binding strip to allow for folding and overlapping later.
- Using a 1/4 inch seam allowance, sew the binding strip to the placemat, backstitching at the beginning and end to secure the stitches.
- Continue sewing along the edge of the placemat, gently folding and pressing the binding strip around the corners.
- When you reach the starting point, trim the excess binding strip, leaving a small overlap.
- Fold the end of the binding strip inside itself, creating a clean edge, and then overlap it with the starting point of the binding strip.
- Sew the overlap in place, backstitching to secure the stitches.
Take your time while sewing the binding to ensure neat and even stitching. Remember to backstitch at the beginning and end of each seam to secure the binding in place.
Once you have sewn the self-binding onto all the placemats, move on to the final step of adding finishing touches.
Step 6: Finishing Touches
Now that you have completed the main construction of your self-binding placemats, it’s time to add some final touches to enhance their appearance and durability.
Follow these steps to add the finishing touches:
- Trim any loose threads and excess fabric from the seams using fabric scissors or a thread cutter. This will give your placemats a clean and polished look.
- Flip the placemats to the right side and give them a good press with an iron. This will remove any wrinkles and ensure that the placemats lay flat on your dining table.
- For added durability, you can choose to topstitch around the edges of the placemats. This will further secure the self-binding and prevent it from shifting during use and laundering.
- Inspect each placemat for any missed spots or loose stitches and make any necessary repairs.
With these finishing touches, your self-binding placemats are now complete and ready to adorn your dining table. Take a moment to admire your handmade creations!
Remember, self-binding placemats make for wonderful personal gifts or additions to your home decor. Experiment with different fabric patterns and colors to match various seasons, holidays, or special occasions.
Now that you have mastered the art of making self-binding placemats, you can proudly showcase your creativity and sewing skills while enjoying elegant and functional tableware. Happy sewing!
Conclusion
Congratulations! You have successfully learned how to make self-binding placemats. By following the steps outlined in this guide, you have created beautiful and functional additions to your tableware collection. Not only do these placemats protect your table from spills and scratches, but they also add a touch of elegance to your dining experience.
Throughout this DIY project, you have gained valuable skills in cutting fabric, adding interfacing, sewing hems, creating self-binding, and sewing the binding onto the placemats. These skills can be applied to various other sewing projects, allowing you to unleash your creativity and bring customized touches to your home decor.
As you continue to explore the world of tableware, don’t hesitate to experiment with different fabrics, patterns, and colors to match your personal style and the theme of your dining space. Self-binding placemats offer endless opportunities for customization and expression, making them a versatile addition to any dining table.
Remember to take your time, follow the instructions, and pay attention to the details. The end result will be a set of placemats that you can proudly display and use for years to come. Your friends and family will surely be impressed by your sewing skills and the beautiful table setting you create.
So, gather your materials, fire up your sewing machine, and embark on this creative journey to make self-binding placemats. Enjoy the process, embrace your individuality, and let your tableware reflect your unique style. Happy sewing!
Frequently Asked Questions about How To Make Self-Binding Placemats
Was this page helpful?
At Storables.com, we guarantee accurate and reliable information. Our content, validated by Expert Board Contributors, is crafted following stringent Editorial Policies. We're committed to providing you with well-researched, expert-backed insights for all your informational needs.


0 thoughts on “How To Make Self-Binding Placemats”