Articles
How To Install Ceiling Lights Without Wiring
Modified: October 19, 2024
Learn how to install ceiling lights without any wiring with our step-by-step guide. Browse through our informative articles and discover the easy and hassle-free way to brighten up your home.
(Many of the links in this article redirect to a specific reviewed product. Your purchase of these products through affiliate links helps to generate commission for Storables.com, at no extra cost. Learn more)
Introduction
Welcome to our guide on how to install ceiling lights without wiring! If you’re looking to brighten up your space but don’t have the ability to wire new fixtures, don’t worry – there are several creative solutions available to you. In this article, we’ll explore seven different options that will allow you to add beautiful and functional ceiling lights without the need for complicated wiring.
Whether you live in a rental property, have limited electrical knowledge, or simply want an easy and hassle-free lighting installation, these options will provide you with the flexibility you need. From battery-operated lights to plug-in fixtures, we’ll cover a range of possibilities to suit your specific needs and preferences. Let’s dive in!
Key Takeaways:
- Illuminate your space without wiring using battery-operated, plug-in, solar-powered, wireless remote-controlled, magnetic, or track lighting options. Enjoy hassle-free installation and versatile lighting solutions to suit your needs and preferences.
- Transform your room with easy-to-install ceiling lights, whether you’re a renter, have limited electrical knowledge, or simply want a convenient lighting solution. Choose from a variety of options to brighten up your space without the need for complex wiring.
Option 1: Battery-Operated Ceiling Lights
If you’re looking for a quick and temporary solution, battery-operated ceiling lights are a great option. These lights are compact, portable, and easy to install. They come in a variety of styles and sizes, allowing you to choose the perfect match for your space.
To install battery-operated ceiling lights, start by selecting a location that provides the best lighting coverage for your needs. Clean the area and ensure that the surface is smooth and dry. Next, remove the adhesive backing from the mounting bracket and press it firmly onto the ceiling.
Once the mount is secure, insert the batteries into the light fixture according to the manufacturer’s instructions. Align the fixture with the mounting bracket and twist it clockwise to secure it in place. Some battery-operated lights may also come with a magnetic attachment system, making installation even easier.
Battery-operated ceiling lights often come with adjustable brightness settings and timers, allowing you to customize the lighting intensity and duration. This is particularly useful if you want to create different moods or conserve battery power. When the batteries need to be replaced, simply remove the light fixture from the mounting bracket, replace the batteries, and reattach the fixture.
While battery-operated ceiling lights are convenient and easy to install, it’s important to note that they do require regular battery replacement. The frequency of battery changes will depend on the usage and the type of batteries used. However, the flexibility and versatility they offer make them a popular choice for those seeking a temporary or portable lighting solution.
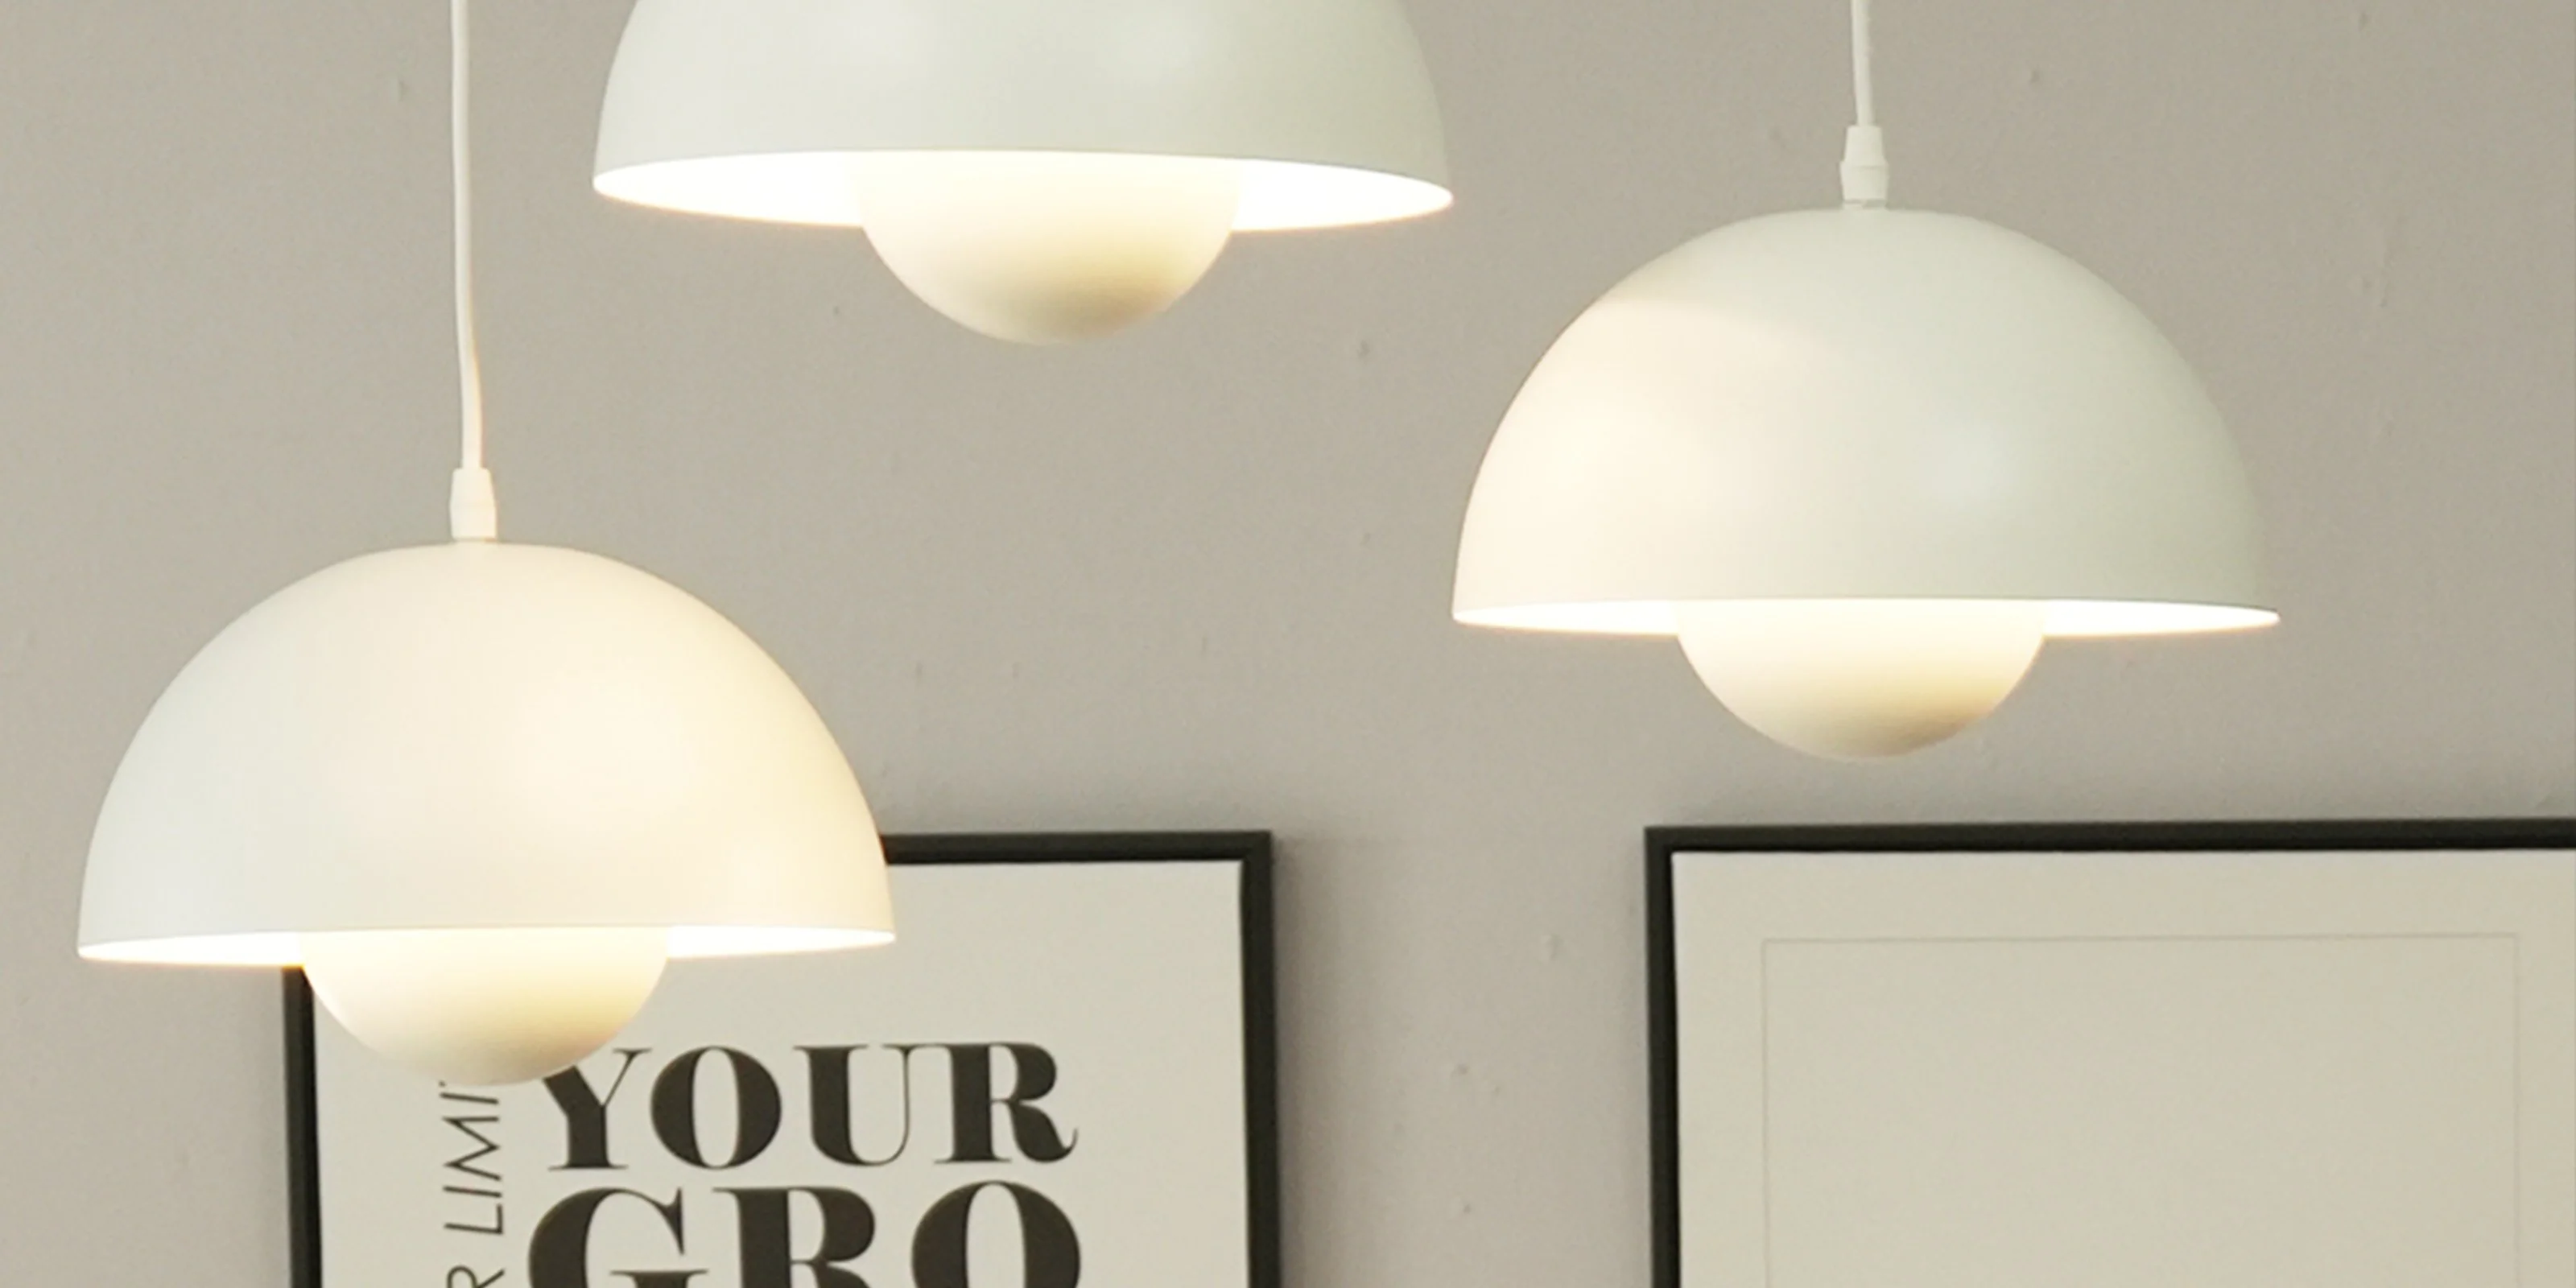
Option 2: Plug-In Ceiling Lights
If you have access to an electrical outlet, plug-in ceiling lights are a simple and effective option for adding lighting to your space. These lights come with a cord and plug, allowing you to easily connect them to a nearby outlet without the need for extensive wiring.
To install plug-in ceiling lights, start by selecting a location that is near an electrical outlet and provides optimal lighting coverage. Clean the area and ensure that the ceiling surface is smooth and dry. Next, attach the mounting bracket to the ceiling using the provided screws or adhesive tape.
Once the mounting bracket is secure, line up the holes on the back of the light fixture with the screw holes on the bracket. Insert the screws through these holes and tighten them until the fixture is securely attached to the bracket.
After installing the light, plug the cord into a nearby electrical outlet. Depending on the design of the light, you may need to adjust the cord length or use an extension cord to reach the outlet. Take care to position the cord discreetly along the ceiling and walls to minimize visibility.
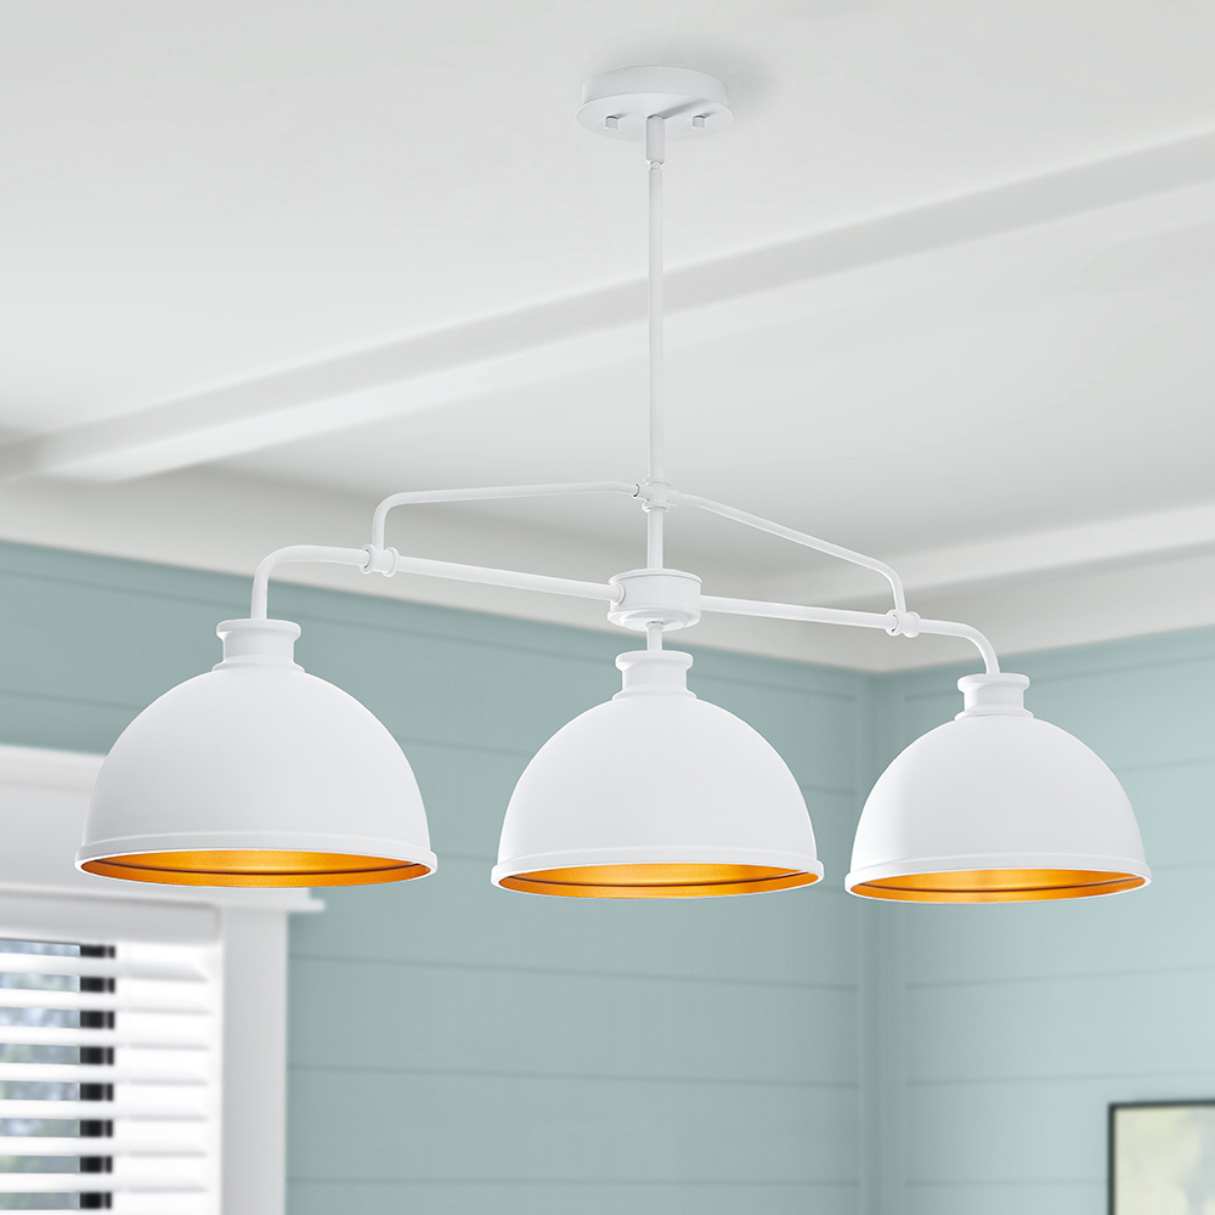
Plug-in ceiling lights are available in a variety of styles, including pendant lights, chandeliers, and track lights. They often come with adjustable features, such as dimming options or swivel heads, allowing you to customize the lighting to suit your needs. With their ease of installation and versatility, plug-in ceiling lights are a popular choice for renters or those who want a temporary lighting solution without the need for complex wiring.
Option 3: Solar-Powered Ceiling Lights
Solar-powered ceiling lights provide an eco-friendly and energy-efficient option for illuminating your space without the need for electrical wiring. These lights harness the power of the sun to generate electricity, making them a sustainable and cost-effective lighting solution.
To install solar-powered ceiling lights, you will need to select a location that receives ample sunlight throughout the day. This will ensure that the solar panels can absorb enough energy to power the lights. Clean the area and ensure that the ceiling surface is smooth and dry.
Next, attach the mounting bracket to the ceiling using screws or adhesive tape, following the manufacturer’s instructions. Make sure the bracket is securely fastened to support the weight of the light fixture. Then, position the solar panel in a spot where it will receive direct sunlight, either on the ceiling or on an exterior wall.
Once the mounting bracket and solar panel are in place, attach the light fixture to the bracket. Some solar-powered ceiling lights come with a cord that connects the light to the solar panel, allowing you to position the light independently of the panel. Others are integrated units, with the panel and light fixture combined into one unit.
Solar-powered ceiling lights typically have built-in sensors that automatically turn the lights on at dusk and off at dawn. They may also come with adjustable settings, allowing you to customize the brightness or activate motion detection for additional security.
One of the key benefits of solar-powered ceiling lights is that they operate independently of the electrical grid, reducing your carbon footprint and saving on energy costs. However, it’s important to note that their performance may be affected by weather conditions and the availability of sunlight. For optimal results, ensure that the solar panels are clean and positioned to receive maximum sunlight exposure.
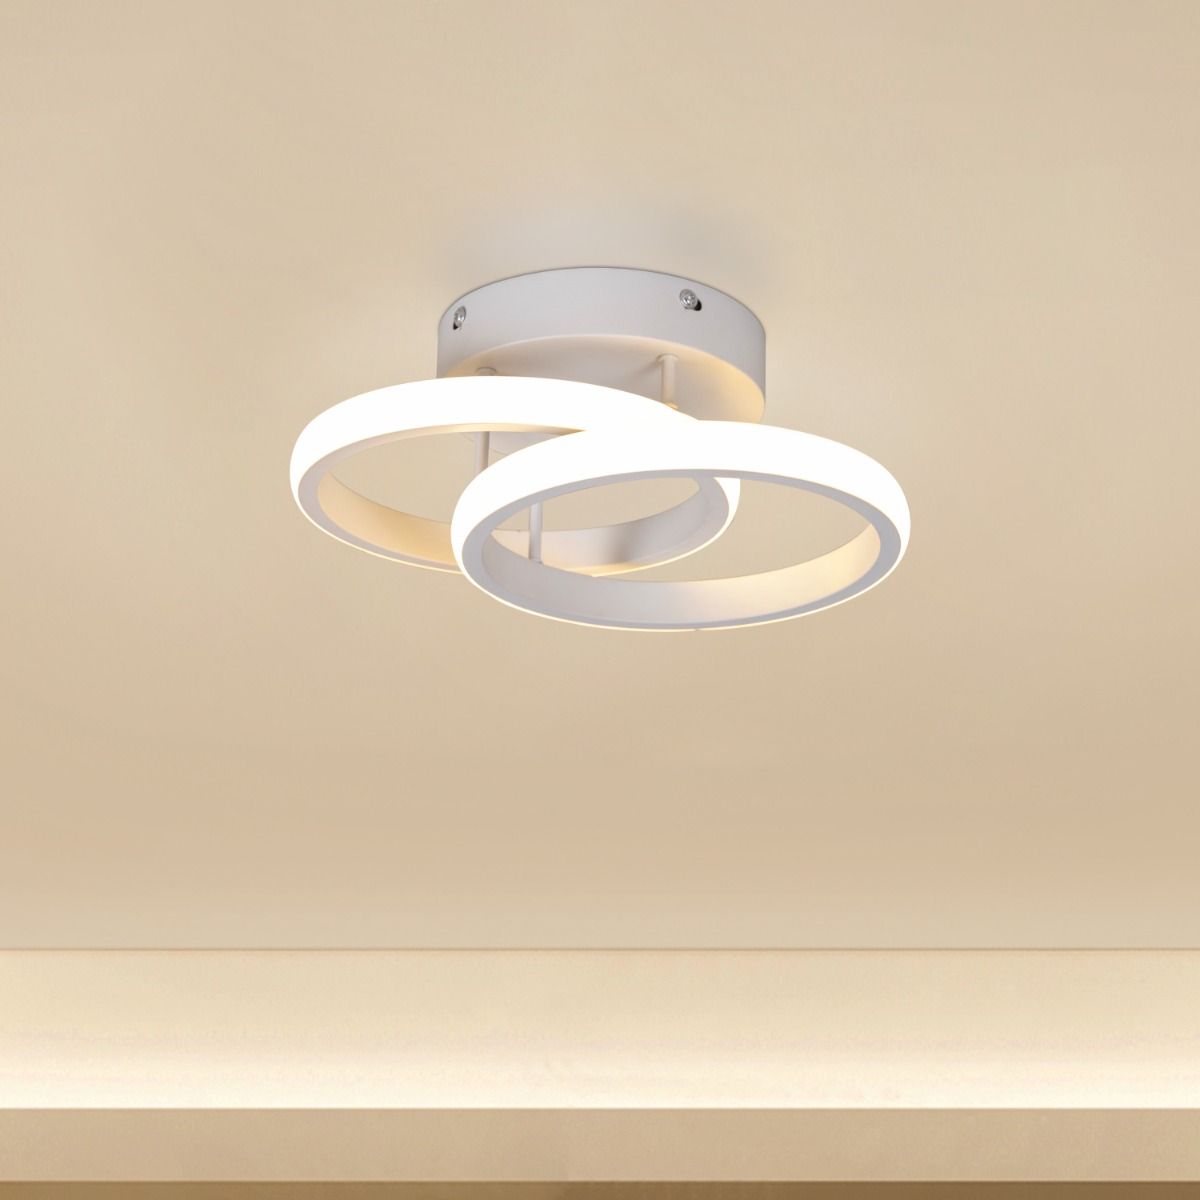
Option 4: Wireless Remote-Controlled Ceiling Lights
Wireless remote-controlled ceiling lights offer convenience and flexibility in controlling your lighting without the need for complex wiring. These lights come with a remote control that allows you to easily adjust the brightness, color temperature, and even dimming settings.
To install wireless remote-controlled ceiling lights, start by selecting a suitable location on the ceiling. Ensure that the surface is clean, smooth, and dry. Some remote-controlled lights come with a mounting bracket that needs to be attached to the ceiling using screws or adhesive tape, while others can be directly mounted without the need for a bracket.
Once the mounting bracket is secured, attach the light fixture to the bracket or directly to the ceiling according to the manufacturer’s instructions. Ensure that the fixture is properly aligned and securely fastened.
Next, insert batteries into the remote control and turn on the light fixture. Sync the remote control with the light by following the instructions provided. This process may involve pressing specific buttons or holding them down for a certain period of time.
Wireless remote-controlled ceiling lights offer a wide range of customization options. Using the remote control, you can adjust the brightness levels, switch between different color temperatures, or even set dynamic lighting effects such as strobe or fade modes.
Some remote-controlled lights also have scheduling features, allowing you to program specific lighting settings for different times of the day. This is particularly useful if you want to automate your lighting based on your daily routines.
With wireless remote-controlled ceiling lights, you have the ability to control your lighting from the comfort of your couch or bed. Say goodbye to getting up to physically adjust the lights – simply grab the remote control and enjoy the convenience of customized lighting at your fingertips.
Consider using battery-operated LED ceiling lights or plug-in swag lights that can be easily installed without the need for wiring. These options provide a convenient and flexible way to add lighting to any room without the hassle of wiring.
Read more: How To Add A Ceiling Light Without Wiring
Option 5: Light Fixture Conversion Kits
If you have existing recessed lighting or pendant light fixtures, a light fixture conversion kit offers a convenient solution for transforming them into ceiling lights without the need for extensive wiring or electrical knowledge.
Light fixture conversion kits typically come with a canopy, a mounting plate, and other necessary hardware to convert your current fixtures into ceiling lights. These kits are compatible with a variety of fixture types, allowing you to upgrade your lighting with ease.
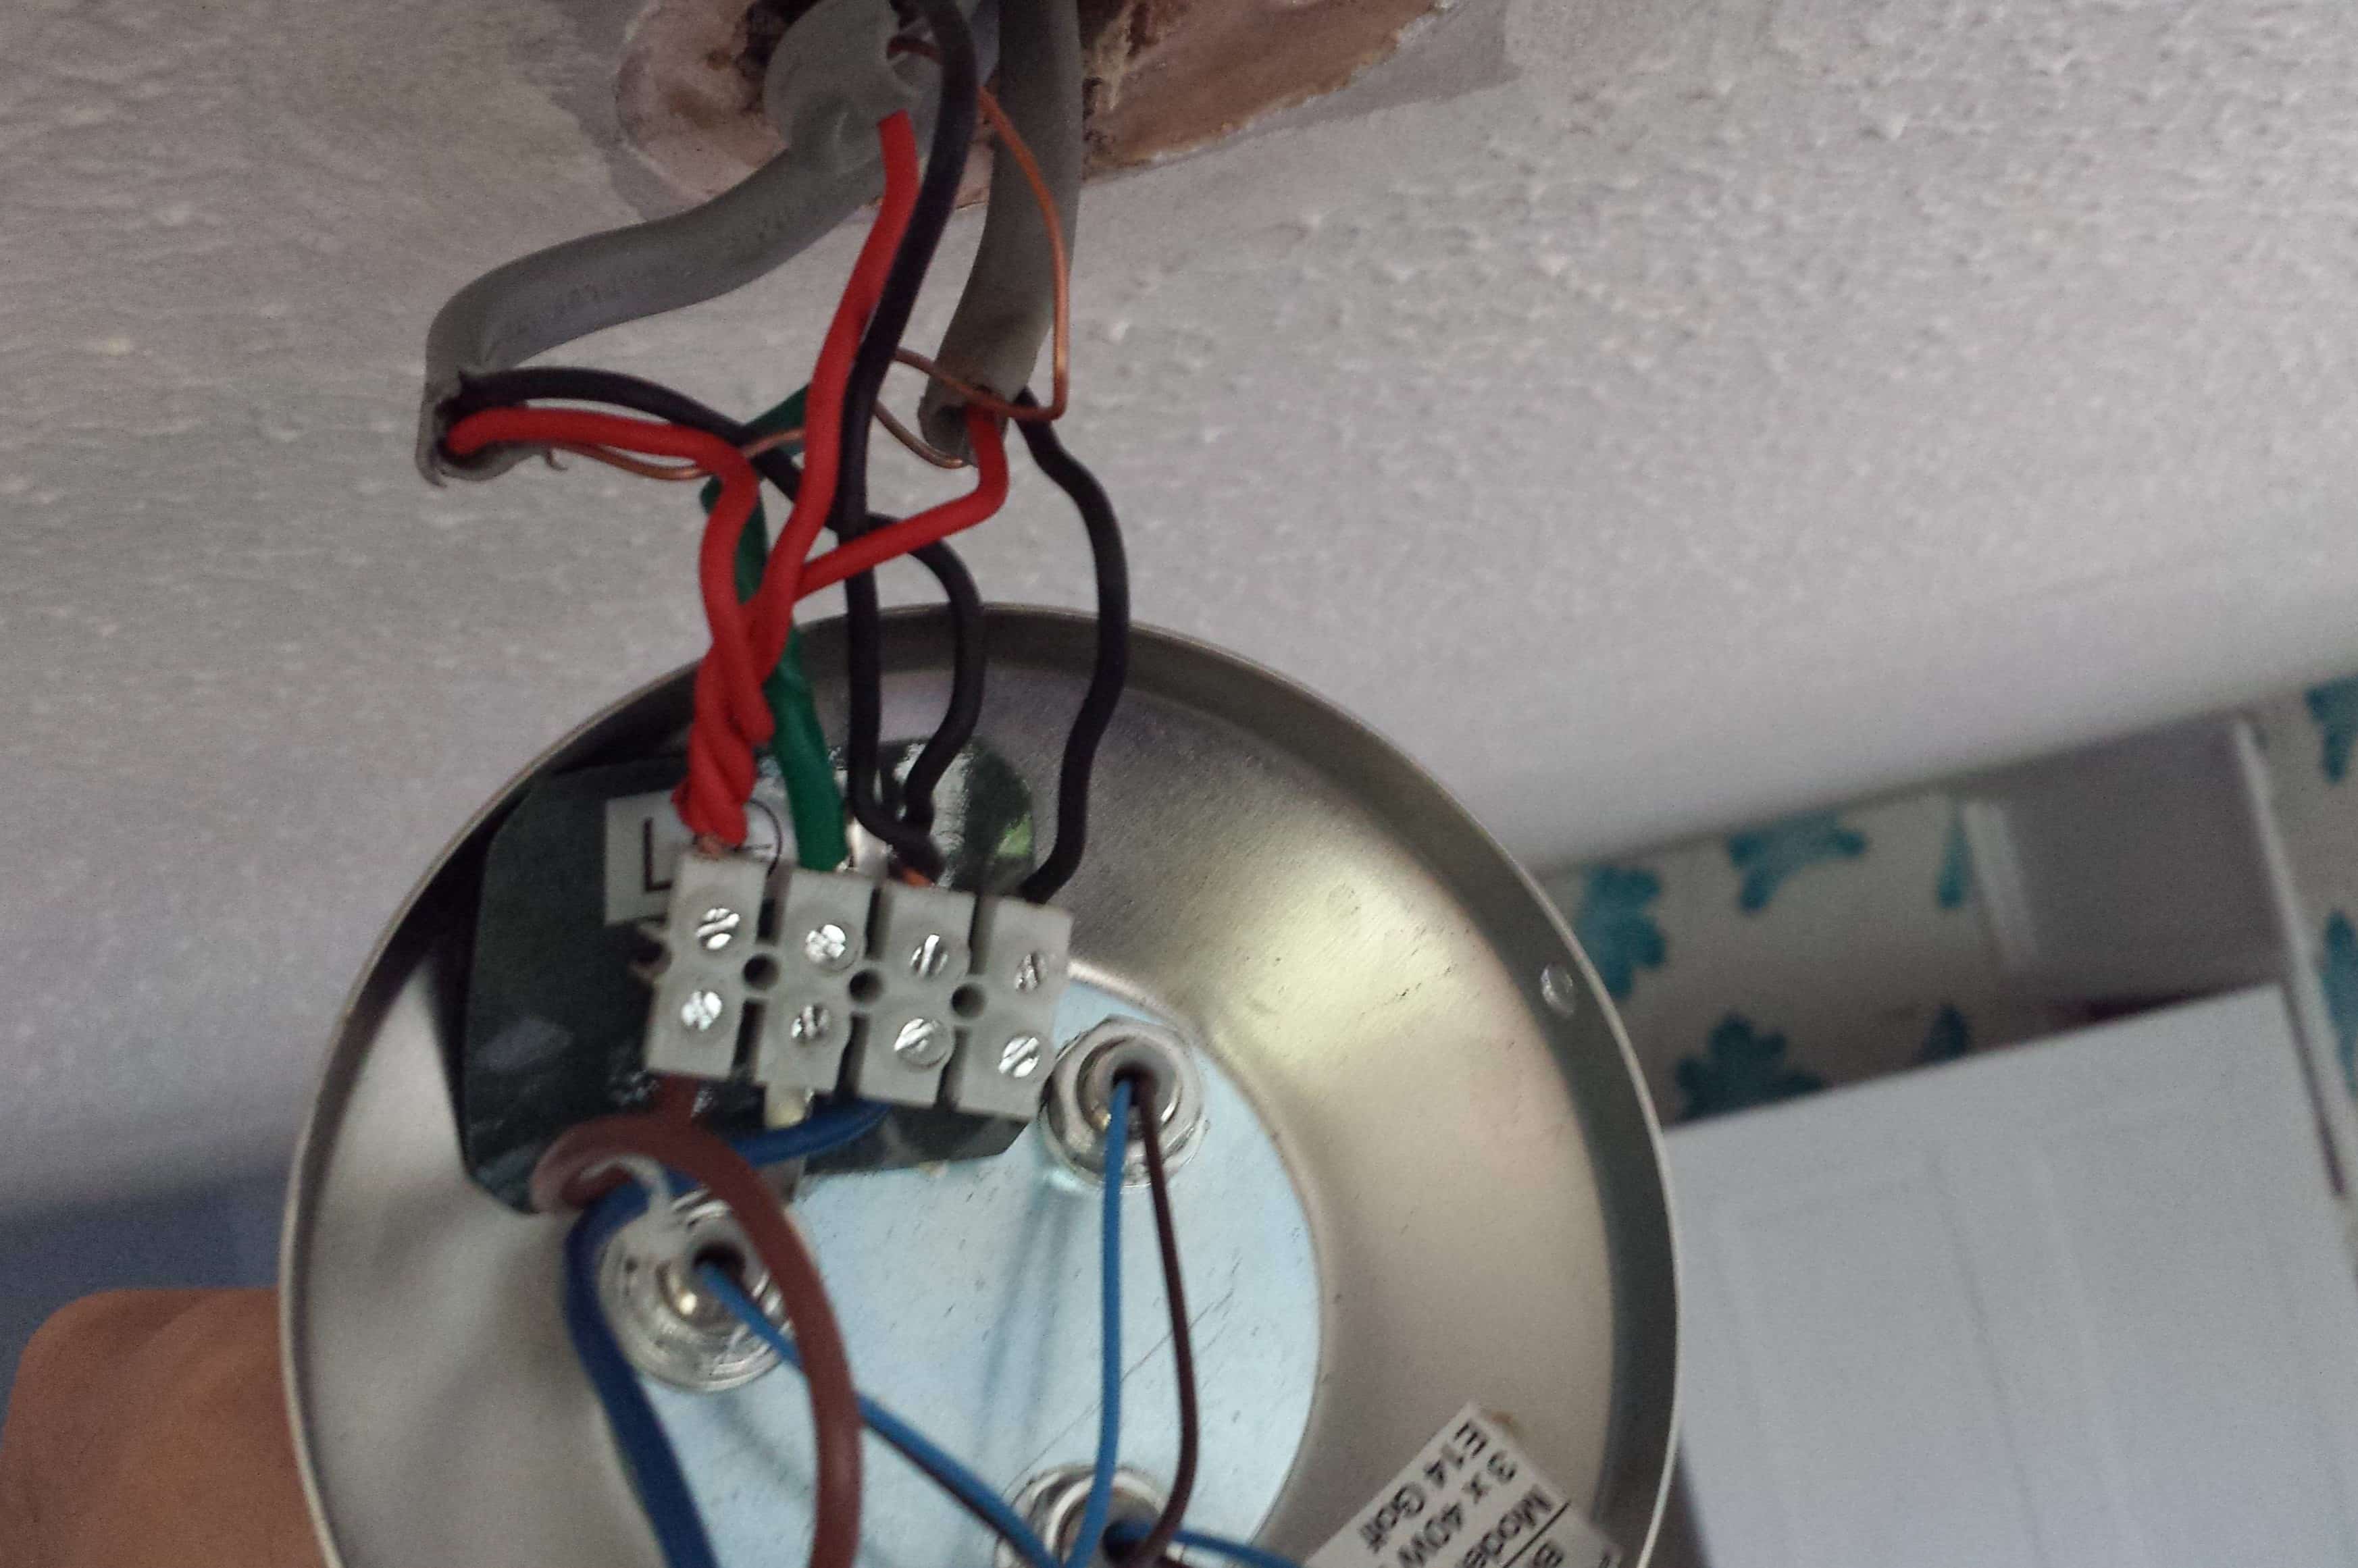
To install a light fixture conversion kit, start by turning off the power to the existing fixture at the electrical panel. Remove the old fixture’s canopy or decorative trim to expose the mounting plate and wires.
Next, attach the conversion kit’s mounting plate to the existing electrical box using the included screws. Make sure the plate is securely fastened and level.
Once the mounting plate is in place, connect the wiring provided in the conversion kit to the existing wires in the electrical box. Follow the manufacturer’s instructions for proper wire connection, ensuring that the hot (black), neutral (white), and ground (green or copper) wires are correctly matched and securely connected with wire connectors.
After the wiring is connected, position the canopy over the mounting plate and secure it in place using the included screws or clips.
Light fixture conversion kits offer a seamless way to convert your existing fixtures into ceiling lights, providing a refreshed look to your space without the need for major electrical work. These kits are available in various styles and finishes, allowing you to match the aesthetic of your room.
It’s important to note that if you don’t feel comfortable working with electrical wiring, it’s best to hire a licensed electrician to install the conversion kit for you. They have the knowledge and expertise to ensure a safe and proper installation.
Option 6: Magnetic Ceiling Lights
Magnetic ceiling lights provide a versatile and easy-to-install lighting solution for spaces without wiring. These lights are equipped with a strong magnetic base, allowing them to securely attach to metal surfaces such as ceilings, shelves, or magnetic strips.
To install magnetic ceiling lights, start by identifying a suitable location on a metal surface that provides the desired lighting coverage. Clean the area and ensure it is dry and free from dust and debris.
Once the location is determined, simply attach the magnetic base of the light to the metal surface. The strong magnet will hold the light securely in place, eliminating the need for drilling, screws, or other installation tools.
Magnetic ceiling lights come in various styles and sizes, including puck lights, spotlights, or strip lights. They often offer adjustable brightness settings and may even come with motion sensors for added convenience.
One of the advantages of magnetic ceiling lights is their versatility. You can easily move and reposition the lights as needed, allowing you to change the lighting layout or adapt to different needs in various areas of your space.
These lights are particularly useful in situations where permanent fixtures are not an option or when you want to avoid damaging the surface. They are also a popular choice for renters, as they can be easily removed without leaving any marks or holes behind.
While magnetic ceiling lights offer convenient installation, it’s important to ensure the metal surface is clean and free from any obstacles that may interfere with the magnetic connection. Additionally, consider the weight and size of the light fixture to ensure it is suitable for the intended location.
With their easy installation and versatile mounting options, magnetic ceiling lights provide a practical lighting solution for a variety of spaces and applications. Simply attach them to a compatible metal surface, and you’ll have an instant source of illumination without the need for wiring or complex installation.
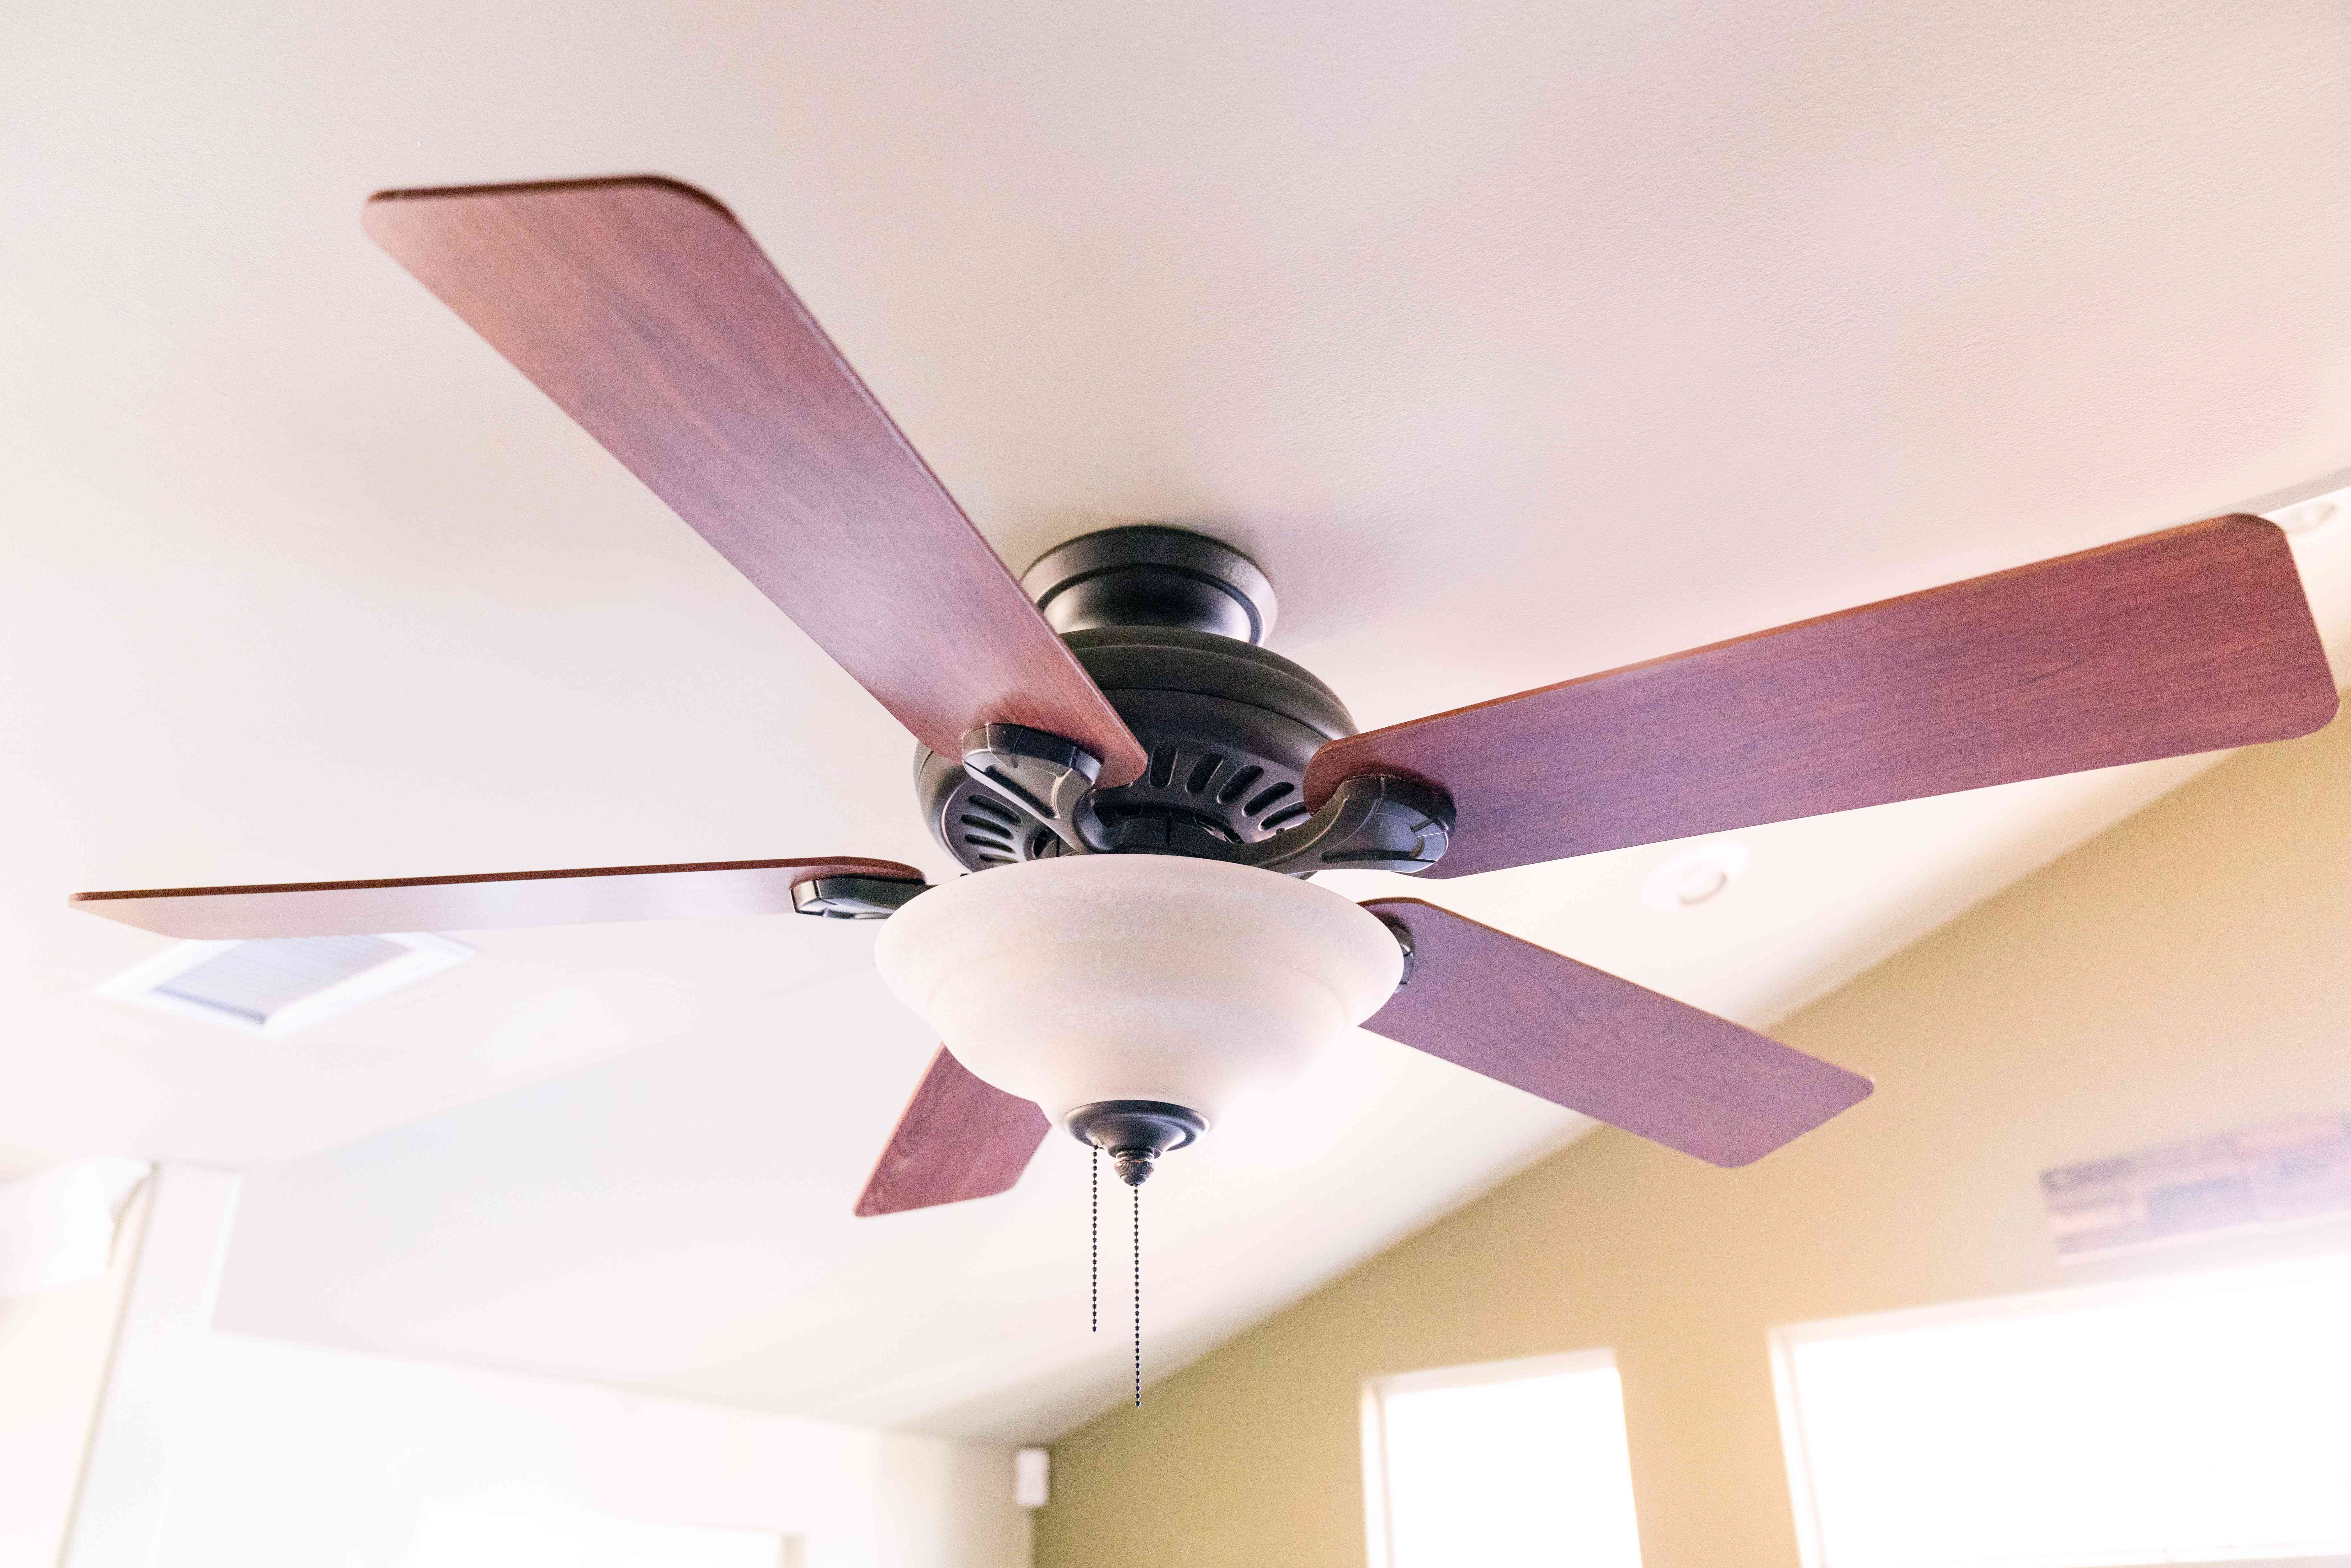
Option 7: Track Lighting
If you’re looking for a flexible and customizable lighting solution, track lighting is a great option. This type of lighting system consists of a track that holds multiple light fixtures, allowing you to position and adjust them to illuminate different areas of your space.
To install track lighting, start by determining the desired location and layout of the track. Clean the surface and ensure it is dry and free from any obstructions. Use a stud finder to locate ceiling joists or use anchors and screws to secure the track to the ceiling.
Once the track is securely attached, connect it to the electrical supply. This may involve wiring the track to an existing electrical box or using a power feed kit to connect it to an electrical outlet.
Next, position the light fixtures along the track, adjusting them as needed to achieve the desired lighting direction and coverage. Many track lighting systems offer adjustable heads or swivel options, allowing you to direct the light exactly where you need it.
Track lighting provides versatility in terms of design and functionality. You can choose from a variety of fixture styles, such as spotlights, pendants, or even decorative options, to complement your space’s aesthetic.
Furthermore, track lighting allows for easy repositioning and add-ons, making it a flexible option for changing lighting needs. If you want to highlight specific areas, you can adjust the position of the fixtures. Additionally, you can add additional track sections or fixtures to expand the lighting coverage.
With its ability to provide focused and adjustable lighting, track lighting is a popular choice for highlighting artwork, accentuating architectural features, or creating task lighting in kitchens or home offices. It is also commonly used in retail and commercial spaces for its versatility and adaptability.
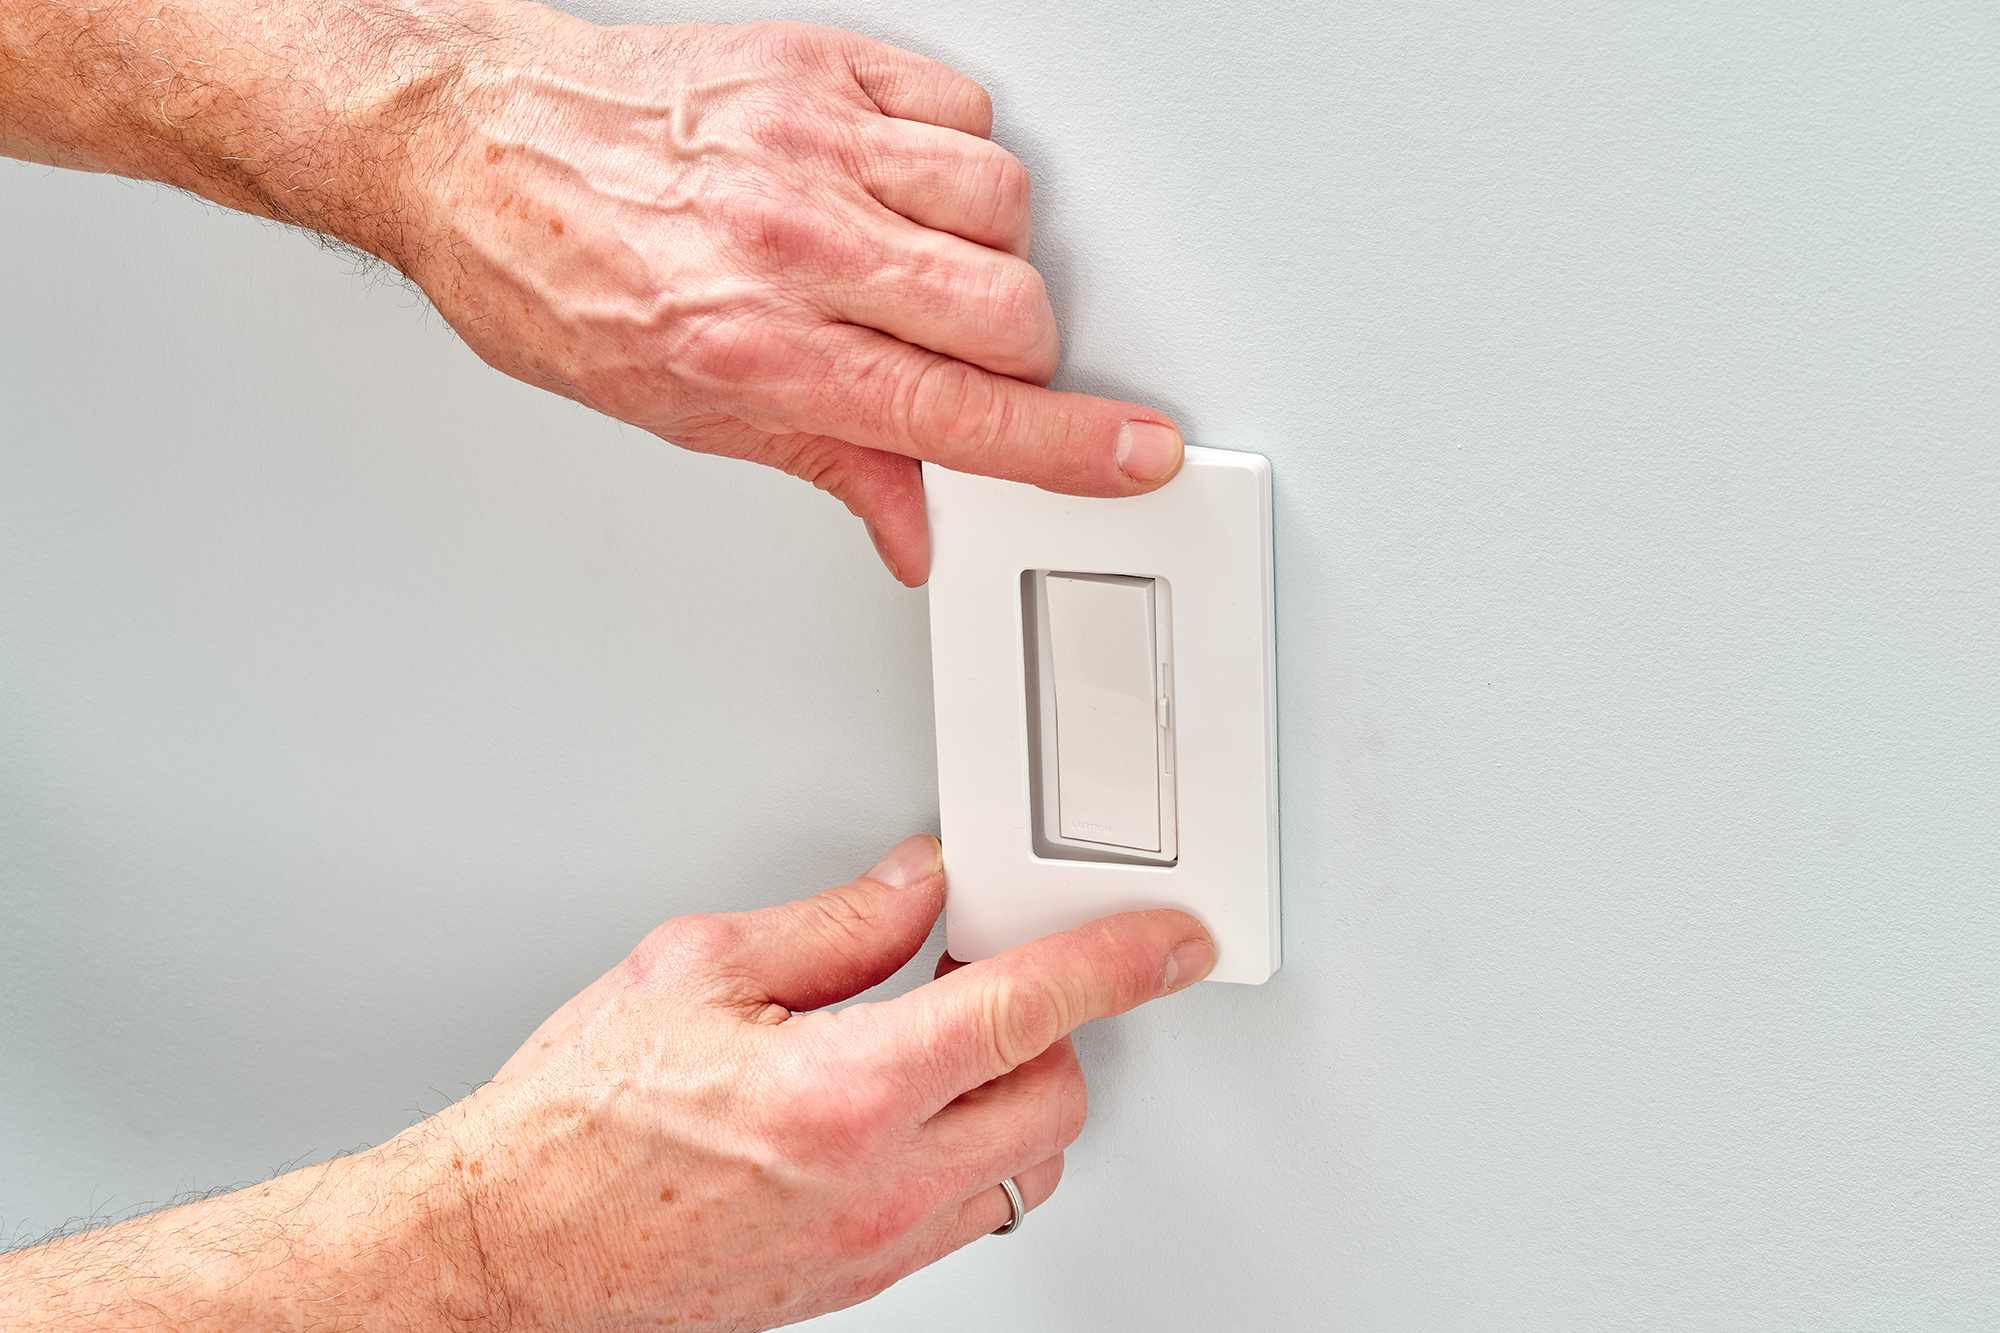
When installing track lighting, ensure that you follow the manufacturer’s instructions and any applicable electrical codes. If you’re not comfortable working with electrical wiring, it’s best to hire a licensed electrician to perform the installation for you.
Overall, track lighting offers a practical and stylish solution for illuminating your space. Its flexibility, adjustability, and wide range of options make it a versatile choice that can enhance any room’s lighting design.
Conclusion
Adding ceiling lights to your space doesn’t have to involve complicated wiring or extensive installation processes. With a range of options available, you can effortlessly bring illumination to your room without the need for major electrical work.
In this guide, we explored seven different options for installing ceiling lights without wiring. From battery-operated lights to plug-in fixtures, solar-powered options to wireless remote-controlled lights, light fixture conversion kits to magnetic lights, and track lighting – there is a solution to fit every need and preference.
Whether you’re a renter, have limited electrical knowledge, or are simply looking for a hassle-free installation process, these options provide flexibility, convenience, and functionality. You can easily choose the option that best suits your space, style, and lighting requirements.
Remember to consider important factors like location, power source, customization options, and ease of installation when selecting your preferred method of adding ceiling lights without wiring.
By embracing these innovative lighting solutions, you can transform your space and create the perfect ambiance for any occasion. Brighten up your room, illuminate specific areas, or change the mood effortlessly with these easy-to-install options.
Whether you opt for battery-operated lights for portability, plug-in lights for accessibility, solar-powered lights for sustainability, wireless remote-controlled lights for convenience, light fixture conversion kits for existing fixtures, magnetic lights for versatility, or track lighting for flexibility, you can enjoy the benefits of well-lit spaces without the hassle of wiring.
So, go ahead and explore the options available to you. Install ceiling lights without wiring and take your lighting game to the next level!
Frequently Asked Questions about How To Install Ceiling Lights Without Wiring
Was this page helpful?
At Storables.com, we guarantee accurate and reliable information. Our content, validated by Expert Board Contributors, is crafted following stringent Editorial Policies. We're committed to providing you with well-researched, expert-backed insights for all your informational needs.


0 thoughts on “How To Install Ceiling Lights Without Wiring”