Home>Articles>How To Install Ceiling Light Without Existing Wiring
Articles
How To Install Ceiling Light Without Existing Wiring
Modified: October 20, 2024
Learn how to install a ceiling light without existing wiring with our informative articles. Find step-by-step guides and expert tips to achieve a well-lit and stylish home.
(Many of the links in this article redirect to a specific reviewed product. Your purchase of these products through affiliate links helps to generate commission for Storables.com, at no extra cost. Learn more)
Introduction
Installing a ceiling light fixture can immediately transform the look and feel of a room. However, many homeowners are often faced with the challenge of installing a ceiling light without existing wiring. While this may seem like a daunting task, with the right tools and knowledge, it is possible to achieve this installation successfully.
In this article, we will guide you through the step-by-step process of installing a ceiling light fixture without existing wiring. By following these instructions, you will be able to bring light to any area of your home, even where there is no pre-existing electrical connection.
Before we begin, it’s important to note that electrical work should always be done by a qualified professional. If you are not comfortable working with electrical wiring, it’s best to hire a licensed electrician. Safety should be your top priority when working with any electrical components.
With that said, let’s get started on how to install a ceiling light without existing wiring.
Key Takeaways:
- With the right tools and wireless light kits, it’s possible to install a ceiling light fixture without existing wiring, transforming any room with ease and efficiency.
- Safety is paramount, so if you’re unsure about working with electrical components, it’s best to consult a licensed electrician for a professional and secure installation.
Read more: How To Install Ceiling Lights Without Wiring
Step 1: Gather the necessary tools and materials
Before you begin the installation process, it’s essential to have all the required tools and materials on hand. Here is a list of what you will need:
- Wireless light kit
- Wireless remote control
- Wire stripper
- Wire connectors
- Power drill
- Electric screwdriver
- Stud finder
- Step ladder
- Electrical tape
- Hammer
- Pencil
The wireless light kit and remote control are essential for this installation as they allow you to control the ceiling light without the need for traditional wiring. These kits typically come with a receiver that is wired to the power source and a remote control that allows you to turn the light on and off.
The wire stripper will be used to remove the insulation from the electrical wires. Wire connectors are necessary to connect the wires securely. A power drill and electric screwdriver will come in handy for mounting the ceiling light fixture.
A stud finder will help you locate the ceiling joists or studs to ensure a secure installation. A step ladder will be needed to reach the ceiling safely. Electrical tape will be used to insulate the wires and prevent any accidental contact.
Lastly, a pencil and hammer may be required for marking and securing the junction box and other components of the installation.
By gathering all the necessary tools and materials, you will be prepared for a smooth and efficient installation process. Let’s move on to the next step, where we will discuss choosing the type of ceiling light fixture.
Step 2: Choose the type of ceiling light fixture
When selecting a ceiling light fixture for your installation, there are a few key factors to consider. You’ll want to choose a fixture that not only complements the style of your space but also meets your lighting needs.
Here are some popular types of ceiling light fixtures to consider:
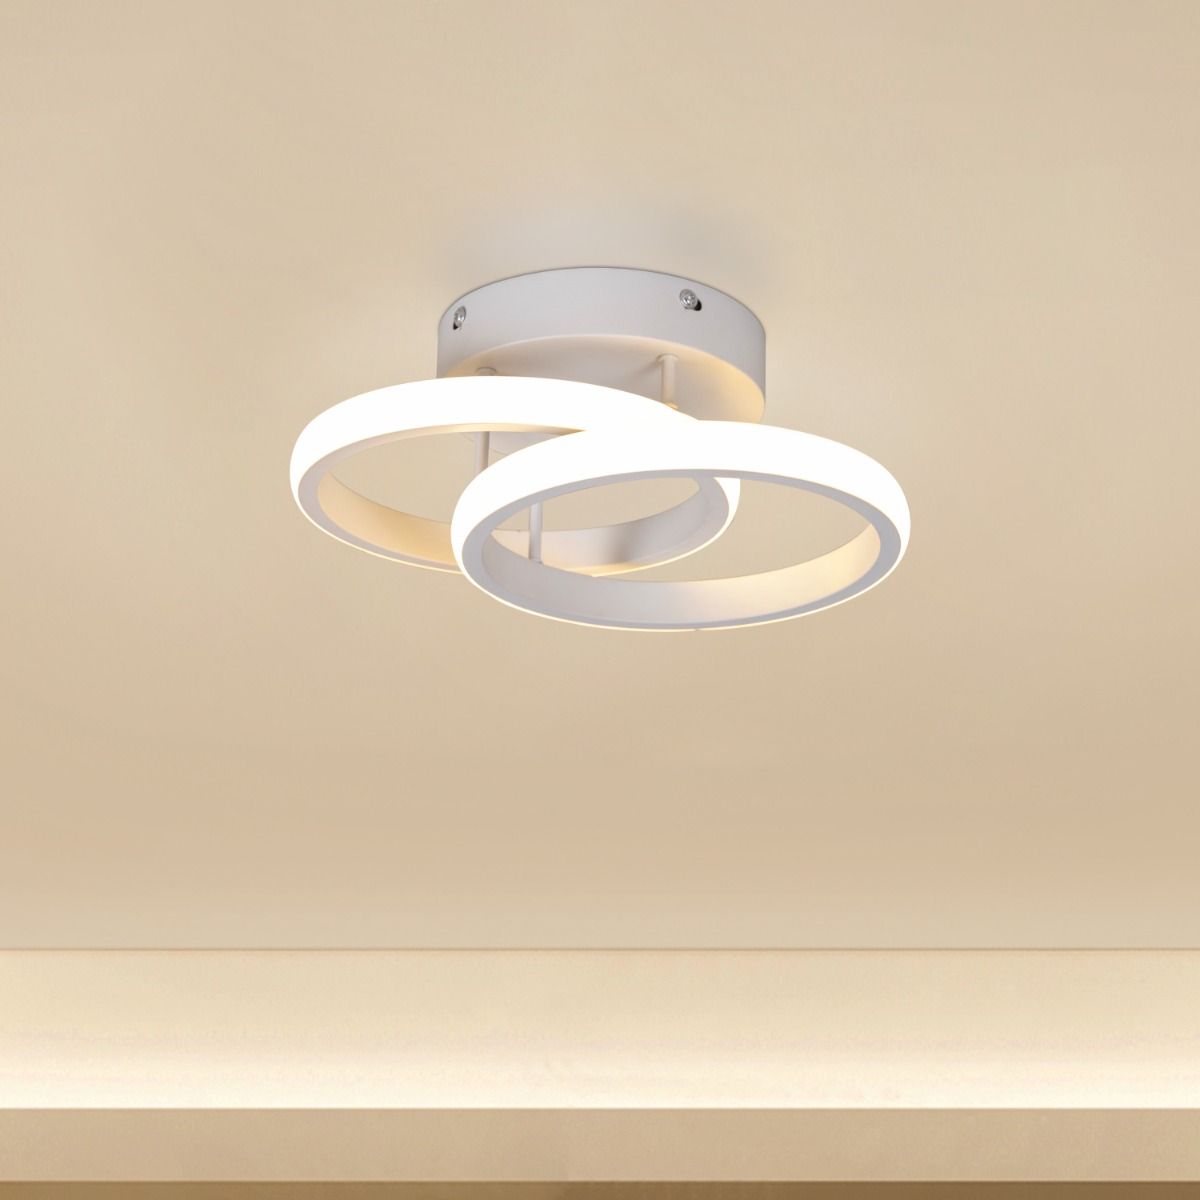
- Flush Mount: Flush mount fixtures are a popular choice for low ceilings or rooms with limited space. They are installed flush against the ceiling, providing a sleek and compact lighting option.
- Semi-Flush Mount: Semi-flush mount fixtures hang slightly lower from the ceiling compared to flush mount lights, creating a more decorative and stylish look. These fixtures often feature a decorative element, such as a glass shade or ornate design.
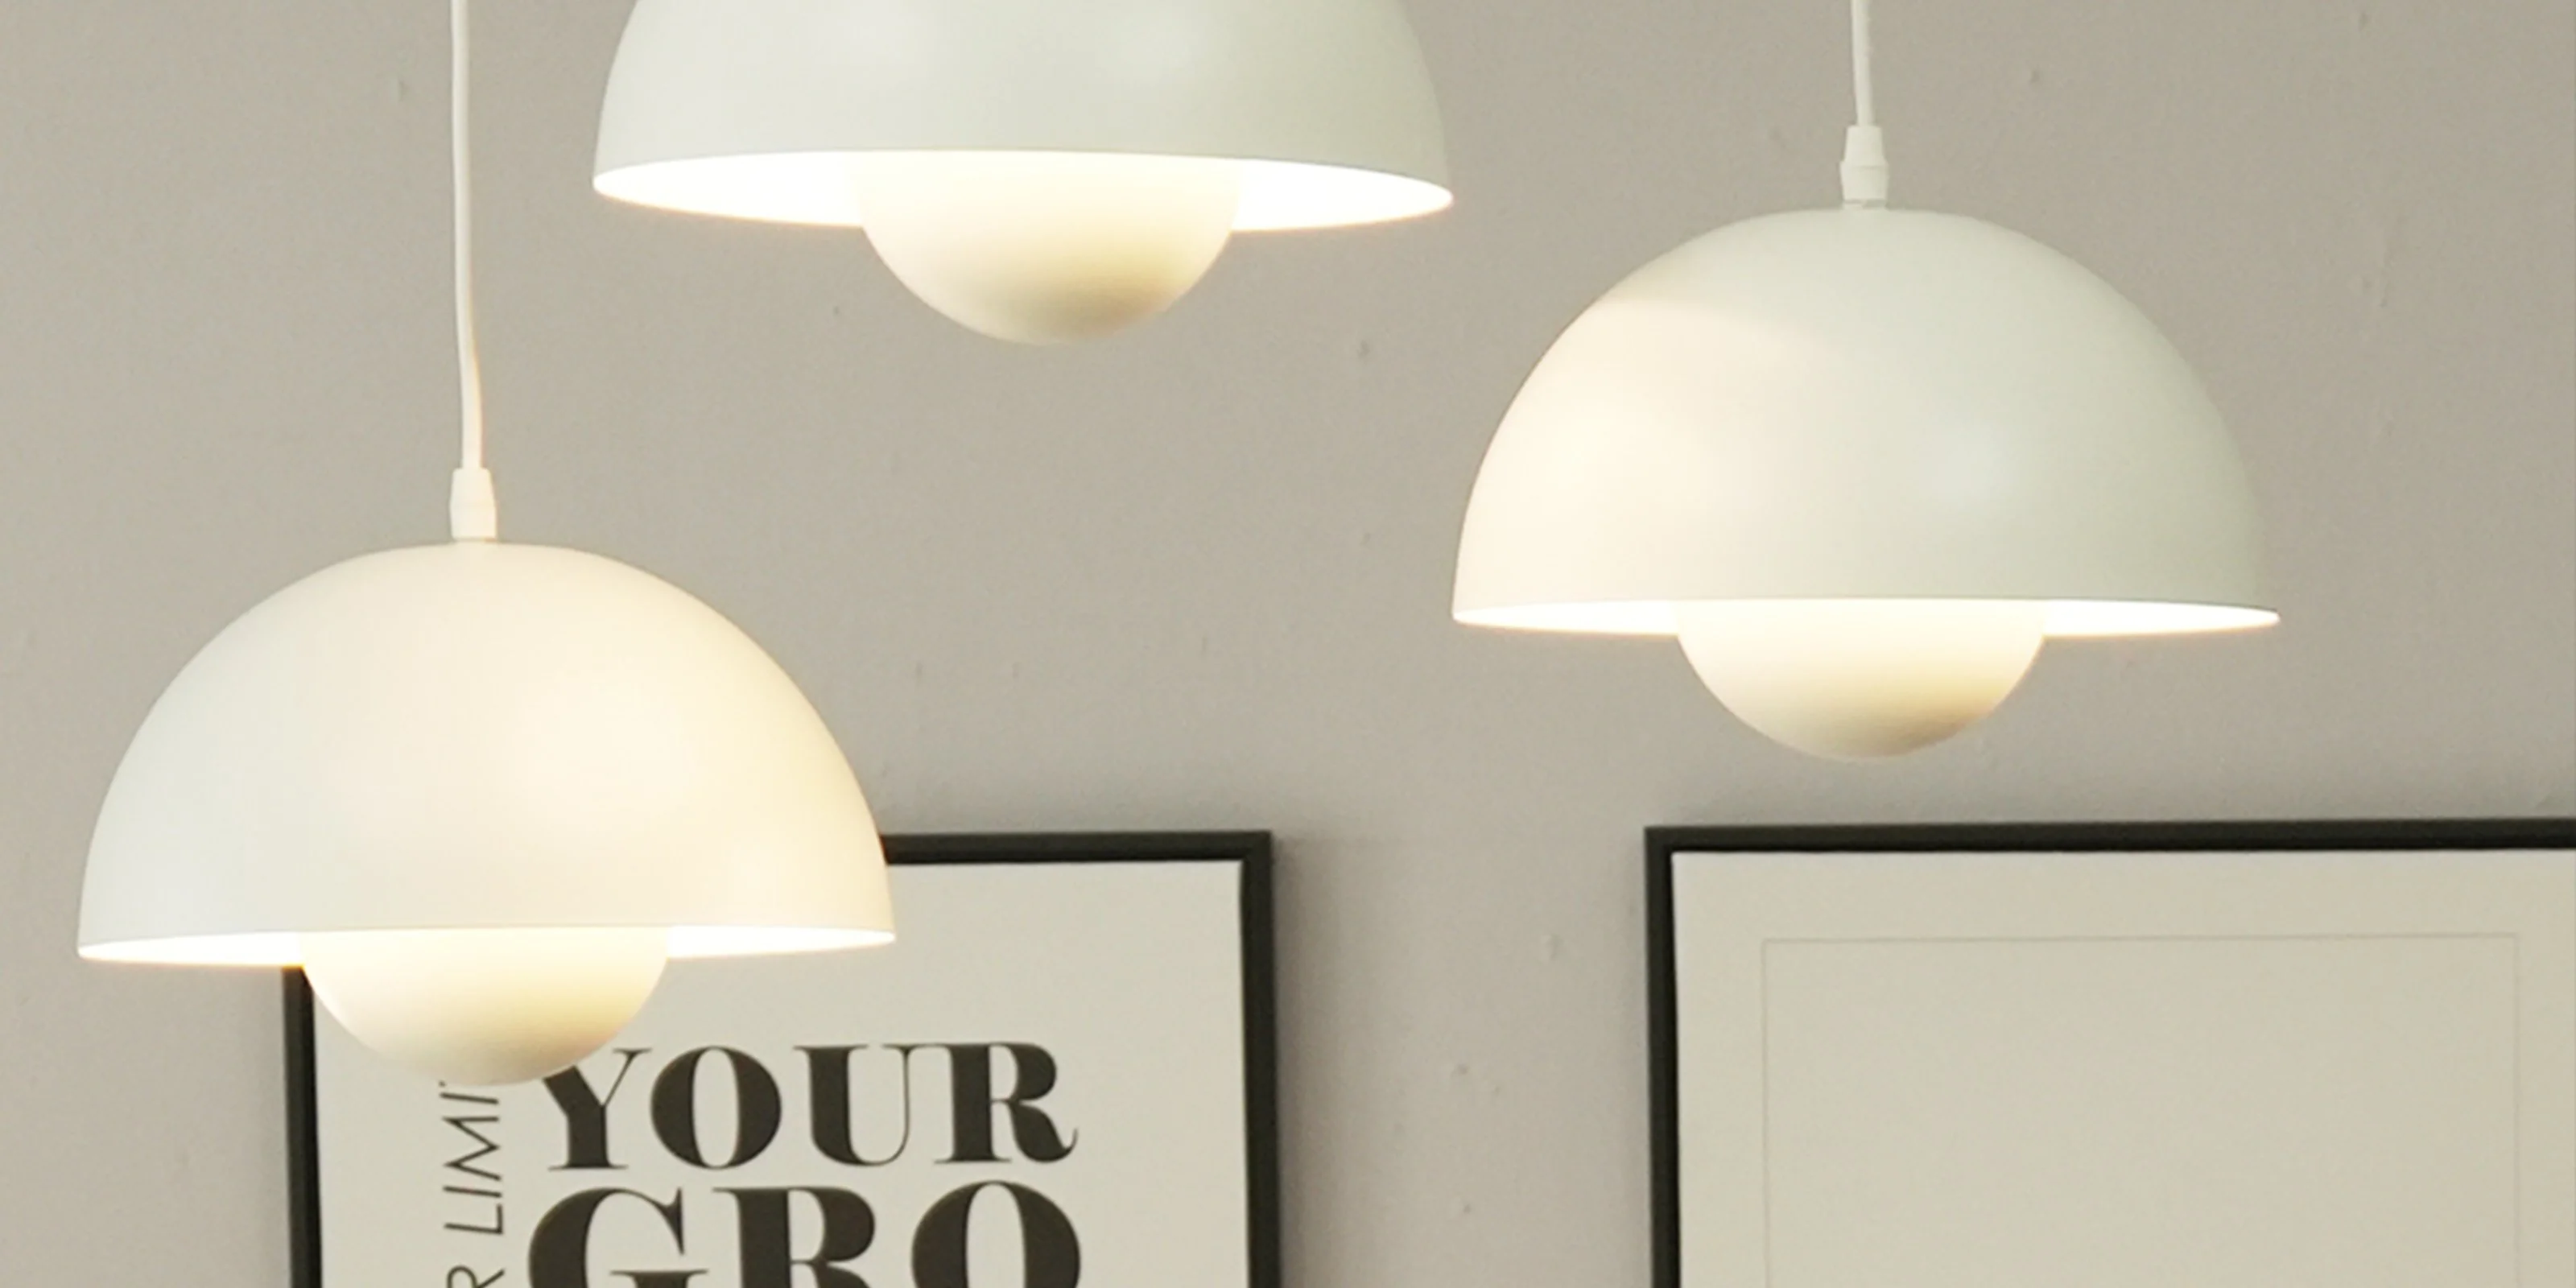
- Pendant Lights: Pendant lights hang down from the ceiling by a chain, rod, or cord. They come in various sizes and styles, making them a versatile option for adding both task and ambient lighting to a room.
- Chandeliers: Chandeliers are a statement lighting piece that adds elegance and sophistication to any space. They feature multiple arms or tiers adorned with decorative features and often serve as a focal point in a room.
- Track Lighting: Track lighting is a flexible lighting option that allows you to direct light exactly where you need it. The track can be adjusted and fitted with individual light fixtures, giving you the ability to customize the lighting arrangement.
Consider the size of your room, the height of your ceiling, and the lighting requirements when choosing the appropriate type of ceiling light fixture. Additionally, take into account the overall style and decor of the room to ensure a cohesive look.
Once you have selected the desired type of ceiling light fixture, you can proceed to the next step, where we will discuss determining the power source for your installation.
Step 3: Determine the power source
Before you start installing the ceiling light fixture, it’s crucial to identify a suitable power source for your installation. Since we are working with no existing wiring, you will need to find an accessible power supply to connect the wireless light kit receiver.
Here are a few options for determining the power source:
- Existing Outlet: One of the easiest options is to locate a nearby electrical outlet on the same wall or in the same room where you want to install the ceiling light. You can extend the wiring from the outlet to the junction box for the ceiling light.
- Attic Wiring: If your home has an attic space above the intended installation area, you can run electrical wiring from the attic to the ceiling. This option may require more work, as you will need to access the attic and ensure you follow all safety guidelines when working in that area.
- Adjacent Light Fixture: If you have an existing light fixture nearby, you can tap into its wiring to power the new ceiling light. However, you should ensure that the existing light fixture’s circuit can handle the additional load of the new fixture.
- Power from a Different Room: In some cases, you may need to run electrical wiring from a different room that shares the same wall or ceiling. This option is more complex and may require professional assistance to ensure proper wiring and code compliance.
- Alternative Power Sources: If accessing a power source within the vicinity of the installation is not feasible, you can explore alternative options such as a battery-powered wireless light kit or solar-powered fixtures.
Once you have determined the most suitable power source for your installation needs, you can proceed to the next step, where we will discuss installing a junction box to support the ceiling light fixture.
Step 4: Install a junction box
Installing a junction box is an essential step in the process of installing a ceiling light fixture without existing wiring. The junction box serves as a secure and organized connection point for the electrical wires.
Here’s a step-by-step guide on how to install a junction box:
- Turn off the power: Before you start working with electrical components, make sure to turn off the power supply at the circuit breaker for safety.
- Locate the installation spot: Decide on the optimal location for the junction box. It should be close to the chosen power source and centered in the desired area for the ceiling light fixture.
- Mark the location: Use a pencil to mark the position of the junction box on the ceiling. Ensure it aligns with the nearby power source and is suitable for the chosen light fixture.
- Use a stud finder: Determine if there are any ceiling joists or studs in the installation spot. This will help you secure the junction box more effectively.
- Install the junction box: Place the junction box in the marked location and align it with the ceiling joists or studs, if applicable. Use a power drill and screws to secure the box in place.
- Ensure proper grounding: If necessary, ensure that the junction box is properly grounded by connecting the ground wire from the power source or the grounding wire in the electrical system to the box.
- Verify stability: Once the junction box is installed, give it a gentle shake to ensure that it is secure and stable. It should not move or wobble.
Installing a junction box is a critical step to ensure the safety and stability of your ceiling light fixture installation. Once the junction box is in place, you can proceed to the next step, where we will discuss running electrical wire from the power source to the junction box.
Step 5: Run electrical wire from the power source to the junction box
Now that the junction box is installed, it’s time to run the electrical wire from the chosen power source to the box. This step will provide the necessary connection for the ceiling light fixture.
Follow these steps to run the electrical wire:
- Measure and cut the wire: Measure the distance from the power source to the junction box. Add a few extra feet for flexibility. Use wire cutters to cut the electrical wire to the desired length.
- Route the wire: Determine the best path to run the wire from the power source to the junction box. This may involve drilling holes through walls or navigating behind the ceiling depending on your home’s construction.
- Secure the wire: Use electrical staples or clips to secure the wire along its route, keeping it away from any sharp objects or potential hazards. Ensure the wire is taut and properly positioned.
- Feed the wire through the junction box: Insert the end of the wire through one of the knockout holes in the junction box. Use a cable clamp to secure the wire in place and prevent it from being pulled out accidentally.
- Strip the wire insulation: Use a wire stripper to strip approximately ¾ inch of insulation from the end of the wire that will be connected to the power source and the junction box.
- Connect the wires: If necessary, consult the wiring diagram provided with the wireless light kit to determine the appropriate connections. Typically, you will need to connect the black wire (live or hot) to the black wire from the power source and the white wire (neutral) to the white wire.
- Secure the wire connections: Use wire connectors to join the corresponding wires securely, ensuring they are tightly twisted together. Wrap electrical tape around each wire connection for added insulation.
Running the electrical wire from the power source to the junction box may require some careful planning and preparation. Ensure that all connections are secure and properly insulated to prevent any electrical issues. Once the wire is in place, you can proceed to the next step, where we will discuss mounting the ceiling light fixture.
Consider using a battery-operated LED ceiling light or a plug-in swag light if you don’t have existing wiring. These options can be easily installed without the need for electrical wiring.
Step 6: Mount the ceiling light fixture
With the electrical wire running from the power source to the junction box, you can now proceed to mount the ceiling light fixture. Properly mounting the fixture ensures it is securely attached to the ceiling and provides a stable foundation for the installation.
Follow these steps to mount the ceiling light fixture:
- Review the manufacturer’s instructions: Before you begin, carefully review the instructions provided by the manufacturer for your specific light fixture. This will ensure you follow the correct installation process.
- Prepare the light fixture: If necessary, assemble any components of the light fixture according to the manufacturer’s instructions. This may include attaching the base, canopy, or any decorative elements.
- Attach the mounting bracket: Most light fixtures come with a mounting bracket that needs to be secured to the junction box. Align the holes in the bracket with the screw holes on the junction box and use screws to attach them together.
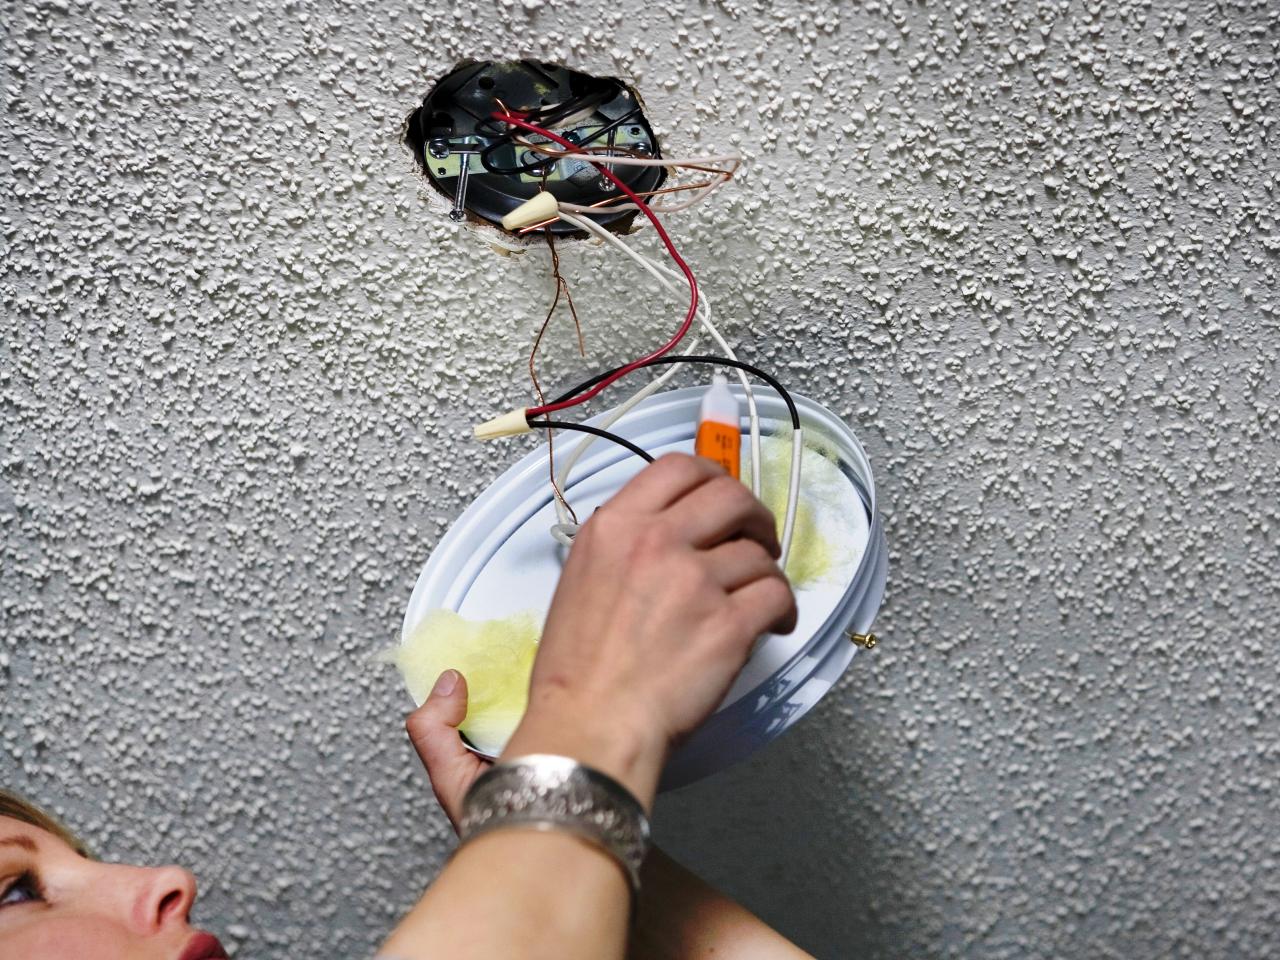
- Connect the wires: Carefully guide the wires from the junction box through the center of the mounting bracket. Match the corresponding wires from the light fixture to the wires coming from the junction box (black to black and white to white), and twist them together firmly.
- Secure the wire connections: Once the wires are connected, use wire connectors to secure the twisted wires together. Ensure the wire connectors are properly tightened to create a secure connection.
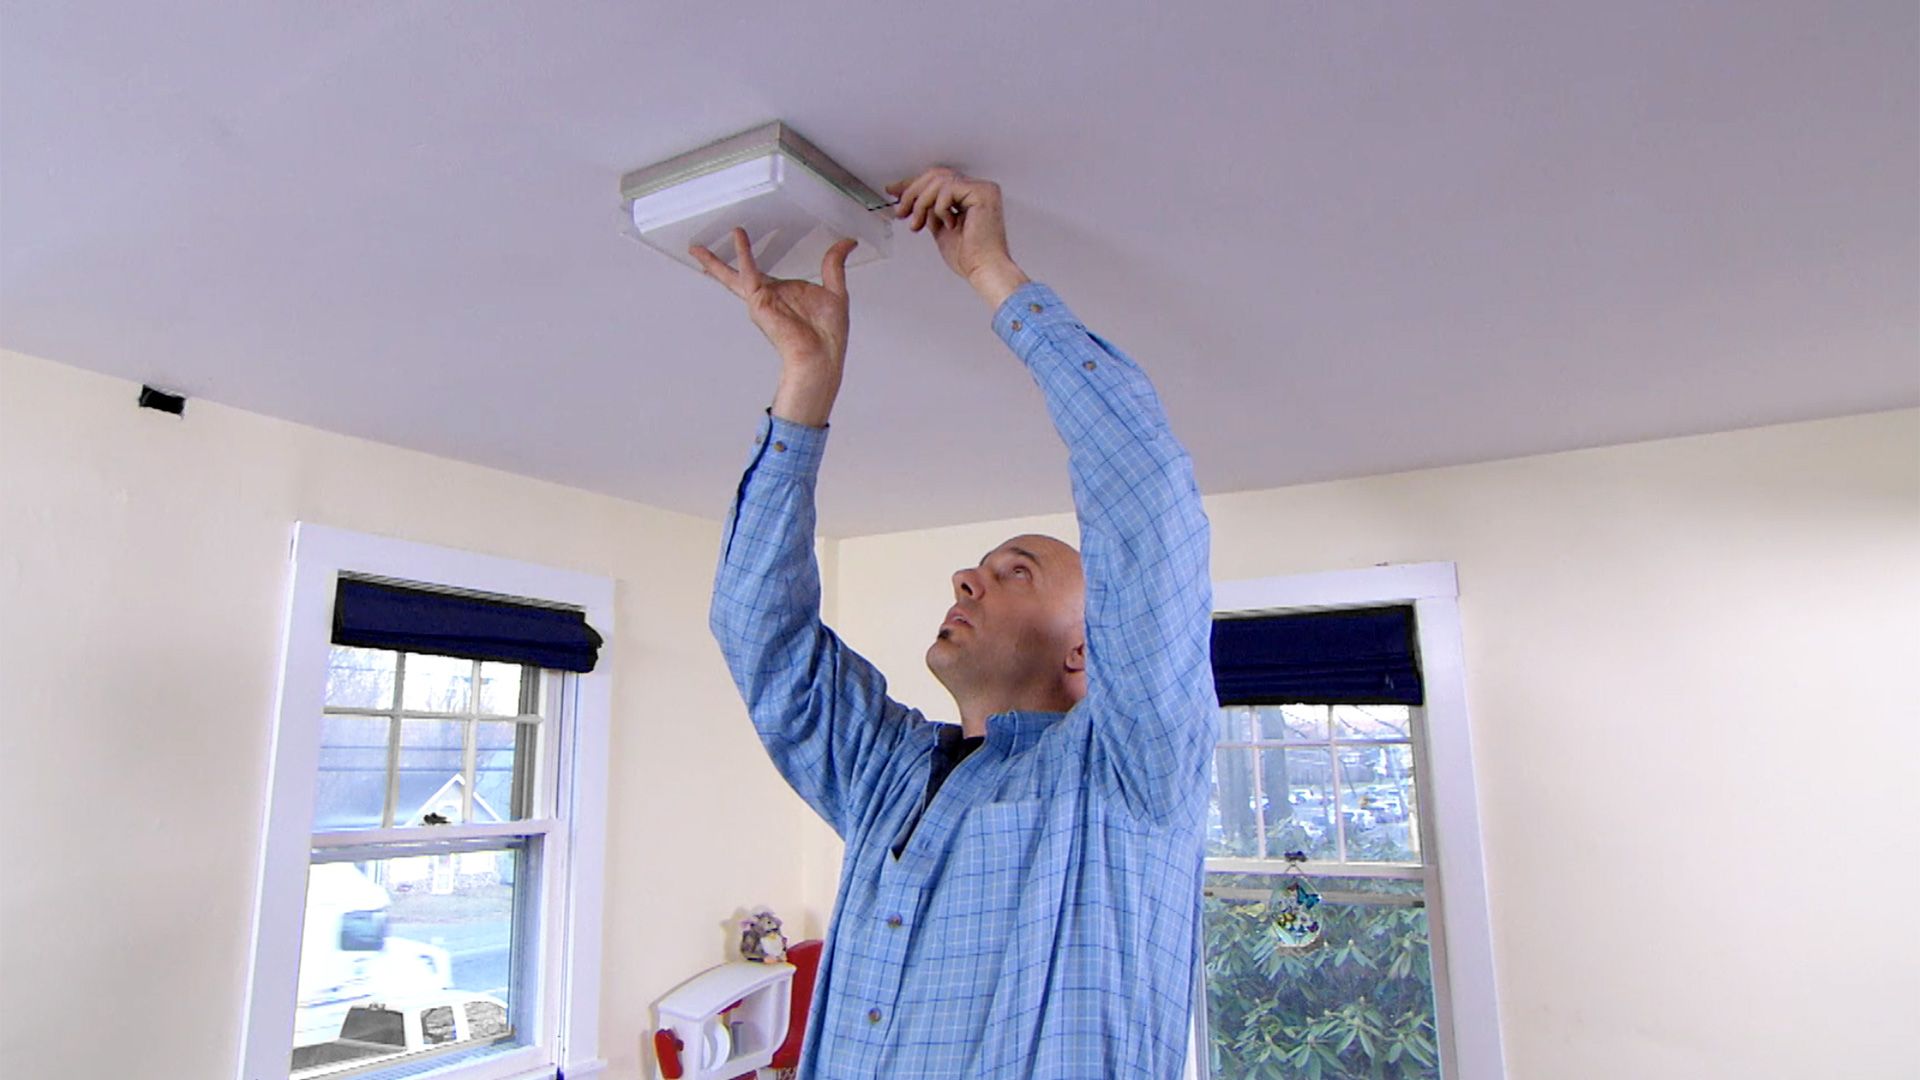
- Attach the light fixture: Lift the light fixture and align it with the mounting bracket. Secure it in place by tightening the screws or other attachment mechanisms provided by the manufacturer.
- Double-check stability: After mounting the light fixture, gently shake it to ensure it is securely attached to the ceiling. Make any necessary adjustments to ensure stability.
Properly mounting the ceiling light fixture is crucial for its functionality and safety. Ensure that all connections are secure, and the fixture is firmly attached to the ceiling. Once the fixture is mounted, you can proceed to the next step, which involves connecting the wires.
Step 7: Connect the wires
Now that the ceiling light fixture is mounted, it’s time to connect the wires and establish the electrical connection. This step is essential for ensuring that the light fixture functions properly and safely.
Follow these steps to connect the wires:
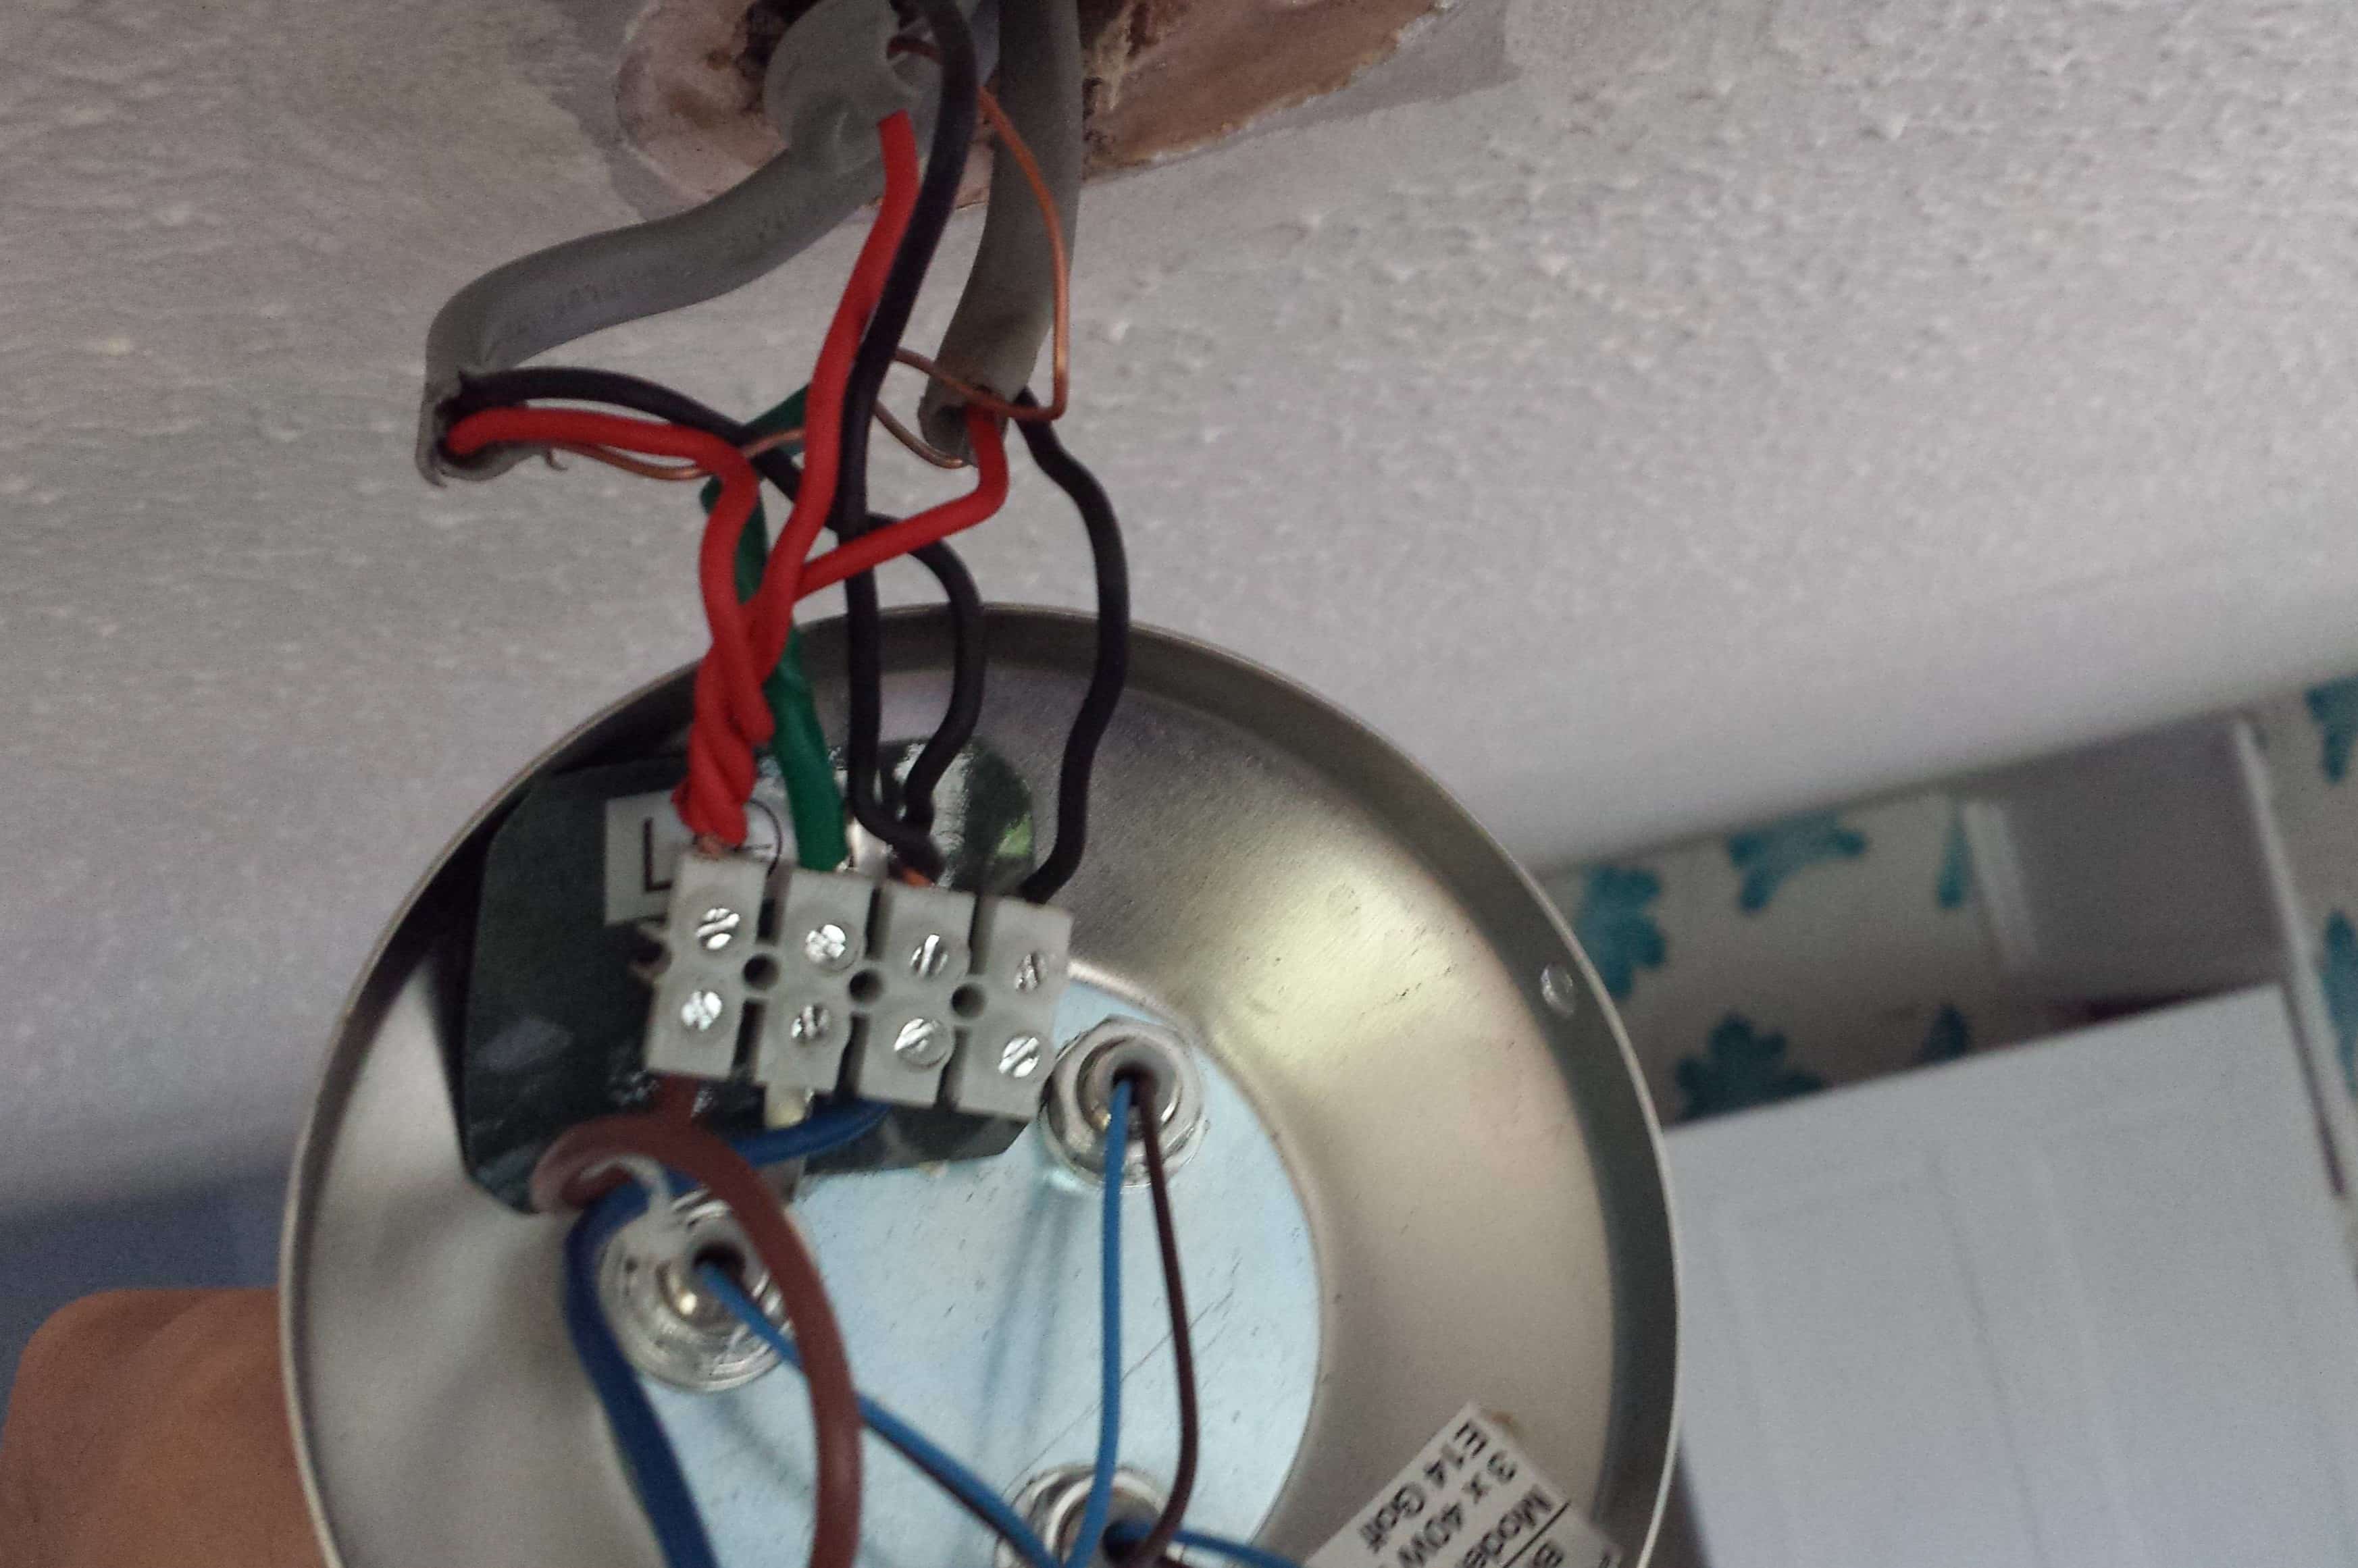
- Identify the wires: The wires from the light fixture will typically have color-coded insulation. The black wire is the hot or live wire, the white wire is the neutral wire, and there may be a green or copper wire for the grounding connection.
- Strip the wire insulation: Use a wire stripper to carefully strip approximately ¾ inch of insulation from the end of each wire. Be careful not to damage the conductors within the wire.
- Match the wires: Match the corresponding wires from the light fixture to the wires from the power source. Connect the black wire from the light fixture to the black wire from the power source, the white wire to the white wire, and the grounding wire to the grounding wire, if applicable.
- Secure the wire connections: Twist the matching wires together firmly and cover them with a wire connector. Twist the wire connector clockwise until it is tight and secure. This will ensure the wires are connected properly.
- Insulate the connections: After securing the wire connectors, wrap each connection with electrical tape for added insulation. This helps to protect the connections and prevent any accidental contact.
It’s important to take your time and ensure that all wire connections are secure and properly insulated. Double-check that the wires are correctly matched and that there are no loose or exposed conductors. Once the wires are connected, you can proceed to the next step, where we will discuss securing the ceiling light fixture.
Step 8: Secure the ceiling light fixture
After connecting the wires, it’s crucial to properly secure the ceiling light fixture to ensure its stability and prevent any accidental dislodging. This step will ensure that the fixture is firmly in place and provides a safe lighting solution for your space.
Follow these steps to secure the ceiling light fixture:
- Tighten screws and fasteners: Check all screws and fasteners on the light fixture to ensure they are tightened securely. Use a screwdriver or the appropriate tool to tighten any loose screws or fasteners.
- Check for wobbling: Gently shake the light fixture to check for any wobbling or movement. If you notice any instability, double-check that all screws and fasteners are tightened properly.
- Ensure proper alignment: Check the alignment of the light fixture with the ceiling and the surrounding space. Adjust the position if necessary to ensure it is centered and aligned with your room’s aesthetics.
- Test stability: Give the light fixture a final test to ensure that it is stable and securely attached to the ceiling. Apply gentle pressure to different areas of the fixture to confirm that it does not move or shift.
- Follow manufacturer’s recommendations: It’s important to review the specific instructions provided by the manufacturer for your light fixture. They may have additional recommendations or steps for securing the fixture.
By securing the ceiling light fixture properly, you will ensure that it remains in place and functions safely. Take the time to check and tighten all screws and fasteners, align the fixture, and test its stability. Once the light fixture is securely in place, you can move on to the final step, which involves testing the installation.
Step 9: Test the installation
After completing the installation process, it’s crucial to test the functionality of the ceiling light fixture to ensure that everything is working properly. Proper testing will verify that the wiring is correct, the connections are secure, and the light fixture is operational.
Follow these steps to test the installation:
- Reconnect the power: Return to the electrical panel and switch on the circuit breaker or flip the power switch to restore power to the installation area.
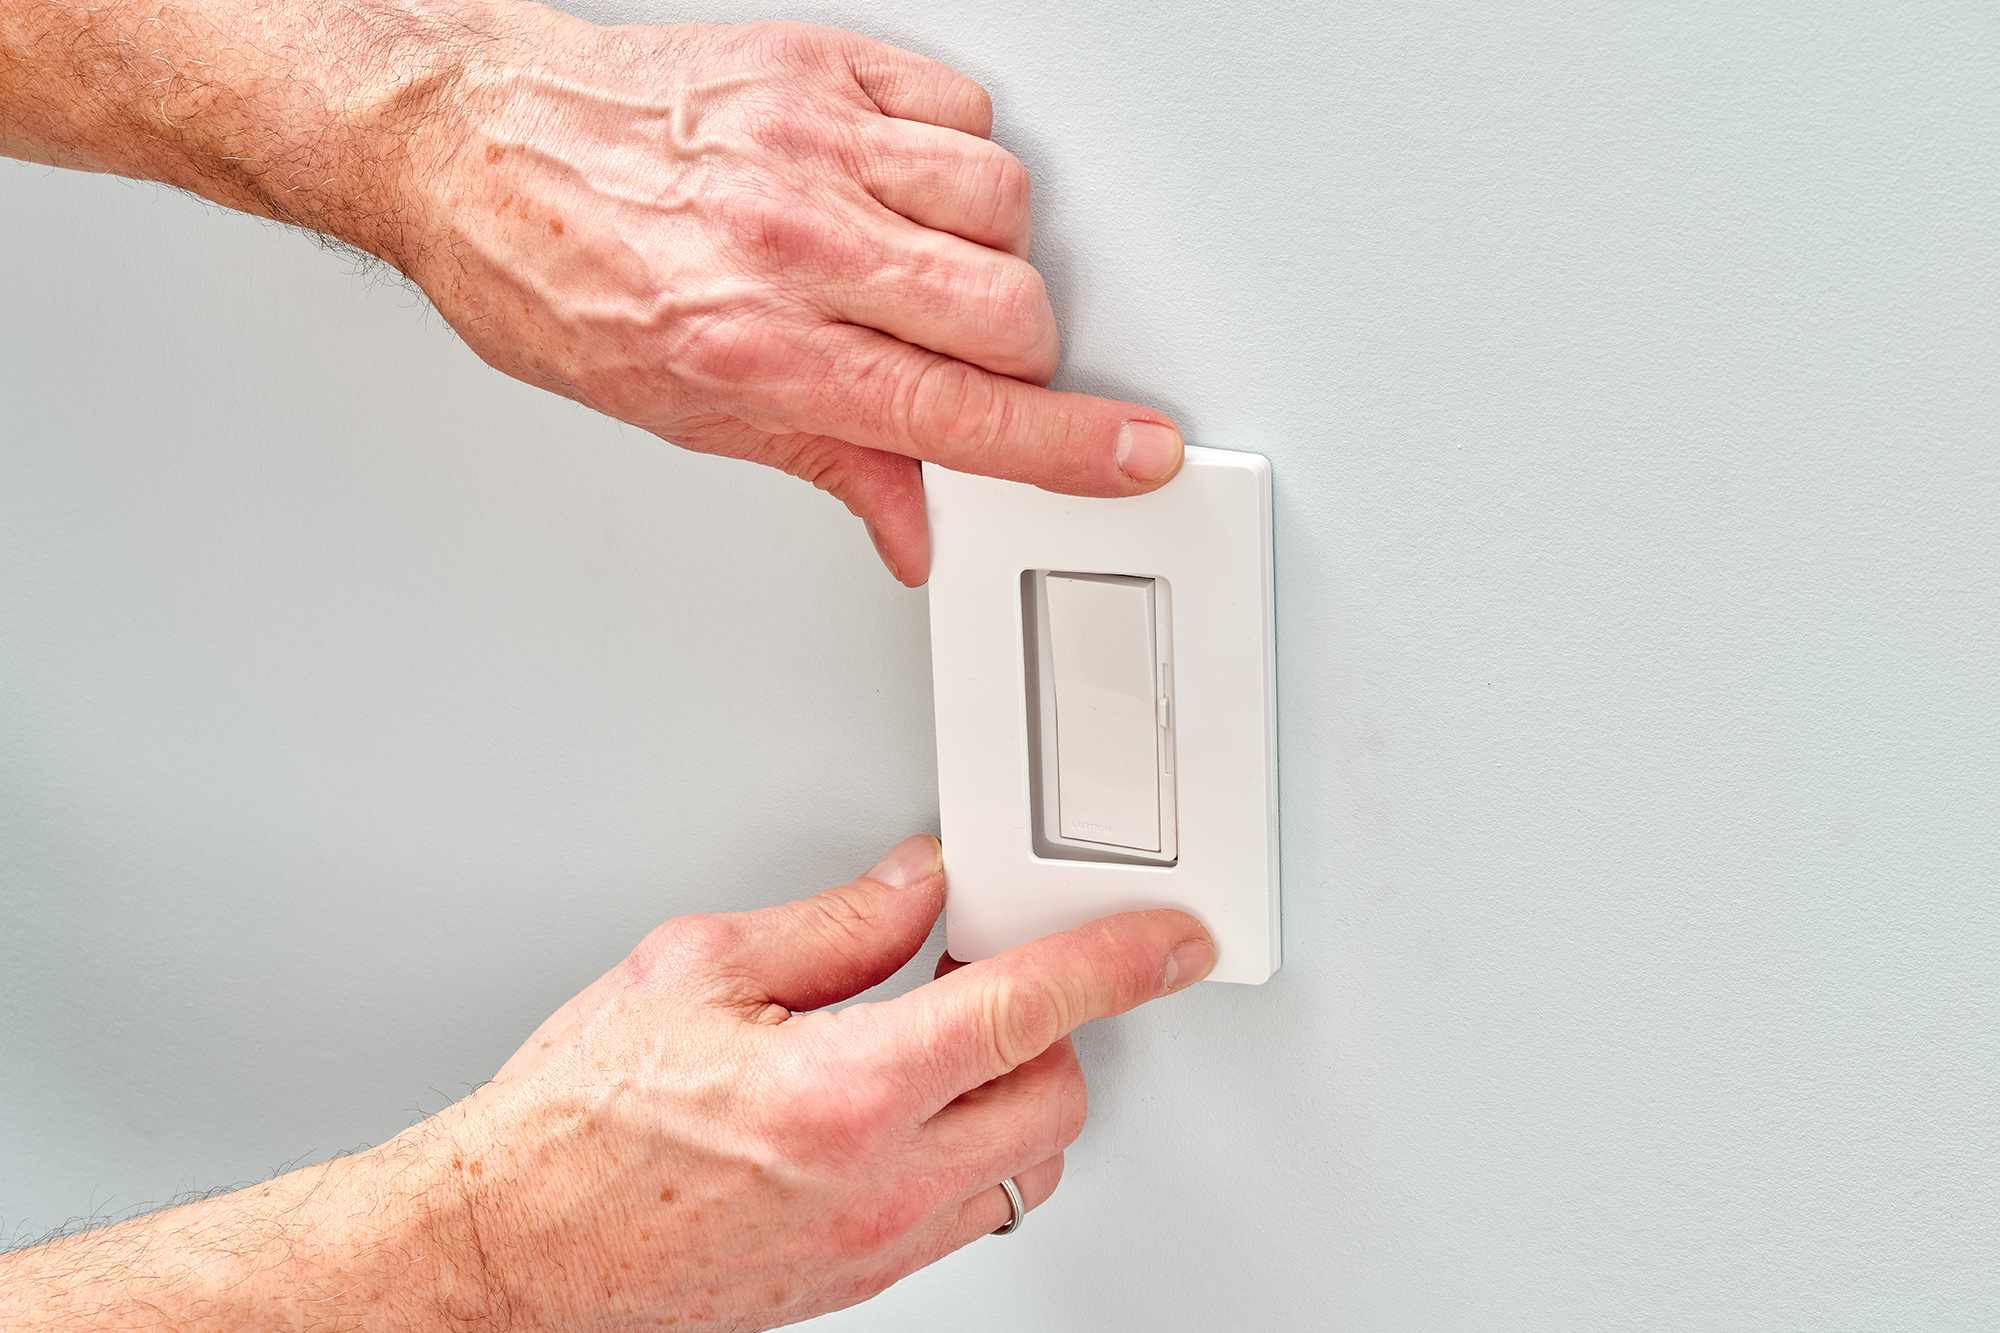
- Use the wireless remote control: If your light fixture is equipped with a wireless remote control, make sure the batteries are installed and properly connected. Test the remote control by turning the light on and off, adjusting the brightness, or using any other available functions.
- Switch on the light: Alternatively, you can manually turn on the light using any switches or controls that may be included with your light fixture. Check if the light turns on and off as expected.
- Observe any dimming or flickering: Pay attention to the behavior of the light fixture. Ensure that it turns on and off smoothly without any flickering or dimming issues. If there are any abnormalities, further investigation may be required.
- Confirm functionality: Assess the overall functionality of the light fixture, including any additional features it may have. Make sure any adjustable settings or options operate correctly.
- Verify safety: After testing the function of the light fixture, verify that the installation is safe. Check for any signs of overheating, loose wires, or unusual smells. Be cautious of any potential hazards and address them promptly.
By thoroughly testing the installation, you can ensure that the ceiling light fixture is operating safely and as intended. If you notice any issues or concerns during the testing process, it’s important to address them promptly or seek professional assistance if needed.
Congratulations! You have successfully installed a ceiling light without existing wiring. Your newly installed light fixture will add brightness and ambiance to your space while enhancing its overall aesthetic appeal.
Remember, if you are unsure or uncomfortable working with electrical components, it’s always best to consult a licensed electrician to ensure a safe and professional installation.
Conclusion
Installing a ceiling light fixture without existing wiring may seem like a daunting task, but with the right tools, materials, and knowledge, it is certainly achievable. By following the step-by-step process outlined in this article, you can bring light to any area of your home, even where there is no pre-existing electrical connection.
From gathering the necessary tools and materials to testing the installation, each step plays a crucial role in ensuring a successful and safe installation. Remember, safety should always be your top priority when working with electrical components. If you are unsure or uncomfortable with any aspect of the installation, it’s best to consult a licensed electrician for assistance.
By selecting the appropriate type of ceiling light fixture, determining the power source, installing a junction box, running electrical wire, mounting the fixture, connecting the wires, and securing the fixture, you can create a well-lit and visually appealing space in your home.
Once the installation is complete, take the time to test the functionality of the ceiling light fixture. Ensure that it operates smoothly, without any flickering or dimming issues, and that all additional features, such as wireless remote controls, are working correctly.
With your ceiling light fixture successfully installed, you can now enjoy a brighter and more inviting atmosphere in your space. Whether it’s in the living room, bedroom, kitchen, or any other area, the new light fixture will enhance the aesthetics and functionality of the room.
Remember, if you have any doubts or concerns during the installation process, it’s always recommended to seek the help of a qualified electrician. Your safety is paramount, and it’s better to enlist professional assistance rather than risking any potential electrical hazards.
Now, go ahead and enjoy the benefits of your newly installed ceiling light without the need for existing wiring. Bask in the ambience it creates and revel in the transformation it brings to your living space.
Frequently Asked Questions about How To Install Ceiling Light Without Existing Wiring
Was this page helpful?
At Storables.com, we guarantee accurate and reliable information. Our content, validated by Expert Board Contributors, is crafted following stringent Editorial Policies. We're committed to providing you with well-researched, expert-backed insights for all your informational needs.


0 thoughts on “How To Install Ceiling Light Without Existing Wiring”