Home>Furniture & Design>Bathroom Accessories>How To Remove A Bathtub Without Damaging Tiles
Bathroom Accessories
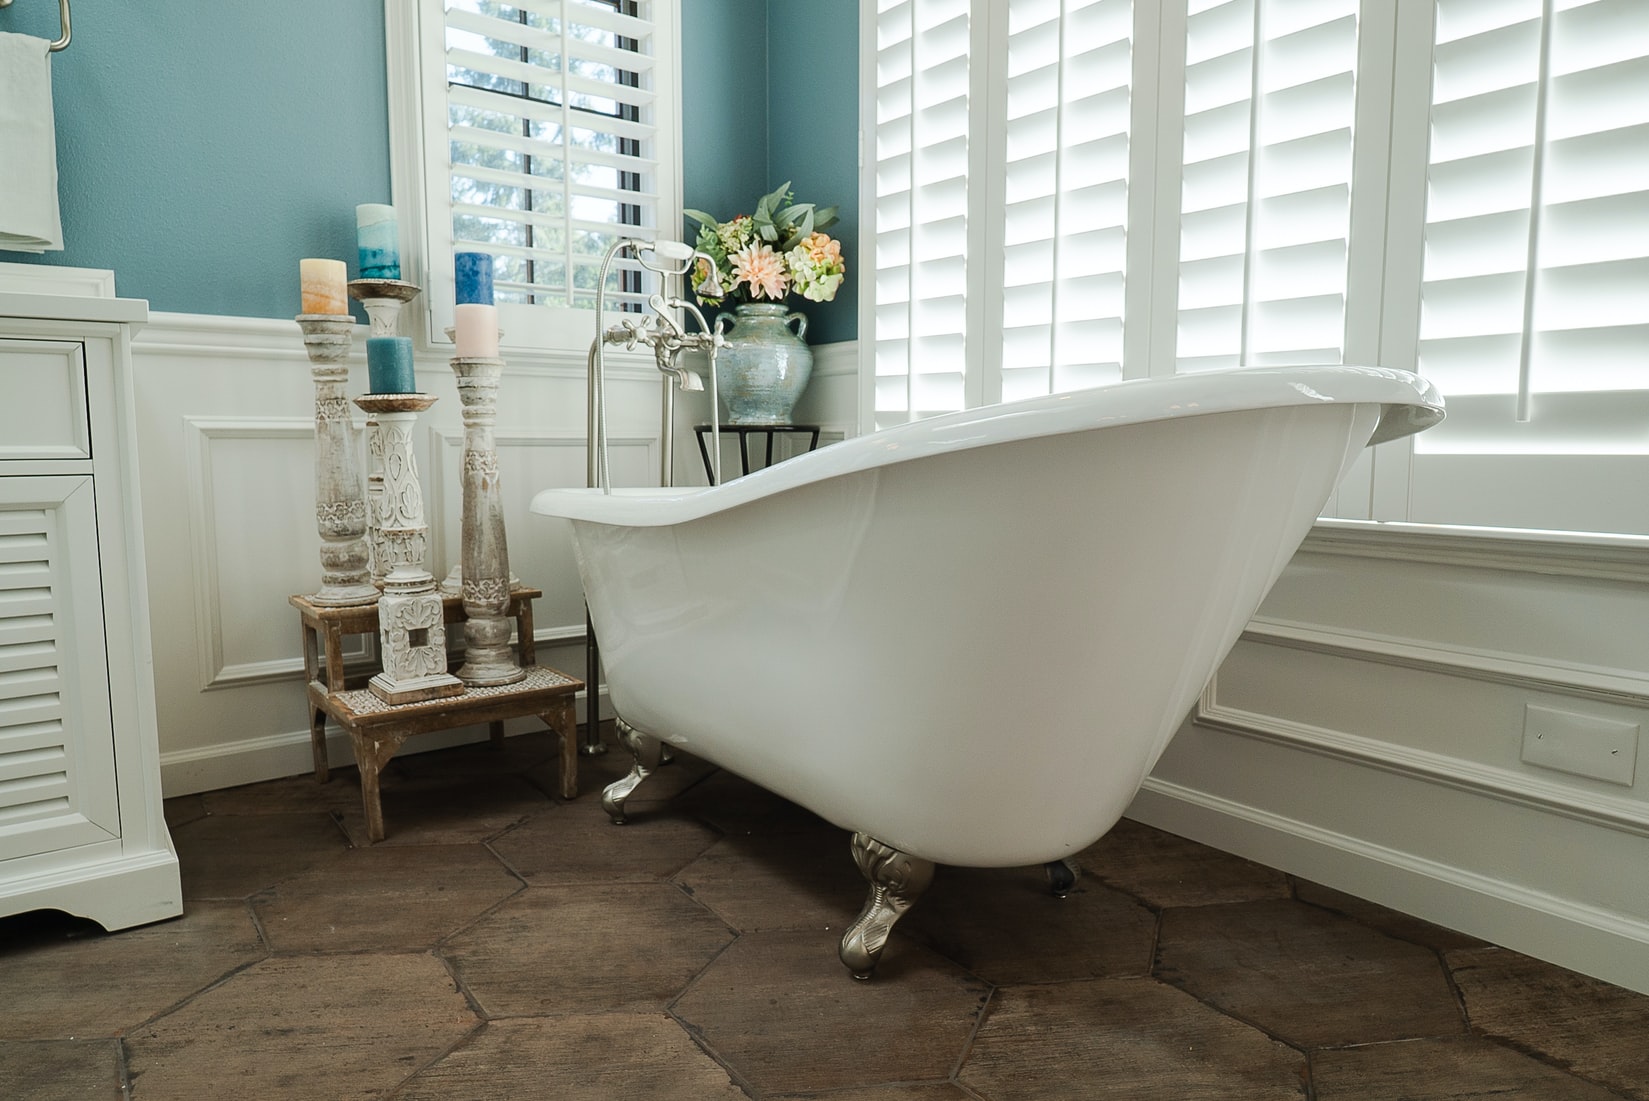
How To Remove A Bathtub Without Damaging Tiles
Modified: August 25, 2024
Learn how to remove a bathtub without damaging tiles with our expert tips and guidance. Upgrade your bathroom accessories hassle-free!
(Many of the links in this article redirect to a specific reviewed product. Your purchase of these products through affiliate links helps to generate commission for Storables.com, at no extra cost. Learn more)
Introduction
Removing a bathtub without damaging the surrounding tiles can seem like a daunting task, but with the right tools, techniques, and a bit of patience, it can be accomplished successfully. Whether you're renovating your bathroom or simply replacing an old tub, this comprehensive guide will walk you through the step-by-step process of removing a bathtub while preserving the integrity of the tiles.
By following these instructions, you can avoid the costly and time-consuming repairs that often accompany accidental tile damage. Before you begin, it's important to gather all the necessary tools and materials, including protective gear such as gloves and safety goggles. Additionally, having a clear understanding of the layout and construction of your bathtub and its surrounding tiles will be beneficial as you navigate through the removal process.
With a methodical approach and attention to detail, you can safely and effectively remove the bathtub, leaving the tiles unscathed and ready for the next phase of your bathroom renovation project. So, roll up your sleeves, gather your tools, and let's dive into the step-by-step process of removing a bathtub without damaging the tiles.
Key Takeaways:
- Safely remove a bathtub without damaging tiles by preparing the area, disconnecting plumbing, and removing fixtures. Clean and inspect tiles for damage after removal for a seamless renovation process.
- With the right tools and techniques, you can successfully remove a bathtub without harming surrounding tiles. Enlist assistance, clear debris, and inspect for damage to ensure a smooth transition to the next renovation phase.
Read more: How To Remove Hardwood Floor Without Damage
Step 1: Prepare the Area
Before you embark on the task of removing a bathtub, it's crucial to prepare the surrounding area to ensure a smooth and safe process. Here's a detailed breakdown of how to prepare the area effectively:
Clear the Surrounding Space
Start by removing any items around the bathtub, such as shower curtains, bath mats, toiletries, and decorative items. Clearing the area will provide you with ample space to work and maneuver during the removal process. Additionally, it minimizes the risk of these items getting damaged or hindering your progress.
Turn Off the Water Supply
Locate the shut-off valves for the bathtub's water supply and turn them off to prevent any accidental leaks or spills during the removal. It's essential to verify that the water supply is completely shut off before proceeding to disconnect the plumbing.
Protect the Floor and Surrounding Surfaces
Cover the bathroom floor and any adjacent surfaces with drop cloths or protective sheets to safeguard them from potential scratches, dents, or debris. This precautionary measure is particularly important if you plan to reuse the bathtub or if there are delicate flooring materials, such as hardwood or tile, that need to be shielded from damage.
Read more: How To Drive On Grass Without Damage
Ventilate the Area
Proper ventilation is essential when working with tools and materials that may produce dust, fumes, or odors. Open windows and use fans to ensure adequate airflow in the bathroom. If possible, consider using a respirator mask to protect yourself from inhaling any airborne particles or chemical odors that may arise during the removal process.
Gather the Necessary Tools and Equipment
Ensure that you have all the required tools and equipment readily available. This may include a utility knife, adjustable wrench, screwdriver, pry bar, and safety gear such as gloves and safety goggles. Having these items within reach will streamline the removal process and minimize interruptions.
By meticulously preparing the area before initiating the bathtub removal, you set the stage for a well-organized and efficient process. This initial groundwork not only facilitates the subsequent steps but also contributes to a safer and more controlled environment for the task at hand.
Step 2: Disconnect the Plumbing
Once the area is prepared, the next crucial step in removing a bathtub without damaging the tiles is disconnecting the plumbing. This process involves shutting off the water supply, removing the fixtures, and disconnecting the drain to ensure a seamless and safe removal of the bathtub.
Shut Off the Water Supply
Locate the shut-off valves for the bathtub's hot and cold water supply. These valves are typically found near the tub or in an adjacent utility area. Turn the valves clockwise to shut off the water supply completely. It's essential to verify that the water flow has ceased by turning on the bathtub faucet and ensuring no water is running.
Read more: How To Use A Ladder Without Damaging Gutters
Remove the Fixtures
Using an adjustable wrench, carefully disconnect the water supply lines from the bathtub's faucet handles. Place a bucket or towel beneath the connections to catch any residual water that may drain out. Once the water supply lines are detached, set them aside in a safe and accessible location for reinstallation in the future.
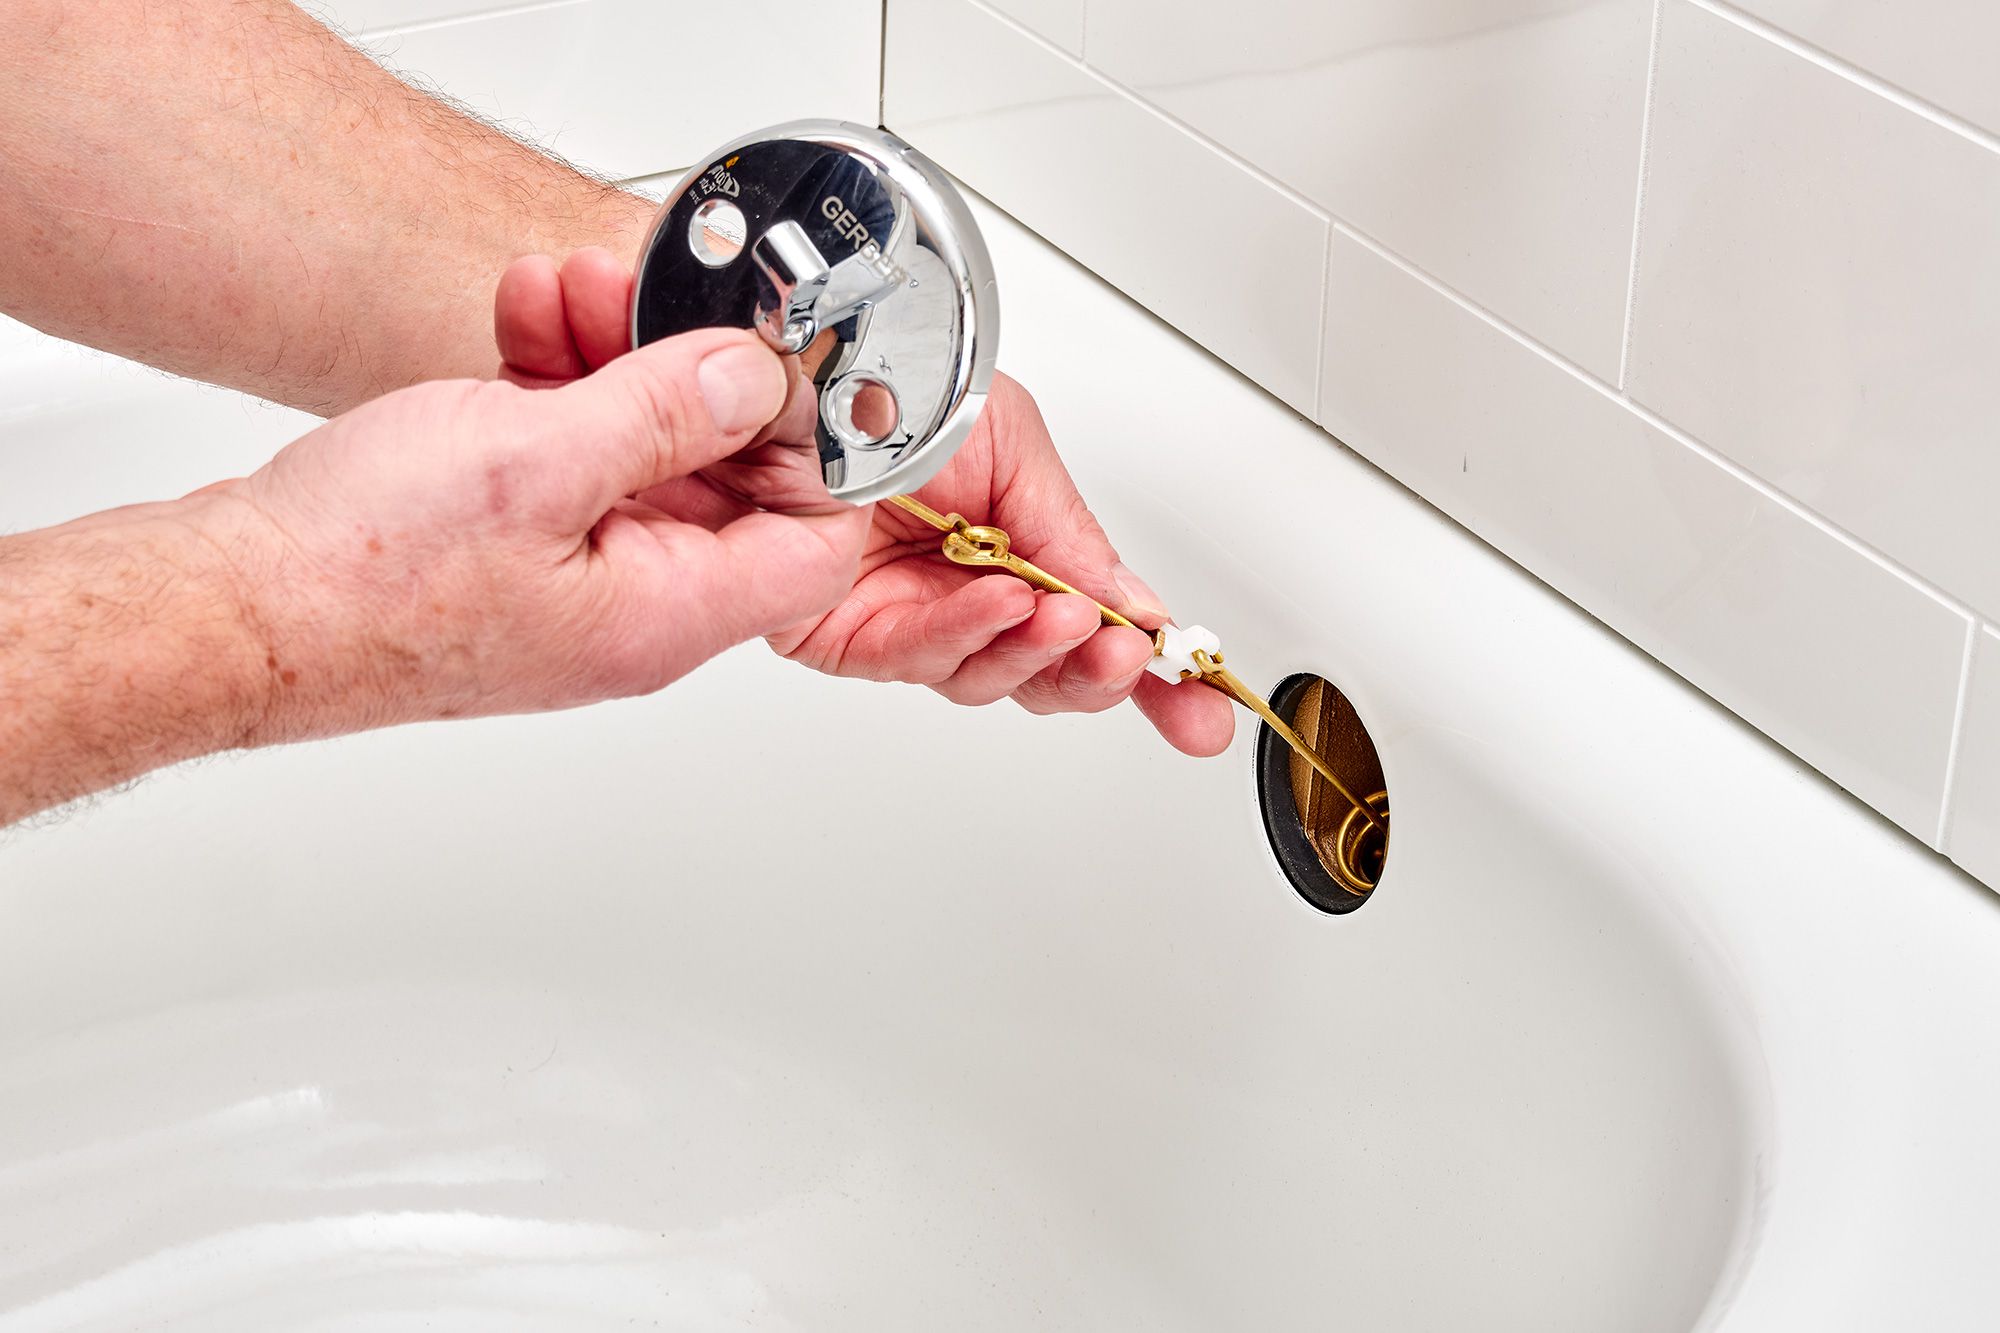
Disconnect the Drain
Locate the bathtub's drain access panel, which is typically located beneath the tub or in an adjacent wall. Remove the access panel to gain access to the drain assembly. Using a screwdriver, loosen and remove the screws securing the drain cover in place. Once the cover is removed, use a pair of pliers to disconnect the drain linkage and stopper mechanism.
Next, use a drain wrench to loosen and remove the drain flange from the drainpipe. Carefully turn the drain wrench counterclockwise to release the flange. Once the flange is detached, inspect the drainpipe to ensure it is free from any obstructions or debris.
Inspect and Clean the Plumbing
With the plumbing disconnected, take this opportunity to inspect the exposed pipes and fittings for any signs of corrosion, leaks, or damage. Wipe down the pipes and fittings with a clean cloth to remove any accumulated grime or residue. This inspection ensures that the plumbing components are in good condition and ready for reconnection once the new bathtub is installed.
By methodically disconnecting the plumbing, you pave the way for a smooth and hassle-free removal of the bathtub. This meticulous approach minimizes the risk of damage to the surrounding tiles and sets the stage for the subsequent steps in the removal process.
Step 3: Remove the Surrounding Fixtures
Removing the surrounding fixtures is a critical step in the process of removing a bathtub without causing damage to the adjacent tiles. This step involves carefully detaching the fixtures, such as the bathtub faucet, handles, and any additional accessories, to create a clear path for the bathtub removal. Here's a detailed breakdown of how to effectively remove the surrounding fixtures:
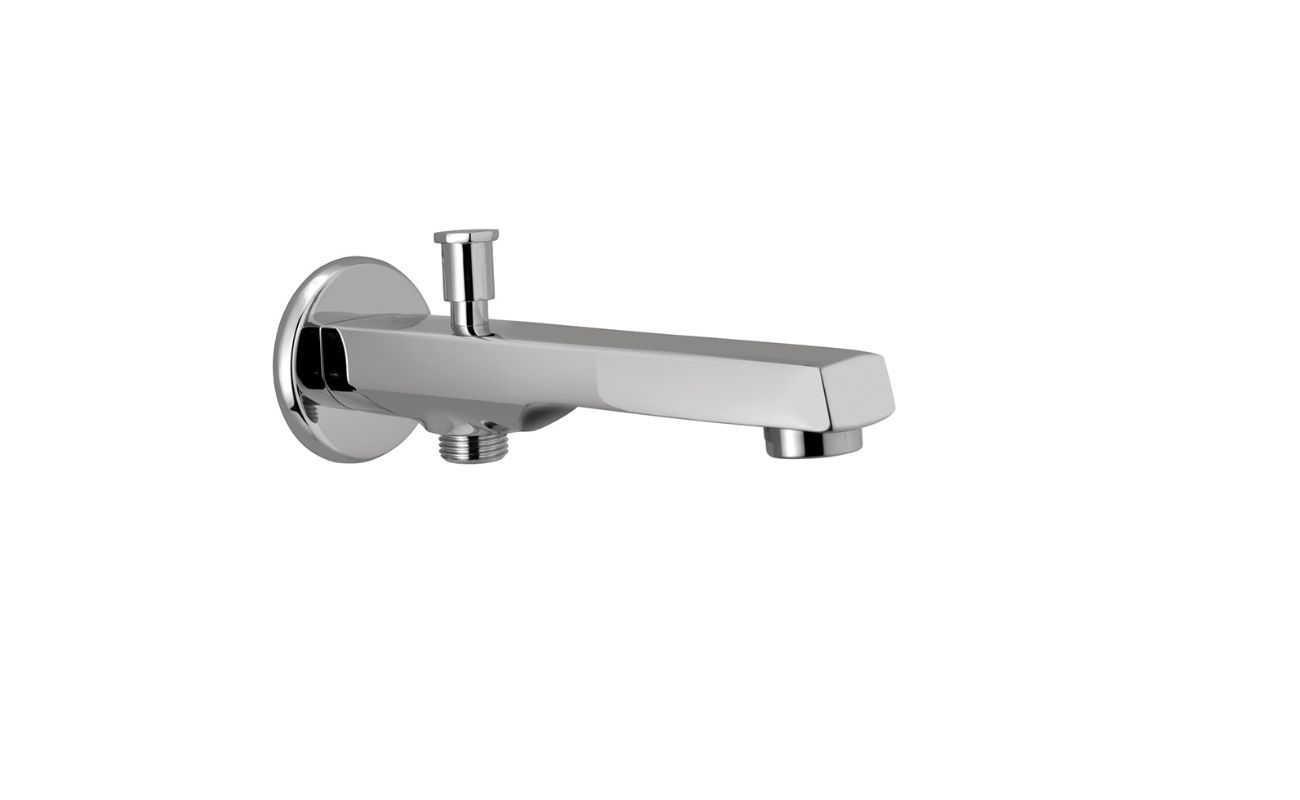
Detach the Faucet and Handles
Using a screwdriver, carefully remove the screws or fasteners securing the bathtub faucet and handles to the wall or the bathtub itself. Once the fasteners are removed, gently pull the faucet and handles away from the wall or the bathtub. Be mindful of any water lines or connections that may still be attached to the fixtures. If necessary, use an adjustable wrench to disconnect the water supply lines from the faucet handles, ensuring that any residual water is caught in a bucket or towel.
Remove Additional Accessories
Inspect the surrounding area for any additional accessories, such as soap dishes, shelves, or decorative trim. Using a utility knife or a pry bar, carefully remove these accessories from the wall or the bathtub enclosure. Take caution to avoid applying excessive force that could potentially damage the tiles. If the accessories are secured with adhesive, gently pry them away using a putty knife or a similar tool to minimize the risk of tile damage.
Inspect and Clean the Exposed Area
Once the fixtures and accessories have been removed, take a moment to inspect the exposed area for any signs of damage, wear, or mold. Wipe down the surfaces with a damp cloth to remove any accumulated grime, residue, or adhesive remnants. This inspection and cleaning process not only prepares the area for the subsequent steps but also ensures that the surrounding tiles remain intact and undamaged throughout the fixture removal process.
By methodically removing the surrounding fixtures with precision and care, you create a clear and unobstructed space for the bathtub removal. This meticulous approach minimizes the risk of accidental damage to the adjacent tiles and sets the stage for the seamless progression of the removal process.
Step 4: Loosen the Tub
Loosening the bathtub from its position is a pivotal step in the process of removing a bathtub without causing damage to the surrounding tiles. This step requires a methodical approach to ensure that the tub is detached from its fixtures and the floor without compromising the integrity of the tiles. Here's a detailed breakdown of how to effectively loosen the tub:
-
Inspect the Tub's Attachment Points: Begin by visually inspecting the underside of the bathtub to identify the attachment points securing it to the floor and the surrounding walls. These attachment points may include screws, nails, or adhesive materials that anchor the tub in place. Take note of the location and type of fasteners used, as this will inform the method of detachment.
-
Remove the Fasteners: Using a screwdriver, pry bar, or appropriate tool, carefully remove the fasteners securing the bathtub to the surrounding walls and the floor. Exercise caution to avoid excessive force that could potentially damage the tiles. If the bathtub is secured with adhesive, gently pry it away from the floor using a putty knife or a similar tool, taking care not to disturb the tiles.
-
Lift and Loosen: With the fasteners removed, enlist the help of a partner to assist in lifting and loosening the bathtub from its position. Lift the tub slightly to disengage it from the drainpipe and any remaining plumbing connections. Take care to lift the tub evenly to prevent any undue stress on the surrounding tiles.
-
Inspect the Drain and Plumbing Connections: Once the tub is lifted, inspect the exposed drain and plumbing connections to ensure that they are free from any obstructions or damage. This inspection is crucial for preparing the area for the complete removal of the bathtub and the subsequent installation of a new unit.
-
Clear the Path: After loosening the tub, carefully maneuver it away from the surrounding walls and the floor, ensuring that it does not make contact with the tiles. Clear any obstacles or debris from the path to facilitate the safe removal of the bathtub from the bathroom.
By following these steps to loosen the bathtub with precision and care, you pave the way for a seamless and damage-free removal process. This meticulous approach minimizes the risk of accidental damage to the surrounding tiles and sets the stage for the subsequent steps in the bathtub removal process.
Read more: How To Remove Tile Countertops
Step 5: Remove the Tub
With the bathtub loosened from its fixtures and the surrounding area prepared, the next critical step is the actual removal of the tub from the bathroom. This process requires careful maneuvering and coordination to ensure that the surrounding tiles remain undamaged throughout the extraction. Here's a detailed breakdown of how to effectively remove the tub:
-
Enlist Assistance: Before attempting to remove the bathtub, enlist the help of a partner or additional personnel to assist in lifting and maneuvering the tub. This collaborative effort ensures that the removal process is carried out safely and with minimal risk to the surrounding tiles.
-
Lift and Maneuver: With the assistance of your partner, carefully lift the bathtub from its position, taking care to distribute the weight evenly to prevent undue stress on the surrounding tiles. Slowly maneuver the tub away from the wall and the floor, ensuring that it does not make contact with the tiles or any delicate surfaces.
-
Clear the Path: As the tub is being moved, clear any obstacles or debris from the path to facilitate a smooth and unobstructed removal process. This proactive measure minimizes the risk of accidental damage to the tiles and ensures that the tub can be safely extracted from the bathroom.
-
Inspect the Surrounding Area: Once the tub has been removed, take a moment to inspect the surrounding area for any signs of damage or wear. This inspection is crucial for identifying any potential tile damage that may have occurred during the removal process. If any damage is detected, take note of it for future repairs or replacements.
-
Secure the Tub: After the tub has been successfully removed from the bathroom, secure it in a safe and designated area to prevent any accidental damage or tripping hazards. Properly storing the tub ensures that it remains intact and ready for disposal or future use, depending on your renovation plans.
By following these steps to remove the bathtub with precision and care, you can ensure that the surrounding tiles remain undamaged throughout the extraction process. This meticulous approach minimizes the risk of accidental damage and sets the stage for the subsequent steps in the renovation or replacement of the bathtub.
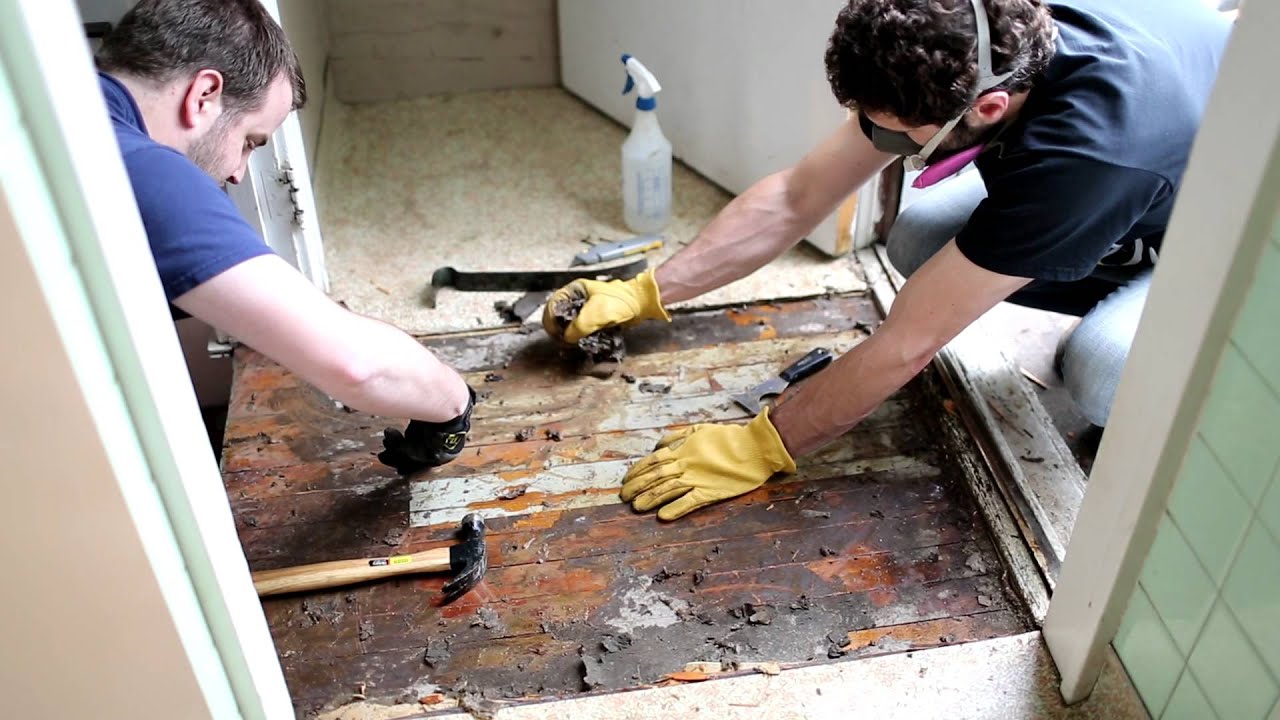
Step 6: Clean Up and Inspect the Tiles
After the successful removal of the bathtub, the final step involves thorough clean-up and a detailed inspection of the surrounding tiles. This critical phase ensures that the tiles remain intact and free from any damage incurred during the removal process. Here's a comprehensive guide on how to effectively clean up and inspect the tiles:
Clear Debris and Residue
Begin by clearing any debris, dust, or residual materials that may have accumulated during the bathtub removal. Use a vacuum cleaner or a broom to carefully sweep the area, paying close attention to the spaces between the tiles and along the grout lines. Removing debris prevents potential scratches or damage to the tiles and prepares the area for a more detailed inspection.
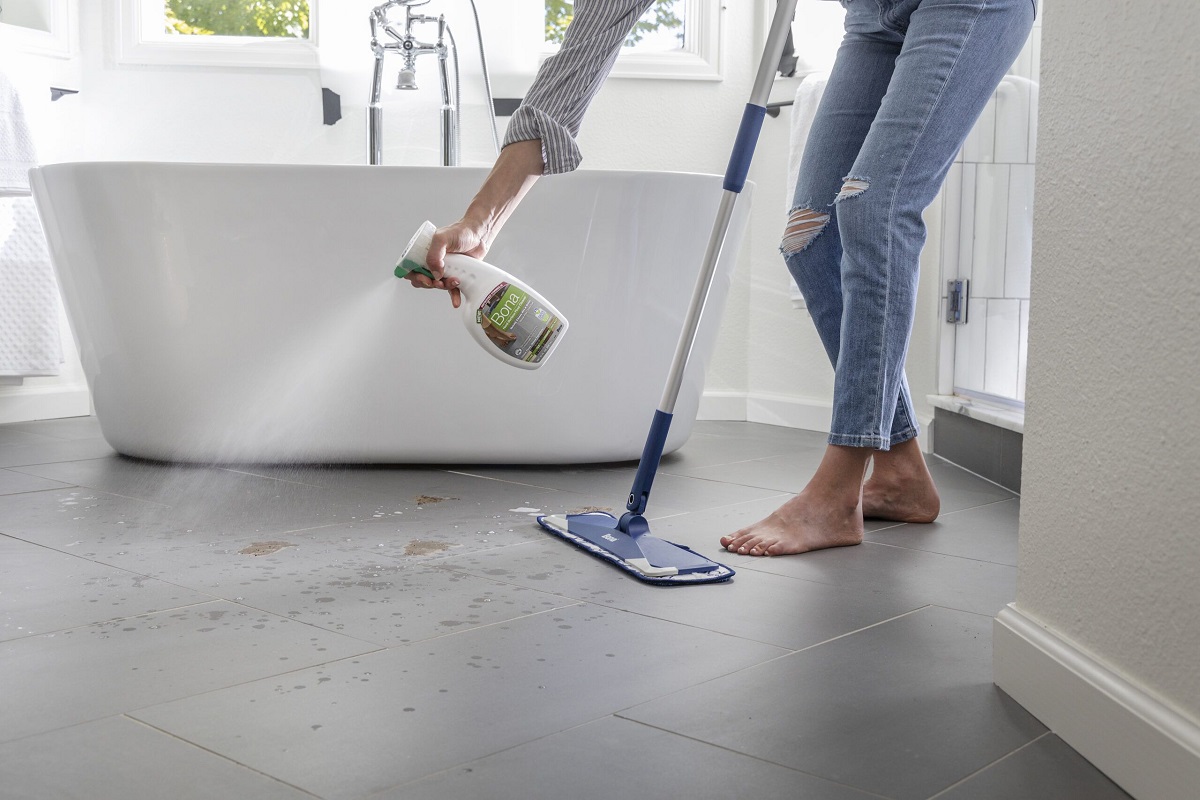
Clean the Tiles and Grout
Once the debris is cleared, proceed to clean the tiles and grout using a mild detergent or tile cleaner. Dilute the cleaner in water and apply it to the tiles, using a soft-bristled brush or sponge to gently scrub the surfaces. Pay special attention to any areas that may have been exposed to dust, adhesive residue, or other contaminants during the removal process. Thoroughly rinse the tiles with clean water to remove any remaining cleaner or residue.
Read more: How To Remove A Bathtub Handle
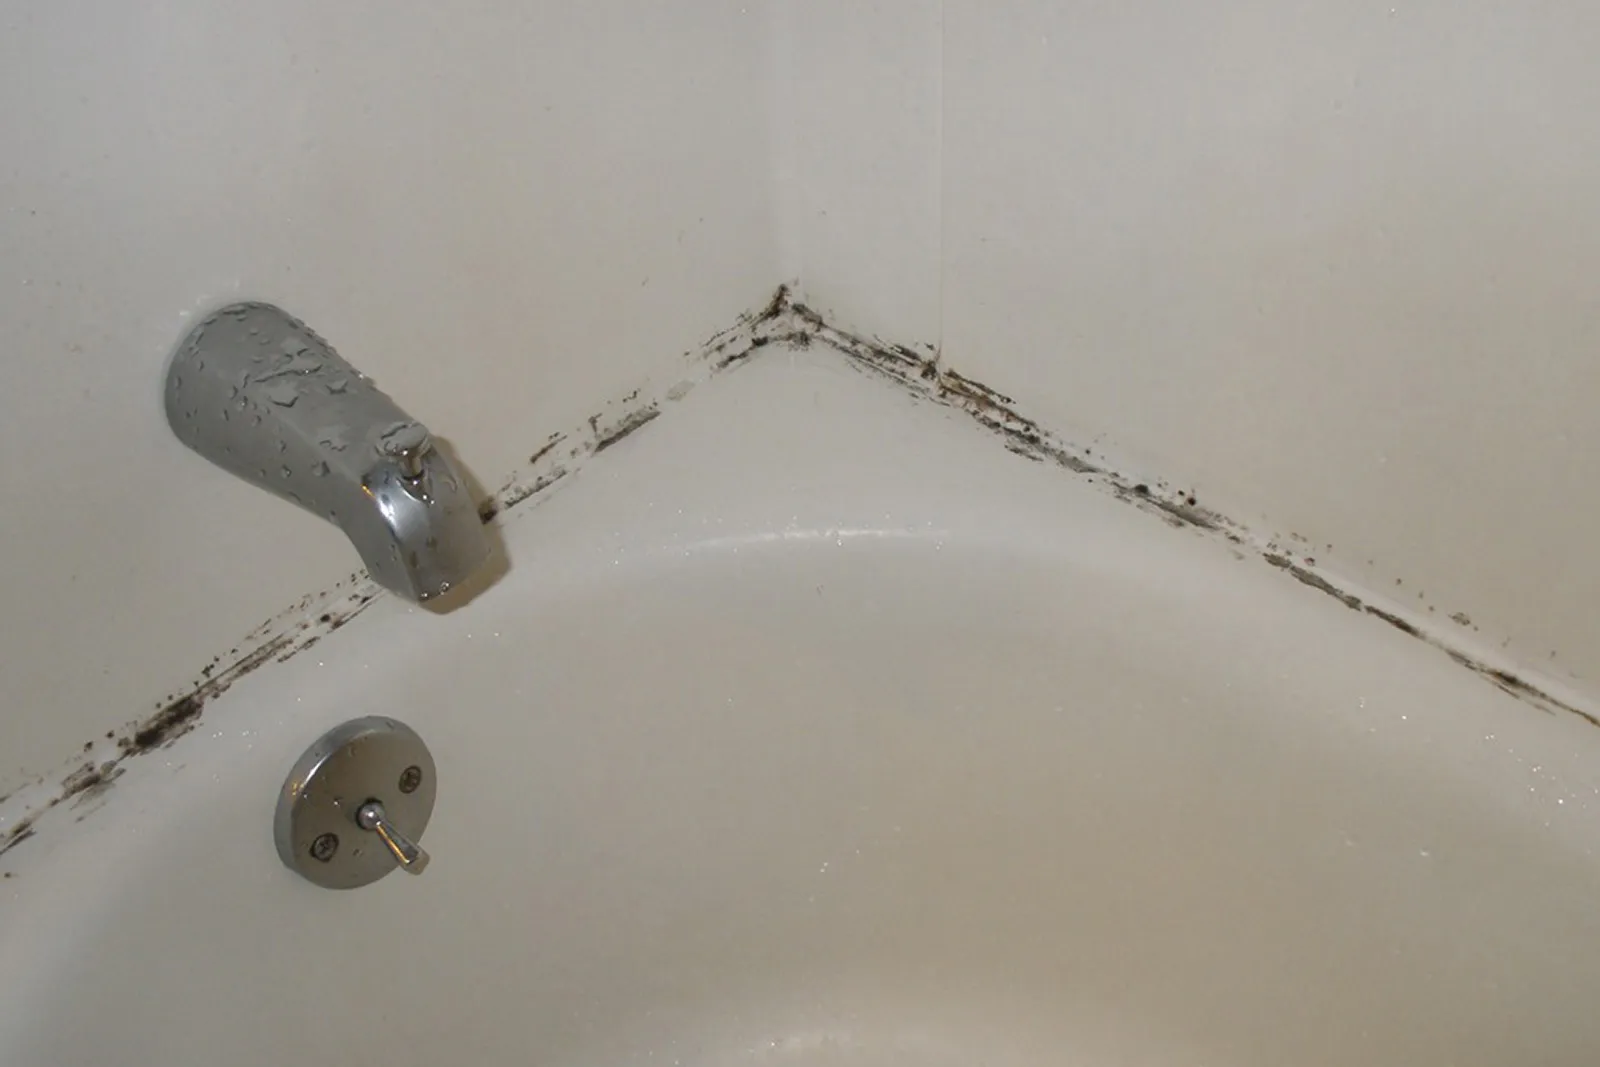
Inspect for Damage and Wear
With the tiles cleaned, conduct a meticulous inspection to identify any signs of damage, wear, or discoloration. Examine each tile closely, looking for cracks, chips, or any irregularities that may have occurred during the bathtub removal. Additionally, inspect the grout lines for any signs of deterioration or damage. Take note of any areas that require attention or potential repairs.
Addressing Tile Damage
If any tile damage is detected during the inspection, consider the appropriate measures for repair or replacement. Small chips or cracks may be remedied with a quality tile repair kit, while more extensive damage may necessitate the replacement of individual tiles or grout. It's essential to address any tile damage promptly to maintain the overall integrity and aesthetics of the bathroom.
Final Clean-Up and Restoration
Once the tiles have been inspected and any necessary repairs identified, perform a final clean-up to ensure that the surrounding area is pristine and ready for the next phase of your renovation project. Wipe down the tiles and grout with a clean, damp cloth to remove any remaining residue or cleaner. This final step restores the tiles to their original luster and prepares the space for the installation of a new bathtub or any additional renovations.
By meticulously cleaning up and inspecting the tiles, you can ensure that the surrounding surfaces remain undamaged and ready for the next phase of your bathroom renovation. This thorough approach not only preserves the aesthetics of the space but also sets the stage for a seamless transition to the subsequent steps in your renovation journey.
Frequently Asked Questions about How To Remove A Bathtub Without Damaging Tiles
Was this page helpful?
At Storables.com, we guarantee accurate and reliable information. Our content, validated by Expert Board Contributors, is crafted following stringent Editorial Policies. We're committed to providing you with well-researched, expert-backed insights for all your informational needs.


0 thoughts on “How To Remove A Bathtub Without Damaging Tiles”