Articles
How To Replace A Toilet Fill Valve
Modified: October 28, 2024
Looking for articles on how to replace a toilet fill valve? Find step-by-step guides and expert tips in our comprehensive collection.
(Many of the links in this article redirect to a specific reviewed product. Your purchase of these products through affiliate links helps to generate commission for Storables.com, at no extra cost. Learn more)
Introduction
Replacing a toilet fill valve may seem like a daunting task, but with the right tools and a little know-how, you can easily tackle this DIY project. The fill valve, also known as the ballcock or refill valve, is a crucial component of the toilet that controls the water flow into the tank. Over time, fill valves can become worn out or malfunction, resulting in problems such as noisy operation, slow tank filling, or even constant running water.
By replacing the fill valve, you can restore proper functionality to your toilet and prevent water wastage. This article will guide you through the step-by-step process of replacing a toilet fill valve, ensuring that your bathroom fixtures work efficiently and smoothly.
Before you begin, gather the necessary tools and materials. You will need an adjustable wrench, pliers, a bucket or towels to catch any water spills, a new fill valve, and Teflon tape for sealing connections.
It’s important to note that while this task is generally straightforward, it may vary depending on the type of toilet and fill valve you have. Consult your toilet’s manufacturer instructions or seek professional assistance if you encounter any difficulties or are unsure about specific steps.
Now, let’s dive into the details of how to replace a toilet fill valve.
Key Takeaways:
- Save money and water by replacing a toilet fill valve yourself. Follow the step-by-step guide to ensure efficient water flow and prevent potential plumbing issues.
- With the right tools and know-how, replacing a toilet fill valve is a straightforward DIY project. Enjoy a properly functioning toilet and contribute to water conservation.
Read more: How To Replace A Toilet Flush Valve
Tools and Materials Needed
Before you start replacing the toilet fill valve, gather the following tools and materials:
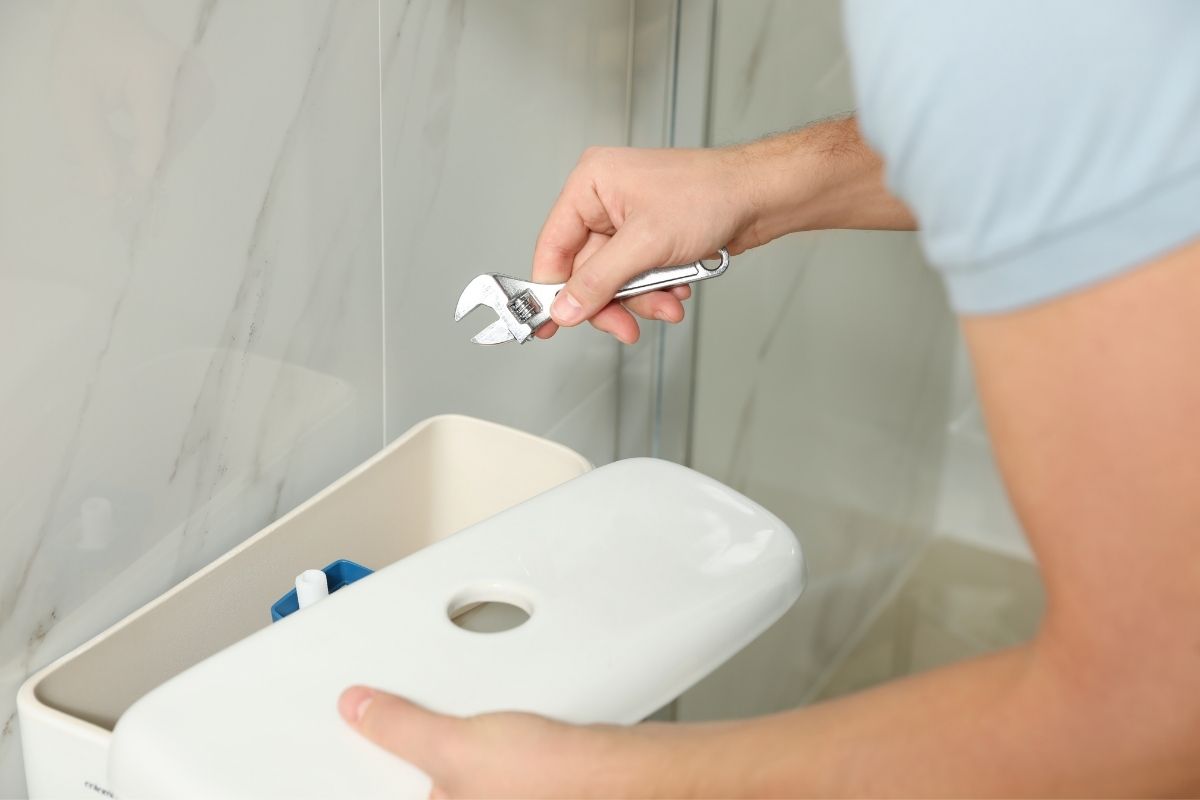
1. Adjustable wrench: This tool will be used to disconnect the water supply line and remove the old fill valve.
2. Pliers: You may need pliers to loosen or tighten nuts and bolts during the installation process.
3. Bucket or towels: It’s essential to have a bucket or towels handy to catch any water that may spill when disconnecting the water supply.
4. New fill valve: Purchase a replacement fill valve that is compatible with your toilet model. It’s recommended to get a universal fill valve that fits most toilets.
5. Teflon tape: This thin, white tape is used to seal the connections and prevent leaks.
Now that you have all the necessary tools and materials, you’re ready to begin replacing the toilet fill valve. Make sure to turn off the water supply before proceeding and follow the remaining steps carefully for a successful installation.
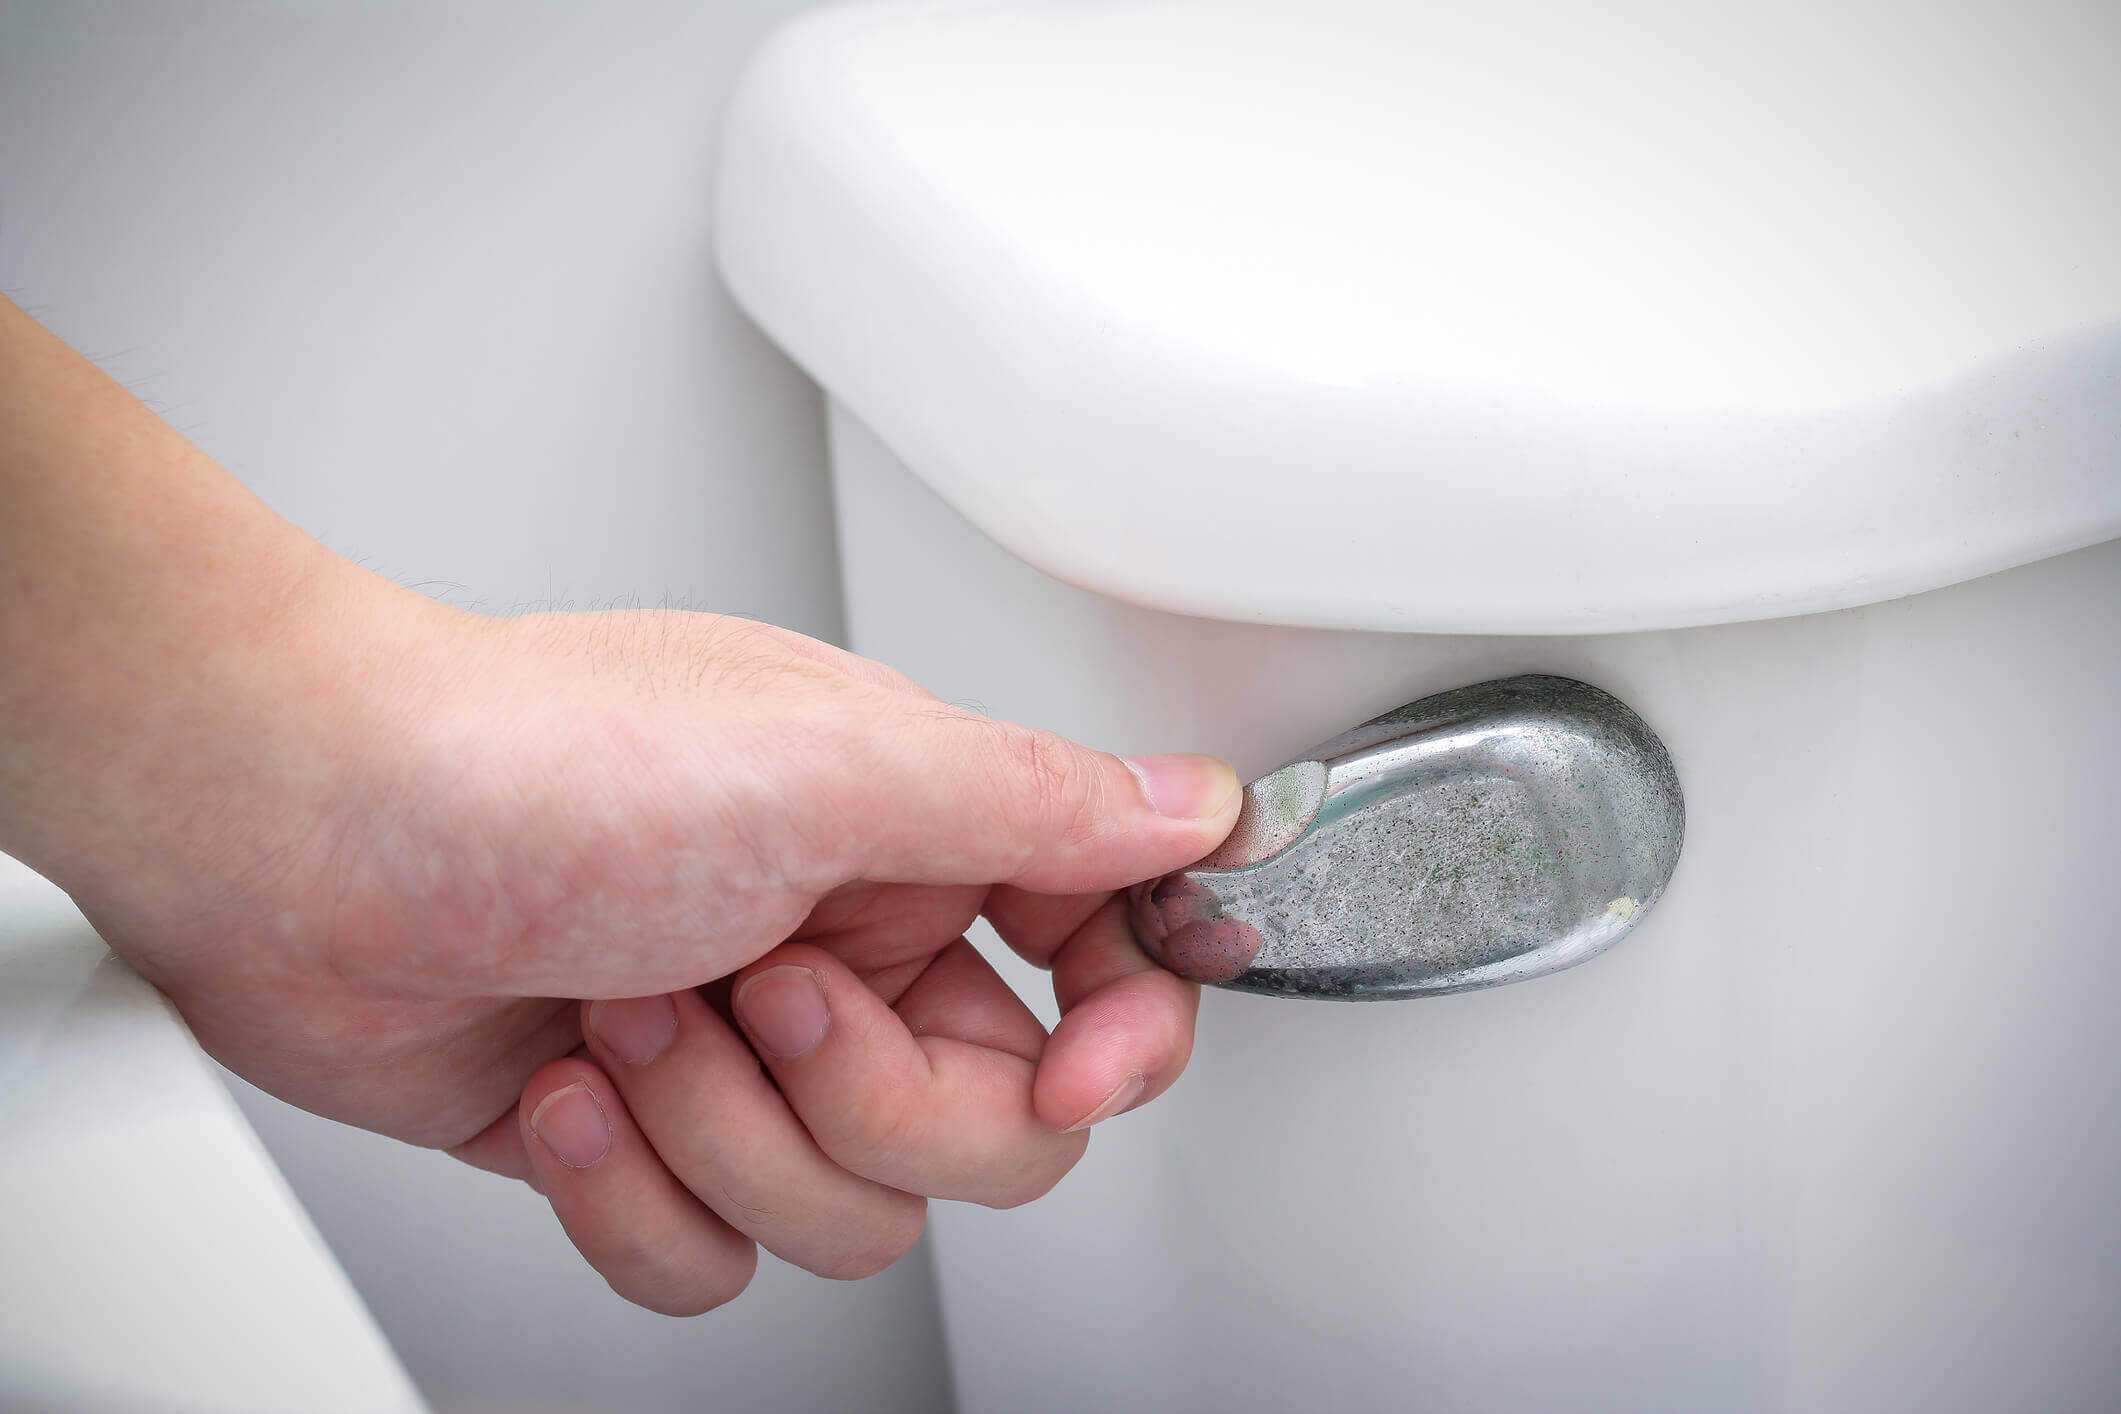
Step 1: Shut off the Water Supply
Before you start any work on the toilet, it’s crucial to shut off the water supply to avoid any potential flooding or water damage. Follow the steps below to safely turn off the water:
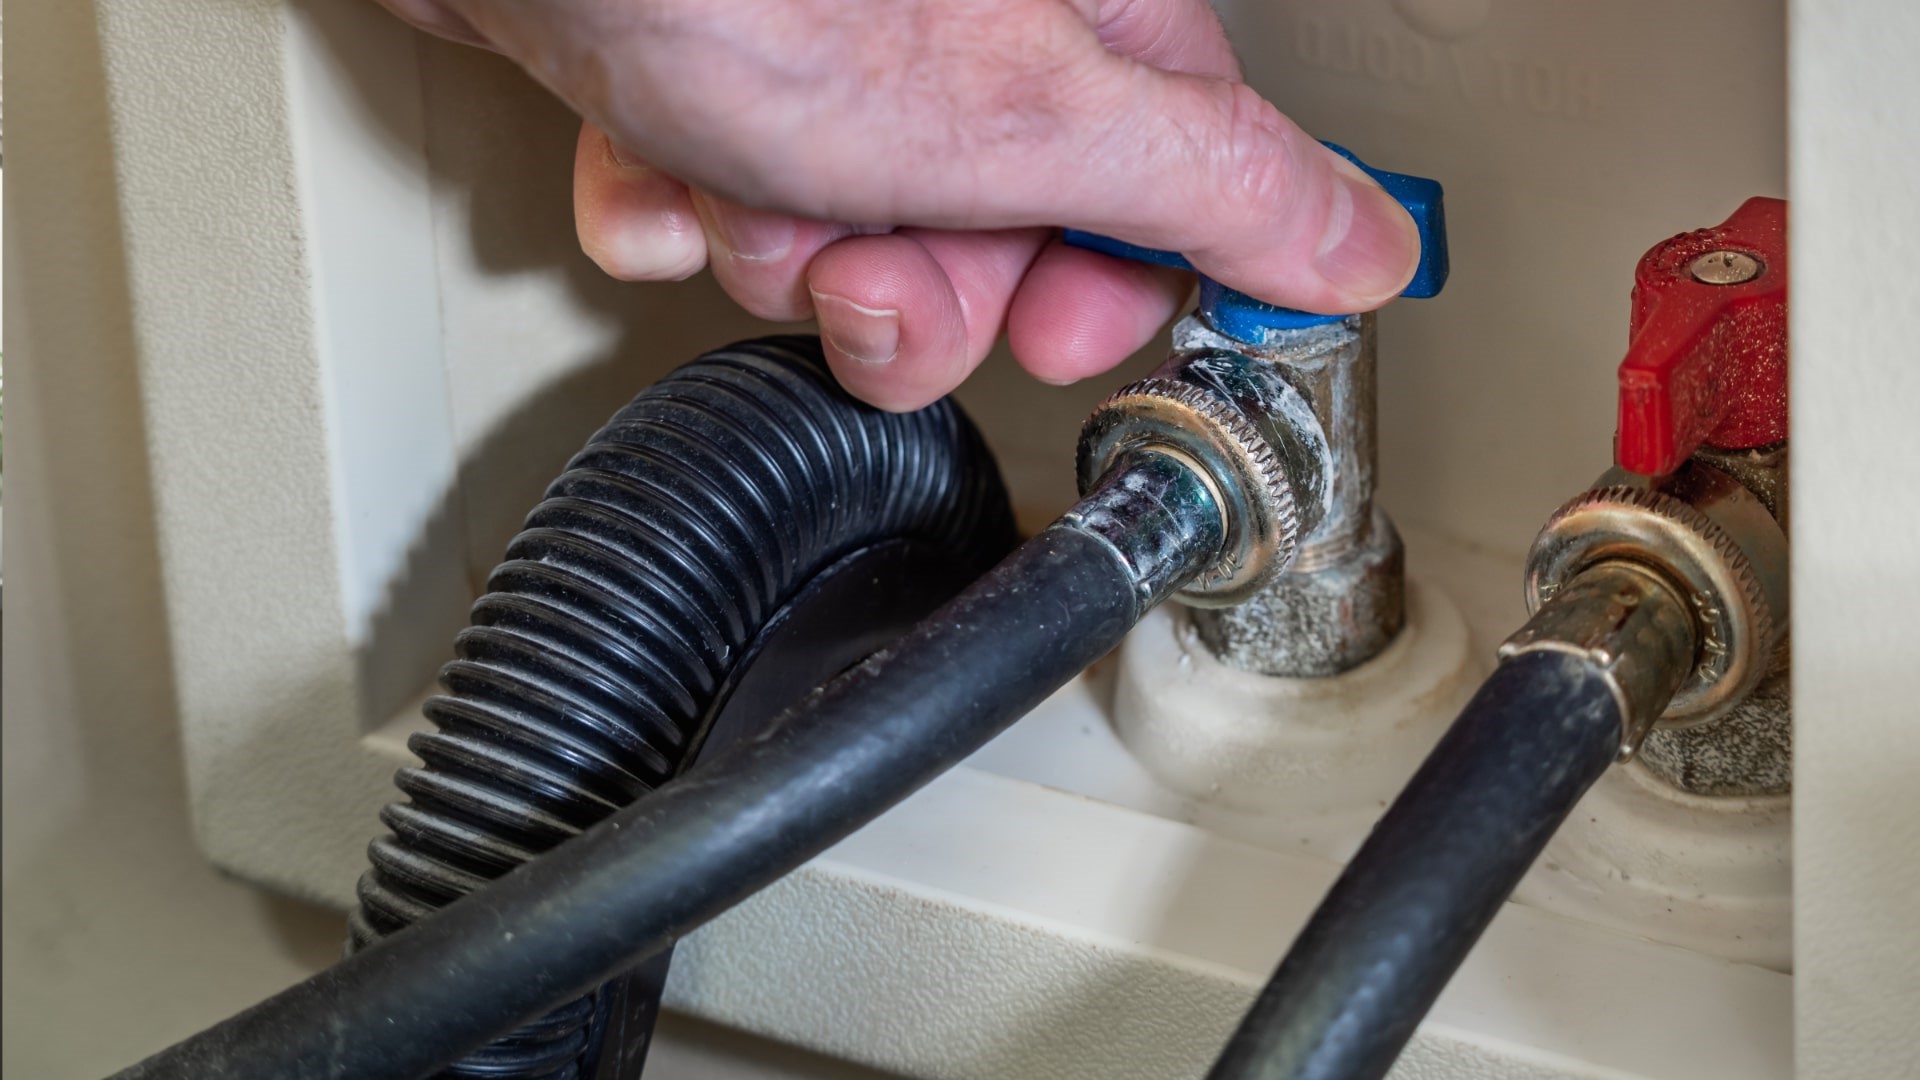
1. Locate the water shut-off valve: Look for the water shut-off valve, which is typically located behind or near the toilet. It is usually a small valve connected to a flexible water supply line.
2. Turn off the water supply: Rotate the valve in a clockwise direction until it is fully closed. This will stop the water flow to the toilet tank.
3. Flush the toilet: Flush the toilet to drain the water from the tank and reduce the amount of water remaining in the bowl. This will minimize any potential spills when disconnecting the water supply line.
4. Check for water supply valve leaks: After shutting off the valve, inspect it for any leaks. If you notice water dripping or leaking from the valve, you may need to tighten the valve or replace it before continuing with the fill valve replacement.
By shutting off the water supply, you ensure a safe and dry work area for the remainder of the process. With the water flow halted, you can now move on to the next step of draining the toilet tank.
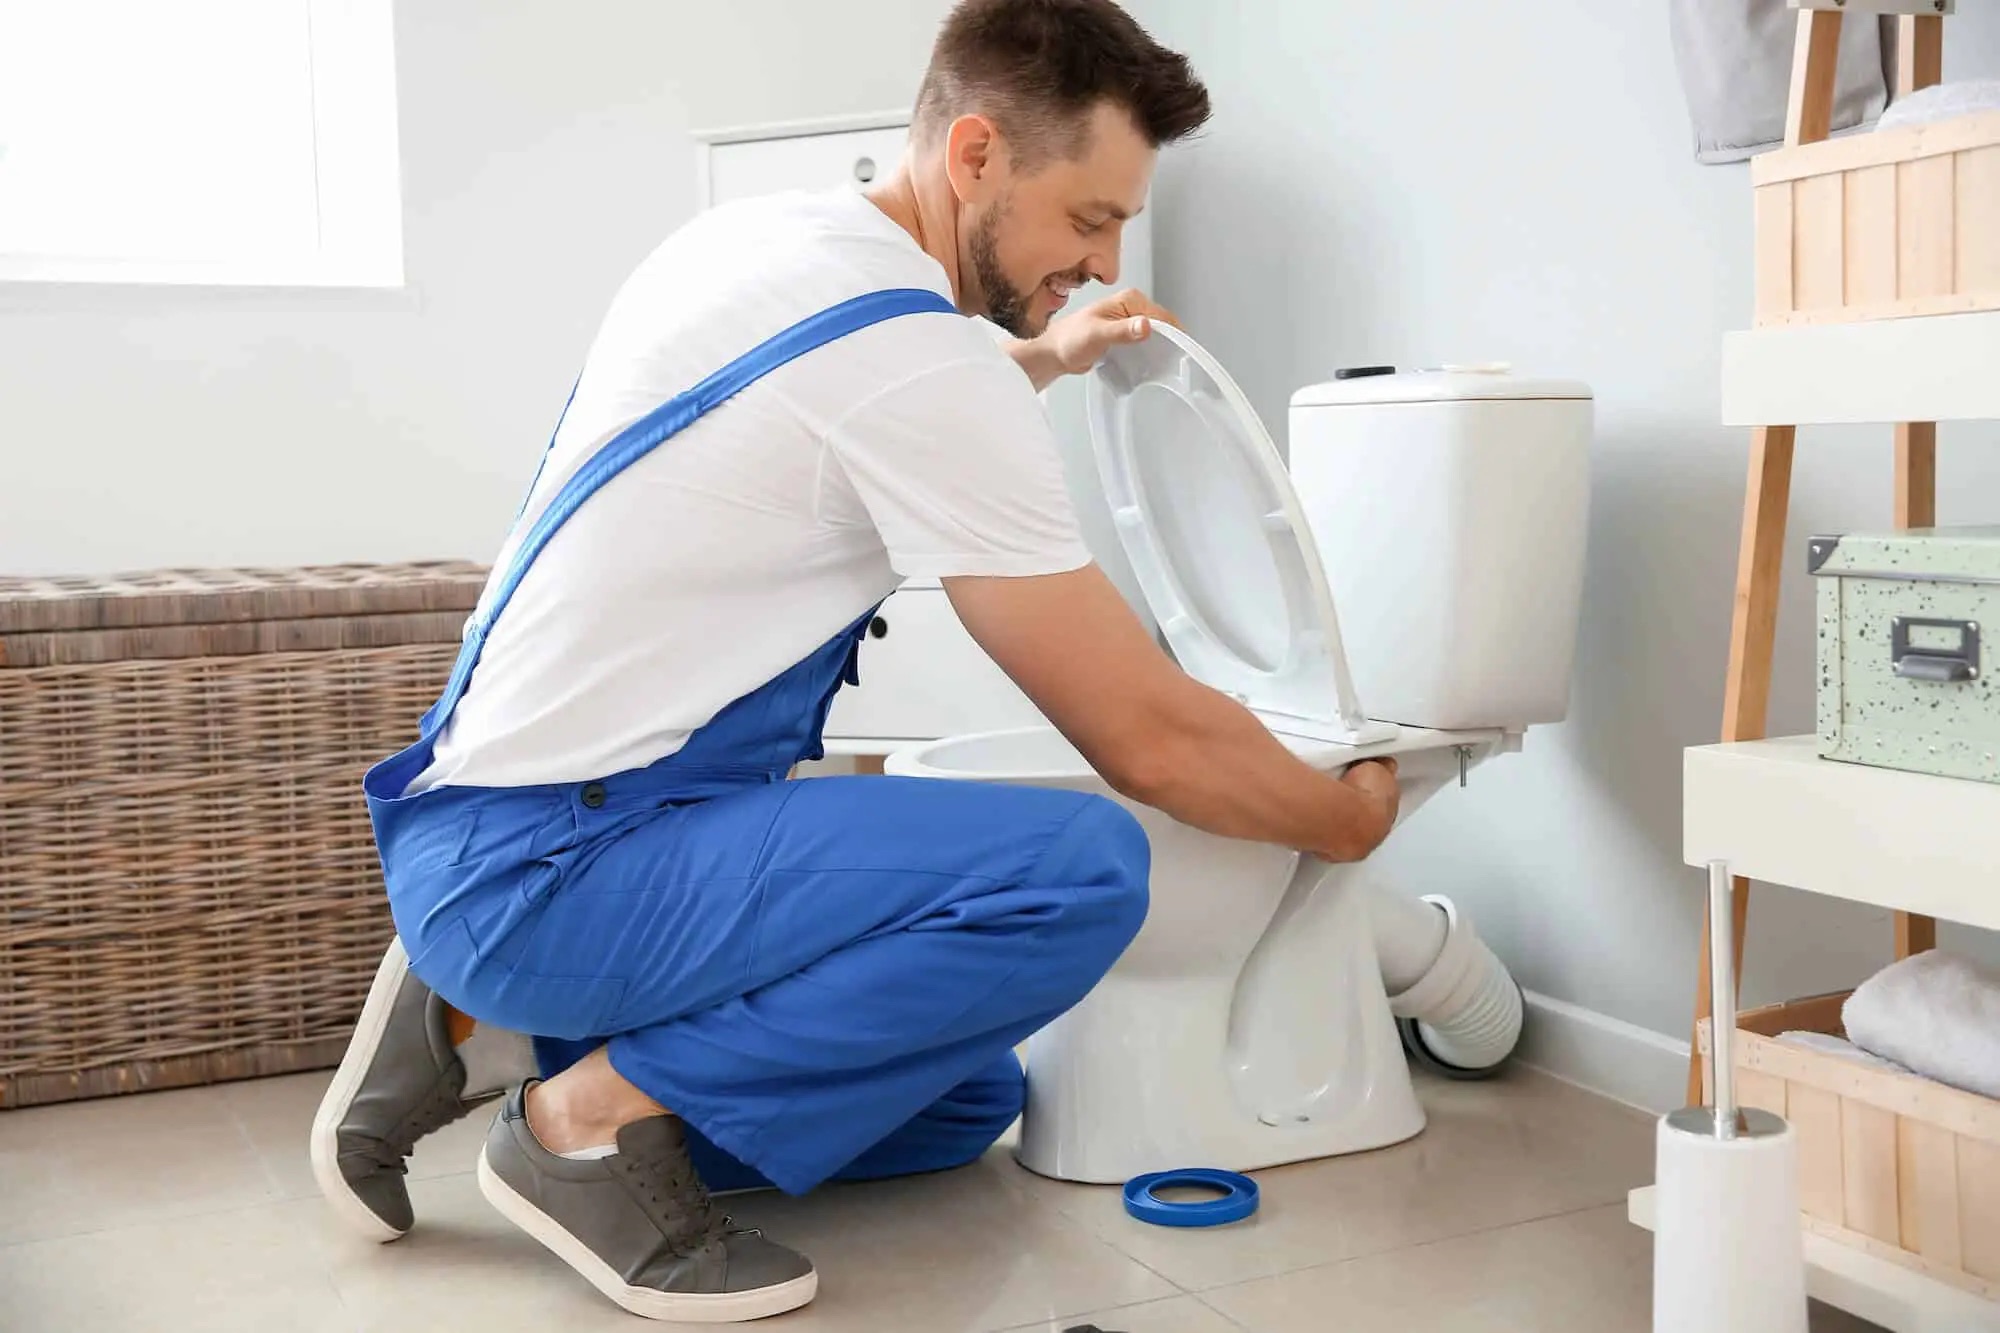
Step 2: Drain the Toilet Tank
Once you’ve shut off the water supply, the next step is to drain the toilet tank. This will remove any remaining water from the tank, making it easier to work on and reducing the risk of water spills. Follow these simple steps to drain the toilet tank:
1. Remove the tank lid: Gently lift the lid of the toilet tank and set it aside in a safe place. Be cautious as some lids can be heavy.
2. Locate the flapper valve: The flapper valve is a rubber or plastic piece located at the bottom of the tank. It is attached to a chain or rod.
3. Lift the flapper valve: Lift the flapper valve by pulling up on the chain or rod. This will open the valve and allow the water inside the tank to flow into the toilet bowl.
4. Wait for the tank to empty: Wait for the water to completely drain from the tank into the bowl. You may need to hold the flapper valve open for a few moments to ensure that all the water is released.
5. Flush the toilet again: With the tank empty, flush the toilet one more time. This will help remove any residual water from the tank and bowl.
6. Check for remaining water: After flushing, check the tank and bowl for any remaining water. Use a sponge or towel to soak up any excess water. It’s important to have the tank completely dry before proceeding with the next steps.
By draining the toilet tank, you create a safer and more convenient working environment for the fill valve replacement. With the tank emptied, you can now move on to removing the old fill valve.
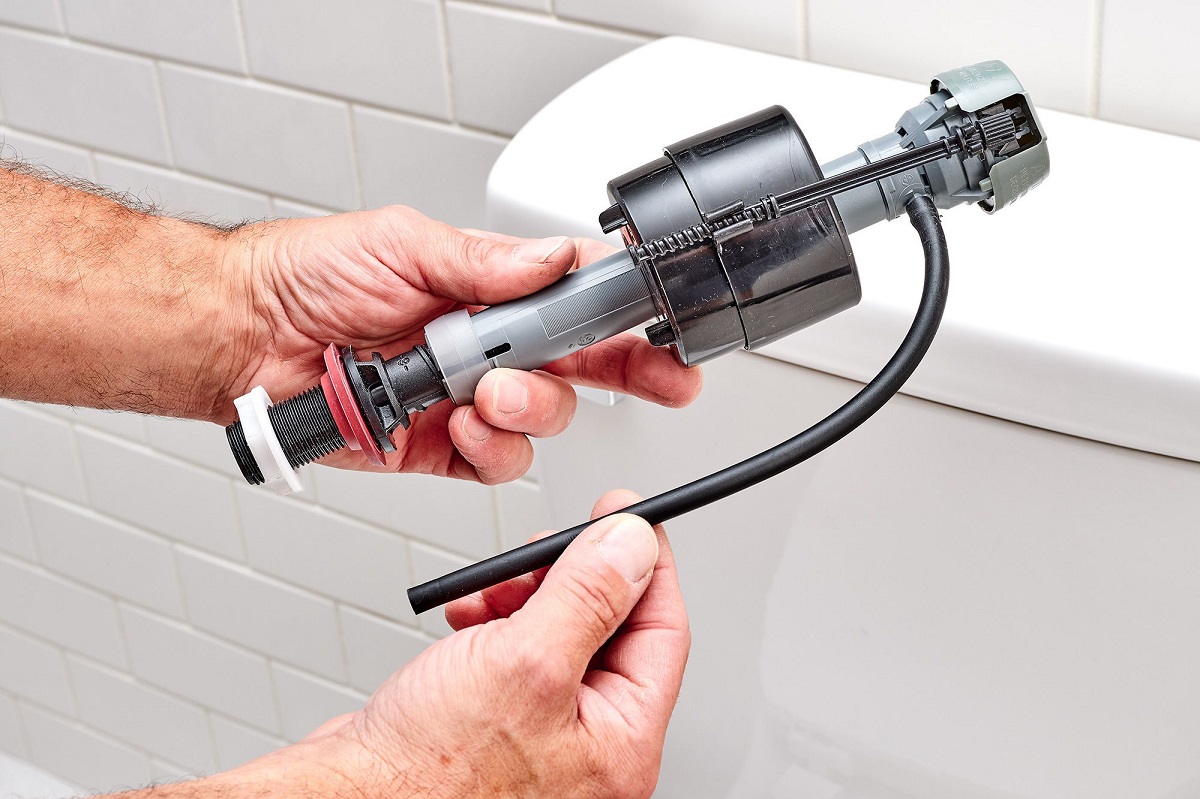
Step 3: Remove the Old Fill Valve
Now that the toilet tank is drained, it’s time to remove the old fill valve. Follow these steps to safely disconnect and remove the old fill valve:
1. Disconnect the water supply line: Locate the water supply line connected to the bottom of the fill valve. Use your adjustable wrench to loosen the nut that secures the supply line to the fill valve. Once loose, carefully remove the supply line and place it aside.
2. Remove the fill valve lock nut: Underneath the toilet tank, you’ll find a large plastic or metal nut that secures the fill valve to the tank. Use your pliers or adjustable wrench to loosen and remove the lock nut in a counter-clockwise direction. Set the lock nut aside.
3. Lift out the old fill valve: With the lock nut removed, you can now lift out the old fill valve from the tank. Depending on the type of fill valve, it may be attached to a plastic or metal rod that extends into the tank. Lift the fill valve and the attached rod out of the tank, being careful not to damage any other components.
4. Clear any remaining parts: Check the inside of the tank for any remaining parts or debris from the old fill valve. Remove any leftover components to ensure a clean surface for installing the new fill valve.
By following these steps, you have successfully removed the old fill valve from the toilet tank. Now, it’s time to move on to the next step of installing the new fill valve for optimal functionality.
When replacing a toilet fill valve, make sure to turn off the water supply to the toilet before starting the replacement process to avoid any potential water damage.
Read more: How To Replace Toilet Shut Off Valve
Step 4: Install the New Fill Valve
With the old fill valve removed, it’s time to install the new fill valve. Follow these steps to securely install the replacement fill valve and ensure smooth operation:
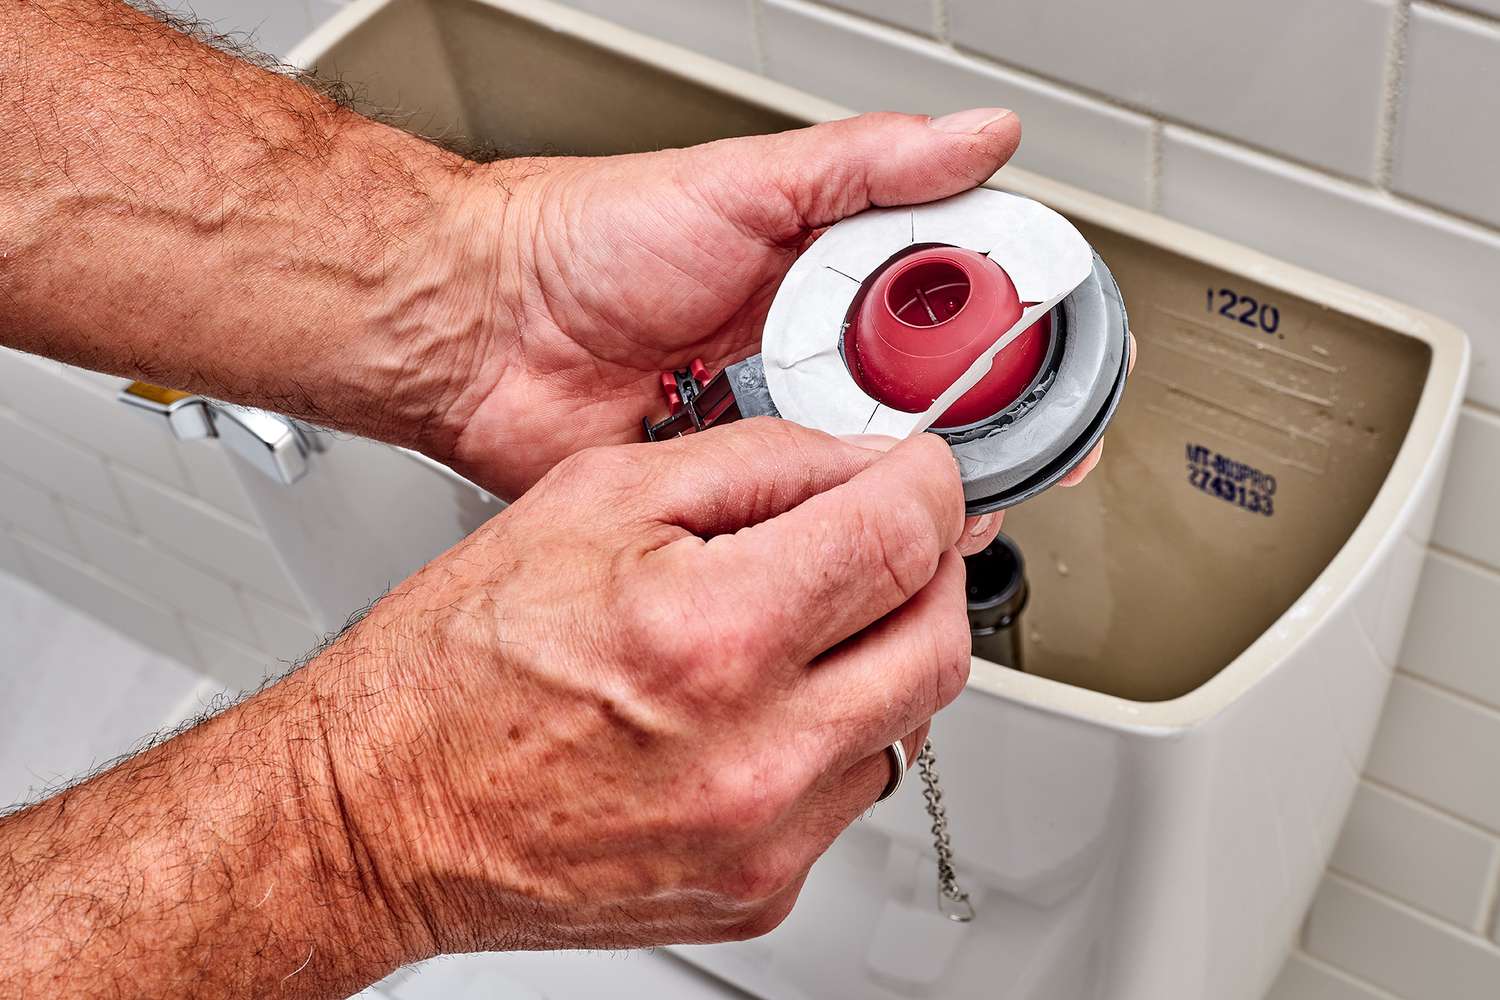
1. Position the new fill valve: Take the new fill valve and position it in the same location where the old fill valve was removed. Make sure the rubber gasket or washer on the bottom of the fill valve is properly aligned with the opening in the tank and sits flush.
2. Insert the valve into the tank: Lower the new fill valve into the tank, guiding the plastic or metal rod through the designated opening at the top of the tank. Ensure that the fill valve is centered and straight.
3. Secure with lock nut: From beneath the tank, reach up and thread the lock nut back onto the fill valve. Tighten the lock nut by hand, ensuring that the fill valve remains securely in place. Use pliers or an adjustable wrench to give the lock nut a final twist, securing it snugly but not overtightening.
4. Connect the water supply line: Take the water supply line and reconnect it to the bottom of the fill valve. Use an adjustable wrench to tighten the nut, ensuring a secure and leak-free connection. Avoid overtightening, as it may damage the fill valve or water supply line.
5. Adjust the fill valve height (if applicable): Some fill valves have an adjustable height feature. If your new fill valve allows for adjustment, follow the manufacturer’s instructions to set the appropriate height. This ensures the water level in the tank is at the recommended level.
6. Attach any additional components: Depending on the type of fill valve, you may need to attach a float or other components. Follow the manufacturer’s instructions to properly install any included components.
By following these steps, you have successfully installed the new fill valve in your toilet tank. The next step is to reassemble the toilet tank for complete functionality.
Step 5: Reassemble the Toilet Tank
Now that the new fill valve is securely installed, it’s time to reassemble the toilet tank. Follow these steps to put everything back together and ensure a properly functioning toilet:
1. Place the tank lid: Take the tank lid and carefully position it back on top of the tank. Make sure it sits evenly and securely.
2. Connect the chain or rod: If your new fill valve has a chain or rod attached to it, connect it to the flush lever or mechanism inside the tank. Adjust the length of the chain or rod, if necessary, to ensure proper operation of the flush mechanism.
3. Check tightness of connections: Double-check all the connections, including the lock nut, water supply line, and any additional components. Ensure that they are snug and secure, but be careful not to overtighten and risk damaging the fill valve or other parts.
4. Turn on the water supply: Locate the water shut-off valve and turn it in a counter-clockwise direction to open the water supply. This will allow water to flow into the tank.
5. Fill the tank: As the water flows into the tank, listen for any leaks and check for proper filling. The fill valve should stop the water flow once the tank is filled to the desired level, according to the manufacturer’s recommended level.
6. Test the flush mechanism: Once the tank is filled, test the flush mechanism by pressing down on the flush lever or button. Observe if the water drains properly from the tank and if the fill valve refills the tank to the correct water level.
7. Check for leaks: Carefully inspect all connections, especially around the fill valve, for any signs of leaking. If you notice any leaks, tighten the corresponding connections or consider applying additional Teflon tape to create a watertight seal.
By reassembling the toilet tank following these steps, you have completed the installation of the new fill valve. The final step is to check for any remaining leaks and ensure the proper functioning of the toilet.
Step 6: Turn on the Water Supply
After reassembling the toilet tank, it’s time to turn on the water supply to complete the fill valve replacement. Follow these steps to safely and effectively turn on the water supply:
1. Locate the water shut-off valve: The water shut-off valve is typically located behind or near the toilet. It’s the valve that you previously turned clockwise to shut off the water supply.
2. Turn on the water supply: Rotate the shut-off valve in a counter-clockwise direction to open the water supply. This will allow water to flow into the toilet tank and start the filling process.
3. Monitor the tank filling: As the water supply is turned on, observe the tank as it fills up. Listen for any unusual sounds or dripping noises that could indicate a leak. Ensure that the fill valve stops the water flow once the tank reaches the recommended water level.
4. Adjust the fill valve (if necessary): If you notice that the water level in the tank is too low or too high, you may need to adjust the fill valve. Follow the manufacturer’s instructions on how to adjust the fill valve to achieve the desired water level.
5. Check for leaks: After the tank is filled, carefully inspect all connections, especially around the fill valve and water supply line, for any signs of leaking. If you notice any leaks, tighten the corresponding connections or consider applying additional Teflon tape to create a watertight seal.
By turning on the water supply, you have completed the final step of the fill valve replacement. The last step is to check for any remaining leaks and ensure the proper functioning of the toilet before using it.
Step 7: Check for Leaks
After completing the fill valve replacement and turning on the water supply, it is important to thoroughly check for any leaks. Follow these steps to ensure there are no water leaks:
1. Observe for visible leaks: Carefully inspect all the connections, including the fill valve, water supply line, and any additional components, for any signs of water leakage. Look for drips, puddles, or wet spots around these areas.
2. Check the tank and bowl: Look inside the toilet tank and bowl for any signs of water accumulation or continuous running. If you notice water trickling into the bowl without flushing or if the tank is constantly filling beyond the recommended level, there may be a leak.
3. Listen for unusual sounds: Pay attention to any unusual noises or hissing sounds that could indicate a leak. These sounds may be coming from the fill valve or any connections.
4. Confirm tightness of connections: Use an adjustable wrench or pliers to check the tightness of the connections. Make sure all nuts and bolts are securely fastened without overtightening, which could cause damage to the fill valve or other parts.
5. Reapply Teflon tape if necessary: If you spot any leaks or suspect a potential leak, consider applying additional Teflon tape to the problematic connections. This can help create a better seal and prevent further leaks.
6. Repeat the observation: After checking and addressing any potential issues, observe the toilet for a few minutes to ensure that there are no new leaks or continued leakage.
By thoroughly checking for leaks, you can identify and address any issues before they cause water damage or plumbing problems. Fixing leaks promptly will help maintain the proper functionality of the fill valve and ensure efficient water usage in your toilet. If you encounter persistent leaks or difficulties resolving the issue, it may be beneficial to consult a professional plumber for assistance.
Conclusion
Replacing a toilet fill valve is a relatively simple but essential task that can greatly improve the functionality of your toilet. By following the step-by-step process outlined in this guide, you have learned how to replace a toilet fill valve and ensure proper water flow and performance.
Throughout the process, you collected the necessary tools and materials, shut off the water supply, drained the toilet tank, removed the old fill valve, installed a new fill valve, reassembled the toilet tank, turned on the water supply, and checked for leaks. By carefully completing each step, you have taken the necessary precautions to ensure a successful fill valve replacement.
Remember, maintenance and regular inspections are crucial in extending the lifespan of your toilet fill valve. If you ever encounter issues such as continuous running water or inefficient flushing, it may be a sign that your fill valve needs replacement or adjustment. Promptly addressing these issues can prevent water wastage and potentially higher water bills.
By successfully replacing the toilet fill valve, you have not only saved money on potential plumbing repairs but also contributed to water conservation. A properly functioning fill valve ensures that water is used efficiently, reducing unnecessary waste and promoting sustainable water usage.
If you’re ever uncertain about any step in the process or encounter difficulties, it’s always wise to consult the manufacturer’s instructions or seek the assistance of a professional plumber.
Congratulations on completing the task of replacing a toilet fill valve! With your newfound knowledge and skills, you can confidently tackle other DIY projects and ensure the optimal performance of your bathroom fixtures.
Frequently Asked Questions about How To Replace A Toilet Fill Valve
Was this page helpful?
At Storables.com, we guarantee accurate and reliable information. Our content, validated by Expert Board Contributors, is crafted following stringent Editorial Policies. We're committed to providing you with well-researched, expert-backed insights for all your informational needs.
0 thoughts on “How To Replace A Toilet Fill Valve”