Home>Furniture & Design>Bathroom Accessories>How To Mount Ceramic Towel Rack In Drywall
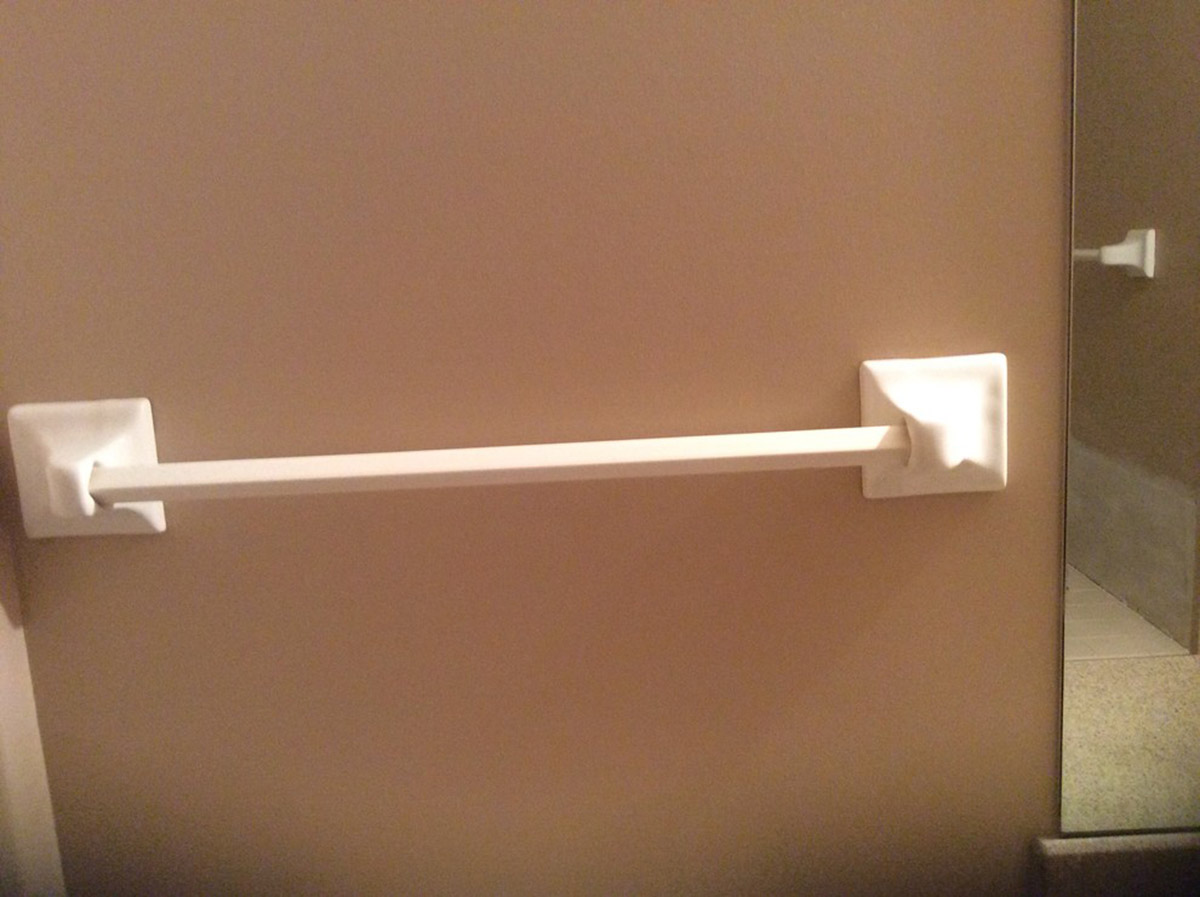

Bathroom Accessories
How To Mount Ceramic Towel Rack In Drywall
Modified: February 25, 2024
Learn how to easily mount a ceramic towel rack in drywall with our step-by-step guide. Find the best bathroom accessories for your home today!
(Many of the links in this article redirect to a specific reviewed product. Your purchase of these products through affiliate links helps to generate commission for Storables.com, at no extra cost. Learn more)
Introduction
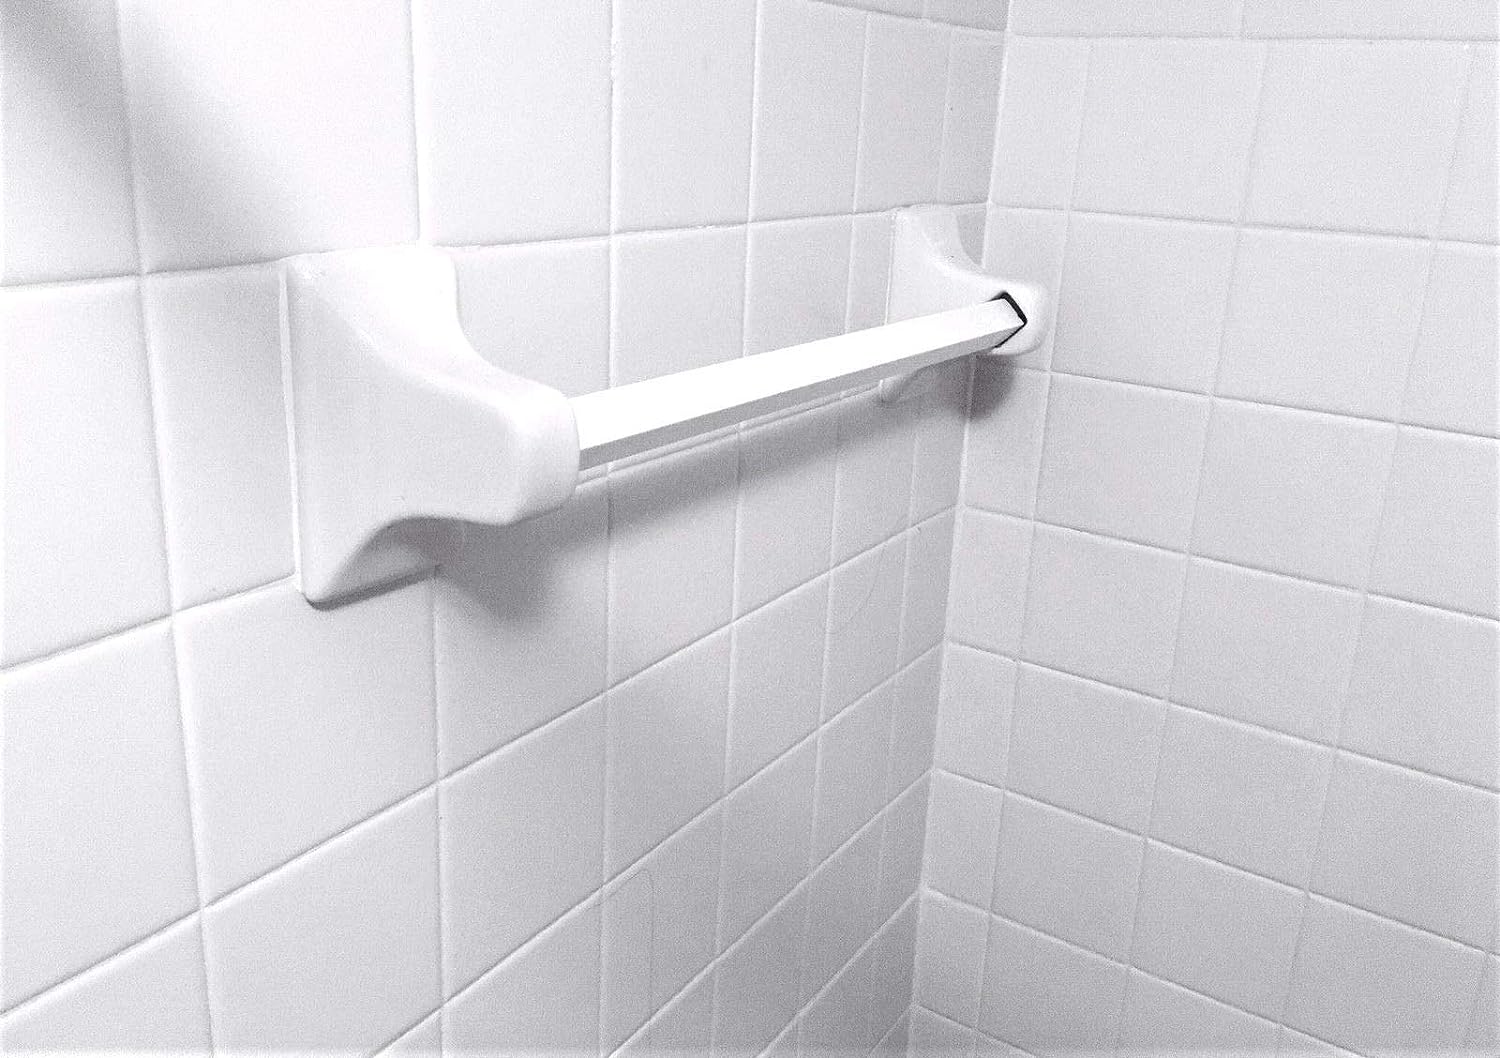
Welcome to the comprehensive guide on how to mount a ceramic towel rack in drywall. Whether you're renovating your bathroom or simply looking to add a touch of elegance and functionality, installing a ceramic towel rack can elevate the aesthetic appeal of your space while providing a convenient storage solution for your towels.
In this step-by-step tutorial, we will walk you through the process of securely mounting a ceramic towel rack on drywall, ensuring that it remains stable and functional for years to come. By following these instructions and using the recommended materials and tools, you can successfully complete this DIY project with confidence.
Before we dive into the specifics, it's essential to emphasize the importance of proper installation. A securely mounted towel rack not only enhances the visual appeal of your bathroom but also ensures safety and durability. By taking the time to follow these instructions and exercise care during the installation process, you can enjoy the benefits of a professionally mounted ceramic towel rack in your home.
Now, let's gather the necessary materials and get ready to transform your bathroom into a stylish and organized space with the addition of a beautifully mounted ceramic towel rack.
Key Takeaways:
- Mounting a ceramic towel rack in drywall requires careful measurement, drilling, and anchoring to ensure stability and functionality, adding elegance and convenience to your bathroom space.
- By following the step-by-step guide, you can confidently install a ceramic towel rack, showcasing your DIY skills and transforming your bathroom into a stylish and organized oasis.
Read more: What To Use To Mount Towel Bar Into Drywall
Materials Needed
Before you begin the installation process, it’s important to gather all the necessary materials and tools to ensure a smooth and efficient mounting of your ceramic towel rack. Here’s a list of items you’ll need:
- Ceramic Towel Rack: Choose a high-quality ceramic towel rack that complements the style of your bathroom and meets your storage needs. Ensure that it comes with mounting hardware for easy installation.
- Measuring Tape: A reliable measuring tape will help you accurately determine the ideal placement for your towel rack.
- Pencil: Use a pencil to mark the precise locations for drilling on the drywall.
- Level: A level is essential for ensuring that your towel rack is mounted perfectly straight and aligned with the horizontal plane.
- Power Drill: A power drill with the appropriate drill bit will be required to create holes in the drywall for the anchors.
- Drywall Anchors: Select sturdy drywall anchors that are suitable for the weight and size of your towel rack. These anchors will provide the necessary support for the mounted rack.
- Screwdriver: Have a screwdriver on hand for securing the towel rack to the drywall anchors.
- Rag or Soft Cloth: Keep a rag or soft cloth nearby to wipe away any dust or debris generated during the drilling process.
- Safety Glasses: Protect your eyes by wearing safety glasses while drilling into the drywall.
- Protective Gloves: It’s advisable to wear protective gloves to safeguard your hands during the installation process.
By ensuring that you have all these materials and tools ready, you can proceed with confidence, knowing that you’re well-equipped to mount your ceramic towel rack securely and efficiently.
Step 1: Mark the Position
Before you begin drilling any holes, it’s crucial to determine the ideal placement for your ceramic towel rack. Proper positioning will not only enhance the visual appeal of your bathroom but also ensure that the rack is functional and easily accessible. Follow these steps to mark the position accurately:
- Measure and Mark: Use a measuring tape to determine the desired height for your towel rack. Typically, towel racks are mounted at a height that is easily reachable, often around 48-52 inches above the floor. Once you’ve decided on the height, use a pencil to mark the positions where the mounting hardware will be installed.
- Ensure Level Alignment: Use a level to ensure that the marks for the mounting hardware are perfectly aligned horizontally. This step is crucial for achieving a visually appealing and professionally mounted towel rack.
- Consider Spacing: If you’re installing multiple towel racks or accessories, ensure that there is adequate spacing between each item. This will prevent overcrowding and allow for easy access to the towels.
- Double-Check Measurements: Before moving on to the drilling phase, double-check all your measurements and marks to ensure that they align with your preferences and the overall design of your bathroom.
By carefully marking the position of your ceramic towel rack, you’ll set the stage for a successful and visually pleasing installation. Taking the time to measure and align the marks accurately will contribute to the overall aesthetic and functionality of your towel rack in the bathroom.
Step 2: Drill Holes
Once you have marked the precise positions for mounting your ceramic towel rack, the next step is to drill holes in the drywall to accommodate the anchors. Follow these guidelines to ensure accurate and clean hole drilling:
- Choose the Right Drill Bit: Select a drill bit that matches the size of the anchors you’ll be using. It’s essential to use the correct size to ensure a snug fit for the anchors.
- Wear Safety Gear: Prior to drilling, put on your safety glasses to protect your eyes from any debris that may be generated during the drilling process.
- Start Slowly: Position the drill at the marked spots on the drywall and start drilling at a slow and steady pace. Applying excessive force or speed may cause the drill to slip, resulting in inaccurate holes.
- Monitor Depth: Be mindful of the depth as you drill. It’s important to drill the holes to the appropriate depth to accommodate the anchors without damaging the drywall.
- Clean Up Debris: Once the holes are drilled, use a soft cloth or rag to wipe away any dust or debris around the drilled areas. This will ensure a clean and secure fit for the anchors.
By following these steps, you can drill clean and accurately positioned holes in the drywall, laying the foundation for a secure and stable mounting of your ceramic towel rack.
Use a stud finder to locate a stud in the drywall for secure mounting. If no stud is available, use wall anchors for support. Use a level to ensure the rack is mounted straight.
Step 3: Insert Anchors
With the holes drilled in the drywall, the next crucial step is to insert the anchors that will provide the necessary support for your ceramic towel rack. Properly installed anchors are essential for ensuring the stability and durability of the mounted rack. Follow these steps to insert the anchors securely:
- Select Appropriate Anchors: Choose anchors that are specifically designed for drywall installation and are suitable for the weight and size of your towel rack. Plastic or metal expansion anchors are commonly used for this purpose.
- Align the Anchors: Insert the anchors into the drilled holes, ensuring that they fit snugly and are flush with the surface of the drywall. Gently tap the anchors with a hammer if needed to ensure a secure fit.
- Verify Stability: Once the anchors are inserted, gently test their stability by lightly tugging on them. If they feel loose or wobbly, remove them and insert new anchors to guarantee a firm hold.
- Prepare for Mounting: With the anchors securely in place, you’re now ready to mount your ceramic towel rack on the drywall. The anchors will serve as the foundation for the rack’s stability and weight-bearing capacity.
By carefully selecting and inserting the appropriate anchors, you can lay the groundwork for a secure and reliable mounting of your ceramic towel rack, ensuring that it remains steadfast and functional in your bathroom space.
Read more: How To Mount A Towel Rack On A Hollow Door
Step 4: Mount the Towel Rack
With the anchors securely in place, it’s time to mount your ceramic towel rack on the drywall. This step requires precision and care to ensure that the rack is positioned accurately and securely. Follow these guidelines to successfully mount the towel rack:
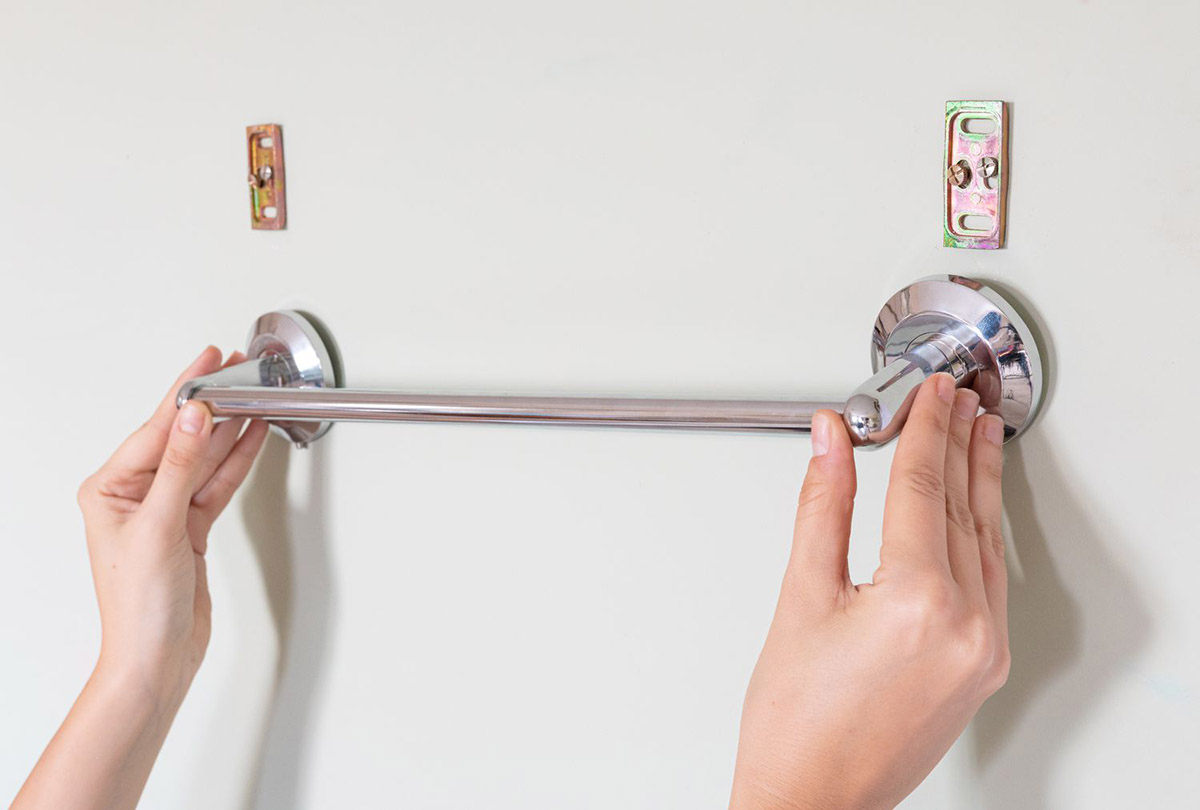
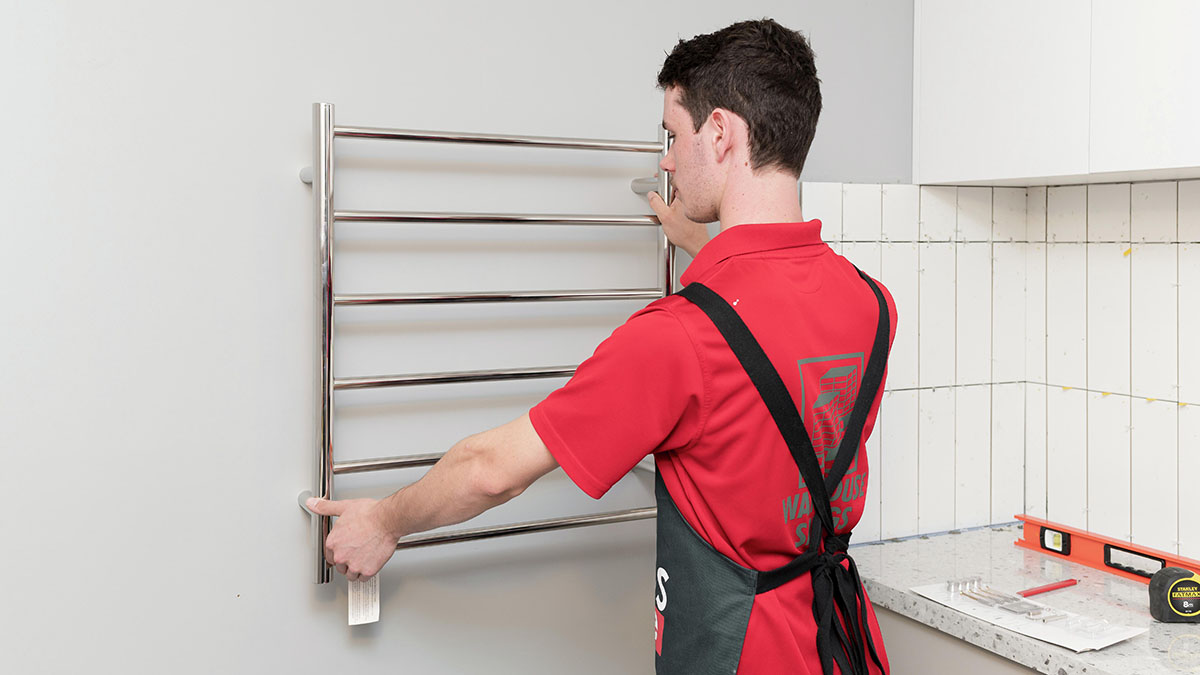
- Align the Mounting Holes: Position the towel rack against the wall, ensuring that the mounting holes align perfectly with the installed anchors. Use a level to confirm that the rack is straight and aligned with the horizontal plane.
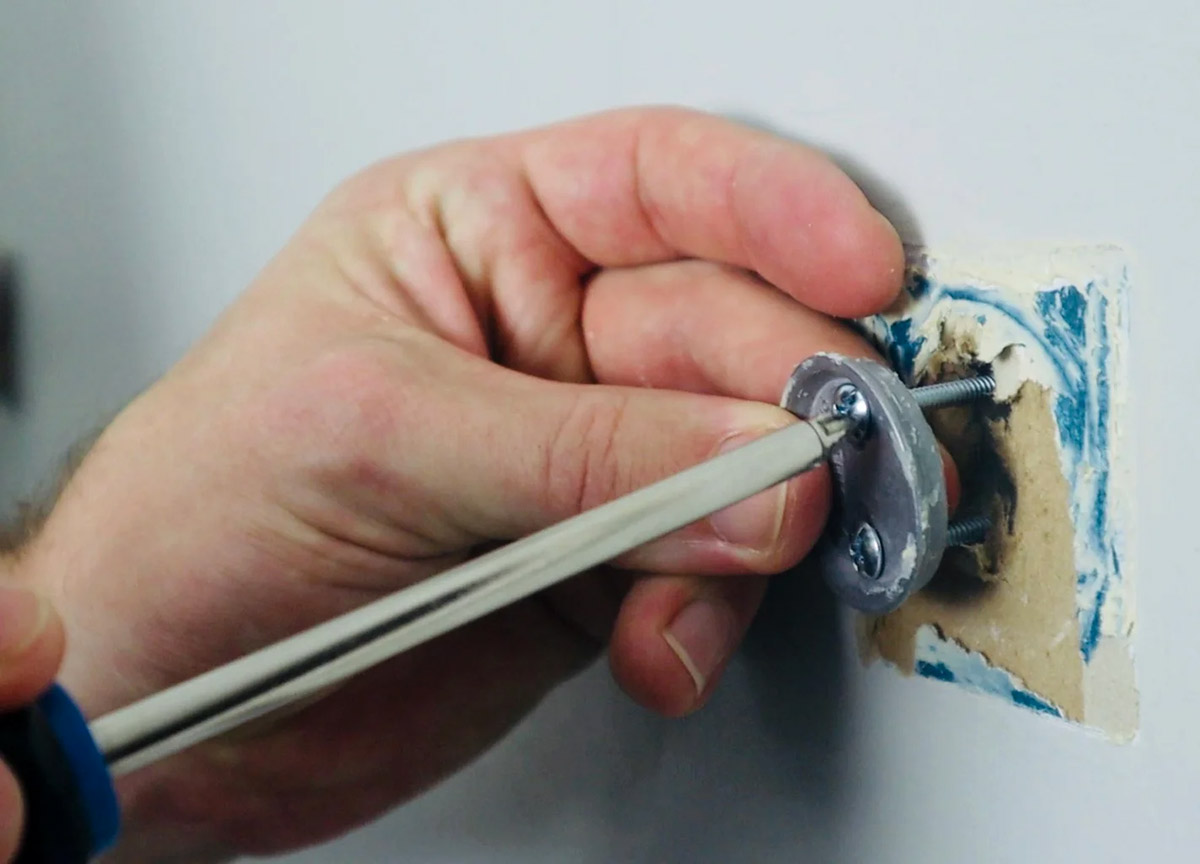
- Begin Mounting: Once the alignment is verified, insert the screws through the mounting holes on the rack and gently guide them into the anchors. Use a screwdriver to tighten the screws, securing the towel rack firmly to the drywall.
- Check Stability: After mounting the rack, test its stability by gently pulling on it to ensure that it is securely attached to the wall. If there is any wobbling or instability, revisit the mounting process and make adjustments as needed.
- Consider Weight Distribution: If your towel rack has multiple mounting points, ensure that the weight is evenly distributed across the anchors. This will contribute to the overall stability and longevity of the installation.
By following these steps, you can confidently mount your ceramic towel rack on the drywall, creating a functional and aesthetically pleasing storage solution for your bathroom towels.
Step 5: Secure the Rack
Once the ceramic towel rack is mounted on the drywall, the final step involves ensuring that it is securely fastened and ready to support your towels effectively. Properly securing the rack will contribute to its longevity and stability. Follow these essential steps to secure the towel rack:
- Tighten Mounting Screws: Use a screwdriver to carefully tighten the mounting screws that secure the towel rack to the drywall. Ensure that the rack is firmly attached and does not wobble or shift when pressure is applied.
- Inspect Stability: After tightening the screws, test the stability of the towel rack by gently tugging on it. Confirm that it remains steadfast and securely anchored to the wall without any noticeable movement.
- Check for Level Alignment: Use a level to verify that the towel rack is perfectly aligned and straight. Adjust the positioning if necessary to achieve a visually pleasing and professionally mounted appearance.
- Load Capacity Test: Before hanging towels on the rack, perform a load capacity test by applying gentle pressure to the rack. This will help ensure that it can support the weight of towels without any signs of strain or instability.
By meticulously securing the ceramic towel rack to the drywall, you can have confidence in its stability and durability, knowing that it is ready to fulfill its practical and decorative role in your bathroom space.
Conclusion
Congratulations! By following the detailed steps outlined in this guide, you have successfully learned how to mount a ceramic towel rack in drywall. Your efforts have resulted in a beautifully installed towel rack that enhances the functionality and visual appeal of your bathroom space.
It’s important to appreciate the impact of a well-mounted towel rack, as it not only provides a convenient storage solution for your towels but also adds a touch of elegance to your bathroom decor. The careful consideration given to the positioning, drilling, anchoring, mounting, and securing of the towel rack has contributed to a professional and reliable installation.
As you step back and admire your handiwork, take pride in knowing that your bathroom now boasts a stylish and functional accessory that reflects your attention to detail and commitment to quality. The mounted ceramic towel rack serves as a testament to your DIY skills and your ability to transform a simple installation process into a rewarding and impactful home improvement project.
With your newly acquired knowledge and expertise, you can confidently tackle similar installation tasks in the future, applying the same precision and care to achieve outstanding results.
Thank you for embarking on this DIY journey with us. We hope that your newly mounted ceramic towel rack brings both practical utility and aesthetic charm to your bathroom, enriching your daily routine with its functional elegance.
Frequently Asked Questions about How To Mount Ceramic Towel Rack In Drywall
Was this page helpful?
At Storables.com, we guarantee accurate and reliable information. Our content, validated by Expert Board Contributors, is crafted following stringent Editorial Policies. We're committed to providing you with well-researched, expert-backed insights for all your informational needs.


0 thoughts on “How To Mount Ceramic Towel Rack In Drywall”