Articles
How To Build Freestanding Stairs
Modified: May 6, 2024
Learn how to build freestanding stairs with our informative articles. Start your DIY project today and create a beautiful staircase for your home.
(Many of the links in this article redirect to a specific reviewed product. Your purchase of these products through affiliate links helps to generate commission for Storables.com, at no extra cost. Learn more)
Introduction
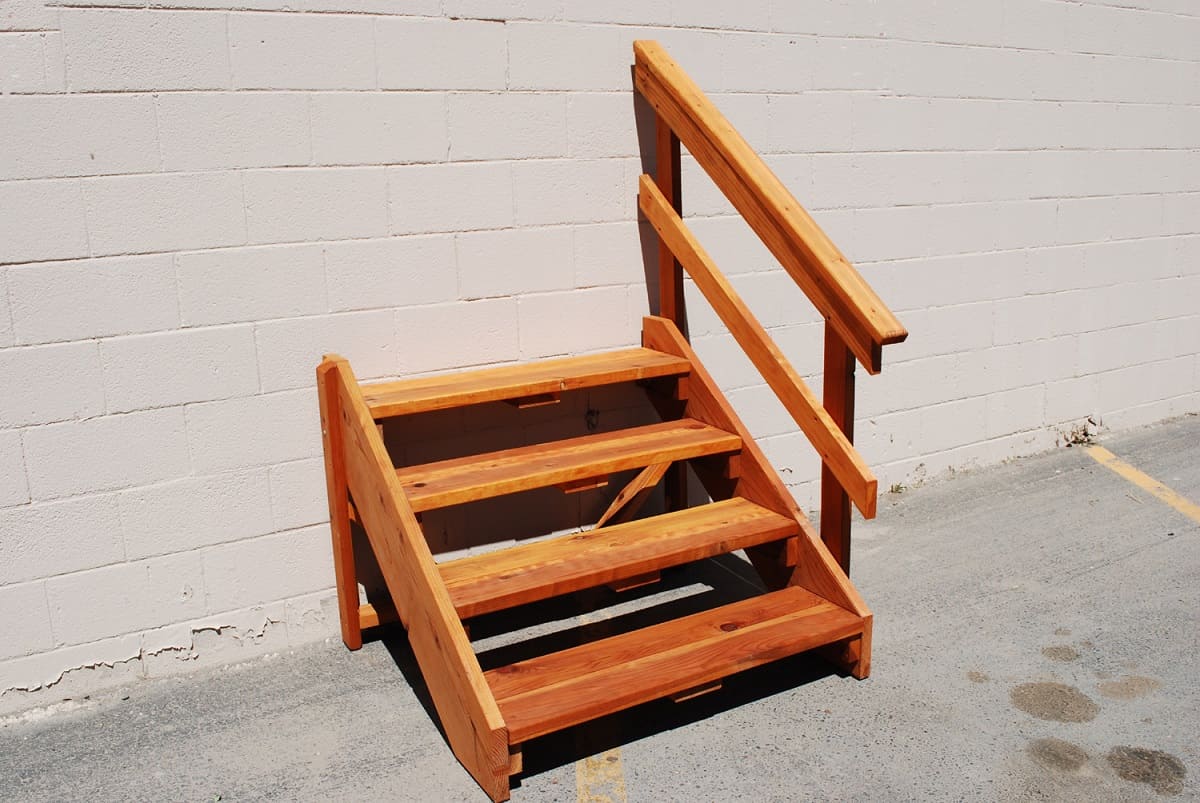
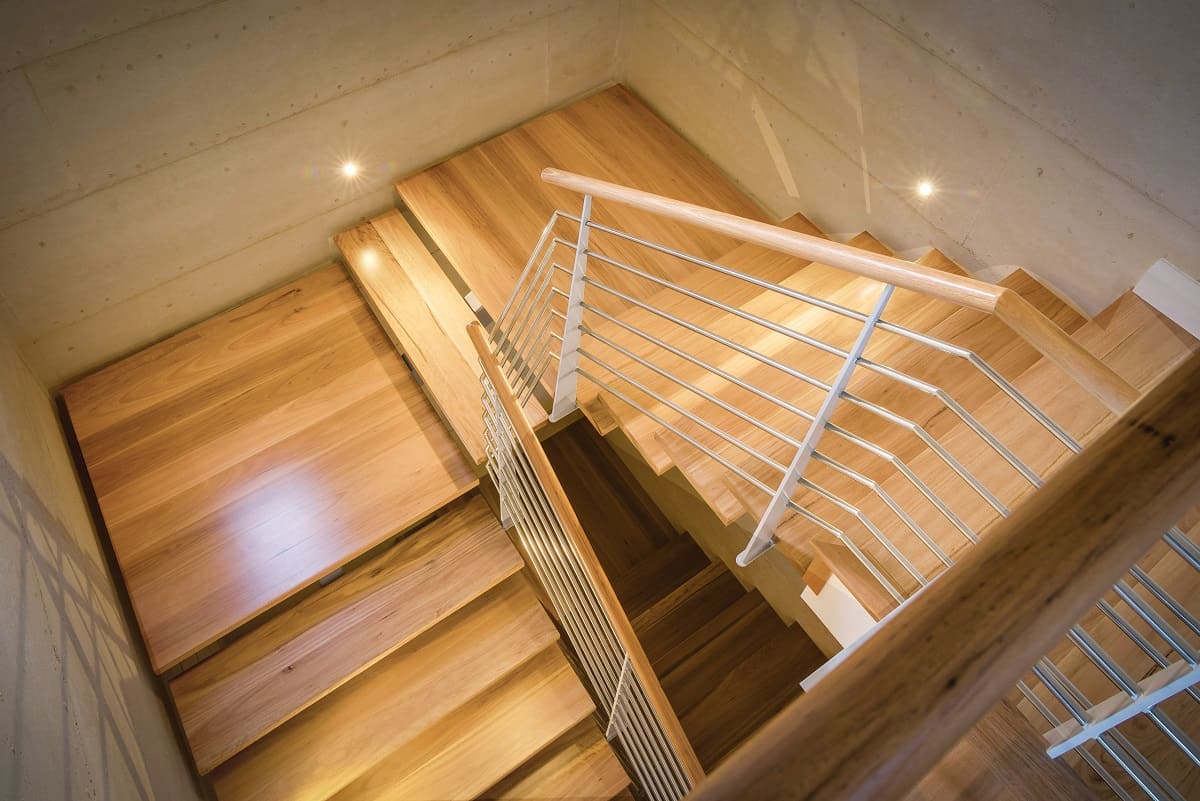
Welcome to this comprehensive guide on how to build freestanding stairs. Whether you have a deck, patio, or need access to a raised area in your backyard, knowing how to construct sturdy and functional stairs is essential. Freestanding stairs, as the name suggests, are not attached to a structure, making them a versatile option for various outdoor spaces.
In this step-by-step tutorial, we will walk you through the process of building freestanding stairs from start to finish. By following these instructions and using the right tools and materials, you can create a set of stairs that not only provides safe and convenient access but also enhances the overall aesthetic of your outdoor space.
Before we get started, it’s important to note that building stairs requires some intermediate-level carpentry skills and familiarity with basic construction techniques. If you’re a beginner or unsure about any step, it’s always a good idea to consult with a professional or enlist the help of an experienced friend.
Now, let’s dive into the exciting world of freestanding stairs and explore how to bring them to life!
Key Takeaways:
- Building freestanding stairs requires careful planning, precise measurements, and intermediate-level carpentry skills. Following local building codes and regulations is crucial for safety and compliance.
- Completing the construction of freestanding stairs involves a series of steps, from digging foundation holes to securing the stairs to the structure. Attention to detail and regular maintenance ensure longevity and functionality.
Read more: How To Build A Freestanding Divider Wall
Step 1: Determine the Location and Dimensions
The first step in building freestanding stairs is to determine the location and dimensions. Consider where you want the stairs to be placed and measure the available space.
Start by identifying the entry and exit points of the stairs. This could be the entrance to your deck, patio, or any raised platform. Measure the height from the ground to the top point where the stairs will end. This measurement will determine the number of steps required.
Next, consider the width of the stairs. The width should be wide enough for comfortable walking and should comply with local building codes. A standard width for outdoor stairs is around 36 inches, but it can vary depending on your specific needs.
Once you have the height and width measurements, you can calculate the number of steps needed. Divide the height by the desired height of each step (usually around 7-8 inches) to determine the total number of steps.
Keep in mind that it’s important to check your local building codes and regulations regarding the specifications for freestanding stairs. Some areas may have specific requirements for step height, width, and handrail installation.
After determining the location and dimensions, mark the area where the base of the stairs will be placed. This will help you visualize the layout and ensure proper positioning before proceeding with the construction.
Now that you have the location and dimensions sorted, we can move on to the next step: gathering the necessary tools and materials.
Step 2: Gather the Necessary Tools and Materials
Before you begin building your freestanding stairs, it’s essential to gather all the necessary tools and materials. Having everything prepared in advance will save you time and make the construction process smoother.
Here is a list of tools and materials you will need:
- Measuring tape
- Pencil or marker
- Circular saw
- Power drill
- Screwdriver set
- Level
- Speed square
- Chisel
- Hammer
- Shovel
- Concrete mix
- Gravel or crushed stone
- Pressure-treated 2×12 lumber for stringers
- Pressure-treated 2×6 lumber for treads and risers
- Galvanized screws
- Landscape fabric (optional)
- Paint or stain (optional)
Make sure to use pressure-treated lumber for outdoor projects as it is resistant to rot and decay. Additionally, galvanized screws are recommended for their durability and resistance to rust.
If you plan to install the stairs on uneven or soft ground, you may need to use landscape fabric to prevent weed growth and provide stabilization.
Once you have all the necessary tools and materials, you’re ready to move on to the next step: measuring and marking the placement of the stairs.
Step 3: Measure and Mark the Placement
Now that you have gathered all the necessary tools and materials, it’s time to measure and mark the placement of your freestanding stairs. Proper measurements and markings ensure the stairs are positioned accurately and will be safe to use.
Start by marking the location where the first step will be placed. Use a measuring tape and marker to measure and mark the height of the first step from the ground. This mark should align with the bottom edge of the first stringer.
Next, measure and mark the width of the stairs. Use a measuring tape to determine the desired width and mark it on the ground. This will ensure that the stairs are centered and evenly spaced.
Using a level and a straightedge, draw lines to connect the marks for the height and width of the stairs. These lines will serve as guides for the installation of the stringers and the placement of the treads and risers.
Double-check your measurements and marks to ensure accuracy. It’s crucial to take your time at this stage to avoid any mistakes that may affect the overall stability and safety of the stairs.
If you plan to install handrails, now is a good time to mark the positions. Check your local building codes for specific requirements regarding handrail height and placement.
Once you have completed the measurements and markings, you can move on to the next step: digging the foundation holes.
Step 4: Dig the Foundation Holes
With the measurements and markings in place, it’s time to dig the foundation holes for your freestanding stairs. The foundation holes provide stability and support for the stairs, keeping them securely in place.
Start by using a shovel or a post hole digger to dig holes at the marked locations for the base of each stringer. The size of the holes will depend on the size and depth of the footings you are using.
It’s important to dig the holes deep enough to ensure stability. As a general rule, the holes should be at least 1/3 of the total height of the stairs plus an additional 6-8 inches for the gravel and concrete footing.
Remove any rocks or debris from the holes to create a clean and solid foundation. This will ensure proper positioning and prevent any shifting or sinking of the stairs over time.
Once the holes are dug, you may want to consider adding landscape fabric at the bottom to prevent weed growth and provide additional stabilization.
When digging the holes, be mindful of any underground utilities such as gas lines or electrical cables. If you are unsure, contact your local utility companies to mark the locations before proceeding.
After the holes are dug and the area is prepared, you’re ready to move on to the next step: installing the concrete footings.
Read more: How To Build A Freestanding Pergola
Step 5: Install the Concrete Footings
With the foundation holes prepared, it’s time to install the concrete footings for your freestanding stairs. The footings provide a solid base and ensure the stability of the entire structure.
Start by placing a layer of gravel or crushed stone at the bottom of each hole. This helps with drainage and prevents the concrete from sitting in water, which could cause it to crack and deteriorate over time.
Next, mix the concrete according to the instructions on the packaging. You can use a portable mixer or mix it manually in a wheelbarrow or large container. It’s important to follow the recommended water-to-concrete ratio to achieve the desired strength.
Carefully pour the concrete into the prepared holes, ensuring that it fills the holes completely. Use a shovel or a trowel to smooth the surface and remove any air pockets. Check that the tops of the footings are level with the marked lines for the base of the stringers.
Allow the concrete to cure and harden according to the instructions provided. This typically takes a few days, so be patient and avoid placing any weight on the footings during this time.
Once the concrete has fully cured, you’re ready to proceed to the next step: building the stringers.
Remember to check with local building codes and regulations for any specific requirements regarding the installation and curing of concrete footings. Compliance with these regulations ensures the safety and longevity of your freestanding stairs.
When building freestanding stairs, ensure that the stringers are properly anchored to the ground to provide stability and support for the steps.
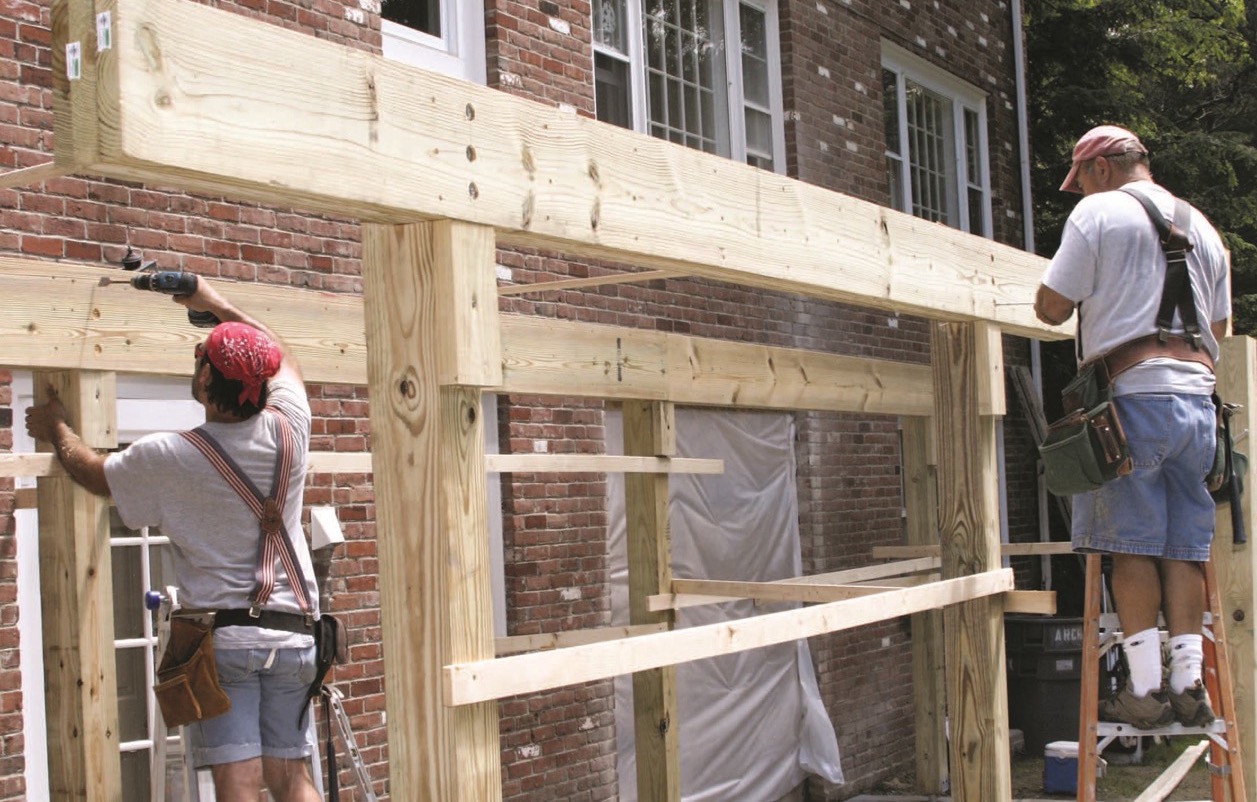
Step 6: Build the Stringers
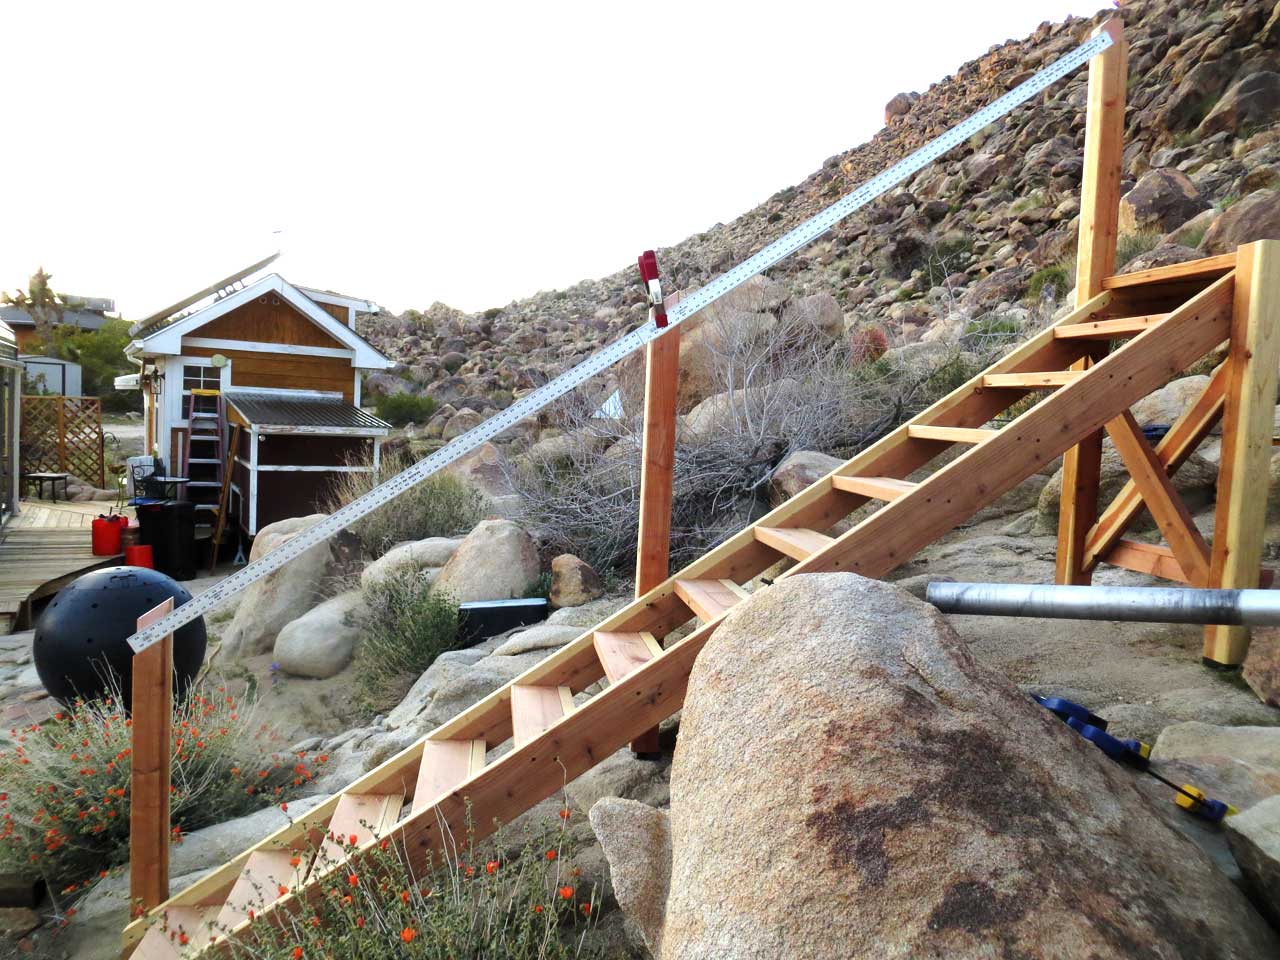
Now that the concrete footings are in place, it’s time to build the stringers for your freestanding stairs. The stringers are the angled supports that hold the treads and risers in place, providing the structural integrity of the stairs.
Start by measuring and cutting the pressure-treated 2×12 lumber for the stringers. The number of stringers needed will depend on the width of the stairs and the local building codes. As a general guide, two stringers are sufficient for stairs up to 48 inches wide, but wider stairs may require additional stringers for added support.
To create the stringers’ shape, use a speed square and a circular saw to make the necessary angled cuts. The angles will depend on the height and depth of each step, as well as the desired pitch of the stairs. Take your time to ensure accurate and precise cuts for a secure fit.
When cutting the stringers, be sure to cut them longer than the anticipated length to allow for adjustments during installation. It’s easier to trim them down later than to start over if they are too short.
Once the stringers are cut, mark the locations for the treads and risers on the stringers. The tread is the horizontal part of the step that you step on, while the riser is the vertical part between each tread.
Using a speed square, mark the desired dimensions for the treads and risers on the stringers. Ensure consistent measurements and equal spacing between each tread and riser to maintain a uniform appearance.
After marking the tread and riser locations, use a circular saw or a chisel to carefully remove the excess wood, creating the notches for the treads and risers.
Once the stringers are completed, you’re ready to move on to the next step: attaching the stringers to the footings.
Take your time and double-check all measurements and cuts to ensure the accuracy and stability of the stringers. Accurate stringers are crucial for the overall safety and functionality of your freestanding stairs.
Step 7: Attach the Stringers to the Footings
With the stringers built and ready, it’s time to attach them to the footings that were previously installed. This step will securely connect the structural support of the stairs to the solid foundation.
Start by positioning the stringers on the footings, aligning them with the marked lines on the footings. Make sure they are centered and evenly spaced, ensuring a balanced and stable set of stairs.
Using a power drill and galvanized screws, secure the stringers to the footings. It’s recommended to use at least two screws per stringer, attaching them at each contact point with the footings. This will provide strong connection and prevent any movement or wobbling.
As you attach the stringers, use a level to ensure they are plumb and straight. This will guarantee that the stairs are level and safe to use. Make any necessary adjustments by adding shims between the stringers and the footings, if needed.
After attaching the stringers to the footings, double-check their stability by gently rocking them back and forth. They should be firmly secured and not show any signs of movement or instability.
Take your time during this step to ensure the stringers are securely fastened to the footings. Proper attachment is essential for the structural integrity and safety of your freestanding stairs.
With the stringers securely attached, you’re ready to move on to the next step: installing the treads and risers.
Step 8: Install the Treads and Risers
Now that the stringers are securely attached, it’s time to install the treads and risers on your freestanding stairs. The treads are the horizontal surfaces that you step on, while the risers are the vertical boards that cover the spaces between each tread.
Start by measuring and cutting pressure-treated 2×6 lumber for the treads and risers. Measure the width and depth of each step and cut the boards accordingly. It’s recommended to leave a small gap between each tread for water drainage.
Before installing the treads and risers, it’s a good idea to pre-drill pilot holes to prevent splitting. Use a power drill and a drill bit that is slightly smaller in diameter than the screws you will be using.
Begin with the risers. Place each riser board vertically between the treads, flush against the stringers. Use the pre-drilled pilot holes to secure the risers in place with galvanized screws.
Once the risers are installed, it’s time to move on to the treads. Place each tread board horizontally on top of the stringers and against the risers, making sure they are level and evenly spaced.
Use the pre-drilled pilot holes to attach the tread boards to the stringers with galvanized screws. Make sure to secure each tread board at multiple points to ensure stability and prevent any warping or movement.
Continue installing the remaining treads and risers, repeating the process until all steps are complete. Double-check the levelness and stability of each step as you go along to maintain a safe and comfortable staircase.
After installing all the treads and risers, check for any loose or uneven boards. Secure any loose boards with additional screws and use a saw or sander to trim any excess length if necessary.
With the treads and risers installed, you’re ready to move on to the next step: securing the stairs to the structure.
Take your time during this step to ensure the treads and risers are properly installed and securely attached. Sturdy and even steps are crucial for the safety and functionality of your freestanding stairs.
Read more: How To Build A Freestanding Carport
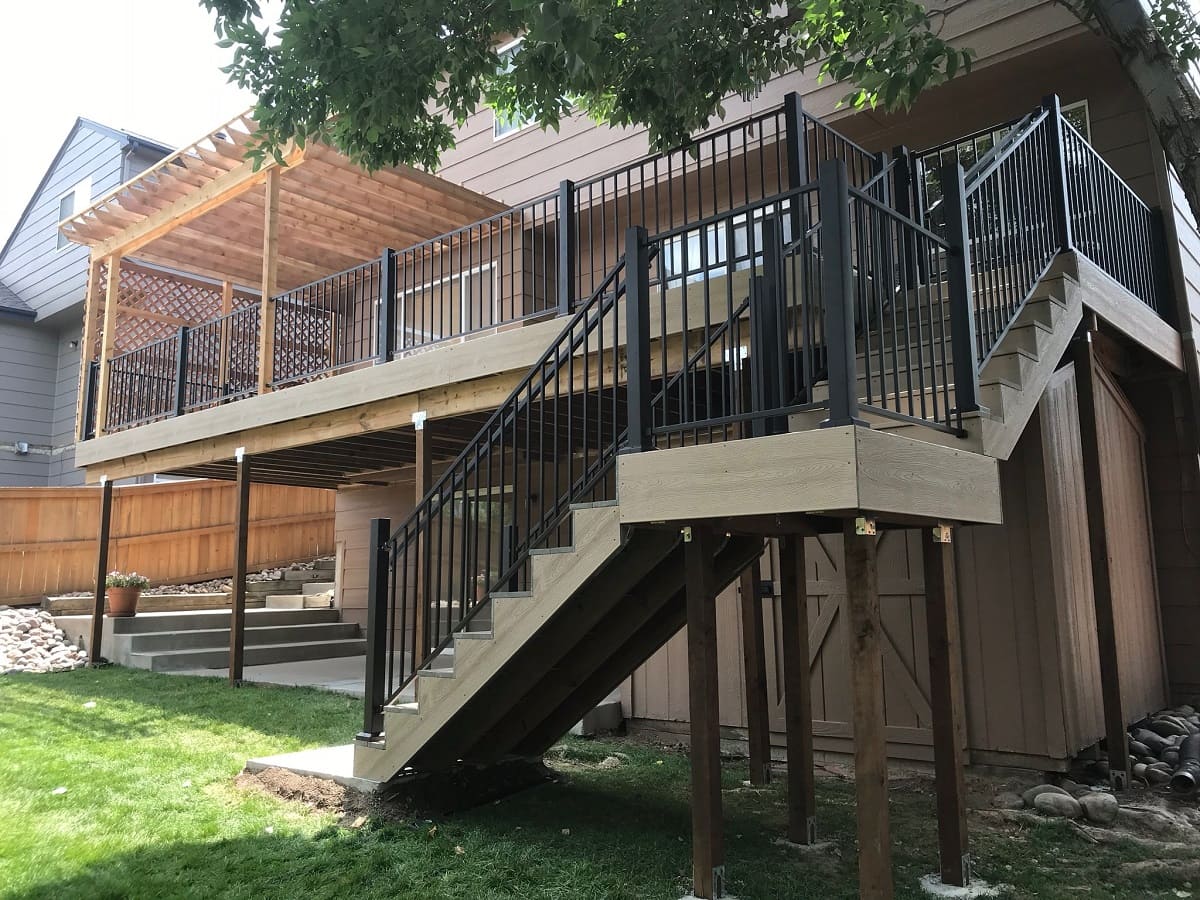
Step 9: Secure the Stairs to the Structure
Now that the treads and risers are installed, it’s time to secure your freestanding stairs to the structure they are connected to. This step is essential for ensuring the stability and safety of the entire staircase.
Start by determining the points where the stairs will be attached to the structure. This could be the deck, patio, or any other raised platform. Use a measuring tape and pencil to mark these attachment points.
Next, use a power drill and appropriate screws or bolts to secure the stringers to the structure. Make sure to use hardware that is appropriate for your specific situation and follows local building codes.
Attach the top end of the stringers to the structure, making sure they are plumb and properly aligned. Use a level to ensure the stairs are straight and not tilted in any direction.
It’s recommended to use at least two screws or bolts per stringer, securing them at each attachment point. This will provide a strong connection and prevent any wobbling or movement of the stairs.
As you secure the stairs to the structure, take your time to ensure each attachment point is secure and stable. Pay attention to any signs of movement or instability and make any necessary adjustments.
Remember to check and comply with any local building codes and regulations regarding the attachment of stairs to a structure. Following these guidelines ensures the safety and longevity of your freestanding stairs.
With the stairs securely attached to the structure, you’re ready for the final step: finishing and painting the stairs.
Take your time during this step to ensure the stairs are properly secured to the structure. A strong and stable attachment is crucial for the overall safety and functionality of your freestanding stairs.
Step 10: Finish and Paint the Stairs
Congratulations! You’re almost done with building your freestanding stairs. The final step is to finish and paint the stairs, enhancing their appearance and protecting them from the elements.
Start by inspecting the entire staircase, checking for any rough edges, splinters, or imperfections. Use sandpaper or a sander to smooth out any rough areas and create a more polished finish.
If desired, you can apply a wood stain or finish to enhance the natural beauty of the lumber. Choose a product suitable for outdoor use and follow the manufacturer’s instructions for application. Apply a thin, even coat, allowing it to penetrate the wood and dry completely before proceeding.
Once the finish has dried, consider adding a paint or stain to provide an extra layer of protection. Choose a color that complements your outdoor space and weatherproof paint designed for exterior use. Apply multiple coats for lasting durability.
In addition to painting, you may also want to consider adding non-slip treads or grip tape to the steps. This provides an extra element of safety, especially in wet or slippery conditions.
Finally, take a step back and admire your completed freestanding stairs. They are now not only functional and secure but also visually appealing, adding a stylish touch to your outdoor space.
Remember to periodically inspect and maintain your stairs, especially if they are exposed to harsh weather conditions. Regularly check for any signs of wear, loose screws, or damaged boards. Promptly address any issues to ensure the longevity and safety of your stairs.
With the finishing touches complete, you can now enjoy and make use of your beautiful freestanding stairs. Whether it’s accessing a raised deck, patio, or any other elevated area, you can move with confidence and style.
Thank you for following this comprehensive guide on how to build freestanding stairs. We hope you found it helpful and that your new stairs serve you well for years to come.
Conclusion
Congratulations on completing the construction of your freestanding stairs! By following the step-by-step guide outlined in this article, you have successfully created a functional and visually appealing staircase that provides safe access to elevated areas in your outdoor space.
Throughout this process, you have learned how to determine the location and dimensions of the stairs, gather the necessary tools and materials, measure and mark the placement, dig the foundation holes, install the concrete footings, build the stringers, attach them to the footings, install the treads and risers, secure the stairs to the structure, and finish and paint the stairs.
Remember, building freestanding stairs requires intermediate-level carpentry skills and knowledge of basic construction techniques. It’s essential to adhere to local building codes and regulations to ensure the safety and compliance of your stairs.
Regular maintenance and inspections are necessary to ensure your stairs remain in good condition. Check for any signs of wear, loose screws, or damaged boards, and address any issues promptly to maintain the longevity and functionality of your stairs.
We hope this guide has empowered you to confidently take on the challenge of building your own freestanding stairs. Not only have you provided a practical solution for accessing elevated areas, but you have also added a beautiful architectural element to your outdoor space.
Thank you for joining us on this construction journey, and we wish you many enjoyable moments on your newly built freestanding stairs!
Now that you've mastered building freestanding stairs, why not tackle more DIY projects or dive into woodworking? Each guide offers unique insights and steps tailored for enthusiasts eager to enhance their skills. Whether you're drawn to self-made creations or eager to craft stunning wooden pieces for 2024, these reads are packed with knowledge just waiting to be tapped.
Frequently Asked Questions about How To Build Freestanding Stairs
Was this page helpful?
At Storables.com, we guarantee accurate and reliable information. Our content, validated by Expert Board Contributors, is crafted following stringent Editorial Policies. We're committed to providing you with well-researched, expert-backed insights for all your informational needs.


0 thoughts on “How To Build Freestanding Stairs”