
Articles
How To Fix A Cracked Garage Floor
Modified: August 17, 2024
Learn effective methods and tips to fix a cracked garage floor with our insightful articles. Discover expert advice and solutions for long-lasting repairs.
(Many of the links in this article redirect to a specific reviewed product. Your purchase of these products through affiliate links helps to generate commission for Storables.com, at no extra cost. Learn more)
Introduction
A cracked garage floor can be a frustrating and potentially dangerous issue for homeowners. Not only can it detract from the appearance of your garage, but it can also lead to further structural damage if left untreated. Understanding the causes of cracked garage floors and knowing how to fix them can help you restore the functionality and safety of your garage.
There are several factors that can contribute to cracked garage floors. These include age, poor construction techniques, changes in temperature and moisture levels, heavy loads, and even soil settlement. Once cracks start to appear, it’s important to assess their severity and determine the appropriate repair methods.
Before attempting any repairs, it’s crucial to prioritize safety. Make sure to wear protective gear such as safety glasses, gloves, and a dust mask. Ensure proper ventilation by opening windows and using fans if necessary. Additionally, be cautious when working with tools and chemicals, and keep pets and children away from the work area.
Now let’s take a look at the tools and materials you’ll need to fix a cracked garage floor.
Key Takeaways:
- Don’t let a cracked garage floor compromise safety and functionality. Understand the causes, assess severity, and follow safety precautions when repairing. Prevent future cracks with proper construction and regular maintenance.
- Repairing small cracks with concrete fillers and larger cracks with patching compounds can restore your garage floor. Prioritize safety, follow manufacturer instructions, and consider professional help for extensive damage.
Read more: How To Fix A Crack In Concrete Floor
Causes of Cracked Garage Floors
Cracked garage floors can occur due to various reasons. Understanding these causes can help prevent future cracks and determine the best approach for repair. Here are some common factors that contribute to cracked garage floors:
- Poor Construction: In some cases, the initial construction of the garage floor may be flawed. Insufficient or improper reinforcement, inadequate curing time, or the use of low-quality materials can all lead to the formation of cracks over time.
- Settlement of Soil: The soil on which your garage is built can play a significant role in the stability of the floor. If the soil beneath the garage settles or shifts, it can cause the floor to crack as it tries to accommodate the movement.
- Temperature Fluctuations: Extreme temperature changes can cause concrete to expand and contract. This constant movement can create stress on the garage floor, leading to cracking. This is especially common in regions with significant temperature variations.
- Moisture: Excessive moisture can weaken the concrete, making it more susceptible to cracking. This can occur due to improper drainage around the garage, water leaks, or even high humidity levels. If moisture seeps into the concrete, it can freeze and expand, causing cracks to form.
- Heavy Loads: Overloading the garage floor with heavy equipment, vehicles, or storage items can put excessive stress on the concrete, leading to cracks. It’s essential to ensure that the floor is designed to handle the intended loads.
Identifying the underlying cause of the cracks in your garage floor is essential for effective repair and prevention. By addressing the root cause, you can take appropriate measures to fix the cracks and implement preventive measures to avoid future issues.
Assessing the Severity of Cracks
Before embarking on the repair process, it’s crucial to assess the severity of the cracks in your garage floor. This evaluation will help determine the appropriate repair methods and materials needed. Here are some key steps to follow when assessing the severity of cracks:
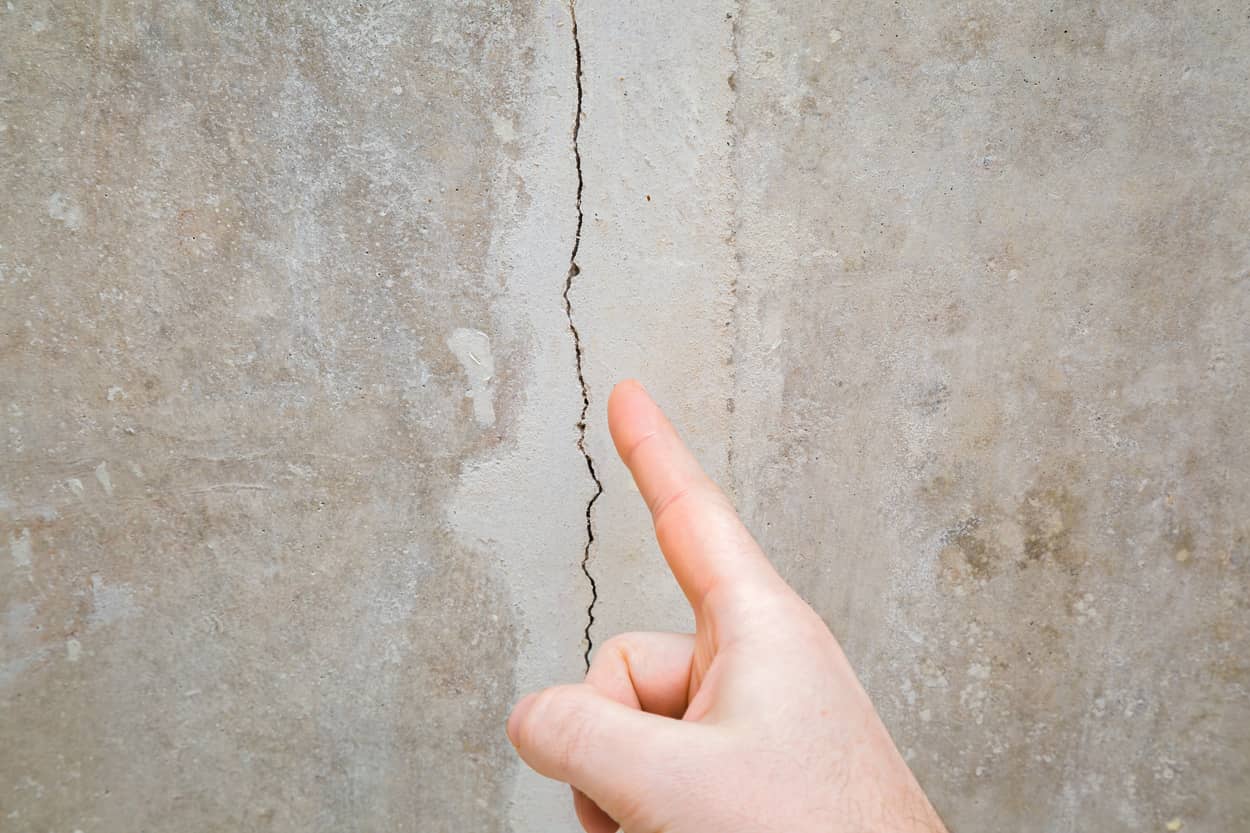
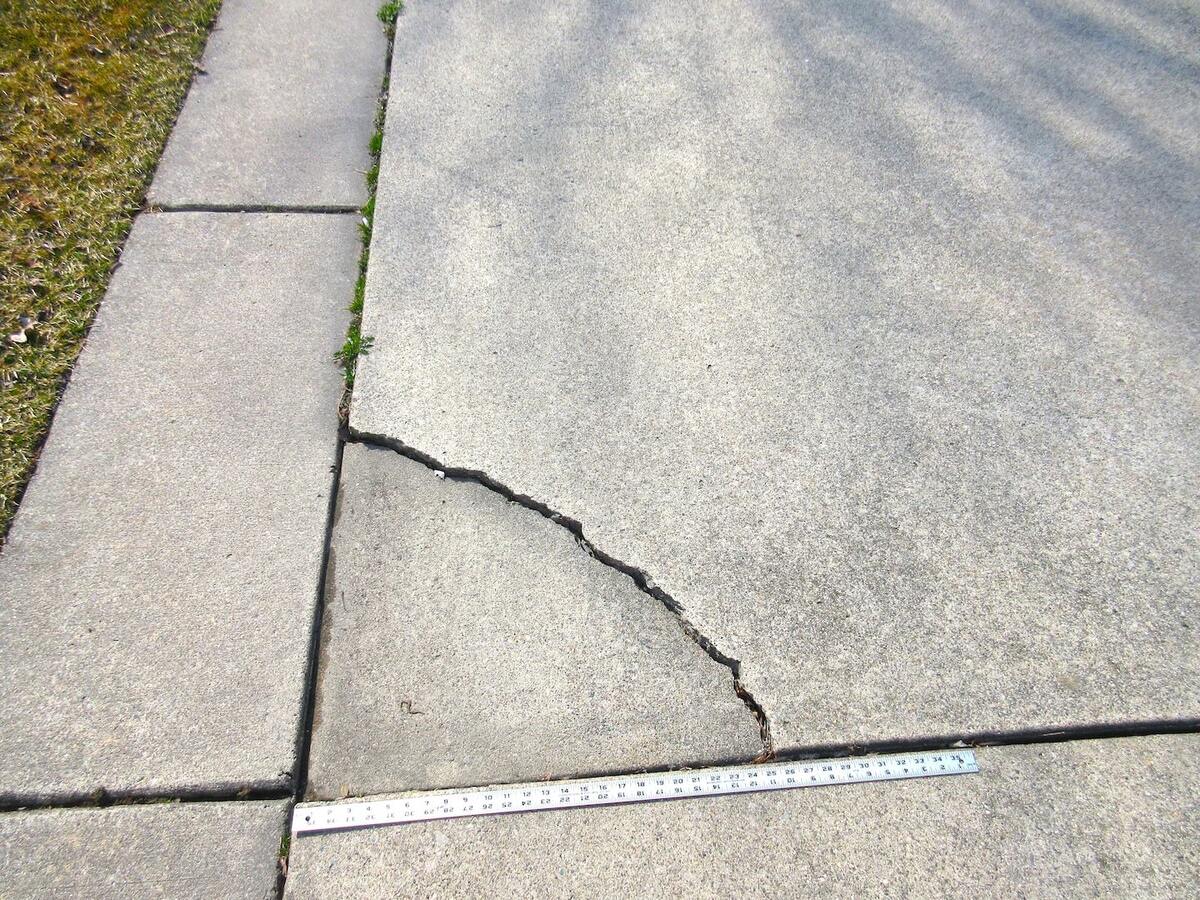
- Inspect the Size and Width: Measure the width and length of the cracks in your garage floor. Small hairline cracks that are less than 1/8 inch wide are typically considered minor and can often be repaired using simple fillers. However, wider cracks indicate more significant damage and may require more extensive repair techniques.
- Examine the Depth: Using a screwdriver or similar tool, gently probe the cracks to determine their depth. Superficial cracks that are shallow and do not penetrate the entire thickness of the slab are generally less severe and easier to repair. However, if the cracks are deep and extend through the entire thickness of the floor, it may require more involved repairs.
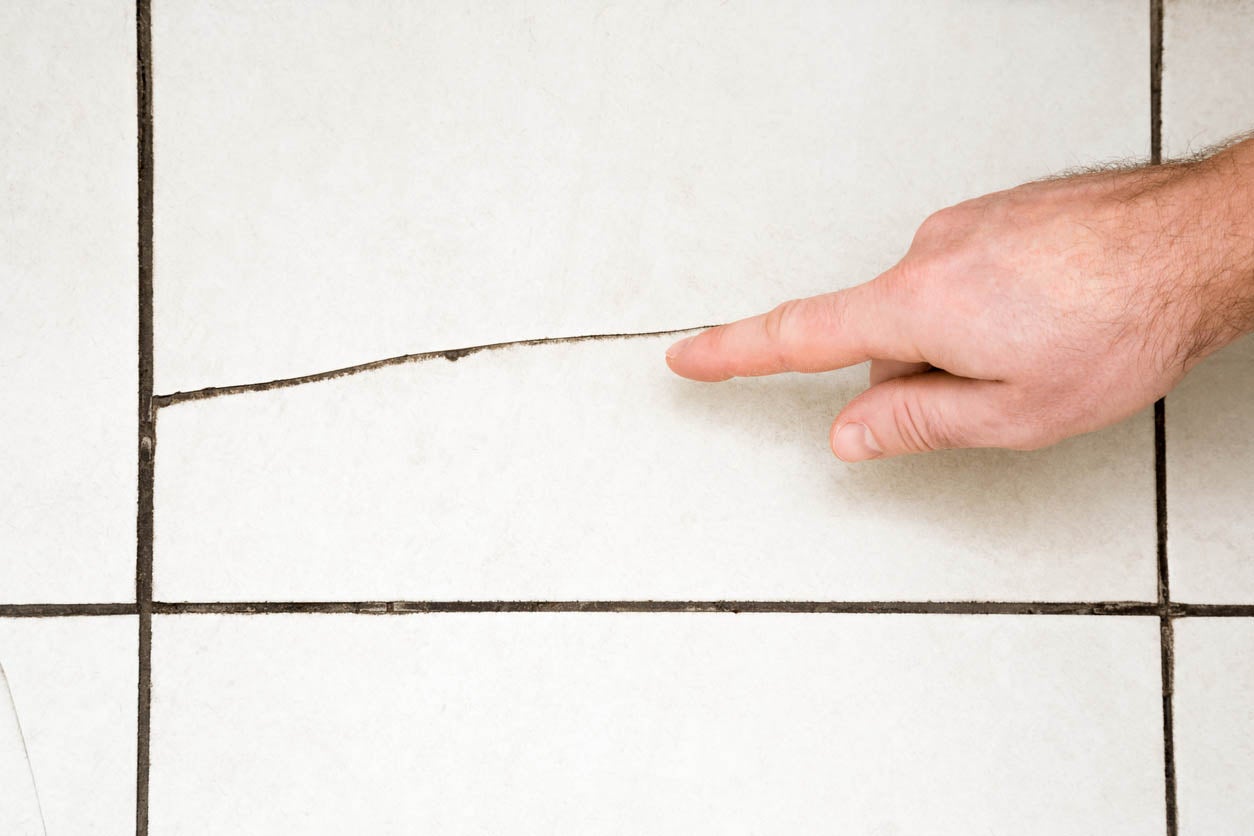
- Check for Movement: Determine if the cracks are static or if they show signs of movement. Cracks that are actively growing or expanding may indicate ongoing structural problems and may require professional assessment and repair.
- Observe Structural Changes: Look for any signs of unevenness or displacement in the garage floor. Bulging or sinking areas near the cracks could suggest underlying issues with soil settlement or inadequate load-bearing capacity.
By assessing the severity of the cracks, you can determine the appropriate repair methods and materials needed. Minor cracks can often be repaired using DIY techniques, while more severe cracks may require professional assistance. Remember, it’s essential to address cracks promptly to prevent further damage and ensure the long-term integrity of your garage floor.
Safety Precautions
When working on repairing cracked garage floors, it’s important to prioritize safety to avoid accidents and injuries. Here are some key safety precautions to keep in mind:
- Wear Protective Gear: Before starting any repair work, make sure to wear appropriate protective gear such as safety glasses, gloves, and a dust mask. This will protect you from dust, debris, and any potential chemical hazards.
- Ventilate the Area: Garages are often enclosed spaces with limited ventilation. To ensure a safe working environment, open windows and doors to promote fresh air circulation. Consider using fans or setting up temporary ventilation to help remove airborne dust and fumes.
- Use Proper Tools and Equipment: Make sure to use the right tools and equipment for the job. This includes concrete patching materials, mixing containers, trowels, safety cutters, and any other necessary tools specific to the repair technique you’re using.
- Handle Chemicals with Care: If you’re using concrete patching compounds or other chemicals, carefully read and follow the manufacturer’s instructions. Use them in a well-ventilated area, and avoid skin contact by wearing gloves and long sleeves.
- Secure the Work Area: To prevent accidents, ensure that the work area is properly secured. Keep pets and children away from the area, and place caution signs or barriers to alert others to the ongoing repair work.
- Be Mindful of Electrical Wiring and Pipelines: Before drilling or performing any work that could potentially damage electrical wiring or pipelines, make sure to identify the locations of these utilities to avoid any accidents or disruptions.
- Dispose of Waste Properly: Dispose of any waste materials, such as old caulking or concrete debris, according to local regulations. Avoid dumping these materials in drains or causing any environmental contamination.
By following these safety precautions, you can ensure the well-being of yourself, others, and your property while repairing the cracked garage floor.
Tools and Materials Needed
Before beginning the repair process for your cracked garage floor, gather the necessary tools and materials to ensure a smooth and efficient repair. Here’s a list of the commonly required items:
Read more: How To Fix A Cracked Shower Floor
Tools:
- Hammer
- Chisel
- Wire brush
- Concrete grinder (if necessary)
- Power drill
- Masonry drill bit
- Trowel
- Margin trowel
- Bucket or mixing container
- Screwdriver or similar probing tool
- Safety glasses
- Gloves
- Dust mask
- Protective clothing
Materials:
- Concrete crack filler or epoxy filler
- Concrete patching compound
- Masonry adhesive
- Concrete bonding agent
- Concrete sealant or waterproofing agent
- Sand
- Gravel or small stones
- Concrete mix (if necessary)
- Caulking gun
- Paintbrush or roller
- Water
- Clean rags or sponge
- Plastic sheet or tarp (for covering during curing process)
Depending on the severity and nature of the cracks, you may not need all of these tools and materials. Assess the condition of your garage floor and choose the appropriate items accordingly. It’s also a good idea to double-check the specific instructions provided by the product manufacturers to ensure you have all the necessary components for the repair process.
Step-by-Step Guide to Fixing a Cracked Garage Floor
Repairing a cracked garage floor can help restore its functionality and prevent further damage. Here’s a step-by-step guide to help you tackle this task:
- Prepare the Surface: Start by cleaning the cracked area of the garage floor. Remove any debris, loose concrete, or old caulking using a wire brush, chisel, or concrete grinder. The surface should be clean and free of contaminants for proper adhesion of the repair materials.
- Fill Small Cracks: For hairline or small cracks, apply a concrete crack filler or epoxy filler. Use a caulk gun to carefully fill the cracks, ensuring complete coverage. Smooth the surface with a putty knife or trowel, and allow the filler to cure as per the manufacturer’s instructions.
- Repair Large Cracks: For wider or deeper cracks, it may be necessary to use a concrete patching compound. Mix the compound according to the manufacturer’s instructions, and apply it into the cracks using a trowel. Make sure the compound is pressed firmly into the cracks, and smooth the surface with a trowel or margin trowel.
- Reinforce if Needed: In some cases, additional reinforcement may be required for larger cracks or structural damage. If the crack is still visible after applying the patching compound, you can embed wire mesh or rebar into the fresh compound for added strength.
- Cure and Seal: Allow the repaired area to cure for the recommended time mentioned in the product instructions. Cover the area with a plastic sheet or tarp to protect it from dust, debris, and moisture during the curing process. After the curing period, remove the cover and inspect the repaired area for any imperfections.
- Apply Sealant: Once the repaired area has fully cured, apply a concrete sealant or waterproofing agent to provide additional protection. Follow the instructions on the product packaging to ensure proper application and coverage.
- Maintain Regular Maintenance: To prevent future cracks, maintain regular maintenance of your garage floor. This includes keeping the floor clean, repairing any damage promptly, and applying a concrete sealant every few years to enhance its durability and resistance to moisture.
Remember to follow the specific instructions provided by the product manufacturers for the best results. If the cracks are extensive or if you are unsure about the repair process, it is recommended to consult a professional contractor to ensure proper repair and avoid any further issues.
Fill the crack with a concrete patching compound, then smooth it out with a trowel. Allow it to dry completely before applying a concrete sealer to prevent future cracks.
Filling Small Cracks
Small cracks in a garage floor, such as hairline cracks or cracks less than 1/8 inch wide, can often be filled using a concrete crack filler or epoxy filler. Here’s a step-by-step guide on how to fill small cracks in your garage floor:
- Clean the Crack: Start by thoroughly cleaning the crack to remove any debris, loose concrete, or old caulking. Use a wire brush, chisel, or concrete grinder to clean the crack and ensure a clean surface for proper adhesion.
- Prepare the Filler: Follow the manufacturer’s instructions to prepare the concrete crack filler or epoxy filler. This typically involves mixing the filler components in a bucket or using a cartridge in a caulk gun.
- Apply the Filler: Carefully apply the filler into the crack using a caulk gun or putty knife. Ensure that the crack is completely filled with the filler material, leaving no gaps or air pockets. Use a putty knife or trowel to smooth the surface and level it with the surrounding area.
- Smooth and Feather the Edges: Use a putty knife or trowel to feather the edges of the filled crack, blending it with the surrounding concrete. This will help create a smooth transition between the repaired area and the rest of the floor.
- Allow the Filler to Cure: Follow the recommended curing time provided by the manufacturer. Typically, it takes a few hours to overnight for the filler to fully cure. Avoid walking or placing any weight on the repaired area during this time.
- Inspect and Touch Up: After the filler has cured, inspect the repaired area for any imperfections. If needed, apply an additional layer of filler to ensure that the crack is completely filled and leveled with the surrounding floor.
- Seal for Protection: To provide additional protection to the repaired area, you can apply a concrete sealant or waterproofing agent. Follow the manufacturer’s instructions for proper application and coverage. This will help prevent future moisture penetration and potential damage.
It’s important to note that while filling small cracks can be done DIY, it’s always advisable to closely follow the manufacturer’s instructions and take necessary safety precautions. If you are unsure about the repair process or if the cracks are extensive, it’s recommended to consult a professional contractor for appropriate guidance and an effective repair.
Read more: How To Fix Cracks In Basement Floor
Repairing Large Cracks
When it comes to repairing larger cracks in your garage floor, such as cracks wider than 1/8 inch or deeper cracks that extend through the entire thickness of the floor, a concrete patching compound is typically used. Here’s a step-by-step guide on how to repair large cracks in your garage floor:
- Clean the Crack: Start by thoroughly cleaning the crack to remove any debris, loose concrete, or old caulking. Use a wire brush, chisel, or concrete grinder to clean the crack and ensure a clean surface for proper adhesion.
- Prepare the Patching Compound: Follow the manufacturer’s instructions to prepare the concrete patching compound. This may involve mixing the compound with water in a bucket until you achieve a smooth and workable consistency.
- Apply the Patching Compound: Use a trowel to press the patching compound into the crack, ensuring that it fully fills the crack and extends slightly above the surrounding floor level. Smooth the surface with the trowel, feathering the edges to create a seamless transition with the rest of the floor.
- Reinforce if Necessary: If the crack is still visible after applying the patching compound, you may need to reinforce the repair. Embed wire mesh or rebar into the fresh compound, ensuring that it extends beyond the crack and overlaps with the surrounding floor. This will provide additional strength to the repaired area.
- Cure the Patch: Allow the patching compound to cure as per the manufacturer’s instructions. This typically involves letting it dry for several hours or overnight. Avoid walking or placing any weight on the repaired area during this time.
- Inspect and Touch Up: After the patch has cured, inspect the repaired area for any imperfections. If needed, apply an additional layer of patching compound to ensure that the crack is completely filled and leveled with the surrounding floor.
- Seal for Protection: To provide additional protection to the repaired area, apply a concrete sealant or waterproofing agent. Follow the manufacturer’s instructions for proper application and coverage. This will help prevent future moisture penetration and potential damage.
It’s important to note that larger crack repairs may require a higher level of expertise. If you’re unsure about the repair process or if the cracks are extensive, it’s recommended to consult a professional contractor who specializes in concrete repairs. They will have the knowledge and experience to ensure a successful and long-lasting repair.
Preventive Measures for Future Cracks
Taking preventive measures can help minimize the occurrence of cracks in your garage floor and extend its lifespan. Here are some proactive steps you can take to prevent future cracks:
- Properly Construct the Garage Floor: If you’re building a new garage or renovating an existing one, make sure to hire a reputable contractor who follows proper construction techniques. Ensure the floor is adequately reinforced and built on a solid foundation to minimize the risk of cracks.
- Maintain Proper Moisture Levels: Ensure proper drainage around your garage to prevent water from accumulating near the foundation. Properly grade the surrounding area to direct water away from the garage. Install gutters and downspouts to channel rainwater away from the structure.
- Control Temperature Fluctuations: Extreme temperature changes can cause concrete to expand and contract, leading to cracks. Minimize temperature fluctuations by insulating the garage and installing a vapor barrier beneath the concrete floor. This can help stabilize the temperature and reduce the risk of cracking.
- Avoid Excessive Weight: Do not overload your garage floor with heavy equipment, vehicles, or storage items. Be mindful of the weight limits specified by the construction guidelines and avoid exerting unnecessary pressure on the floor.
- Maintain a Consistent Climate: If your garage is attached to your home and is heated, ensure a consistent indoor climate. Rapid temperature changes between the garage and the rest of the house can cause stress on the floor, potentially leading to cracks.
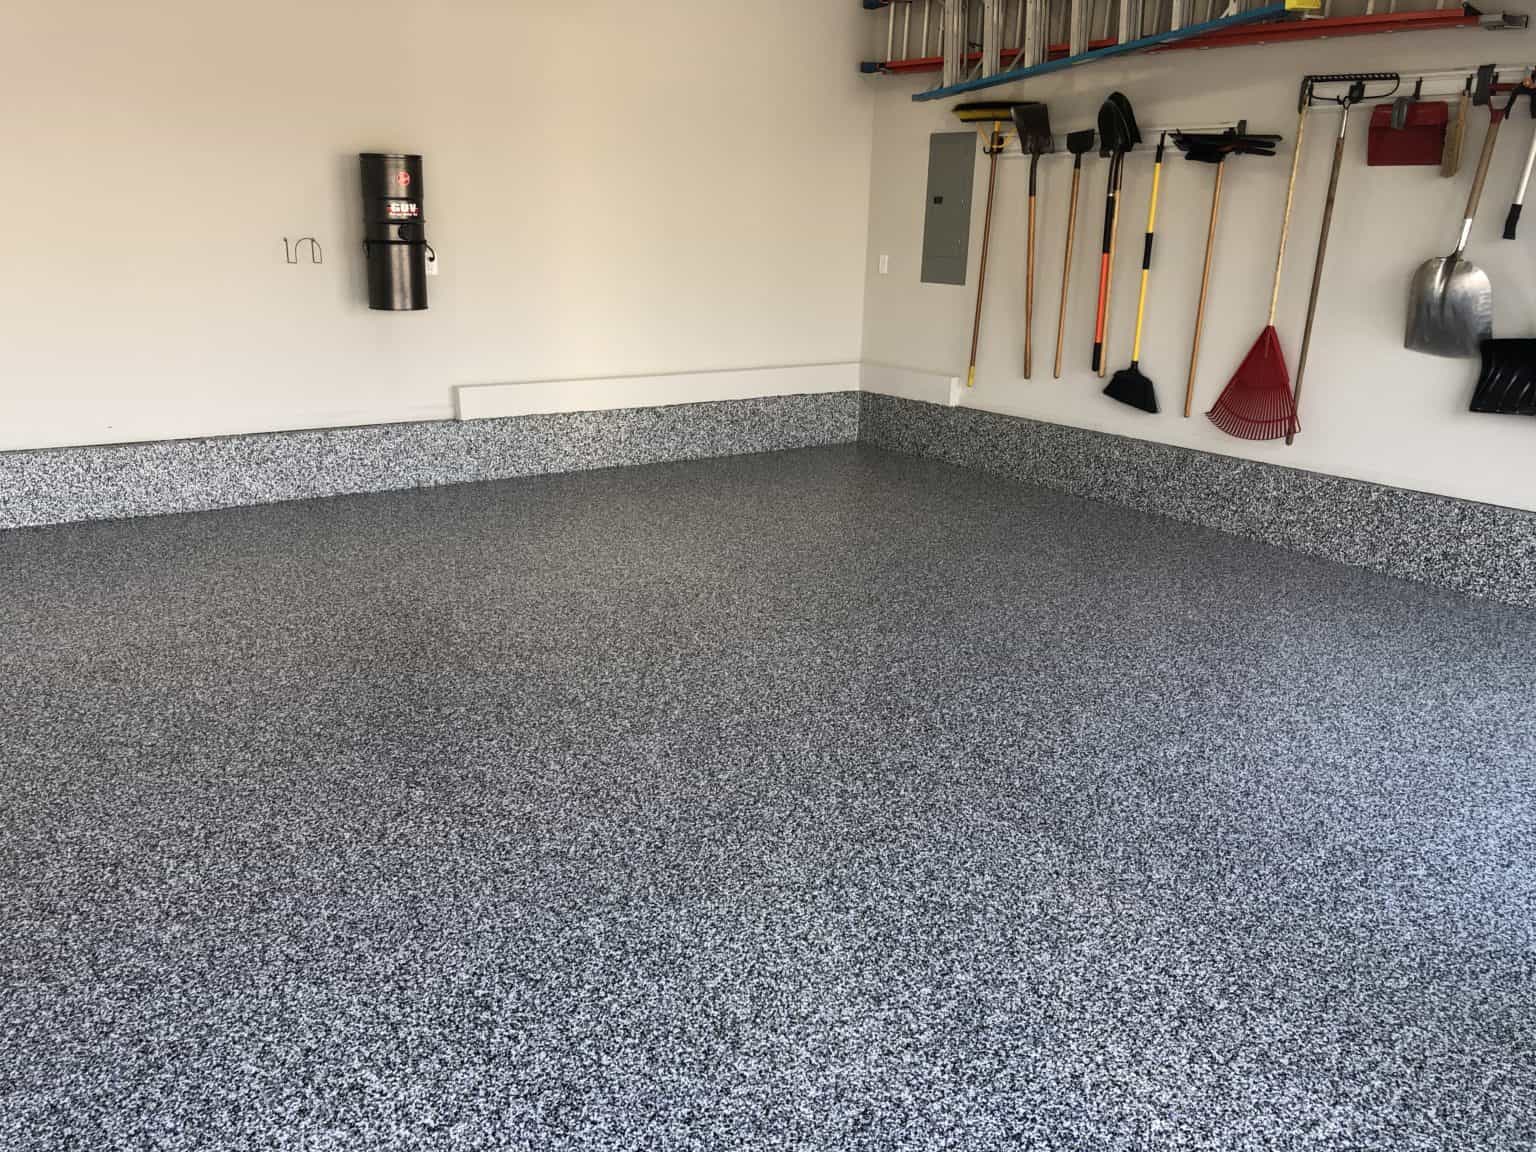
- Seal the Concrete: Regularly apply a concrete sealant or waterproofing agent to your garage floor to protect it from moisture absorption, staining, and chemical damage. This will help maintain the integrity of the concrete and minimize the risk of cracks.
- Perform Regular Maintenance: Keep your garage floor clean and free from debris. Promptly address any minor cracks or damage by filling them with suitable repair materials. Regularly inspect the floor for signs of wear or movement and take necessary corrective measures.
By implementing these preventive measures, you can significantly reduce the likelihood of cracks in your garage floor and ensure its long-term durability. However, it’s important to note that despite taking precautions, natural wear and tear can still occur over time. Regular maintenance and timely repairs are essential for preserving the condition of your garage floor.
Conclusion
Dealing with a cracked garage floor can be a frustrating issue for homeowners. However, with the right knowledge and tools, repairing and preventing further cracks is within reach. By understanding the causes of cracked garage floors, assessing their severity, and taking appropriate safety precautions, you can effectively tackle the repair process.
When repairing small cracks, using concrete crack fillers or epoxy fillers can help restore the integrity of the floor. For larger cracks, utilizing a concrete patching compound and reinforcing if necessary can provide a more robust solution. Remember to follow the manufacturer’s instructions and allow the repaired areas to cure properly before using or applying sealants for added protection.
Prevention also plays a crucial role in maintaining the longevity of your garage floor. Proper construction, controlling moisture levels, avoiding excessive weight, and maintaining a consistent climate can all contribute to reducing the risk of future cracks. Regular maintenance, such as cleaning, inspections, and timely repairs, is key to preserving the condition of the floor.
In conclusion, fixing a cracked garage floor is a manageable task that can be accomplished with the right guidance and materials. By addressing cracks promptly and implementing preventive measures, you can ensure the safety, functionality, and visual appeal of your garage floor for years to come.
Remember, if you encounter extensive cracks or feel unsure about the repair process, it’s always wise to seek professional assistance. They can provide expert advice and ensure that the repairs are carried out to the highest standard.
Frequently Asked Questions about How To Fix A Cracked Garage Floor
Was this page helpful?
At Storables.com, we guarantee accurate and reliable information. Our content, validated by Expert Board Contributors, is crafted following stringent Editorial Policies. We're committed to providing you with well-researched, expert-backed insights for all your informational needs.


0 thoughts on “How To Fix A Cracked Garage Floor”