Home>Furniture & Design>Bathroom Accessories>How To Repair A Bathtub Crack
Bathroom Accessories
How To Repair A Bathtub Crack
Published: February 17, 2024
Learn how to effectively repair a bathtub crack with our expert tips and techniques. Keep your bathroom looking pristine with our bathroom accessories.
(Many of the links in this article redirect to a specific reviewed product. Your purchase of these products through affiliate links helps to generate commission for Storables.com, at no extra cost. Learn more)
Introduction
A crack in your bathtub can be a source of frustration and concern. Not only does it affect the aesthetics of your bathroom, but it can also lead to water leakage and further damage if left unaddressed. However, the good news is that repairing a bathtub crack is a manageable task that can be accomplished with the right materials and a bit of know-how. In this comprehensive guide, we will walk you through the step-by-step process of repairing a bathtub crack, empowering you to restore the functionality and visual appeal of your bathtub with confidence.
Whether the crack is a result of wear and tear, a heavy impact, or simply the passage of time, addressing it promptly is crucial to prevent the issue from escalating. By following the instructions provided in this guide, you can effectively mend the crack and prevent water seepage, which could lead to more extensive and costly repairs in the future.
The process of repairing a bathtub crack involves assessing the damage, gathering the necessary materials, preparing the crack for repair, applying the repair compound, and finishing with sanding and smoothing the surface. Additionally, we will provide you with maintenance tips to ensure the longevity of the repair and the overall well-being of your bathtub.
By taking the time to understand and execute the repair process, you can save money on professional services and gain the satisfaction of restoring your bathtub to its former glory. So, roll up your sleeves and get ready to embark on a DIY bathtub repair journey that will leave you feeling accomplished and your bathtub looking as good as new. Let's dive into the details and get started on this rewarding project.
Key Takeaways:
- Don’t let a bathtub crack stress you out! With the right materials and know-how, you can repair it yourself, saving money and restoring your bathtub’s beauty and functionality.
- Thoroughly assess the damage and gather the right materials before repairing your bathtub crack. Follow the step-by-step process, and don’t forget the finishing touches and maintenance tips for a long-lasting repair.
Read more: How To Repair A Crack In The Bathtub
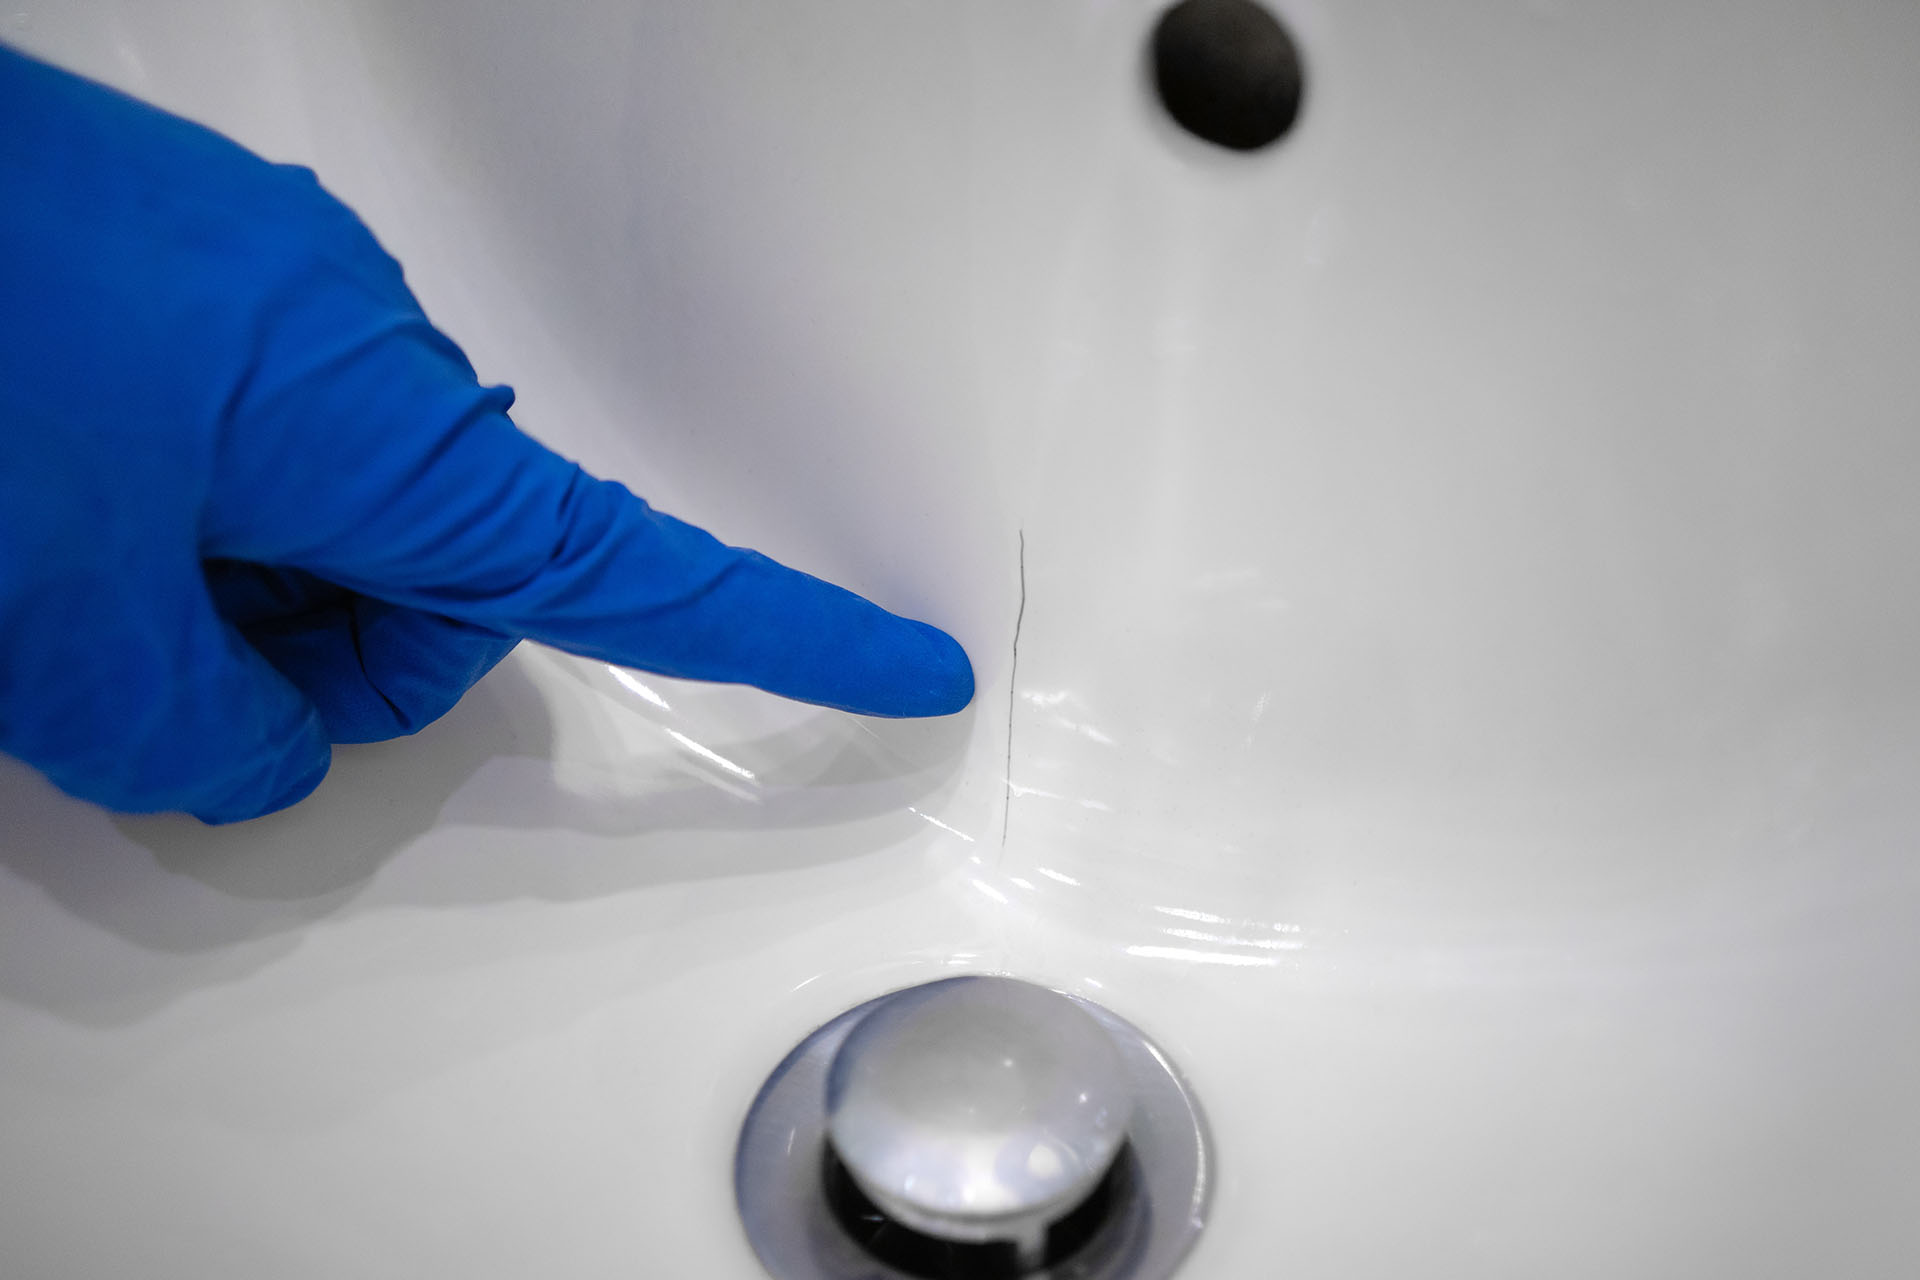
Assessing the Damage
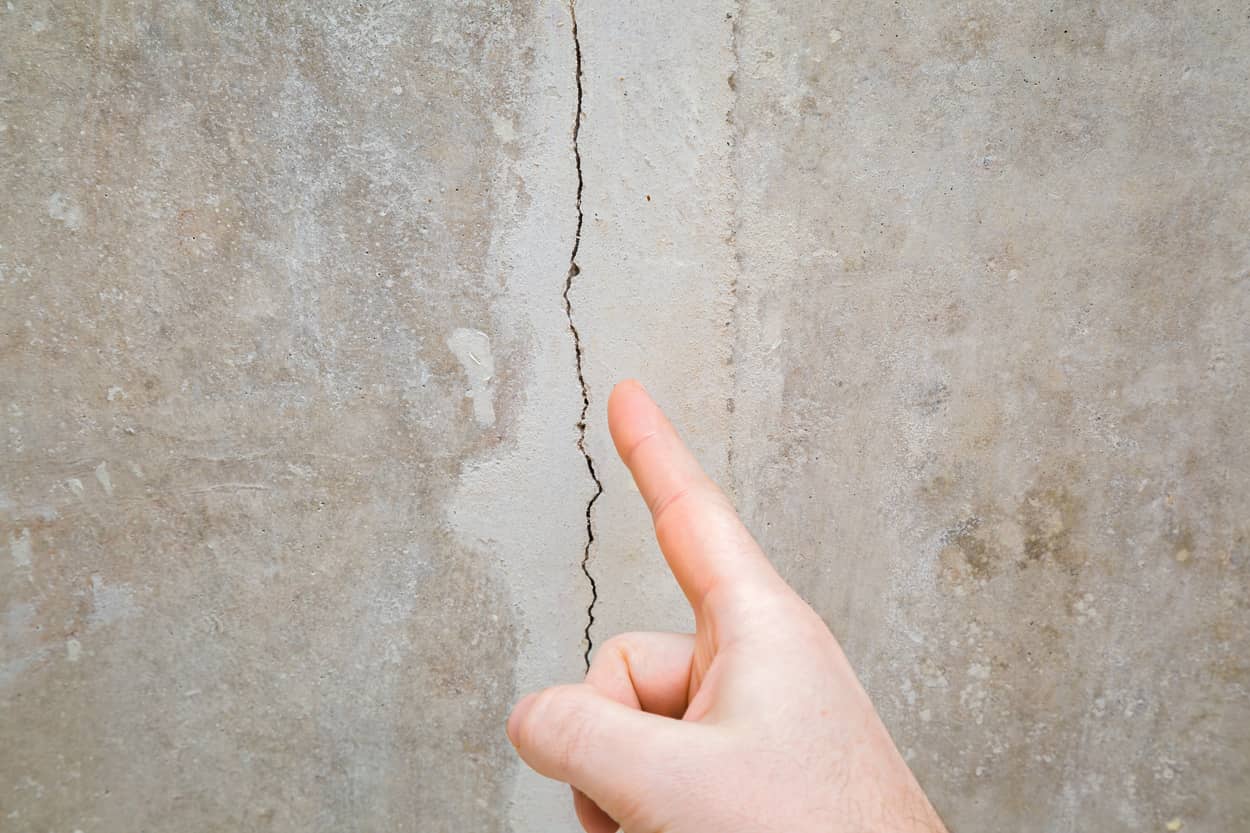
Before diving into the repair process, it's crucial to thoroughly assess the extent of the damage to your bathtub. This step is essential for determining the most effective approach to addressing the crack and ensuring a successful repair.
Start by carefully examining the crack in your bathtub. Take note of its size, location, and depth. Small hairline cracks may only require minor repairs, while larger, more extensive cracks may necessitate a more comprehensive approach.
Next, consider the material of your bathtub. Is it made of fiberglass, acrylic, porcelain, or another material? Different materials may require specific repair methods and materials to achieve optimal results.
Inspect the surrounding area of the crack for any signs of water damage or discoloration. Water leakage from the crack can lead to structural issues and mold growth if not promptly addressed. Identifying any secondary damage will help you understand the urgency of the repair and prevent potential complications in the future.
Additionally, assess the stability of the bathtub. If the crack has compromised the structural integrity of the bathtub, it's essential to address this issue before proceeding with the repair. Any instability should be resolved to ensure the safety and functionality of the bathtub.
Consider the history of the crack. Has it been present for a long time, or is it a recent development? Understanding the timeline of the crack's appearance can provide insight into its cause and potential implications for the repair process.
Finally, take into account your own comfort level and experience with DIY repairs. Assessing the complexity of the crack and your confidence in tackling the repair will help you determine whether you can proceed with the repair independently or if professional assistance may be necessary.
By thoroughly assessing the damage, you will be equipped with a clear understanding of the crack's characteristics and any associated issues. This knowledge will guide you in selecting the appropriate materials and techniques for the subsequent repair steps, setting the stage for a successful bathtub crack restoration.
Gathering the Necessary Materials
When it comes to repairing a bathtub crack, having the right materials at your disposal is essential for achieving a durable and aesthetically pleasing result. Before diving into the repair process, it's crucial to gather the necessary materials to ensure a smooth and efficient workflow. Here's a comprehensive list of the materials you'll need to effectively repair a bathtub crack:
1. Bathtub Repair Kit:
- Look for a high-quality bathtub repair kit specifically designed for the material of your bathtub, whether it's fiberglass, acrylic, porcelain, or another material. These kits typically include repair compounds, catalysts, mixing tools, and application instructions.
2. Safety Equipment:
- Prioritize safety by equipping yourself with protective gear such as gloves, safety goggles, and a face mask. These items will safeguard you from potential exposure to repair compounds and ensure a safe working environment.
Read more: How To Repair A Cracked Fiberglass Bathtub
3. Cleaning Supplies:
- Prepare cleaning supplies such as a mild detergent, clean cloths, and a non-abrasive scrubbing pad to thoroughly clean the area around the crack. Proper cleaning is crucial for promoting adhesion and ensuring the effectiveness of the repair.
4. Sandpaper and Sanding Block:
- Invest in fine-grit sandpaper and a sanding block to smooth the repaired surface and blend it seamlessly with the surrounding area. This step is essential for achieving a professional-looking finish.
5. Putty Knife or Spatula:
- A putty knife or spatula will be indispensable for applying the repair compound to the crack with precision and control. Opt for a flexible and durable tool that allows for smooth application.
6. Masking Tape:
- Use masking tape to create clean edges around the crack, preventing the repair compound from spreading onto unaffected areas of the bathtub. This will help maintain a neat and tidy repair process.
Read more: How To Repair An Acrylic Bathtub Crack
7. Hairdryer or Heat Gun (Optional):
- In some cases, a hairdryer or heat gun can expedite the drying process of the repair compound. This optional tool can be useful for achieving efficient results, especially in colder or humid environments.
8. Repair Sealant (Optional):
- Depending on the nature of the crack and the bathtub material, you may need a specialized repair sealant to reinforce the repaired area and provide additional protection against water penetration.
By ensuring that you have all the necessary materials on hand, you'll be well-prepared to proceed with the subsequent steps of the bathtub crack repair process. This proactive approach will streamline the repair process and contribute to the overall success of your DIY repair project.
Preparing the Crack for Repair
Before diving into the application of the repair compound, it's crucial to prepare the crack and its surrounding area to ensure optimal adhesion and a seamless repair. This preparatory phase sets the foundation for a successful and long-lasting repair, addressing both the aesthetic and functional aspects of the bathtub crack.
Cleaning the Area:
Begin by thoroughly cleaning the area around the crack to remove any dirt, grime, or residue that could hinder the bonding of the repair compound. Use a mild detergent and a clean cloth to gently scrub the surface, ensuring that it is free from any contaminants. For stubborn stains or buildup, a non-abrasive scrubbing pad can be used to achieve a pristine cleaning result. Rinse the area with water and allow it to dry completely before proceeding to the next step.
Read more: How To Repair A Cracked Plastic Bathtub?
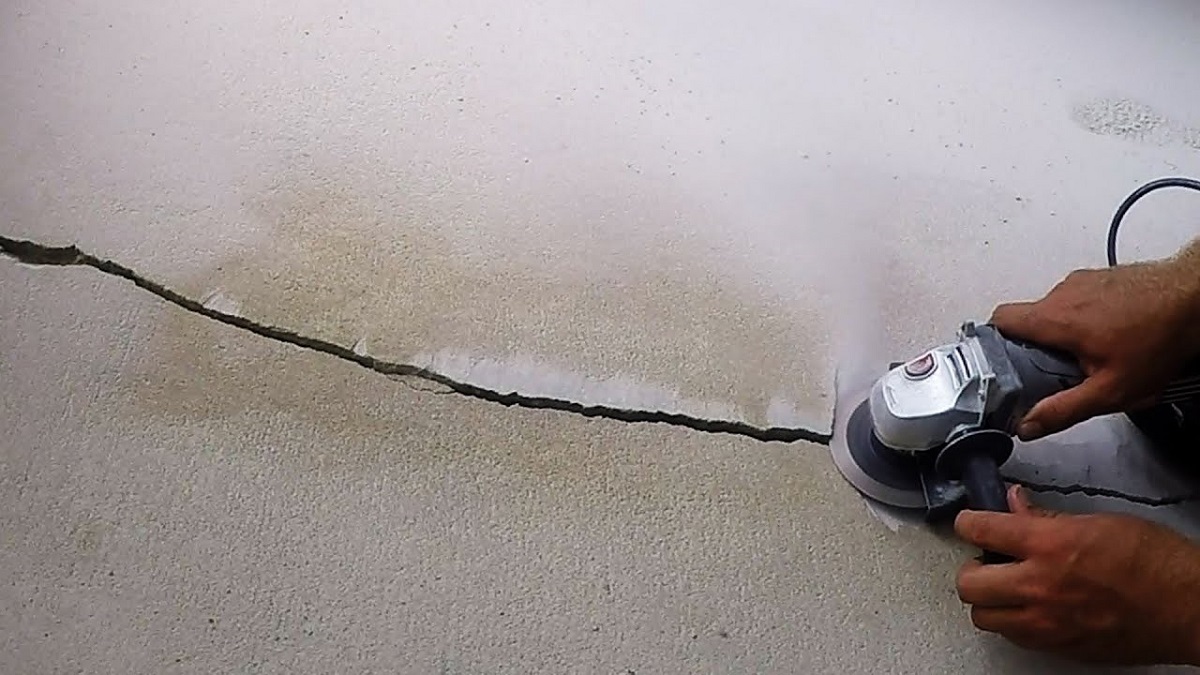
Roughening the Surface:
To promote strong adhesion, it's essential to roughen the surface of the crack and its immediate surroundings. This can be achieved by lightly sanding the area with fine-grit sandpaper. The goal is to create a slightly rough texture that allows the repair compound to grip the surface effectively. Be mindful not to oversand or damage the surrounding finish, as a delicate balance is required to prepare the surface optimally.
Removing Residual Moisture:
Ensure that the cleaned and sanded area is completely dry before applying the repair compound. Any residual moisture can compromise the bonding process and the overall effectiveness of the repair. A thorough drying process can be facilitated by using a clean, dry cloth to remove any lingering moisture, followed by allowing the area to air dry for a sufficient period.
Masking Off the Crack:
Using masking tape, carefully outline the crack to create clean edges and prevent the repair compound from spreading onto unaffected areas of the bathtub. This step is essential for maintaining a precise and controlled application, ensuring that the repair is confined to the targeted area without marring the surrounding surface.
Assessing the Crack:
Take a final moment to assess the crack and its prepared state before proceeding with the application of the repair compound. Ensure that the surface is clean, dry, and properly roughened, and that the surrounding area is protected with masking tape. This thorough preparation sets the stage for a successful repair, maximizing the adhesion and longevity of the repair compound.
By meticulously preparing the crack for repair, you are laying the groundwork for a professional-quality restoration that addresses the crack with precision and durability. This proactive approach ensures that the subsequent application of the repair compound will yield optimal results, setting the stage for a seamless and effective repair process.
Read more: How To Repair Cracks In Basement Wall
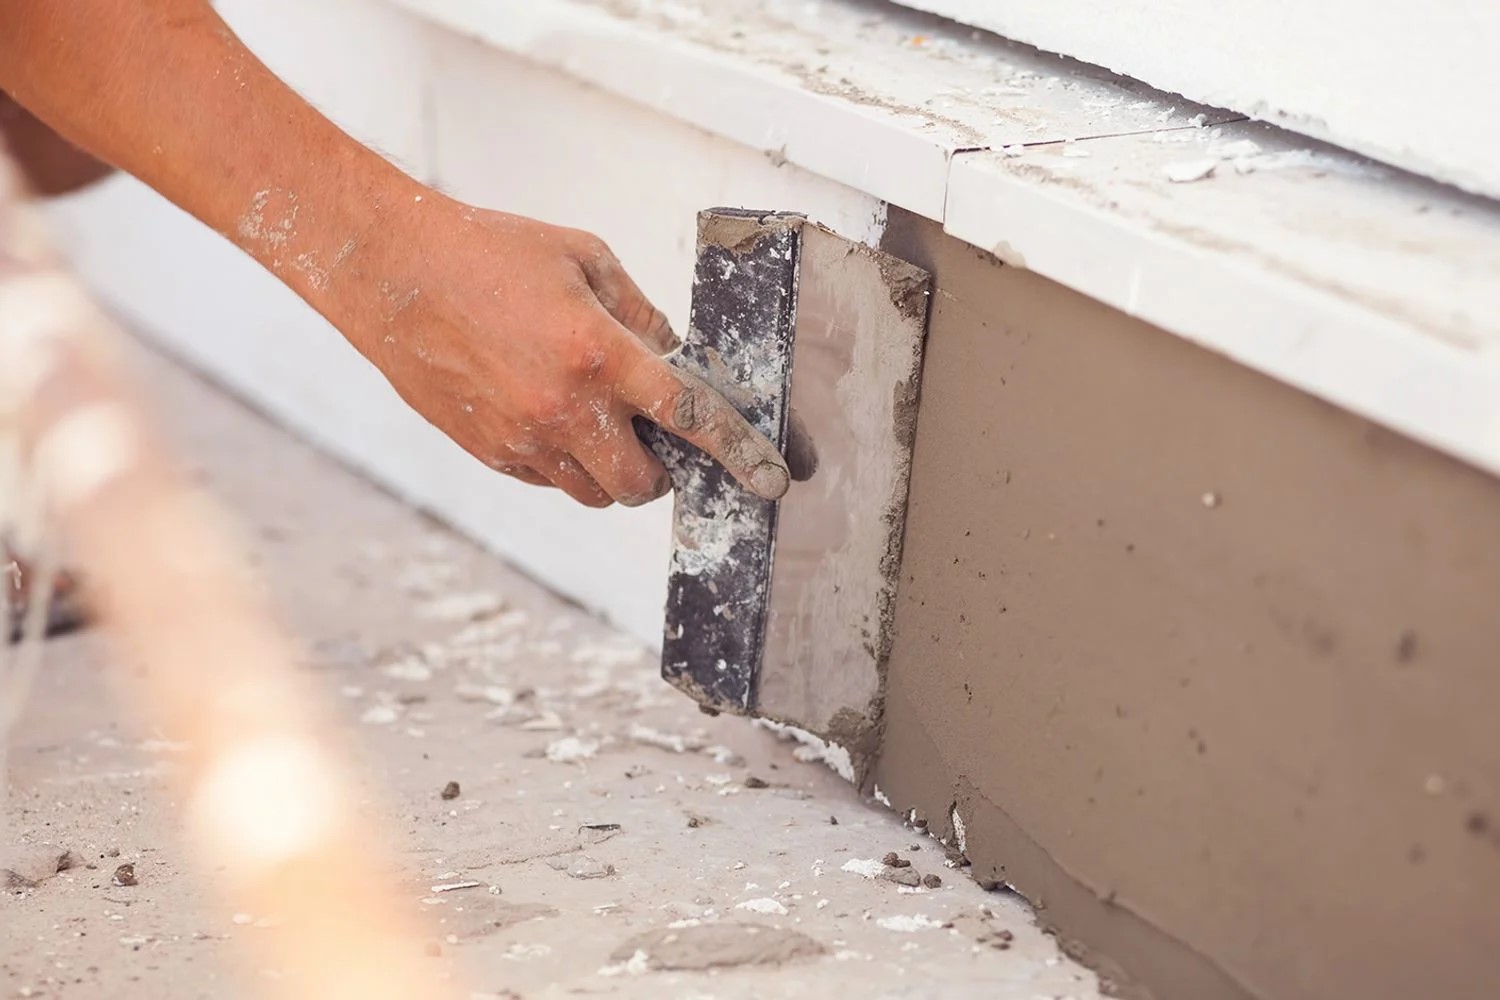
Applying the Repair Compound
With the crack thoroughly prepared, it's time to apply the repair compound to initiate the restoration process. This critical step involves carefully filling and sealing the crack to restore the integrity and visual appeal of the bathtub. By following the precise application guidelines, you can achieve a seamless and durable repair that effectively addresses the crack.
-
Mixing the Repair Compound:
Begin by thoroughly mixing the repair compound according to the manufacturer's instructions. Most bathtub repair kits include a repair compound and a catalyst that need to be mixed in precise proportions. Use a clean container and a stirring tool to achieve a uniform consistency, ensuring that the compound is thoroughly blended and ready for application. -
Applying the Compound to the Crack:
Using a putty knife or spatula, carefully apply the mixed repair compound to the crack, ensuring that it fills the entire length and depth of the damaged area. Apply gentle pressure to pack the compound into the crack, smoothing it out to create a level surface. Take care to avoid overfilling the crack, as excess compound can complicate the subsequent sanding and smoothing process. -
Blending and Feathering the Edges:
To seamlessly integrate the repaired area with the surrounding surface, feather the edges of the applied compound using the putty knife or spatula. This technique involves gently tapering the edges of the compound to create a smooth transition with the bathtub's finish. By blending the edges effectively, you can achieve a visually cohesive repair that seamlessly merges with the original surface. -
Removing Excess Compound:
After applying the repair compound, carefully remove any excess material from the surrounding area using a clean cloth or the edge of the putty knife. This meticulous step ensures that the repaired area is flush with the bathtub's surface, setting the stage for the subsequent sanding and smoothing process. -
Allowing the Compound to Cure:
Once the repair compound is applied and shaped to satisfaction, allow it to cure according to the manufacturer's recommendations. This curing period is crucial for the compound to solidify and establish a strong bond with the bathtub's surface. Adhering to the specified curing time is essential for achieving a durable and long-lasting repair.
By following these precise steps for applying the repair compound, you can effectively address the bathtub crack with precision and expertise. This meticulous application process sets the stage for the subsequent sanding and smoothing, culminating in a professional-quality repair that restores the functionality and visual appeal of your bathtub.
Sanding and Smoothing the Surface
After the repair compound has fully cured, the next crucial step in the bathtub crack repair process is sanding and smoothing the surface. This phase is essential for achieving a seamless integration of the repaired area with the surrounding bathtub surface, resulting in a professional-looking finish that restores the aesthetic appeal of the bathtub.
To begin the sanding and smoothing process, start by carefully assessing the repaired area to ensure that the repair compound has fully cured and hardened. Once confirmed, gather fine-grit sandpaper and a sanding block to facilitate the smoothing and blending of the repaired surface.
Using the fine-grit sandpaper, gently sand the repaired area in a circular motion, applying light and even pressure to gradually smooth out the surface. The goal is to level the repaired compound with the surrounding bathtub surface, creating a seamless transition that minimizes the visibility of the repair. Be mindful of the pressure applied, as excessive force can result in uneven smoothing and potential damage to the repaired area.
As you progress with the sanding process, periodically check the smoothness and levelness of the repaired surface to ensure a consistent and uniform finish. This meticulous approach will contribute to the overall visual cohesion of the repair, effectively concealing the previous crack and achieving a polished appearance.
In addition to sanding, the use of a sanding block can further refine the surface, providing stability and control while smoothing out any remaining imperfections. The sanding block allows for precise and even pressure distribution, facilitating a refined finish that seamlessly integrates the repaired area with the rest of the bathtub surface.
Throughout the sanding and smoothing process, periodically wipe the area with a clean, damp cloth to remove any dust and debris, allowing you to assess the progress and ensure that the surface is being uniformly smoothed. This step also provides clarity on areas that may require additional attention, guiding the refinement process for optimal results.
As the surface becomes increasingly smooth and cohesive, take the time to visually inspect the repaired area from multiple angles and lighting conditions. This thorough evaluation will help identify any remaining inconsistencies or imperfections, allowing for targeted refinements to achieve a flawless integration of the repair with the surrounding bathtub surface.
By meticulously sanding and smoothing the repaired surface, you are elevating the quality of the repair to professional standards, ensuring that the bathtub crack is effectively addressed with precision and finesse. This phase sets the stage for the final touches and maintenance tips, culminating in a rejuvenated bathtub that exudes both functionality and visual appeal.
Finishing Touches and Maintenance Tips
After completing the repair and refinement of the bathtub crack, it's essential to focus on the finishing touches and implement maintenance tips to ensure the longevity of the repair and the overall well-being of your bathtub. These final steps and ongoing maintenance practices will contribute to the durability and visual appeal of the repaired area, allowing you to enjoy a fully restored bathtub for years to come.
Sealing and Protecting the Repair
Consider applying a specialized repair sealant over the repaired area to provide an additional layer of protection against water penetration and daily wear. This sealant acts as a barrier, reinforcing the repair and safeguarding it from potential moisture-related issues. Select a high-quality sealant compatible with the bathtub material, and follow the manufacturer's instructions for proper application. By sealing the repair, you can enhance its resilience and minimize the risk of future damage.
Read more: How To Fix Basement Floor Cracks
Polishing and Buffing
To further refine the repaired area and achieve a seamless integration with the surrounding surface, consider using a gentle polishing compound or buffing tool. This step can help blend the repaired section with the rest of the bathtub, creating a uniform finish that enhances the overall aesthetic appeal. Exercise caution and use gentle, circular motions to avoid inadvertently impacting the repaired area, ensuring a polished and cohesive result.
Regular Cleaning and Maintenance
Maintaining the cleanliness and condition of your bathtub is essential for preserving the repair and preventing future issues. Implement a regular cleaning routine using mild, non-abrasive cleaners to keep the bathtub surface free from dirt, soap scum, and other residues. Avoid harsh chemicals and abrasive cleaning tools that could compromise the integrity of the repair. By consistently maintaining a clean and well-cared-for bathtub, you can prolong the life of the repair and maintain its visual appeal.
Prompt Addressing of Issues
Stay vigilant for any signs of new cracks, chips, or damage to the bathtub surface. Promptly addressing these issues as they arise can prevent them from escalating into more extensive problems, ultimately reducing the need for future repairs. Regularly inspect the bathtub for any indications of wear and tear, and take proactive measures to address minor issues before they develop into larger concerns.
Protective Measures
Consider using protective mats or cushions in the bathtub to minimize the impact of heavy objects and reduce the risk of accidental damage. These preventive measures can help preserve the integrity of the bathtub surface and minimize the likelihood of future cracks or chips.
By incorporating these finishing touches and maintenance tips into your bathtub care routine, you can ensure that the repair remains robust and visually appealing. These proactive measures contribute to the long-term resilience of the bathtub, allowing you to enjoy a restored and well-maintained fixture in your bathroom.
Frequently Asked Questions about How To Repair A Bathtub Crack
Was this page helpful?
At Storables.com, we guarantee accurate and reliable information. Our content, validated by Expert Board Contributors, is crafted following stringent Editorial Policies. We're committed to providing you with well-researched, expert-backed insights for all your informational needs.


0 thoughts on “How To Repair A Bathtub Crack”