Home>Furniture & Design>Bathroom Accessories>How To Repair A Cracked Plastic Bathtub?
Bathroom Accessories
How To Repair A Cracked Plastic Bathtub?
Published: February 19, 2024
Learn how to effectively repair a cracked plastic bathtub with our expert tips and bathroom accessories. Restore your bathtub to its former glory today!
(Many of the links in this article redirect to a specific reviewed product. Your purchase of these products through affiliate links helps to generate commission for Storables.com, at no extra cost. Learn more)
Assessing the Damage
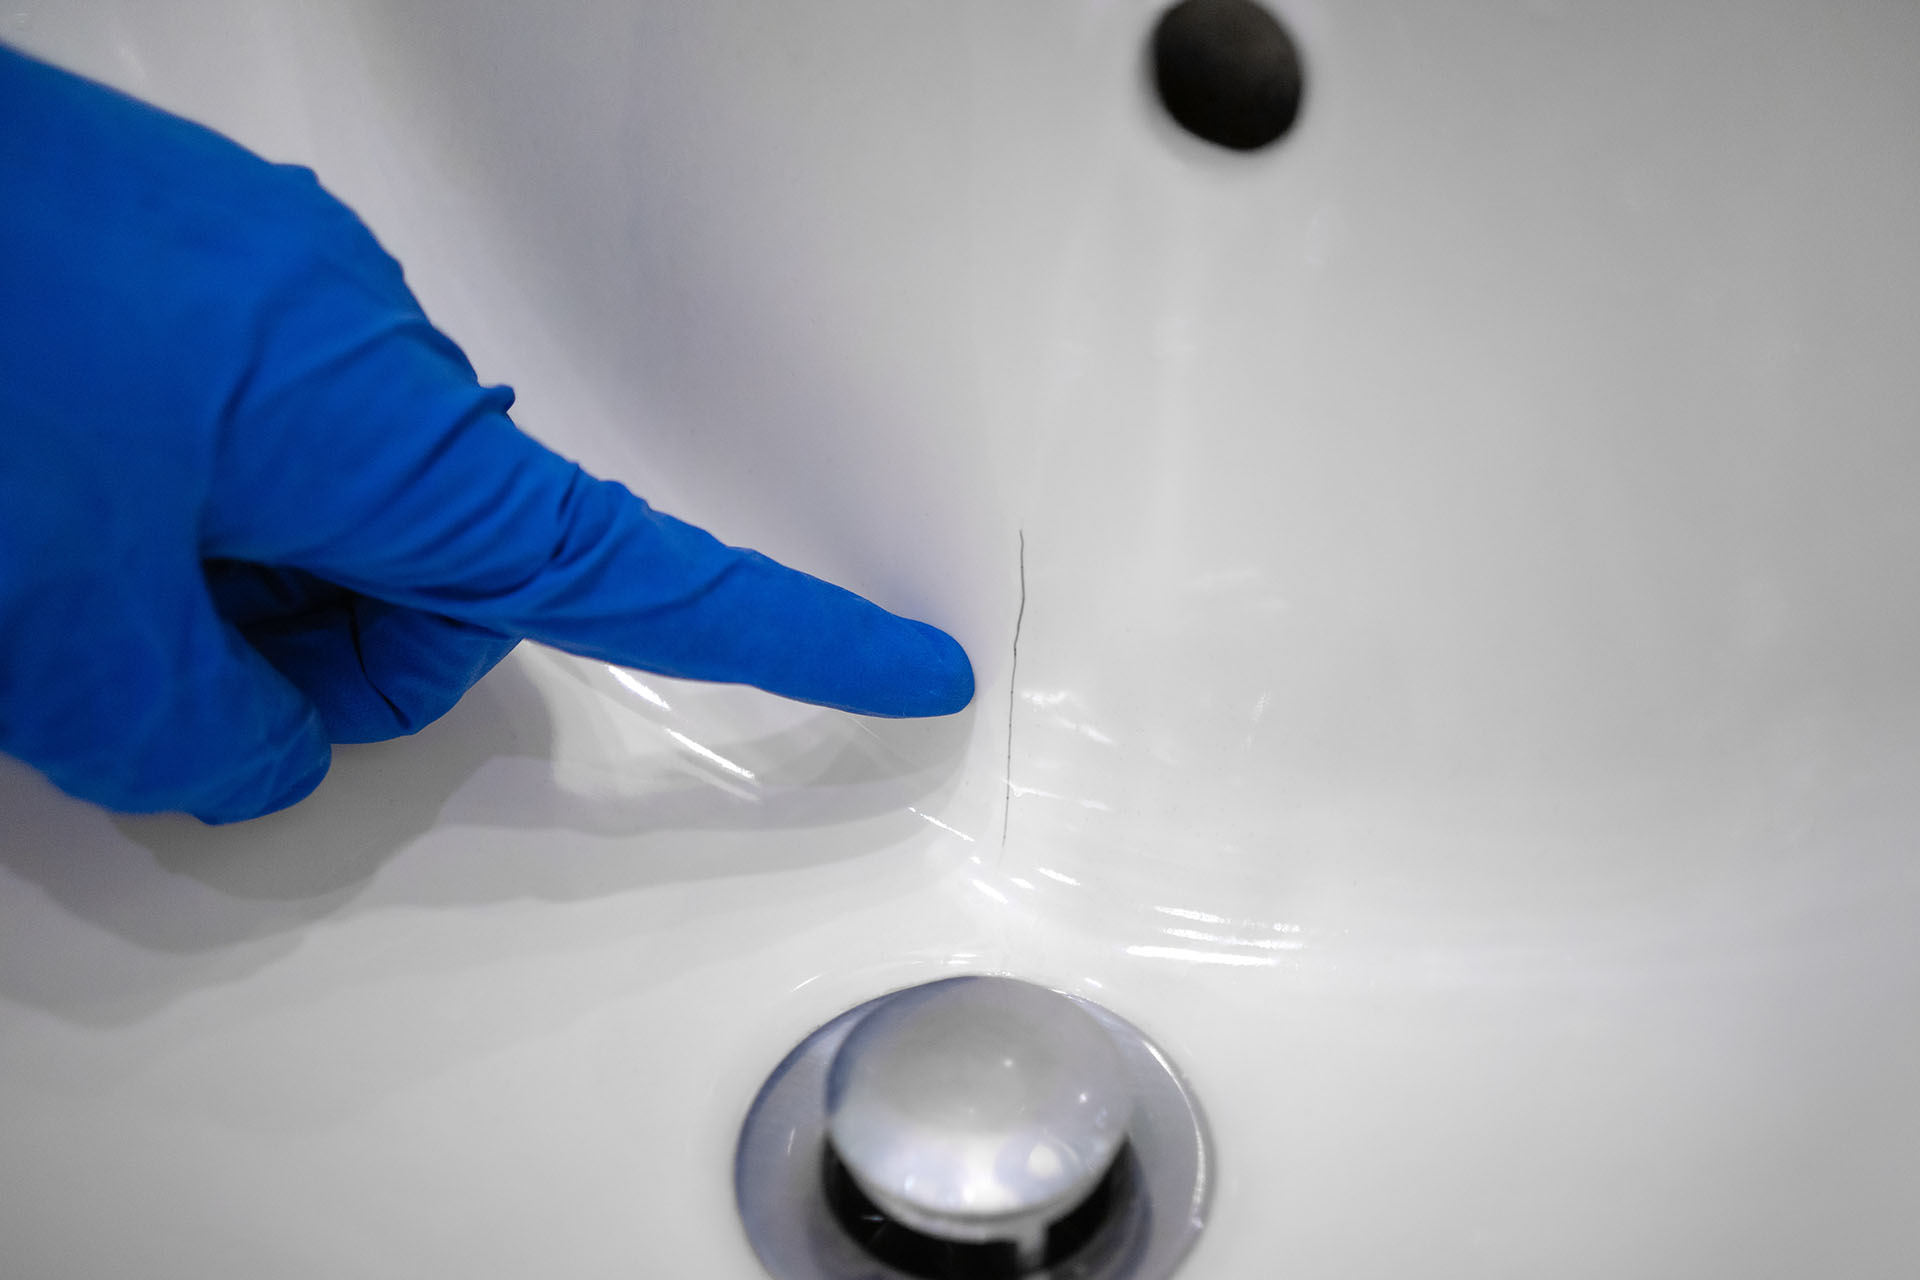
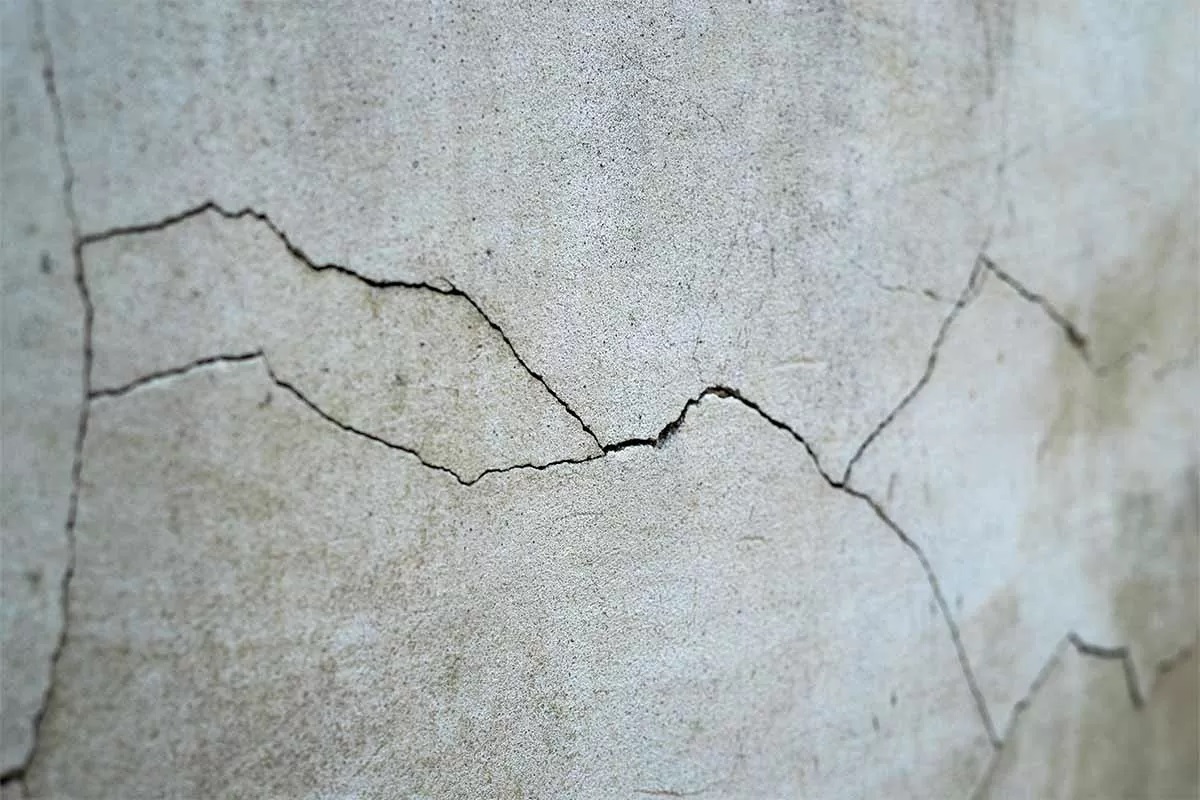
When it comes to repairing a cracked plastic bathtub, the first step is to thoroughly assess the extent of the damage. This initial evaluation will provide crucial insights into the type of repair needed and the materials required to effectively restore the bathtub to its former glory.
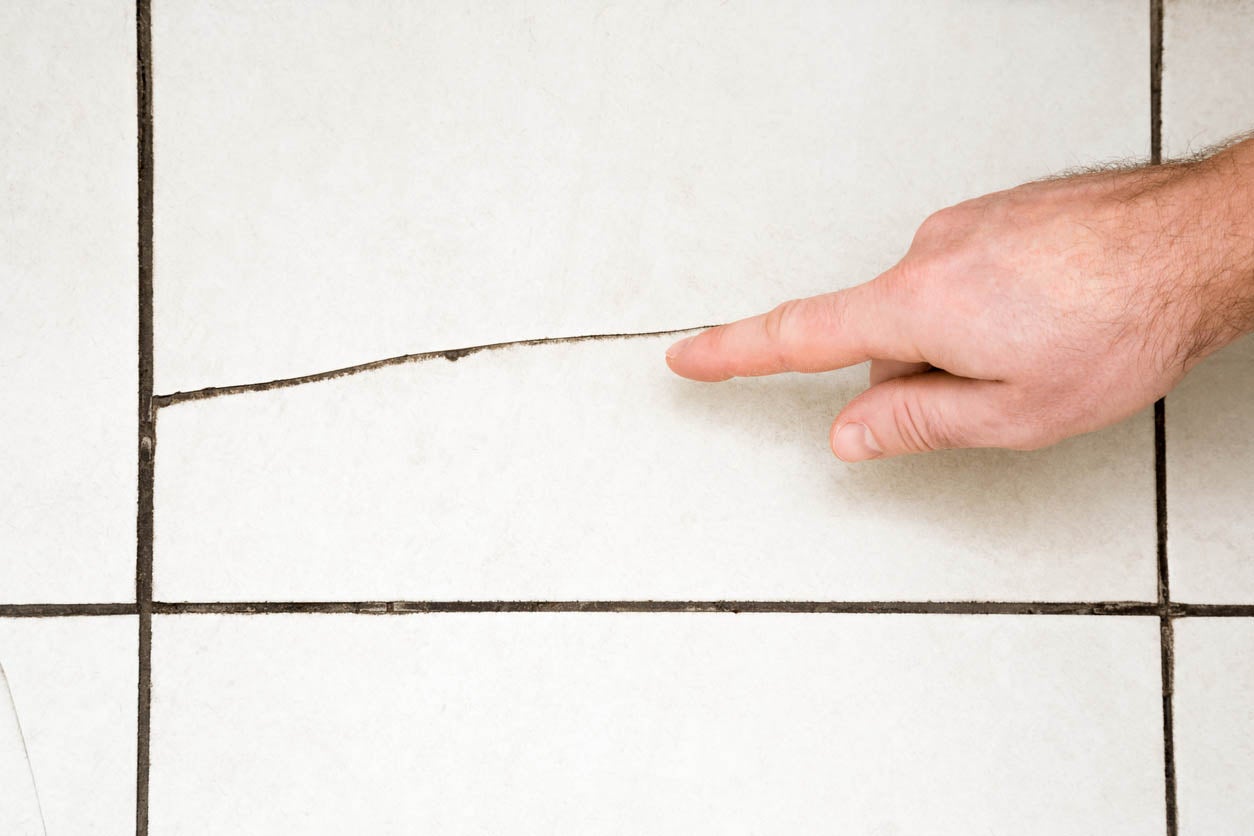
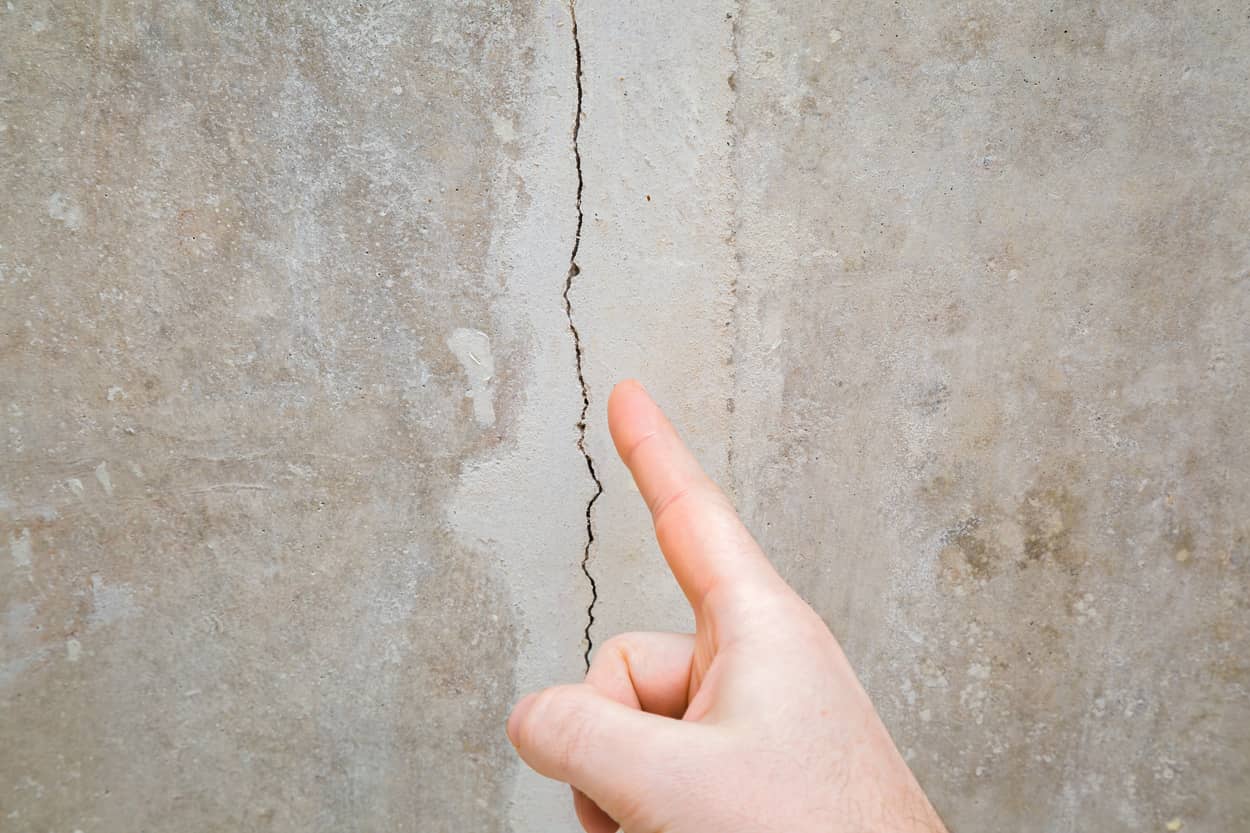
Begin by carefully examining the crack or cracks in the bathtub. Take note of the size, location, and depth of each imperfection. Small surface-level cracks may only require a simple cosmetic fix, while larger, deeper cracks could indicate more extensive damage that needs immediate attention.
Next, inspect the surrounding area of the crack for any signs of water leakage or discoloration. Water seepage can exacerbate the damage and lead to more serious issues such as mold growth and structural weakening. Identifying any water-related issues at this stage will help in determining the urgency of the repair and prevent potential future complications.
Additionally, consider the age and overall condition of the bathtub. Older plastic bathtubs may have accumulated wear and tear over the years, making them more susceptible to cracks and other forms of damage. Understanding the bathtub's history and usage can provide valuable context for the assessment, guiding the repair process in the right direction.
It's also essential to assess the stability of the cracked area. A stable crack may indicate a localized issue that can be effectively repaired, while a crack that extends into multiple areas or compromises the structural integrity of the bathtub may require a more comprehensive approach.
By thoroughly assessing the damage, you can gain a clear understanding of the repair requirements and make informed decisions regarding the next steps. This initial evaluation sets the stage for a successful repair process, ensuring that the appropriate measures are taken to restore the plastic bathtub to a durable and visually appealing state.
Key Takeaways:
- Thoroughly assess the extent of the damage to your cracked plastic bathtub to determine the type of repair needed and the materials required for a successful restoration. Identifying water-related issues and considering the age and stability of the bathtub are crucial in this assessment process.
- Gather essential materials such as a bathtub repair kit, protective gear, cleaning supplies, masking tape, mixing container, applicator tool, fine-grit sandpaper, and finish coat before repairing your cracked plastic bathtub. Having the right tools at your disposal will streamline the repair process and ensure a successful outcome.
Read more: How To Repair A Crack In The Bathtub
Gathering the Necessary Materials
To effectively repair a cracked plastic bathtub, it is essential to gather the necessary materials before proceeding with the repair process. Having the right tools and supplies at hand will streamline the repair and ensure a successful outcome. Here's a comprehensive list of materials required for repairing a cracked plastic bathtub:
-
Bathtub Repair Kit: Invest in a high-quality bathtub repair kit specifically designed for repairing plastic surfaces. These kits typically include epoxy or filler compound, sandpaper, a mixing tool, and detailed instructions for application.
-
Protective Gear: Prioritize safety by wearing protective gear such as gloves, safety goggles, and a face mask. These items will safeguard you from potential exposure to chemicals and dust during the repair process.
-
Cleaning Supplies: Prepare a mild detergent or cleaner, along with a soft cloth or sponge, to thoroughly clean the cracked area and remove any dirt, grime, or residue. Proper cleaning is crucial for ensuring the adhesion of the repair materials to the bathtub surface.
-
Masking Tape: Use masking tape to create a boundary around the cracked area, preventing the repair materials from spreading onto unaffected areas of the bathtub. This precise application technique helps maintain a clean and professional finish.
-
Mixing Container: Select a disposable mixing container or a small disposable cup for blending the repair compound. Opt for a container that allows for easy mixing and application, minimizing cleanup efforts afterward.
-
Applicator Tool: Depending on the type of repair kit, you may need an applicator tool such as a putty knife or a spatula to evenly apply the repair compound onto the cracked surface. The right applicator ensures a smooth and uniform application, essential for achieving a seamless repair.
-
Fine-grit Sandpaper: Prepare fine-grit sandpaper for smoothing out the repaired area once the compound has cured. This step is crucial for achieving a level surface and seamlessly blending the repair with the surrounding bathtub finish.
-
Finish Coat: Some repair kits include a finish coat or touch-up paint to match the color and texture of the bathtub surface. If not included, ensure that you have the appropriate finish coat to complete the repair and achieve a visually cohesive result.
By gathering these essential materials, you will be well-prepared to embark on the bathtub repair process with confidence and efficiency. With the right tools at your disposal, you can proceed to the next steps of preparing the surface and applying the repair kit, ultimately restoring the cracked plastic bathtub to its original condition.
Preparing the Surface
Before applying the repair materials to the cracked plastic bathtub, it is crucial to prepare the surface to ensure optimal adhesion and a seamless repair. Proper surface preparation sets the foundation for a durable and visually appealing outcome. Follow these essential steps to effectively prepare the surface for the repair process:
-
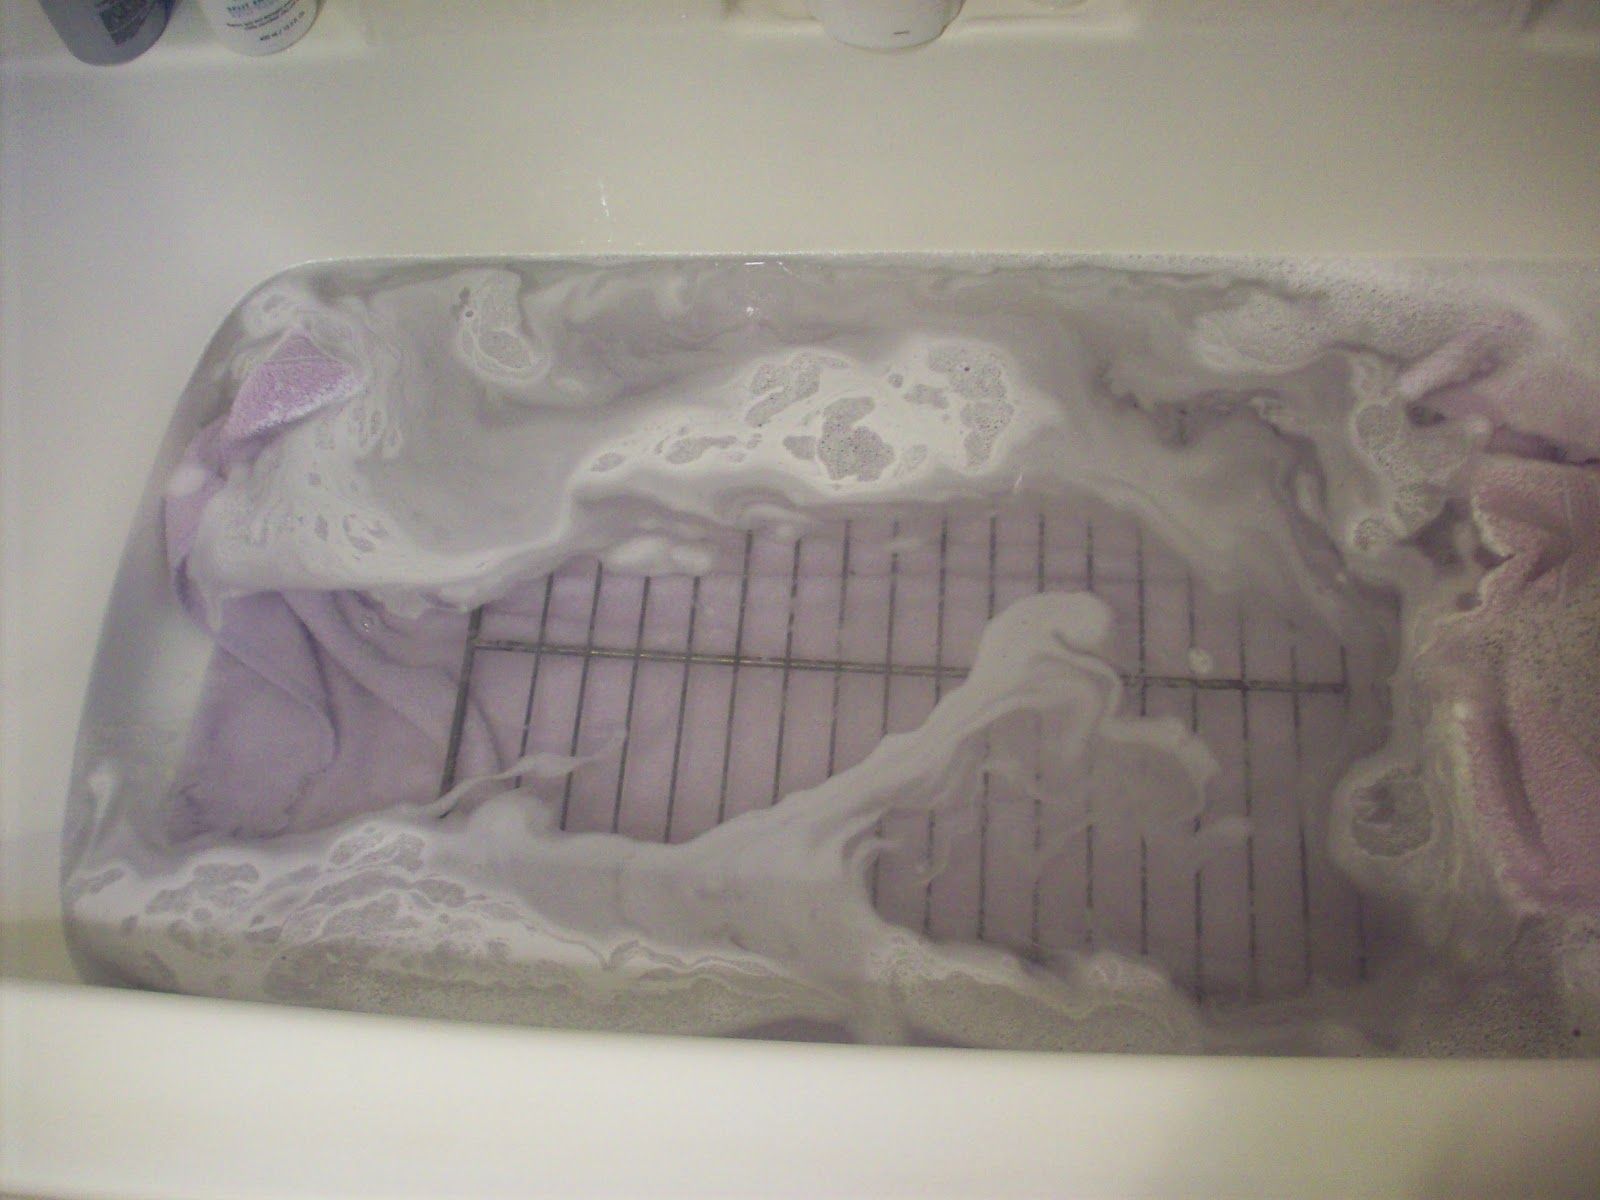
Clean the Area: Begin by thoroughly cleaning the cracked area and its immediate surroundings. Use a mild detergent or cleaner and a soft cloth or sponge to remove any dirt, grime, or residue. Ensure that the surface is completely free of debris and contaminants, as any remaining particles can compromise the adhesion of the repair materials.
-
Dry the Surface: Once the area is clean, allow it to dry completely before proceeding with the repair. Moisture or dampness on the surface can interfere with the bonding of the repair compound, potentially leading to subpar results. Patience is key at this stage, as a fully dry surface is essential for the success of the repair.
-
Masking Off the Area: Use masking tape to create a precise boundary around the cracked area. This step is crucial for containing the repair materials within the targeted area and preventing them from spreading onto unaffected parts of the bathtub. The precise application facilitated by masking off the area contributes to a professional and polished finish.
-
Roughen the Surface: Lightly roughen the surface around the crack using fine-grit sandpaper. This gentle abrasion promotes better adhesion of the repair compound to the plastic surface, enhancing the overall effectiveness of the repair. Be mindful not to over-sand the area, as excessive roughening can compromise the integrity of the bathtub surface.
-
Remove Dust and Residue: After sanding, use a clean, dry cloth to remove any dust and residue from the surface. Ensure that the area is completely clean and free of any particles before proceeding to the next step. A pristine surface is essential for achieving a seamless and long-lasting repair.
By meticulously preparing the surface in accordance with these steps, you establish an optimal foundation for the subsequent application of the repair kit. This thorough preparation ensures that the repair materials adhere effectively to the bathtub surface, ultimately leading to a successful and durable repair of the cracked plastic bathtub.
Applying the Repair Kit
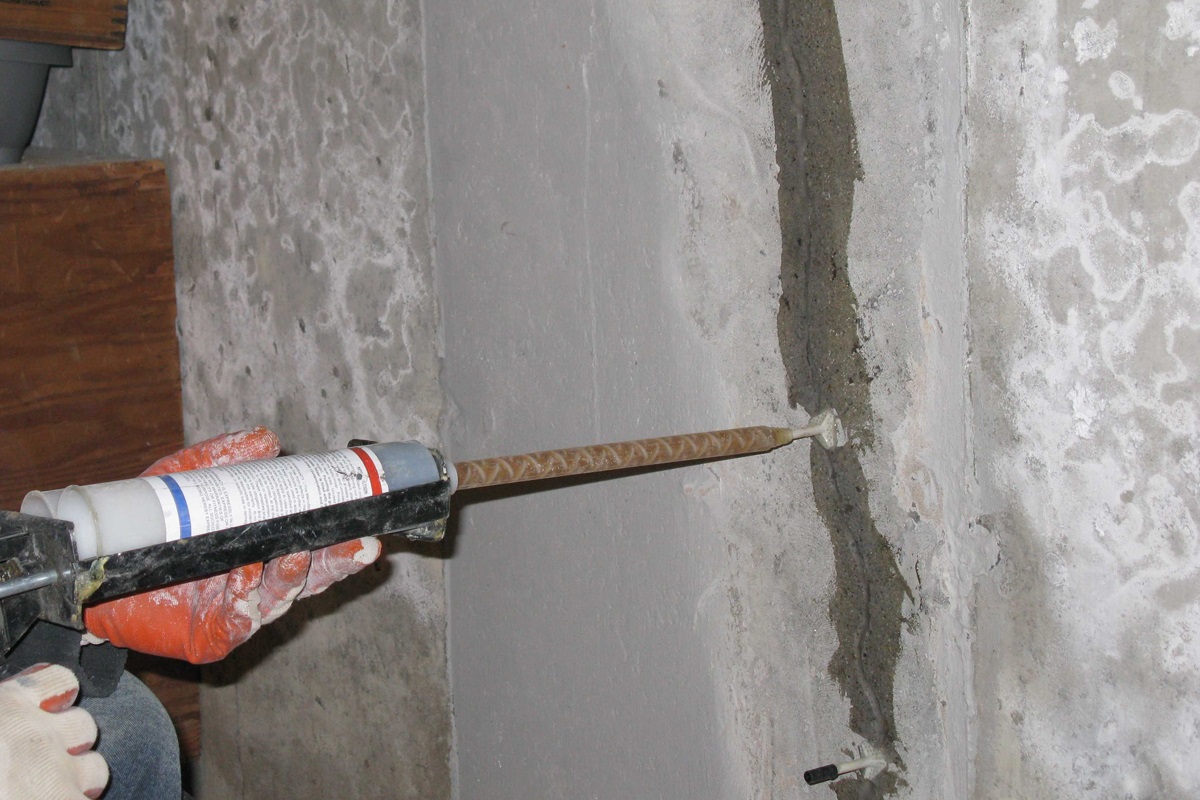
Once the surface of the cracked plastic bathtub is thoroughly prepared, it's time to proceed with the application of the repair kit. This critical phase involves carefully applying the repair compound to the cracked area, effectively filling and sealing the imperfections to restore the bathtub's integrity and visual appeal.
-
Mixing the Repair Compound: Begin by following the manufacturer's instructions to prepare the repair compound included in the bathtub repair kit. Typically, this involves combining the specified amounts of resin and hardener in a disposable mixing container. Thoroughly mix the components using the provided tool until a uniform consistency is achieved. It's essential to adhere to the recommended mixing ratios and procedures to ensure the optimal performance of the repair compound.
-
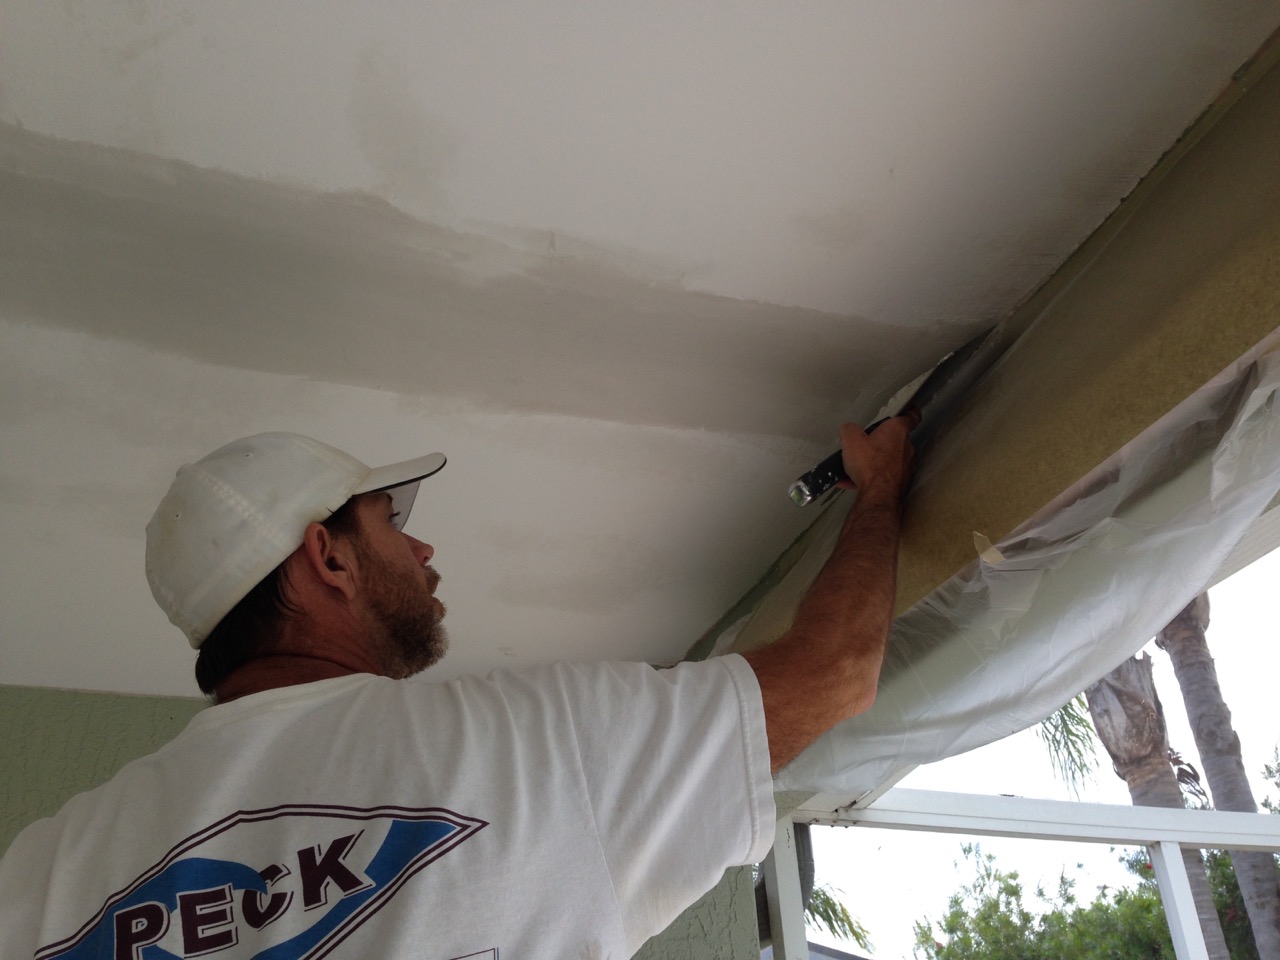
Applying the Compound: Using the designated applicator tool, carefully apply the mixed repair compound to the cracked area of the bathtub. Work methodically to fill the crack completely, ensuring that the compound is evenly distributed and level with the surrounding surface. Take care to avoid excess application, as this can lead to additional sanding and prolong the finishing process.
-
Smoothing and Shaping: After the repair compound is applied, use the applicator tool or a putty knife to smooth and shape the compound, blending it seamlessly with the surrounding bathtub surface. Pay attention to achieving a uniform and level finish, as this will contribute to the overall aesthetic and durability of the repair.
-
Curing and Drying: Allow the applied repair compound to cure and dry according to the manufacturer's instructions. This typically involves a specified waiting period during which the compound solidifies and establishes a strong bond with the bathtub surface. Adhering to the recommended curing time is crucial for the long-term effectiveness of the repair.
-
Inspecting the Repair: Once the repair compound has fully cured, carefully inspect the repaired area to ensure that the crack is effectively sealed and the surface is smooth and uniform. Any minor imperfections or unevenness can be addressed during the subsequent sanding and finishing stage.
By meticulously following these steps, you can effectively apply the repair kit to the cracked plastic bathtub, addressing the damage with precision and care. This meticulous application process sets the stage for the final steps of sanding and finishing, ultimately culminating in a fully restored and visually appealing bathtub surface.
Sanding and Finishing the Repair
Sanding and finishing the repair is a crucial phase in the process of restoring a cracked plastic bathtub. This final step is essential for achieving a seamless and visually appealing result, ensuring that the repaired area blends harmoniously with the surrounding bathtub surface. By following the detailed steps outlined below, you can effectively complete the repair process and rejuvenate the bathtub to its former glory.
Read more: How To Refinish A Plastic Bathtub
Step 1: Sanding the Repaired Area
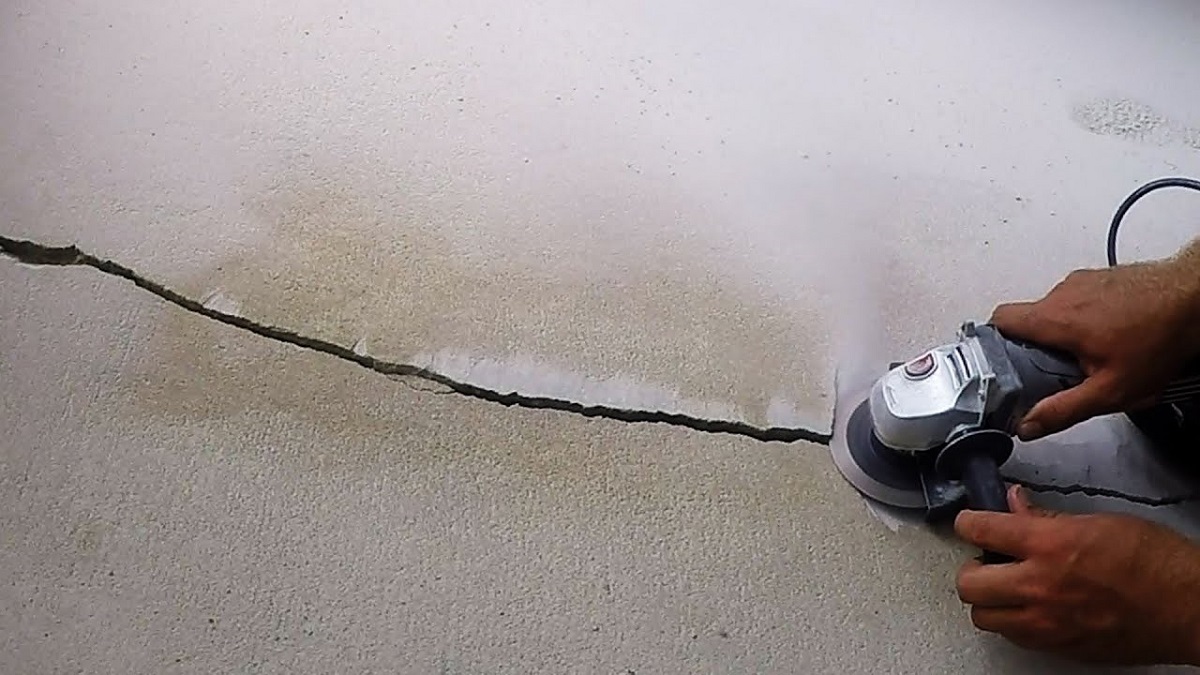
Begin by using fine-grit sandpaper to gently sand the repaired area of the bathtub. The goal is to create a smooth and level surface, seamlessly blending the repair compound with the surrounding plastic surface. Employ light, circular motions while sanding, gradually refining the area to achieve a uniform texture and appearance. Be mindful of the pressure applied, aiming for a balanced approach that smoothens the surface without compromising the integrity of the repair.
Step 2: Inspecting and Refining
After the initial sanding, carefully inspect the repaired area to assess the texture and uniformity. Any remaining imperfections or unevenness can be addressed by continuing the sanding process, focusing on refining the surface to achieve a consistent finish. Pay close attention to detail, as thorough refinement during this stage contributes to the overall quality and longevity of the repair.
Step 3: Cleaning and Preparing for Finishing
Once the desired level of smoothness is achieved, use a clean, dry cloth to remove any sanding residue and ensure that the surface is free of dust and particles. Properly cleaning the area sets the stage for the application of the finishing coat, allowing for optimal adhesion and a pristine final result. Take the time to meticulously prepare the surface, as this meticulous approach enhances the effectiveness of the finishing process.
Step 4: Applying the Finish Coat
If included in the repair kit, carefully apply the finish coat to the sanded and cleaned area of the bathtub. The finish coat serves to not only enhance the visual appeal of the repair but also provides an additional layer of protection for the restored surface. Follow the manufacturer's instructions for the application of the finish coat, ensuring an even and thorough coverage that seamlessly integrates with the surrounding bathtub finish.
Read more: How To Repair An Acrylic Bathtub Crack
Step 5: Allowing for Proper Curing
After applying the finish coat, allow sufficient time for it to cure and dry in accordance with the manufacturer's guidelines. This crucial curing period is essential for the finish coat to establish a durable and resilient bond with the bathtub surface, ultimately contributing to the long-term integrity of the repair. Exercise patience during this phase, as proper curing is instrumental in achieving a high-quality and enduring finish.
By meticulously following these steps, you can effectively sand and finish the repair of a cracked plastic bathtub, culminating in a visually cohesive and durable outcome. This meticulous approach ensures that the repaired area seamlessly integrates with the rest of the bathtub, restoring its aesthetic appeal and structural integrity.
Frequently Asked Questions about How To Repair A Cracked Plastic Bathtub?
Was this page helpful?
At Storables.com, we guarantee accurate and reliable information. Our content, validated by Expert Board Contributors, is crafted following stringent Editorial Policies. We're committed to providing you with well-researched, expert-backed insights for all your informational needs.


0 thoughts on “How To Repair A Cracked Plastic Bathtub?”