Home>Furniture & Design>Bathroom Accessories>How To Repair A Crack In The Bathtub
Bathroom Accessories
How To Repair A Crack In The Bathtub
Modified: April 22, 2024
Learn how to easily repair a crack in your bathtub with our step-by-step guide. Find the best bathroom accessories for a quick fix. Keep your bathroom looking great!
(Many of the links in this article redirect to a specific reviewed product. Your purchase of these products through affiliate links helps to generate commission for Storables.com, at no extra cost. Learn more)
Introduction
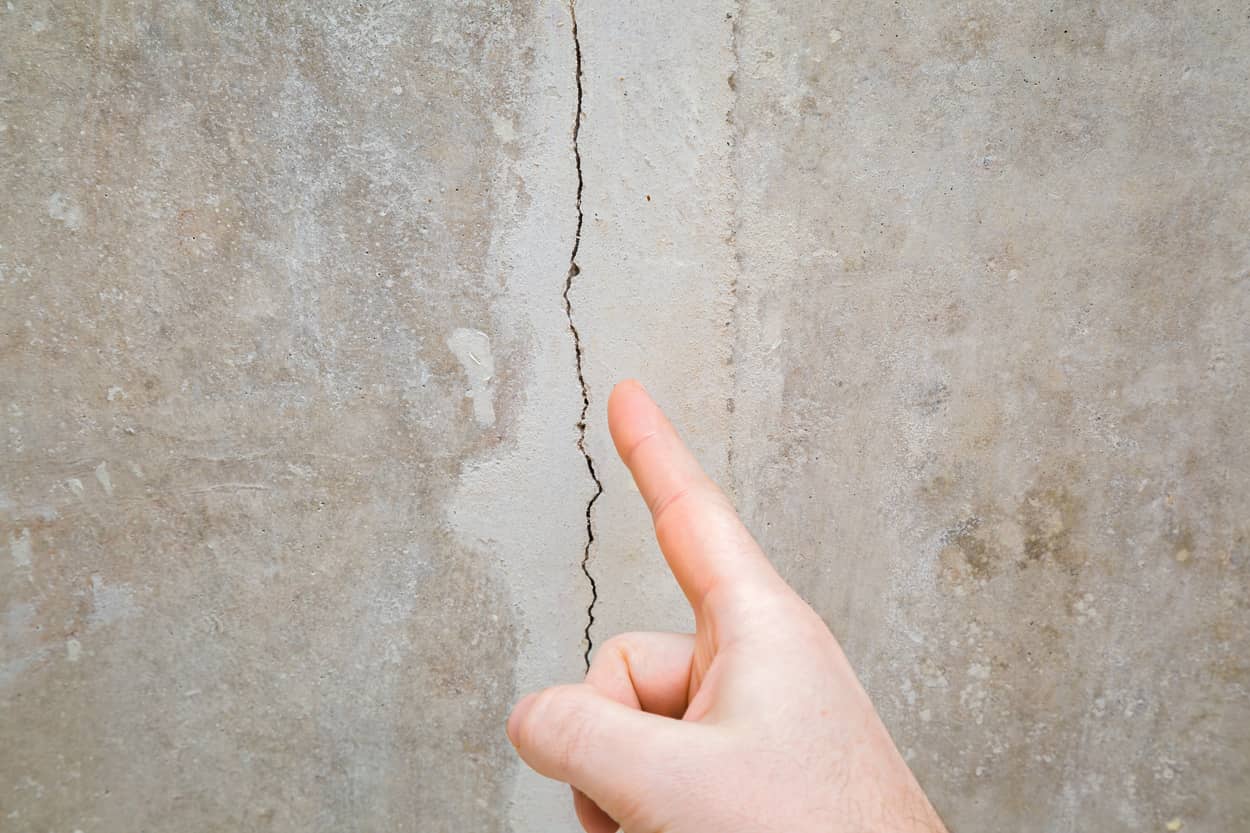
A crack in your bathtub can be a frustrating and unsightly issue. Not only does it detract from the overall appearance of your bathroom, but it can also lead to water leakage and further damage if left unaddressed. Fortunately, with the right materials and a bit of know-how, repairing a crack in your bathtub is a manageable task that can save you time and money in the long run.
In this comprehensive guide, we will walk you through the step-by-step process of repairing a crack in your bathtub, from assessing the damage to applying the finishing touches. By following these instructions, you can restore the functionality and aesthetic appeal of your bathtub without the need for costly professional assistance.
Whether your bathtub is made of fiberglass, acrylic, porcelain, or another material, the techniques outlined in this guide can be adapted to suit your specific needs. With a proactive approach and a willingness to roll up your sleeves, you can tackle this repair project with confidence and achieve impressive results.
So, roll up your sleeves, gather the necessary materials, and let's dive into the process of repairing that pesky crack in your bathtub. With a bit of patience and attention to detail, you'll soon have your bathtub looking as good as new.
Key Takeaways:
- Don’t let a crack in your bathtub stress you out! With the right materials and know-how, you can easily repair it yourself, saving time and money while restoring your bathtub’s functionality and appearance.
- Thoroughly assess the crack, gather the necessary materials, and follow the step-by-step repair process to restore your bathtub. With attention to detail and patience, you can achieve impressive results and rejuvenate your bathroom fixture.
Read more: How To Repair An Acrylic Bathtub Crack
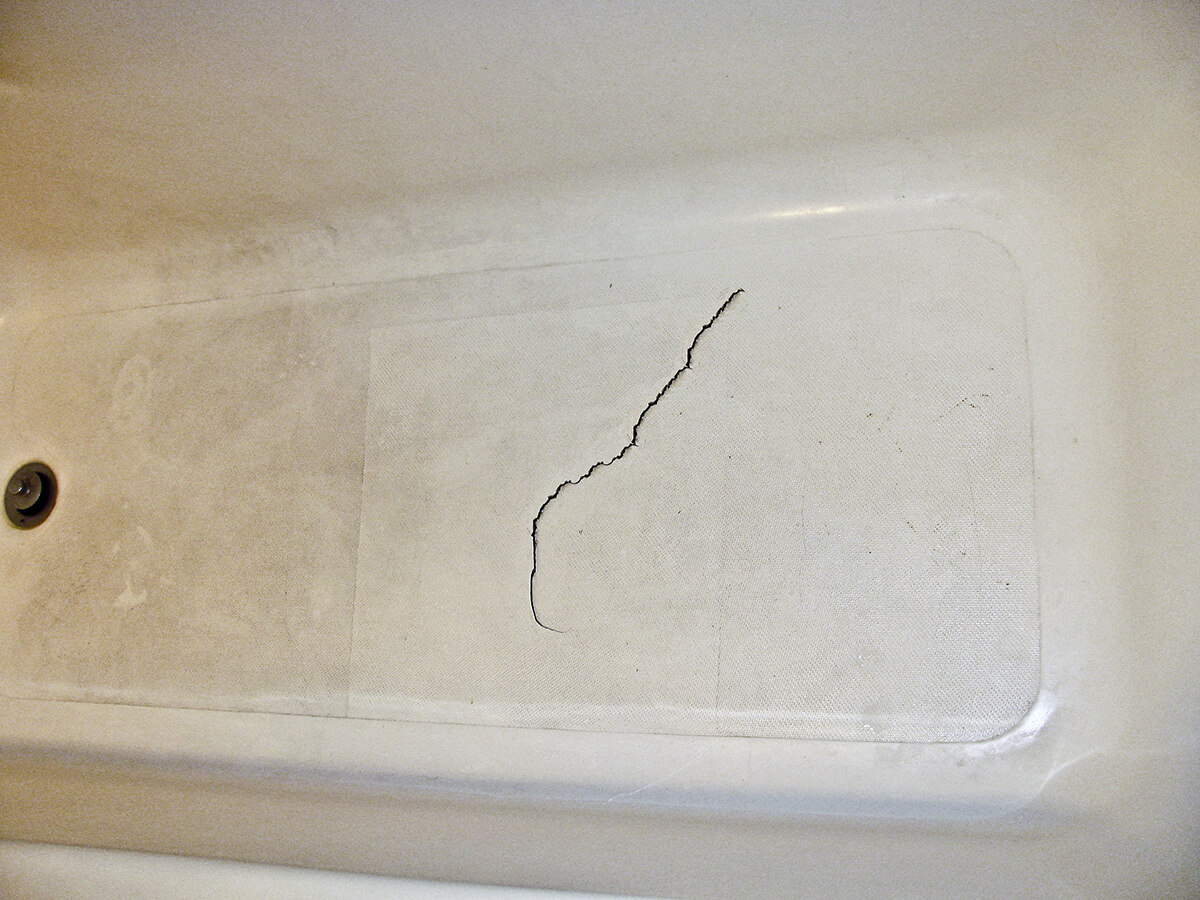
Assessing the Crack
Before diving into the repair process, it's crucial to thoroughly assess the crack in your bathtub. This initial step will help you determine the extent of the damage and the most suitable approach for addressing it. Here's how to effectively assess the crack:
-
Examine the Size and Location: Begin by carefully examining the crack to gauge its size and location. Is it a hairline crack or a larger, more significant fissure? Take note of whether the crack is confined to the surface or extends deeper into the bathtub material. Additionally, consider its position – is it near the drain, along the edges, or in the middle of the tub?
-
Check for Stability: Gently press on both sides of the crack to assess its stability. A stable crack may indicate surface damage, while a more flexible or shifting crack could suggest underlying structural issues. Understanding the stability of the crack will help determine the appropriate repair method.
-
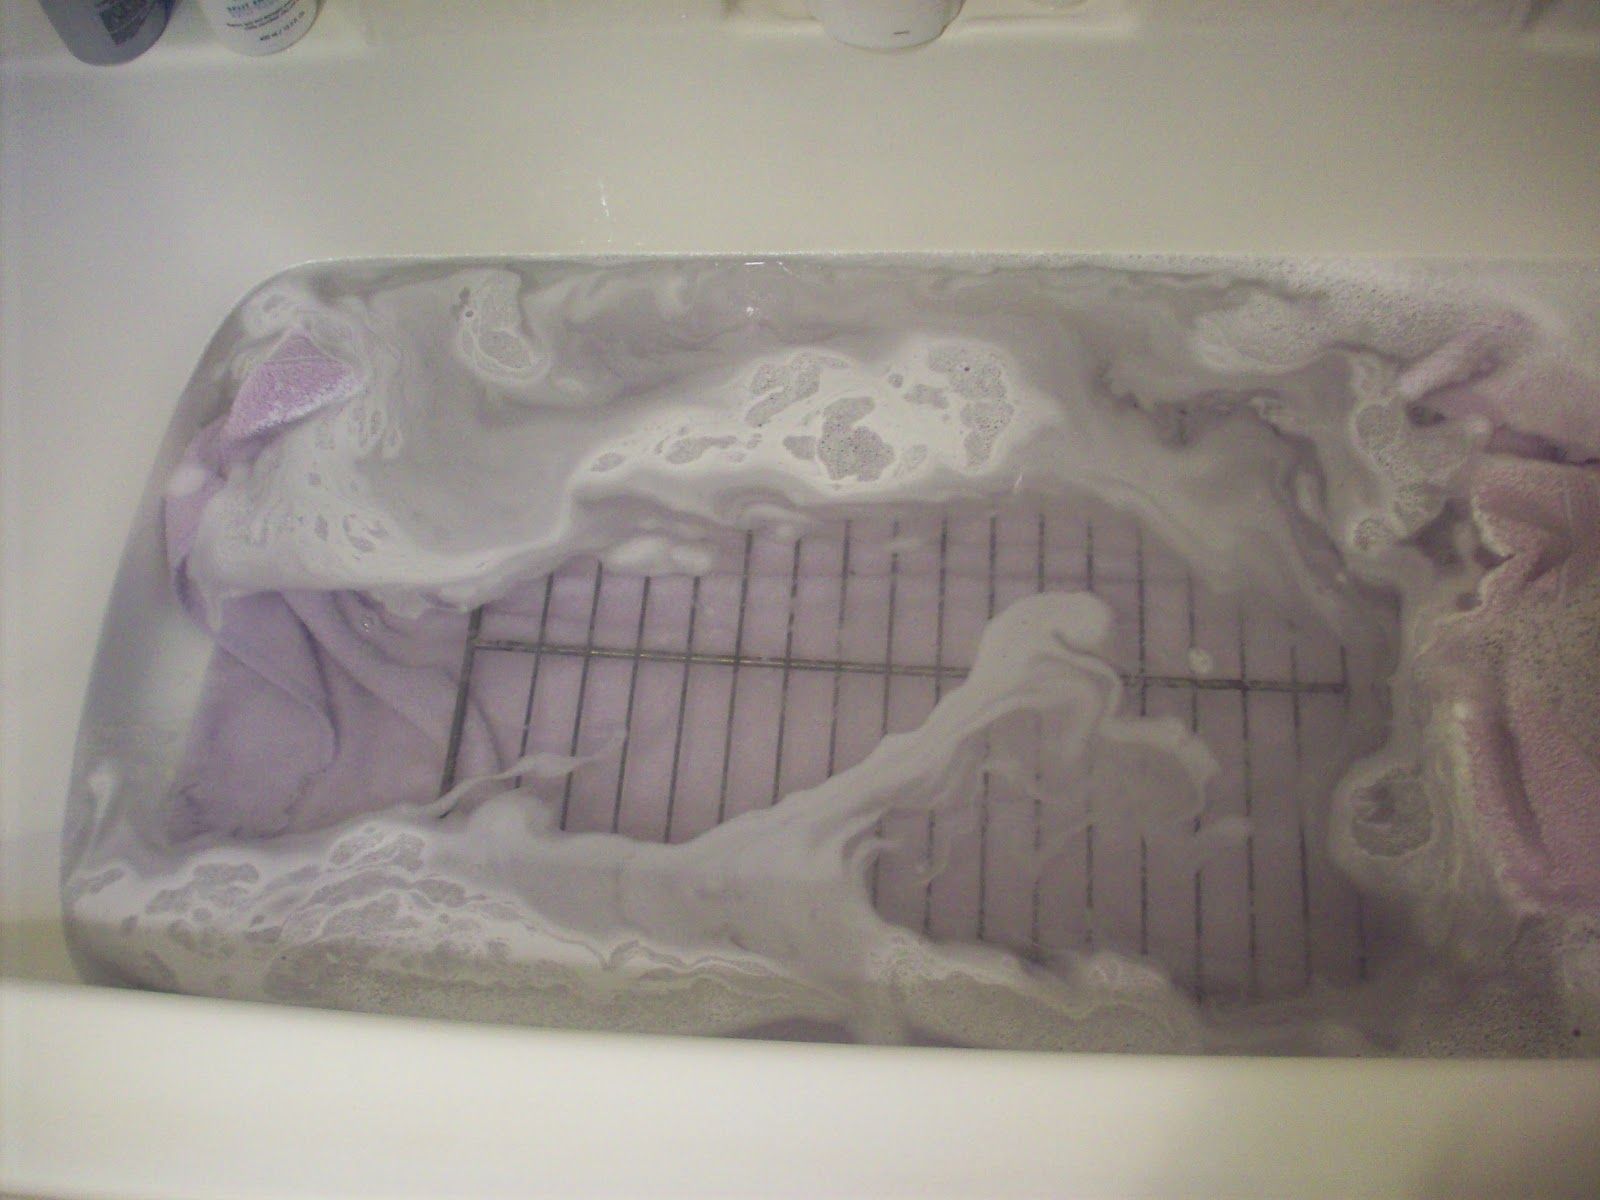
Evaluate Water Leakage: Determine whether the crack is allowing water to seep through. This can be done by running water in the bathtub and observing any signs of leakage. If water is escaping through the crack, it's essential to address the repair promptly to prevent further damage.
-
Assess the Material: Consider the material of your bathtub, whether it's fiberglass, acrylic, porcelain, or another type. Different materials may require specific repair techniques and materials, so identifying the bathtub material is crucial for a successful repair.
-
Take Note of Surrounding Conditions: Observe the surrounding conditions of the crack, such as any discoloration, mold, or mildew. These indicators can provide valuable insights into the duration and severity of the crack, aiding in the overall assessment.
By thoroughly assessing the crack in your bathtub, you'll gain a clear understanding of the repair requirements and be better equipped to proceed with the subsequent steps. With this knowledge in hand, you can confidently move on to gathering the necessary materials for the repair process.
Gathering the Necessary Materials
When it comes to repairing a crack in your bathtub, having the right materials at your disposal is essential for achieving a successful outcome. Before embarking on the repair process, it's crucial to gather the necessary supplies to ensure a seamless and effective repair. Here's a comprehensive list of materials you'll need to have on hand:
1. Bathtub Repair Kit
A quality bathtub repair kit is a fundamental component for addressing cracks in your bathtub. These kits typically include epoxy or filler specifically designed for bathtub repairs, along with tools for application. Ensure that the repair kit is suitable for the material of your bathtub, whether it's fiberglass, acrylic, porcelain, or another type.
2. Safety Equipment
Prioritize safety by equipping yourself with the necessary protective gear. This may include gloves, safety goggles, and a mask to shield yourself from any fumes or particles generated during the repair process. Safety should always be a top priority when working with repair materials.
Read more: How To Repair A Cracked Plastic Bathtub?
3. Sandpaper
Sandpaper is essential for preparing the surface around the crack for repair. Opt for fine-grit sandpaper to smooth the area and create an optimal surface for the application of the repair compound. This step is crucial for ensuring a strong and durable bond between the repair material and the bathtub surface.
4. Cleaning Supplies
Thoroughly clean the area surrounding the crack before commencing the repair. Mild soap, water, and a clean cloth can be used to remove any dirt, grime, or residue that may hinder the adhesion of the repair material. Additionally, consider using a degreaser to eliminate any lingering oils or soap scum.
5. Putty Knife or Spatula
A putty knife or spatula is indispensable for applying the repair compound to the crack. These tools allow for precise and even application, ensuring that the repair material is distributed smoothly and effectively across the damaged area.
6. Hairdryer or Heat Gun (Optional)
In some cases, applying heat to the repair compound can expedite the drying and curing process. A hairdryer or heat gun can be used to gently warm the repair material, promoting faster adhesion and strengthening the repaired area.
Read more: How To Repair Cracks In Basement Wall
7. Paint and Finish (If Applicable)
If your bathtub features a colored or textured finish, consider obtaining matching paint or finish to seamlessly blend the repaired area with the rest of the bathtub. This step is particularly important for achieving a visually cohesive and professional-looking result.
By ensuring that you have all the necessary materials at your disposal, you can approach the repair process with confidence and efficiency. With these supplies in hand, you're ready to move on to the next crucial phase: repairing the crack in your bathtub.
Repairing the Crack
Now that you've thoroughly assessed the crack and gathered the necessary materials, it's time to delve into the pivotal phase of repairing the crack in your bathtub. Follow these step-by-step instructions to effectively address the damage and restore the integrity of your bathtub:
-
Prepare the Surface: Begin by thoroughly cleaning the area around the crack with mild soap and water. Ensure that the surface is free from any debris, grime, or residue that could compromise the adhesion of the repair material. Once cleaned, dry the area completely before proceeding.
-
Sand the Area: Utilize fine-grit sandpaper to gently sand the surface around the crack. This step serves to create a smooth and porous surface, promoting optimal adhesion of the repair compound. Be mindful to feather the edges of the crack to blend it seamlessly with the surrounding surface.
-
Mix the Repair Compound: If using a bathtub repair kit, carefully follow the manufacturer's instructions to mix the repair compound. Ensure that the components are thoroughly blended to achieve a uniform consistency, essential for a successful repair.
-
Apply the Repair Compound: Using a putty knife or spatula, carefully apply the repair compound to the crack, ensuring that it fills the damaged area completely. Smooth the surface of the compound to align with the surrounding bathtub surface, creating a seamless finish.
-
Allow for Curing: Once the repair compound is applied, allow it to cure as per the manufacturer's recommendations. This typically involves a waiting period to ensure that the compound sets and adheres securely to the bathtub surface.
-
Optional Heat Application: If desired, use a hairdryer or heat gun to gently apply heat to the repaired area. This can expedite the curing process and enhance the strength of the repair compound.
-
Inspect and Refine: After the repair compound has fully cured, inspect the repaired area for any imperfections or unevenness. If necessary, lightly sand the surface to achieve a smooth finish, and wipe away any residual dust.
By meticulously following these steps, you can effectively repair the crack in your bathtub, restoring its functionality and visual appeal. With the crack addressed, you're now ready to add the finishing touches to complete the repair process and rejuvenate your bathtub.
Finishing Touches
With the crack in your bathtub effectively repaired, it's time to focus on the finishing touches to complete the restoration process. These final steps are essential for ensuring a seamless and polished outcome, leaving your bathtub looking as good as new. Here's how to add the finishing touches to your bathtub repair:
-
Smooth and Blend: After the repair compound has fully cured, take a moment to inspect the repaired area. Use fine-grit sandpaper to gently smooth the surface of the repair, ensuring that it seamlessly blends with the surrounding bathtub surface. This step is crucial for achieving a uniform and professional finish.
-
Clean and Dry: Once the repaired area has been refined, thoroughly clean the entire bathtub to remove any dust or debris resulting from the repair process. Use a mild soap and water solution to wash the surface, followed by a complete drying to prepare the bathtub for the next step.
-
Apply Matching Finish (If Applicable): If your bathtub features a colored or textured finish, consider applying a matching paint or finish to the repaired area. This step is vital for achieving a cohesive and visually appealing result. Follow the manufacturer's instructions for the application of the finish, ensuring an even and consistent coating.
-
Buff and Polish: After the finish has been applied, consider buffing and polishing the entire bathtub to ensure a uniform appearance. This step can help blend the repaired area with the rest of the bathtub, creating a seamless transition that enhances the overall aesthetic.
-
Inspect and Test: Once the finishing touches have been applied, take a moment to inspect the entire bathtub, paying close attention to the repaired area. Look for any imperfections or inconsistencies, and make any necessary refinements to achieve a flawless result. Additionally, consider running water in the bathtub to test the repaired area for any signs of leakage, ensuring that the repair has effectively restored the bathtub's functionality.
By meticulously attending to these finishing touches, you can elevate the quality of your bathtub repair and achieve a visually stunning outcome. With the crack effectively addressed and the finishing touches applied, your bathtub will once again become a focal point of your bathroom, exuding both functionality and aesthetic appeal.
Conclusion
In conclusion, repairing a crack in your bathtub is a manageable task that can be accomplished with the right materials, attention to detail, and a methodical approach. By following the step-by-step process outlined in this guide, you can effectively restore the integrity and visual appeal of your bathtub, saving both time and money in the process.
The initial assessment of the crack is crucial, as it provides valuable insights into the extent of the damage and the most suitable approach for repair. Understanding the stability of the crack, its size, location, and the presence of water leakage enables you to tailor the repair process to the specific needs of your bathtub.
Gathering the necessary materials is a foundational step that sets the stage for a successful repair. From bathtub repair kits and safety equipment to sandpaper, cleaning supplies, and finishing materials, having the right supplies at your disposal ensures that you can proceed with confidence and efficiency.
The repair process itself involves meticulous surface preparation, application of the repair compound, and allowing for proper curing. By adhering to these steps and optionally applying heat to expedite the curing process, you can effectively address the crack and fortify the structural integrity of your bathtub.
Adding the finishing touches, including smoothing and blending the repaired area, applying a matching finish, and conducting a thorough inspection, elevates the quality of the repair and ensures a visually stunning outcome. These final steps contribute to a seamless transition between the repaired area and the rest of the bathtub, enhancing both functionality and aesthetic appeal.
In essence, repairing a crack in your bathtub is a rewarding endeavor that not only restores the functionality of your bathroom fixture but also empowers you to take proactive measures in maintaining your home. With the knowledge and guidance provided in this comprehensive guide, you are well-equipped to tackle this repair project with confidence and achieve impressive results.
So, roll up your sleeves, gather the necessary materials, and embark on the journey of rejuvenating your bathtub. With a bit of patience, attention to detail, and the willingness to take on a DIY challenge, you'll soon have your bathtub looking as good as new.
Frequently Asked Questions about How To Repair A Crack In The Bathtub
Was this page helpful?
At Storables.com, we guarantee accurate and reliable information. Our content, validated by Expert Board Contributors, is crafted following stringent Editorial Policies. We're committed to providing you with well-researched, expert-backed insights for all your informational needs.


0 thoughts on “How To Repair A Crack In The Bathtub”