Home>Furniture & Design>Outdoor Furniture>How To Remove Old Outdoor Light Fixture

Outdoor Furniture
How To Remove Old Outdoor Light Fixture
Modified: February 18, 2024
Learn how to remove old outdoor light fixtures with our step-by-step guide. Upgrade your outdoor furniture and design effortlessly. Discover expert tips now!
(Many of the links in this article redirect to a specific reviewed product. Your purchase of these products through affiliate links helps to generate commission for Storables.com, at no extra cost. Learn more)
Introduction
Welcome to the ultimate guide on how to remove an old outdoor light fixture. Whether you're looking to upgrade your outdoor lighting or simply need to replace a worn-out fixture, this step-by-step tutorial will walk you through the process with ease.
Outdoor light fixtures play a crucial role in enhancing the ambiance and security of your outdoor space. Over time, weather exposure and general wear and tear can take a toll on these fixtures, necessitating their replacement. By learning how to remove an old outdoor light fixture, you can ensure that the task is completed safely and efficiently.
In this comprehensive guide, we will cover everything you need to know to tackle this project confidently. From gathering the necessary tools and materials to disconnecting the wiring and installing a new fixture, each step will be explained in detail.
By the end of this tutorial, you'll have the knowledge and skills to remove an old outdoor light fixture and replace it with a new one, transforming the look and functionality of your outdoor space. So, let's dive in and get started on this illuminating journey!
Key Takeaways:
- Safely remove an old outdoor light fixture by gathering tools, turning off power, disconnecting wiring, and installing a new fixture for a transformed outdoor space.
- Enhance your outdoor ambiance and security by replacing old outdoor light fixtures with new ones, creating a warm and welcoming environment for memorable moments.
Step 1: Gather your tools and materials
Before embarking on the task of removing an old outdoor light fixture, it’s essential to gather the necessary tools and materials. Having the right equipment at your disposal will streamline the process and ensure that you can complete the task efficiently. Here’s a list of items you’ll need:
- Safety gear: Start by ensuring that you have the appropriate safety gear, including work gloves and safety goggles, to protect yourself during the removal process.
- Replacement fixture: If you’re planning to install a new outdoor light fixture, make sure to have the replacement fixture on hand. This may include the fixture itself, mounting hardware, and any additional components specific to the new fixture.
- Tools: You’ll need a set of basic tools, such as a screwdriver set, adjustable wrench, wire stripper, and a voltage tester. These tools will facilitate the removal of the old fixture and the installation of the new one.
- Ladder: Depending on the height of the fixture, a sturdy ladder may be required to access the installation site safely.
- Electrical tape: Electrical tape will come in handy for securing and insulating the wiring during the disconnection process.
- Wire nuts: These small, twist-on connectors are essential for safely capping off the electrical connections once the wiring is disconnected.
- Owner’s manual: If available, refer to the owner’s manual or installation instructions for the new fixture to familiarize yourself with the specific requirements and recommendations.
By ensuring that you have all the necessary tools and materials at the outset, you can proceed with confidence, knowing that you’re well-prepared for the task at hand. With these items in your arsenal, you’re ready to move on to the next step in the process.
Step 2: Turn off the power
Before beginning any work on the outdoor light fixture, it is absolutely crucial to ensure that the power supply to the fixture is completely turned off. This step is essential for your safety and to prevent any electrical mishaps during the removal process. Here’s how to safely turn off the power:
- Locate the circuit breaker: The first step is to locate the circuit breaker or fuse box that controls the power supply to the outdoor light fixture. This may be located in your home’s utility area, garage, or an outdoor electrical panel.
- Identify the correct breaker: Once you’ve located the circuit breaker panel, identify the breaker that controls the outdoor light fixture. If the breakers are not labeled, you may need assistance in identifying the correct one. In this case, it’s best to seek the help of a qualified electrician to ensure the correct breaker is switched off.
- Turn off the power: Carefully switch off the breaker associated with the outdoor light fixture. It’s important to verify that the power is indeed off before proceeding. You can do this by testing the fixture with a voltage tester to ensure that there is no electrical current running to the wires.
- Secure the breaker: Once the power is confirmed to be off, you can secure the breaker with a piece of tape or a lockout device to prevent it from being accidentally turned back on while you work on the fixture.
By diligently following these steps to turn off the power, you can ensure a safe working environment as you proceed with the removal of the old outdoor light fixture. Remember, safety should always be a top priority when working with electrical components, and taking the time to properly turn off the power is a critical step in the process.
Step 3: Remove the old fixture
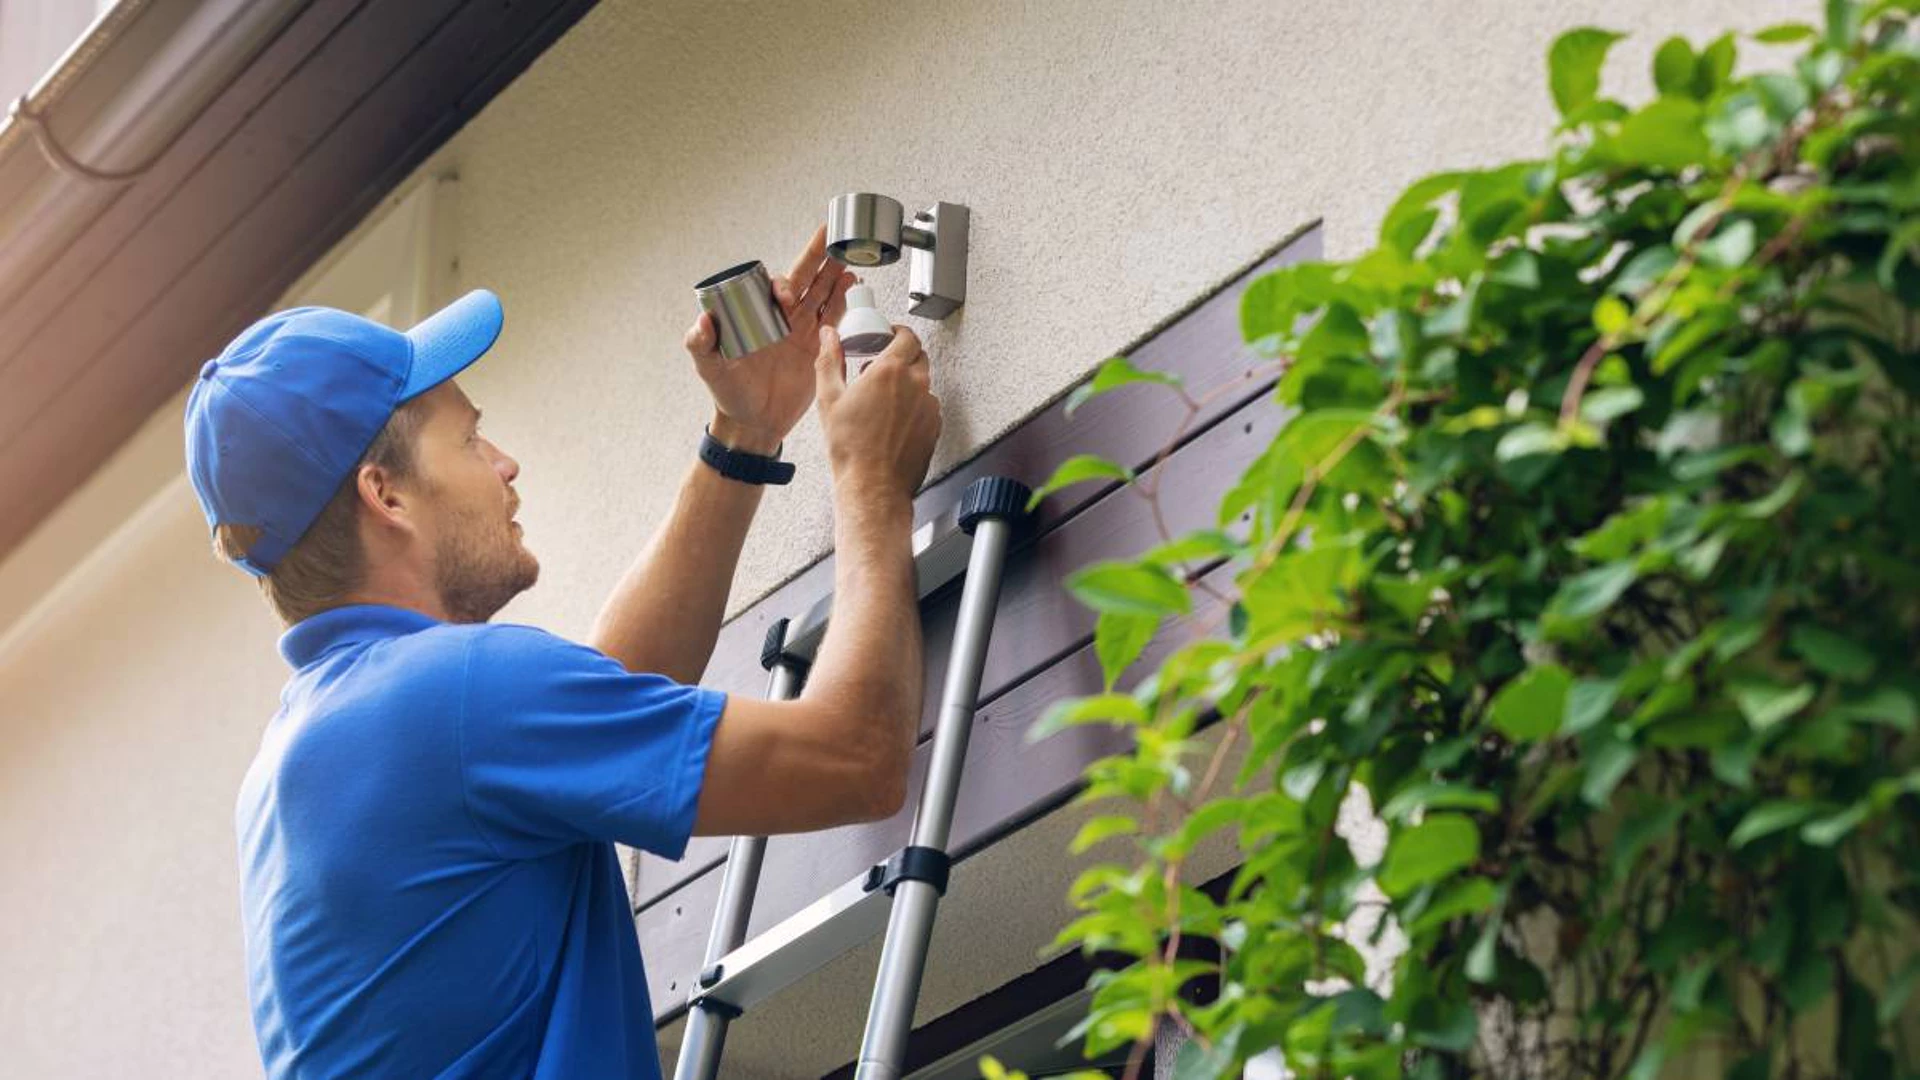
With the power safely turned off, you can now proceed to remove the old outdoor light fixture. This step involves carefully detaching the existing fixture from its mounting and preparing the area for the installation of a new one. Here’s how to remove the old fixture:
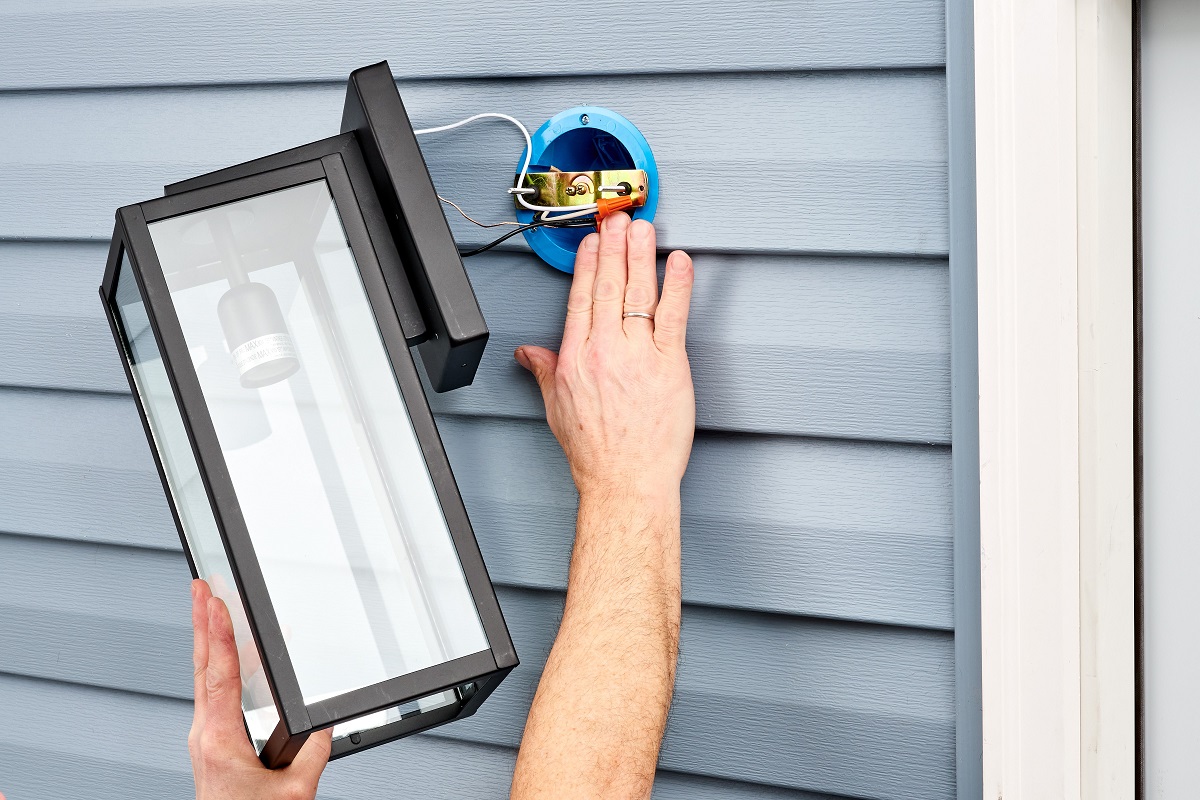
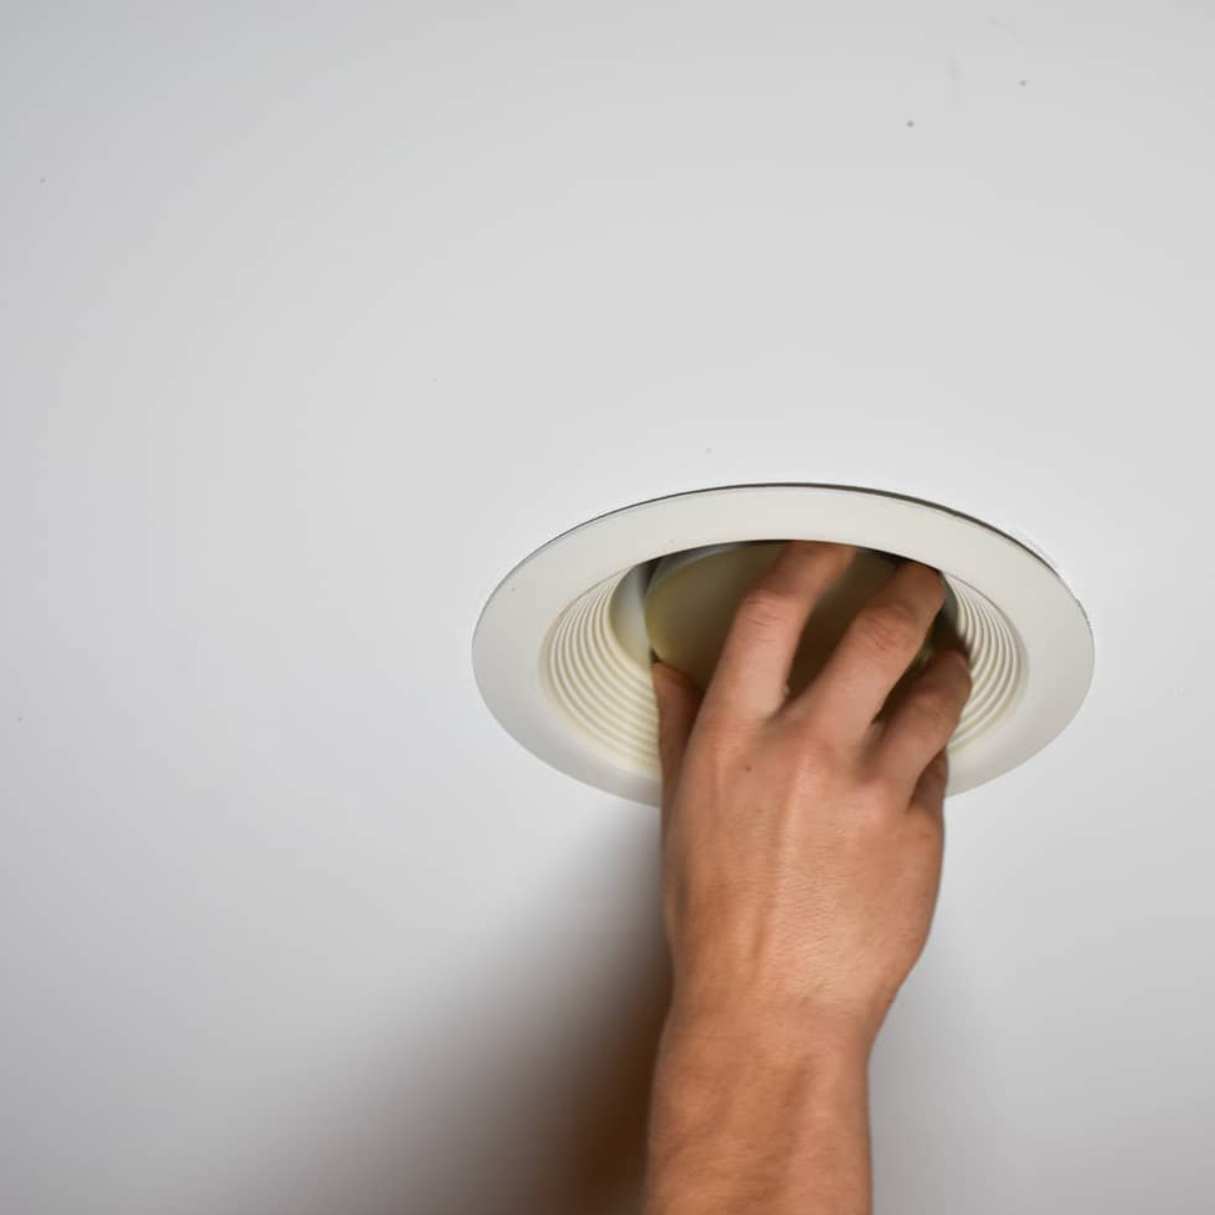
- Remove the mounting hardware: Start by unscrewing and removing the mounting hardware that secures the fixture to the wall or ceiling. This may include screws, bolts, or other fasteners, depending on the type of fixture and its installation method.
- Detach the fixture: Once the mounting hardware is removed, carefully detach the old fixture from the wall or ceiling. Be mindful of any electrical connections and wiring that may still be attached to the fixture as you remove it.
- Set aside the old fixture: After detaching the fixture, set it aside in a safe location. If you plan to discard the old fixture, be sure to handle it responsibly, following any local regulations for the disposal of electronic waste or recyclable materials.
- Inspect the mounting area: With the old fixture removed, take a moment to inspect the mounting area on the wall or ceiling. Ensure that it is clean and free from any debris or obstructions that could interfere with the installation of the new fixture.
By carefully following these steps, you can successfully remove the old outdoor light fixture, clearing the way for the next phase of the installation process. With the old fixture out of the way, you’re now ready to move on to the critical step of disconnecting the wiring.
Before removing an old outdoor light fixture, make sure to turn off the power at the breaker box to avoid any electrical hazards. Always use a voltage tester to double-check that the power is off before starting the removal process.
Step 4: Disconnect the wiring
As you prepare to install a new outdoor light fixture, it’s essential to disconnect the wiring from the old fixture safely. Properly handling the electrical connections ensures a smooth transition to the new fixture and mitigates the risk of electrical hazards. Here’s how to disconnect the wiring:
- Identify the wiring: Locate the electrical wiring that is connected to the old fixture. This typically includes black (hot), white (neutral), and green or bare (ground) wires. If the wiring is concealed within the wall or ceiling, carefully expose the wires as needed.
- Inspect the wiring: Before proceeding, visually inspect the wiring to ensure that there are no signs of damage, fraying, or exposed conductors. If any issues are detected, it’s important to address them before continuing with the disconnection process.
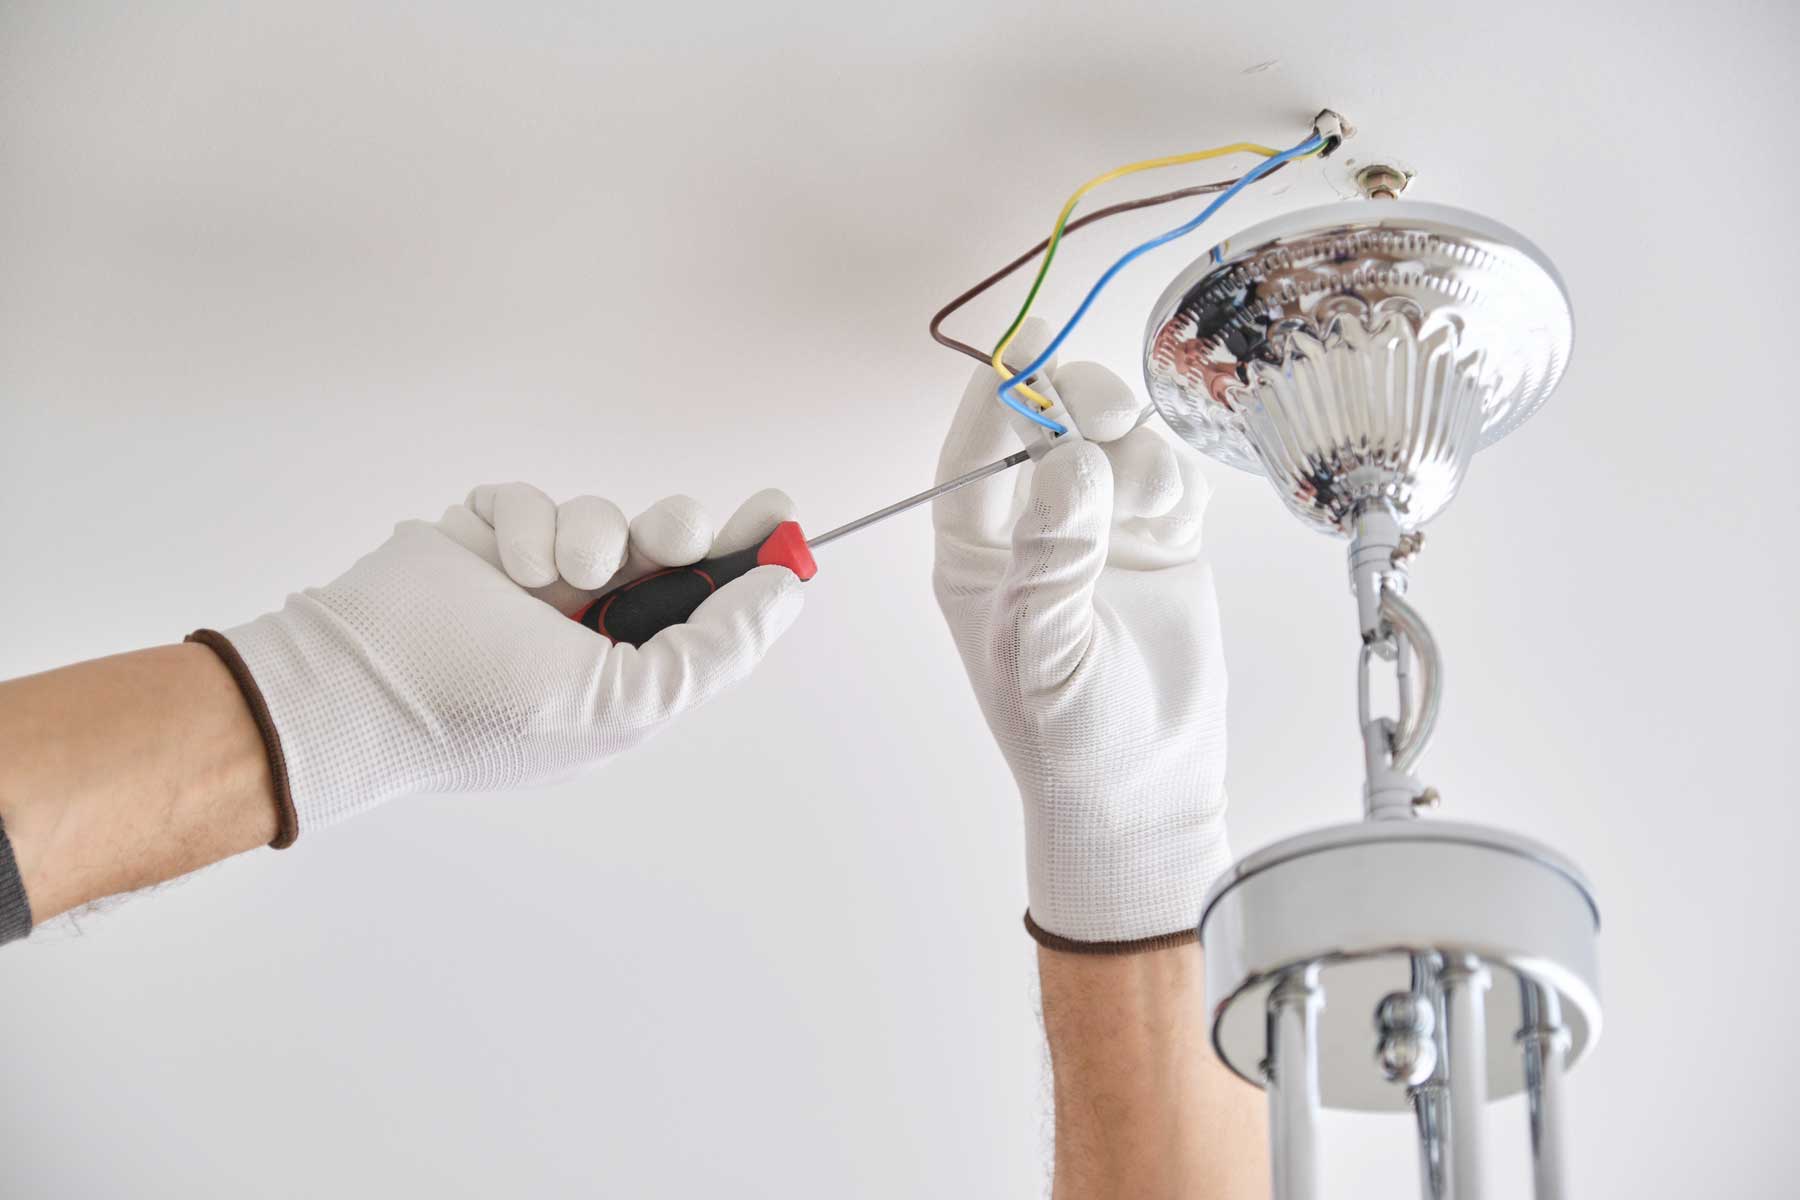
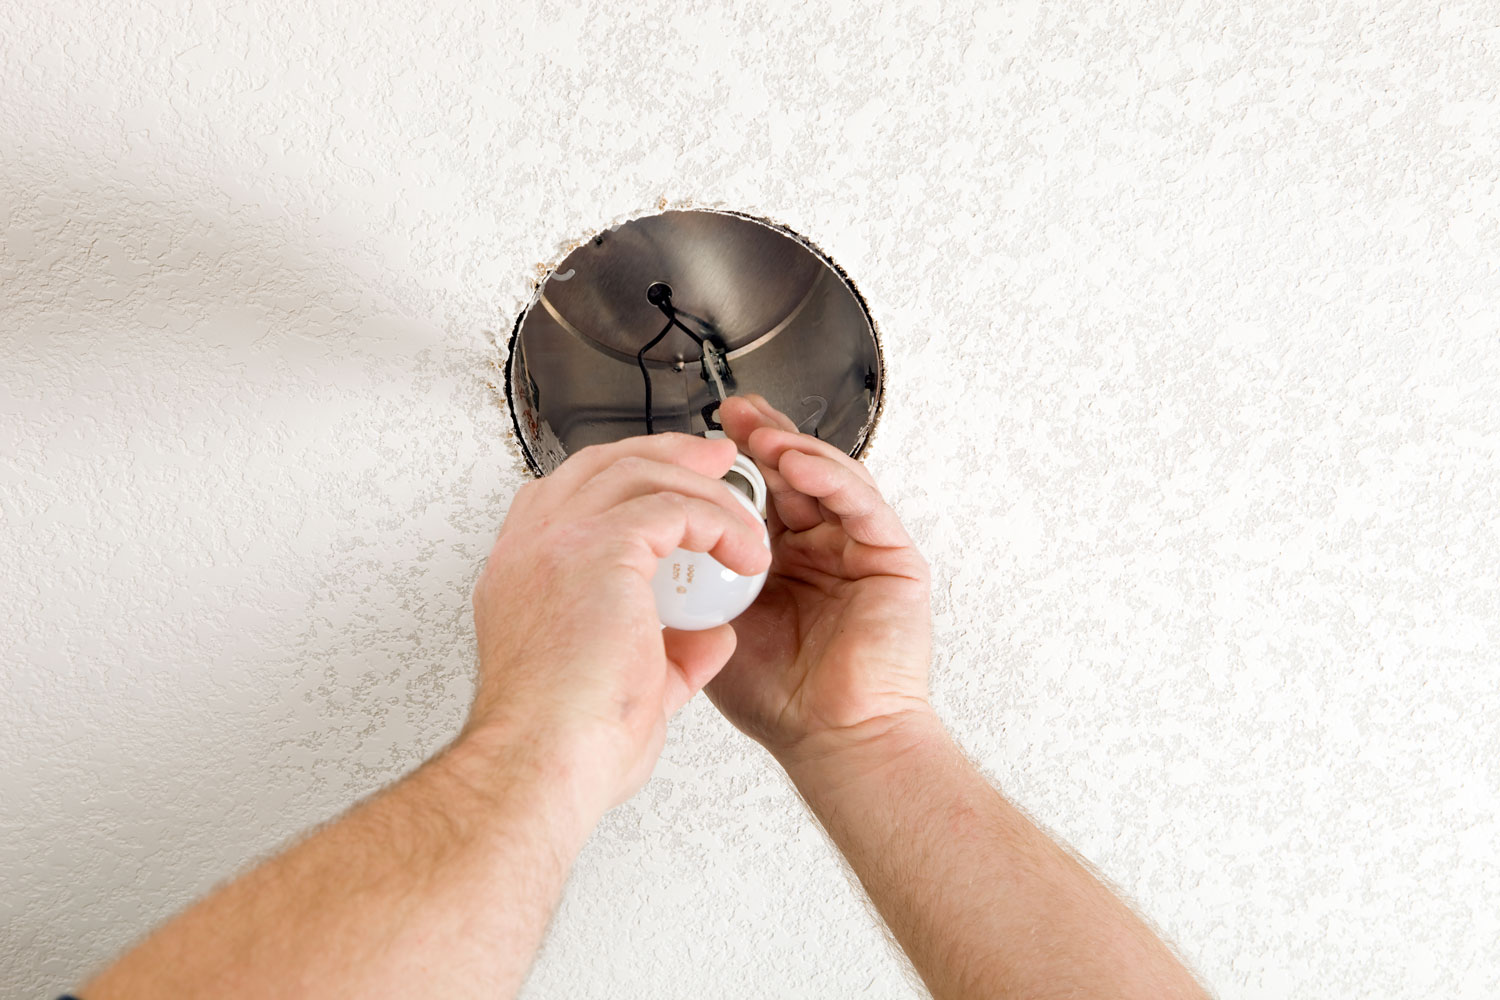
- Disconnect the electrical connections: Using a screwdriver or appropriate tool, carefully loosen and remove the wire nuts or terminal screws that secure the electrical connections. Take note of the wire colors and their corresponding connections, as you will need to replicate this when installing the new fixture.
- Safely cap the wires: Once the electrical connections are detached, safely cap off the exposed wires with wire nuts or electrical tape. This step is crucial for preventing accidental contact or short circuits while you prepare to install the new fixture.
- Verify the wiring is disconnected: Use a voltage tester to ensure that the wiring is no longer carrying electrical current. This additional precaution provides peace of mind and confirms that the wiring is safe to work with as you proceed with the installation of the new fixture.
By carefully following these steps to disconnect the wiring, you can safely prepare the old fixture for removal and ensure that the electrical connections are handled with precision. With the wiring safely disconnected, you’re now ready to proceed with the exciting task of installing the new outdoor light fixture.
Read more: How To Seal Outdoor Light Fixture
Step 5: Install the new fixture
With the old fixture removed and the wiring safely disconnected, it’s time to embark on the exciting task of installing the new outdoor light fixture. This step involves mounting the new fixture and connecting the wiring to ensure proper functionality. Here’s how to install the new fixture:
- Position the new fixture: Carefully position the new fixture at the installation site, aligning it with the mounting holes or bracket. If the new fixture requires assembly, follow the manufacturer’s instructions to ensure that it is properly configured before installation.
- Secure the mounting hardware: Using the provided screws or fasteners, secure the new fixture to the wall or ceiling, ensuring that it is firmly attached and properly aligned. Take care not to overtighten the hardware, as this could damage the fixture or mounting surface.
- Connect the wiring: With the fixture mounted, proceed to connect the electrical wiring. Match the corresponding wires – black to black (hot), white to white (neutral), and green or bare to the ground. Use wire nuts to secure the connections, ensuring that they are tight and well-insulated.
- Complete the installation: Once the wiring is securely connected, carefully tuck the wires into the electrical box or fixture housing, ensuring that they are neatly arranged and do not interfere with the functionality of the fixture. Follow any additional installation instructions provided by the manufacturer to complete the setup.
- Test the fixture: Before finalizing the installation, turn the power back on at the circuit breaker and test the new fixture to ensure that it is functioning correctly. Verify that the light illuminates as expected and that all components are operating as intended.
By meticulously following these steps to install the new outdoor light fixture, you can bring a fresh, illuminating presence to your outdoor space. With the new fixture securely in place and properly connected, you’re now ready to proceed to the final step of turning the power back on and enjoying the enhanced ambiance and functionality it provides.
Step 6: Turn the power back on
As the final step in the process of replacing an outdoor light fixture, it’s time to restore power to the newly installed fixture. This crucial step ensures that the fixture is operational and ready to illuminate your outdoor space. Here’s how to safely turn the power back on:
- Return to the circuit breaker: Head back to the circuit breaker or fuse box that controls the power supply to the outdoor light fixture. Take care to navigate the area safely, especially if you have repositioned any furniture or equipment during the installation process.
- Identify the correct breaker: Locate the breaker that was switched off before the installation. Ensure that it is in the off position before proceeding to turn it back on.
- Turn on the power: Carefully switch the breaker to the on position, restoring power to the outdoor light fixture. Take a moment to listen for any unusual sounds or observe the fixture to confirm that it is receiving power and functioning as expected.
- Verify the fixture’s operation: With the power restored, verify that the new fixture is illuminating as intended. Ensure that all components, such as motion sensors or photocells, are functioning correctly based on the fixture’s specifications.
- Perform a final inspection: Take a moment to inspect the newly installed fixture and its surroundings. Check for any signs of loose connections, unusual flickering, or other irregularities that may require further attention.
By carefully following these steps to turn the power back on, you can ensure that the new outdoor light fixture is fully operational and ready to enhance your outdoor environment. With the power restored and the fixture shining brightly, you can now step back and admire the transformation that a new outdoor light fixture brings to your outdoor space.
Conclusion
Congratulations on successfully completing the process of removing an old outdoor light fixture and installing a new one! By following the steps outlined in this guide, you’ve not only enhanced the visual appeal of your outdoor space but also improved its functionality and safety. As you bask in the warm glow of your new outdoor light fixture, take a moment to appreciate the transformative impact it has on your surroundings.
Replacing an outdoor light fixture is a gratifying project that not only elevates the aesthetics of your home’s exterior but also contributes to its security and usability. The newly installed fixture serves as a beacon, guiding visitors to your doorstep and creating an inviting ambiance for outdoor gatherings and activities.
Remember, the key to a successful installation lies in thorough preparation, attention to detail, and a commitment to safety. By gathering the necessary tools and materials, turning off the power, carefully removing the old fixture, disconnecting and reconnecting the wiring, and finally, turning the power back on, you’ve demonstrated a commendable level of diligence and skill.
As you revel in the radiance of your new outdoor light fixture, take pride in the accomplishment of a task well done. Your proactive approach to home maintenance and improvement not only enhances your living environment but also contributes to the overall appeal and value of your property.
Whether you embarked on this project to update the look of your outdoor space, improve its functionality, or simply embrace a rewarding DIY endeavor, the successful installation of a new outdoor light fixture marks a significant milestone in your home improvement journey.
As you enjoy the benefits of your newly installed fixture, may it serve as a beacon of warmth and welcome, illuminating the path to memorable moments and enhancing the charm of your outdoor sanctuary.
Here’s to the bright and brilliant future of your outdoor space!
Frequently Asked Questions about How To Remove Old Outdoor Light Fixture
Was this page helpful?
At Storables.com, we guarantee accurate and reliable information. Our content, validated by Expert Board Contributors, is crafted following stringent Editorial Policies. We're committed to providing you with well-researched, expert-backed insights for all your informational needs.

0 thoughts on “How To Remove Old Outdoor Light Fixture”