Home>Furniture & Design>Outdoor Furniture>What Paint To Use On Outdoor Light Fixtures
Outdoor Furniture
What Paint To Use On Outdoor Light Fixtures
Modified: October 28, 2024
Discover the best outdoor paint for light fixtures to protect and enhance your outdoor furniture and design. Choose the right paint for lasting results.
(Many of the links in this article redirect to a specific reviewed product. Your purchase of these products through affiliate links helps to generate commission for Storables.com, at no extra cost. Learn more)
Introduction
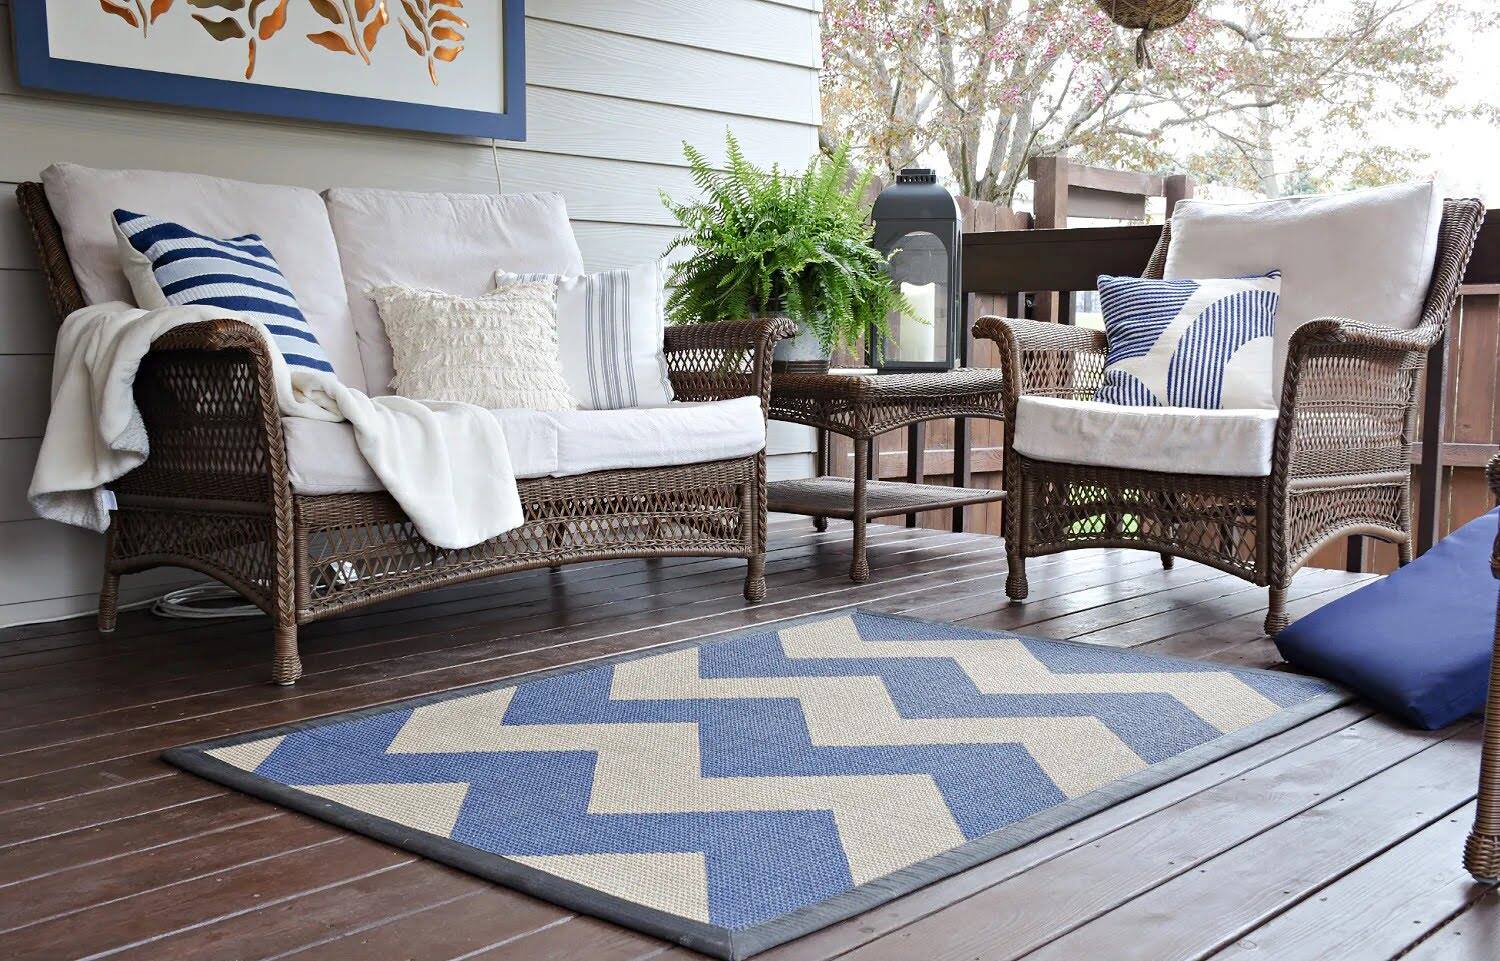
When it comes to enhancing the aesthetic appeal of your outdoor living space, paying attention to the finer details can make a world of difference. Outdoor light fixtures not only illuminate your exterior but also contribute to the overall ambiance and style of your outdoor area. However, over time, these fixtures may show signs of wear and tear, prompting the need for a fresh coat of paint to revitalize their appearance.
Choosing the right paint for outdoor light fixtures is crucial to ensure longevity and durability, especially in the face of various weather conditions. From intense sunlight to heavy rain and snow, outdoor light fixtures are exposed to the elements year-round, making it essential to select a paint that can withstand such challenges.
In this comprehensive guide, we will explore the various types of outdoor light fixtures, the factors to consider when choosing paint for them, the different types of paint suitable for outdoor use, as well as the step-by-step process of painting these fixtures. Additionally, we will provide valuable tips for maintaining the painted finish, ensuring that your outdoor light fixtures retain their beauty for years to come.
So, whether you're looking to refresh the look of your existing outdoor light fixtures or planning to personalize new ones to complement your outdoor decor, this guide will equip you with the knowledge and insights needed to make informed decisions and achieve stunning results. Let's dive into the world of outdoor light fixture painting and discover how a simple touch of color can elevate the charm of your outdoor space.
Key Takeaways:
- Choose the right paint for outdoor light fixtures to withstand weather, match material, and maintain color. Follow the step-by-step process for a long-lasting and visually appealing finish.
- Maintain painted outdoor light fixtures with regular cleaning, touch-ups, protective coatings, and seasonal maintenance to preserve their beauty and functionality over time.
Read more: How To Seal Outdoor Light Fixture
Types of Outdoor Light Fixtures
Outdoor light fixtures come in a diverse range of styles and designs, each serving specific purposes while adding character and functionality to outdoor spaces. Understanding the various types of outdoor light fixtures can help you identify the specific fixtures that may require painting and the most suitable paint options for each type. Here are some common types of outdoor light fixtures:
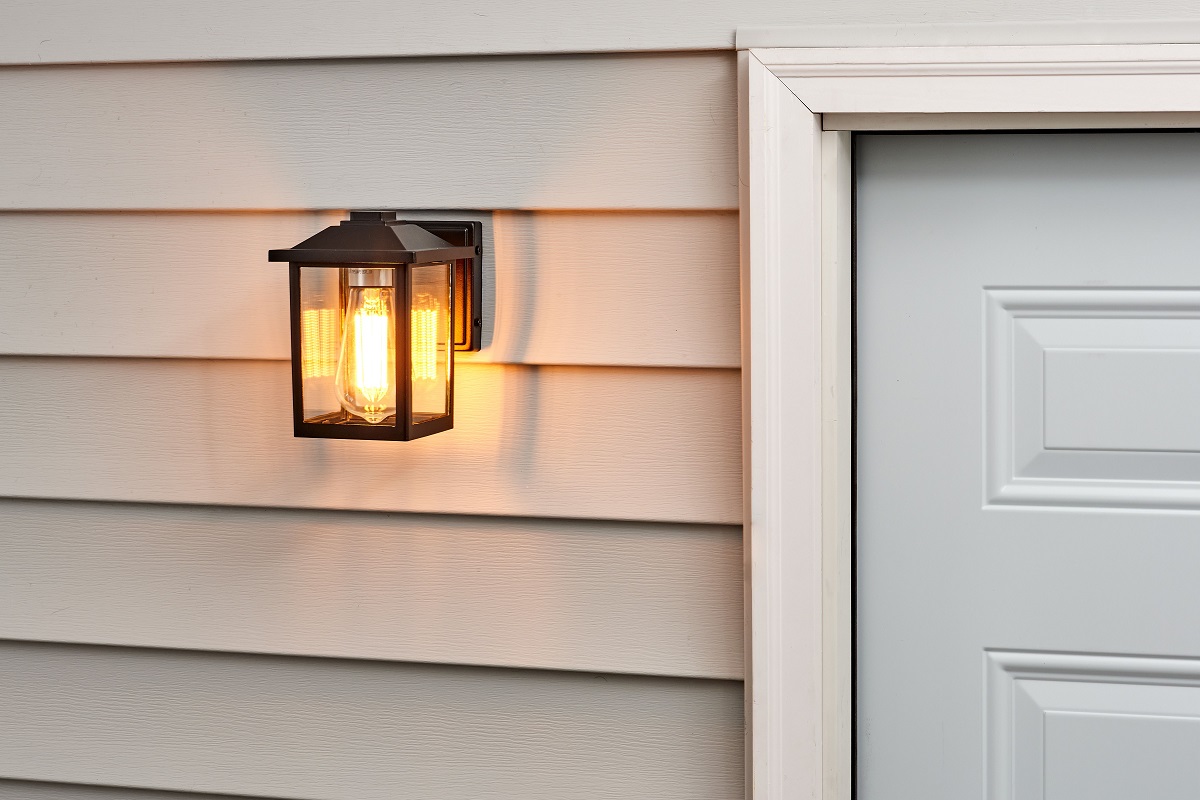
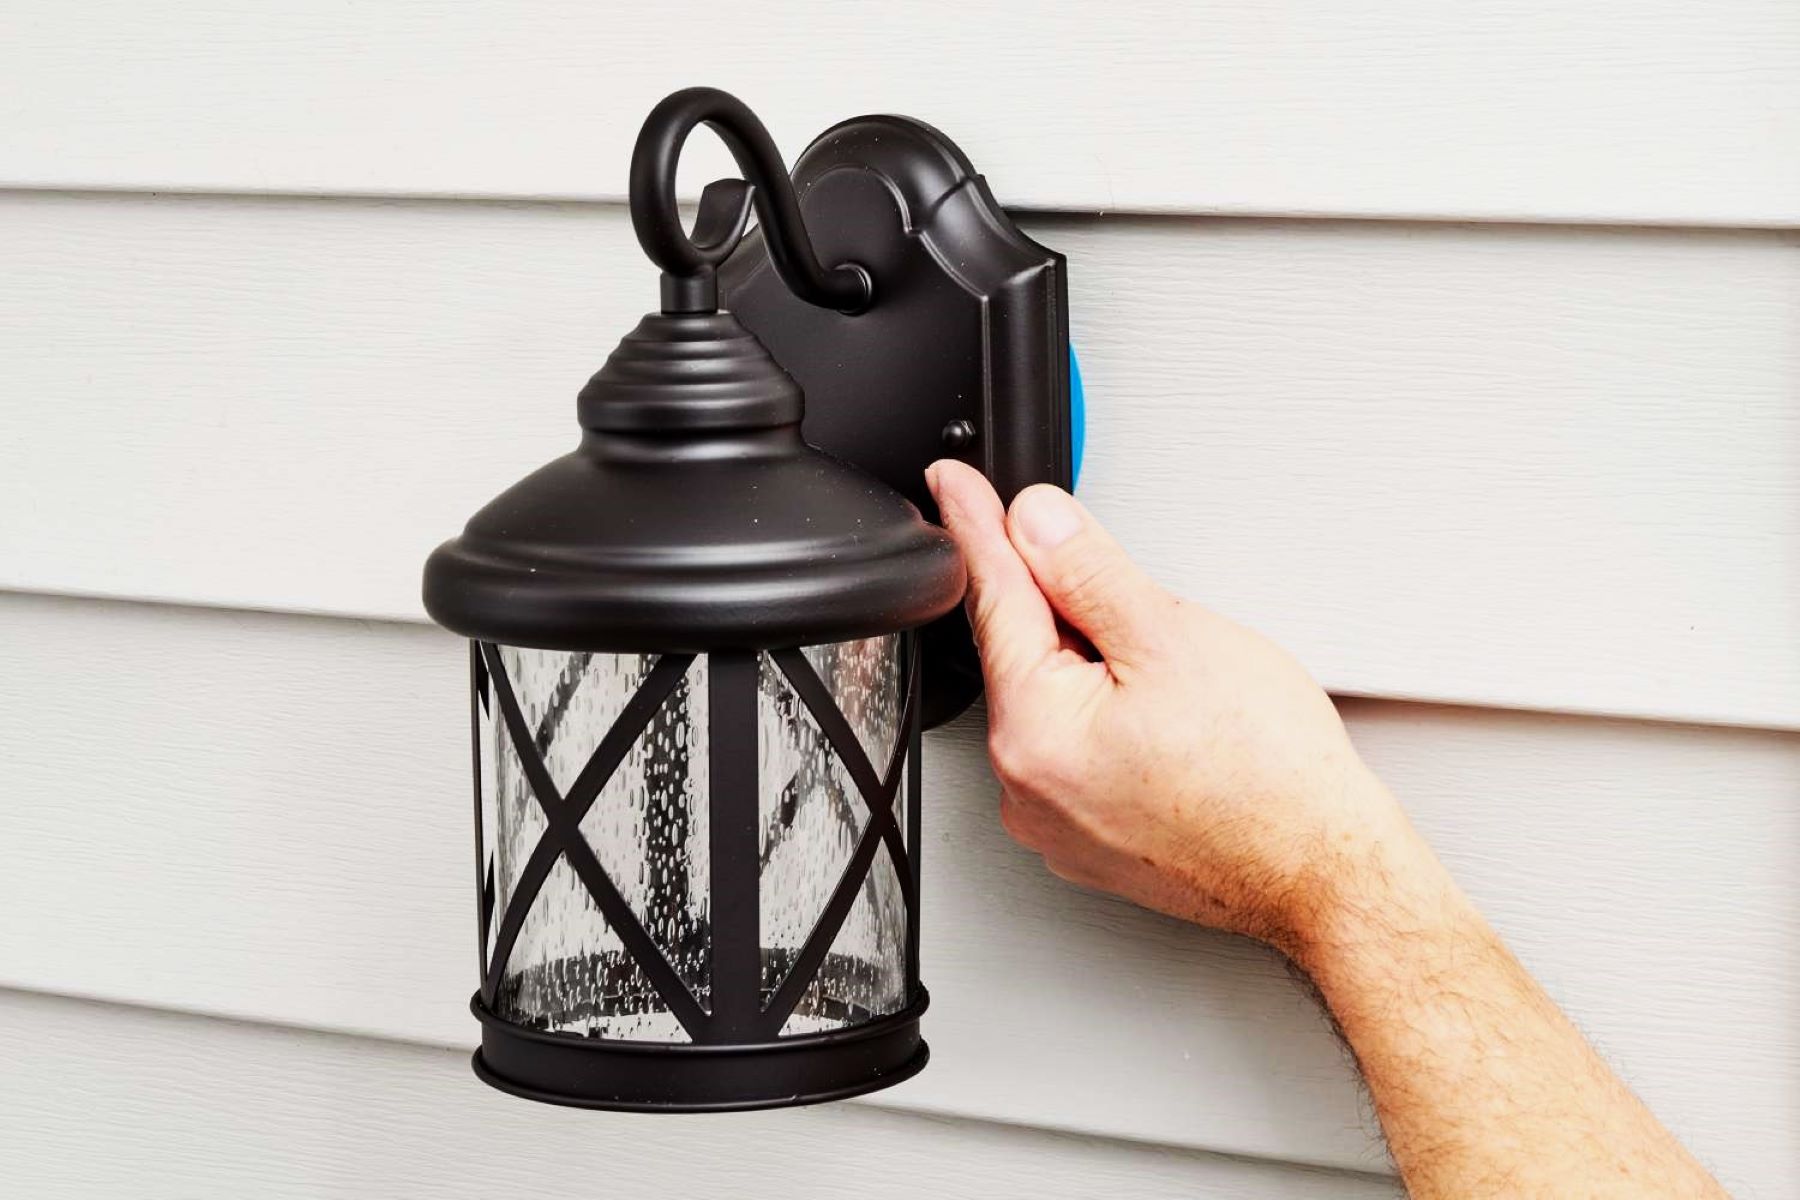
- Wall-Mounted Sconces: These fixtures are attached to the exterior walls of buildings and are popular for providing ambient lighting and accentuating architectural features.
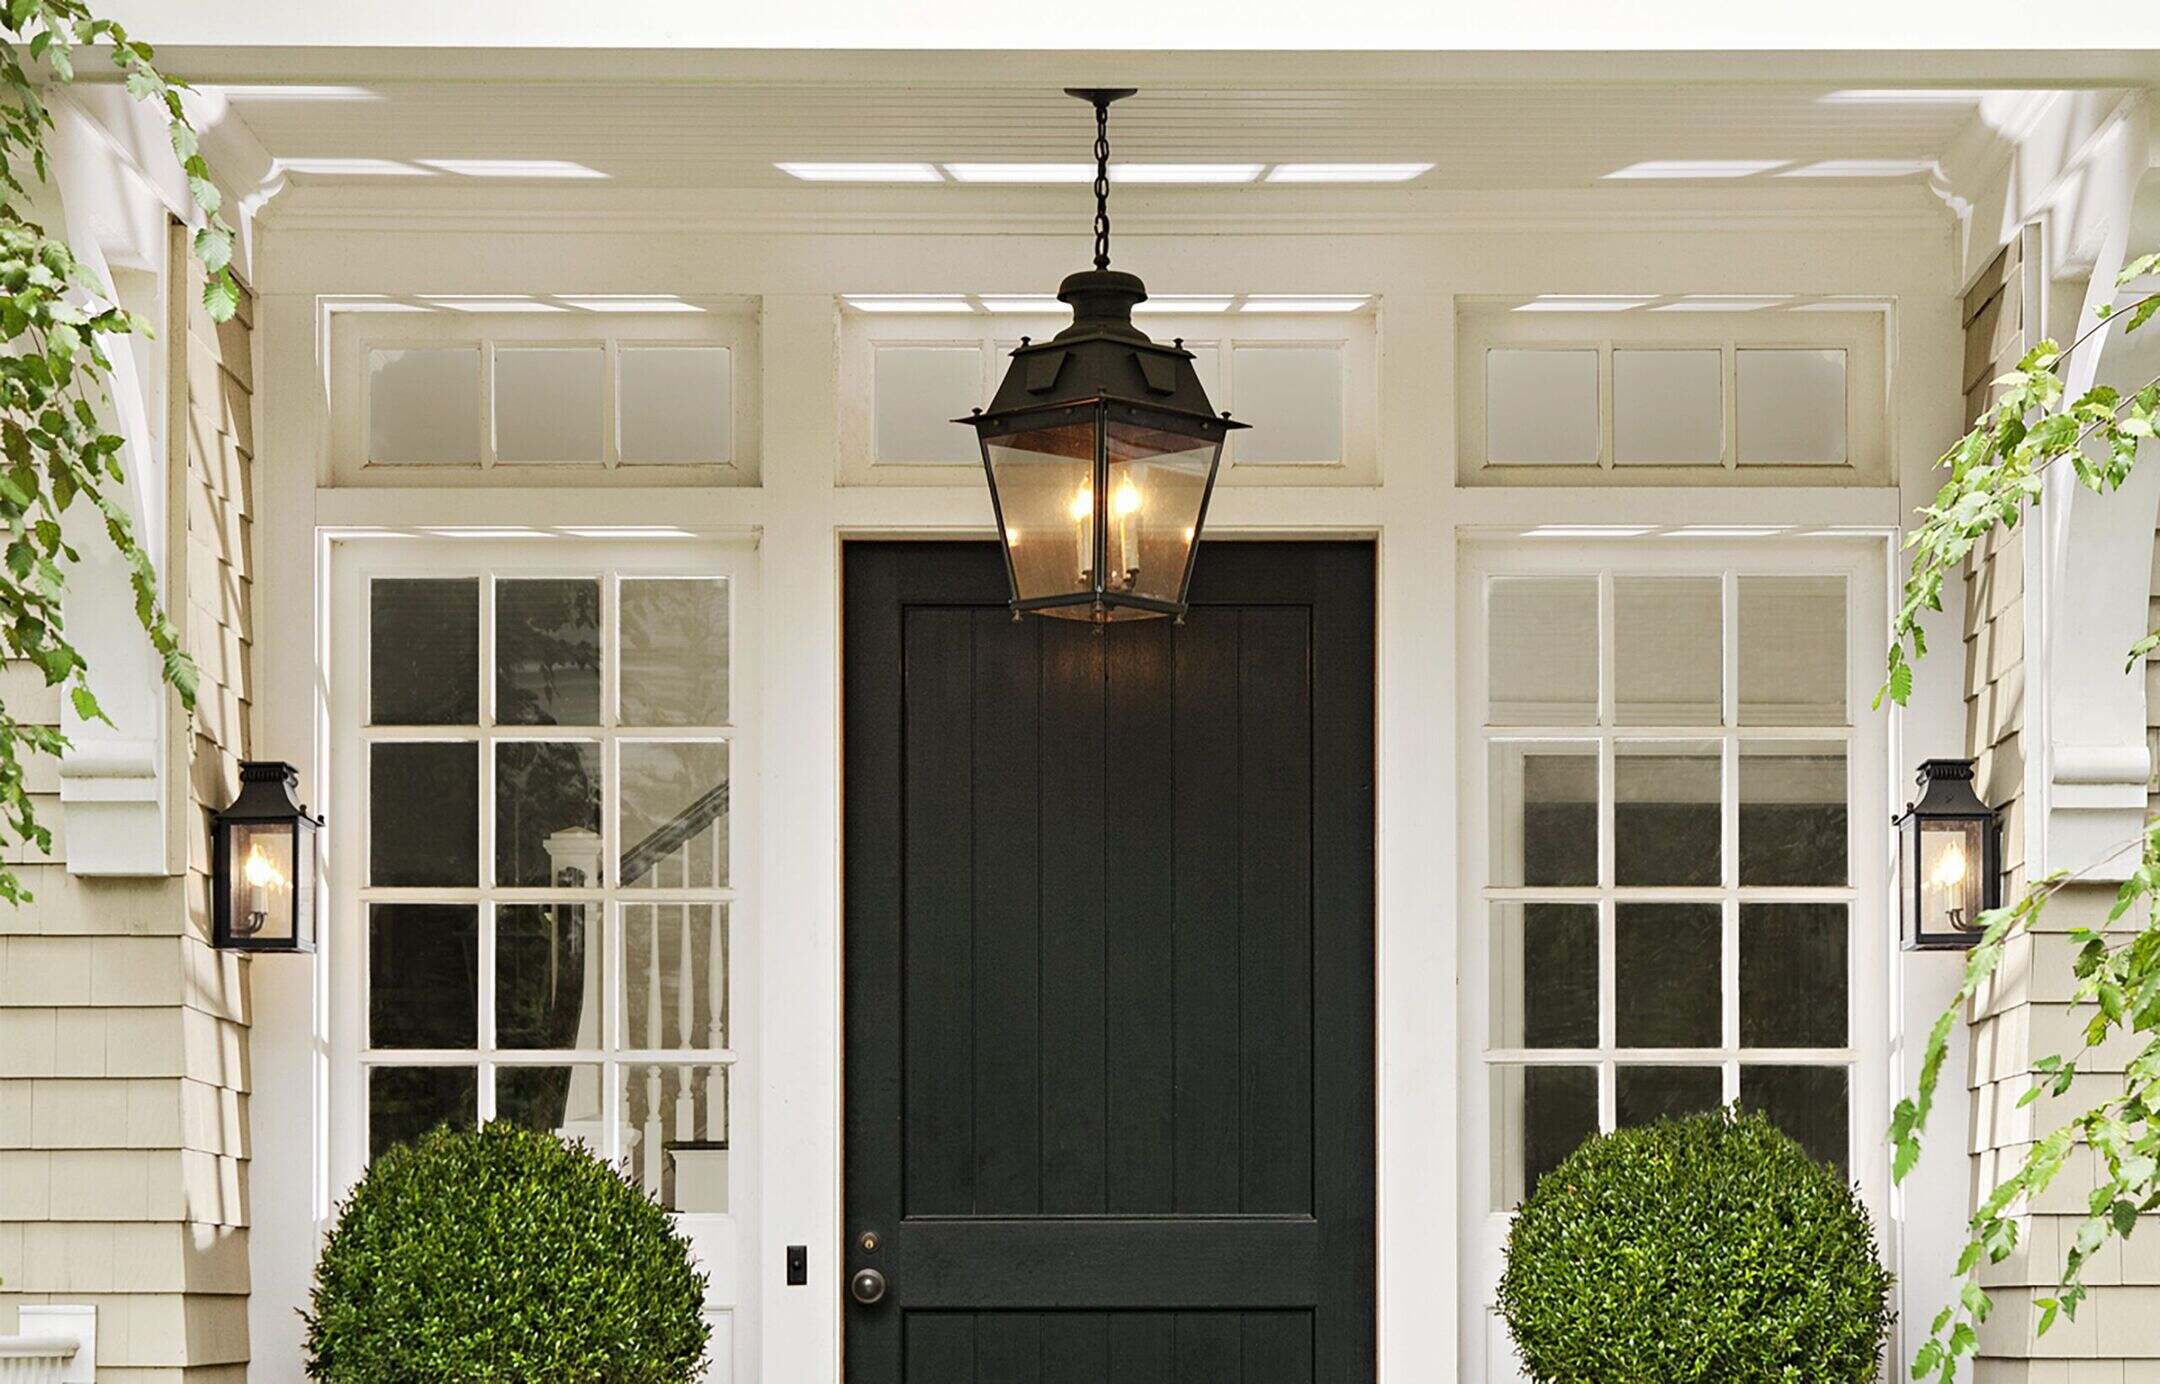
- Pendant Lights: Suspended from overhead structures, pendant lights offer decorative and task-oriented lighting, often used to illuminate outdoor dining areas or entryways.
- Post Lights: Mounted on posts or pillars, these fixtures are commonly found along pathways, driveways, and garden areas, providing both safety and aesthetic appeal.
- Flush-Mount Ceiling Lights: Ideal for covered outdoor areas such as porches and verandas, these fixtures are installed directly onto the ceiling, offering general illumination and a seamless look.
- Hanging Lanterns: These classic fixtures add a touch of charm to outdoor spaces, often suspended from hooks or chains, and are popular for creating a warm and inviting atmosphere.
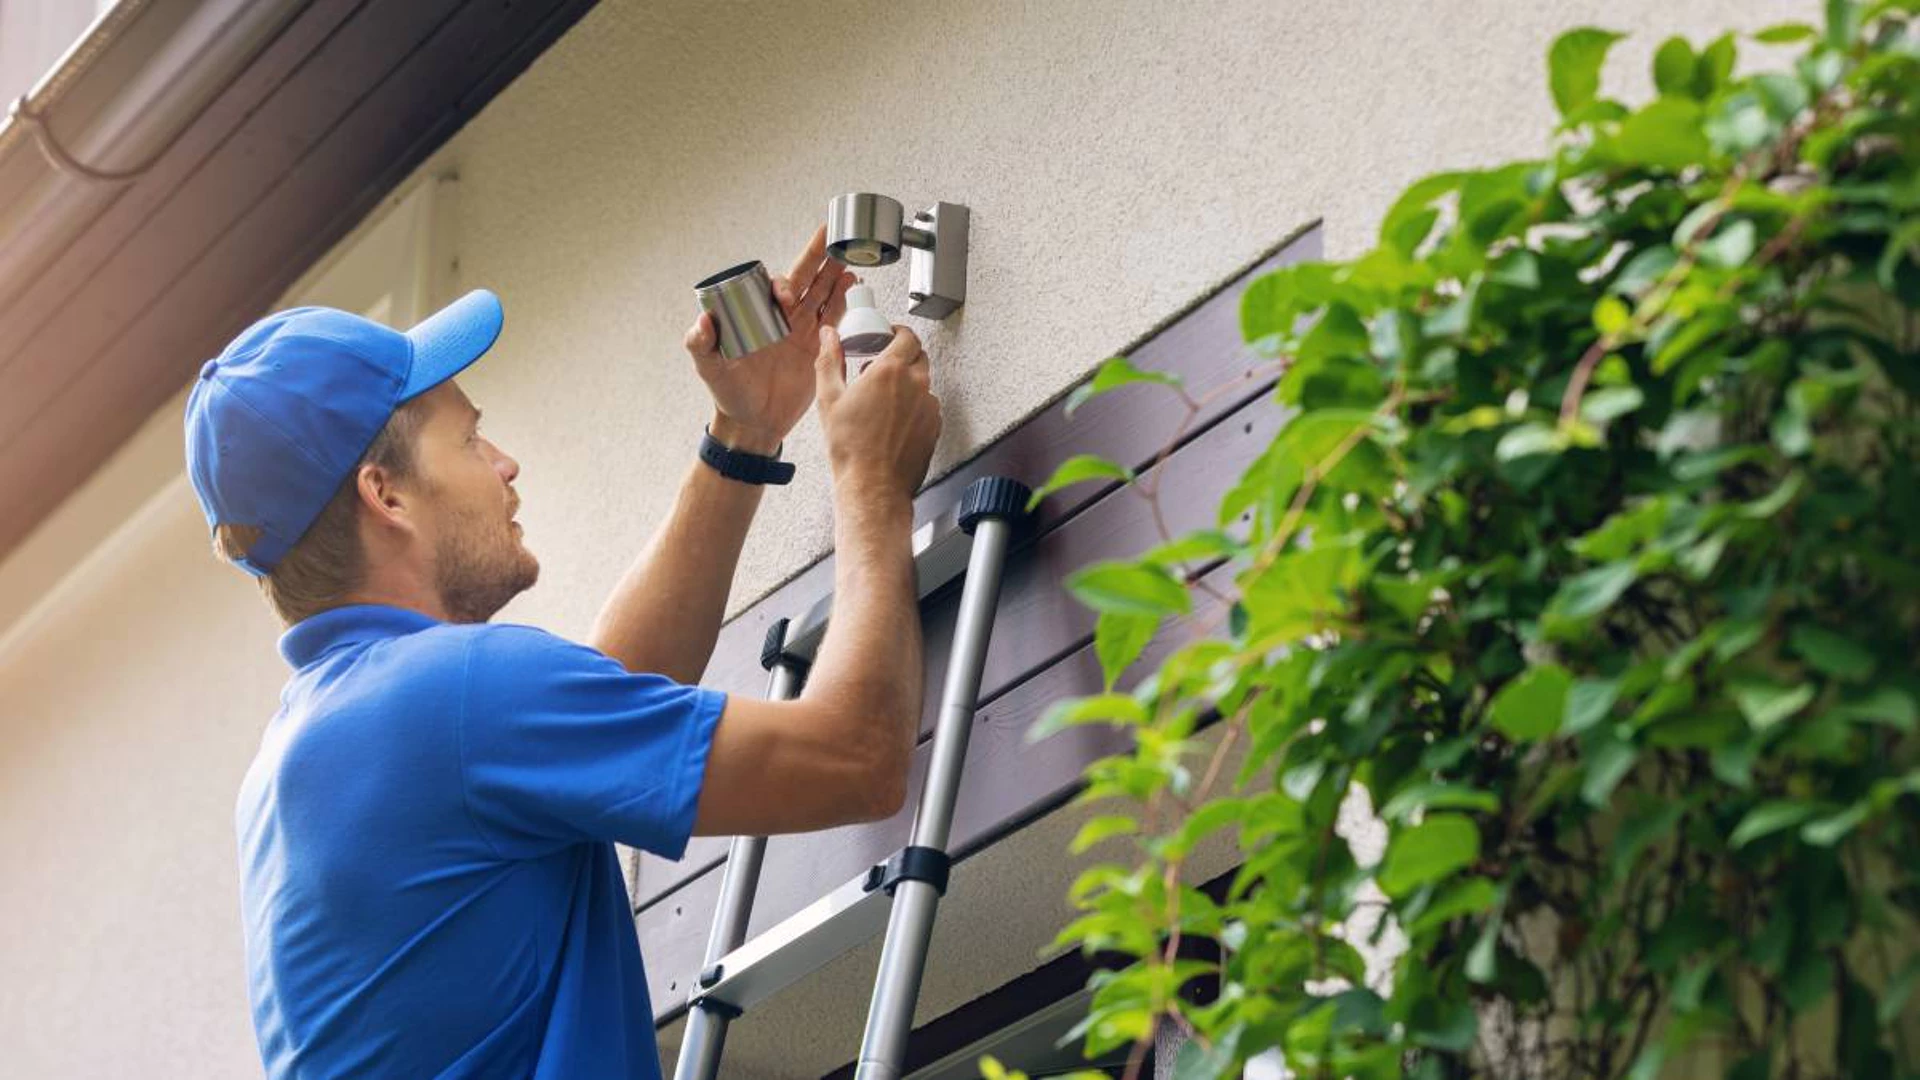
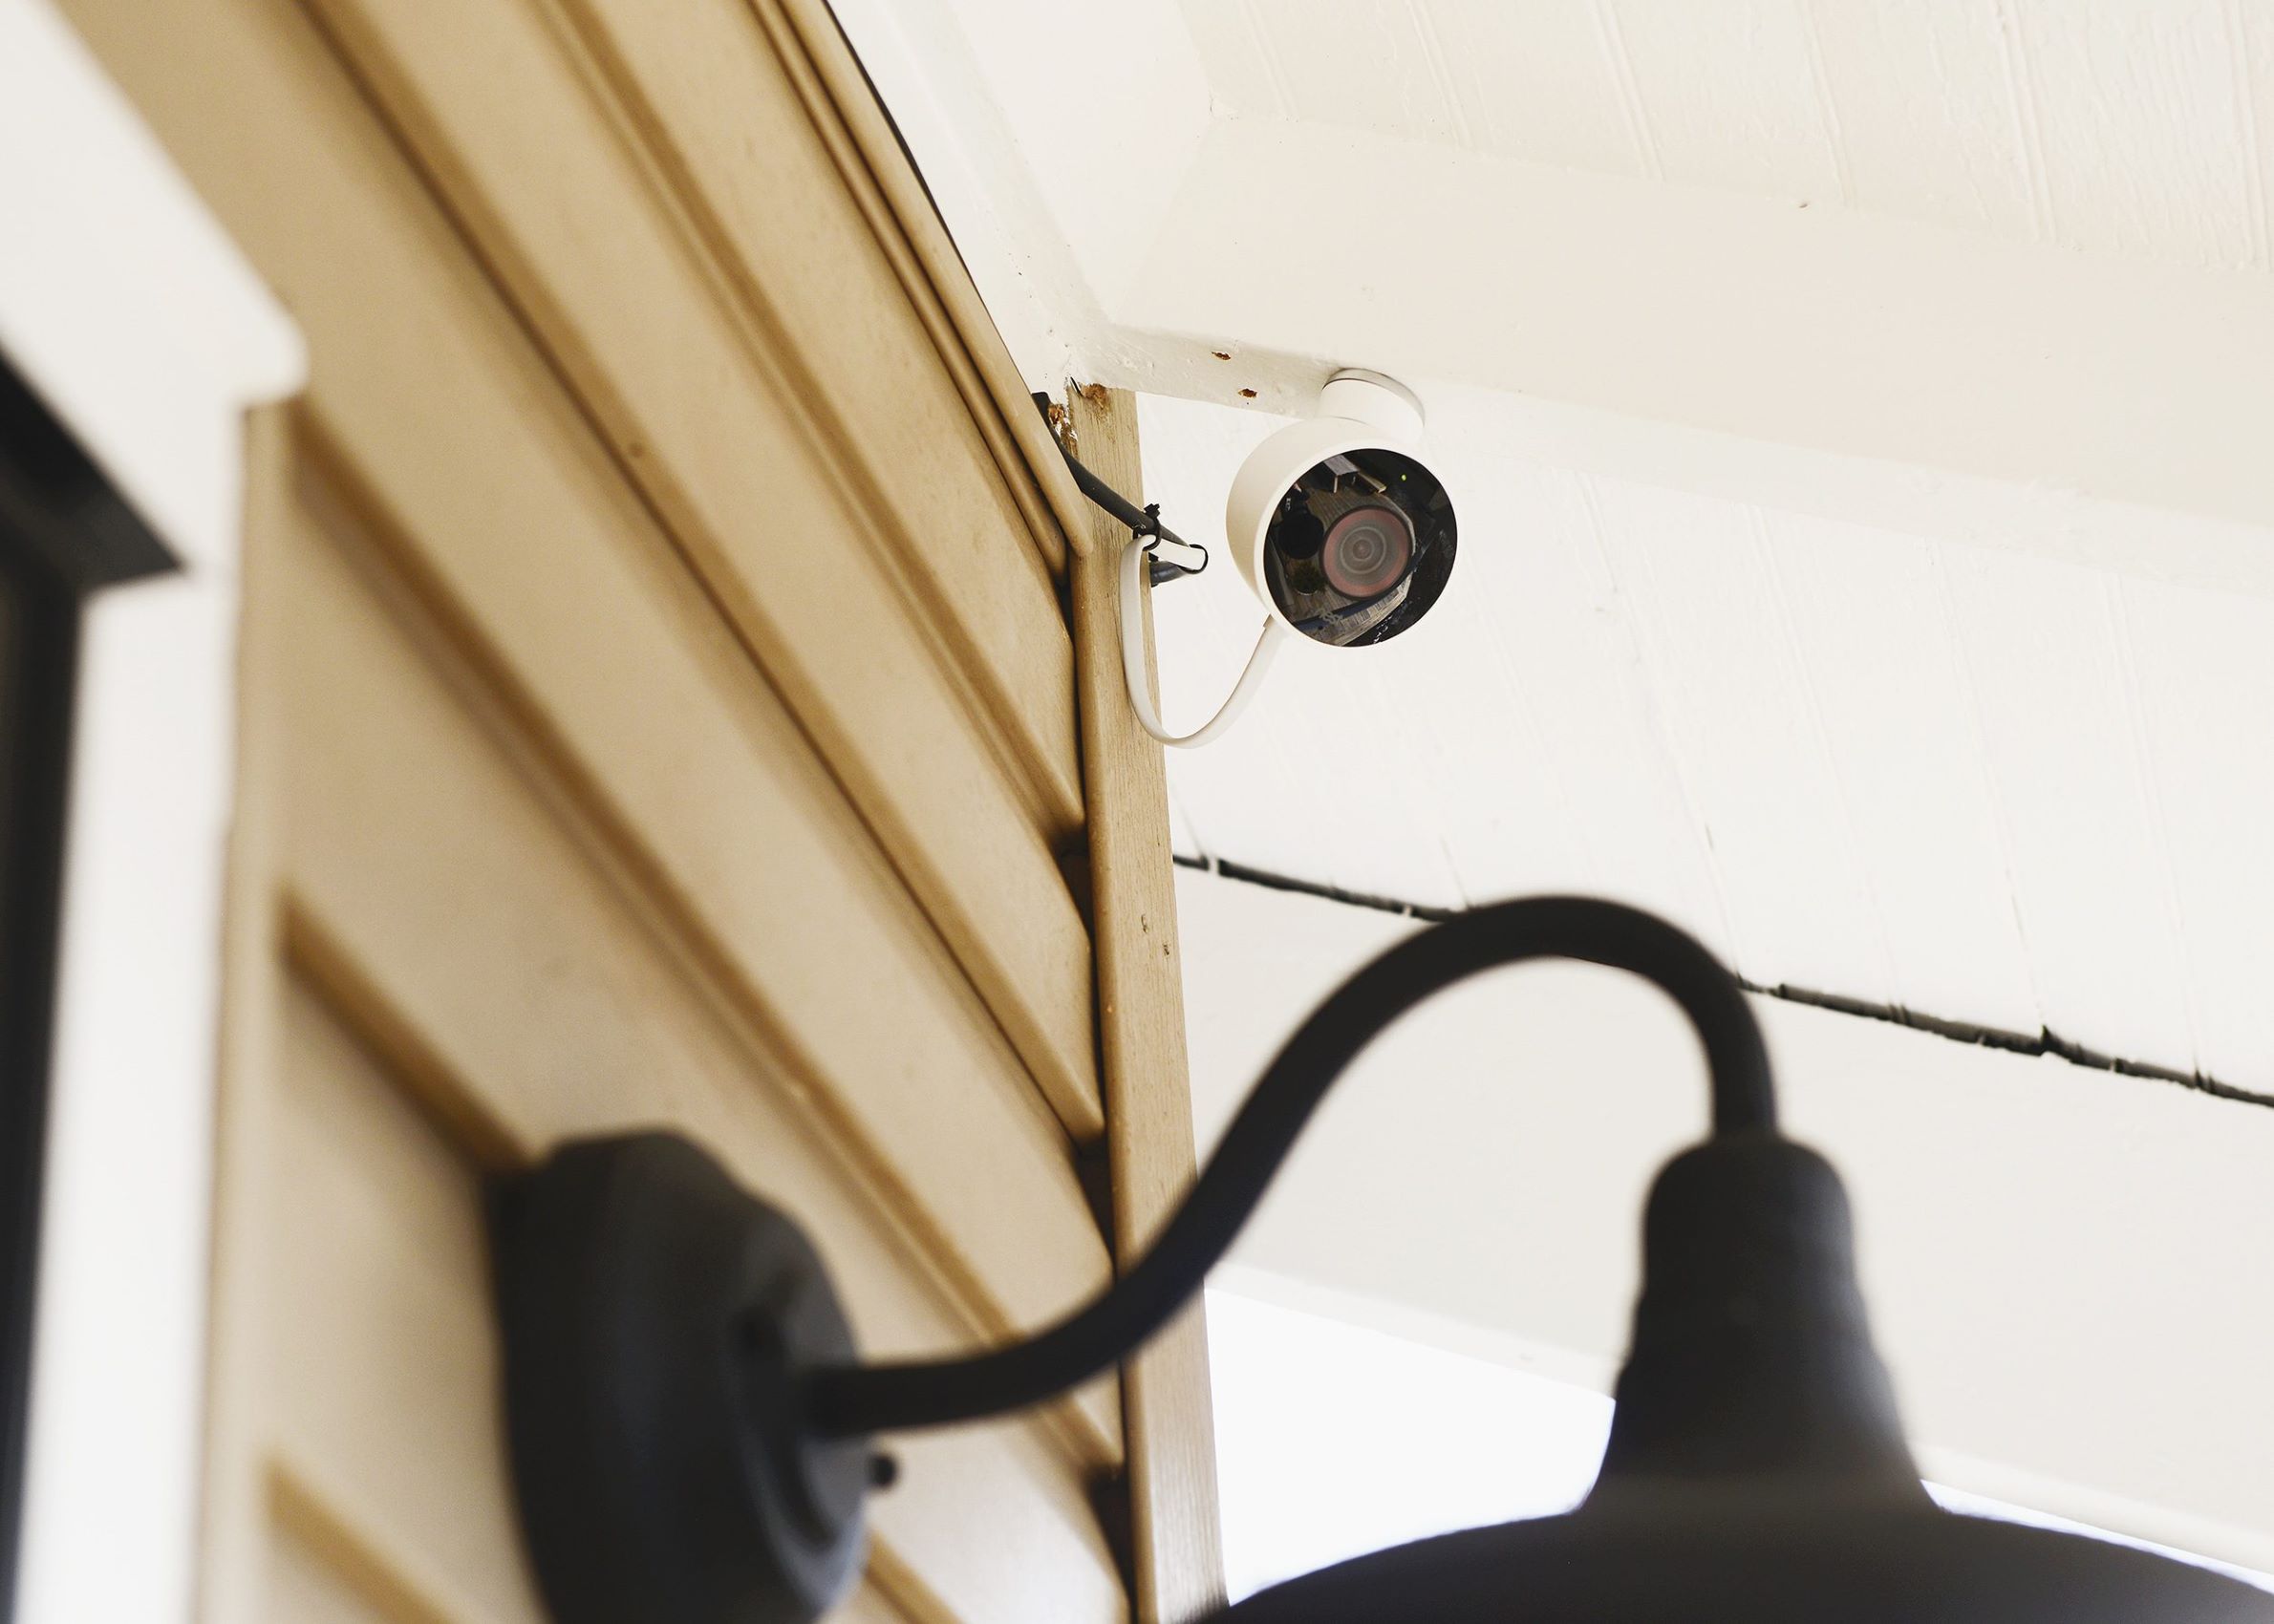
- Security Lights: Designed to enhance safety and deter intruders, security lights are typically motion-activated and provide bright illumination for outdoor areas.
Each type of outdoor light fixture has unique characteristics and is exposed to varying degrees of environmental factors. Understanding these distinctions is crucial when selecting the appropriate paint and painting techniques to ensure a long-lasting and visually appealing finish.
Now that we’ve explored the different types of outdoor light fixtures, let’s delve into the essential factors to consider when choosing the right paint for these fixtures.
Factors to Consider When Choosing Paint for Outdoor Light Fixtures
When it comes to painting outdoor light fixtures, selecting the right type of paint is essential for achieving a durable and visually appealing finish. Several factors should be taken into account to ensure that the paint can withstand the outdoor elements and adhere effectively to the fixture’s surface. Here are the key considerations when choosing paint for outdoor light fixtures:
- Weather Resistance: Outdoor light fixtures are constantly exposed to sunlight, rain, snow, and fluctuating temperatures. Therefore, the paint you choose should be highly resistant to UV rays, moisture, and temperature variations to prevent fading, peeling, or cracking over time.
- Durability: The paint should exhibit strong adhesion to the fixture’s surface and offer excellent resistance to abrasion and corrosion. This is especially important for fixtures located in high-traffic areas or regions prone to harsh weather conditions.
- Material Compatibility: Consider the material composition of the light fixture, whether it’s metal, plastic, or another substrate. Certain paints are formulated to adhere specifically to certain materials, ensuring optimal bonding and long-term protection.
- Color Retention: Look for paint that is designed to maintain its color vibrancy and resist fading caused by prolonged sun exposure. This is crucial for preserving the aesthetic appeal of the fixtures over time.
- Application Method: Depending on the design and intricacy of the fixture, consider the ease of application of the paint. Spray paints are often convenient for intricate designs, while brush-on applications provide more control for detailed areas.
- Environmental Impact: Opt for environmentally friendly paints that are low in volatile organic compounds (VOCs) to minimize the impact on the surrounding ecosystem and ensure a safer application process.
By carefully evaluating these factors, you can make an informed decision when selecting the most suitable paint for your outdoor light fixtures. The next step is to explore the types of paint that are best suited for outdoor use, taking into consideration the specific requirements of different fixture materials and environmental conditions.
Now that we’ve outlined the essential considerations for choosing paint, let’s move on to explore the various types of paint suitable for outdoor light fixtures.
Types of Paint for Outdoor Light Fixtures
Choosing the right type of paint for outdoor light fixtures is crucial to ensure optimal protection and longevity. Various paint options are available, each tailored to specific materials and environmental conditions. Here are some common types of paint suitable for outdoor use:
- Rust-Resistant Spray Paint: Ideal for metal fixtures, rust-resistant spray paints provide a durable finish that protects against corrosion and oxidation. These paints often feature built-in primers for enhanced adhesion and are available in a wide range of colors and finishes.
- Outdoor Acrylic Paint: Acrylic paints formulated for outdoor applications offer excellent weather resistance and color retention. They are suitable for a variety of materials, including metal, wood, and plastic, and are available in matte, satin, and glossy finishes to accommodate different aesthetic preferences.
- Enamel Paint: Enamel paints are known for their durability and hard, glossy finish, making them suitable for metal and plastic outdoor fixtures. They provide excellent protection against moisture, UV rays, and abrasion, ensuring a long-lasting and vibrant appearance.
- Rust-Preventative Primer and Paint Combo: For heavily rusted metal fixtures, a combination of rust-preventative primer and paint can provide comprehensive protection. These products are designed to inhibit rust formation and create a strong, long-lasting barrier against the elements.
- Multi-Surface Spray Paint: Specifically formulated for versatility, multi-surface spray paints adhere to various materials, including metal, wood, and plastic. They offer all-weather protection and are available in an array of colors and finishes for customized outdoor lighting solutions.
When selecting the appropriate paint for your outdoor light fixtures, it’s essential to consider the specific material of each fixture, the prevailing environmental conditions, and the desired aesthetic outcome. Additionally, be sure to follow the manufacturer’s recommendations for surface preparation and application techniques to achieve the best results.
Now that we’ve explored the different types of paint suitable for outdoor light fixtures, let’s move on to the step-by-step process of painting these fixtures to rejuvenate their appearance and extend their lifespan.
Use a high-quality outdoor paint specifically designed for metal or plastic surfaces. Look for a paint that is weather-resistant and provides UV protection to prevent fading. Sand the fixture before painting for better adhesion.
How to Paint Outdoor Light Fixtures
Painting outdoor light fixtures is a rewarding project that can breathe new life into your outdoor space. Whether you’re looking to refresh the existing fixtures or customize new ones to match your outdoor decor, the following step-by-step process will guide you through the painting journey:
- Prepare the Surface: Start by thoroughly cleaning the surface of the fixture to remove dirt, grime, and any existing paint flakes. Use a mild detergent, water, and a scrub brush to ensure a clean and smooth surface for the new paint to adhere to.
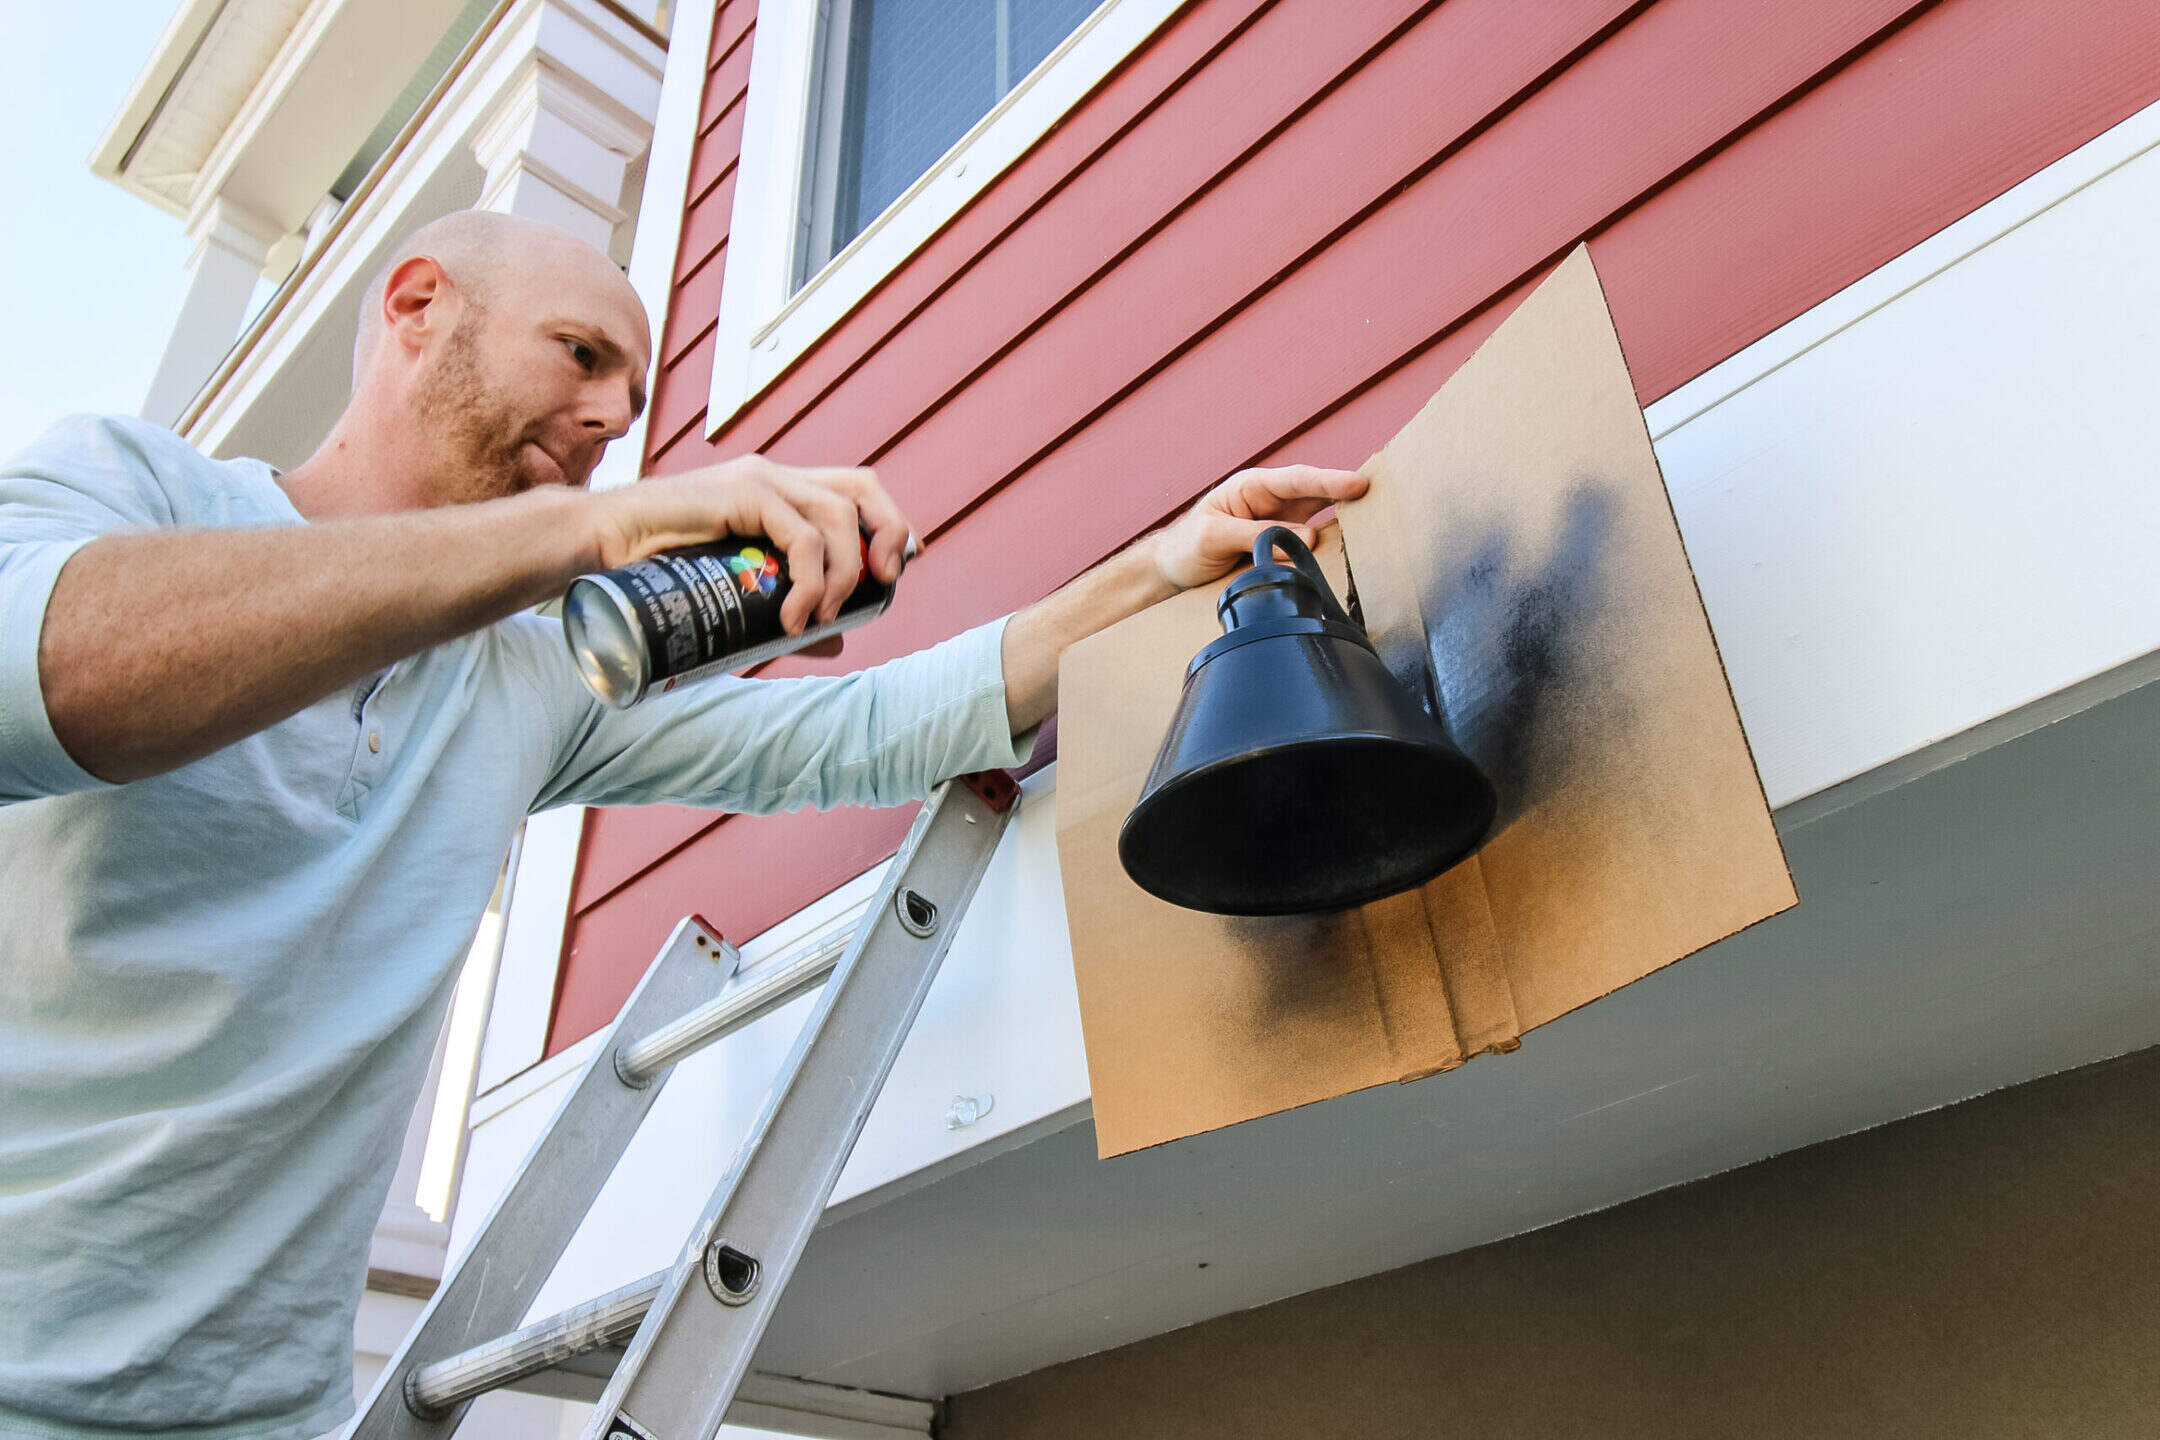
- Remove or Mask Components: If the fixture has removable components such as glass panels or bulbs, carefully detach them before painting. For components that cannot be removed, use painter’s tape to mask and protect them from paint overspray.
- Surface Protection: To prevent paint from reaching areas you don’t want to coat, cover surrounding surfaces with drop cloths or plastic sheeting. This will safeguard adjacent areas from accidental paint splatter or overspray.
- Prime the Surface: For metal fixtures or surfaces with rust spots, apply a rust-inhibiting primer to prevent further corrosion and ensure proper paint adhesion. Allow the primer to dry completely according to the manufacturer’s instructions.
- Apply the Paint: Using the chosen outdoor paint, apply thin, even coats to the fixture, holding the spray can or paintbrush at a consistent distance to achieve uniform coverage. Allow each coat to dry thoroughly before applying the next, following the recommended drying times on the paint label.
- Reassemble the Fixture: Once the paint has dried completely, reattach any removed components and ensure that all parts are securely in place. This step is crucial for restoring the functionality and integrity of the fixture.
- Final Touches: Inspect the painted fixture for any touch-ups or uneven areas. If necessary, lightly sand any imperfections and apply additional coats of paint as needed to achieve the desired finish.
By following these steps with care and attention to detail, you can transform the appearance of your outdoor light fixtures and protect them from the elements. Remember to work in a well-ventilated area and wear appropriate protective gear, such as a mask and gloves, during the painting process for safety and comfort.
Now that we’ve covered the process of painting outdoor light fixtures, let’s explore essential tips for maintaining the painted finish and preserving the beauty of your fixtures over time.
Read more: How To Test An Outdoor Light Fixture
Tips for Maintaining Painted Outdoor Light Fixtures
After investing time and effort into painting your outdoor light fixtures, it’s essential to implement proper maintenance practices to ensure the longevity and visual appeal of the painted finish. By following these tips, you can preserve the beauty of your fixtures and protect them from the rigors of outdoor exposure:
- Regular Cleaning: Schedule routine cleaning sessions to remove dirt, dust, and environmental residues from the painted surface. Use a mild detergent and water to gently wash the fixtures, taking care not to use abrasive materials that could scratch the paint.
- Inspection and Touch-Ups: Periodically inspect the fixtures for signs of wear, such as chipping or fading. Address any minor imperfections promptly by lightly sanding the affected areas and applying a touch-up coat of paint to maintain the integrity of the finish.
- Protective Coating: Consider applying a clear protective sealant or topcoat specifically designed for outdoor use. This additional layer can provide enhanced protection against UV rays, moisture, and general wear, extending the lifespan of the painted finish.
- Seasonal Maintenance: Prioritize maintenance efforts during seasonal transitions, especially before harsh weather conditions set in. Inspect the fixtures before winter to ensure they are adequately protected against moisture and cold temperatures.
- Trim Overhanging Foliage: If the fixtures are located near trees or shrubs, trim any overhanging branches or foliage that could come into contact with the painted surfaces. This proactive measure helps prevent scratches and abrasions caused by natural elements.
- Protective Coverings: Consider using protective coverings or shields for fixtures located in areas prone to intense sunlight or extreme weather. This can help minimize direct exposure and mitigate the effects of prolonged environmental stress.
- Documentation and Maintenance Schedule: Keep a record of the paint type, color, and application date for future reference. Additionally, create a maintenance schedule to track cleaning and touch-up activities, ensuring consistent care for the fixtures over time.
By incorporating these maintenance tips into your routine, you can safeguard the painted finish of your outdoor light fixtures and enjoy their enhanced aesthetic appeal for years to come. Proper maintenance not only prolongs the lifespan of the paint but also contributes to the overall charm and functionality of your outdoor space.
Now that we’ve explored essential maintenance tips, let’s conclude our guide to painting outdoor light fixtures and summarize the key insights we’ve covered.
Conclusion
Enhancing the visual appeal of your outdoor living space through the revitalization of outdoor light fixtures is a gratifying endeavor that can significantly elevate the ambiance and charm of your outdoor environment. By carefully selecting the appropriate paint and following the recommended techniques, you can breathe new life into these fixtures while ensuring their resilience against the elements.
Throughout this guide, we’ve explored the diverse types of outdoor light fixtures, the essential factors to consider when choosing paint, the various types of paint suitable for outdoor use, the step-by-step process of painting the fixtures, and valuable tips for maintaining the painted finish. Armed with this knowledge, you are well-equipped to embark on your painting journey and transform the look of your outdoor light fixtures with confidence.
Remember, the process of painting outdoor light fixtures is not only a means of rejuvenating their appearance but also a way to protect and preserve their structural integrity. By investing time and care into this project, you can extend the lifespan of your fixtures and create a visually captivating outdoor space that reflects your personal style and attention to detail.
As you embark on this creative endeavor, embrace the opportunity to infuse your outdoor environment with your unique aesthetic vision, whether it’s through refreshing existing fixtures or customizing new ones to complement your outdoor decor. Let your creativity shine as you embark on this painting journey, and revel in the transformation of your outdoor space as the fixtures become vibrant focal points that enhance the overall beauty and functionality of your outdoor living area.
With the insights and guidance provided in this comprehensive guide, you are well-prepared to embark on your outdoor light fixture painting project, infusing your outdoor space with renewed charm and personality. Embrace the process, enjoy the creative expression it offers, and revel in the delightful transformation of your outdoor environment.
Here’s to the beauty and allure of your freshly painted outdoor light fixtures, and the enduring charm they bring to your outdoor living experience.
Frequently Asked Questions about What Paint To Use On Outdoor Light Fixtures
Was this page helpful?
At Storables.com, we guarantee accurate and reliable information. Our content, validated by Expert Board Contributors, is crafted following stringent Editorial Policies. We're committed to providing you with well-researched, expert-backed insights for all your informational needs.

0 thoughts on “What Paint To Use On Outdoor Light Fixtures”