Home>Furniture & Design>Interior Design Trends>How To Replace Glass On Iphone 5
Interior Design Trends
How To Replace Glass On Iphone 5
Modified: August 29, 2024
Learn how to replace the glass on iPhone 5 with our step-by-step guide. Stay updated on the latest interior design trends and tips.
(Many of the links in this article redirect to a specific reviewed product. Your purchase of these products through affiliate links helps to generate commission for Storables.com, at no extra cost. Learn more)
Introduction
Replacing the glass on an iPhone 5 can be a daunting task, but with the right tools, materials, and guidance, it is a feasible DIY project. Whether the glass is cracked, shattered, or scratched, restoring the pristine appearance of your iPhone 5 can be a rewarding endeavor. This comprehensive guide will walk you through the step-by-step process of replacing the glass on your iPhone 5, empowering you to restore its functionality and aesthetics.
The process of replacing the glass on an iPhone 5 requires precision, patience, and attention to detail. By following the outlined steps and utilizing the recommended tools and materials, you can successfully undertake this repair project. From removing the broken glass to applying adhesive and attaching the new glass, each step is crucial in ensuring a seamless and professional-looking result.
As you embark on this journey to rejuvenate your iPhone 5, it's essential to approach the task with a calm and focused mindset. Embracing the challenge with a positive attitude and a willingness to learn will not only enhance the outcome but also provide a sense of accomplishment. With the right approach and guidance, you can transform the appearance of your iPhone 5 and prolong its lifespan without the need for professional assistance.
Now, let's delve into the step-by-step process of replacing the glass on your iPhone 5, equipping you with the knowledge and confidence to embark on this repair journey. Gather your tools and materials, and let's begin this transformative endeavor to restore your iPhone 5 to its former glory.
Key Takeaways:
- Replacing the glass on an iPhone 5 is a meticulous DIY journey that demands patience and precision. With the right tools and steps, you can restore your phone’s appearance and functionality with confidence.
- By embracing the challenge of replacing the glass on your iPhone 5, you not only restore its visual appeal but also gain valuable insight and hands-on experience in device repair.
Read more: How To Replace The Glass On Iphone 6
Step 1: Gather necessary tools and materials
Before embarking on the journey of replacing the glass on your iPhone 5, it is crucial to gather the essential tools and materials to ensure a smooth and efficient repair process. By assembling the following items, you will be well-prepared to tackle each step with confidence and precision.
Tools:
-
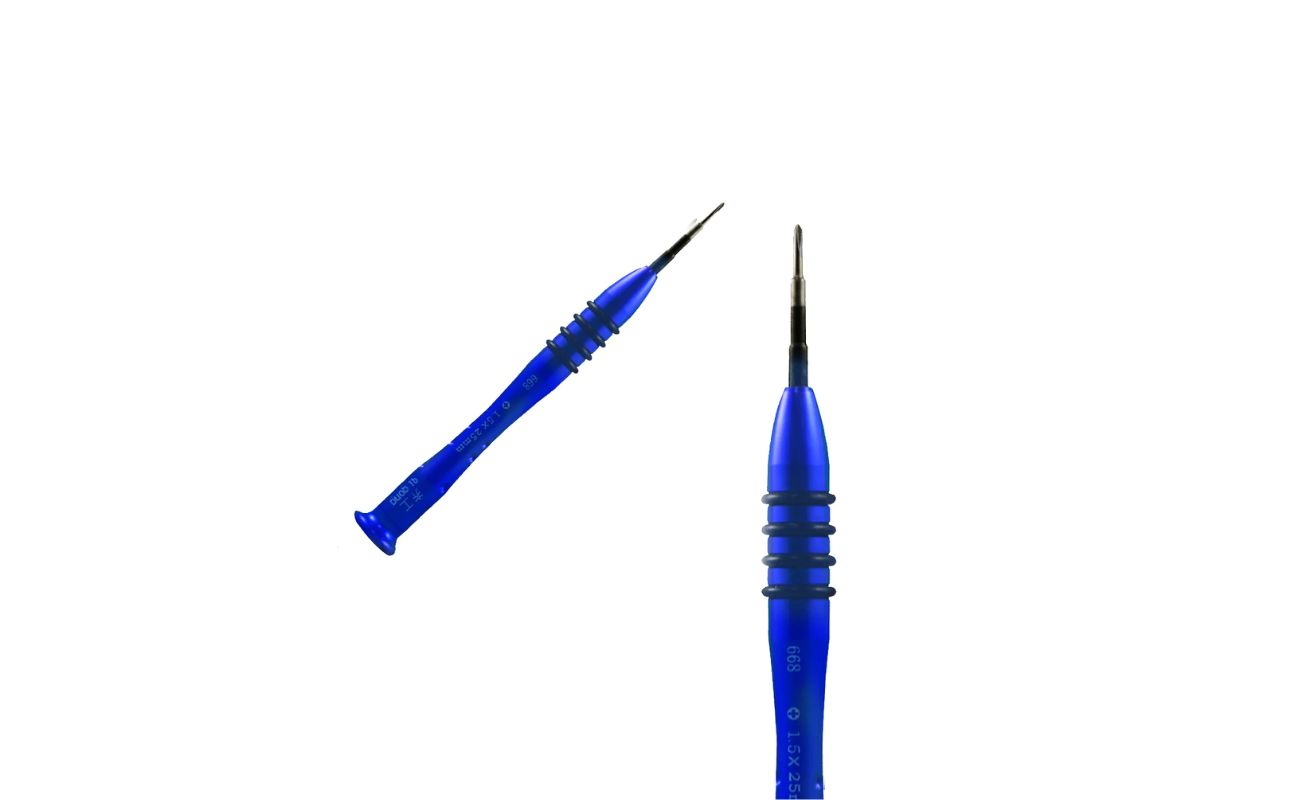
Pentalobe Screwdriver: This specialized screwdriver is essential for removing the tiny pentalobe screws that secure the iPhone 5's display assembly. Ensure that the screwdriver is compatible with the pentalobe screws to avoid damaging them during removal.
-
Phillips Screwdriver: A precision Phillips screwdriver is necessary for handling the internal screws within the iPhone 5. It is vital to have a screwdriver with a size that fits the small screws to prevent stripping or damaging them.
-
Suction Cup: A reliable suction cup is indispensable for lifting the display assembly from the iPhone 5's frame. It provides a secure grip, allowing for controlled separation of the display assembly without causing damage.
-
Plastic Spudger: This non-conductive tool is ideal for prying and disconnecting delicate ribbon cables and connectors within the iPhone 5. Its gentle yet sturdy design helps prevent accidental damage to internal components.
-
Tweezers: Precision tweezers are essential for handling small components and screws during the disassembly and reassembly process. They provide dexterity and control when working with intricate parts.
-
Opening Picks: These thin, flexible tools are instrumental in carefully separating the adhesive and clips securing the display assembly and other components. They help prevent damage to the delicate edges of the iPhone 5 during disassembly.
Materials:
-
Replacement Glass: Acquire a high-quality replacement glass specifically designed for the iPhone 5. Ensure that it is compatible with your model to guarantee a proper fit and functionality.
-
Adhesive Strips: Opt for adhesive strips designed for securing the new glass to the iPhone 5. These strips provide a secure bond and ensure the stability of the replacement glass once installed.
-
Cleaning Cloth: A lint-free microfiber cleaning cloth is essential for maintaining a pristine work environment and ensuring the cleanliness of the internal components and the new glass.
By gathering these essential tools and materials, you are setting the stage for a successful glass replacement process. With the right equipment at your disposal, you can proceed to the next step with confidence and readiness to restore your iPhone 5 to its optimal condition.
Step 2: Remove the broken glass
Removing the broken glass from your iPhone 5 is a delicate yet essential step in the glass replacement process. It requires precision and patience to ensure that the internal components remain unharmed during the disassembly. Follow these detailed steps to safely remove the broken glass and prepare the iPhone 5 for the installation of the new glass.
-
Power Off the Device: Before beginning the disassembly process, power off your iPhone 5 to prevent any potential electrical hazards and ensure a safe working environment.
-
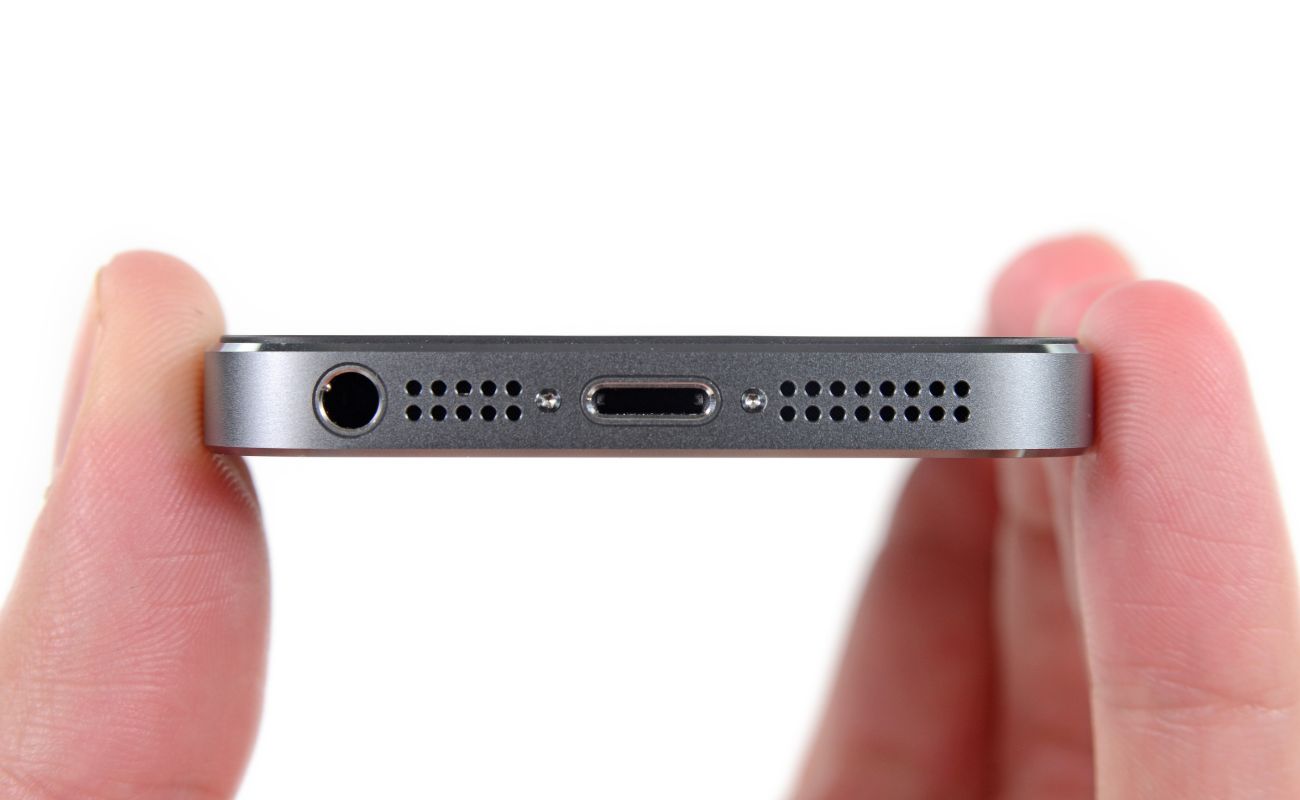
Remove the Pentalobe Screws: Utilize the pentalobe screwdriver to carefully remove the two screws located at the bottom of the iPhone 5, on either side of the charging port. These screws secure the display assembly to the frame.
-
Attach the Suction Cup: Place the suction cup near the home button of the iPhone 5, ensuring a secure attachment. Gently pull the suction cup upward to slightly separate the display assembly from the frame.
-
Insert the Opening Pick: Slide an opening pick into the seam between the display assembly and the frame, near the location of the suction cup. Carefully maneuver the opening pick to gradually separate the adhesive securing the display assembly.
-
Work Along the Edges: With the aid of additional opening picks, carefully work along the edges of the iPhone 5 to further loosen the adhesive. Exercise caution to prevent damage to the delicate ribbon cables and connectors within the device.
-
Lift the Display Assembly: Once the adhesive is sufficiently loosened, carefully lift the display assembly from the frame. Take note of the ribbon cables that are still connected to the logic board.
-
Disconnect the Ribbon Cables: Using the plastic spudger, gently disconnect the ribbon cables that connect the display assembly to the logic board. Exercise caution and precision to avoid damaging the cables or the connectors.
-
Set Aside the Display Assembly: Once the ribbon cables are disconnected, carefully set the display assembly aside in a secure and clean location, ensuring that it remains free from dust and debris.
By meticulously following these steps, you can safely remove the broken glass and access the internal components of your iPhone 5. This careful disassembly sets the stage for the subsequent cleaning and preparation of the device for the installation of the new glass. Proceed to the next step with confidence, knowing that you have successfully navigated the crucial process of removing the broken glass from your iPhone 5.
Read more: How To Replace Glass On Galaxy S5
Step 3: Clean the phone and prepare for new glass
With the broken glass successfully removed from your iPhone 5, the next critical step involves thoroughly cleaning the internal components and preparing the device for the installation of the new glass. This meticulous process is essential to ensure a pristine working environment and optimal adherence of the replacement glass. Follow these detailed steps to effectively clean the phone and ready it for the new glass:
-
Inspect for Residue: Carefully examine the frame and internal components of the iPhone 5 for any adhesive residue or debris left behind from the previous glass. Use a plastic spudger or a gentle adhesive remover to meticulously clean any residual adhesive, ensuring a smooth and clean surface for the new glass.
-
Clean with Isopropyl Alcohol: Dampen a lint-free microfiber cleaning cloth with isopropyl alcohol. Gently wipe the frame and internal surfaces of the iPhone 5 to remove any remaining adhesive residue, fingerprints, or dust. Exercise caution to avoid excessive moisture and ensure that the alcohol evaporates completely.
-
Prepare Adhesive Strips: Carefully measure and cut the adhesive strips to the appropriate size for securing the new glass to the frame of the iPhone 5. Ensure that the adhesive strips align with the edges of the frame and provide adequate coverage for a secure bond.
-
Position the Adhesive Strips: Place the cut adhesive strips onto the frame of the iPhone 5, following the contours and edges with precision. Ensure that the adhesive strips are positioned evenly and securely to facilitate proper adhesion of the new glass.
-
Inspect for Cleanliness: Thoroughly inspect the frame and internal components of the iPhone 5 to verify that they are free from any residue, dust, or debris. A pristine and debris-free environment is crucial to ensure a seamless installation of the new glass.
By meticulously cleaning the phone and preparing it for the new glass, you are laying the foundation for a successful and professional glass replacement. This meticulous attention to detail and cleanliness is instrumental in ensuring the optimal functionality and aesthetics of your iPhone 5 once the new glass is installed. Proceed to the next step with confidence, knowing that you have diligently prepared the device for the final phase of the glass replacement process.
Step 4: Apply adhesive and attach new glass
Applying adhesive and attaching the new glass to your iPhone 5 is a critical phase in the glass replacement process, as it directly impacts the stability and longevity of the repair. This step requires precision and attention to detail to ensure a secure and seamless bond between the new glass and the device's frame. Follow these detailed steps to effectively apply adhesive and attach the new glass to your iPhone 5:
-
Position the Replacement Glass: Carefully align the replacement glass with the frame of the iPhone 5, ensuring that it fits snugly and aligns with the edges and contours of the device. Take your time to position the glass accurately, as proper alignment is crucial for a professional and secure installation.
-
Apply Adhesive: Utilize the pre-cut adhesive strips or adhesive solution designed for the iPhone 5 to apply a thin, even layer of adhesive along the edges of the frame. Exercise caution to avoid excess adhesive, as it can seep into the device and compromise its functionality.
-
Secure the Replacement Glass: Gently lower the replacement glass onto the frame, ensuring that it adheres to the applied adhesive evenly and securely. Apply gentle pressure along the edges to facilitate proper bonding between the glass and the frame, taking care not to exert excessive force that could damage the components.
-
Verify Alignment and Bonding: Once the replacement glass is in place, carefully inspect its alignment and bonding with the frame. Ensure that the glass sits flush with the edges and that the adhesive provides a secure and uniform bond. Any misalignment or uneven bonding should be addressed promptly to ensure a professional and durable repair.
-
Allow for Adhesive Cure Time: After attaching the new glass, allow sufficient time for the adhesive to cure and create a strong bond between the glass and the frame. Follow the manufacturer's recommendations regarding the curing time to ensure optimal adhesion and stability.
By meticulously following these steps, you can effectively apply adhesive and attach the new glass to your iPhone 5, completing a crucial phase of the glass replacement process. This meticulous approach ensures a professional and durable repair, allowing you to restore the functionality and aesthetics of your iPhone 5 with confidence and precision. Proceed to the next step, knowing that you have successfully navigated the critical phase of applying adhesive and attaching the new glass to your device.
When replacing the glass on an iPhone 5, make sure to use a suction cup to carefully lift the old glass off the phone. Be gentle to avoid damaging the screen or other components.
Step 5: Test the new glass
Testing the new glass is a pivotal step in the iPhone 5 glass replacement process, ensuring that the device functions optimally and that the newly installed glass meets the desired standards of performance and aesthetics. This phase involves thorough inspection and testing to validate the functionality and integrity of the replacement glass, providing assurance that the repair has been executed successfully. Follow these detailed steps to effectively test the new glass and verify its compatibility with your iPhone 5:
-
Power On the Device: After the adhesive has cured and the new glass is securely in place, power on your iPhone 5 to initiate the testing phase. Observe the device as it boots up, ensuring that the display activates and functions as expected.
-
Check Touch Sensitivity: Test the touch sensitivity and responsiveness of the new glass by navigating through the device's interface and applications. Verify that the touch input registers accurately and consistently across the entire surface of the screen.
-
Inspect for Visual Defects: Carefully examine the new glass for any visual defects, such as discoloration, pixel irregularities, or imperfections. Ensure that the display exhibits vibrant colors, sharp contrast, and uniform brightness, indicating the high quality and integrity of the replacement glass.
-
Test Display Functionality: Assess the functionality of the display by viewing various content, including images, videos, and text. Verify that the display renders content accurately and without distortion, ensuring a visually pleasing and immersive user experience.
-
Evaluate Camera Performance: Test the performance of the front and rear cameras to confirm that the new glass does not impede the functionality or clarity of the camera lenses. Capture images and videos to assess the quality and focus accuracy of the camera output.
-
Check for Signal Reception: Verify that the new glass does not interfere with the device's signal reception, including cellular, Wi-Fi, and Bluetooth connectivity. Ensure that the iPhone 5 maintains reliable connectivity and signal strength with the new glass installed.
-
Assess Overall Functionality: Navigate through various features and applications on the iPhone 5 to assess its overall functionality and performance with the new glass. Verify that all functions, including screen rotation, multi-touch gestures, and proximity sensors, operate seamlessly and without impediment.
By meticulously testing the new glass and validating its compatibility and performance, you can ensure that the iPhone 5 functions optimally and that the glass replacement has been executed to the highest standards. This thorough testing phase provides confidence in the repair outcome and affirms the successful restoration of your iPhone 5 to its optimal condition. Proceed with the assurance that the new glass has been rigorously tested and validated, culminating in a professional and reliable repair.
Conclusion
In conclusion, the process of replacing the glass on an iPhone 5 encompasses a meticulous journey of disassembly, cleaning, and precision installation. By following the outlined steps and utilizing the recommended tools and materials, you can successfully undertake this repair project and restore the pristine appearance of your iPhone 5.
The journey begins with gathering the necessary tools and materials, ensuring that you are well-equipped to navigate each phase of the glass replacement process with confidence and precision. The careful removal of the broken glass sets the stage for the subsequent cleaning and preparation of the device, creating a pristine environment for the installation of the new glass.
Applying adhesive and attaching the new glass demands attention to detail and a steady hand, ensuring that the replacement glass is securely bonded to the frame of the iPhone 5. The final phase of testing the new glass validates its compatibility and performance, affirming the successful restoration of the device's functionality and aesthetics.
As you embark on this transformative endeavor to rejuvenate your iPhone 5, it is essential to approach the task with patience, focus, and a positive mindset. Each step of the glass replacement process contributes to the overall outcome, culminating in a professional and reliable repair that prolongs the lifespan of your iPhone 5.
By embracing the challenge of replacing the glass on your iPhone 5, you not only restore its visual appeal but also gain valuable insight and hands-on experience in device repair. The satisfaction of witnessing the seamless functionality and pristine appearance of your iPhone 5 serves as a testament to your dedication and precision throughout the glass replacement journey.
With the completion of the glass replacement process, your iPhone 5 is poised to continue serving you with optimal performance and aesthetics, reflecting the care and attention invested in its restoration. Embrace the sense of accomplishment that accompanies this DIY repair endeavor, knowing that you have successfully revitalized your iPhone 5 and prolonged its usability without the need for professional assistance.
As you reflect on the journey of replacing the glass on your iPhone 5, may the knowledge and skills gained empower you to approach future repair projects with confidence and proficiency, further enhancing your understanding of device maintenance and restoration.
Frequently Asked Questions about How To Replace Glass On Iphone 5
Was this page helpful?
At Storables.com, we guarantee accurate and reliable information. Our content, validated by Expert Board Contributors, is crafted following stringent Editorial Policies. We're committed to providing you with well-researched, expert-backed insights for all your informational needs.


0 thoughts on “How To Replace Glass On Iphone 5”