Home>Furniture & Design>Interior Design Trends>How To Replace IPad 2 Glass
Interior Design Trends
How To Replace IPad 2 Glass
Published: February 7, 2024
Learn how to replace iPad 2 glass with our step-by-step guide. Stay updated with the latest interior design trends for a modern and stylish home.
(Many of the links in this article redirect to a specific reviewed product. Your purchase of these products through affiliate links helps to generate commission for Storables.com, at no extra cost. Learn more)
Introduction
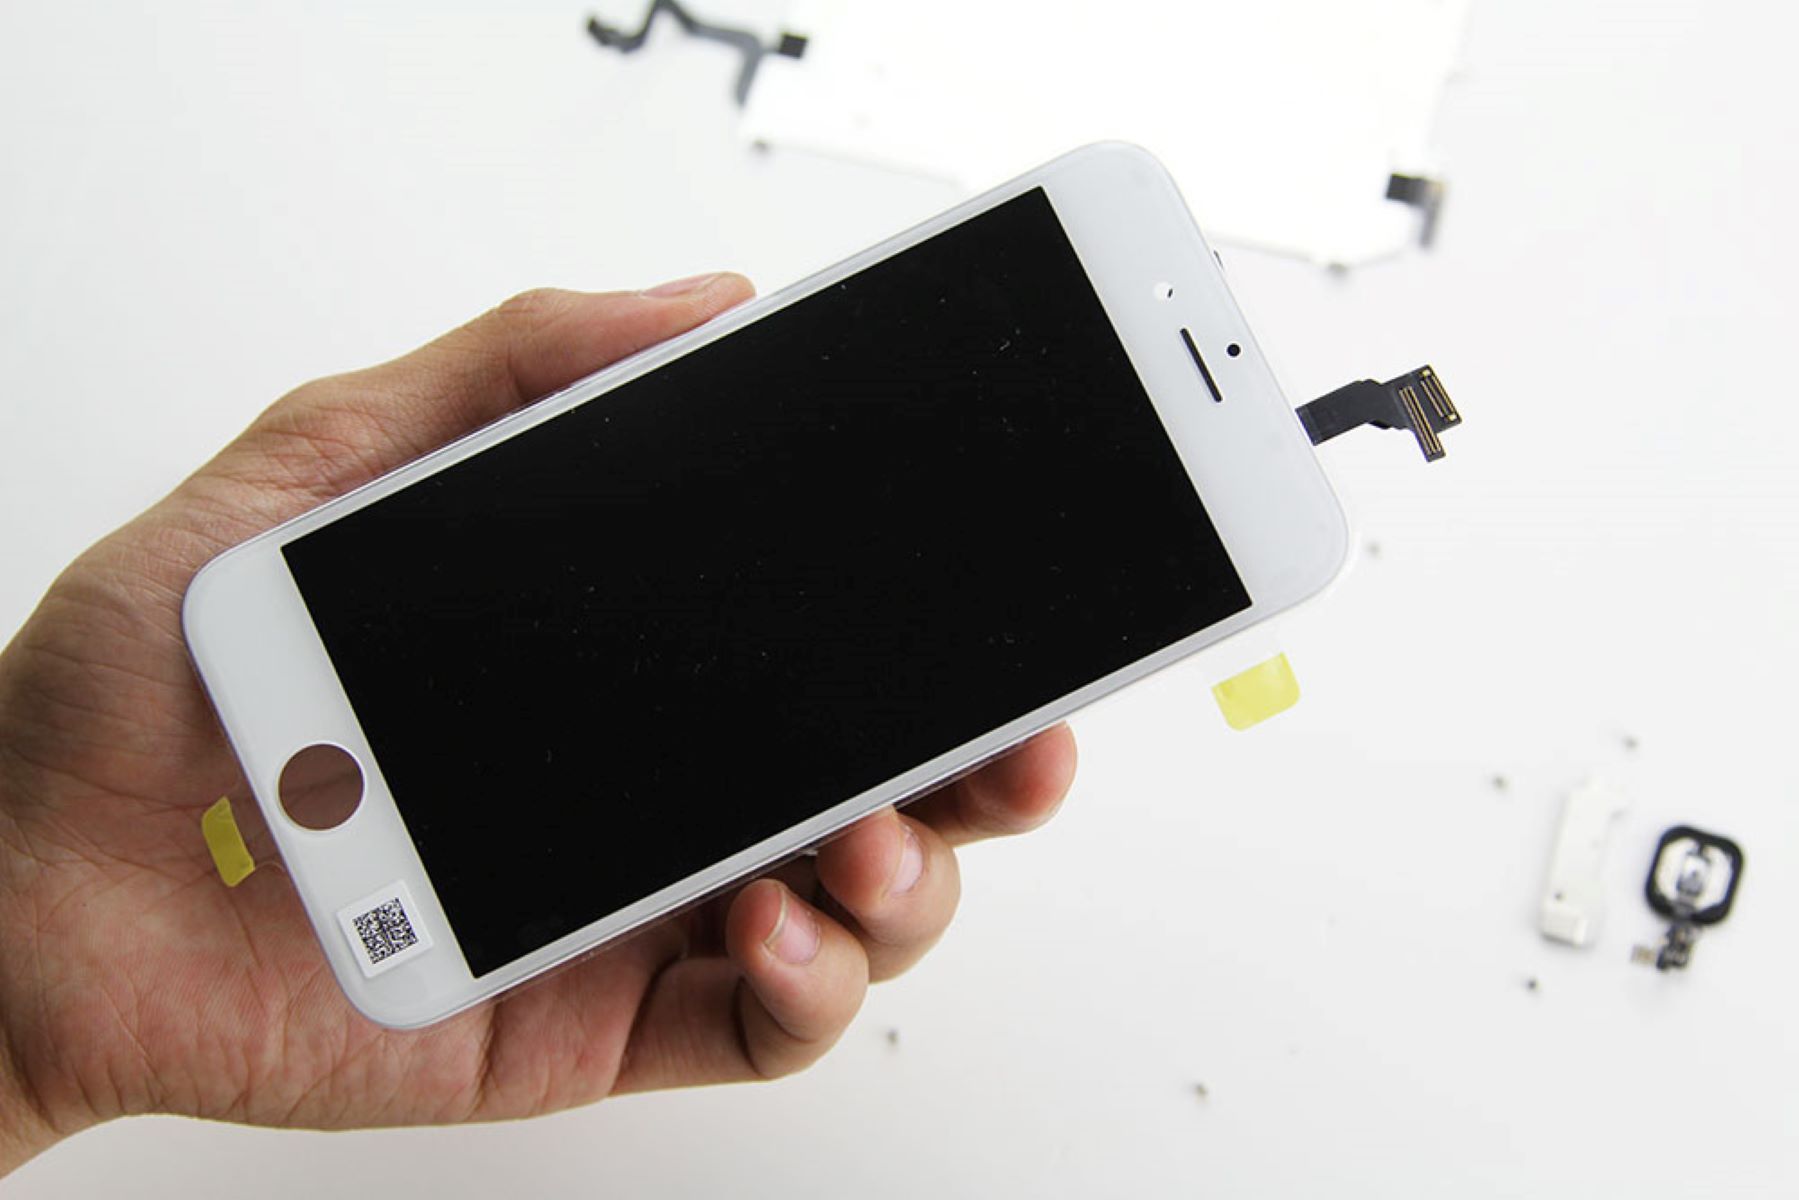
Replacing the glass on an iPad 2 can be a daunting task, but with the right tools, materials, and guidance, it is a manageable and rewarding endeavor. Whether the glass is cracked, shattered, or scratched, restoring the iPad 2 to its original state can breathe new life into the device and save you the cost of purchasing a new one. This comprehensive guide will walk you through the step-by-step process of replacing the glass on your iPad 2, empowering you to take on this repair with confidence.
By following this guide, you will not only save money but also gain a sense of accomplishment and a deeper understanding of your device's inner workings. The satisfaction of reviving a damaged iPad 2 and the knowledge gained from successfully completing this repair are invaluable.
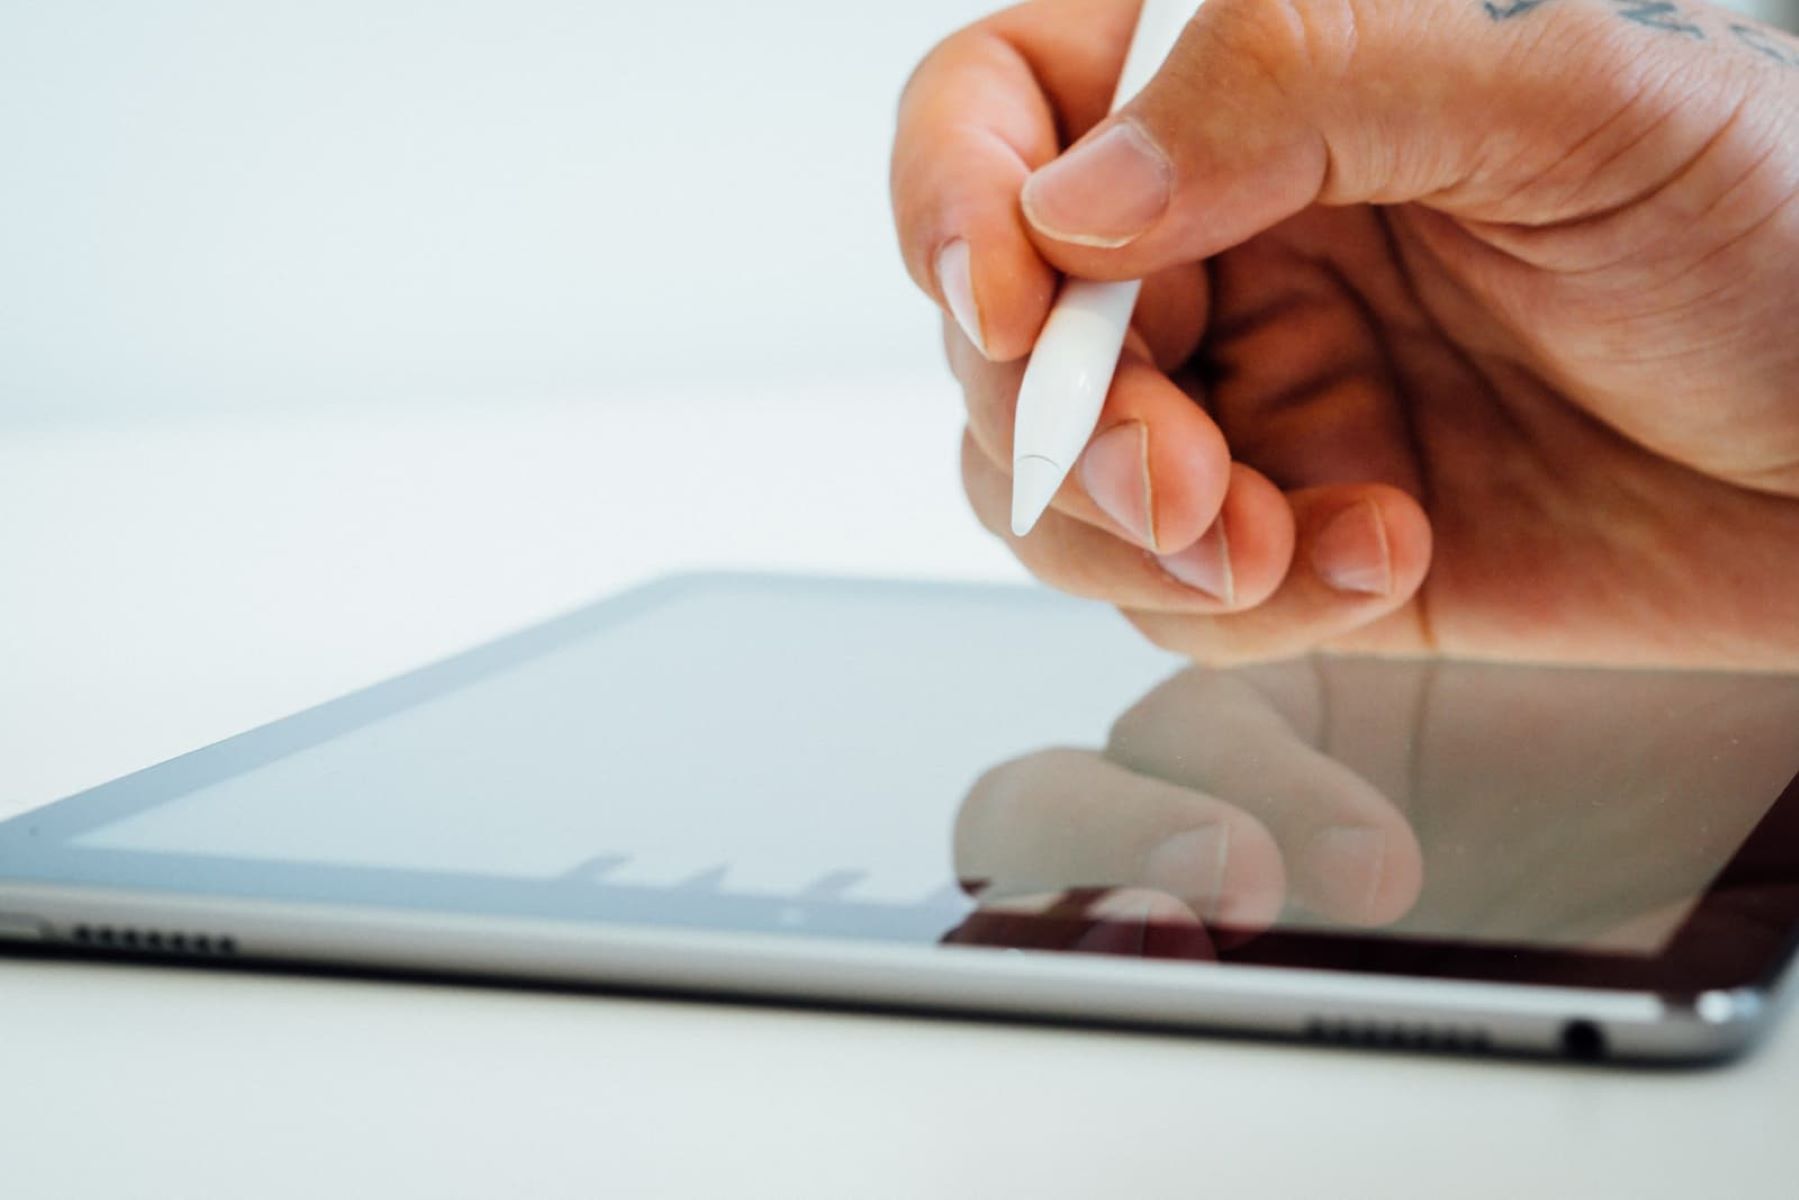
Before diving into the repair process, it's essential to gather the necessary tools and materials. This includes a replacement glass screen, adhesive, a heat gun or hairdryer, a plastic opening tool, a small Phillips screwdriver, and a microfiber cloth. With these items at your disposal, you'll be well-equipped to tackle the task at hand.
As you embark on this repair journey, keep in mind that patience and precision are key. Take your time to carefully follow each step, ensuring that you handle the delicate components of the iPad 2 with the utmost care. With a methodical approach and attention to detail, you can successfully replace the glass on your iPad 2 and restore its functionality and aesthetic appeal.
Now, let's gather the tools and materials needed to begin the repair process and breathe new life into your iPad 2.
Key Takeaways:
- Revive your iPad 2 with confidence by following this guide to replace the glass screen. Save money, gain knowledge, and restore your device’s functionality with patience and precision.
- Prepare your workspace, remove the broken glass, clean the frame, apply adhesive, install the new glass, and test your iPad 2 for a successful repair journey.
Read more: How To Replace Sunroof Glass
Tools and materials needed
To embark on the journey of replacing the glass on your iPad 2, it's crucial to gather the essential tools and materials that will facilitate a successful repair process. Here's a detailed list of what you'll need:
Replacement Glass Screen
The cornerstone of this repair project is the replacement glass screen specifically designed for the iPad 2. Ensure that the replacement screen is compatible with your iPad 2 model to guarantee a seamless fit and optimal functionality. Quality replacement screens are readily available from reputable suppliers and come with the necessary adhesive pre-applied for added convenience.
Adhesive
High-quality adhesive is a critical component for securing the replacement glass screen to the iPad 2 frame. Opt for adhesive that is specifically formulated for electronic device repairs, as it offers the necessary strength and durability to hold the glass securely in place. The adhesive should be designed to withstand the rigors of everyday use, ensuring a long-lasting bond between the glass and the device.
Heat Gun or Hairdryer
A heat gun or hairdryer is indispensable for softening the adhesive securing the original glass to the iPad 2 frame. By gently applying heat to the edges of the device, you can effectively loosen the adhesive, making it easier to remove the broken glass without causing damage to the underlying components. This step is crucial for safely disassembling the iPad 2 and preparing it for the installation of the new glass screen.
Read more: How To Replace Glass In A Door
Plastic Opening Tool
A plastic opening tool is a non-conductive and non-scratching instrument that aids in prying open the iPad 2 without causing damage to the delicate internal components. This tool allows for precise and controlled separation of the glass from the frame, minimizing the risk of accidental damage during the disassembly process. Its ergonomic design and durable construction make it an essential companion for this repair endeavor.
Small Phillips Screwdriver
The small Phillips screwdriver is indispensable for removing the screws that secure the iPad 2's internal components and frame. This precision tool allows for the careful extraction of screws without causing damage to the surrounding areas, ensuring that the disassembly process is carried out with the utmost precision and attention to detail.
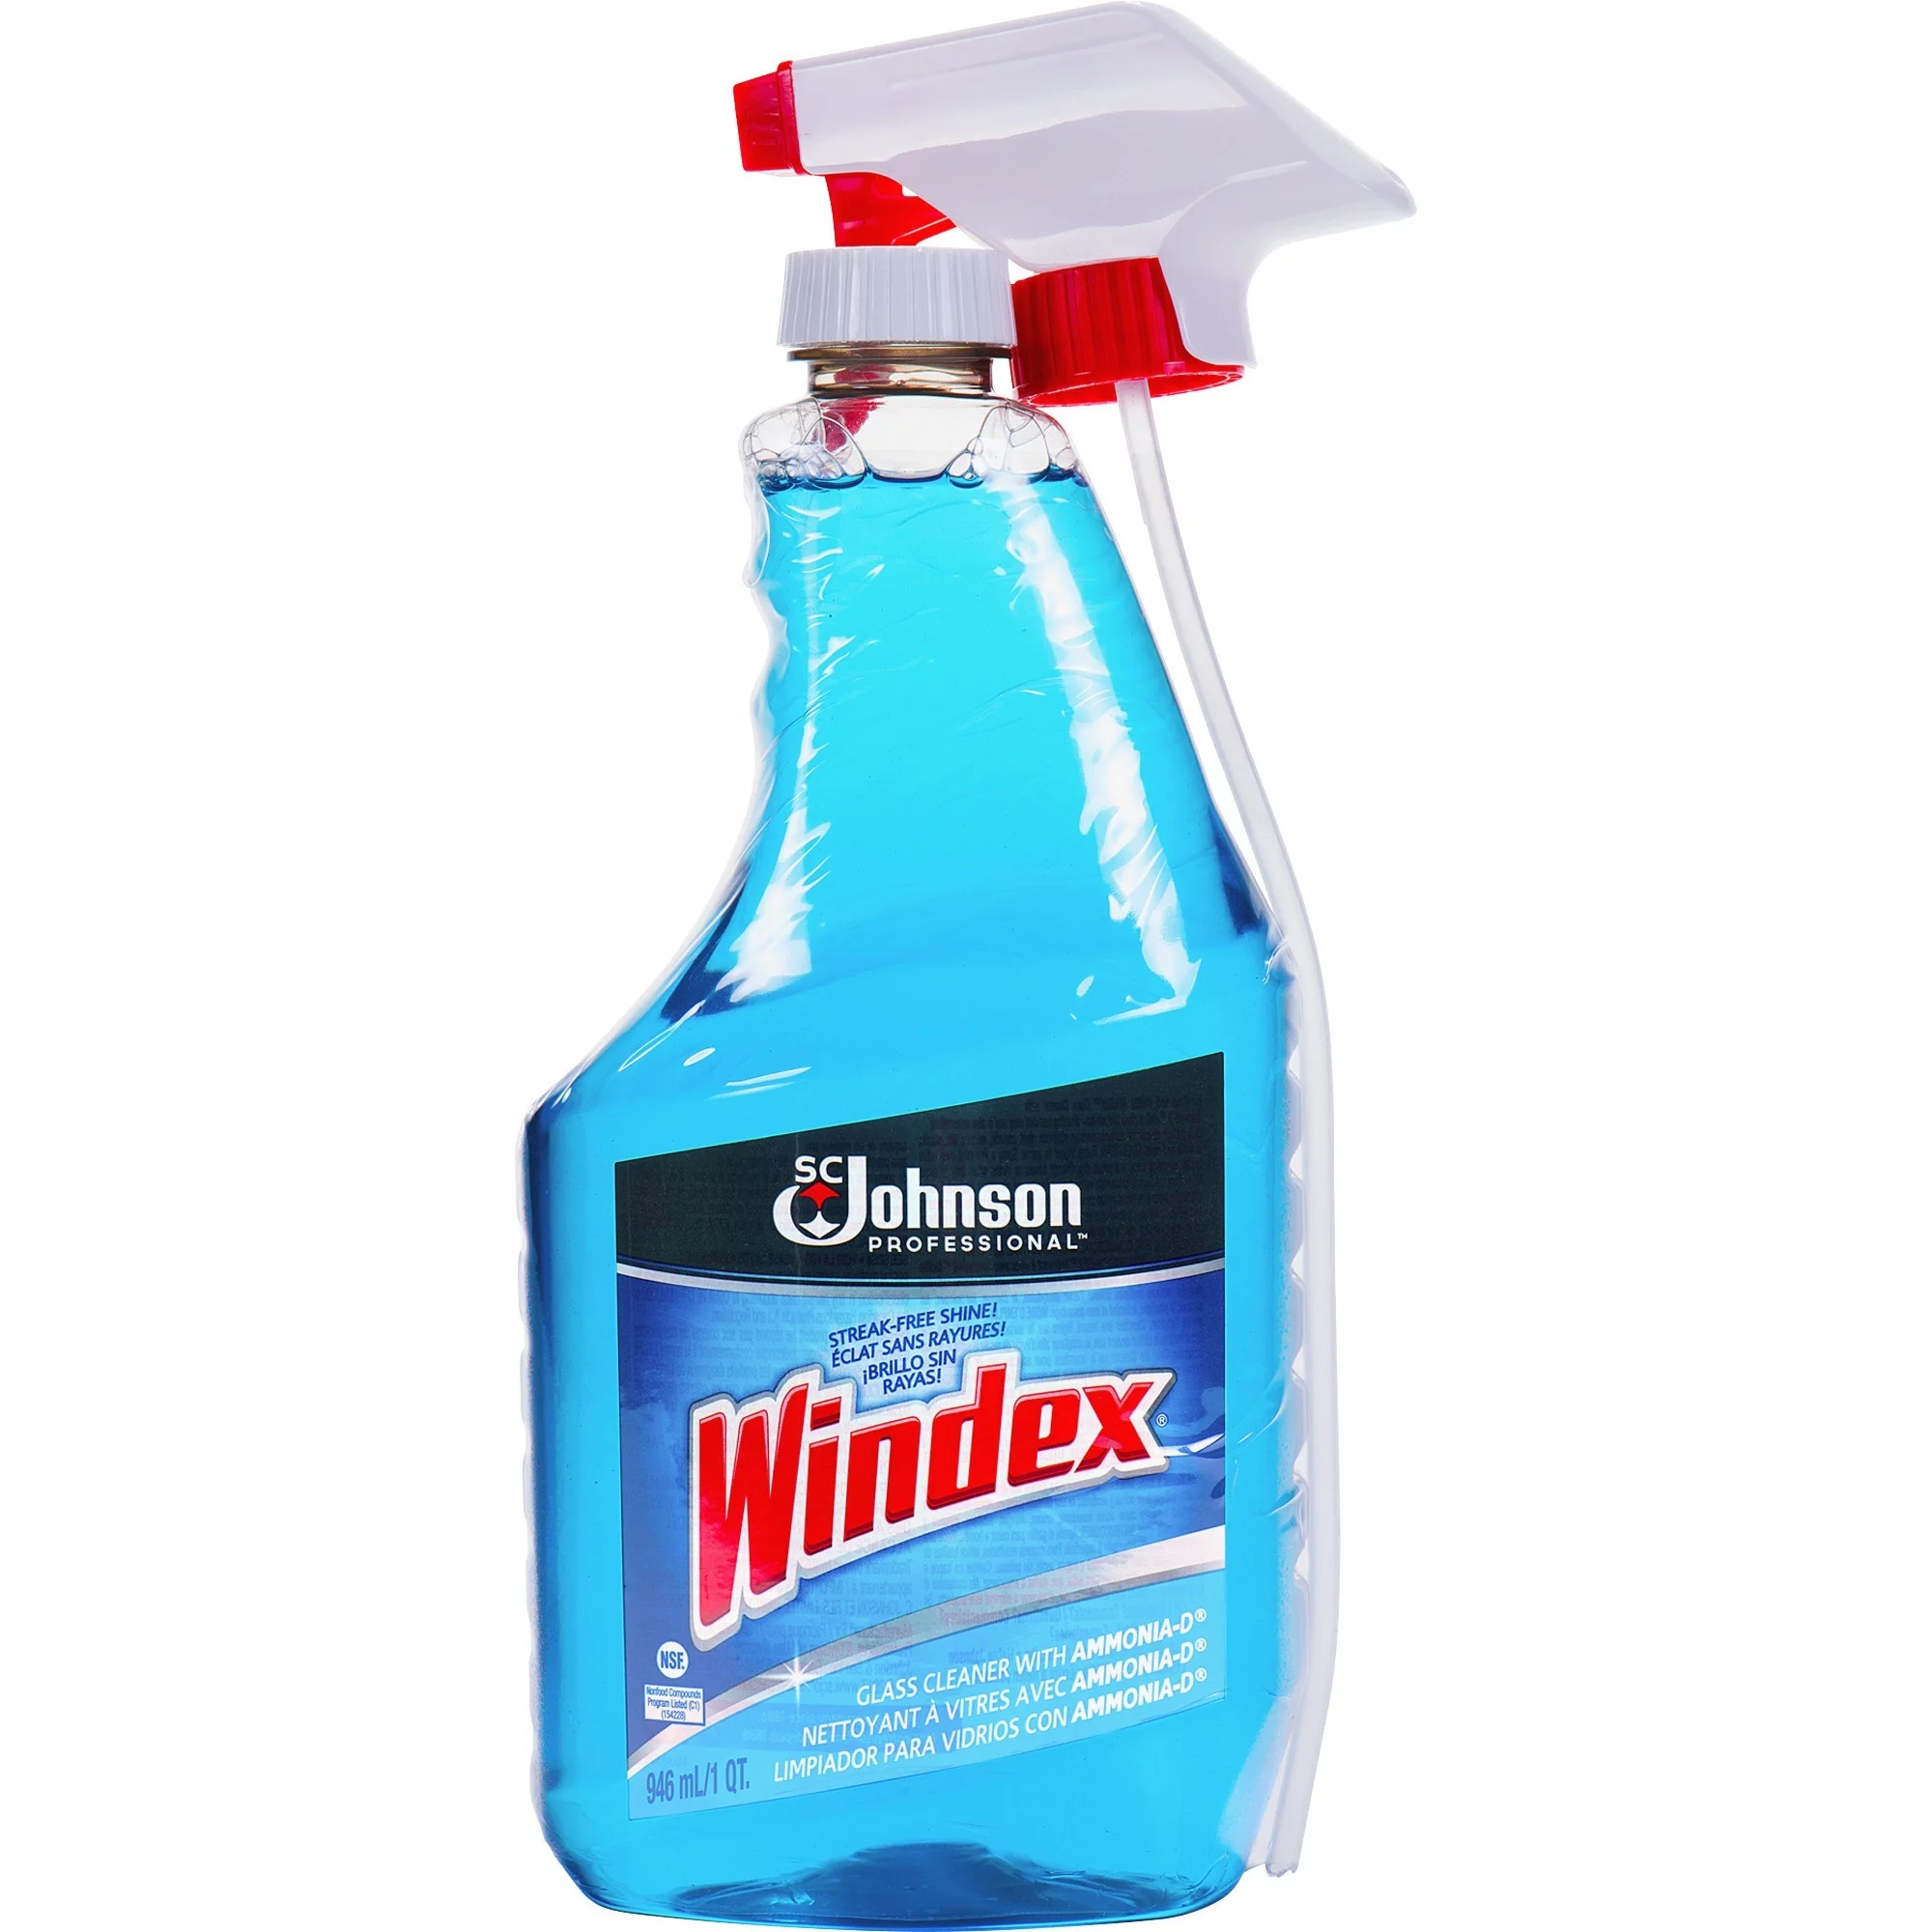
Microfiber Cloth
A microfiber cloth is essential for maintaining a clean and dust-free work environment during the repair process. This soft and lint-free cloth is ideal for wiping down the iPad 2 components, removing any debris or residue, and ensuring that the device is free from contaminants before the installation of the new glass screen.
By ensuring that you have these tools and materials at your disposal, you'll be well-prepared to embark on the iPad 2 glass replacement journey with confidence and precision. With these essentials in hand, you can approach each step of the repair process methodically, ensuring that your iPad 2 is restored to its former glory with care and expertise.
Step 1: Prepare the workspace
Before delving into the intricate process of replacing the glass on your iPad 2, it's crucial to establish a conducive and organized workspace that sets the stage for a successful repair endeavor. Creating an optimal work environment not only enhances efficiency but also minimizes the risk of accidental damage to the device and its components. Here's a detailed guide on how to prepare your workspace for the iPad 2 glass replacement:
Read more: How To Replace A Pane Of Glass
Clear and Clean Surface
Begin by selecting a clean and spacious work surface that provides ample room to maneuver and organize the necessary tools and materials. Clear any clutter and ensure that the surface is free from dust, debris, and other potential contaminants that could compromise the integrity of the repair process.
Adequate Lighting
Proper illumination is essential for carrying out precision-oriented tasks, especially when working with delicate electronic devices. Position your workspace near a natural light source or utilize bright, adjustable lighting to ensure optimal visibility and minimize the risk of errors during the repair process.
Organize Tools and Materials
Lay out all the required tools and materials in an organized manner, ensuring easy access and efficient workflow. Arrange the replacement glass screen, adhesive, heat gun or hairdryer, plastic opening tool, small Phillips screwdriver, and microfiber cloth within reach, allowing for seamless transitions between each step of the repair process.
Protective Measures
Prioritize the protection of both the iPad 2 and yourself by utilizing appropriate safety measures. Consider using an anti-static mat or grounding strap to prevent electrostatic discharge that could potentially damage the device's sensitive internal components. Additionally, wearing anti-static gloves can minimize the risk of leaving fingerprints or smudges on the glass and other surfaces.
Read more: How To Replace Glass Stovetop
Containment of Small Parts
As you disassemble the iPad 2, it's essential to have a designated area or container for safely storing small screws and components. Utilize a magnetic mat or small containers to keep track of the tiny parts, ensuring that they remain secure and easily accessible when reassembling the device.
By meticulously preparing your workspace in accordance with these guidelines, you'll create an environment that fosters precision, organization, and safety throughout the iPad 2 glass replacement process. With a well-prepared workspace, you can embark on the repair journey with confidence, knowing that you've set the stage for a successful and rewarding endeavor.
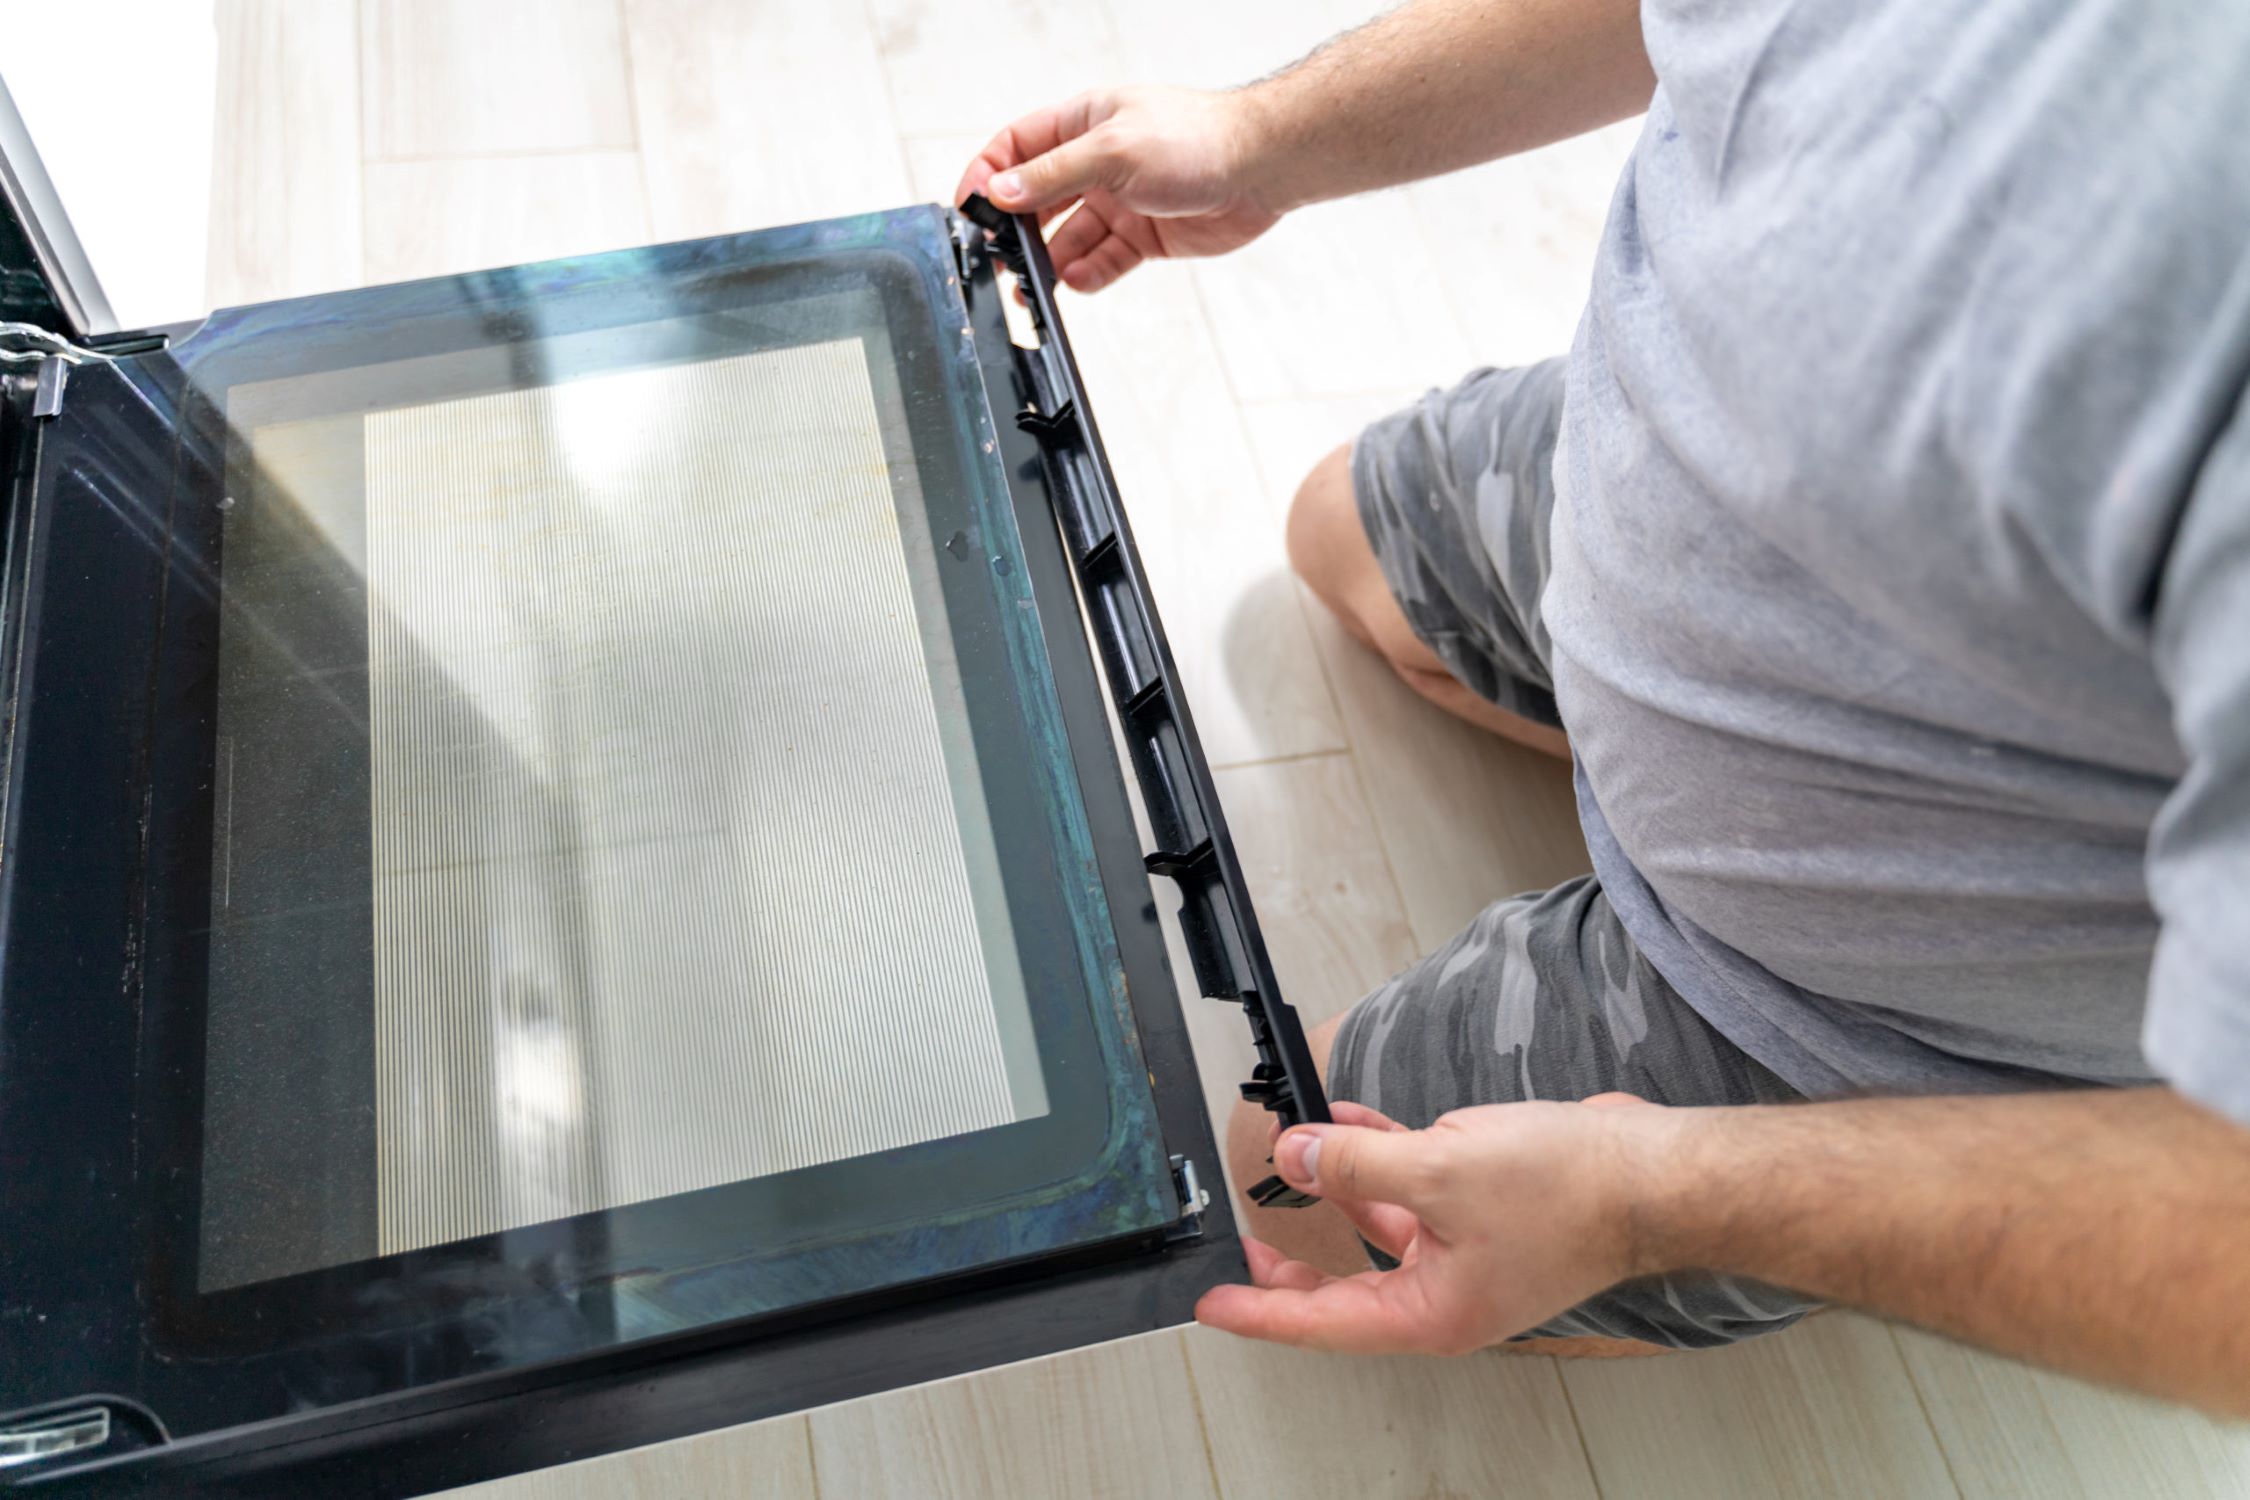
Step 2: Remove the broken glass
Carefully removing the broken glass from your iPad 2 is a crucial step in the repair process. It requires patience, precision, and a methodical approach to ensure that the device's delicate components remain unharmed. Here's a detailed guide on how to safely remove the broken glass from your iPad 2:
-
Power Off the iPad 2: Before commencing the glass removal process, ensure that the iPad 2 is powered off to prevent any potential electrical hazards and to facilitate a safe and controlled disassembly.
-
Heat the Edges: Using a heat gun or hairdryer set to a low heat setting, gently warm the edges of the iPad 2 to soften the adhesive securing the broken glass. Apply the heat evenly around the perimeter of the device, taking care not to overheat any specific area.
-
Insert the Plastic Opening Tool: Once the adhesive has been sufficiently softened, carefully insert the plastic opening tool between the broken glass and the iPad 2 frame. Begin at a corner and gently pry the glass away from the frame, gradually working your way around the edges. Exercise caution to avoid exerting excessive force that could potentially damage the underlying components.
-
Separate the Glass: As you progress around the edges, continue to separate the broken glass from the frame using the plastic opening tool. Take your time and work methodically to ensure a gradual and controlled separation, minimizing the risk of accidental damage to the device.
-
Lift and Remove the Glass: Once the broken glass has been loosened from the frame, carefully lift it away from the iPad 2, taking care not to dislodge any internal components or cables. Gently maneuver the glass to detach it completely, ensuring that no fragments or shards remain within the device.
-
Clean the Frame: With the broken glass removed, use a microfiber cloth to wipe down the iPad 2 frame, removing any residual adhesive or debris. Ensure that the frame is clean and free from any remnants of the broken glass to prepare it for the installation of the new glass screen.
By following these steps with precision and care, you can successfully remove the broken glass from your iPad 2, setting the stage for the subsequent installation of the new glass screen. This meticulous approach ensures that the device's internal components remain unscathed, paving the way for a seamless and effective repair process.
Step 3: Clean the iPad 2 frame
With the broken glass successfully removed from the iPad 2, the next critical step in the repair process is to meticulously clean the device's frame. This essential task ensures that the frame is free from any residual adhesive, debris, or fragments of the broken glass, creating an optimal surface for the installation of the new glass screen. Here's a detailed guide on how to effectively clean the iPad 2 frame:
-
Inspect the Frame: Begin by carefully inspecting the frame of the iPad 2, paying close attention to the areas where the broken glass was previously attached. Look for any remnants of adhesive, glass particles, or debris that may have accumulated during the glass removal process.
-
Utilize a Microfiber Cloth: Take a clean microfiber cloth and gently wipe down the entire surface of the iPad 2 frame. Ensure that the cloth is free from any abrasive particles or residues that could potentially scratch or damage the frame. Use light, circular motions to remove any loose debris and residual adhesive, gradually restoring the frame to a clean and smooth condition.
-
Precision Cleaning: For stubborn adhesive remnants or tenacious debris, consider using a small amount of isopropyl alcohol on the microfiber cloth. Dampen the cloth with the alcohol and carefully target the affected areas, gently rubbing in a controlled manner to dissolve and remove the adhesive without compromising the integrity of the frame.
-
Thorough Inspection: After cleaning the frame, conduct a thorough inspection to ensure that it is free from any remaining adhesive, debris, or contaminants. Pay particular attention to the edges and corners where the new glass screen will be installed, ensuring that these areas are impeccably clean and devoid of any obstructions.
-
Allow for Drying: Once the frame has been meticulously cleaned, allow it to air dry for a brief period to ensure that any residual moisture or alcohol evaporates completely. This step is crucial to guarantee that the frame is entirely dry and free from any moisture before proceeding with the installation of the new glass screen.
By meticulously cleaning the iPad 2 frame, you create an optimal foundation for the installation of the new glass screen, ensuring a seamless and secure bond between the frame and the replacement glass. This meticulous attention to detail sets the stage for a successful and enduring repair, allowing you to restore the iPad 2 to its original state with precision and care.
Step 4: Apply adhesive
Applying adhesive is a critical step in the iPad 2 glass replacement process, as it ensures a secure and durable bond between the new glass screen and the device's frame. The meticulous application of adhesive is essential for achieving a seamless and long-lasting repair. Here's a detailed guide on how to effectively apply adhesive to facilitate the installation of the new glass screen:
-
Select High-Quality Adhesive: Begin by ensuring that the adhesive selected for the iPad 2 glass replacement is of high quality and specifically designed for electronic device repairs. Opt for adhesive that offers strong bonding capabilities and is formulated to withstand the rigors of everyday use. Quality adhesive plays a pivotal role in ensuring the longevity and reliability of the repair.
-
Precise Application: Using a precision applicator or the provided adhesive dispenser, carefully apply a thin, even layer of adhesive along the perimeter of the iPad 2 frame. Exercise caution to avoid excessive application, as an overly thick layer of adhesive can lead to uneven bonding and potential complications during the installation of the new glass screen.
-
Focus on Edges and Corners: Pay particular attention to the edges and corners of the frame, ensuring that the adhesive is evenly distributed and covers the entire contact area where the new glass screen will be affixed. The edges and corners require meticulous application to guarantee a secure and uniform bond, minimizing the risk of detachment or uneven adhesion.
-
Avoid Excess Adhesive: While it's crucial to ensure comprehensive coverage, it's equally important to avoid excess adhesive that may seep into the device's interior or obstruct the functionality of the iPad 2. Exercise precision and restraint during the application process, aiming for a controlled and measured distribution of adhesive to achieve optimal results.
-
Allow for Proper Curing: After applying the adhesive, allow it to cure according to the manufacturer's recommendations. This curing period is essential for the adhesive to set and establish a strong bond with the frame, ensuring the stability and integrity of the new glass screen once installed. Adhering to the recommended curing time is crucial for the success of the repair.
By meticulously applying adhesive with precision and care, you set the stage for a successful installation of the new glass screen, ensuring a secure and enduring bond between the frame and the replacement glass. This meticulous attention to detail is instrumental in achieving a seamless and reliable repair, allowing you to restore the iPad 2 to its original state with confidence and expertise.
Read more: How To Replace A Watch Glass
Step 5: Install the new glass
With the frame meticulously prepared and the adhesive applied, the installation of the new glass screen marks a pivotal moment in the iPad 2 glass replacement process. This step demands precision, patience, and a methodical approach to ensure that the new glass is seamlessly and securely affixed to the device's frame. Here's a detailed guide on how to effectively install the new glass screen:
-
Positioning the Replacement Glass: Carefully align the replacement glass screen with the iPad 2 frame, ensuring that it is positioned accurately and uniformly. Take note of the orientation and ensure that the edges of the glass align precisely with the contours of the frame, setting the stage for a seamless installation.
-
Gentle Pressing and Securing: Once the replacement glass is aligned, apply gentle and even pressure along the edges and corners to secure it to the frame. Exercise caution to avoid exerting excessive force, as this could potentially damage the delicate components of the iPad 2. The goal is to achieve a secure and uniform bond between the glass and the frame.
-
Verification of Alignment: After securing the replacement glass, verify the alignment and positioning to ensure that it is uniform and free from any misalignment or irregularities. This meticulous verification is essential for guaranteeing a flawless installation that aligns with the device's original specifications.
-
Allow for Bonding: Once the replacement glass is securely positioned, allow it to bond with the frame according to the adhesive manufacturer's recommendations. This bonding period is crucial for establishing a strong and enduring connection between the glass and the frame, ensuring the stability and reliability of the repair.
-
Quality Assurance: Conduct a thorough visual inspection of the installed glass screen, ensuring that it is free from any defects, imperfections, or misalignments. This quality assurance step is essential for confirming the success of the installation and ensuring that the iPad 2 is restored to its original state with precision and care.
By meticulously following these steps, you can successfully install the new glass screen on your iPad 2, achieving a seamless and enduring repair that restores the device to its former functionality and aesthetic appeal. This meticulous approach ensures that the replacement glass is securely and uniformly affixed to the frame, setting the stage for a successful and rewarding repair endeavor.
Step 6: Test the iPad 2
After successfully installing the new glass screen, it is crucial to conduct a comprehensive testing process to ensure that the iPad 2 functions optimally and that the repair has been executed with precision. Testing the device allows for the verification of touchscreen responsiveness, display clarity, and overall functionality, providing assurance that the repair has been completed to the highest standards. Here's a detailed guide on how to effectively test the iPad 2:
-
Power On the iPad 2: Begin by powering on the iPad 2 to initiate the testing process. Observe the startup sequence and ensure that the device boots up without any issues. Verify that the display illuminates uniformly and that there are no irregularities or anomalies in the startup procedure.
-
Touchscreen Responsiveness: Test the touchscreen responsiveness by navigating through the device's interface, opening applications, and interacting with on-screen elements. Verify that the touchscreen accurately registers touch input and that there are no dead zones or unresponsive areas on the display.
-
Display Clarity and Uniformity: Assess the clarity and uniformity of the display by viewing various content, such as images, videos, and text. Ensure that the display exhibits consistent brightness, color accuracy, and sharpness across the entire screen, indicating a successful installation of the new glass screen.
-
Functional Testing: Test the functionality of essential features, including the home button, volume controls, power button, and camera. Verify that each component operates as intended, without any irregularities or malfunctions that may have arisen during the repair process.
-
Wi-Fi and Connectivity: Verify the connectivity of the iPad 2 to Wi-Fi networks and other devices, ensuring that wireless functionality remains intact following the repair. Test the device's ability to connect to the internet, download content, and interact with other devices seamlessly.
-
Battery Performance: Assess the battery performance of the iPad 2 by monitoring its power consumption, charging capabilities, and overall battery life. Ensure that the device sustains adequate battery performance and that there are no unexpected fluctuations or issues related to power management.
-
Audio and Speaker Testing: Test the audio output and speaker functionality by playing music, videos, or audio clips. Verify that the speakers produce clear and balanced sound without any distortions or irregularities that may have arisen during the repair process.
-
Camera and Sensor Verification: Verify the functionality of the iPad 2's camera and sensors, ensuring that they operate as intended without any impairments or malfunctions. Test the camera's ability to capture photos and videos, as well as the responsiveness of built-in sensors.
By meticulously conducting these tests, you can ensure that the iPad 2 has been successfully restored to its original functionality and that the repair process has been executed with precision and care. This comprehensive testing process provides assurance that the device is fully operational and that the new glass screen has been seamlessly integrated, allowing you to confidently return to using your iPad 2 with the peace of mind that it has been restored to its optimal state.
Conclusion
In conclusion, the process of replacing the glass on an iPad 2 is a meticulous and rewarding endeavor that empowers individuals to restore their devices to their original state with precision and care. By following the comprehensive steps outlined in this guide, individuals can embark on the repair journey with confidence, knowing that they have the necessary knowledge and guidance to execute the process effectively.
Throughout the repair process, attention to detail, patience, and a methodical approach are paramount. From preparing the workspace to meticulously cleaning the iPad 2 frame, applying adhesive, installing the new glass screen, and conducting comprehensive testing, each step contributes to the successful restoration of the device.
The satisfaction derived from reviving a damaged iPad 2 and the knowledge gained from successfully completing this repair are invaluable. Not only does the repair process save money by avoiding the cost of purchasing a new device, but it also fosters a deeper understanding of the device's inner workings and instills a sense of accomplishment.
Furthermore, the careful selection of high-quality tools and materials, coupled with the precise application of adhesive and the seamless installation of the new glass screen, ensures that the iPad 2 is restored to its former functionality and aesthetic appeal. The testing process serves as a final confirmation of the successful repair, providing assurance that the device operates optimally and that the new glass screen has been seamlessly integrated.
Ultimately, the journey of replacing the glass on an iPad 2 is a testament to the resilience and ingenuity of individuals who seek to restore and rejuvenate their devices. By embracing the repair process with patience and precision, individuals can breathe new life into their iPad 2, extending its longevity and usability while gaining a deeper appreciation for the intricacies of electronic device maintenance.
In essence, the repair journey exemplifies the transformative power of hands-on maintenance and the fulfillment derived from reviving a cherished device. With the knowledge and expertise gained from this guide, individuals are equipped to embark on the repair journey with confidence, knowing that they have the resources and guidance to successfully replace the glass on their iPad 2 and restore it to its optimal state.
Frequently Asked Questions about How To Replace IPad 2 Glass
Was this page helpful?
At Storables.com, we guarantee accurate and reliable information. Our content, validated by Expert Board Contributors, is crafted following stringent Editorial Policies. We're committed to providing you with well-researched, expert-backed insights for all your informational needs.


0 thoughts on “How To Replace IPad 2 Glass”