Home>Furniture & Design>Interior Design Trends>How To Replace Tractor Cab Glass

Interior Design Trends
How To Replace Tractor Cab Glass
Modified: August 27, 2024
Learn how to replace tractor cab glass and stay updated with the latest interior design trends. Get expert tips and advice for a stylish and functional tractor cab.
(Many of the links in this article redirect to a specific reviewed product. Your purchase of these products through affiliate links helps to generate commission for Storables.com, at no extra cost. Learn more)
Introduction
Replacing the glass in a tractor cab is a crucial maintenance task that ensures the safety and functionality of the vehicle. Over time, tractor cab glass can become damaged due to various factors such as flying debris, extreme weather conditions, or accidental impact. When the glass is compromised, it not only affects the visibility of the operator but also compromises the structural integrity of the cab. Therefore, knowing how to replace tractor cab glass is an essential skill for any tractor owner or operator.
In this comprehensive guide, we will walk you through the step-by-step process of replacing tractor cab glass. Whether you are a seasoned tractor enthusiast or a novice DIYer, this guide will equip you with the knowledge and confidence to tackle this task with ease. By following these instructions, you can ensure that your tractor cab remains safe, secure, and fully functional.
Without further ado, let's dive into the details of gathering the necessary tools and materials for this project.
Key Takeaways:
- Safety First!
When replacing tractor cab glass, prioritize safety by wearing protective gear and using specialized tools. Meticulous removal, cleaning, and installation ensure a secure and hazard-free environment for tractor operators. - Test for Reliability
After installing the new glass, conduct functional, visual, weatherproof, and vibrational tests to ensure its reliability and suitability for long-term use. This comprehensive testing process guarantees a secure and enduring enhancement to the tractor’s cabin environment.
Read more: How To Store Tractor Implements
Step 1: Gather Necessary Tools and Materials
Before embarking on the task of replacing the tractor cab glass, it is essential to gather all the required tools and materials. Having the right equipment at hand will streamline the process and ensure a smooth and efficient glass replacement. Here's a comprehensive list of the tools and materials you will need:
Tools:
- Safety Gear: Prioritize safety by wearing protective gear such as gloves, safety goggles, and work boots to shield yourself from potential hazards during the replacement process.
- Glass Removal Tools: Acquire specialized tools such as glass suction cups, glass pliers, and glass cutters to safely and effectively remove the old glass without causing damage to the surrounding areas.
- Sealant Application Tools: Invest in a high-quality caulking gun and a putty knife to apply the sealant and ensure a secure fit for the new glass.
- Cleaning Supplies: Prepare a supply of glass cleaner, lint-free cloths, and a razor blade for meticulous cleaning of the window frame and surrounding surfaces.
- Measuring Tape: Accurate measurements are crucial for ensuring the new glass fits perfectly. A reliable measuring tape will aid in determining the precise dimensions of the replacement glass.
Materials:
- Replacement Glass: Select the appropriate type and size of glass that matches the specifications of your tractor cab. Ensure that the replacement glass is of high quality and designed to withstand the rigors of agricultural operations.
- Sealant: Choose a durable and weather-resistant sealant specifically formulated for automotive applications. Silicone or polyurethane-based sealants are popular choices for securing tractor cab glass due to their excellent adhesion and weatherproof properties.
- Protective Film (Optional): Consider adding a protective film to the replacement glass to enhance its resilience against scratches, UV rays, and potential impact damage.
- Fasteners: Depending on the design of your tractor cab, you may need specific fasteners or clips to secure the new glass in place. Ensure that the fasteners are compatible with the cab's structure and provide a secure attachment for the glass.
By assembling these tools and materials, you will be well-prepared to proceed with the subsequent steps of removing the old glass, cleaning the area, and installing the new glass with confidence and precision. With the necessary equipment in hand, you are ready to embark on the journey of revitalizing your tractor cab with a brand-new glass panel.
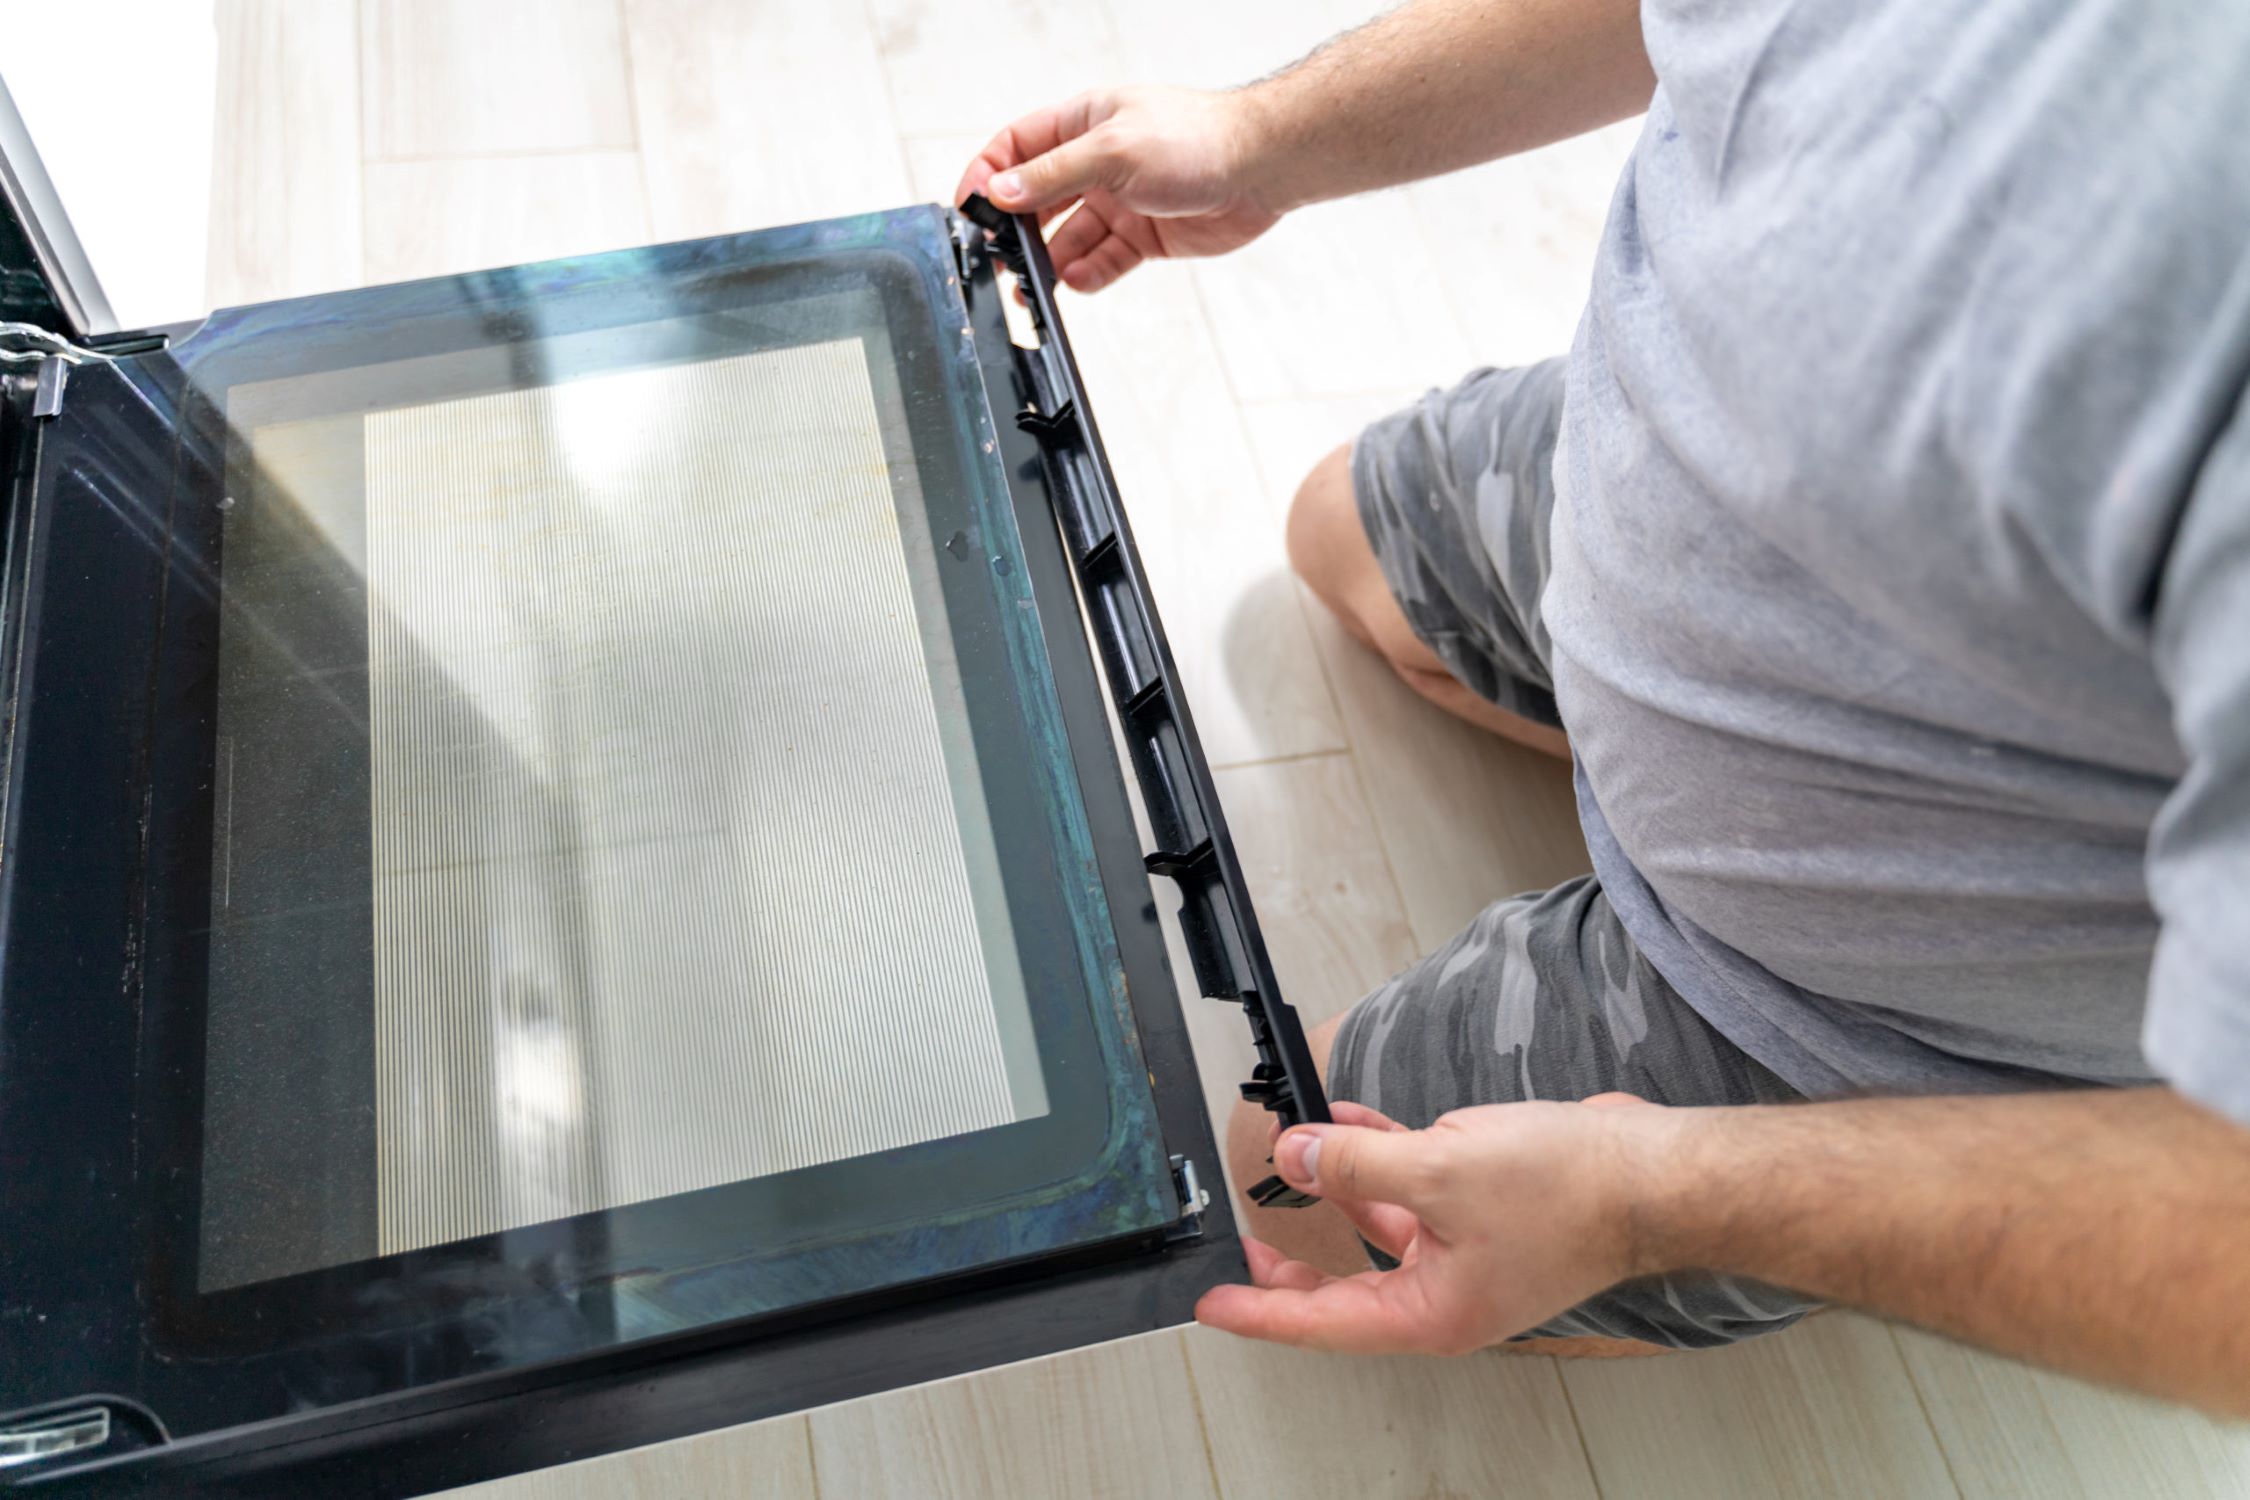
Step 2: Remove the Old Glass
Removing the old glass from a tractor cab requires careful precision and the use of specialized tools to ensure a smooth and safe extraction process. Before initiating the removal, it is crucial to prioritize safety by wearing protective gear, including safety goggles and gloves, to shield yourself from potential hazards. Additionally, having a helper to assist with the removal process can enhance safety and efficiency.
The first step in removing the old glass is to carefully examine the perimeter of the glass panel to identify any existing fasteners, clips, or adhesive materials securing it in place. Using a flashlight to illuminate the edges can aid in identifying hidden fasteners or adhesive residues. Once the fasteners or clips are located, use the appropriate tools, such as a screwdriver or trim removal tool, to carefully detach them from the frame.
For glass panels that are adhered with sealant, it is essential to use caution and precision during the detachment process. Utilize a heat gun or a hairdryer to gently warm the sealant around the edges of the glass. This controlled application of heat helps soften the sealant, making it easier to separate the glass from the frame without causing damage. It is important to avoid excessive heat, as it can lead to glass breakage or damage to the surrounding surfaces.
After softening the sealant, carefully insert a thin, flexible tool, such as a putty knife or a windshield removal tool, between the glass and the frame. Gradually work the tool around the perimeter of the glass, gently separating the sealant and releasing the glass from the frame. Exercise patience and precision to prevent sudden movements that could lead to glass breakage or injury.
Once the glass is loosened from the frame, it is crucial to have a firm grip on the glass panel to prevent it from falling or shifting unexpectedly. With the assistance of a helper, carefully lift the glass panel out of the frame and place it in a secure location to avoid accidental breakage or injury.
Upon successful removal of the old glass, thoroughly inspect the window frame and surrounding areas for any remaining sealant or debris. Use a razor blade or a suitable scraping tool to remove any residual sealant, ensuring that the frame is clean and free from obstructions before proceeding to the next step of cleaning the area in preparation for the installation of the new glass.
By following these meticulous steps and exercising caution throughout the removal process, you can effectively remove the old glass from the tractor cab, setting the stage for the subsequent steps of cleaning the area and installing the new glass with confidence and precision.
Read more: How To Replace Sunroof Glass
Step 3: Clean the Area
After successfully removing the old glass from the tractor cab, the next crucial step is to meticulously clean the area to ensure a pristine surface for the installation of the new glass. A clean and debris-free environment not only promotes optimal adhesion of the replacement glass but also contributes to the overall aesthetic appeal of the tractor cab. Here's a detailed guide on how to effectively clean the area in preparation for the installation of the new glass:
1. Remove Residual Sealant and Debris
Begin by thoroughly inspecting the window frame and surrounding surfaces for any remaining traces of sealant, adhesive residues, or debris. Utilize a razor blade, putty knife, or a suitable scraping tool to gently remove any stubborn remnants of the old sealant. Exercise caution to avoid scratching or damaging the frame during this process. Additionally, use a vacuum cleaner or compressed air to eliminate any loose debris or particles from the area, ensuring a clean and smooth surface for the new glass.
2. Clean the Window Frame
With the residual sealant and debris removed, it's time to focus on cleaning the window frame and adjacent areas. Dampen a lint-free cloth with a high-quality glass cleaner and meticulously wipe the entire window frame, paying close attention to the edges where the new glass will be installed. This thorough cleaning process helps eliminate any remaining contaminants that could compromise the adhesion of the replacement glass.
3. Check for Imperfections
Carefully inspect the cleaned area for any imperfections or irregularities that may hinder the proper installation of the new glass. Look for signs of corrosion, rust, or damage to the frame that may need to be addressed before proceeding further. Addressing these issues proactively ensures a seamless and secure fit for the replacement glass, minimizing the risk of future complications.
Read more: How To Replace Glass In A Door
4. Prepare the Surrounding Surfaces
In addition to cleaning the window frame, it's essential to prepare the surrounding surfaces for the installation of the new glass. Ensure that the areas adjacent to the window frame are free from dirt, grease, or any substances that could interfere with the sealing process. A thorough wipe-down with a suitable cleaner and a lint-free cloth will help create an optimal environment for the installation of the replacement glass.
By meticulously cleaning the area and preparing the surfaces for the installation of the new glass, you are laying the foundation for a successful and durable replacement. This attention to detail ensures that the new glass will be installed on a pristine and secure surface, promoting longevity and optimal functionality for your tractor cab.
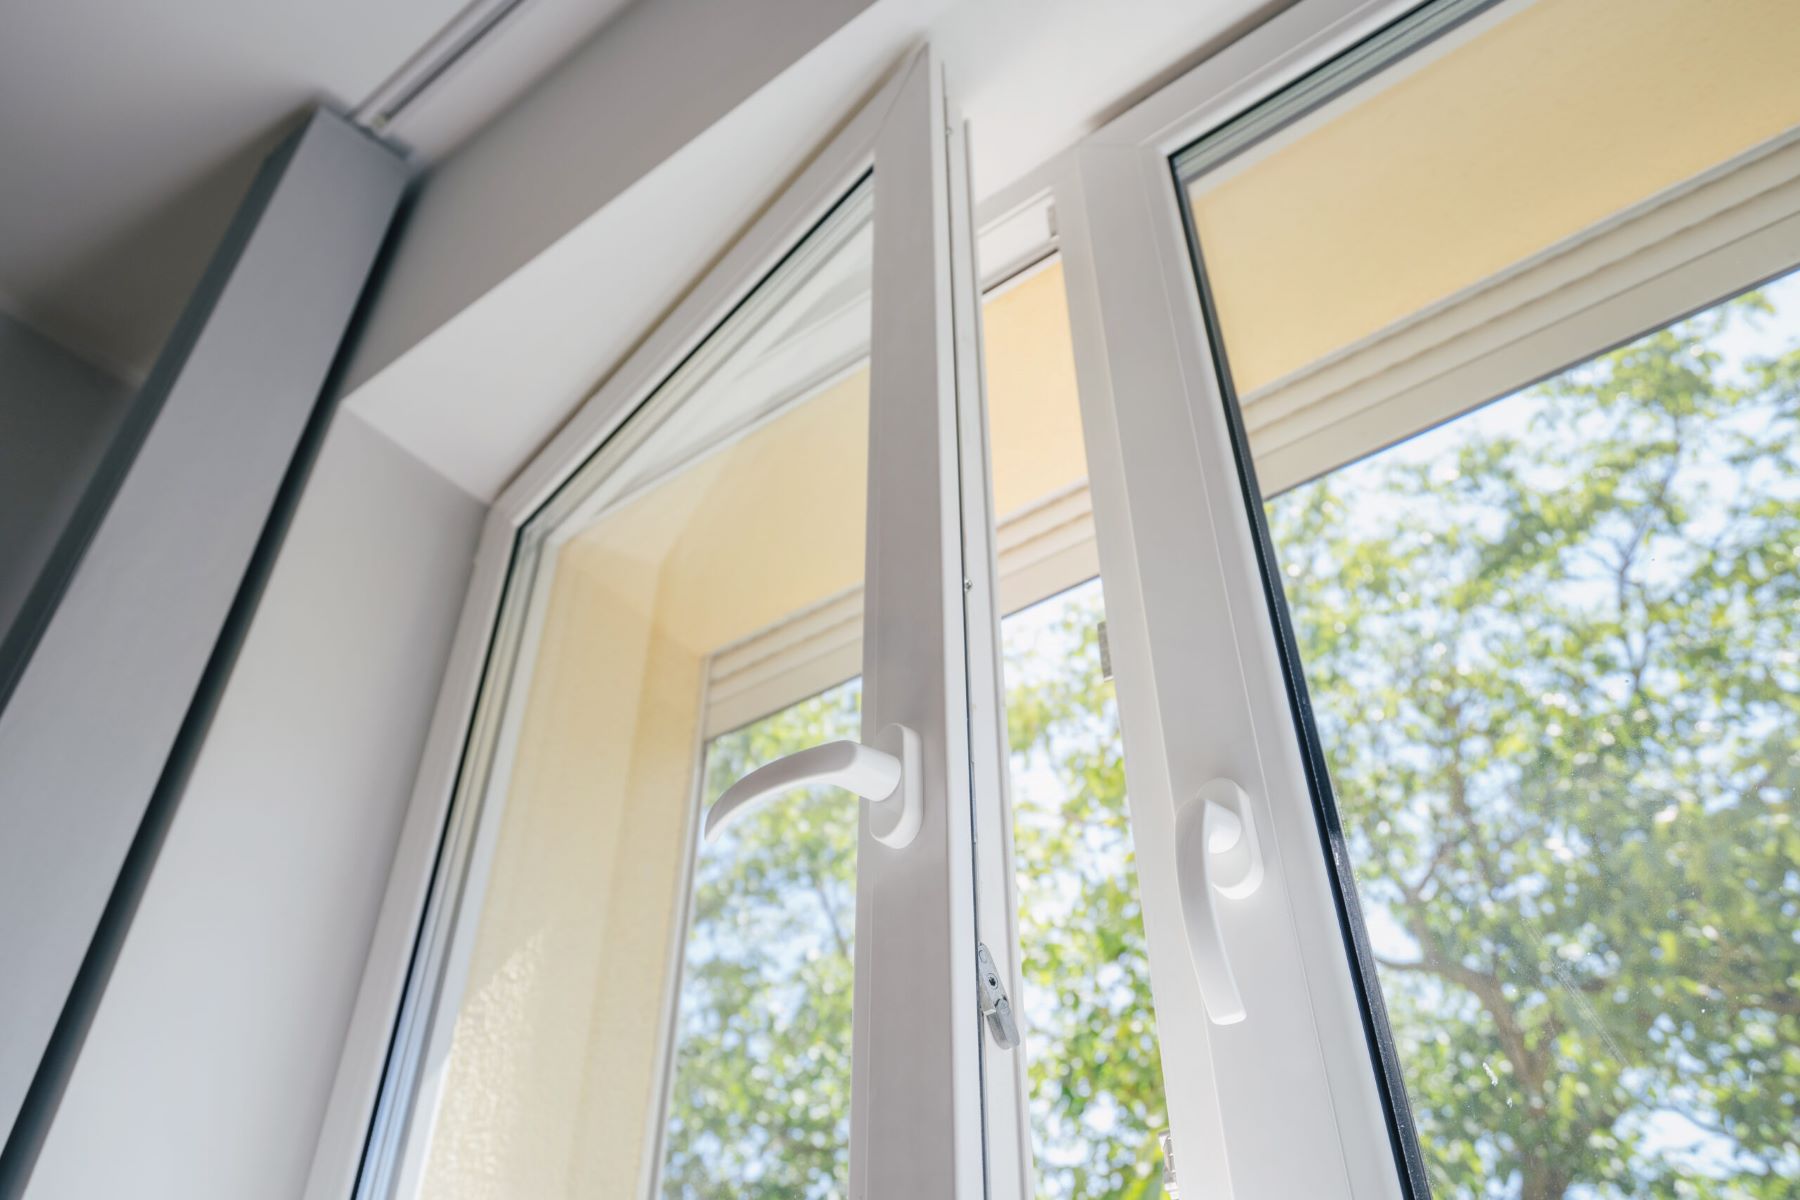
Step 4: Install the New Glass
With the area meticulously cleaned and prepared, the installation of the new glass marks a pivotal phase in the process of rejuvenating the tractor cab. Proper installation is essential for ensuring the structural integrity and functionality of the cab's windows. Here's a detailed guide on how to effectively install the new glass, ensuring a secure and precise fit:
-
Positioning the Replacement Glass: Carefully place the new glass panel into the designated area of the window frame, ensuring that it aligns perfectly with the edges and contours of the frame. Exercise caution to prevent any sudden movements that could lead to glass breakage or damage to the sealant.
-
Applying the Sealant: Prior to securing the glass in place, apply a continuous and even bead of high-quality sealant along the perimeter of the window frame. Ensure that the sealant is compatible with the type of glass being installed and is specifically formulated for automotive applications. The sealant plays a critical role in creating a watertight and secure bond between the glass and the frame.
-
Placing the Glass: With the sealant applied, gently lower the replacement glass onto the window frame, ensuring that it fits snugly and uniformly against the sealant. Apply gentle pressure to the glass to facilitate optimal adhesion while being mindful of not exerting excessive force that could lead to glass breakage.
-
Securing the Glass: Once the replacement glass is in position, proceed to secure it firmly within the frame. Depending on the design of the tractor cab, utilize the appropriate fasteners or clips to reinforce the attachment of the glass. Ensure that the fasteners are tightened securely, providing a stable and reliable hold for the glass panel.
-
Removing Excess Sealant: After securing the glass, carefully remove any excess sealant that may have squeezed out around the edges. Use a suitable tool, such as a putty knife or a sealant shaping tool, to achieve a clean and uniform seal while ensuring that the excess sealant does not obstruct the window's functionality.
-
Allowing for Cure Time: Once the new glass is installed and secured, allow sufficient time for the sealant to cure and form a strong bond. Follow the manufacturer's recommendations regarding the curing time, taking into account environmental factors such as temperature and humidity that may influence the curing process.
By following these meticulous steps and exercising precision throughout the installation process, you can effectively install the new glass in the tractor cab, ensuring a secure, weatherproof, and visually appealing enhancement to the vehicle. The successful installation of the replacement glass sets the stage for the final step of testing the new glass to validate its functionality and integrity.
Step 5: Secure the Glass in Place
Securing the newly installed glass in the tractor cab is a critical step that ensures the stability, functionality, and longevity of the window assembly. Properly securing the glass not only enhances the structural integrity of the cab but also mitigates the risk of potential issues such as leaks, vibrations, or unintended displacement of the glass. Here's a detailed guide on how to effectively secure the glass in place, ensuring a reliable and durable installation:
1. Utilize Appropriate Fasteners or Clips
Depending on the design and specifications of the tractor cab, utilize the designated fasteners or clips to reinforce the attachment of the glass within the frame. These fasteners play a pivotal role in providing a stable and secure hold for the glass panel, preventing any movement or dislodgment during the vehicle's operation. Ensure that the fasteners are compatible with the structure of the cab and are tightened securely to achieve a reliable attachment.
Read more: How To Replace A Pane Of Glass
2. Verify Proper Alignment
Before finalizing the securing process, carefully verify that the replacement glass is aligned correctly within the window frame. Ensure that the glass fits uniformly and snugly against the sealant, with consistent gaps around the edges. This meticulous verification of alignment is essential for preventing potential issues such as uneven pressure points or gaps that could compromise the integrity of the seal and the overall functionality of the window.
3. Inspect for Tightness and Stability
After securing the glass with the designated fasteners or clips, conduct a thorough inspection to ensure that the glass is held firmly in place without any signs of instability or movement. Gently apply pressure to different areas of the glass to verify its resistance to shifting or rattling. This meticulous inspection helps identify any potential issues and allows for immediate adjustments to achieve optimal stability and security.
4. Address Sealant Seepage
During the securing process, pay close attention to any seepage of sealant around the edges of the glass. If excess sealant has squeezed out during the installation, carefully remove it using a suitable tool to achieve a clean and uniform seal. Addressing any sealant seepage ensures that the window maintains a professional and aesthetically pleasing appearance while preventing potential interference with the functionality of the glass.
5. Ensure Compatibility with Protective Film (If Applicable)
If a protective film has been applied to the replacement glass, ensure that the securing process does not compromise the integrity of the film. Verify that the fasteners or clips do not exert excessive pressure on the film, which could lead to distortion or damage. This attention to detail ensures that the protective film continues to provide its intended benefits without being compromised during the securing process.
By meticulously following these steps and prioritizing precision and attention to detail, you can effectively secure the glass in place, ensuring a reliable, weatherproof, and visually appealing enhancement to the tractor cab. The successful securing of the replacement glass sets the stage for the final step of testing the new glass to validate its functionality and integrity.
Read more: How To Replace Glass Stovetop
Step 6: Test the New Glass
After the meticulous installation and securing of the new glass in the tractor cab, the final step involves testing the glass to validate its functionality, integrity, and overall suitability for the intended purpose. This crucial phase ensures that the replacement glass meets the essential criteria for optimal performance and safety. Here's a detailed guide on how to effectively test the new glass, providing assurance of its reliability and durability:
1. Functional Testing
Initiate the testing process by evaluating the functional aspects of the new glass. Open and close the window to verify smooth operation without any obstructions or unusual resistance. Pay close attention to the movement of the glass within the frame, ensuring that it glides effortlessly and maintains a secure position when closed. Additionally, test the window's locking mechanism, if applicable, to confirm that it engages properly and provides a reliable seal.
2. Visual Inspection
Conduct a comprehensive visual inspection of the installed glass, both from the interior and exterior perspectives. Look for any signs of misalignment, gaps, or irregularities around the edges of the glass. Verify that the sealant presents a uniform and secure bond between the glass and the frame, with no visible gaps or areas of concern. Additionally, inspect the clarity and transparency of the glass to ensure that it provides optimal visibility without any distortions or imperfections.
3. Weatherproof Assessment
Subject the newly installed glass to a weatherproof assessment by simulating exposure to environmental elements. Utilize a gentle water spray or a damp cloth to test the water resistance of the glass and its surrounding sealant. Verify that the sealant effectively repels water and prevents any infiltration into the cabin interior. This assessment is crucial for ensuring that the glass provides reliable protection against rain, moisture, and other external elements.
Read more: How To Replace A Watch Glass
4. Vibrational Resilience
Assess the resilience of the new glass against vibrations and mechanical stresses that may occur during the operation of the tractor. Pay attention to any unusual rattling or vibrations experienced when the tractor is in motion. The absence of excessive noise or movement from the glass indicates that it is securely positioned and effectively dampens vibrations, contributing to a comfortable and stable cabin environment.
5. Longevity Consideration
While immediate testing provides valuable insights, it is also essential to consider the long-term durability of the replacement glass. Anticipate the potential challenges and conditions that the glass will encounter during regular use, such as exposure to sunlight, temperature variations, and mechanical stresses. By considering the long-term implications, you can assess the suitability of the replacement glass for sustained performance and longevity.
By meticulously conducting these tests and assessments, you can effectively validate the functionality, integrity, and suitability of the new glass for the tractor cab. This comprehensive testing process provides assurance that the replacement glass meets the highest standards of performance, safety, and durability, ensuring a reliable and enduring enhancement to the tractor's cabin environment.
Conclusion
In conclusion, the process of replacing tractor cab glass is a vital maintenance task that contributes to the safety, functionality, and visual appeal of the vehicle. By following the comprehensive steps outlined in this guide, tractor owners and operators can confidently undertake the replacement of glass panels, ensuring a seamless and effective rejuvenation of the cab's windows.
From the initial gathering of necessary tools and materials to the meticulous installation and testing of the new glass, each step plays a crucial role in achieving a successful and durable replacement. Prioritizing safety throughout the process, from wearing protective gear to exercising caution during the removal and installation phases, is paramount in ensuring a secure and hazard-free environment.
The attention to detail in cleaning the area and preparing the surfaces for the installation of the new glass sets the foundation for a pristine and secure fit. The proper application of high-quality sealant, the alignment of the replacement glass, and the secure fastening within the frame contribute to the overall integrity and weatherproofing of the window assembly.
Furthermore, the thorough testing of the new glass, encompassing functional, visual, weatherproof, and vibrational assessments, provides assurance of its reliability and suitability for long-term use. By considering the immediate and long-term implications of the replacement glass, tractor owners can make informed decisions that align with their expectations for performance and longevity.
Ultimately, the successful replacement of tractor cab glass not only enhances the aesthetics of the vehicle but also contributes to the operator's comfort, safety, and overall experience. By embracing the knowledge and skills presented in this guide, tractor owners and operators can approach the task of glass replacement with confidence, knowing that they are equipped to uphold the integrity and functionality of their valuable equipment.
In essence, the process of replacing tractor cab glass is not merely a maintenance task; it is a commitment to ensuring the reliability, safety, and longevity of the vehicle, thereby fostering a conducive and secure environment for agricultural operations. With the completion of the replacement process, tractor owners can take pride in knowing that their cab's windows are restored to optimal condition, ready to withstand the demands of the agricultural landscape for years to come.
Frequently Asked Questions about How To Replace Tractor Cab Glass
Was this page helpful?
At Storables.com, we guarantee accurate and reliable information. Our content, validated by Expert Board Contributors, is crafted following stringent Editorial Policies. We're committed to providing you with well-researched, expert-backed insights for all your informational needs.


0 thoughts on “How To Replace Tractor Cab Glass”