Home>Furniture & Design>Interior Design Trends>How To Seal Alcohol Ink On Glass
Interior Design Trends
How To Seal Alcohol Ink On Glass
Published: February 6, 2024
Learn how to seal alcohol ink on glass to create stunning interior design trends. Discover the best techniques and products for a flawless finish.
(Many of the links in this article redirect to a specific reviewed product. Your purchase of these products through affiliate links helps to generate commission for Storables.com, at no extra cost. Learn more)
Introduction
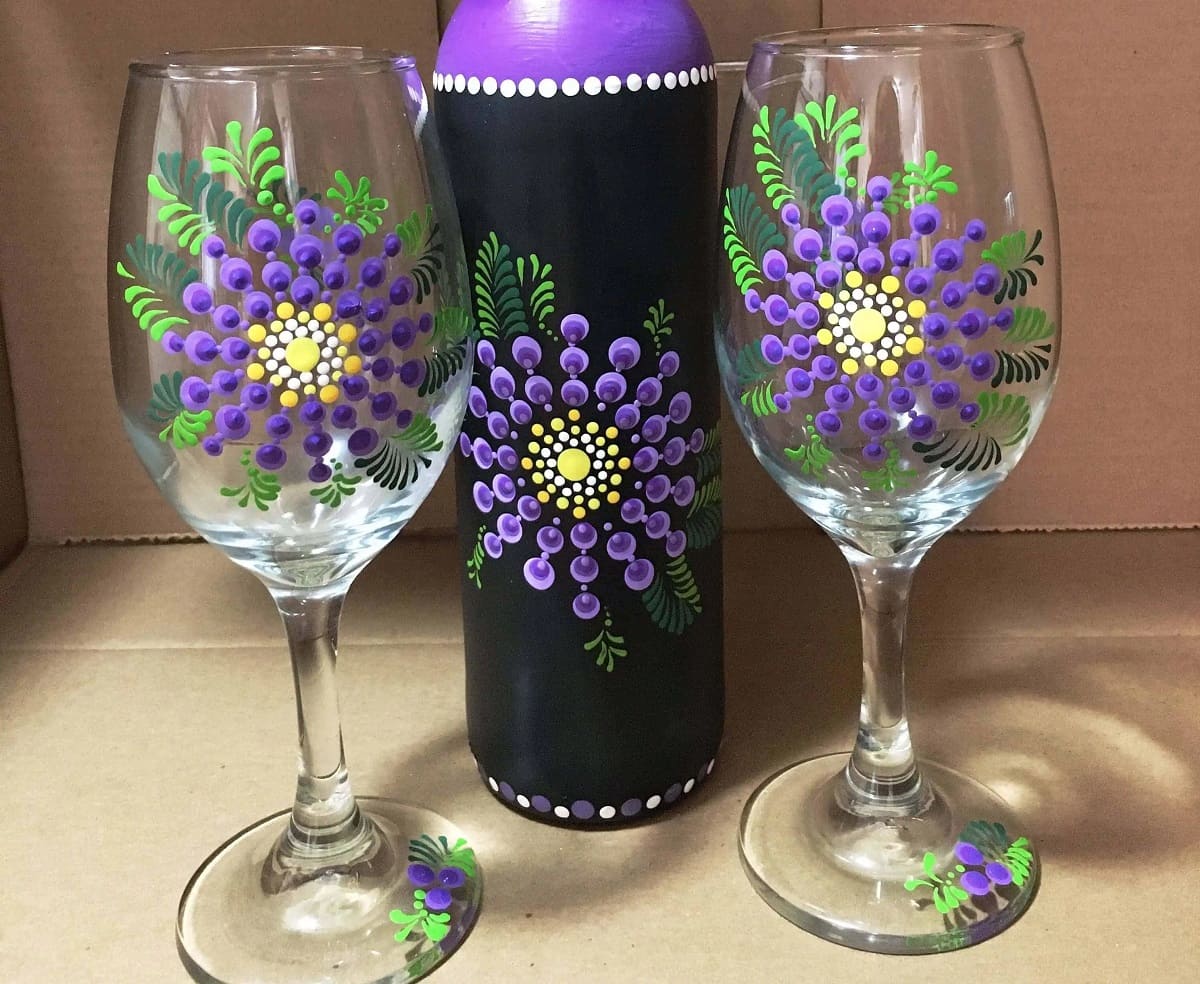
Alcohol ink art has gained immense popularity in the world of interior design and DIY crafts. Its vibrant colors and fluid nature make it a versatile medium for creating stunning designs on various surfaces, including glass. Whether you're a seasoned artist or a beginner looking to explore a new creative outlet, working with alcohol ink on glass can be a rewarding and visually captivating experience.
The process of sealing alcohol ink on glass is crucial for preserving the artwork and ensuring its longevity. By applying a protective sealant, you can safeguard the delicate layers of alcohol ink from smudging, fading, or being damaged by external elements. Additionally, sealing the alcohol ink enhances the depth and vibrancy of the colors, giving the artwork a professional and polished finish.
In this comprehensive guide, we will walk you through the step-by-step process of sealing alcohol ink on glass, providing you with valuable insights and expert tips to help you achieve stunning results. From preparing the glass surface to selecting the right sealant, each stage of the process plays a pivotal role in ensuring the durability and visual impact of your alcohol ink artwork.
Whether you're creating decorative glass panels, personalized glassware, or unique art pieces, mastering the art of sealing alcohol ink on glass will empower you to unleash your creativity and elevate the aesthetic appeal of your living spaces. So, roll up your sleeves, gather your materials, and let's dive into the fascinating world of alcohol ink art on glass.
Key Takeaways:
- Preserve your alcohol ink art on glass by cleaning the surface thoroughly before applying the ink. This sets the stage for vibrant, long-lasting artwork that showcases the full potential of alcohol ink on glass.
- Sealing the alcohol ink with a high-quality sealant not only protects the artwork but also enhances its visual appeal. The patience and care exercised during the drying process culminate in a professional and enduring finish.
Read more: How To Use Alcohol Ink On Glass
Materials Needed
Before embarking on the process of sealing alcohol ink on glass, it's essential to gather the necessary materials to ensure a smooth and successful application. Here's a comprehensive list of the items you'll need to complete this creative endeavor:
-
Alcohol Inks: Select a range of vibrant alcohol inks in your preferred colors. These inks are specifically formulated to create stunning effects on non-porous surfaces like glass.
-
Isopropyl Alcohol: This alcohol serves as a blending solution for the inks, allowing you to achieve mesmerizing patterns and transitions in your artwork.
-
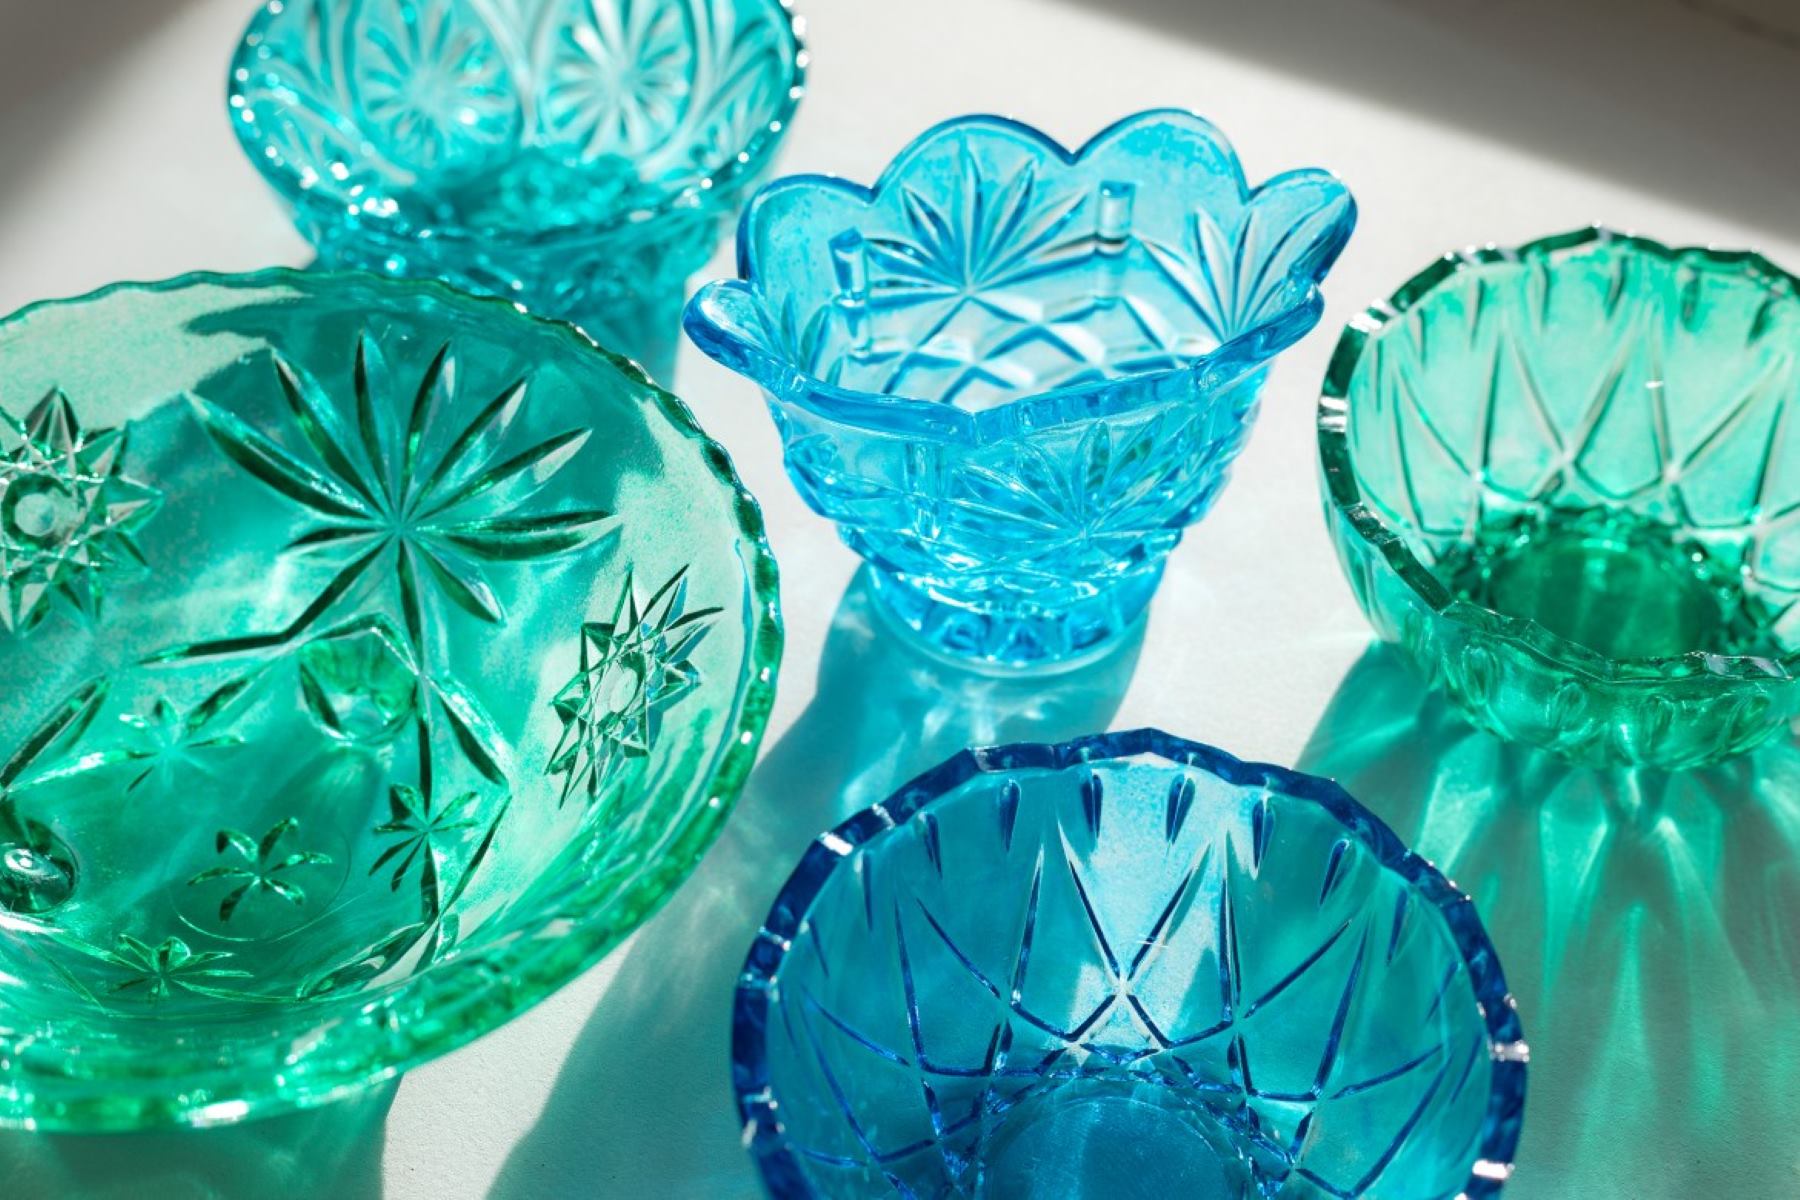
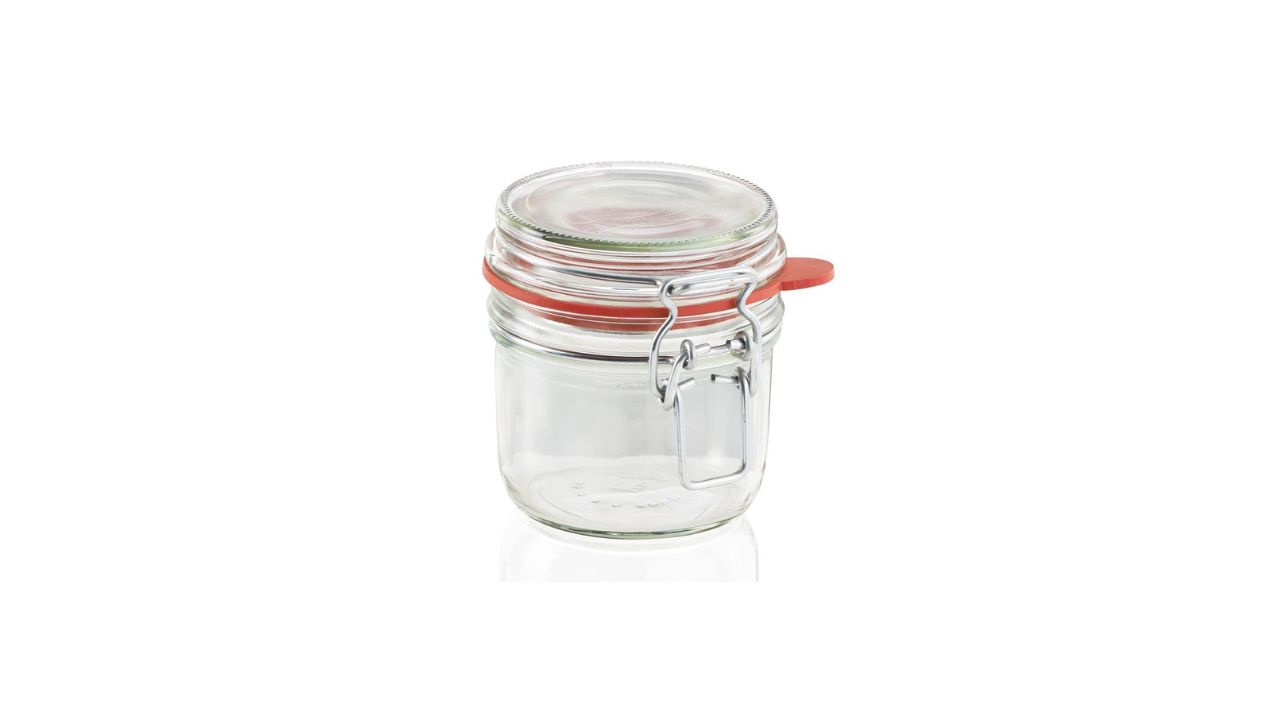
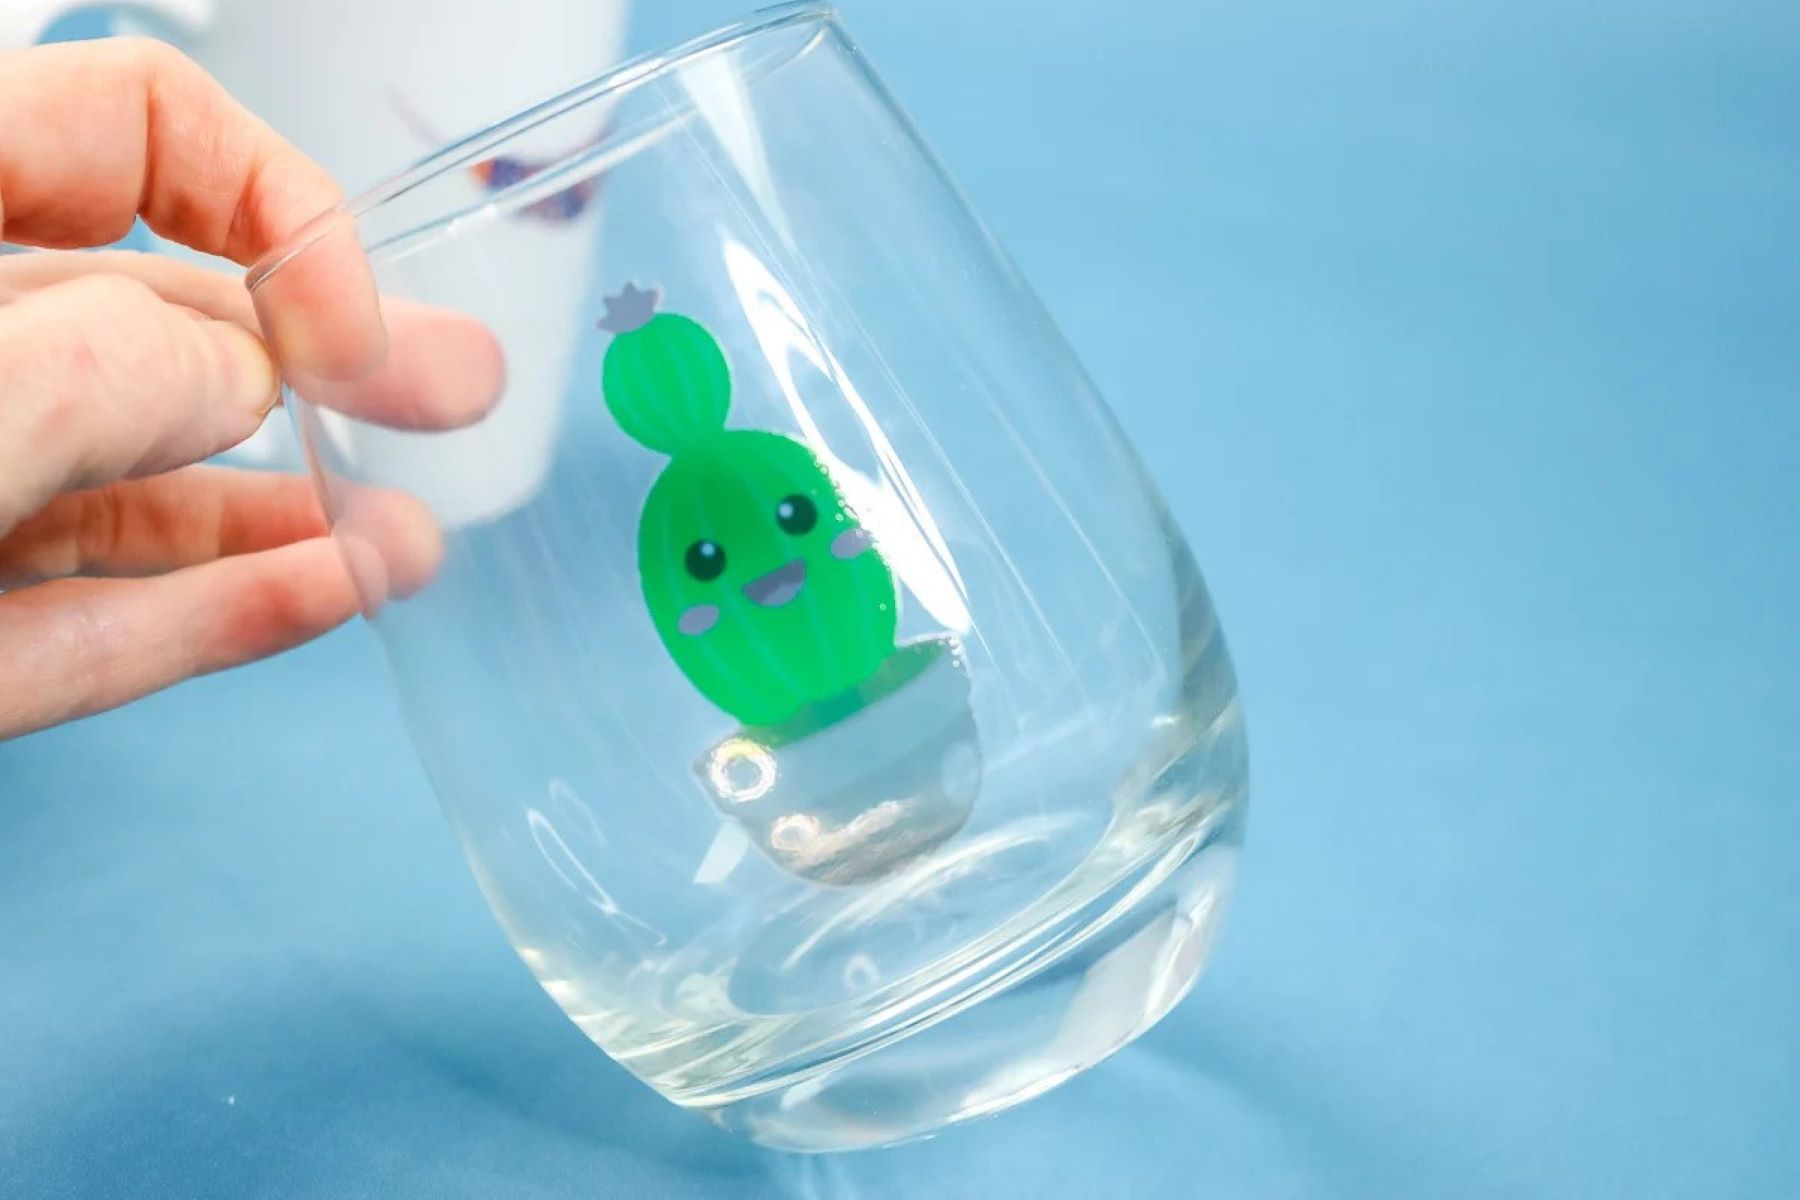
Glass Surfaces: Prepare the glass items or surfaces on which you intend to apply the alcohol ink. This could include glass panels, vases, coasters, or any other glassware suitable for your artistic vision.
-
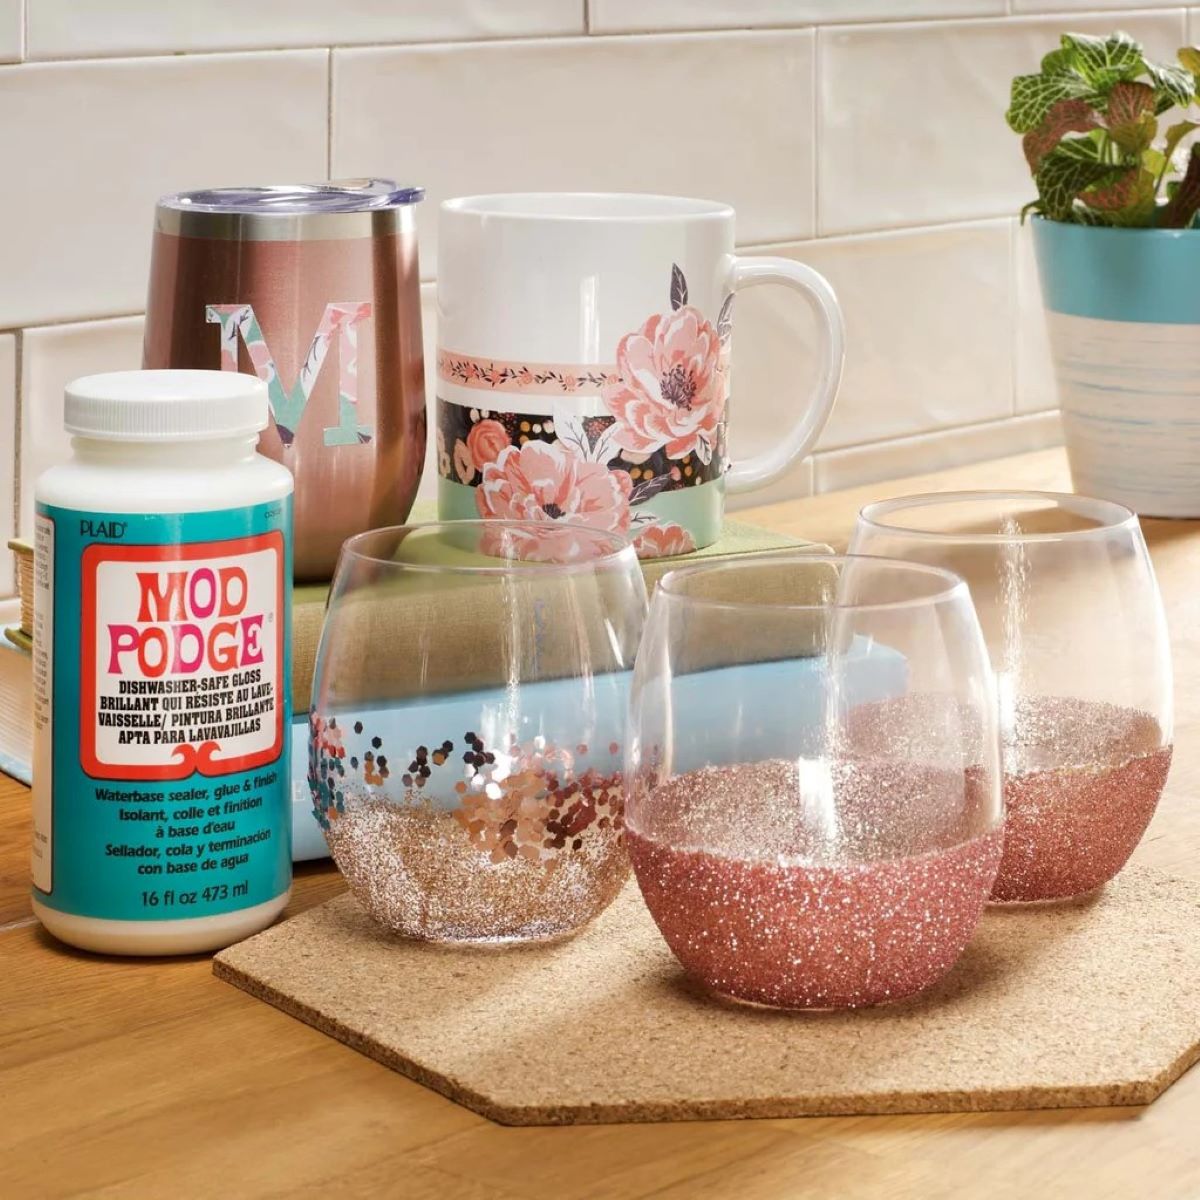
Sealant: Choose a high-quality sealant designed for use on glass. Opt for a sealant that offers UV protection and is compatible with alcohol ink to ensure the longevity of your artwork.
-
Paintbrushes or Applicator Tools: Have a selection of fine paintbrushes or applicator tools on hand to apply the alcohol inks with precision and control.
-
Protective Gear: Consider using gloves and working in a well-ventilated area to protect your skin and respiratory system from prolonged exposure to alcohol fumes.
-
Paper Towels or Cloth: Keep paper towels or a soft cloth nearby to blot excess ink and clean up any spills or smudges during the application process.
-
Disposable Palette or Mixing Dish: Use a disposable palette or a mixing dish to blend and dilute the alcohol inks with the isopropyl alcohol.
-
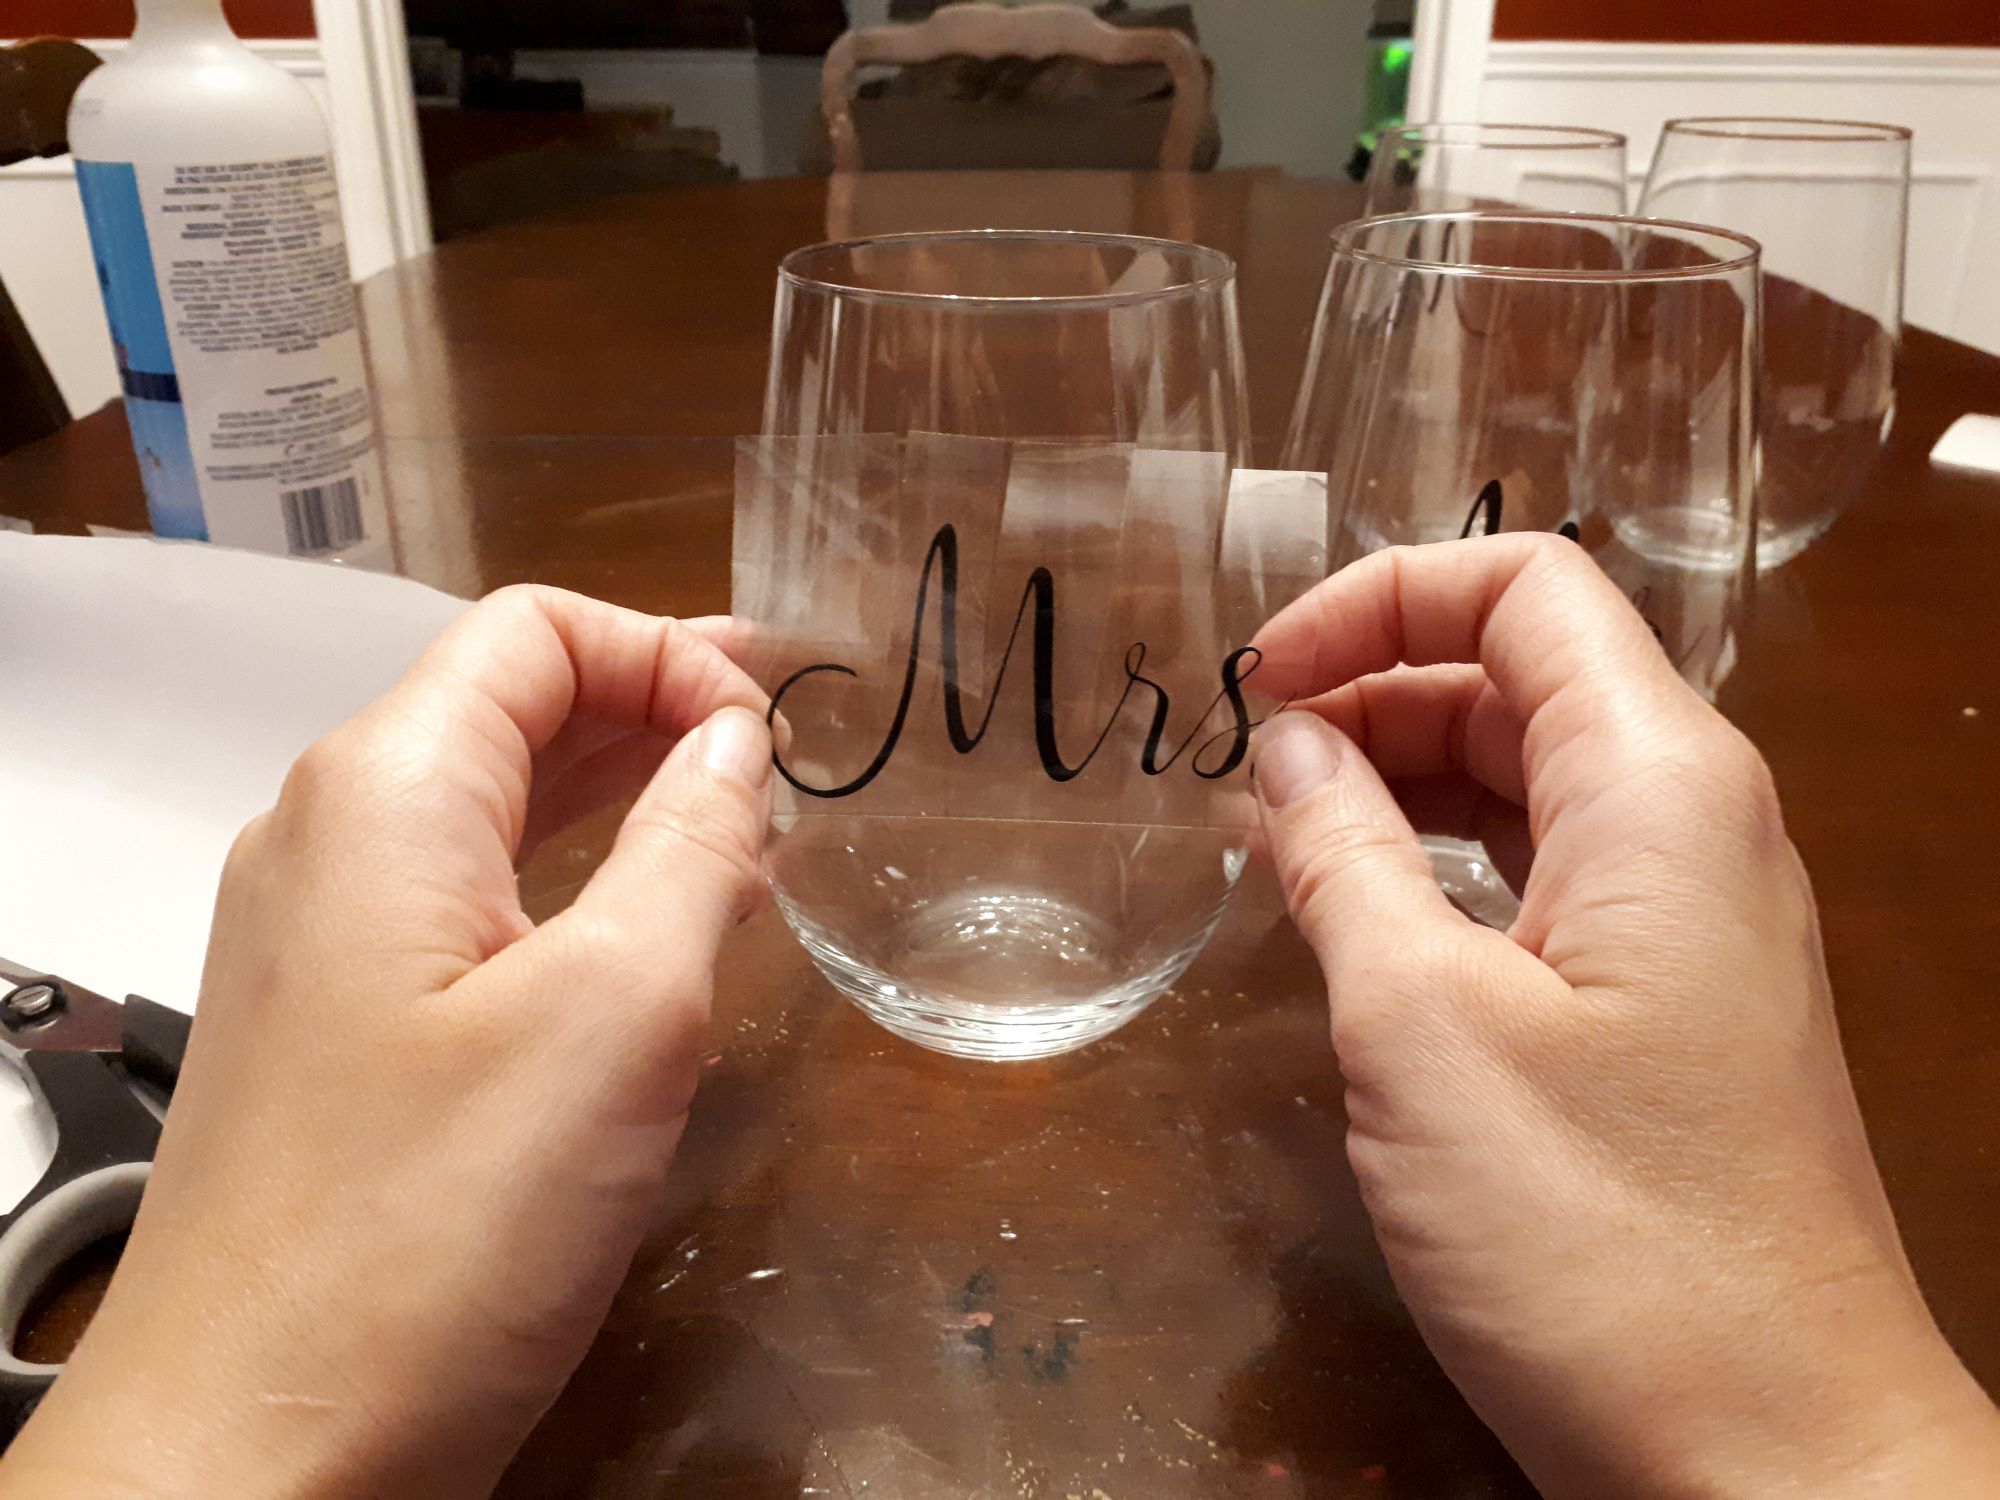
Masking Tape or Stencils (Optional): If you plan to create specific patterns or sections in your artwork, masking tape or stencils can help you achieve clean lines and defined shapes.
-
Protective Surface Covering: Lay down a protective covering on your work surface to prevent any accidental spills or stains.
By ensuring that you have all these materials at your disposal, you'll be well-equipped to embark on the journey of sealing alcohol ink on glass and creating visually captivating pieces of art that will stand the test of time.
Step 1: Clean the Glass Surface
Properly cleaning the glass surface is a crucial first step in the process of sealing alcohol ink on glass. Any dust, fingerprints, or residue on the glass can interfere with the adhesion of the alcohol ink and the sealant, potentially affecting the overall quality and longevity of the artwork. Here's a detailed guide on how to effectively clean the glass surface before applying alcohol ink:
-
Gather Cleaning Supplies: Start by assembling the necessary cleaning supplies, including glass cleaner, lint-free cloths or paper towels, and rubbing alcohol. Ensure that the glass cleaner is ammonia-free to prevent any adverse reactions with the alcohol inks.
-
Remove Any Stains or Residue: If the glass surface has stubborn stains or adhesive residue, use a gentle glass cleaner and a soft cloth to carefully remove them. Avoid using abrasive materials that could scratch or damage the glass.
-
Degrease the Surface: To eliminate any traces of grease, oils, or fingerprints, dampen a lint-free cloth with rubbing alcohol and gently wipe the entire glass surface. This step is essential for creating a clean, non-reactive surface for the alcohol ink application.
-
Inspect for Imperfections: After cleaning the glass, inspect it under good lighting to ensure that there are no remaining streaks, smudges, or imperfections. Address any lingering marks by using a fresh lint-free cloth and glass cleaner to achieve a pristine surface.
-
Allow Sufficient Drying Time: Once the glass surface is thoroughly cleaned, allow it to air dry completely before proceeding to the next steps. This ensures that no moisture or cleaning residue interferes with the application and adhesion of the alcohol ink.
By meticulously cleaning the glass surface, you create an optimal foundation for the alcohol ink application and sealing process. This attention to detail sets the stage for vibrant, long-lasting artwork that showcases the full potential of alcohol ink on glass.
Step 2: Apply Alcohol Ink
Once the glass surface is impeccably clean and primed for artistic expression, it's time to unleash the vibrant potential of alcohol ink. The application process offers a captivating blend of spontaneity and precision, allowing you to create mesmerizing patterns, gradients, and textures on the glass. Here's a detailed guide on how to apply alcohol ink to achieve stunning results:
-
Prepare Your Workspace: Set up a well-lit and well-ventilated workspace, ensuring that your glass surface is placed on a protective covering. This will prevent any accidental spills from damaging your work surface and allow for adequate ventilation during the application process.
-
Select Your Color Palette: Choose a selection of alcohol inks in your desired colors. Whether you opt for bold, contrasting hues or a harmonious blend of shades, the choice of colors will set the tone for your artwork. Consider experimenting with different combinations to create depth and visual interest.
-
Experiment with Blending: Using a disposable palette or mixing dish, dilute the alcohol inks with isopropyl alcohol to achieve varying levels of transparency and intensity. This blending technique allows you to create seamless transitions and captivating effects as the inks interact with each other on the glass surface.
-
Apply the Alcohol Ink: With a steady hand and a creative vision, begin applying the alcohol ink to the glass surface using fine paintbrushes or applicator tools. Embrace the fluid nature of alcohol ink, allowing it to flow and interact organically to create captivating patterns and designs. Whether you're aiming for abstract swirls, intricate details, or bold bursts of color, the application process is an opportunity to let your creativity soar.
-
Explore Different Techniques: Experiment with various techniques such as dripping, blowing, or layering the alcohol ink to achieve different effects. The beauty of alcohol ink lies in its versatility, allowing you to explore a myriad of artistic possibilities and discover unique expressions of creativity.
-
Embrace Spontaneity: Embrace the unpredictable nature of alcohol ink, allowing it to form organic shapes and patterns on the glass. Embracing spontaneity can lead to delightful surprises and unexpected beauty in your artwork.
By following these steps and embracing the fluidity and vibrancy of alcohol ink, you'll embark on a captivating artistic journey, creating visually stunning designs that come to life on the glass surface. The application process sets the stage for the final and crucial step of sealing the alcohol ink, ensuring that your artwork remains vibrant and preserved for years to come.
After applying alcohol ink on glass, seal it with a clear, alcohol-based sealer to protect the colors and prevent smudging. Make sure to apply the sealer in a well-ventilated area for best results.
Step 3: Seal the Alcohol Ink
Sealing the alcohol ink on glass is a critical step that not only protects the artwork but also enhances its visual impact and longevity. The sealant acts as a protective barrier, safeguarding the delicate layers of alcohol ink from smudging, fading, or being affected by external elements. Additionally, the right sealant can intensify the vibrancy of the colors, giving the artwork a professional and polished finish.
When it comes to selecting a sealant for alcohol ink on glass, it's essential to choose a high-quality product specifically designed for use on non-porous surfaces. Look for a sealant that offers UV protection, as this helps prevent the colors from fading due to exposure to sunlight. Additionally, ensure that the sealant is compatible with alcohol ink to avoid any adverse reactions that could compromise the integrity of the artwork.
Before applying the sealant, it's crucial to ensure that the alcohol ink is completely dry. This typically takes between 24 to 48 hours, depending on the thickness of the ink application and the ambient humidity. Once the alcohol ink is thoroughly dry, follow these steps to seal the artwork:
-
Prepare the Workspace: Set up a clean and well-ventilated workspace, ensuring that the glass surface is free from any dust or debris. Working in a controlled environment minimizes the risk of contaminants interfering with the sealant application.
-
Choose the Appropriate Sealant: Select a sealant specifically formulated for use on glass. Consider whether you prefer a glossy or matte finish, as different sealants can impart varying levels of sheen to the artwork.
-
Apply the Sealant: Using a clean, high-quality paintbrush or applicator tool, carefully apply a thin, even layer of the sealant over the entire surface of the alcohol ink artwork. Ensure that the sealant is spread evenly to avoid streaks or uneven coverage.
-
Allow for Drying Time: After applying the sealant, allow the artwork to dry undisturbed for the recommended duration specified by the sealant manufacturer. This typically ranges from a few hours to overnight, depending on the specific product.
-
Inspect and Reapply if Necessary: Once the initial layer of sealant has dried, inspect the artwork to ensure that the coverage is uniform and that the colors appear vibrant. If needed, apply an additional coat of sealant to further enhance the protection and visual appeal of the artwork.
By following these steps and using a meticulous approach, you can effectively seal the alcohol ink on glass, preserving its beauty and ensuring that your artistic creations remain captivating for years to come.
Read more: How To Use Alcohol Inks On Glass
Step 4: Let It Dry
After applying the sealant to the alcohol ink artwork on glass, allowing sufficient drying time is crucial to ensure that the sealant forms a durable and protective layer. The drying process not only sets the sealant but also allows it to bond with the alcohol ink, creating a resilient barrier that safeguards the artwork from external elements and preserves its vibrant colors.
Once the sealant has been meticulously applied, it's essential to exercise patience and allow the artwork to dry undisturbed. The duration of the drying process can vary depending on factors such as ambient humidity, the type of sealant used, and the thickness of the sealant layer. Here are essential considerations to ensure the effective drying of the sealed alcohol ink artwork:
-
Optimal Drying Environment: Place the glass artwork in a well-ventilated area with consistent room temperature. Avoid exposing it to direct sunlight or extreme heat, as rapid drying in high temperatures can compromise the integrity of the sealant.
-
Recommended Drying Time: Refer to the manufacturer's instructions on the sealant product for the recommended drying time. Typically, the initial drying phase may take several hours, during which the sealant begins to set. However, achieving full curing and hardening of the sealant may require additional time, often ranging from 24 to 72 hours.
-
Avoid Disturbance: While the artwork is drying, refrain from touching or moving it to prevent any smudges, imprints, or disruptions to the sealant layer. Maintaining a hands-off approach during the drying process ensures a flawless finish and long-lasting protection for the alcohol ink artwork.
-
Visual Inspection: After the initial drying period, visually inspect the artwork to ensure that the sealant has formed a uniform and smooth surface. Look for any areas that may require additional touch-ups or a second coat of sealant to achieve the desired level of protection and sheen.
-
Curing Period: While the artwork may appear dry to the touch after the initial drying phase, it's important to note that the sealant may continue to cure and harden over the subsequent days. During this curing period, exercise caution to avoid any impact or abrasion that could compromise the freshly sealed surface.
By allowing the sealed alcohol ink artwork to dry thoroughly, you ensure that the sealant forms a resilient shield, enhancing the longevity and visual impact of your creative masterpiece. Patience during the drying process yields a professional and enduring finish, allowing you to showcase your alcohol ink artwork with pride and confidence.
Conclusion
In conclusion, the process of sealing alcohol ink on glass is a captivating journey that combines artistic expression with meticulous preservation. From the initial steps of cleaning the glass surface to the final stages of allowing the sealant to dry, each phase plays a crucial role in ensuring the longevity and visual impact of the alcohol ink artwork.
By meticulously cleaning the glass surface before applying alcohol ink, artists create an optimal foundation for their creative endeavors. This attention to detail sets the stage for vibrant, long-lasting artwork that showcases the full potential of alcohol ink on glass. The application of alcohol ink itself is a mesmerizing experience, allowing artists to explore a myriad of techniques and unleash their creativity on the smooth, non-porous canvas of glass.
Sealing the alcohol ink with a high-quality sealant marks the culmination of the artistic process, offering protection and enhancing the visual allure of the artwork. The choice of sealant, the application process, and the subsequent drying period are all pivotal in ensuring that the alcohol ink artwork remains vibrant and preserved for years to come.
As the sealed alcohol ink artwork dries, a sense of anticipation builds, knowing that the sealant is forming a resilient shield that will safeguard the artwork from external elements. The patience and care exercised during the drying process culminate in a professional and enduring finish, allowing artists to showcase their alcohol ink artwork with pride and confidence.
Ultimately, the art of sealing alcohol ink on glass transcends the boundaries of traditional art forms, offering a dynamic and visually captivating medium for creative expression. Whether adorning glass panels, vases, or personalized glassware, sealed alcohol ink artwork adds a touch of elegance and individuality to living spaces, making a lasting impression on both creators and admirers alike.
In mastering the art of sealing alcohol ink on glass, artists unlock the potential to create timeless pieces that captivate the eye and inspire the imagination. This fusion of artistry and preservation ensures that the beauty and vibrancy of alcohol ink artwork endure, enriching living spaces and evoking a sense of wonder for years to come.
Frequently Asked Questions about How To Seal Alcohol Ink On Glass
Was this page helpful?
At Storables.com, we guarantee accurate and reliable information. Our content, validated by Expert Board Contributors, is crafted following stringent Editorial Policies. We're committed to providing you with well-researched, expert-backed insights for all your informational needs.


0 thoughts on “How To Seal Alcohol Ink On Glass”