Home>Furniture & Design>Kitchen Furniture>How To Make A Lazy Susan For Shoes
Kitchen Furniture
How To Make A Lazy Susan For Shoes
Modified: March 21, 2024
Learn how to make a custom lazy susan for your shoes with our step-by-step guide. Organize your kitchen furniture and design with this practical DIY solution. Ideal for small spaces!
(Many of the links in this article redirect to a specific reviewed product. Your purchase of these products through affiliate links helps to generate commission for Storables.com, at no extra cost. Learn more)
Introduction
Welcome to the world of DIY shoe organization! If you're tired of rummaging through piles of shoes to find the perfect pair, a custom-made lazy Susan for your shoes might just be the solution you've been looking for. This nifty revolving shoe rack not only maximizes storage space but also adds a touch of creativity to your home decor. Whether you're a seasoned DIY enthusiast or a novice looking for a fun project, creating a lazy Susan for your shoes can be a rewarding and practical endeavor.
In this step-by-step guide, we'll walk you through the process of crafting your very own shoe carousel. From gathering the necessary materials to assembling the components and adding the finishing touches, you'll learn how to transform basic supplies into a functional and stylish storage solution. So, roll up your sleeves, gather your tools, and let's dive into the world of DIY shoe organization!
Key Takeaways:
- DIY shoe carousel maximizes storage space and adds creativity to home decor. It’s a rewarding and practical project for both seasoned DIY enthusiasts and novices.
- Crafting a lazy Susan for shoes is a fun and satisfying endeavor, offering convenient and visually appealing storage for your favorite footwear.
Read more: How To Make A Lazy Susan
Materials Needed
Before embarking on this DIY project, it’s essential to gather all the necessary materials. Here’s a list of items you’ll need to create your own lazy Susan for shoes:
- 3/4-inch plywood or MDF (Medium Density Fiberboard) for the base and shelves
- Lazy Susan hardware kit, including a swivel plate and mounting screws
- Wood screws
- Wood glue
- Measuring tape
- Circular saw or jigsaw
- Drill with drill bits
- Sandpaper (medium and fine grit)
- Paint or wood stain
- Paintbrushes or foam rollers
- Protective gear such as safety goggles and gloves
These materials are readily available at most hardware stores and can be customized based on your preferences. Once you have all the supplies on hand, you’ll be well-equipped to commence the construction of your very own shoe carousel.
Step 1: Measure and Cut the Wood
The first step in creating your lazy Susan for shoes is to measure and cut the wood for the base and shelves. Start by determining the desired diameter of your revolving shoe rack. This will depend on the available space and the number of shoes you intend to store. Once you have the measurements, use a circular saw or jigsaw to cut a circular piece of 3/4-inch plywood or MDF to serve as the base of the lazy Susan.
Next, cut additional pieces of plywood or MDF to create the shelves for the shoe rack. The number of shelves you’ll need will depend on the height of your shoes and the total height of the lazy Susan. Ensure that the shelves are cut to the appropriate dimensions to accommodate different shoe sizes and styles.
Precision is key during this stage, so take your time to measure and cut the wood accurately. It’s advisable to use a straight edge or a compass to mark the cutting lines before using the saw. Remember, the success of the entire project hinges on the precision of these initial cuts.
Once you’ve cut the wood to the required dimensions, sand the edges of all the pieces to ensure a smooth finish. This will also help prevent any splinters or rough surfaces that could potentially damage your shoes. With the wood pieces cut and prepared, you’re now ready to move on to the next phase of the construction process.
Step 2: Assemble the Lazy Susan Base
With the wood pieces cut to size, it’s time to assemble the base of the lazy Susan. Begin by laying the circular plywood or MDF base on a flat surface. Apply a thin, even layer of wood glue to the top surface of the base. This will ensure a strong bond when attaching the shelves and additional components.
Next, position the first shelf on top of the base, ensuring that it is centered. Secure the shelf to the base by driving wood screws through the base and into the shelf from the underside. Repeat this process for the remaining shelves, ensuring that each one is evenly spaced and securely fastened to the base.
Once all the shelves are attached, flip the base over to expose the top surface. Use a drill to create a pilot hole in the center of the base. This hole will accommodate the lazy Susan hardware, allowing the entire shoe rack to rotate smoothly.
It’s important to check the alignment and stability of the shelves during this stage. Ensure that they are level and securely attached to the base to prevent any wobbling or instability once the lazy Susan is in use. Taking the time to assemble the base with precision will result in a sturdy and reliable foundation for your revolving shoe rack.
With the base assembled, you’re now ready to move on to the next step: attaching the lazy Susan hardware that will enable the smooth rotation of your DIY shoe carousel.
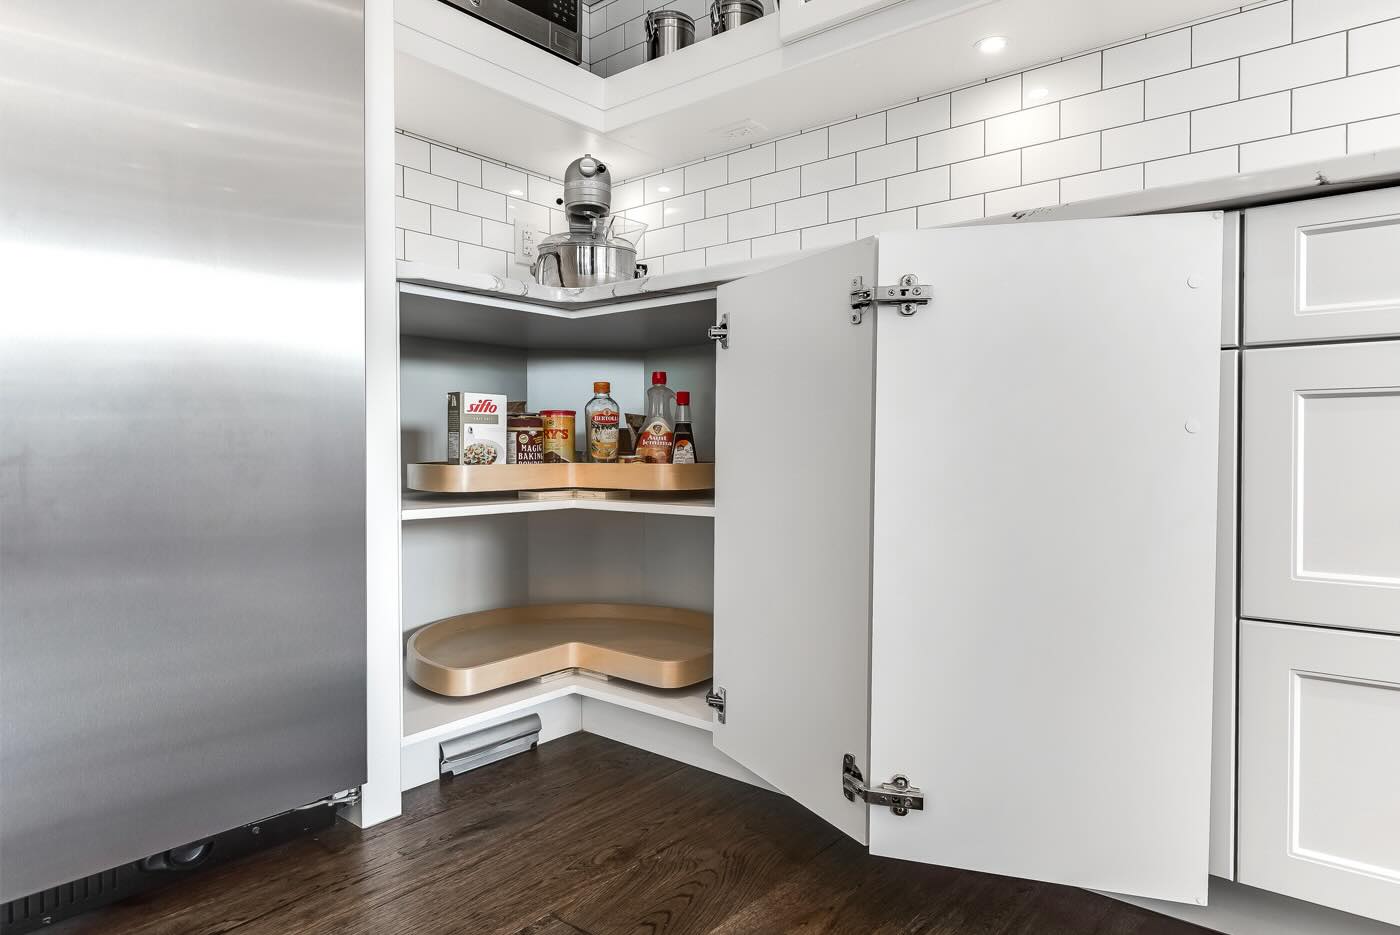
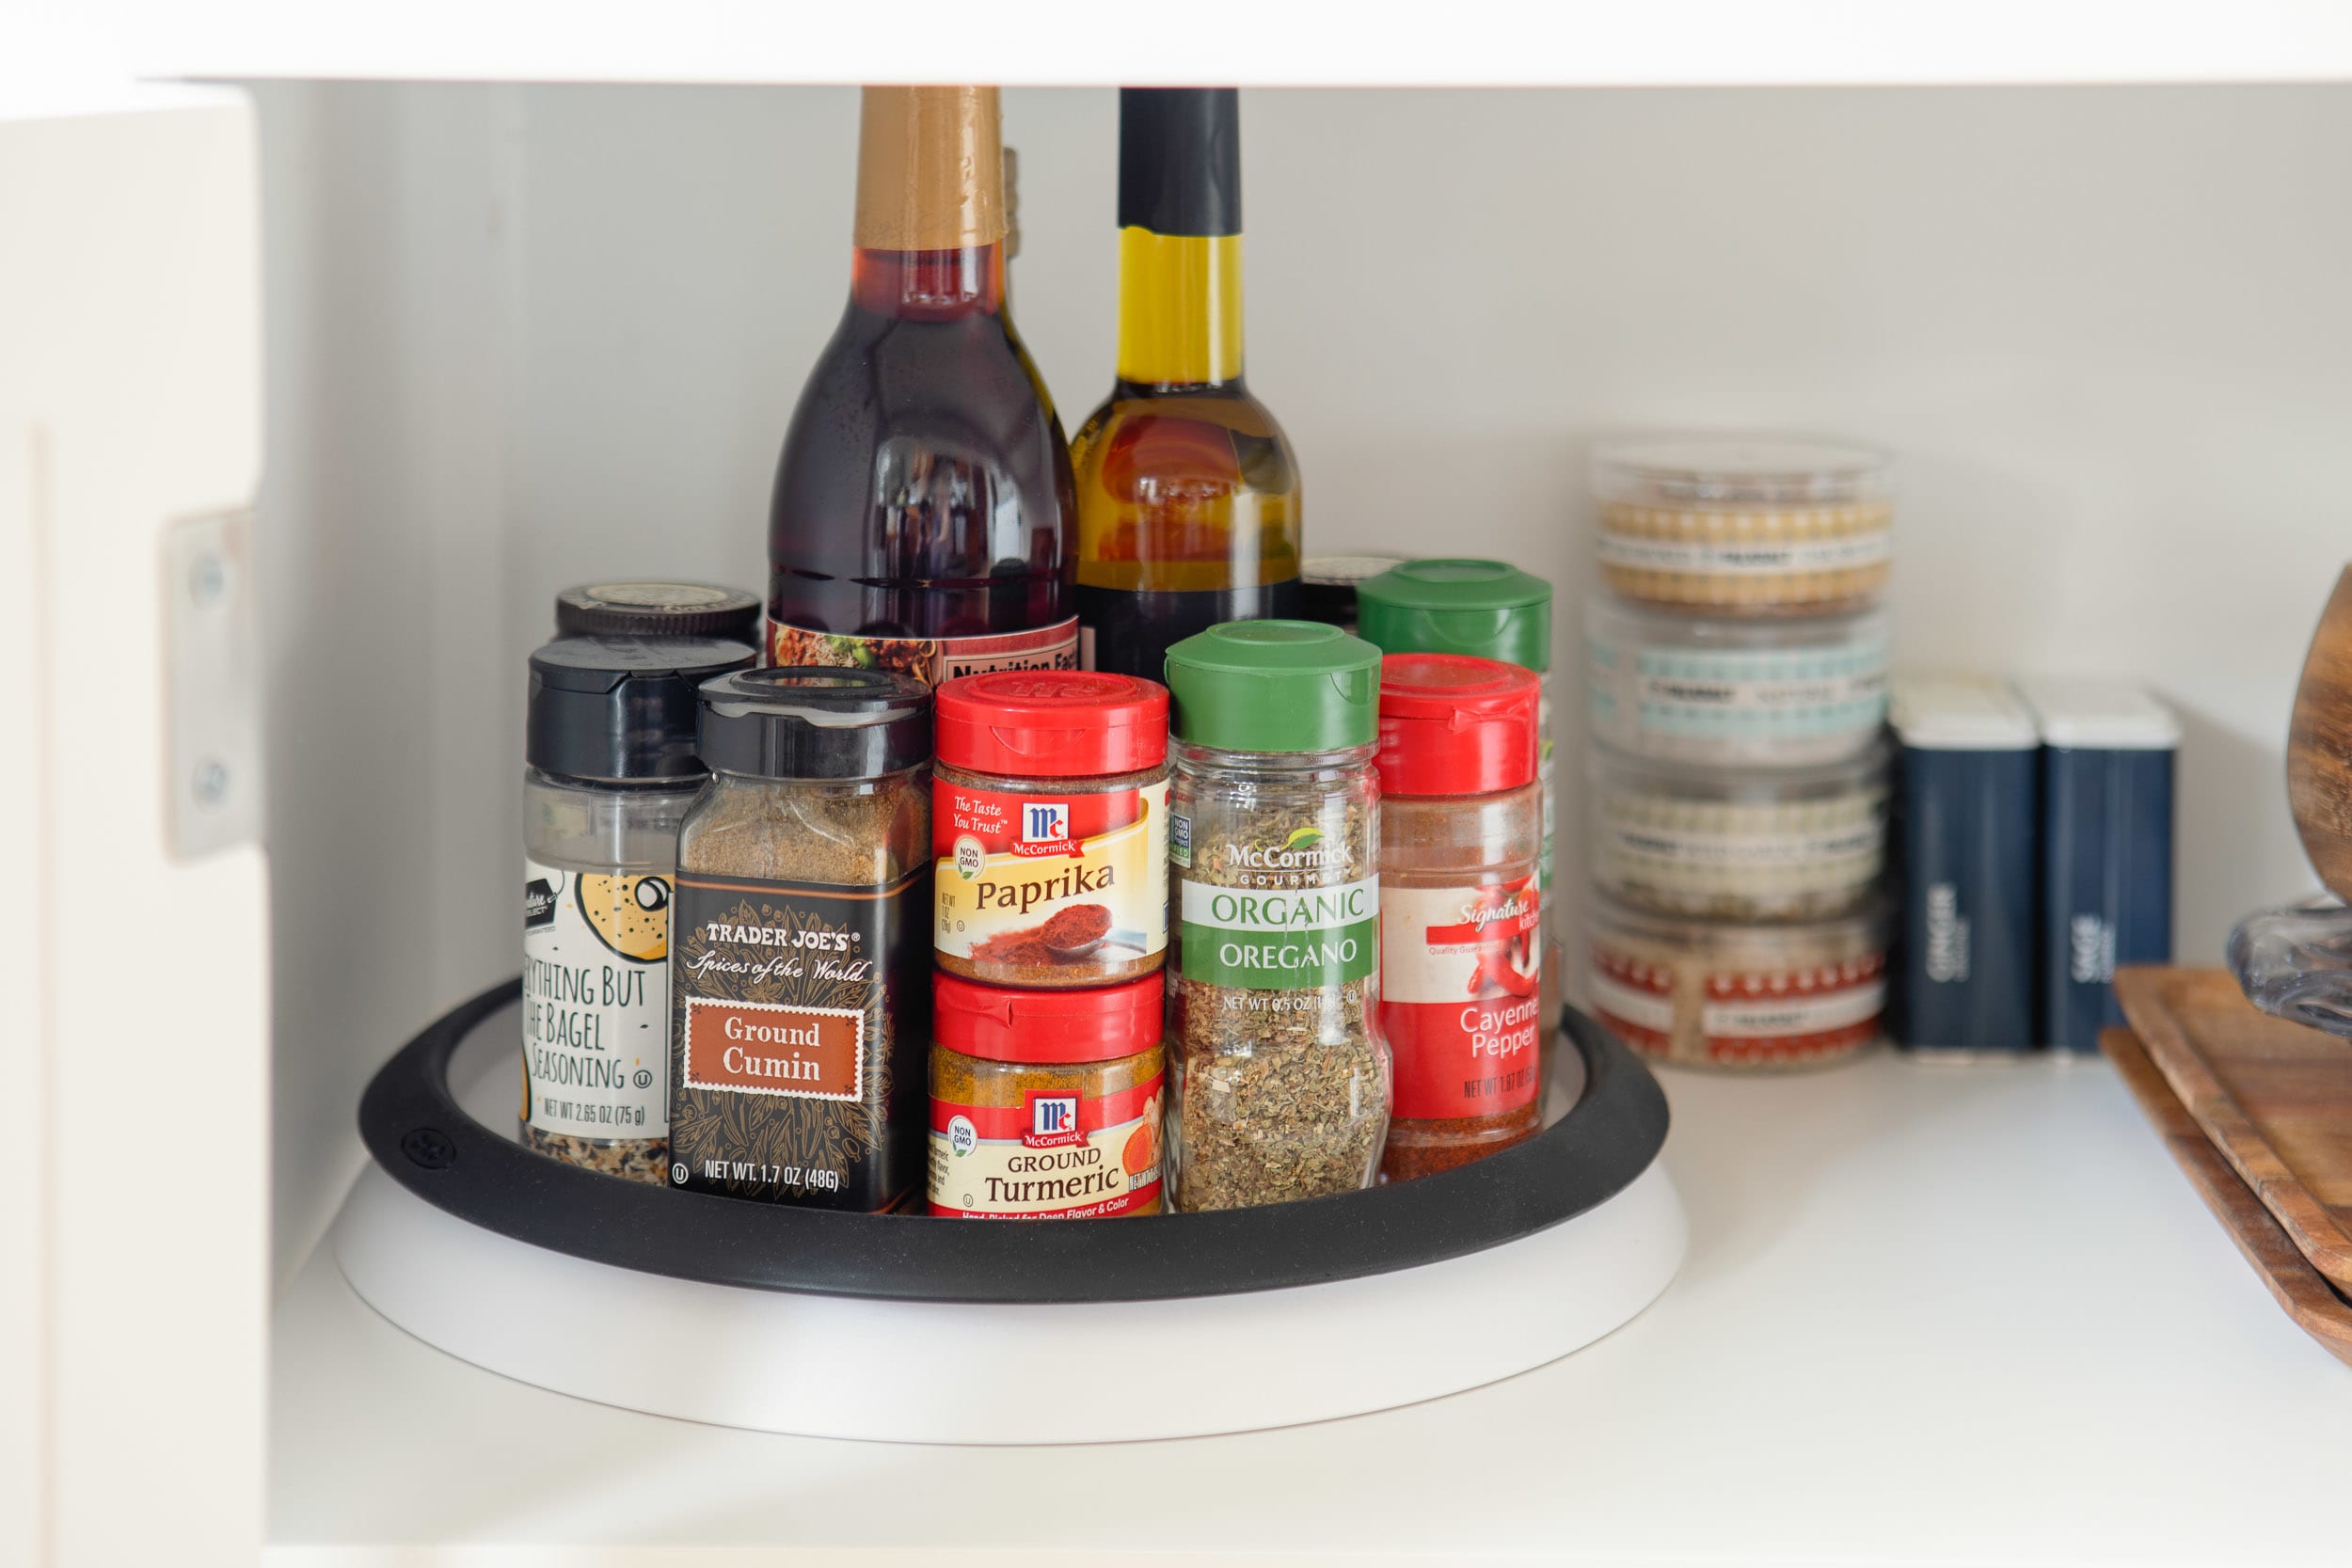
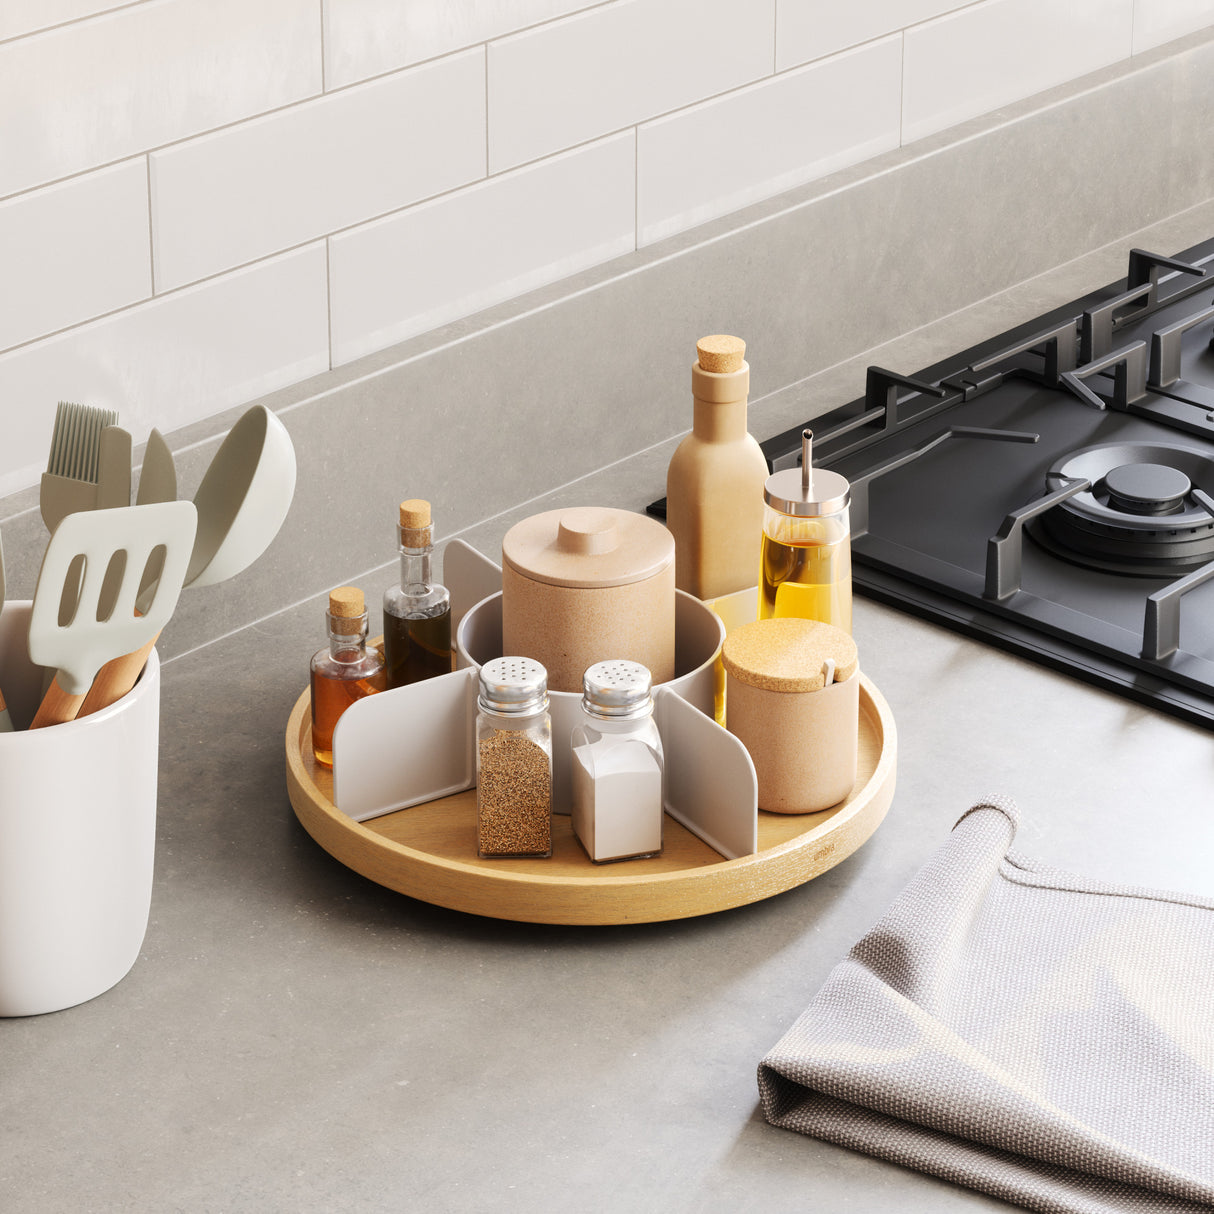
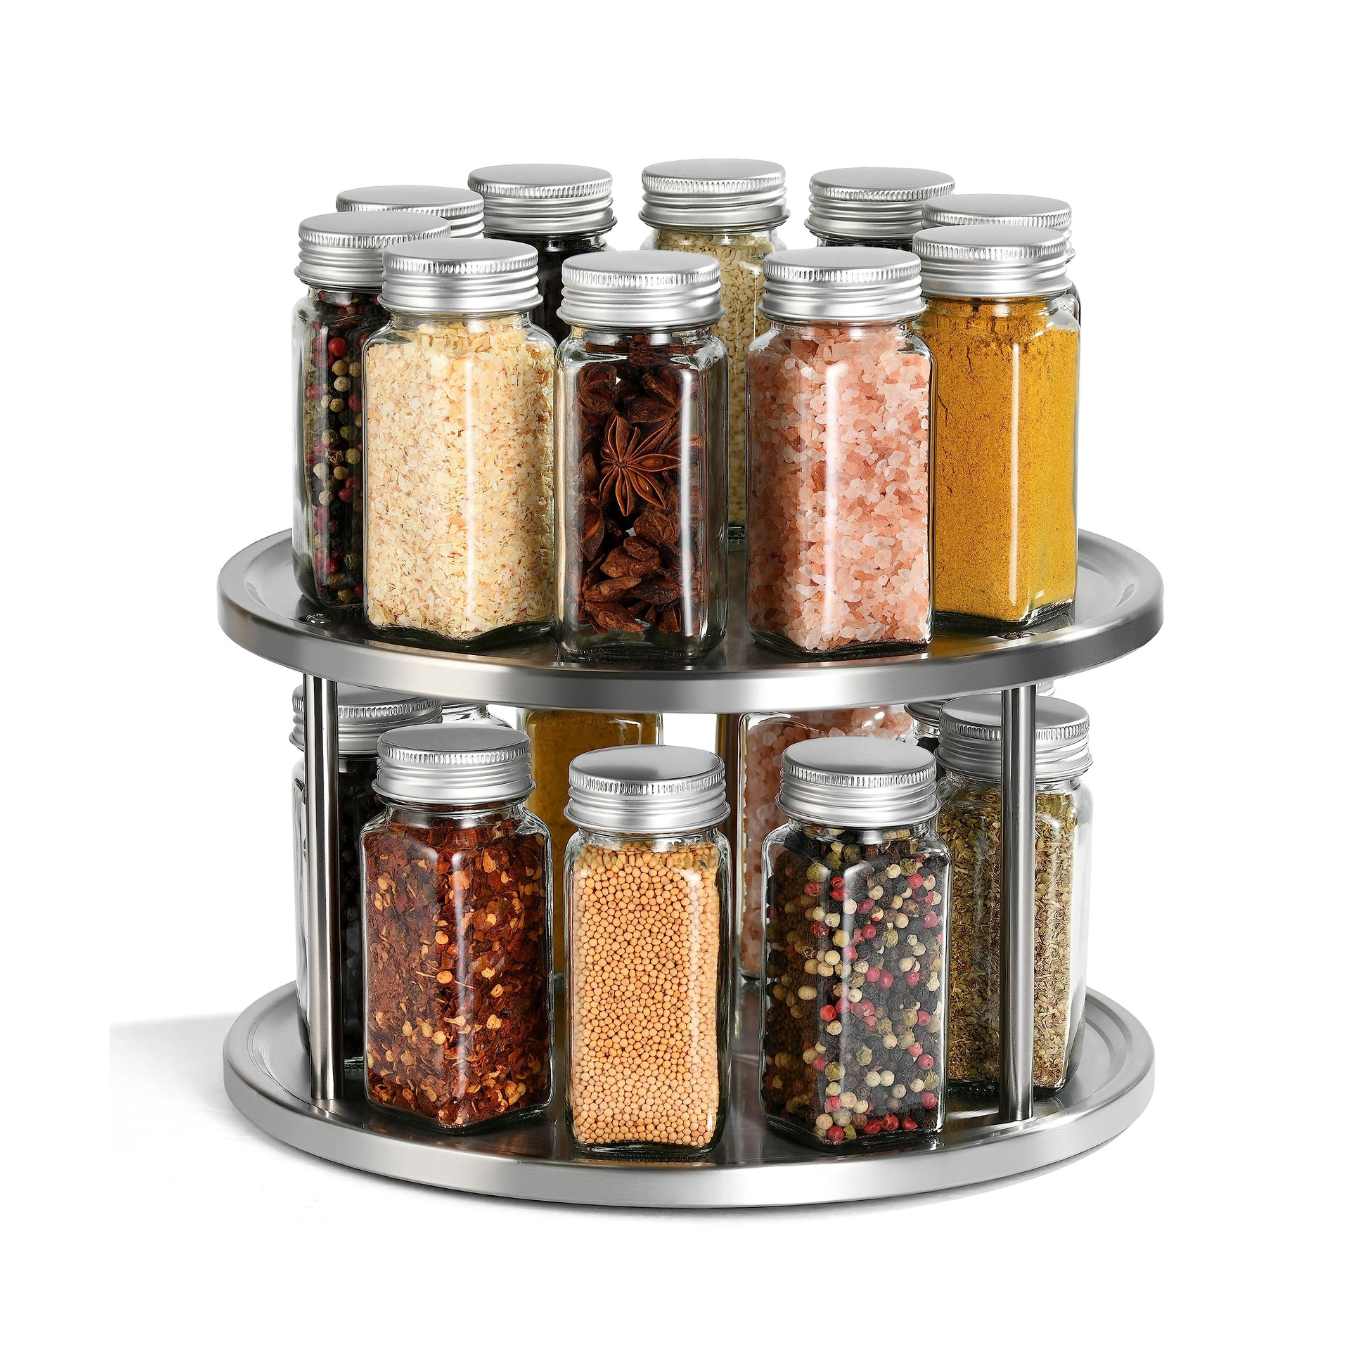
Consider using a sturdy base such as a wooden circle or a rotating platform, and attach a tall edge to prevent shoes from falling off. Use a rotating hardware to allow easy access to all shoes.
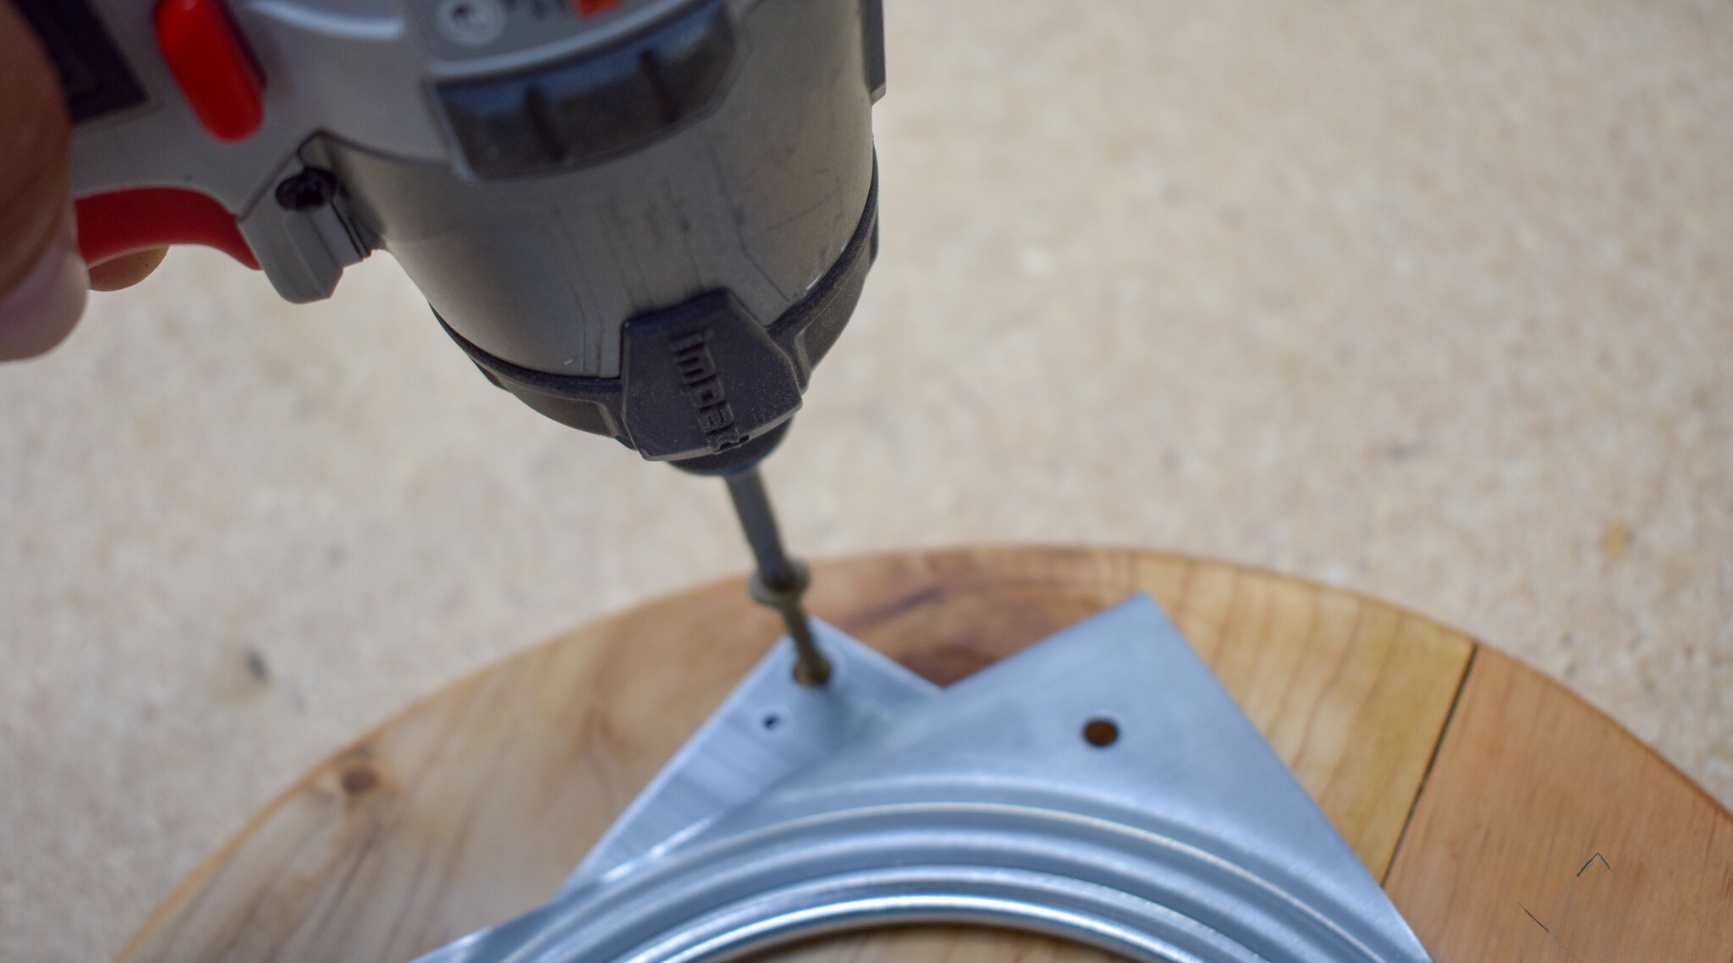
Step 3: Attach the Lazy Susan Hardware
Attaching the lazy Susan hardware is a crucial step in bringing your DIY shoe carousel to life. This hardware enables the smooth rotation of the entire shoe rack, allowing easy access to all your favorite footwear. To begin, place the swivel plate of the lazy Susan hardware on the top surface of the base, aligning it with the pilot hole created in the center. Use the provided mounting screws to secure the swivel plate to the base, ensuring a tight and stable connection.
Once the swivel plate is securely attached, it’s time to install the remaining components of the lazy Susan hardware. Depending on the specific kit you’ve chosen, this may involve adding additional bearings or support mechanisms to facilitate the rotation of the shoe rack. Follow the manufacturer’s instructions to ensure that all components are installed correctly and securely.
After attaching the hardware, test the rotation of the shoe rack to ensure that it moves smoothly and without any obstructions. This step is essential for identifying and addressing any potential issues before proceeding to the next stage of the construction process.
By attaching the lazy Susan hardware with precision and care, you’ll guarantee that your DIY shoe carousel operates flawlessly, providing convenient access to your shoe collection. With the hardware securely in place, you’re now ready to move on to the exciting stage of adding the shoe shelves to your revolving creation.
Read more: How To Childproof A Lazy Susan
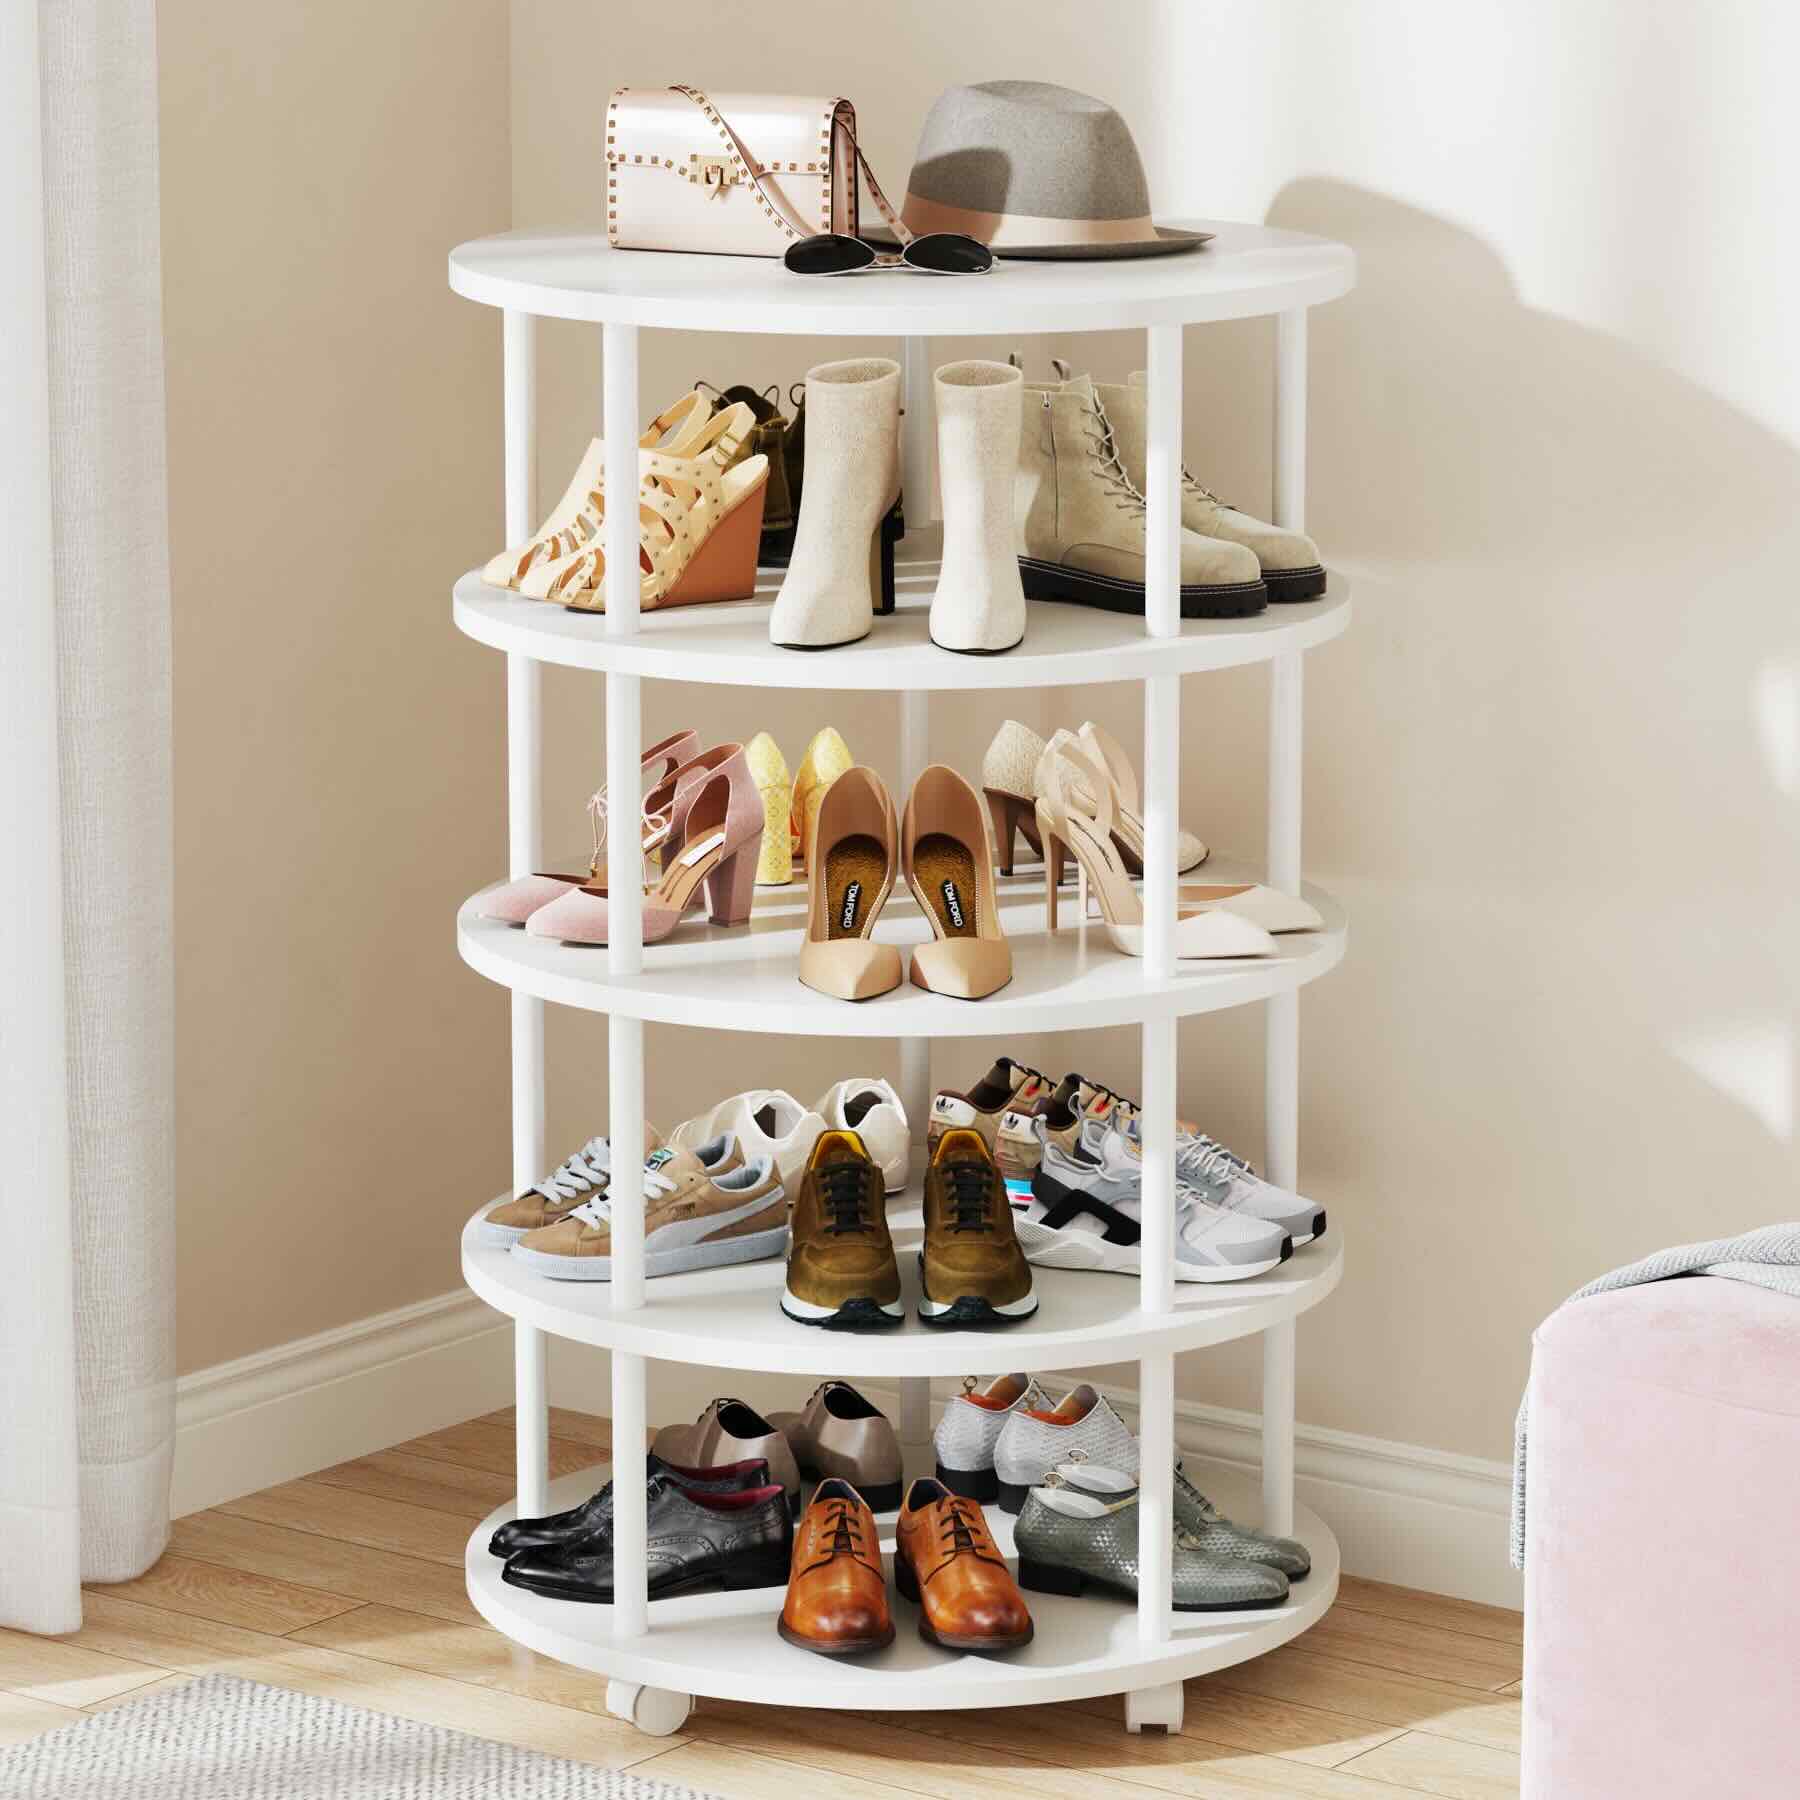
Step 4: Add the Shoe Shelves
Adding the shoe shelves is where your DIY shoe carousel begins to take shape. Start by placing the first shelf on top of the assembled base, ensuring that it sits securely on the swivel plate of the lazy Susan hardware. Once in position, use wood screws to attach the shelf to the swivel plate, ensuring a stable and secure connection. Repeat this process for each additional shelf, ensuring that they are evenly spaced and securely fastened to the swivel plate.
As you add the shelves, consider the spacing and arrangement to accommodate different types of shoes. Boots, heels, and sneakers may require varying amounts of space between shelves, so plan accordingly to maximize the functionality of your shoe carousel. Additionally, consider the height of the shoes when determining the distance between shelves, ensuring that there is ample room for each pair to be comfortably stored and accessed.
Once all the shelves are in place, test the rotation of the shoe carousel to ensure that each shelf moves smoothly without any obstructions. This step is essential for verifying that the shelves are properly aligned and securely attached to the swivel plate, allowing for effortless rotation of the entire shoe rack.
With the shoe shelves securely attached and the rotation tested, your DIY shoe carousel is now primed to accommodate your footwear collection. The addition of the shelves brings functionality and organization to your creation, setting the stage for the final steps of sanding and painting.
Step 5: Sand and Paint
Once the structural components of your DIY shoe carousel are in place, it’s time to add the finishing touches that will enhance its visual appeal and durability. Begin by sanding the entire surface of the shoe rack, including the base and shelves, using medium-grit sandpaper. This step serves to smooth out any rough edges, remove imperfections, and prepare the wood for the application of paint or stain.
After sanding, switch to fine-grit sandpaper to achieve a smooth and polished finish on the wood surfaces. Pay close attention to the edges and corners to ensure that they are free of any rough spots that could potentially snag or damage your shoes. Once the sanding process is complete, use a damp cloth to remove any dust or debris from the surfaces of the shoe carousel.
With the surfaces prepared, it’s time to apply the finishing touches with paint or wood stain. Choose a color that complements your home decor and personal style. Apply the paint or stain evenly across the entire surface of the shoe carousel, ensuring complete coverage and a smooth finish. Multiple coats may be necessary to achieve the desired color and level of protection for the wood.
Once the paint or stain has dried, consider adding a protective clear coat to safeguard the wood and enhance its longevity. This final layer will provide an added level of durability, ensuring that your DIY shoe carousel withstands the test of time while maintaining its visual appeal.
With the sanding and painting process complete, step back and admire your handiwork. Your DIY shoe carousel is now ready to take its place as a functional and stylish addition to your home, providing convenient and organized storage for your beloved shoe collection.
Conclusion
Congratulations on completing your DIY shoe carousel! By following this step-by-step guide, you’ve transformed basic materials into a functional and stylish storage solution for your shoe collection. Your custom-made lazy Susan for shoes not only maximizes storage space but also adds a touch of creativity to your home decor.
As you admire your handiwork, take a moment to appreciate the practicality and ingenuity of this revolving shoe rack. With its smooth rotation and organized shelves, your DIY creation offers a convenient and visually appealing way to store and access your favorite footwear.
Whether you’re a seasoned DIY enthusiast or a novice looking for a fun project, the process of crafting a lazy Susan for your shoes is a rewarding endeavor. From measuring and cutting the wood to assembling the base, attaching the lazy Susan hardware, adding the shoe shelves, and applying the finishing touches, each step has contributed to the creation of a unique and personalized storage solution.
As you integrate your new shoe carousel into your home, revel in the satisfaction of having built a practical and aesthetically pleasing addition to your living space. Your DIY shoe carousel not only serves as a functional storage solution but also showcases your creativity and craftsmanship.
So, put your best foot forward and enjoy the convenience and organization that your DIY shoe carousel brings to your daily routine. Whether you’re storing sneakers, boots, or heels, your revolving shoe rack will add a touch of flair to your home while keeping your footwear collection neatly organized and easily accessible.
Embrace the sense of accomplishment that comes with completing a DIY project, and let your custom-made lazy Susan for shoes stand as a testament to your creativity and practicality. Cheers to your newfound storage solution and the joy of showcasing your DIY prowess!
Frequently Asked Questions about How To Make A Lazy Susan For Shoes
Was this page helpful?
At Storables.com, we guarantee accurate and reliable information. Our content, validated by Expert Board Contributors, is crafted following stringent Editorial Policies. We're committed to providing you with well-researched, expert-backed insights for all your informational needs.


0 thoughts on “How To Make A Lazy Susan For Shoes”