Home>Furniture & Design>Kitchen Furniture>How To Make A Budget-Friendly Lazy Susan

Kitchen Furniture
How To Make A Budget-Friendly Lazy Susan
Modified: August 17, 2024
Learn how to create a budget-friendly lazy Susan for your kitchen with our easy DIY guide. Upgrade your kitchen furniture and design without breaking the bank!
(Many of the links in this article redirect to a specific reviewed product. Your purchase of these products through affiliate links helps to generate commission for Storables.com, at no extra cost. Learn more)
Introduction
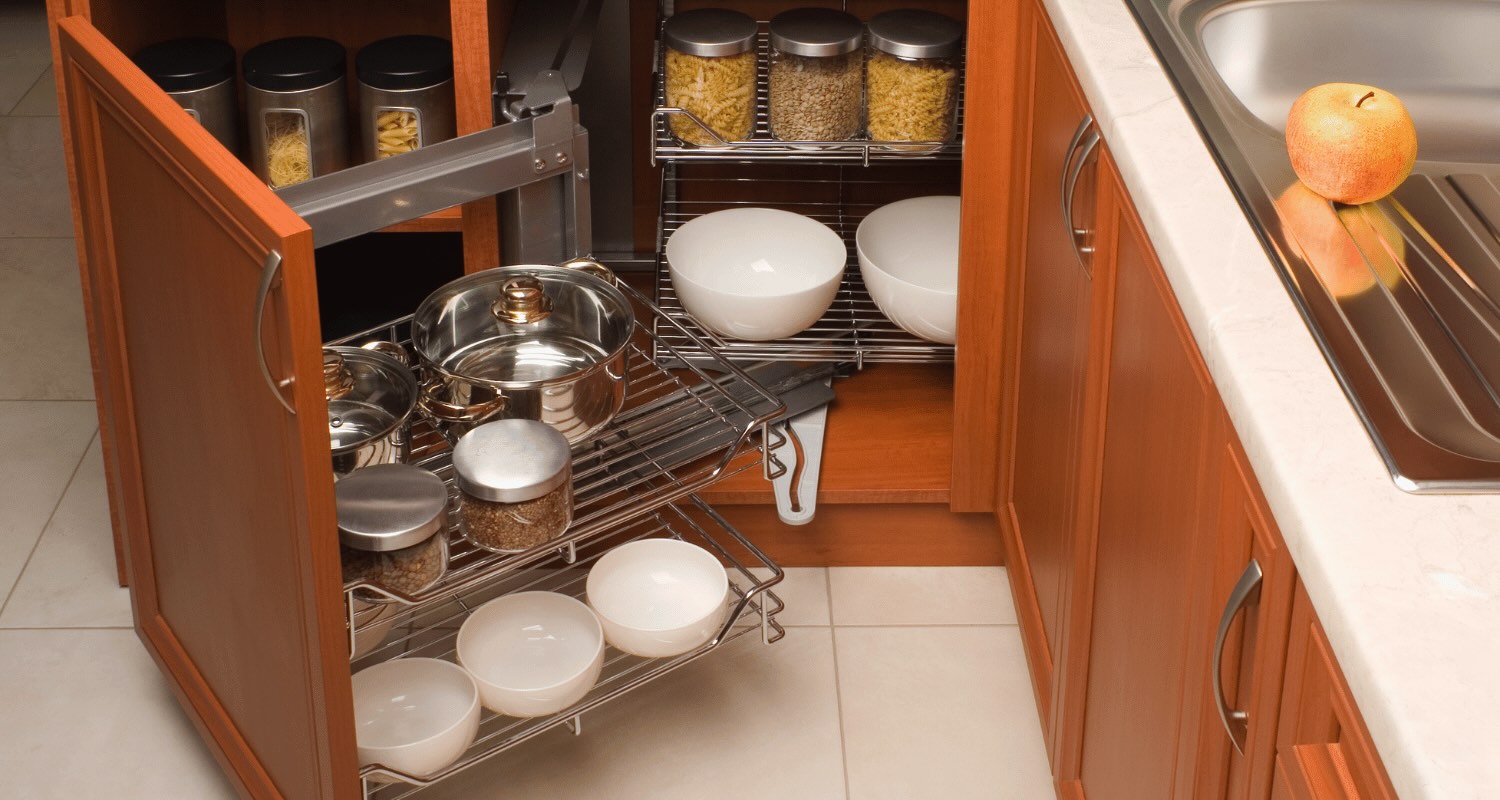
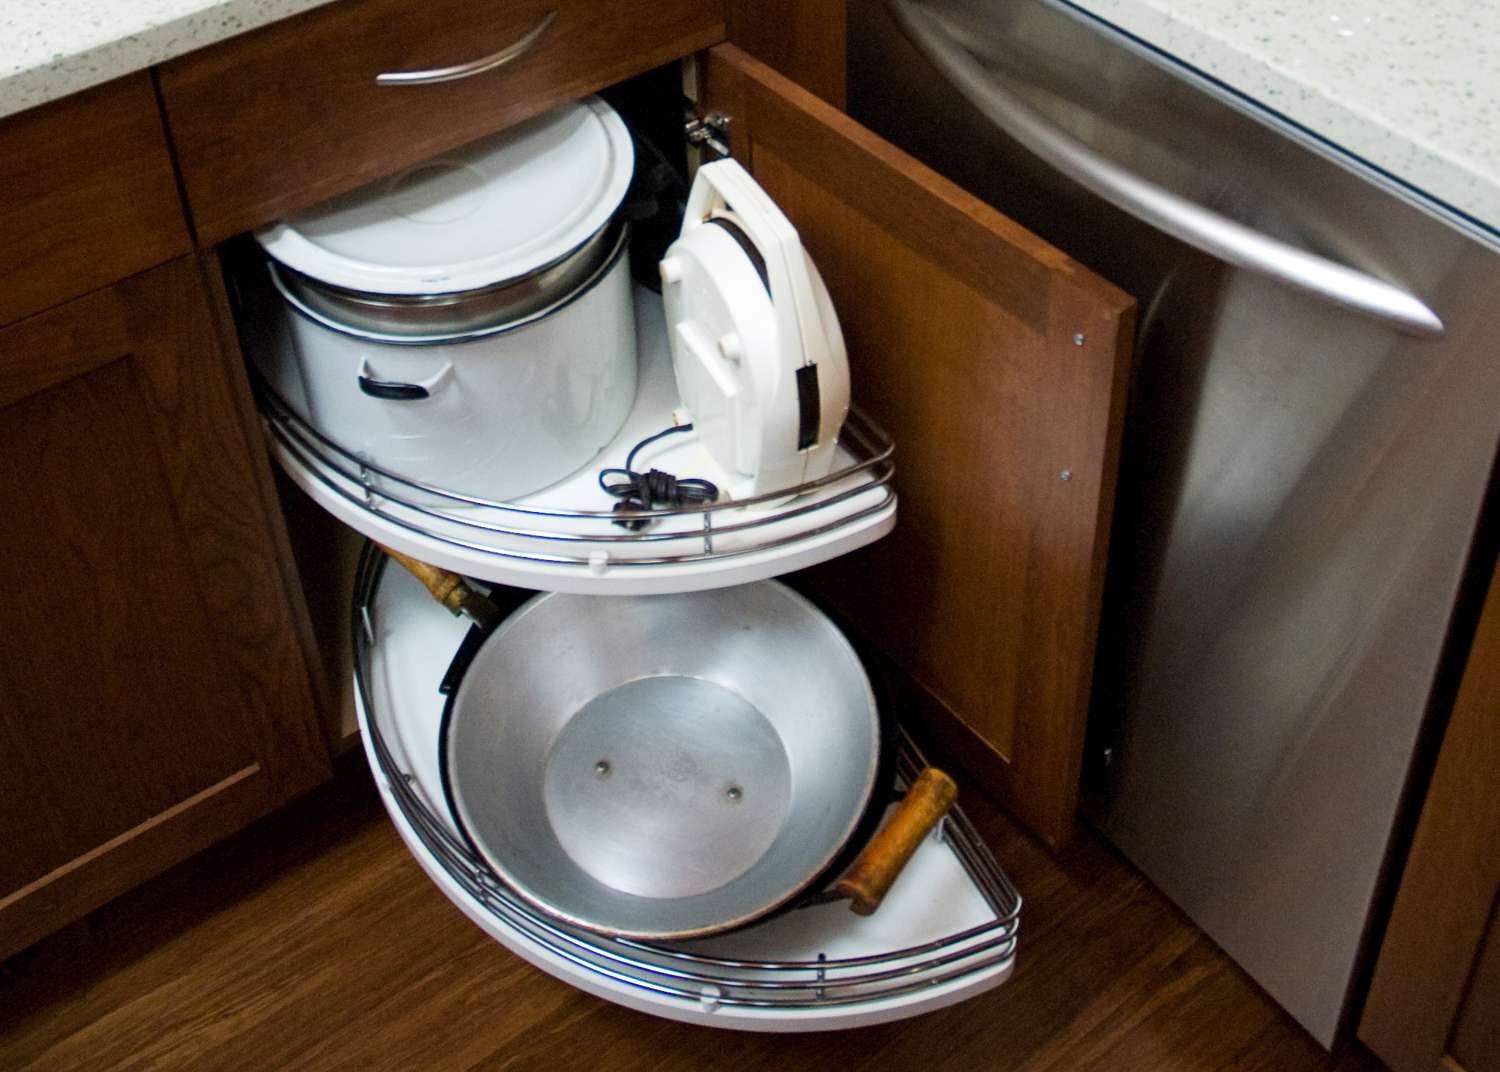
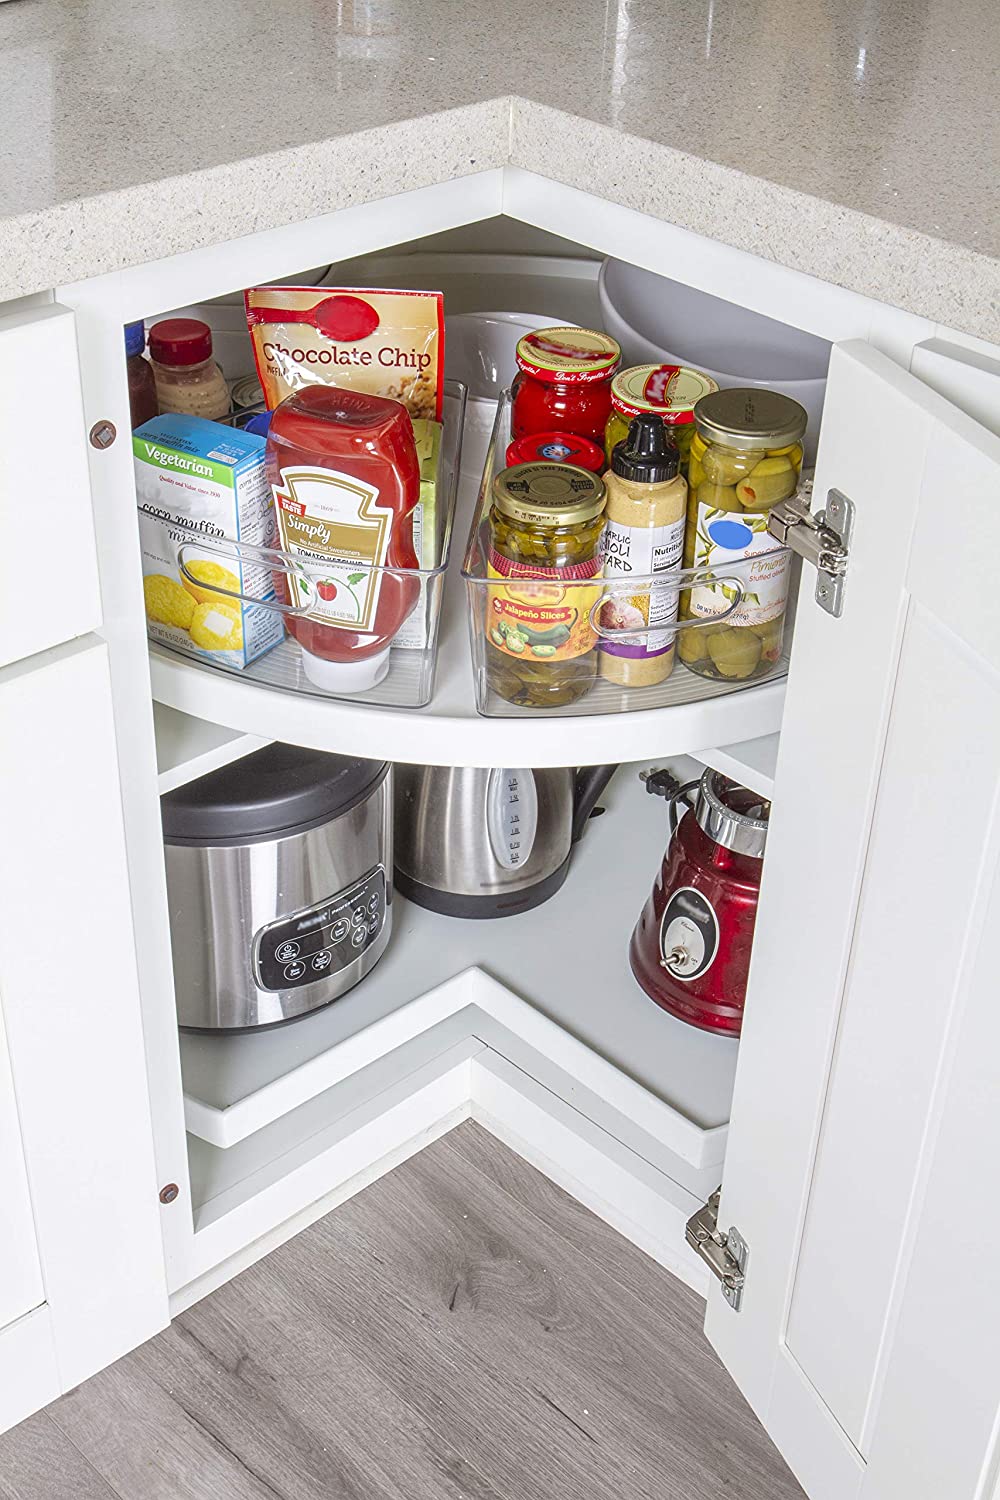
Are you looking to add a touch of convenience and functionality to your kitchen without breaking the bank? A budget-friendly lazy Susan might just be the solution you need. This simple yet ingenious kitchen accessory can transform your cooking and dining experience by providing easy access to a variety of items stored in cabinets or on countertops. In this guide, we will walk you through the process of creating your very own lazy Susan, offering practical tips and insights along the way.
Whether you're a seasoned DIY enthusiast or just starting to dabble in the world of woodworking, crafting a lazy Susan can be a rewarding and enjoyable project. Not only does it allow you to showcase your creativity and practical skills, but it also offers a cost-effective way to enhance the organization and efficiency of your kitchen space.
By following the steps outlined in this guide and utilizing readily available materials, you can craft a custom lazy Susan that fits seamlessly into your kitchen decor while meeting your specific storage and accessibility needs. From measuring and cutting the wood to assembling the lazy Susan base and adding the finishing touches, each step is designed to be approachable and achievable for DIY enthusiasts of all levels.
So, roll up your sleeves, gather your materials, and get ready to embark on a fun and fulfilling journey of creating a budget-friendly lazy Susan that will elevate the functionality and style of your kitchen. Let's dive in and explore the step-by-step process of bringing this practical and versatile kitchen accessory to life.
Key Takeaways:
- Craft your own budget-friendly lazy Susan to enhance kitchen organization and accessibility, showcasing your DIY skills and adding a touch of personalized style to your culinary space.
- Enjoy the convenience of a custom-crafted lazy Susan, optimizing cabinet and countertop space while simplifying meal preparation and showcasing your resourcefulness in creating a practical and stylish kitchen accessory.
Read more: How To Make A Lazy Susan
Materials Needed
Before diving into the construction of your budget-friendly lazy Susan, it’s essential to gather all the necessary materials. By ensuring that you have everything on hand, you can streamline the crafting process and minimize interruptions. Here’s a comprehensive list of the materials you’ll need:
- Wooden board or plywood: Choose a sturdy and smooth wooden board or plywood sheet that will serve as the base of your lazy Susan. The size can vary based on your preferences and the available space in your kitchen.
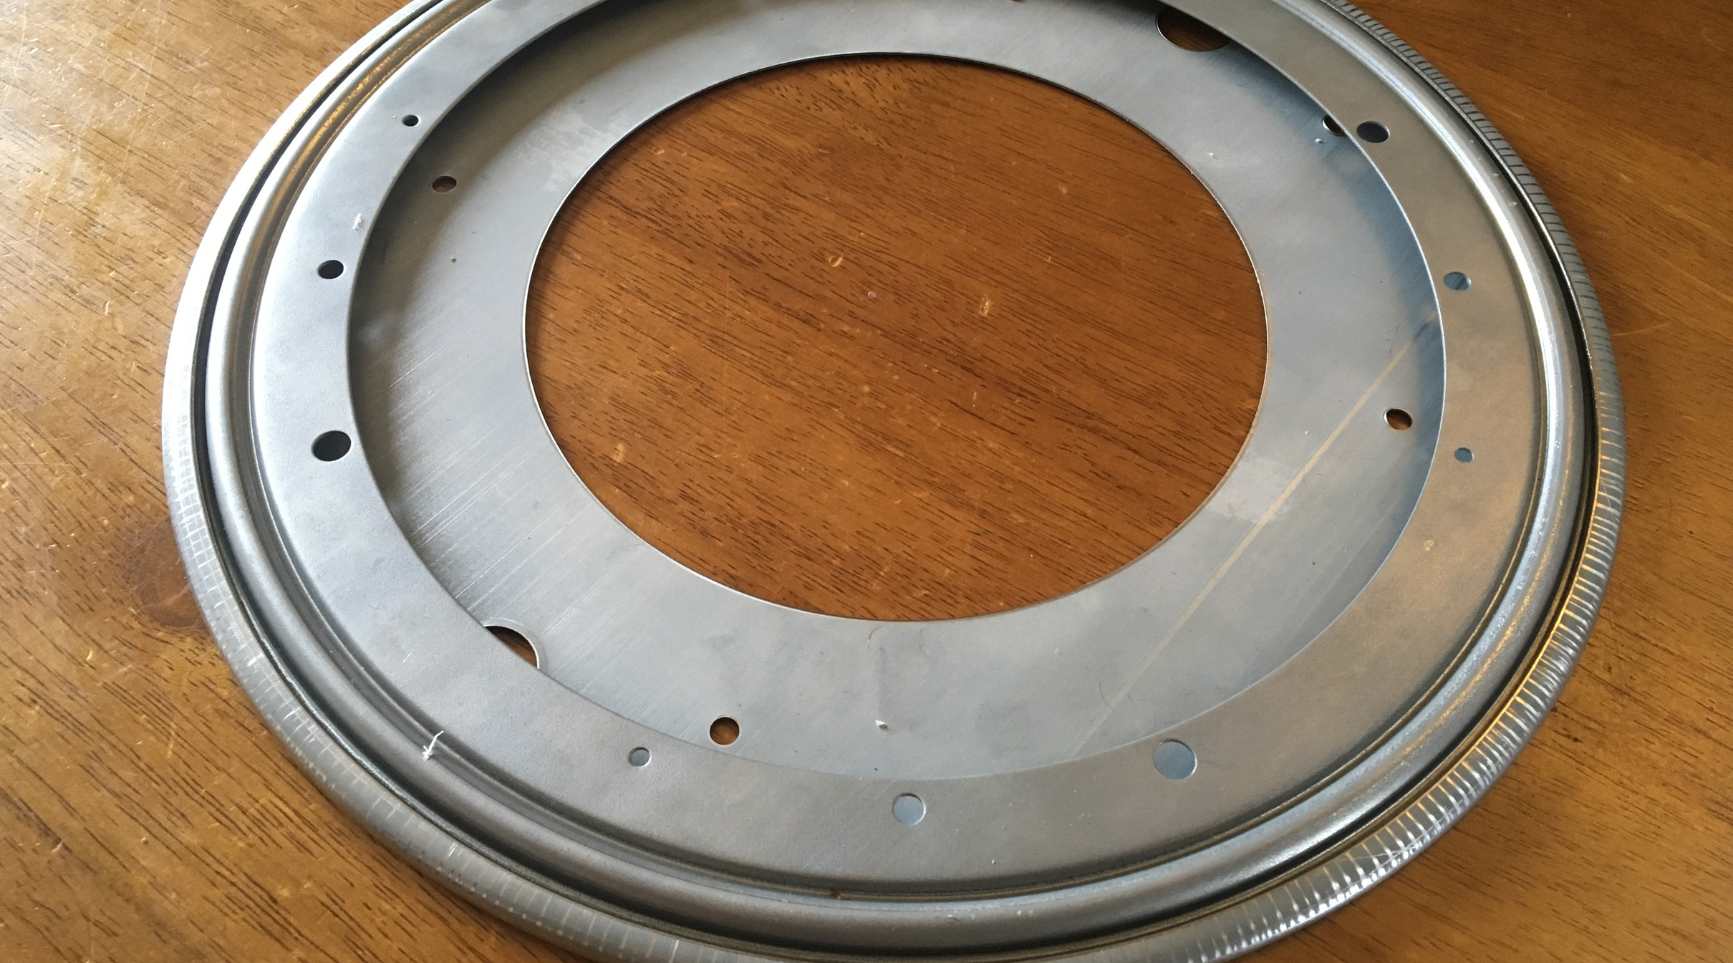
- Lazy Susan bearing: This pivotal component enables the smooth rotation of the lazy Susan. Opt for a high-quality bearing that can support the weight of the items you plan to store on the rotating platform.
- Sandpaper: Select fine-grit sandpaper to ensure that the wooden surfaces are smooth and free from any rough edges or imperfections.
- Wood glue: A reliable wood adhesive will be essential for securing the components of the lazy Susan base, ensuring durability and stability.
- Finishing materials: Depending on your aesthetic preferences, you may choose to use wood stain, paint, or varnish to finish the wooden surfaces and enhance their appearance.
- Protective equipment: To ensure safety during the construction process, gather protective gear such as safety goggles, a dust mask, and gloves.
- Measuring tape and ruler: Accurate measurements are crucial for creating a well-proportioned lazy Susan, so having these tools on hand is essential.
- Saw: Depending on the initial size of the wooden board or plywood, you may need a saw to cut it to the desired dimensions.
- Paintbrushes or applicators: If you opt for a painted or stained finish, having the appropriate brushes or applicators will facilitate the application process.
- Cloth or sponge: This will be useful for applying the wood finish evenly and wiping away any excess material.
By gathering these materials before you begin, you’ll be well-prepared to embark on the construction of your budget-friendly lazy Susan. With these essentials at your disposal, you can proceed with confidence, knowing that you have everything needed to bring this practical and stylish kitchen accessory to life.
Step 1: Measure and Cut the Wood
The first step in creating your budget-friendly lazy Susan involves measuring and cutting the wooden board or plywood to the desired size. This foundational stage sets the stage for the construction of the rotating platform, dictating its dimensions and overall functionality. Follow these guidelines to ensure precision and accuracy in this crucial phase of the project:
- Measure the space: Begin by assessing the area where you intend to place the lazy Susan. Consider the available space within cabinets or on countertops, taking into account any obstructions or spatial limitations.
- Determine the diameter: Based on the available space and your storage needs, decide on the diameter of the lazy Susan. Common sizes range from 12 inches to 24 inches, but you can customize the dimensions to suit your specific requirements.
- Mark and cut the wood: Using a measuring tape, mark the dimensions of the circular platform on the wooden board or plywood. With the aid of a saw, carefully cut along the marked lines to create a precise circular shape. If you’re using a jigsaw, ensure that the blade is suitable for cutting wood and move it steadily along the marked outline.
- Smooth the edges: After cutting the wood, use fine-grit sandpaper to smooth the edges of the circular platform. This step is crucial for achieving a seamless and polished finish, ensuring that the lazy Susan rotates smoothly without any rough or uneven edges.
By meticulously measuring and cutting the wood to the specified dimensions, you lay the groundwork for a well-crafted and functional lazy Susan. This step sets the stage for the subsequent assembly and finishing processes, bringing you one step closer to enjoying the convenience and versatility of this kitchen essential.
Step 2: Sand the Wood
Once you have cut the wooden board or plywood to the desired dimensions for your budget-friendly lazy Susan, the next crucial step is to sand the wood. This process plays a pivotal role in ensuring a smooth and flawless surface, laying the foundation for a visually appealing and functional rotating platform. Here’s a detailed guide to sanding the wood effectively:
- Select the right sandpaper: Choose fine-grit sandpaper, such as 120 to 220 grit, to achieve a smooth finish without causing unnecessary abrasion to the wood.
- Sand the surfaces: Begin by sanding both sides of the wooden platform, focusing on the areas that were cut and any rough edges. Use even and consistent strokes to gradually refine the surface, paying attention to detail to ensure a uniform texture.
- Round the edges: To prevent any sharp edges and enhance the visual appeal of the lazy Susan, gently sand the outer edges of the circular platform. This step contributes to a more polished and professional finish, creating a pleasing tactile experience when handling the rotating surface.
- Remove dust and debris: After sanding, use a clean cloth or a soft brush to remove any residual dust and wood particles from the surface. This preparation is essential for the subsequent steps, particularly when applying a wood finish or protective coating.
By diligently sanding the wood, you pave the way for a refined and visually appealing lazy Susan that boasts a flawless surface. This meticulous attention to detail not only enhances the aesthetic quality of the rotating platform but also contributes to its smooth functionality, ensuring seamless rotation and easy access to stored items.
With the wood now expertly sanded, you’re ready to proceed to the next phase of assembling the lazy Susan base, bringing you closer to the completion of this practical and stylish kitchen accessory.
When making a budget-friendly lazy susan, consider using materials you already have at home, such as a spare piece of wood or an old cake pan, to save on costs.
Step 3: Assemble the Lazy Susan Base
With the wooden platform for your budget-friendly lazy Susan expertly cut and sanded, it’s time to embark on the assembly of the base. This pivotal step lays the groundwork for the smooth rotation and stability of the lazy Susan, ensuring that it seamlessly integrates into your kitchen space. Follow these guidelines to assemble the base with precision and efficiency:
- Position the lazy Susan bearing: Place the lazy Susan bearing at the center of the wooden platform, aligning it meticulously to ensure that it sits flush with the edges. This bearing serves as the pivotal point for the rotating mechanism, enabling the smooth and effortless movement of the lazy Susan.
- Secure the bearing: Using wood glue or screws, affix the lazy Susan bearing firmly to the wooden platform. Ensure that it is securely attached and level, as this will directly impact the stability and functionality of the rotating base.
- Reinforce the base: To enhance the durability and weight-bearing capacity of the lazy Susan, consider adding additional support to the underside of the wooden platform. This can be achieved by attaching triangular wooden braces or reinforcing blocks, providing added stability and structural integrity.
- Test the rotation: Once the base is assembled, test the rotation of the lazy Susan to ensure that it moves smoothly and effortlessly. This step allows you to identify and address any potential issues before proceeding to the finishing phase.
By meticulously assembling the base of your budget-friendly lazy Susan, you set the stage for a reliable and functional kitchen accessory that will streamline your storage and accessibility needs. The careful execution of this step ensures that the rotating platform operates seamlessly, providing easy access to items stored within cabinets or on countertops.
With the base now expertly assembled, you’re ready to move on to the next phase of attaching the finishing details and completing the budget-friendly lazy Susan, bringing you one step closer to enjoying the convenience and practicality of this versatile kitchen essential.
Read more: How To Measure A Lazy Susan
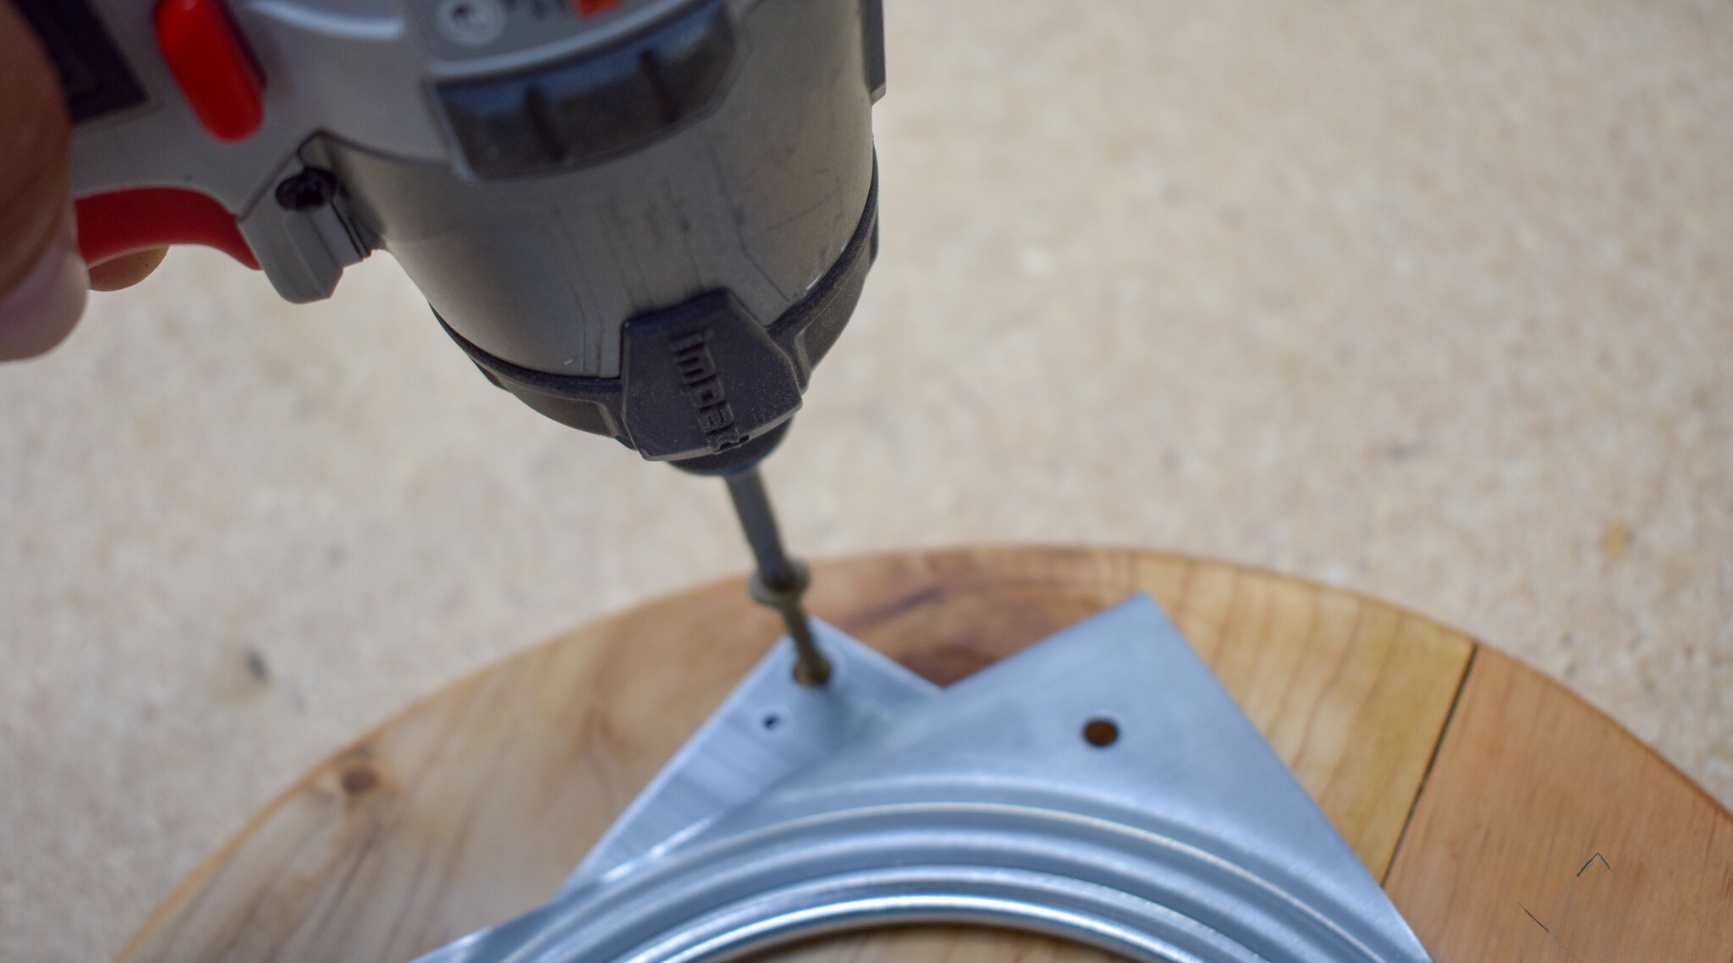
Step 4: Attach the Lazy Susan Bearing
As you progress in the construction of your budget-friendly lazy Susan, the next crucial step involves attaching the lazy Susan bearing. This pivotal component forms the core of the rotating mechanism, enabling seamless movement and easy access to stored items. By following these detailed guidelines, you can ensure the secure attachment of the bearing, laying the foundation for the smooth and reliable operation of your lazy Susan:
- Position the bearing: Place the lazy Susan bearing at the center of the assembled base, ensuring that it is aligned precisely to facilitate balanced rotation. The positioning of the bearing is critical for achieving optimal stability and functionality.
- Secure the bearing: Utilize screws or bolts to affix the lazy Susan bearing securely to the base, ensuring that it is firmly attached and level. Pay close attention to the fastening process, as the stability of the bearing directly impacts the smoothness and reliability of the rotating platform.
- Test the rotation: After attaching the lazy Susan bearing, conduct a thorough test of the rotating mechanism to verify its smooth and unhindered movement. This step allows you to identify and address any potential issues, ensuring that the lazy Susan operates flawlessly.
- Apply lubrication (optional): For enhanced performance and longevity, consider applying a small amount of lubricant to the lazy Susan bearing. This can contribute to smoother rotation and reduced friction, further optimizing the functionality of the kitchen accessory.
By meticulously attaching the lazy Susan bearing to the base, you establish a solid foundation for a reliable and efficient rotating platform. This step is instrumental in ensuring that the lazy Susan operates seamlessly, providing easy access to stored items and enhancing the overall functionality of your kitchen space.
With the lazy Susan bearing now securely attached, you’re poised to move forward in the construction process, bringing you closer to the completion of your budget-friendly lazy Susan. The careful execution of this step sets the stage for a practical and stylish addition to your kitchen, designed to streamline your daily culinary activities with ease and convenience.
Step 5: Finish the Lazy Susan
As you near the completion of your budget-friendly lazy Susan, the final step involves adding the finishing touches to enhance its visual appeal and durability. This phase allows you to customize the appearance of the rotating platform, ensuring that it seamlessly integrates into your kitchen while withstanding the rigors of daily use. Follow these comprehensive guidelines to finish the lazy Susan with finesse and precision:
- Apply wood finish: Depending on your aesthetic preferences, choose a suitable wood finish, such as varnish, paint, or stain, to coat the surface of the lazy Susan. Apply the finish evenly using a paintbrush or applicator, ensuring comprehensive coverage and a smooth, lustrous appearance.
- Allow for drying time: After applying the wood finish, allow the lazy Susan to dry thoroughly in a well-ventilated area. Follow the manufacturer’s instructions regarding the recommended drying time to achieve optimal results.
- Inspect and touch up: Once the finish has dried, inspect the surface of the lazy Susan for any imperfections or uneven areas. If necessary, lightly sand any rough spots and apply an additional coat of finish to achieve a flawless result.
- Protective coating (optional): Consider applying a protective coating, such as polyurethane, to safeguard the surface of the lazy Susan against moisture, heat, and daily wear and tear. This additional layer of protection can prolong the lifespan of the rotating platform and preserve its aesthetic appeal.
- Reassemble the lazy Susan: If any components were removed during the finishing process, reassemble the lazy Susan, ensuring that the rotating mechanism operates smoothly and effortlessly. Conduct a final test of the rotation to confirm its seamless functionality.
By meticulously finishing the lazy Susan with attention to detail and precision, you elevate its visual allure and fortify its resilience, ensuring that it stands as a practical and stylish addition to your kitchen. This final phase of the construction process culminates in a fully realized budget-friendly lazy Susan, ready to enhance the organization and accessibility of your culinary space.
With the finishing touches expertly applied, your budget-friendly lazy Susan is now poised to take its place as a versatile and indispensable kitchen accessory, designed to streamline your daily culinary activities with ease and elegance. Embrace the functional and aesthetic benefits of this custom-crafted rotating platform, and revel in the convenience it brings to your cooking and dining experiences.
Conclusion
Congratulations on completing the construction of your budget-friendly lazy Susan! Through meticulous craftsmanship and attention to detail, you’ve transformed basic materials into a practical and stylish kitchen accessory that promises to elevate the functionality and organization of your culinary space. As you reflect on the journey from measuring and cutting the wood to adding the finishing touches, it’s evident that the creation of a custom lazy Susan is not only achievable but also immensely rewarding.
By incorporating the following elements into your kitchen, you can expect to enjoy a myriad of benefits:
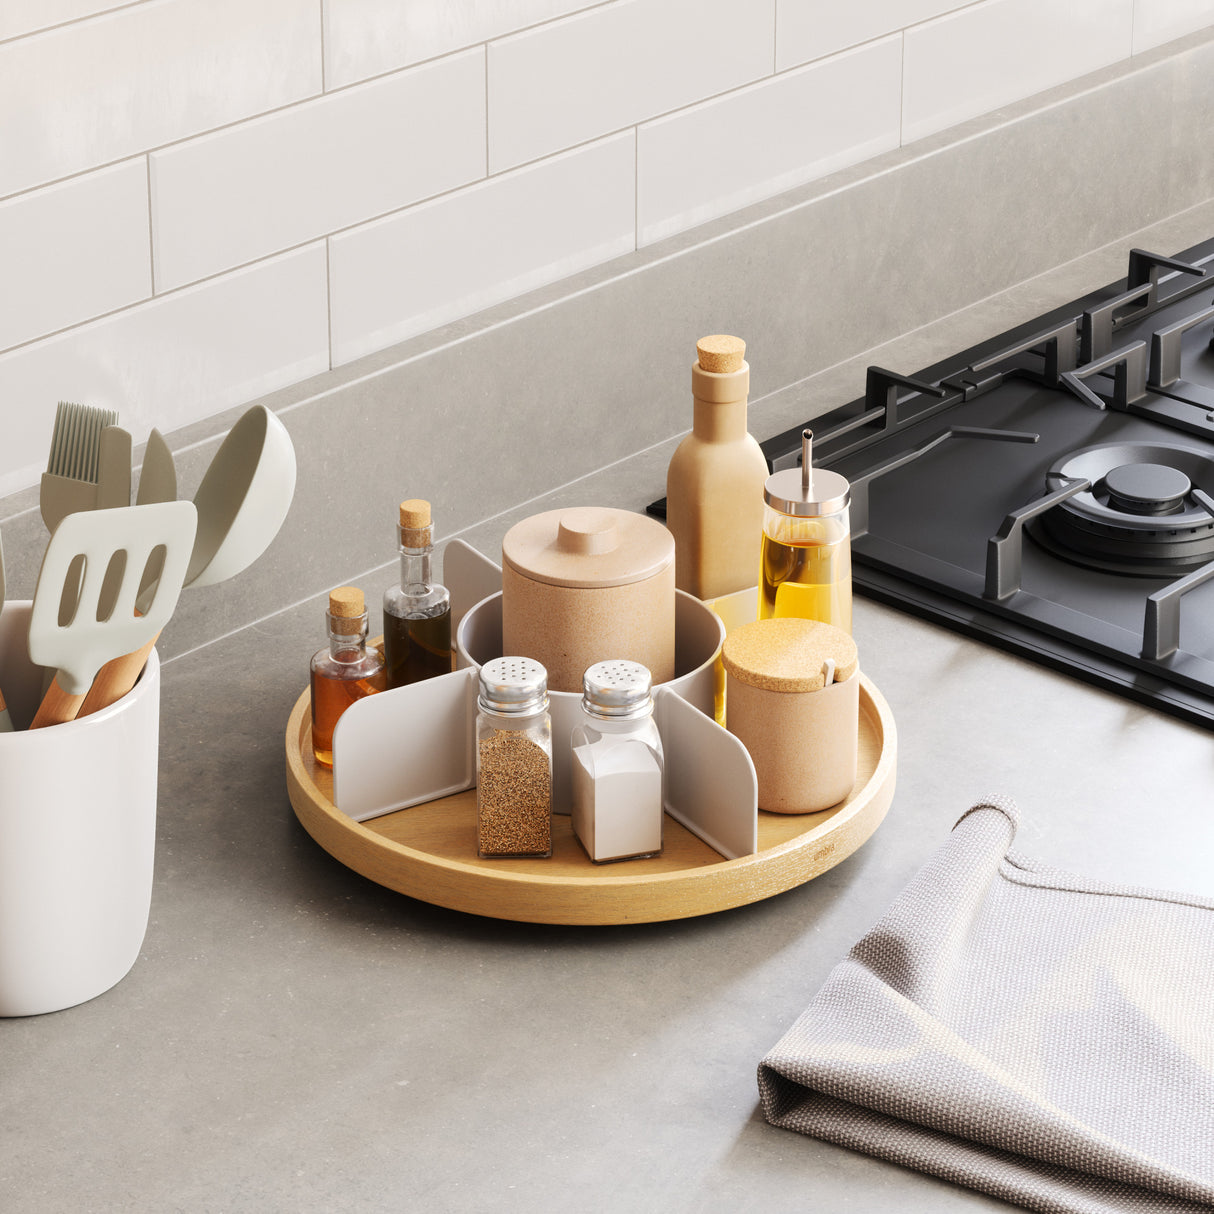
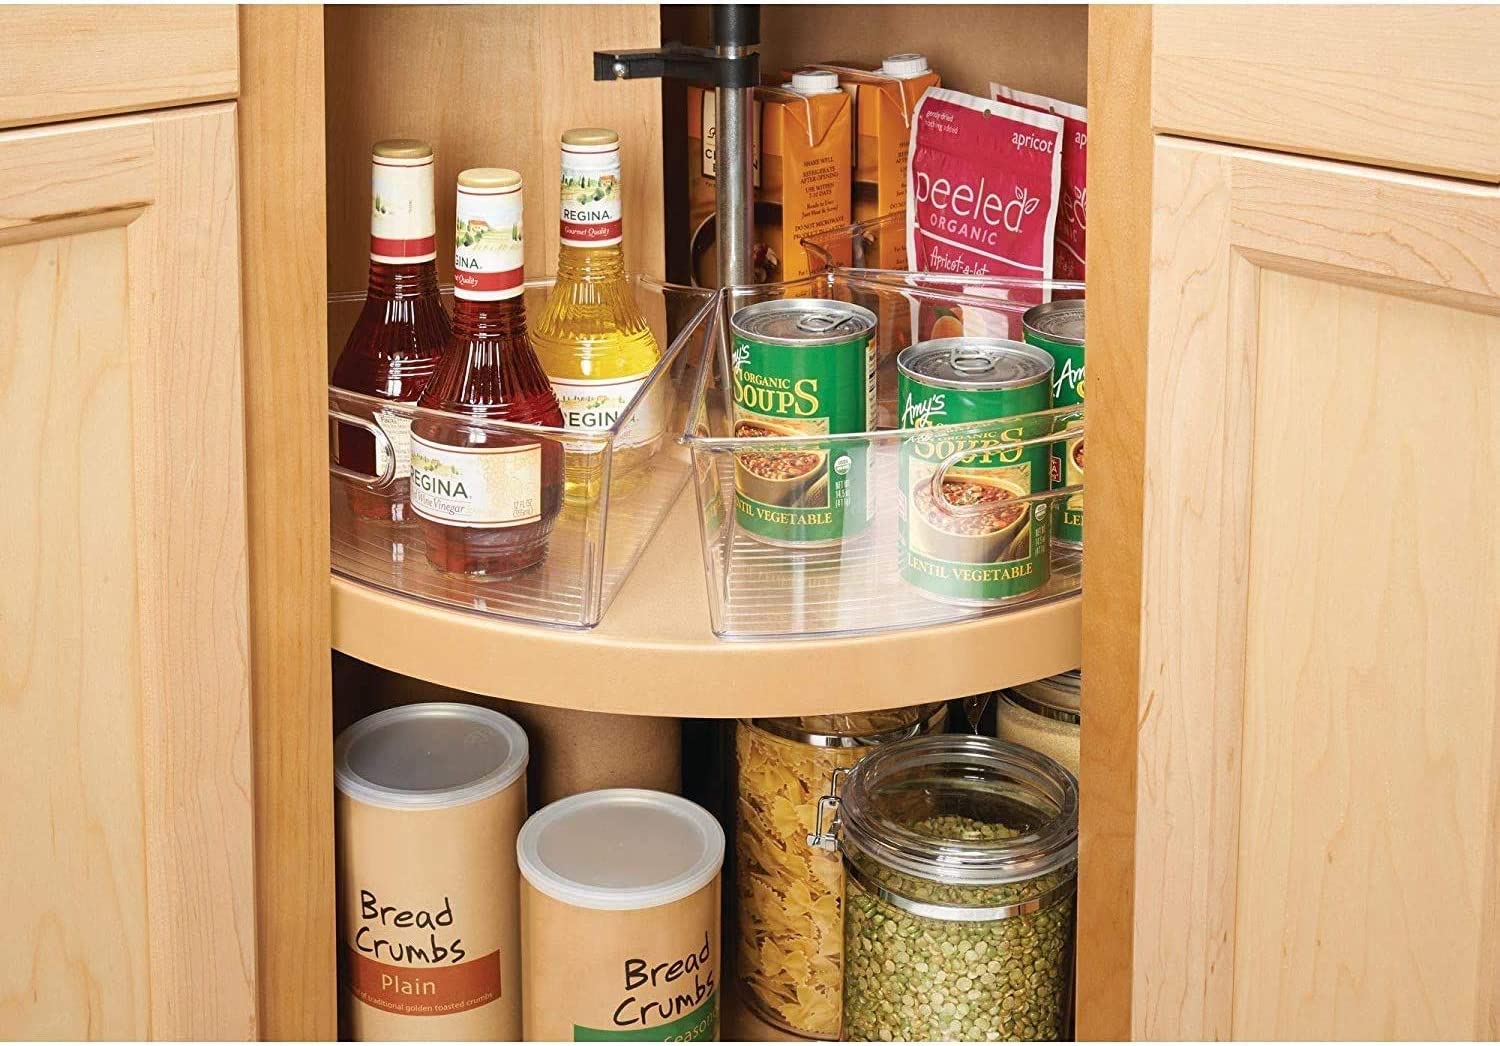
- Enhanced accessibility: The rotating platform of the lazy Susan provides effortless access to stored items, allowing you to retrieve essentials with ease and efficiency.
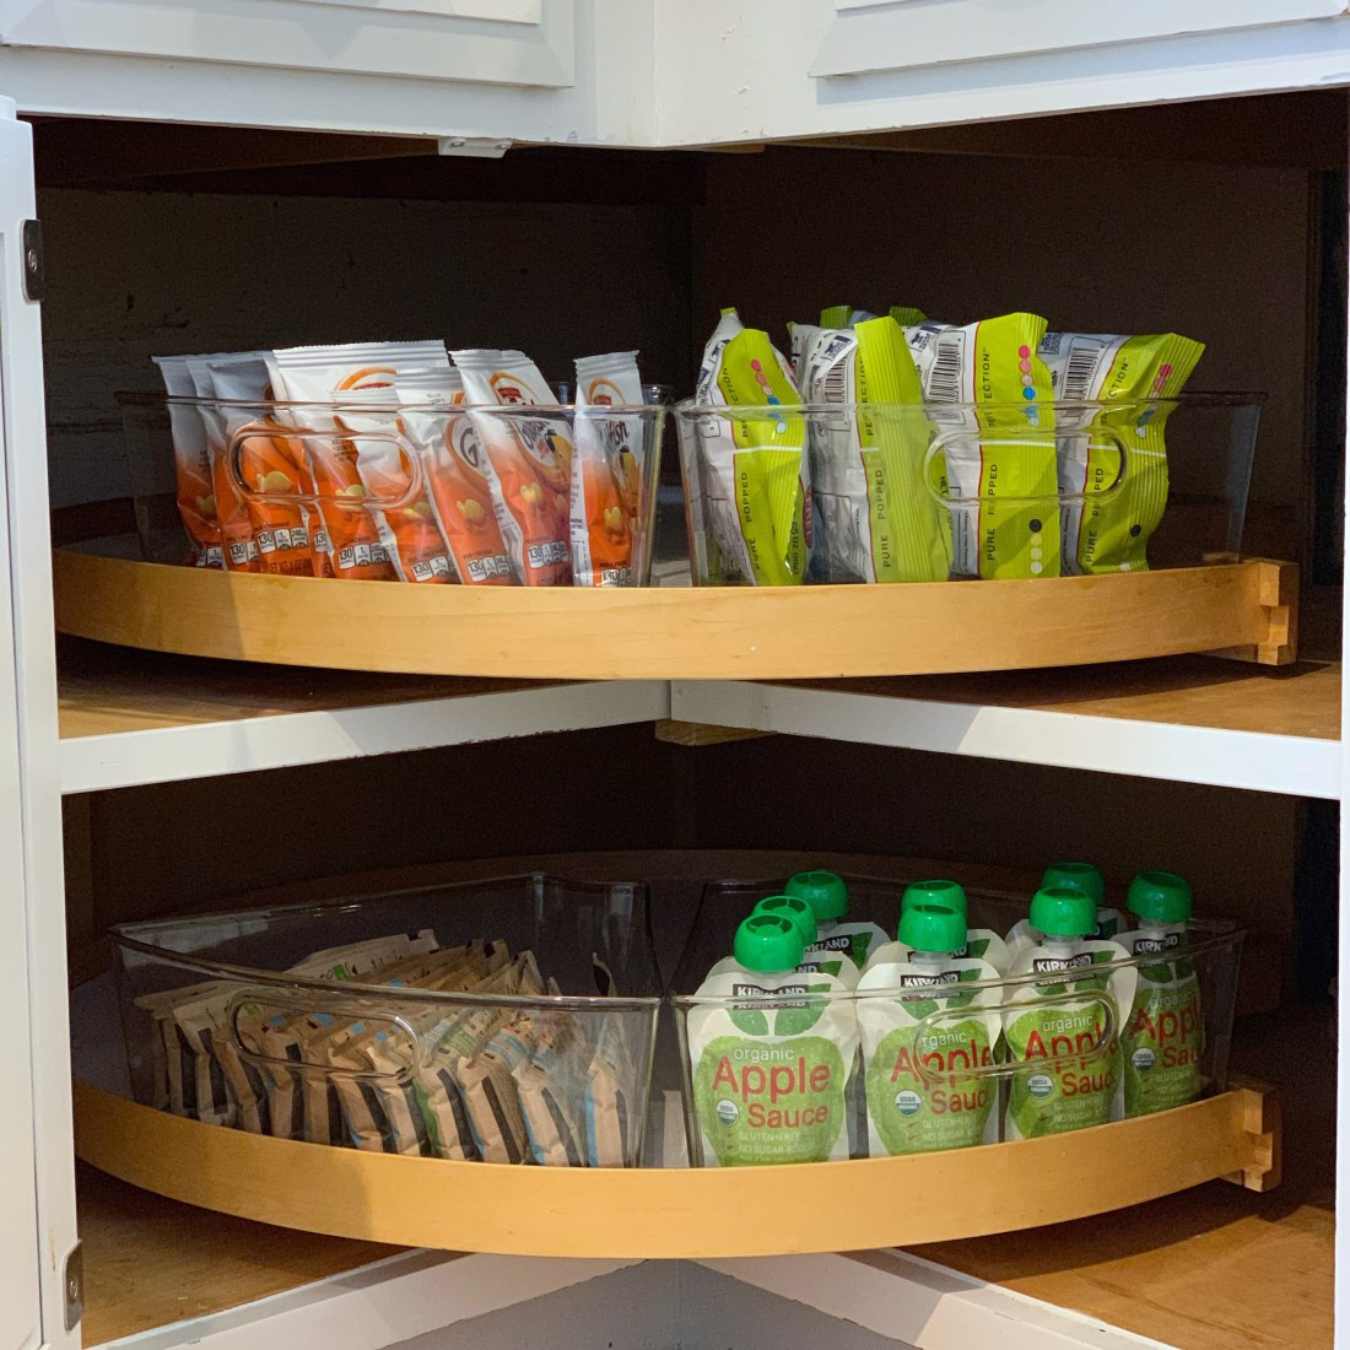
- Optimized organization: With the ability to maximize cabinet or countertop space, the lazy Susan facilitates the tidy arrangement of spices, condiments, cookware, and more, promoting a clutter-free and functional kitchen environment.
- Customized craftsmanship: Your DIY approach has resulted in a personalized lazy Susan that reflects your unique style and complements the aesthetic of your kitchen, adding a touch of artisanal charm to the space.
- Cost-effective solution: By crafting a budget-friendly lazy Susan, you’ve demonstrated that practical and stylish kitchen enhancements can be achieved without exceeding your financial constraints, making it a savvy and rewarding investment.
As you integrate the completed lazy Susan into your kitchen, take pride in the craftsmanship and creativity that have gone into its construction. Whether it’s simplifying meal preparation, organizing culinary essentials, or showcasing your DIY prowess, this versatile kitchen accessory is poised to become an indispensable element of your daily culinary routines.
Embrace the convenience and practicality that the budget-friendly lazy Susan offers, and relish the seamless accessibility it brings to your kitchen. As you set the rotating platform in motion, let it serve as a testament to your ingenuity and resourcefulness, enriching your culinary experiences with its functional elegance.
With your newly constructed budget-friendly lazy Susan in place, you’re poised to savor the seamless accessibility and enhanced organization it brings to your culinary space, celebrating the successful realization of a practical and stylish DIY project.
Frequently Asked Questions about How To Make A Budget-Friendly Lazy Susan
Was this page helpful?
At Storables.com, we guarantee accurate and reliable information. Our content, validated by Expert Board Contributors, is crafted following stringent Editorial Policies. We're committed to providing you with well-researched, expert-backed insights for all your informational needs.


0 thoughts on “How To Make A Budget-Friendly Lazy Susan”