Home>Furniture & Design>Outdoor Furniture>How To Build An Outdoor Air Conditioner Cover
Outdoor Furniture
How To Build An Outdoor Air Conditioner Cover
Published: January 12, 2024
Protect your outdoor furniture with a custom air conditioner cover. Learn how to design and build a stylish and functional cover for your outdoor unit. Ideal for outdoor furniture and design enthusiasts.
(Many of the links in this article redirect to a specific reviewed product. Your purchase of these products through affiliate links helps to generate commission for Storables.com, at no extra cost. Learn more)
Introduction
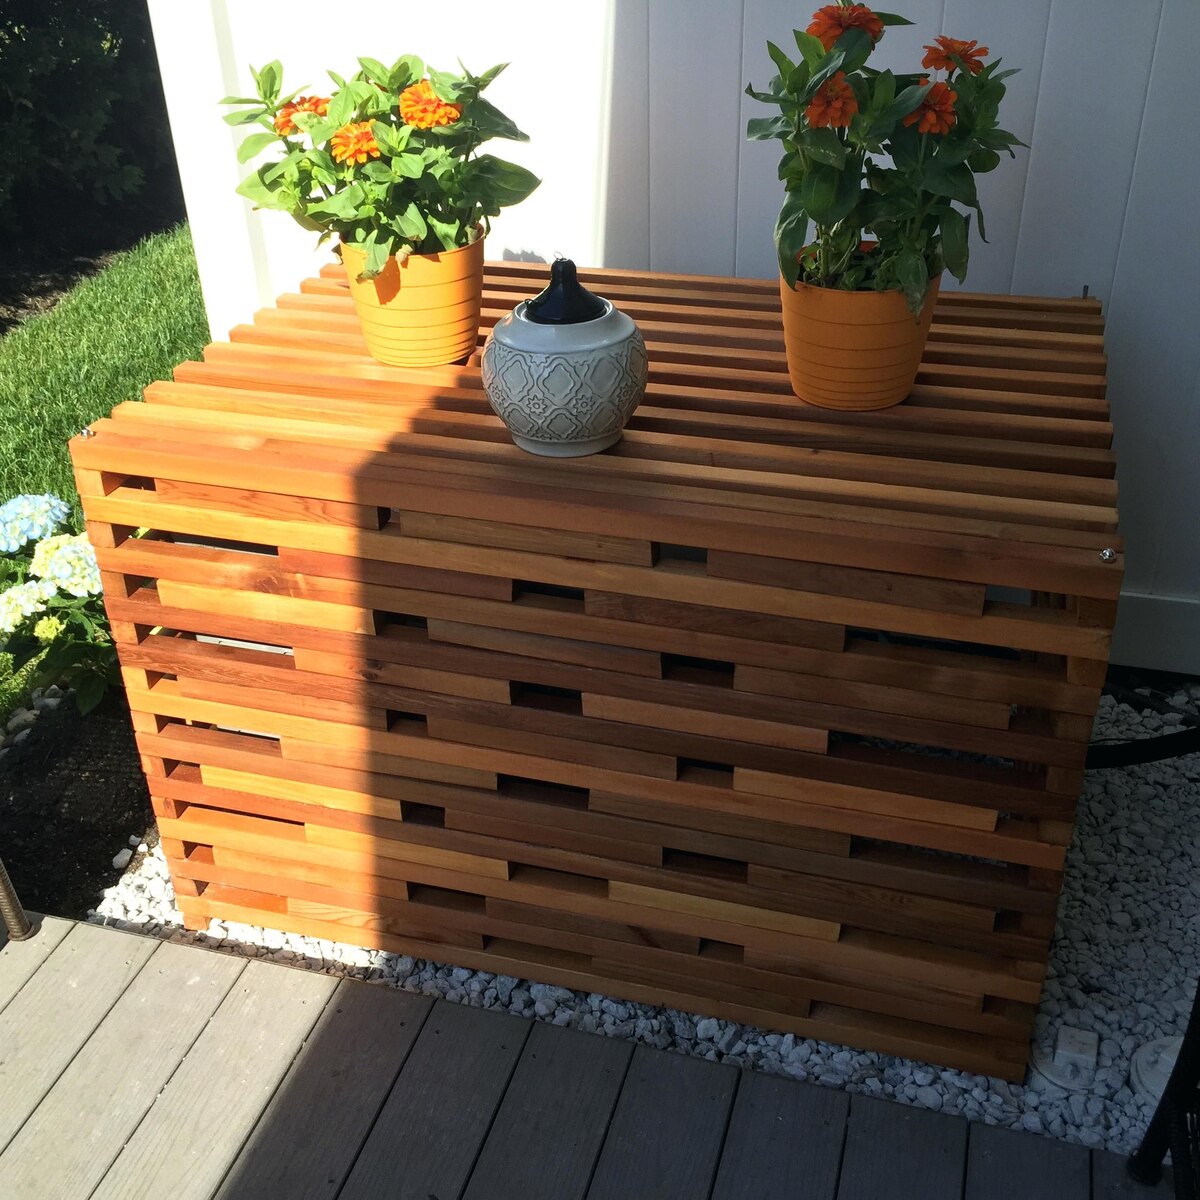
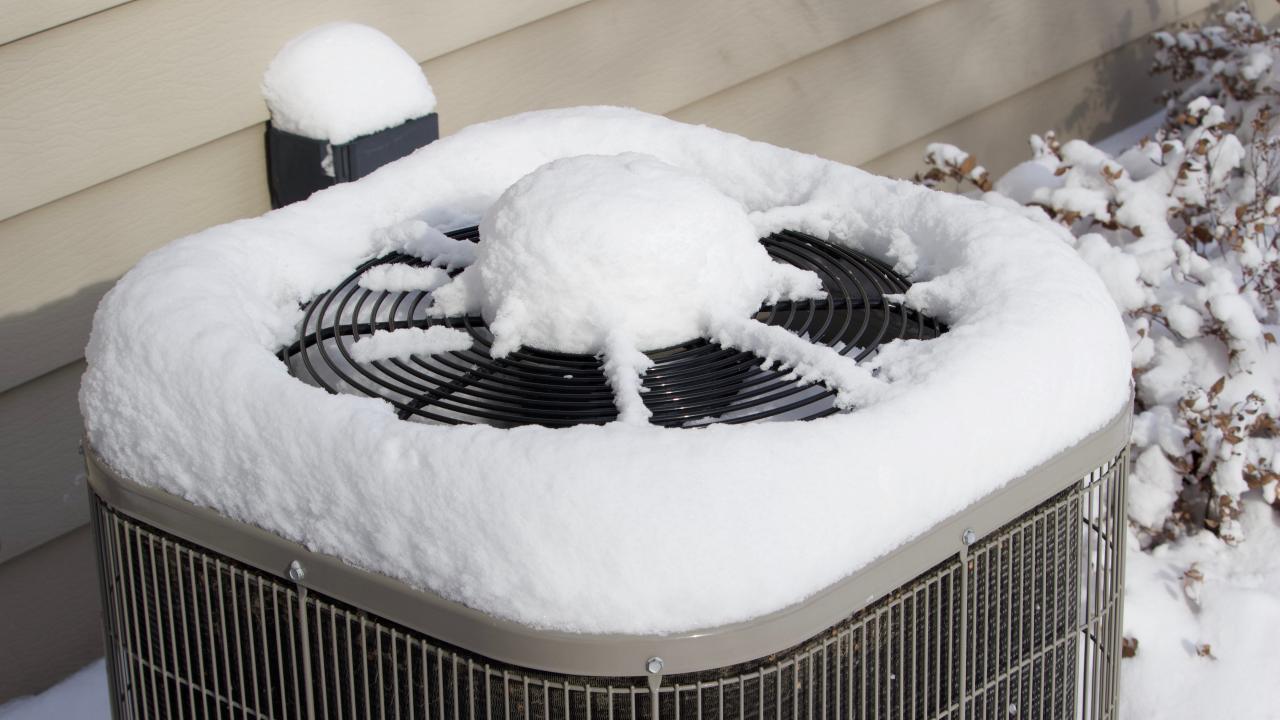
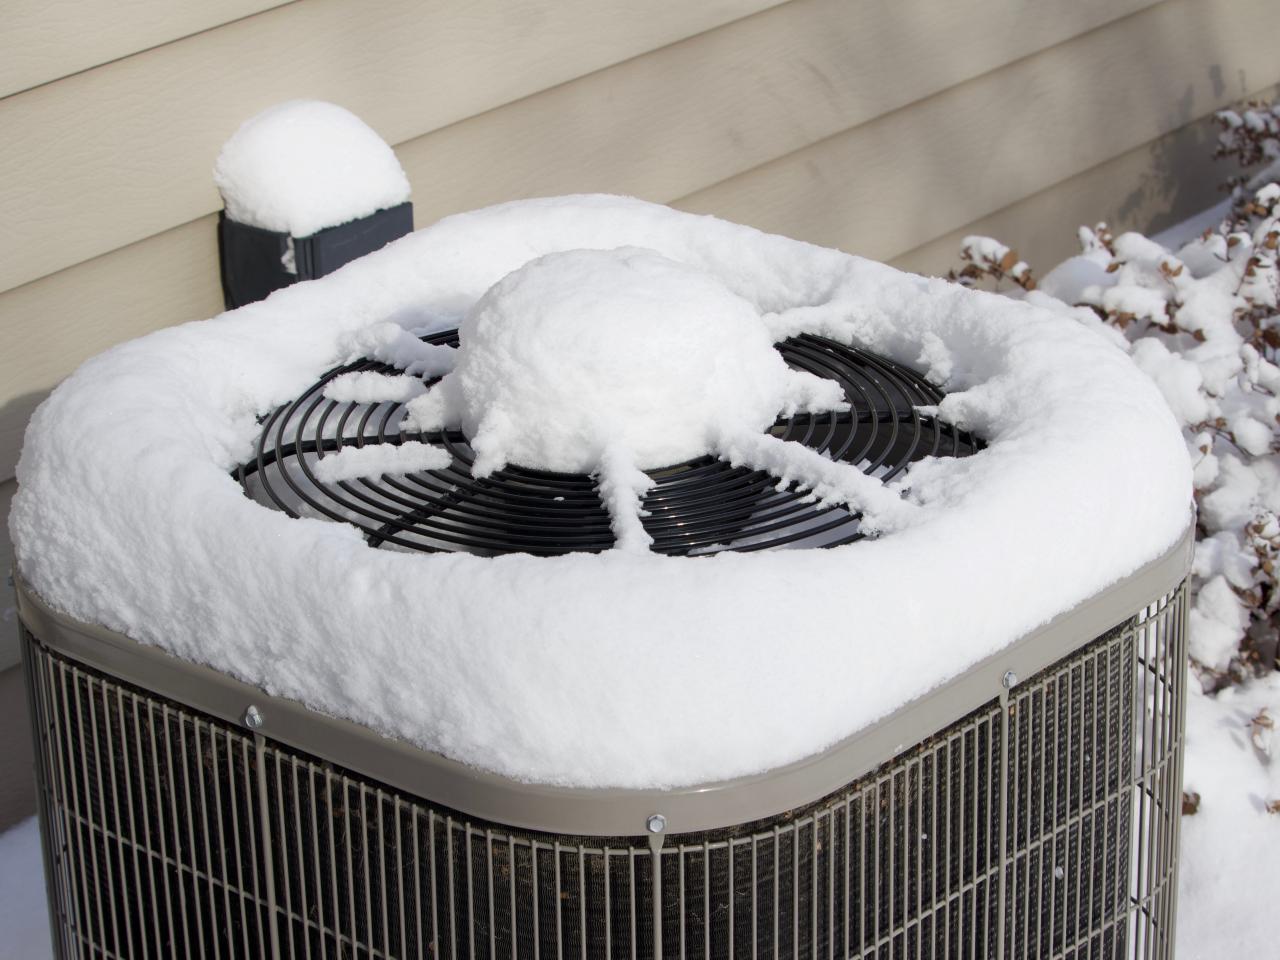
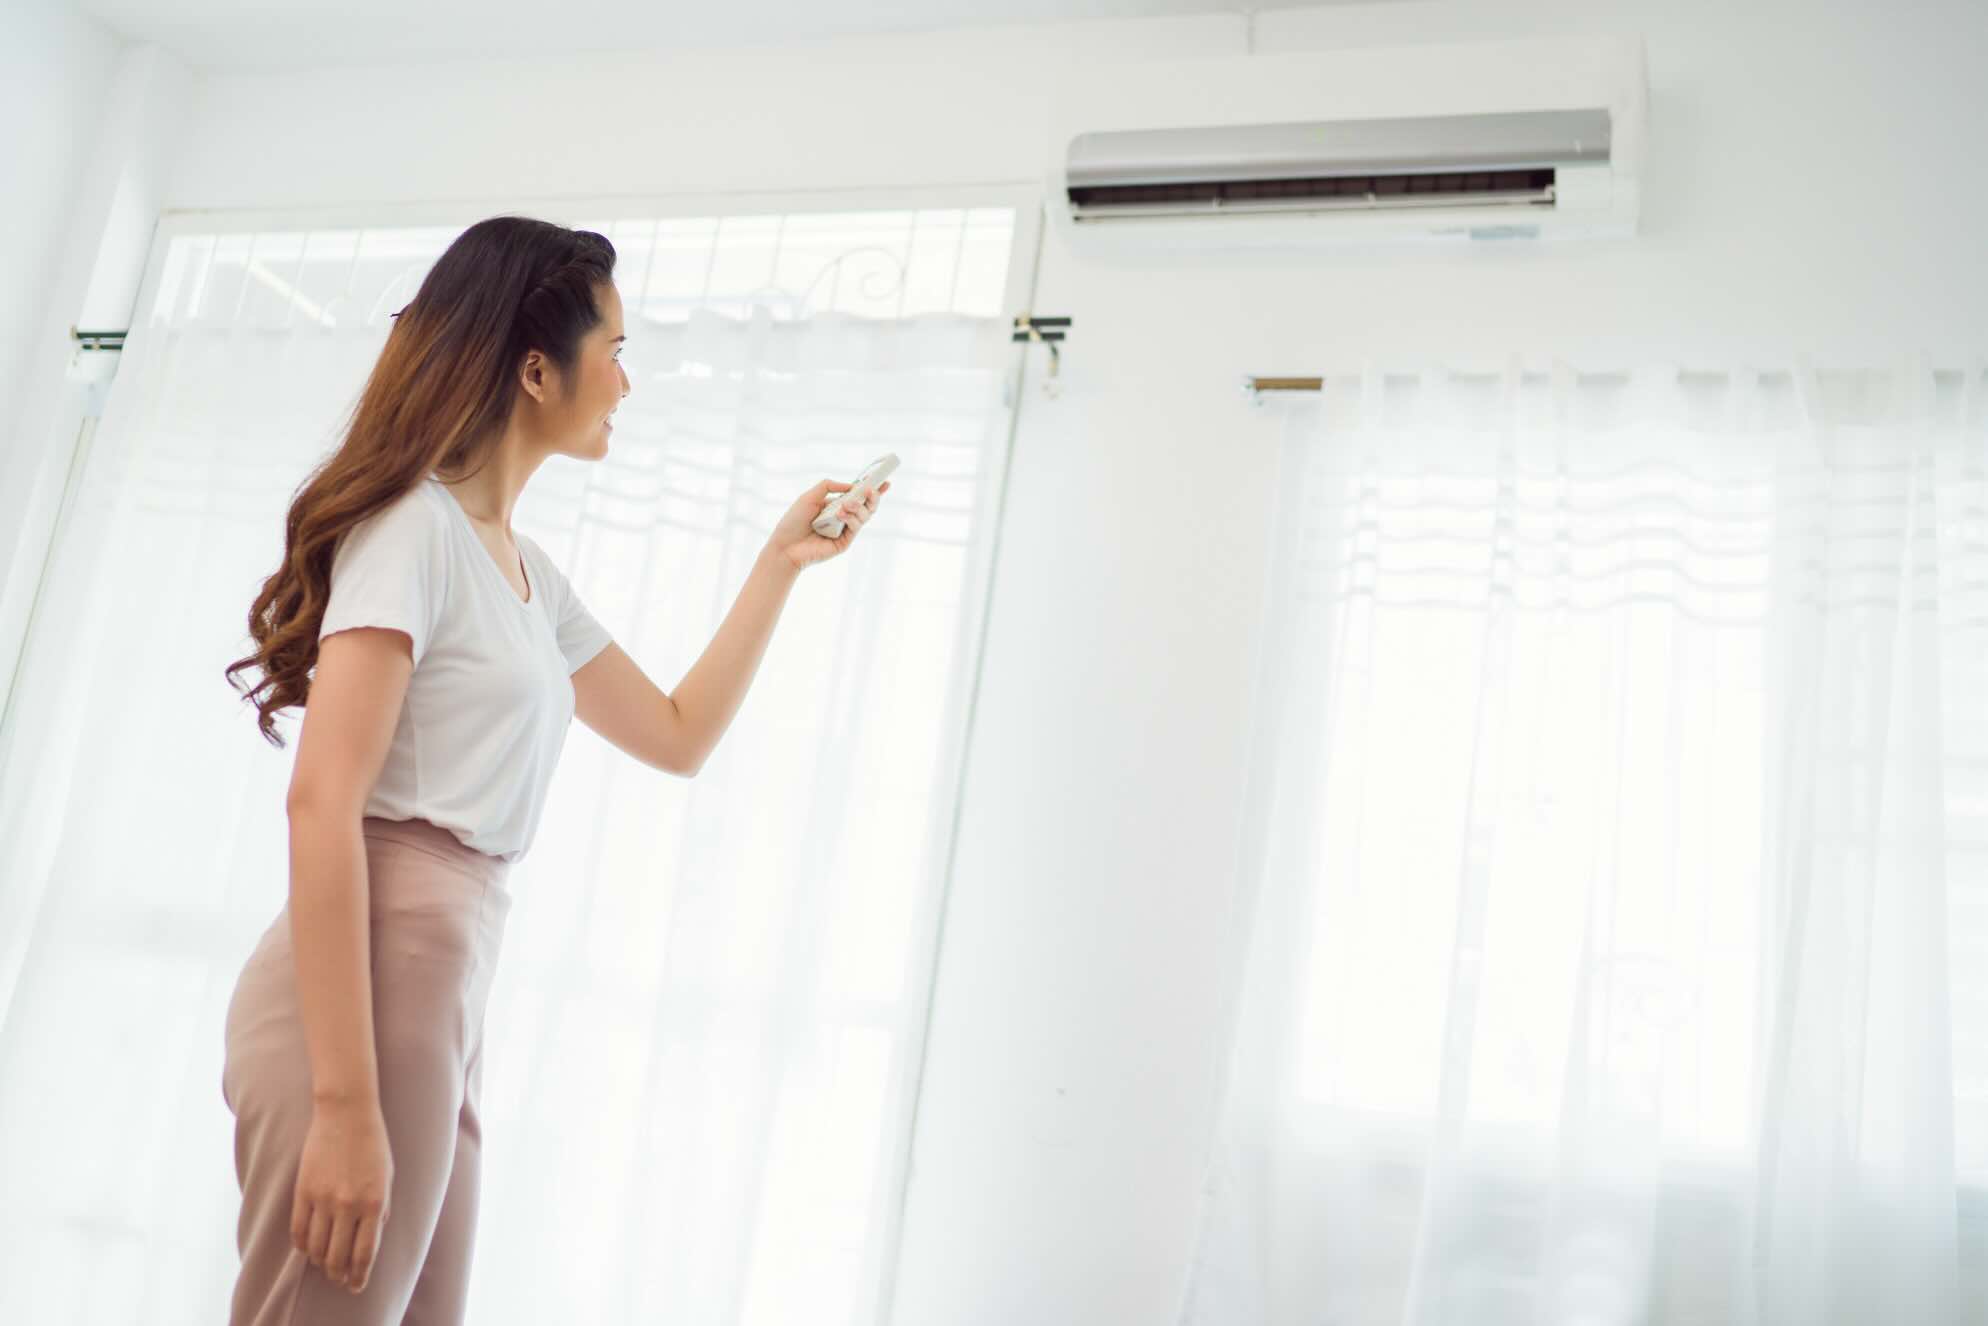
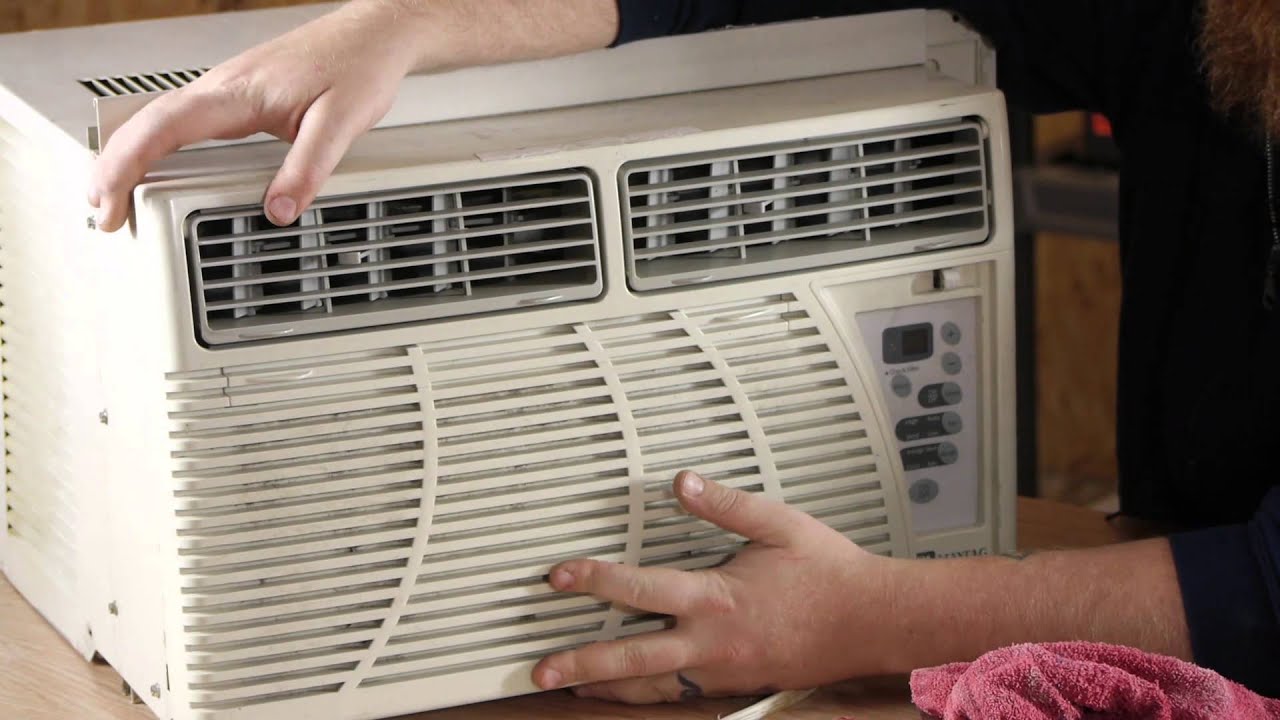
As the warm breeze of summer gives way to the crisp air of autumn, it’s time to start thinking about protecting your outdoor air conditioner unit from the elements. While these units are designed to withstand various weather conditions, a well-crafted cover can provide an extra layer of defense against debris, snow, and ice, ultimately prolonging the life of your unit. Building your own outdoor air conditioner cover is a rewarding and practical DIY project that can be completed over a weekend with just a few basic tools and materials.
In this guide, we’ll walk you through the step-by-step process of constructing a durable and visually appealing cover for your outdoor air conditioner. From gathering the necessary materials to taking precise measurements, cutting the components, and assembling the cover, we’ll cover every aspect of the construction process. By the end of this guide, you’ll have a custom-made cover that not only safeguards your air conditioner but also adds a touch of style to your outdoor space.
Key Takeaways:
- Protect your outdoor air conditioner unit from the elements by building a custom cover using plywood, hinges, latch, and weatherproofing sealant. Add a personal touch with exterior paint and handles for easy maintenance.
- Measure, cut, and assemble your outdoor air conditioner cover with precision and care. Apply weatherproofing sealant, exterior paint, and hardware protection for durability and visual appeal.
Read more: How To Cover An Air Conditioner Outside
Materials Needed
Before diving into the construction process, it’s essential to gather all the necessary materials and tools. Here’s a comprehensive list of items you’ll need to build your outdoor air conditioner cover:
- Plywood: Select a durable, weather-resistant plywood that can withstand outdoor conditions. The thickness of the plywood will depend on the size of your air conditioner unit, but 3/4-inch plywood is commonly used for this project.
- Hinges: Choose heavy-duty, rust-resistant hinges to attach the cover securely to the air conditioner unit. Opt for hinges that allow the cover to open easily for maintenance and cleaning.
- Latch or Lock: Select a sturdy latch or lock to keep the cover securely closed, preventing it from being blown open by strong winds.
- Weatherproofing Sealant: Invest in a high-quality weatherproofing sealant to protect the plywood from moisture and humidity. This will enhance the longevity of the cover and prevent warping or rotting.
- Exterior Paint or Stain: Pick a weather-resistant exterior paint or stain to add a decorative finish to the cover. Choose a color that complements your outdoor space and coordinates with your home’s exterior.
- Handles: Consider adding handles to the cover to facilitate easy removal and handling.
- Screws and Nails: Stock up on exterior-grade screws and nails to secure the components of the cover firmly in place.
- Measuring Tape and Straight Edge: These tools are essential for taking precise measurements and ensuring accurate cuts.
- Saw: Depending on the thickness of the plywood, you may need a circular saw or jigsaw to cut the plywood to size.
- Paintbrushes or Rollers: If you plan to paint or stain the cover, have the necessary brushes or rollers on hand.
- Sandpaper: Use sandpaper to smooth any rough edges and surfaces of the plywood before applying the finish.
With these materials and tools at your disposal, you’re well-equipped to embark on the construction of your outdoor air conditioner cover. Now, let’s move on to the crucial step of taking accurate measurements for a precise fit.
Measurements and Cutting
Accurate measurements are the cornerstone of a well-fitting outdoor air conditioner cover. Before making any cuts, take the time to measure your air conditioner unit carefully. Begin by measuring the height, width, and depth of the unit, ensuring that your measurements account for any protruding pipes or electrical components. It’s crucial to add a few inches to each dimension to allow for proper clearance and easy installation and removal of the cover.
Once you have the precise measurements, transfer them to the plywood, marking the cut lines with a pencil and straight edge. Use a circular saw or jigsaw to cut the plywood components according to the measured dimensions. If your air conditioner unit has a curved or sloped top, consider creating a corresponding shape on the top panel of the cover for a seamless fit.
After cutting the main panels, it’s time to create openings for ventilation and access. Measure and mark the locations for these openings, ensuring that they align with the air intake and electrical access points of the air conditioner unit. Use a jigsaw to carefully cut out these openings, taking care to maintain clean and precise edges.
Additionally, if you plan to add decorative elements or trim to the cover, such as angled edges or routed details, now is the time to make these cuts. Pay attention to the design details that will enhance the visual appeal of the cover while maintaining its functionality.
Once all the cutting is complete, use sandpaper to smooth any rough edges and surfaces of the plywood. This step is essential for achieving a professional finish and preventing splinters. With the components cut and prepped, you’re ready to move on to the assembly phase of the project.
When building an outdoor air conditioner cover, make sure to use weather-resistant materials such as vinyl or treated wood to protect the unit from the elements. Ensure the cover allows for proper ventilation to prevent overheating.
Assembly
With the cut plywood components at hand, it’s time to begin assembling your outdoor air conditioner cover. Start by positioning the back panel against the air conditioner unit, ensuring that it provides adequate clearance on all sides. Use exterior-grade screws to attach the hinges along the top edge of the back panel, allowing for smooth opening and closing of the cover.
Next, position the side panels against the back panel, ensuring a snug fit and proper alignment. Secure the side panels to the back panel using screws, creating a sturdy frame for the cover. It’s essential to double-check the measurements and angles to guarantee a seamless fit and uniform appearance.
Once the frame is assembled, attach the top panel to the side panels, ensuring that any curved or sloped edges align perfectly with the air conditioner unit’s contours. Use screws to secure the top panel in place, creating a unified and secure structure.
After the main components are securely attached, it’s time to add the finishing touches. Install the latch or lock mechanism to the front of the cover, ensuring that it provides a secure closure. This will prevent the cover from being dislodged by strong winds or inclement weather, keeping your air conditioner unit protected at all times.
If you’ve opted to include handles on the cover, attach them to the sides for easy handling and removal. These handles will come in handy when it’s time to clean or perform maintenance on the air conditioner unit.
Before proceeding to the final step, take a moment to inspect the assembled cover, ensuring that all components are securely fastened and aligned. Make any necessary adjustments to guarantee a perfect fit and optimal functionality.
With the cover fully assembled and secured, it’s time to add the finishing touches that will not only enhance its durability but also contribute to its aesthetic appeal.
Finishing Touches
Adding the finishing touches to your outdoor air conditioner cover not only enhances its visual appeal but also contributes to its longevity and weather resistance. The following steps will guide you through the final stages of the construction process:
Weatherproofing Sealant: Apply a generous coat of weatherproofing sealant to all exposed surfaces of the plywood cover. Pay special attention to the edges and corners, ensuring that the sealant penetrates into the wood fibers for maximum protection against moisture and humidity. This step is crucial for preventing warping, rot, and decay, especially in outdoor environments.
Exterior Paint or Stain: If you’ve chosen to add a decorative finish to your cover, now is the time to apply exterior-grade paint or stain. Select a color that complements your outdoor space and coordinates with your home’s exterior. Apply the paint or stain evenly, following the manufacturer’s instructions, and allow sufficient drying time between coats. This not only adds visual appeal but also provides an additional layer of protection against the elements.
Hardware Protection: To safeguard the hinges, latch, and any exposed screws from rust and corrosion, consider applying a rust-resistant coating or paint. This simple step can prolong the lifespan of the hardware and ensure smooth functionality over time.
Final Inspection: Once the sealant, paint, and protective coatings have dried, conduct a thorough inspection of the cover. Check for any missed spots or areas that may require additional attention. Ensure that all components are securely fastened and that the cover operates smoothly, opening and closing without any hindrance.
By completing these finishing touches, you’ll not only enhance the durability and weather resistance of your outdoor air conditioner cover but also elevate its visual appeal, seamlessly integrating it into your outdoor space.
With the construction and finishing of the cover complete, you can now enjoy the peace of mind knowing that your air conditioner unit is shielded from the elements. This DIY project not only adds a practical element to your outdoor space but also allows for personalization and customization to suit your aesthetic preferences.
Read more: How To Build Outdoor Pillow Covers
Conclusion
Embarking on the construction of an outdoor air conditioner cover is a rewarding endeavor that combines practicality, craftsmanship, and creativity. By following the step-by-step process outlined in this guide, you’ve not only safeguarded your air conditioner unit from the elements but also added a personalized touch to your outdoor space.
Building your own cover allows you to tailor the design and dimensions to perfectly fit your air conditioner unit, ensuring optimal protection and a seamless integration with your outdoor environment. Moreover, the satisfaction of creating a custom solution that aligns with your style and functional needs is truly unparalleled.
As you admire the finished cover in its rightful place, take pride in the craftsmanship and attention to detail that went into its construction. The durable materials, precise measurements, and thoughtful finishing touches have culminated in a cover that not only serves a practical purpose but also contributes to the overall aesthetics of your outdoor area.
Furthermore, the skills and knowledge gained from this DIY project can be applied to future endeavors, empowering you to tackle new challenges and explore additional woodworking and home improvement projects with confidence.
Remember, regular maintenance, such as cleaning and inspecting the cover, will ensure that it continues to protect your air conditioner unit effectively over the years. By caring for the cover and addressing any signs of wear or damage promptly, you can extend its lifespan and preserve the functionality it provides.
Whether you’re a seasoned DIY enthusiast or a newcomer to woodworking projects, the construction of an outdoor air conditioner cover exemplifies the gratifying intersection of practicality and creativity. This project not only enhances the longevity of your air conditioner unit but also adds a touch of craftsmanship to your outdoor space, reflecting your individual style and attention to detail.
With your newly constructed outdoor air conditioner cover in place, you can embrace the changing seasons with confidence, knowing that your air conditioner unit is shielded from the elements, ready to provide comfort when needed. Congratulations on completing this DIY project, and may it inspire further ventures into the realm of practical and fulfilling craftsmanship.
Frequently Asked Questions about How To Build An Outdoor Air Conditioner Cover
Was this page helpful?
At Storables.com, we guarantee accurate and reliable information. Our content, validated by Expert Board Contributors, is crafted following stringent Editorial Policies. We're committed to providing you with well-researched, expert-backed insights for all your informational needs.

0 thoughts on “How To Build An Outdoor Air Conditioner Cover”