Home>Furniture & Design>Outdoor Furniture>How To Clean An Outdoor Ac Unit

Outdoor Furniture
How To Clean An Outdoor Ac Unit
Modified: February 16, 2024
Learn how to effectively clean and maintain your outdoor AC unit with our expert tips and techniques. Keep your outdoor furniture in top condition with our comprehensive guide.
(Many of the links in this article redirect to a specific reviewed product. Your purchase of these products through affiliate links helps to generate commission for Storables.com, at no extra cost. Learn more)
Introduction
Welcome to our guide on how to clean an outdoor AC unit. As the warm weather approaches, ensuring that your outdoor AC unit is clean and well-maintained is crucial for optimal performance. A clean AC unit not only functions more efficiently, but it also contributes to better air quality and lower energy costs. Whether you are a seasoned homeowner or new to outdoor AC maintenance, this comprehensive guide will walk you through the step-by-step process of cleaning your outdoor AC unit, ensuring that it operates at its best when you need it most.
Proper maintenance of your outdoor AC unit not only extends its lifespan but also helps prevent potential breakdowns during the sweltering summer months. By following the steps outlined in this guide, you can tackle the task of cleaning your outdoor AC unit with confidence, knowing that you are taking proactive measures to keep your home cool and comfortable. Let's dive into the essential safety precautions and the tools and materials you'll need to get started.
Key Takeaways:
- Regularly cleaning your outdoor AC unit ensures it runs efficiently, saves energy, and extends its lifespan, keeping your home cool and comfortable.
- Prioritize safety, gather the right tools, and follow step-by-step cleaning instructions to maintain your outdoor AC unit for optimal performance and longevity.
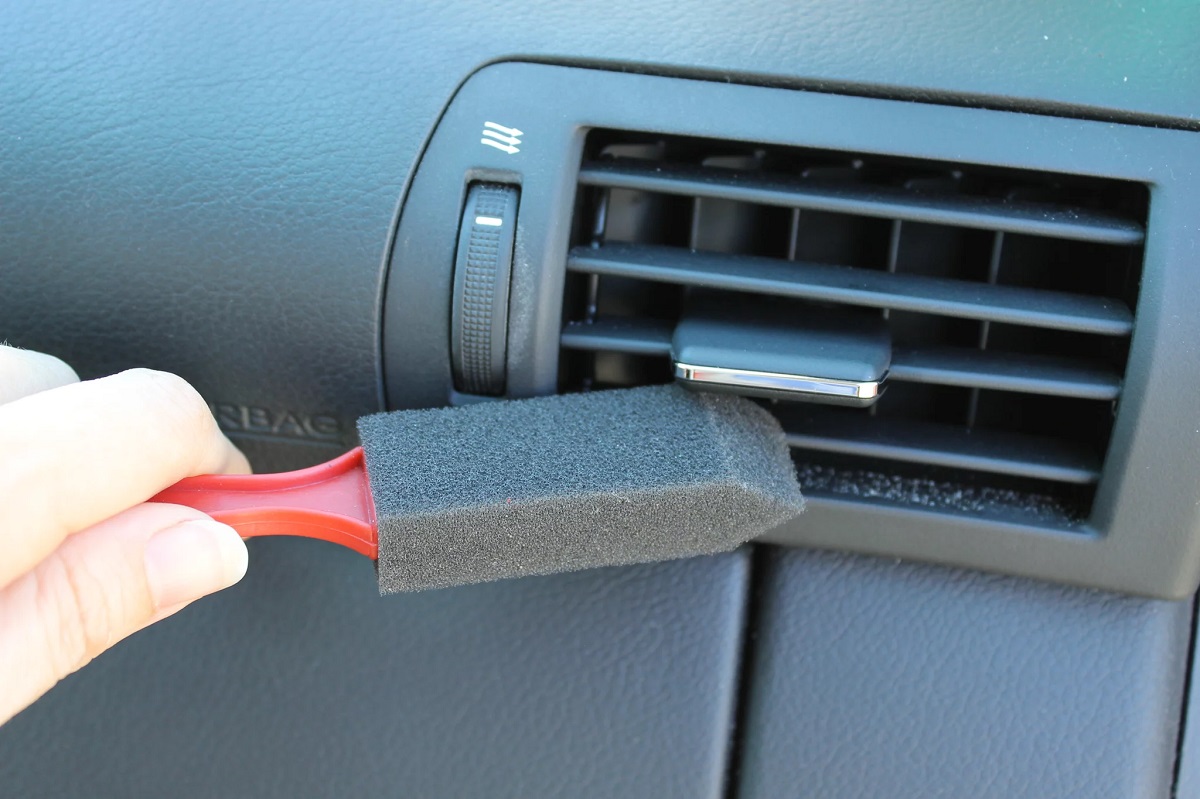
Read more: How To Clean AC Vent
Safety Precautions
Prior to cleaning your outdoor AC unit, it is imperative to prioritize safety to prevent accidents and ensure a smooth cleaning process. Here are some essential safety precautions to keep in mind:
- Power Off: Before initiating any cleaning procedures, always turn off the power to the AC unit at the main electrical panel. This precautionary measure eliminates the risk of electrical shock while handling the unit.
- Protective Gear: Wear appropriate protective gear, such as gloves and safety goggles, to shield yourself from debris and cleaning agents. Additionally, ensure that you are dressed in comfortable and breathable clothing suitable for outdoor work.
- Stable Surface: When accessing the outdoor AC unit, make sure to work on a stable and level surface to prevent any accidental slips or falls.
- Clear Surroundings: Clear the area around the AC unit of any obstacles or clutter to create a safe and spacious workspace.
- Caution with Fins: Exercise caution when handling the fins of the AC unit to avoid bending or damaging them during the cleaning process.
- Professional Assistance: If you encounter any complex issues or are unsure about certain aspects of the cleaning process, it is advisable to seek professional assistance to avoid any potential risks or errors.
By adhering to these safety precautions, you can approach the task of cleaning your outdoor AC unit with confidence and peace of mind, knowing that you are prioritizing safety throughout the maintenance process.
Tools and Materials Needed
Before embarking on the cleaning process for your outdoor AC unit, it’s essential to gather the necessary tools and materials to ensure a thorough and efficient cleaning experience. Here’s a comprehensive list of the items you’ll need:
- Gloves: Durable gloves will protect your hands from debris and sharp edges while handling the AC unit.
- Safety Goggles: Ensure eye protection with safety goggles to shield your eyes from dust, dirt, and cleaning agents.
- Screwdriver: A screwdriver will be required to remove the outer casing of the AC unit for access to the internal components.
- Soft Brush: Use a soft-bristled brush to gently remove dirt and debris from the fins and other delicate components of the AC unit.
- Foaming Coil Cleaner: An effective foaming coil cleaner will help dislodge and remove stubborn dirt and grime from the coils, promoting optimal airflow and efficiency.
- Garden Hose: A garden hose equipped with a spray attachment is essential for rinsing the fins and other exterior surfaces of the AC unit.
- Fin Comb: A fin comb is a specialized tool designed to straighten bent fins, optimizing the airflow and heat transfer capabilities of the AC unit.
- Bucket: A bucket of water mixed with mild detergent or coil cleaner will be used for cleaning the exterior surfaces of the AC unit.
- Towels or Rags: Have a supply of towels or rags on hand to wipe down and dry the components of the AC unit after cleaning.
- Leveling Tool: A leveling tool may be necessary to ensure the outdoor AC unit is positioned on a stable and level surface after cleaning and maintenance.
By assembling these essential tools and materials, you’ll be well-prepared to tackle the cleaning process for your outdoor AC unit with efficiency and precision, promoting optimal performance and longevity for your cooling system.
Step 1: Turn Off the Power
Before beginning the cleaning process, it is crucial to prioritize safety by turning off the power to the outdoor AC unit. Follow these steps to ensure that the unit is safely disconnected from the electrical supply:
- Locate the Electrical Panel: Identify the main electrical panel in your home where the circuit breaker for the outdoor AC unit is located.
- Switch Off the Power: Once you’ve located the appropriate circuit breaker, switch it off to cut off the electrical supply to the AC unit. This precautionary measure eliminates the risk of electrical shock during the cleaning process.
- Verify the Power Supply: After switching off the circuit breaker, double-check that the power to the outdoor AC unit has been successfully disconnected by attempting to turn on the unit from the thermostat inside your home. If the unit does not start up, the power has been effectively turned off.
By diligently following these steps to turn off the power to the outdoor AC unit, you can ensure a safe and secure working environment as you proceed with the cleaning and maintenance tasks. With the power safely disconnected, you are ready to move on to the next steps in the cleaning process.
Step 2: Remove Debris
Once the power to the outdoor AC unit is safely turned off, the next essential step in the cleaning process is to remove any accumulated debris that may be obstructing the unit’s functionality. Follow these steps to effectively clear the unit of debris:
- Inspect the Surrounding Area: Begin by surveying the area around the outdoor AC unit for any leaves, twigs, dirt, or other debris that may have accumulated on or around the unit.
- Clear Debris from the Exterior: Using gloved hands or a soft brush, carefully remove any visible debris from the exterior surfaces of the AC unit, including the top and sides. Take care not to push debris further into the unit’s interior components.
- Clean the Surrounding Ground: Clear the ground around the AC unit of any debris, ensuring that the area is free from obstacles that could impede the unit’s airflow or cause potential damage.
- Trim Vegetation: If there are bushes, plants, or other vegetation near the AC unit, trim them back to maintain a clear space around the unit and prevent debris from accumulating in the future.
By diligently removing debris from both the exterior surfaces of the AC unit and its surrounding area, you can ensure that the unit operates unobstructed and efficiently. This proactive step sets the stage for a thorough cleaning and maintenance process, promoting optimal performance and longevity for your outdoor AC unit.
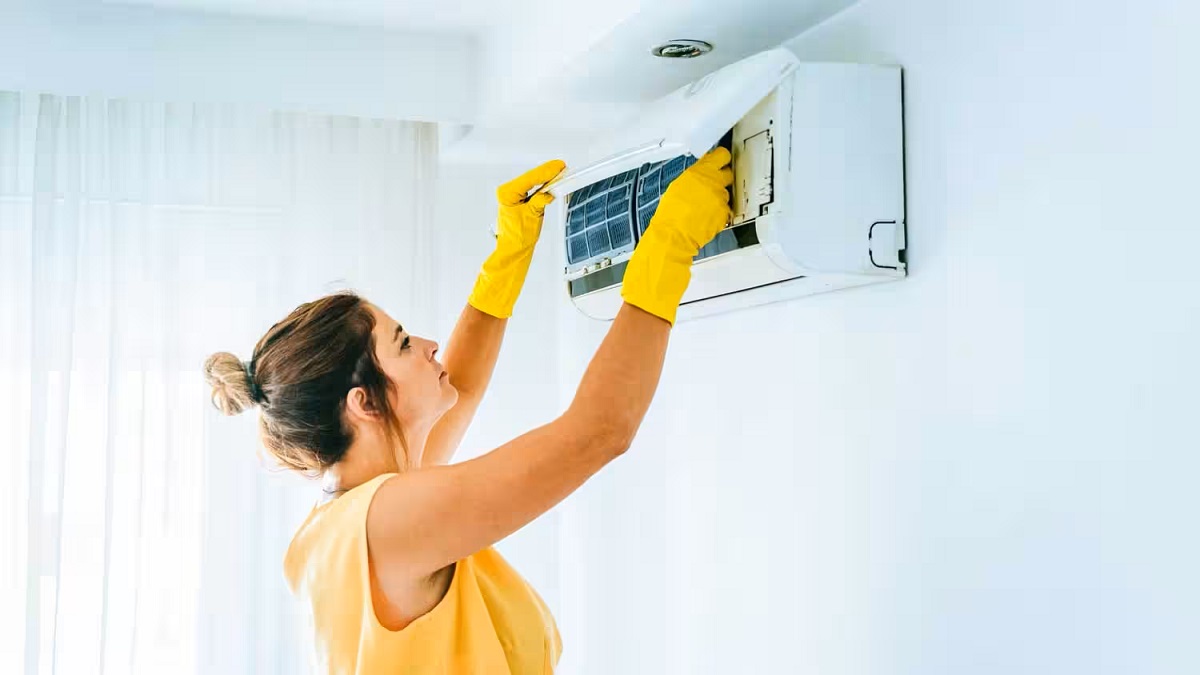
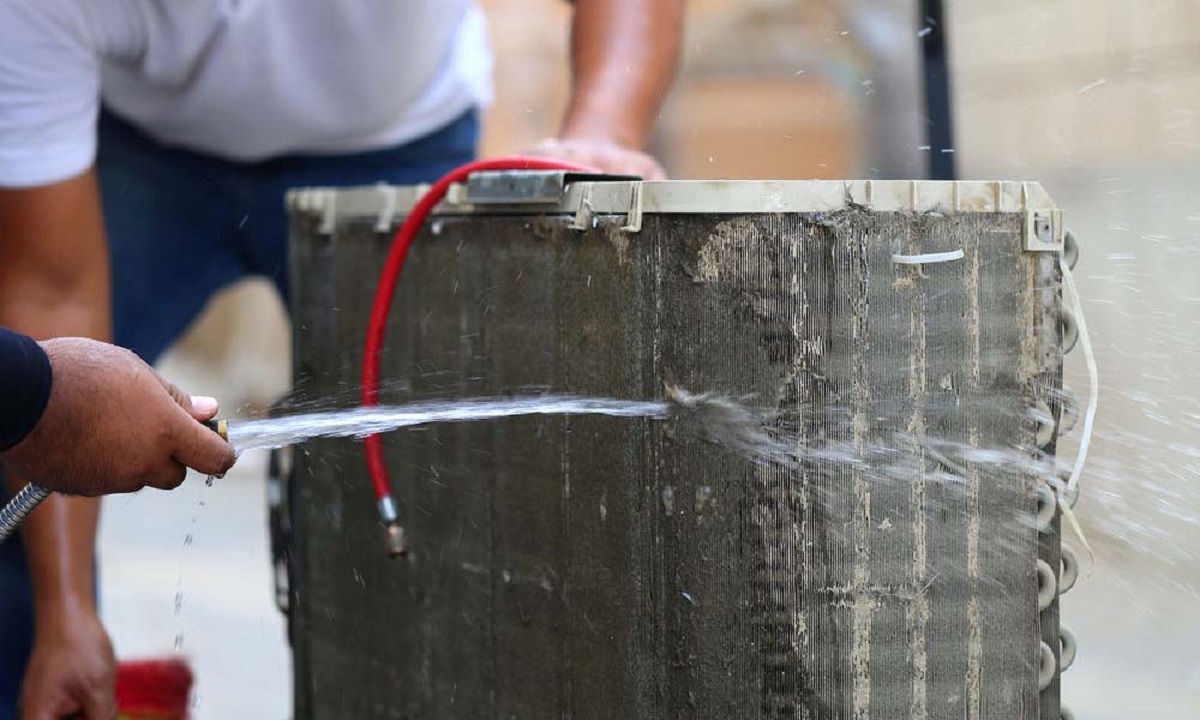
Regularly clean the outdoor AC unit by removing any debris, such as leaves and dirt, from the surrounding area. Use a garden hose to gently spray the unit to remove any buildup on the coils. Make sure to turn off the power before cleaning.
Read more: How To Clean Portable AC Filter
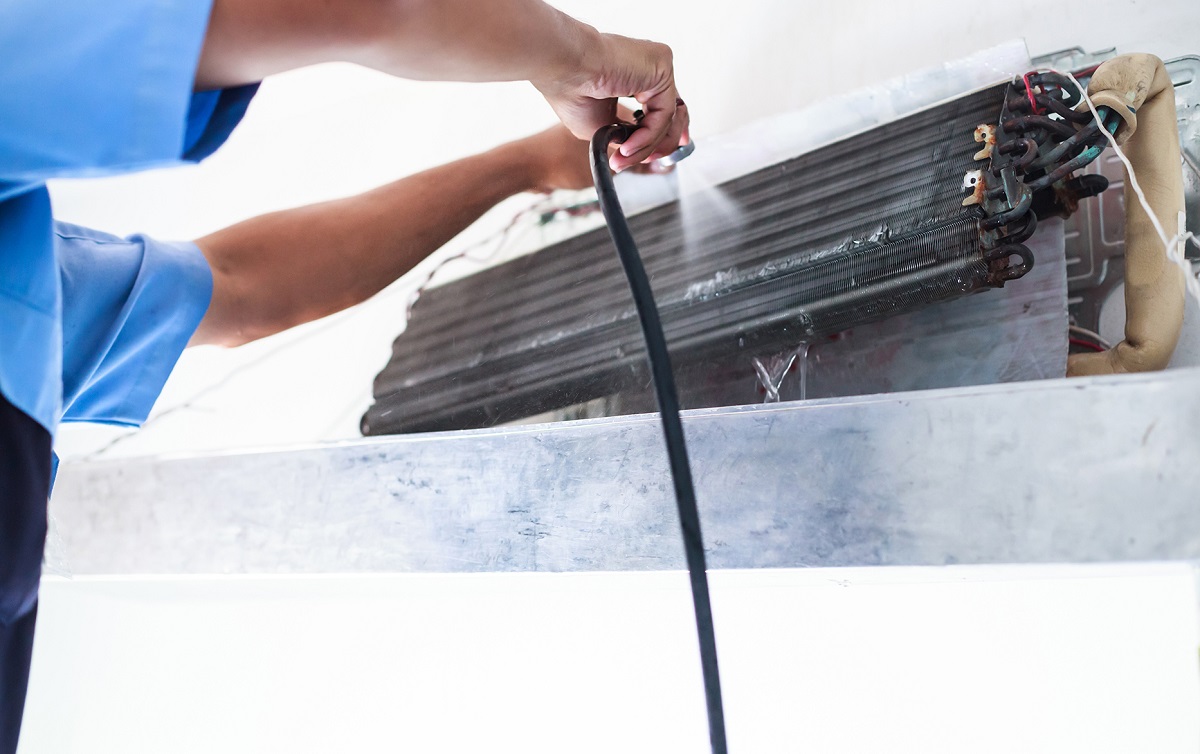
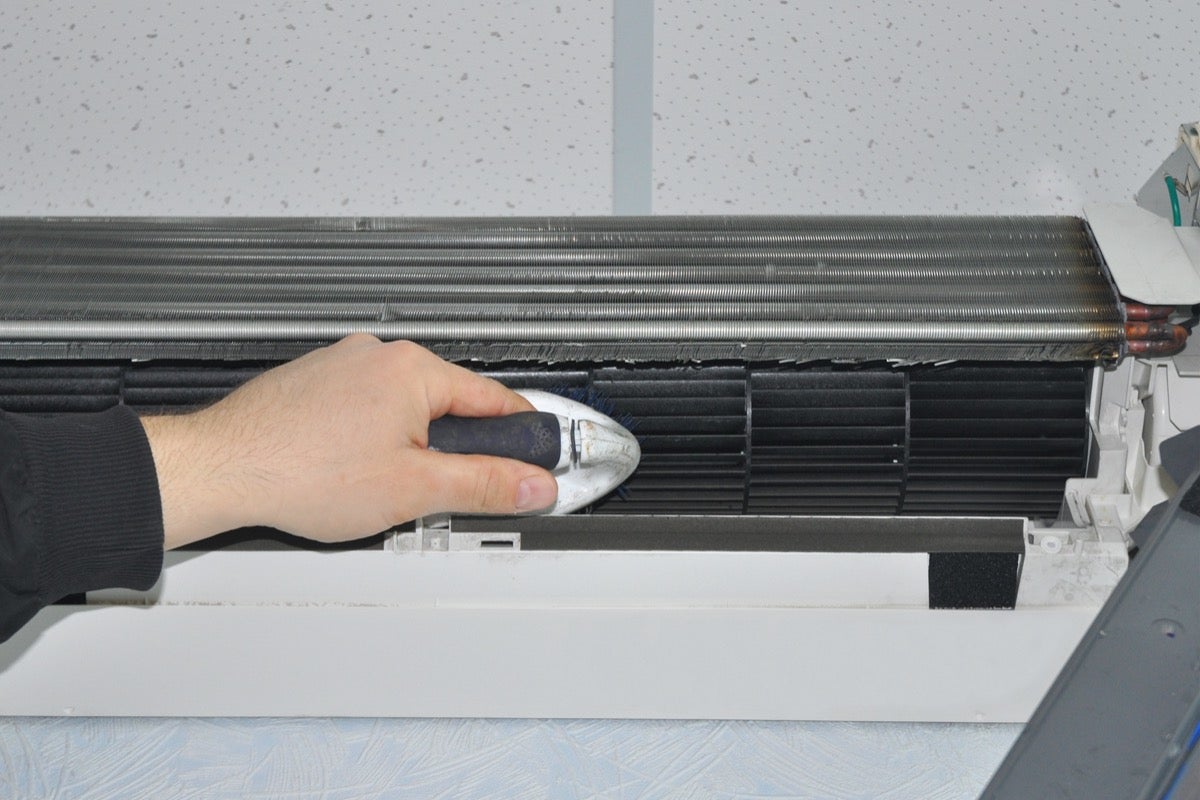
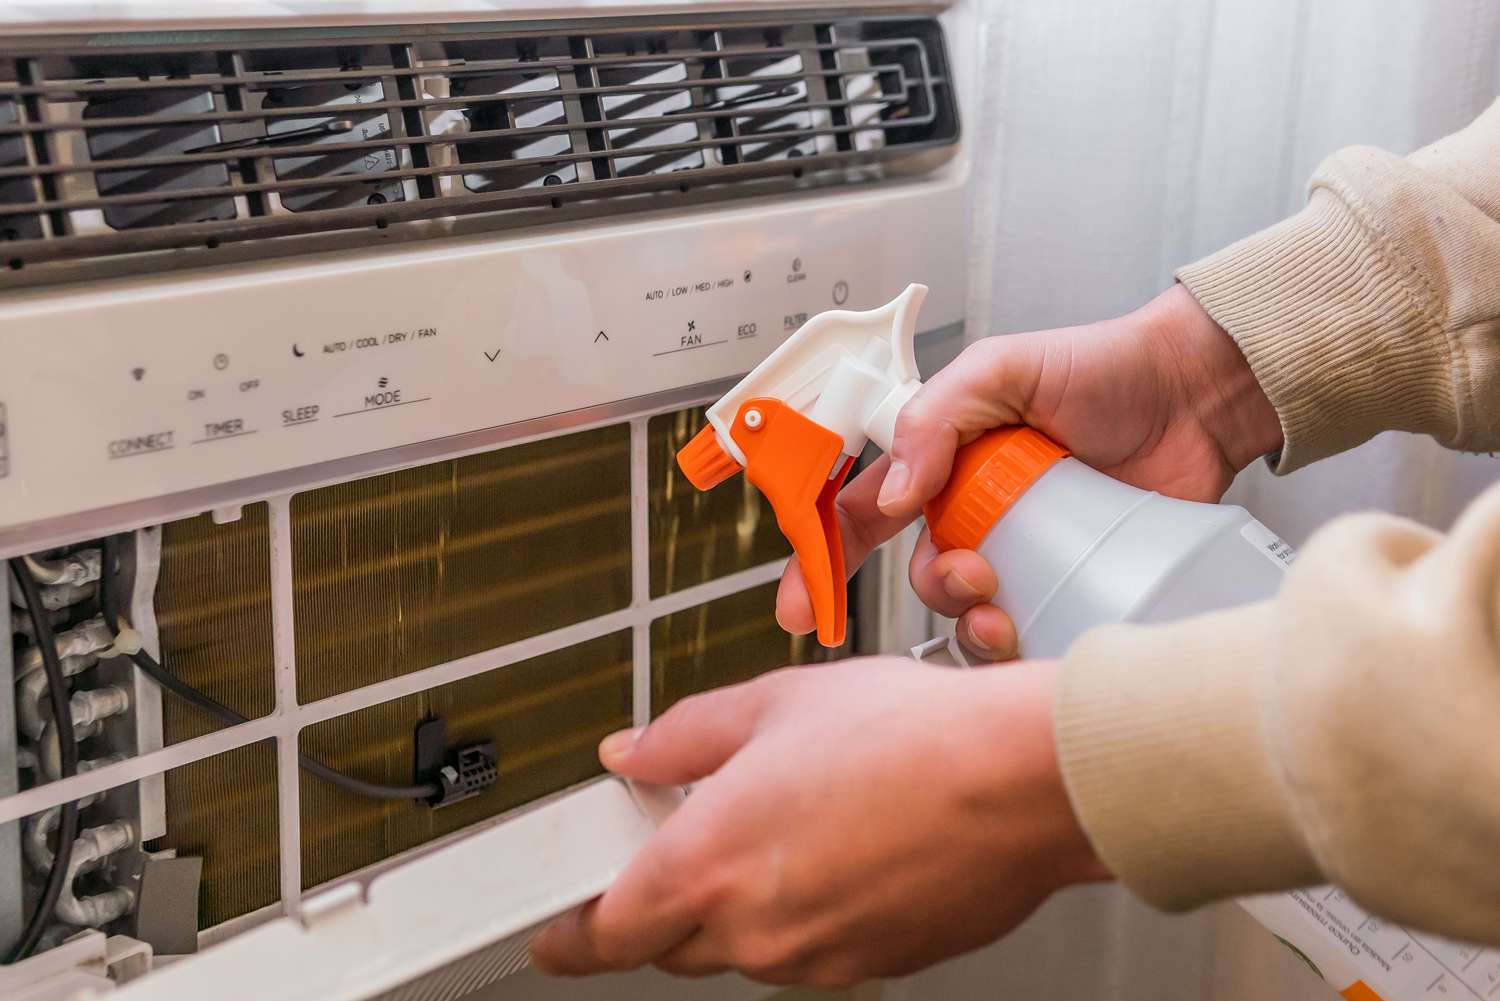
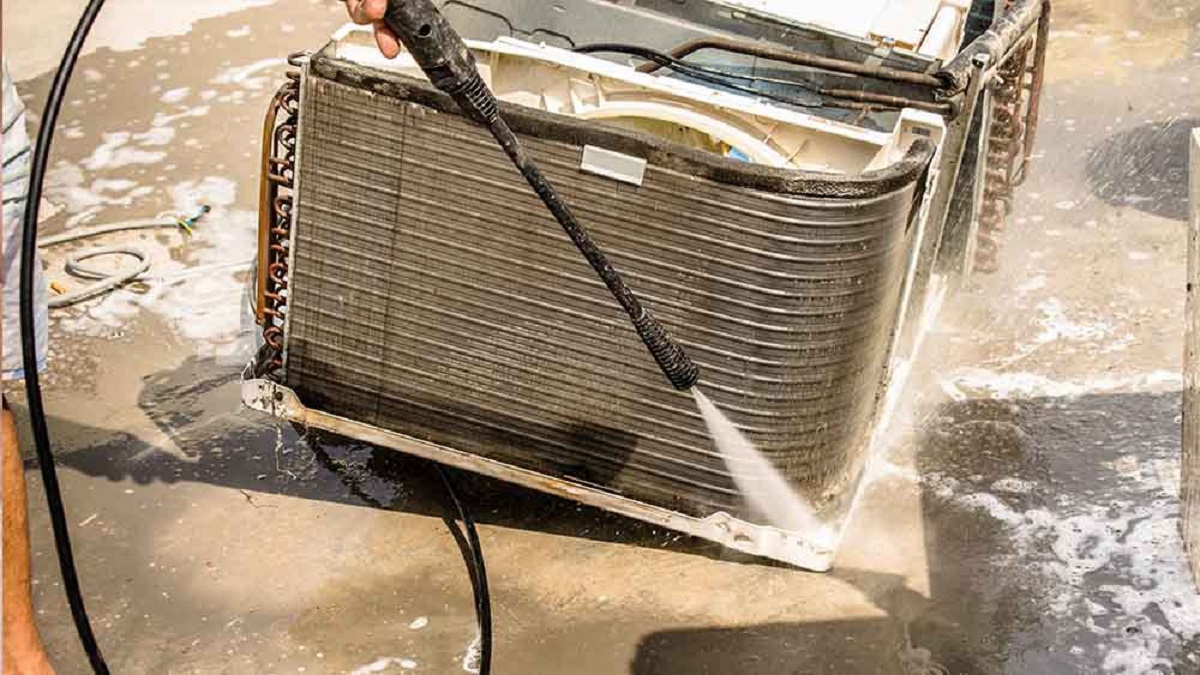
Step 3: Clean the Fins
The fins of the outdoor AC unit play a critical role in facilitating the exchange of heat, and keeping them clean is essential for efficient operation. Follow these steps to effectively clean the fins of your outdoor AC unit:
- Access the Fins: Carefully remove the outer casing or grille of the AC unit to access the fins. This may involve using a screwdriver to loosen and remove the fasteners or screws securing the casing.
- Gently Brush the Fins: Utilize a soft-bristled brush to gently dislodge any dirt, dust, or debris that has accumulated on the fins. Brush in a gentle, downward motion to avoid bending or damaging the delicate fins.
- Use Foaming Coil Cleaner: Apply a foaming coil cleaner to the fins, following the manufacturer’s instructions. The foaming action helps to penetrate and dislodge stubborn dirt and grime from the fins, promoting optimal airflow and heat exchange.
- Rinse the Fins: Using a garden hose equipped with a spray attachment, carefully rinse the fins from the inside out to flush away the loosened dirt and debris. Take care not to use excessive water pressure, which could potentially damage the fins.
- Allow the Fins to Dry: After rinsing, allow the fins to air dry completely before proceeding to the next steps. Avoid reassembling the outer casing until the fins are thoroughly dry.
By diligently cleaning the fins of your outdoor AC unit, you can ensure that airflow remains unobstructed, facilitating efficient heat exchange and overall optimal performance. This proactive maintenance step contributes to the longevity and effectiveness of your cooling system, enhancing its ability to keep your home comfortably cool during warm weather.
Step 4: Straighten the Fins
Over time, the fins of the outdoor AC unit may become bent or misshapen, hindering the unit’s efficiency. Straightening the fins is a crucial step in maintaining optimal airflow and heat exchange. Follow these steps to effectively straighten the fins of your outdoor AC unit:
- Assess the Fins: Carefully inspect the fins for any signs of bending or damage. Use a flashlight to illuminate the interior of the unit and identify any misshapen fins that may be obstructing airflow.
- Utilize a Fin Comb: A fin comb, available at hardware stores, is a specialized tool designed to straighten bent fins. Select a fin comb with the appropriate spacing that matches the fins of your AC unit.
- Gently Straighten the Fins: With the fin comb, carefully and gently straighten any bent fins by inserting the comb’s teeth between the fins and applying even pressure to straighten them vertically. Take care to avoid applying excessive force, which could potentially damage the fins.
- Work Methodically: Proceed methodically across the fins, straightening each one in a systematic manner. Exercise patience and precision to ensure that each fin is straightened without causing further damage.
- Reassess the Fins: Once you have straightened the fins, reassess the overall condition to ensure that airflow obstruction has been minimized, and the fins are uniformly aligned for optimal heat exchange.
By diligently straightening the fins of your outdoor AC unit, you can enhance airflow and heat transfer, promoting efficient operation and prolonging the life of your cooling system. This proactive maintenance step contributes to the overall performance and effectiveness of your outdoor AC unit, ensuring that it operates at its best when you need it most.
Step 5: Clean the Surrounding Area
Ensuring that the surrounding area of your outdoor AC unit is clean and free from obstructions is essential for optimal airflow and performance. Follow these steps to effectively clean the surrounding area of your outdoor AC unit:
- Clear Debris and Vegetation: Remove any remaining debris, such as leaves, grass clippings, or dirt, from the immediate vicinity of the AC unit. Use a broom or handheld brush to clear the area thoroughly.
- Inspect for Obstructions: Check for any potential obstructions around the unit, such as overhanging branches, shrubbery, or outdoor furniture. Trim back any vegetation or relocate objects that could impede airflow or access to the unit.
- Clean the Base and Platform: If the outdoor AC unit is positioned on a platform or base, ensure that the surface is clean and free from dirt and debris. Use a damp cloth or mild detergent to wipe down the base, promoting a clean and stable foundation for the unit.
- Clear Drainage Pathways: Verify that the drainage pathways around the AC unit are clear and unobstructed. Remove any accumulated dirt or debris from the drainage channels to prevent water buildup and potential drainage issues.
- Inspect the Condenser Coil Area: Take a moment to inspect the condenser coil area for any remaining debris or obstructions. Clear away any dirt or vegetation that may have accumulated near the coil to maintain unimpeded airflow.
By meticulously cleaning and clearing the surrounding area of your outdoor AC unit, you can ensure that the unit operates in an environment conducive to optimal performance. This proactive maintenance step contributes to the longevity and effectiveness of your cooling system, promoting reliable and efficient operation when you need it most.
Step 6: Reassemble and Turn On the Power
After completing the cleaning and maintenance tasks for your outdoor AC unit, it’s time to reassemble the unit and restore power to ensure proper functionality. Follow these steps to reassemble the unit and safely turn on the power:
- Reassemble the Outer Casing: Carefully position and reattach the outer casing or grille of the AC unit, ensuring that it is securely fastened in place. Use a screwdriver to tighten any screws or fasteners, ensuring a snug fit.
- Double-Check the Fins and Surrounding Area: Take a moment to verify that the fins are clean and straight, and the surrounding area is free from debris or obstructions. This final inspection ensures that the unit is ready for operation.
- Restore Power at the Electrical Panel: Return to the main electrical panel in your home and locate the circuit breaker for the outdoor AC unit. Switch the circuit breaker back on to restore power to the unit.
- Test the AC Unit: Return to the thermostat inside your home and set it to activate the cooling system. Listen for the familiar hum of the outdoor AC unit as it starts up, indicating that power has been successfully restored.
- Monitor for Proper Operation: After turning on the power, monitor the outdoor AC unit to ensure that it begins operating smoothly and effectively. Pay attention to any unusual noises or performance issues that may require further attention.
By diligently reassembling the outer casing, restoring power, and testing the unit, you can ensure that your outdoor AC unit is ready to provide reliable and efficient cooling for your home. This final step in the cleaning and maintenance process sets the stage for optimal performance and comfort, ensuring that your cooling system operates at its best when you need it most.
Read more: How To Clean Wall AC Unit
Conclusion
Cleaning your outdoor AC unit is a vital aspect of home maintenance, contributing to optimal performance, energy efficiency, and overall longevity of the cooling system. By following the comprehensive steps outlined in this guide, you have taken proactive measures to ensure that your outdoor AC unit operates at its best, providing reliable and efficient cooling for your home.
From prioritizing safety precautions and gathering the necessary tools and materials to meticulously cleaning the fins, straightening any bent components, and clearing the surrounding area, you have demonstrated a commitment to maintaining your outdoor AC unit in top condition. These efforts not only enhance the performance of the unit but also contribute to lower energy costs and improved air quality within your home.
Regular maintenance, including cleaning and inspecting your outdoor AC unit, is a key factor in preventing potential breakdowns and costly repairs, particularly during the peak cooling seasons. By incorporating these maintenance tasks into your home care routine, you are investing in the long-term functionality and reliability of your cooling system.
As you complete the final steps of reassembling the unit and restoring power, take a moment to appreciate the proactive steps you’ve taken to maintain your outdoor AC unit. Your commitment to regular maintenance and cleaning not only ensures a comfortable living environment but also prolongs the life of your cooling system, providing peace of mind and cost-effective operation for years to come.
By following this guide and making outdoor AC unit maintenance a priority, you are actively contributing to the overall efficiency and effectiveness of your home’s cooling system. With a clean and well-maintained outdoor AC unit, you can look forward to a cool and comfortable living space, even during the hottest days of the year.
Frequently Asked Questions about How To Clean An Outdoor Ac Unit
Was this page helpful?
At Storables.com, we guarantee accurate and reliable information. Our content, validated by Expert Board Contributors, is crafted following stringent Editorial Policies. We're committed to providing you with well-researched, expert-backed insights for all your informational needs.

0 thoughts on “How To Clean An Outdoor Ac Unit”