Furniture
How To Install Dresser Drawers
Modified: February 23, 2024
Learn how to install dresser drawers easily with our step-by-step guide. Enhance the functionality of your furniture with this simple yet effective DIY project.
(Many of the links in this article redirect to a specific reviewed product. Your purchase of these products through affiliate links helps to generate commission for Storables.com, at no extra cost. Learn more)
Introduction
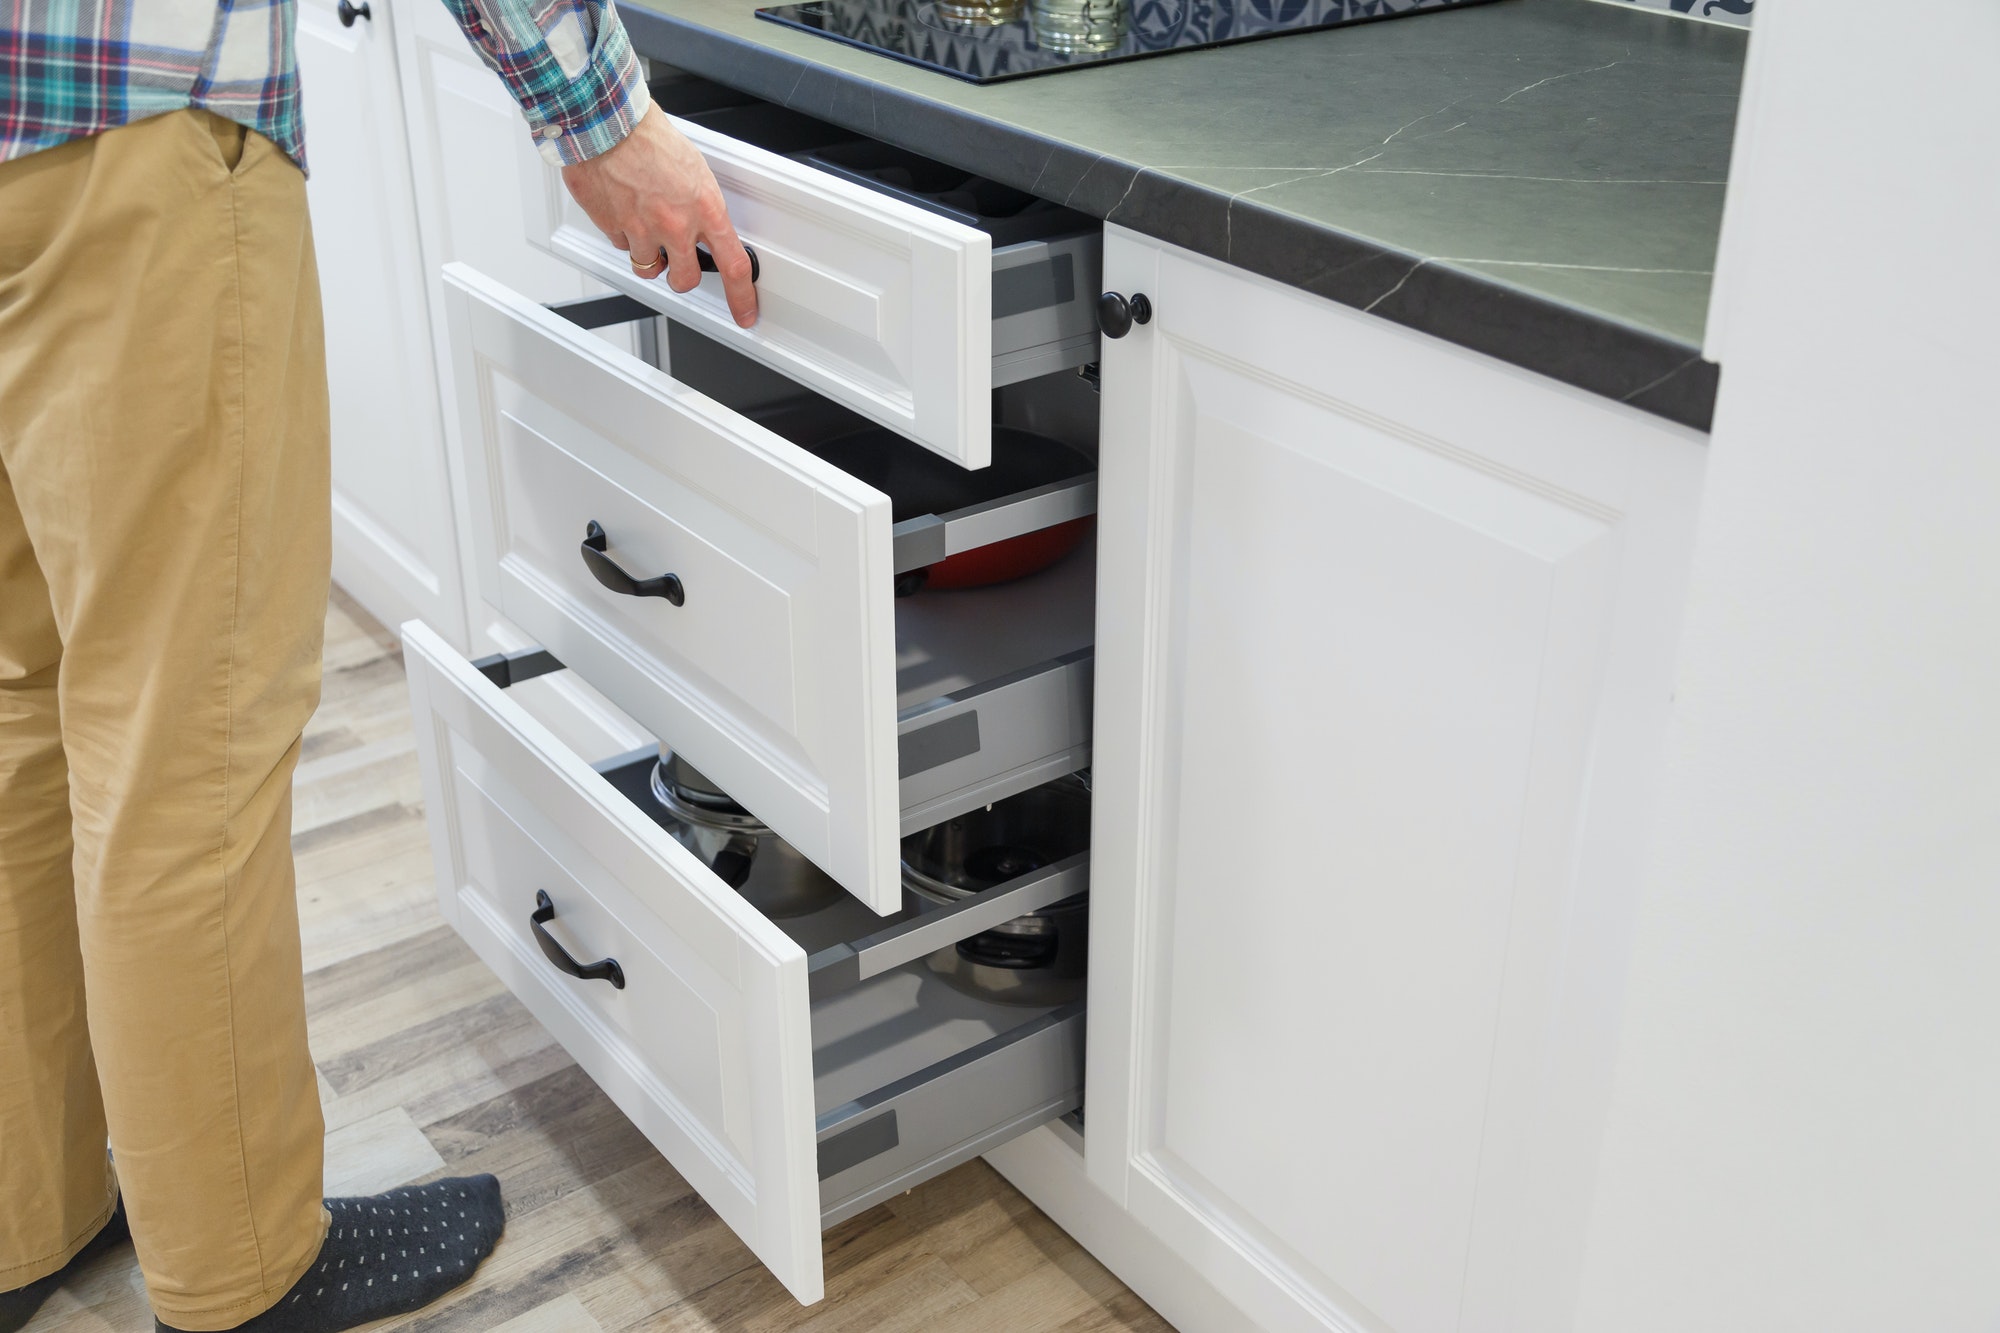
Welcome to our comprehensive guide on how to install dresser drawers. Dressers are essential pieces of furniture that help us keep our clothes and belongings organized. The drawers in a dresser are where we store and access these items, making them a crucial component of the overall functionality and usability of the piece.
Installing dresser drawers may seem like a daunting task, especially if you are not familiar with the process. However, with the right tools, materials, and step-by-step instructions, you can successfully install drawers in your dresser and improve its functionality. In this guide, we will walk you through each step to ensure a seamless installation process.
Before we dive into the installation steps, let’s first discuss the tools and materials you will need. Having everything prepared in advance will make the process smoother and more efficient. Here are the essential tools and materials:
Key Takeaways:
- Proper installation of dresser drawers requires gathering essential tools, precise measurement and marking, secure attachment of drawer slides and fronts, and thorough testing for functionality and durability.
- Attention to detail, patience, and thorough testing are crucial for successfully installing dresser drawers that enhance both the functionality and aesthetics of your furniture piece.
Read more: How Deep Are Dresser Drawers
Step 1: Gather the Tools and Materials
Before you begin the installation process, it’s important to gather all the necessary tools and materials. This will ensure that you have everything you need at hand, saving you time and preventing interruptions during the installation. Here is a list of the essential items:
- Drill
- Measuring tape
- Screwdriver
- Level
- Pencil
- Drawer slides
- Screws
- Drawer fronts
- Wood glue
- Sanding block
The drill will be used to create the necessary holes for the screws, while the measuring tape and level will help you accurately mark and align the drawer placements. The screwdriver will be used to secure the screws in place, and the pencil will come in handy for marking measurements and guidelines.
The drawer slides are crucial components for the smooth movement of the drawers. Make sure to choose high-quality and durable slides that will withstand the weight of the items you plan to store in the dresser. Additionally, you will need screws to attach the slides securely to the dresser frame.
The drawer fronts are the visible part of the drawers and contribute to the overall aesthetics of the dresser. Select drawer fronts that match your dresser style and personal preference. Wood glue will be needed to attach the drawer fronts to the drawer boxes.
Lastly, a sanding block will help you smoothen any rough or uneven edges, ensuring a professional finish. Having these tools and materials prepared will set you up for a successful installation process in the following steps.
Step 2: Measure and Mark the Drawer Placement
Before installing the drawer slides, it’s important to measure and mark the precise placement of the drawers on the dresser. This step ensures that the drawers are aligned and evenly spaced, enhancing the overall look and functionality of the dresser. Here’s how to do it:
- Start by measuring the width of the dresser interior. This will help you determine the number of drawers you can install and how wide each drawer should be. Take into account any existing dividers or shelves that may affect the drawer placement.
- Divide the width measurement by the number of drawers you want to install. This will give you the approximate width of each drawer.
- Mark the centerline of the dresser interior horizontally and vertically. This will serve as a reference point for aligning the drawer slides.
- Measure and mark the desired height of the first drawer from the bottom of the dresser. Ensure there is enough clearance between the drawer and any base molding or decorative features on the dresser.
- Using a level, draw a horizontal line across the dresser at the marked height. This will serve as a guideline for the drawer slides.
- Repeat the process for the remaining drawers, evenly spacing them based on your measurements and preference.
Double-check your measurements and markings to ensure accuracy before proceeding to the next step. Making precise marks will save you time and frustration during the installation process and result in a visually appealing and functional dresser.
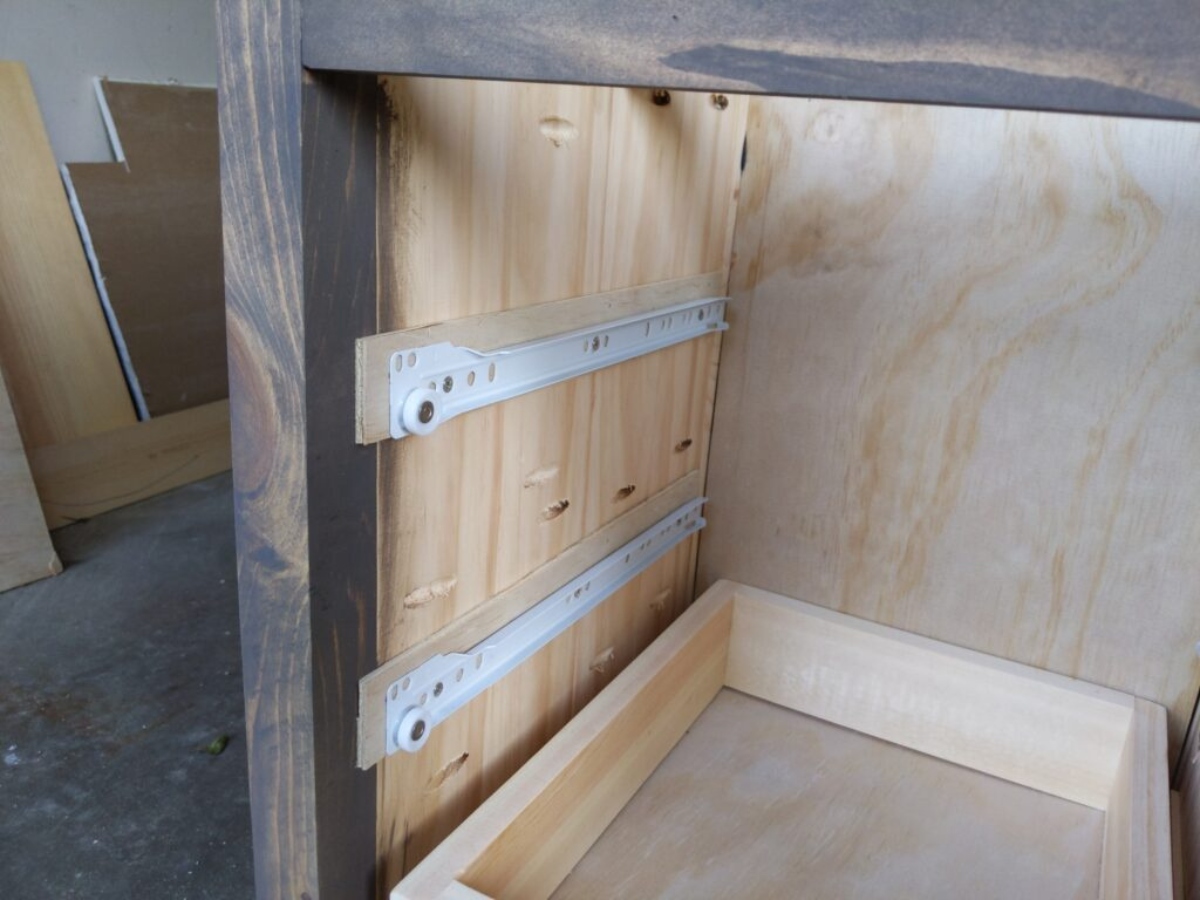
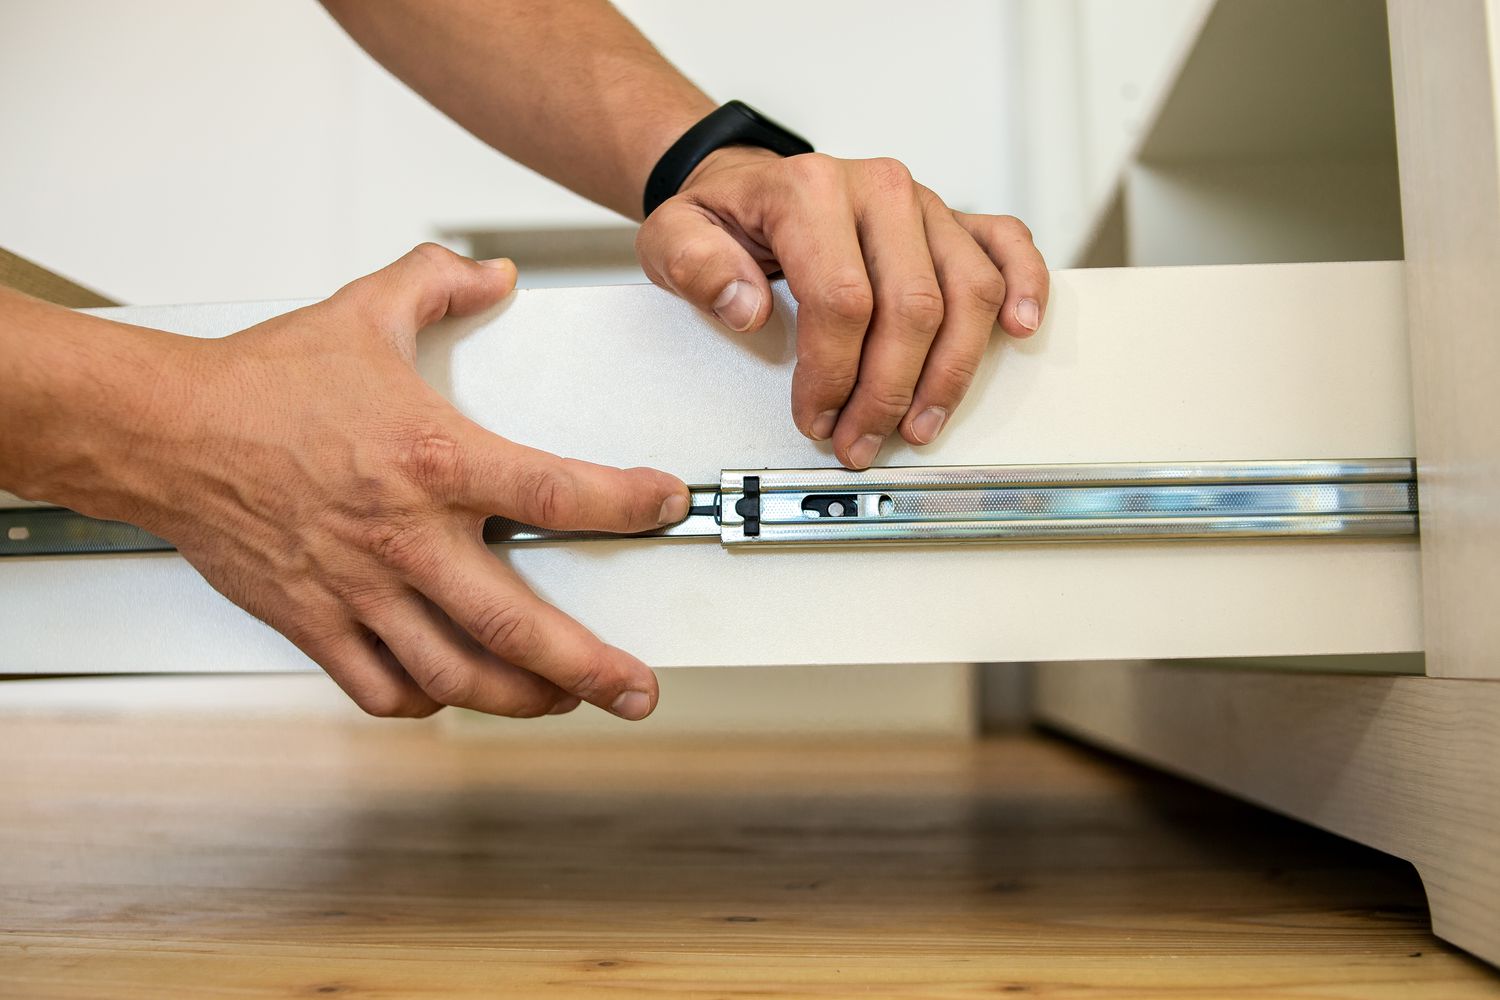
Step 3: Install Drawer Slides
Now that you have measured and marked the drawer placement, it’s time to install the drawer slides. Drawer slides are essential for the smooth and effortless opening and closing of the drawers. Follow these steps to properly install the drawer slides:
- Start by attaching the drawer slides to the sides of the dresser frame. Align the slides with the horizontal line you drew in the previous step.
- Use a pencil to mark the screw holes on both the dresser frame and the slides.
- Pre-drill pilot holes on the marked points to prevent splitting or cracking the wood.
- Place the drawer slide on the marked points and secure it with screws. Repeat this step for the remaining slides.
- Test the sliding action of the slides to ensure they are functioning smoothly. Make any necessary adjustments if needed.
- Next, attach the other part of the drawer slides to the sides of the drawer boxes. Ensure that the slides are aligned with the slides on the dresser frame.
- Use a pencil to mark the screw holes on the drawer boxes and pre-drill pilot holes.
- Secure the drawer slides to the drawer boxes using screws.
- Test the sliding action of the drawers to ensure they move freely along the slides.
Properly installed drawer slides are crucial for the smooth and effortless movement of the drawers. Take your time during this step to ensure that the slides are aligned and securely attached to both the dresser frame and the drawer boxes. This will contribute to the overall functionality and longevity of your dresser.
When installing dresser drawers, make sure to measure the space carefully to ensure the drawers will fit properly. Also, use a level to ensure the drawers are installed evenly.
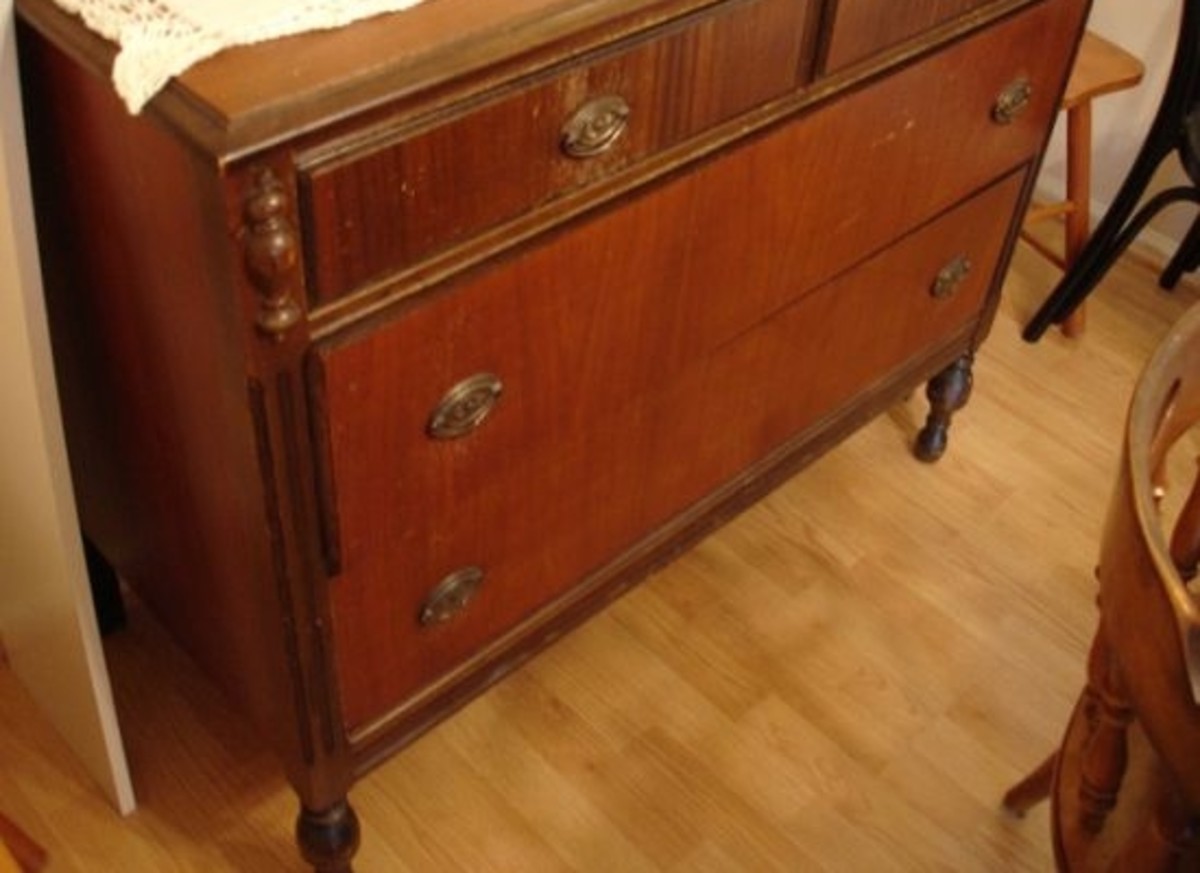
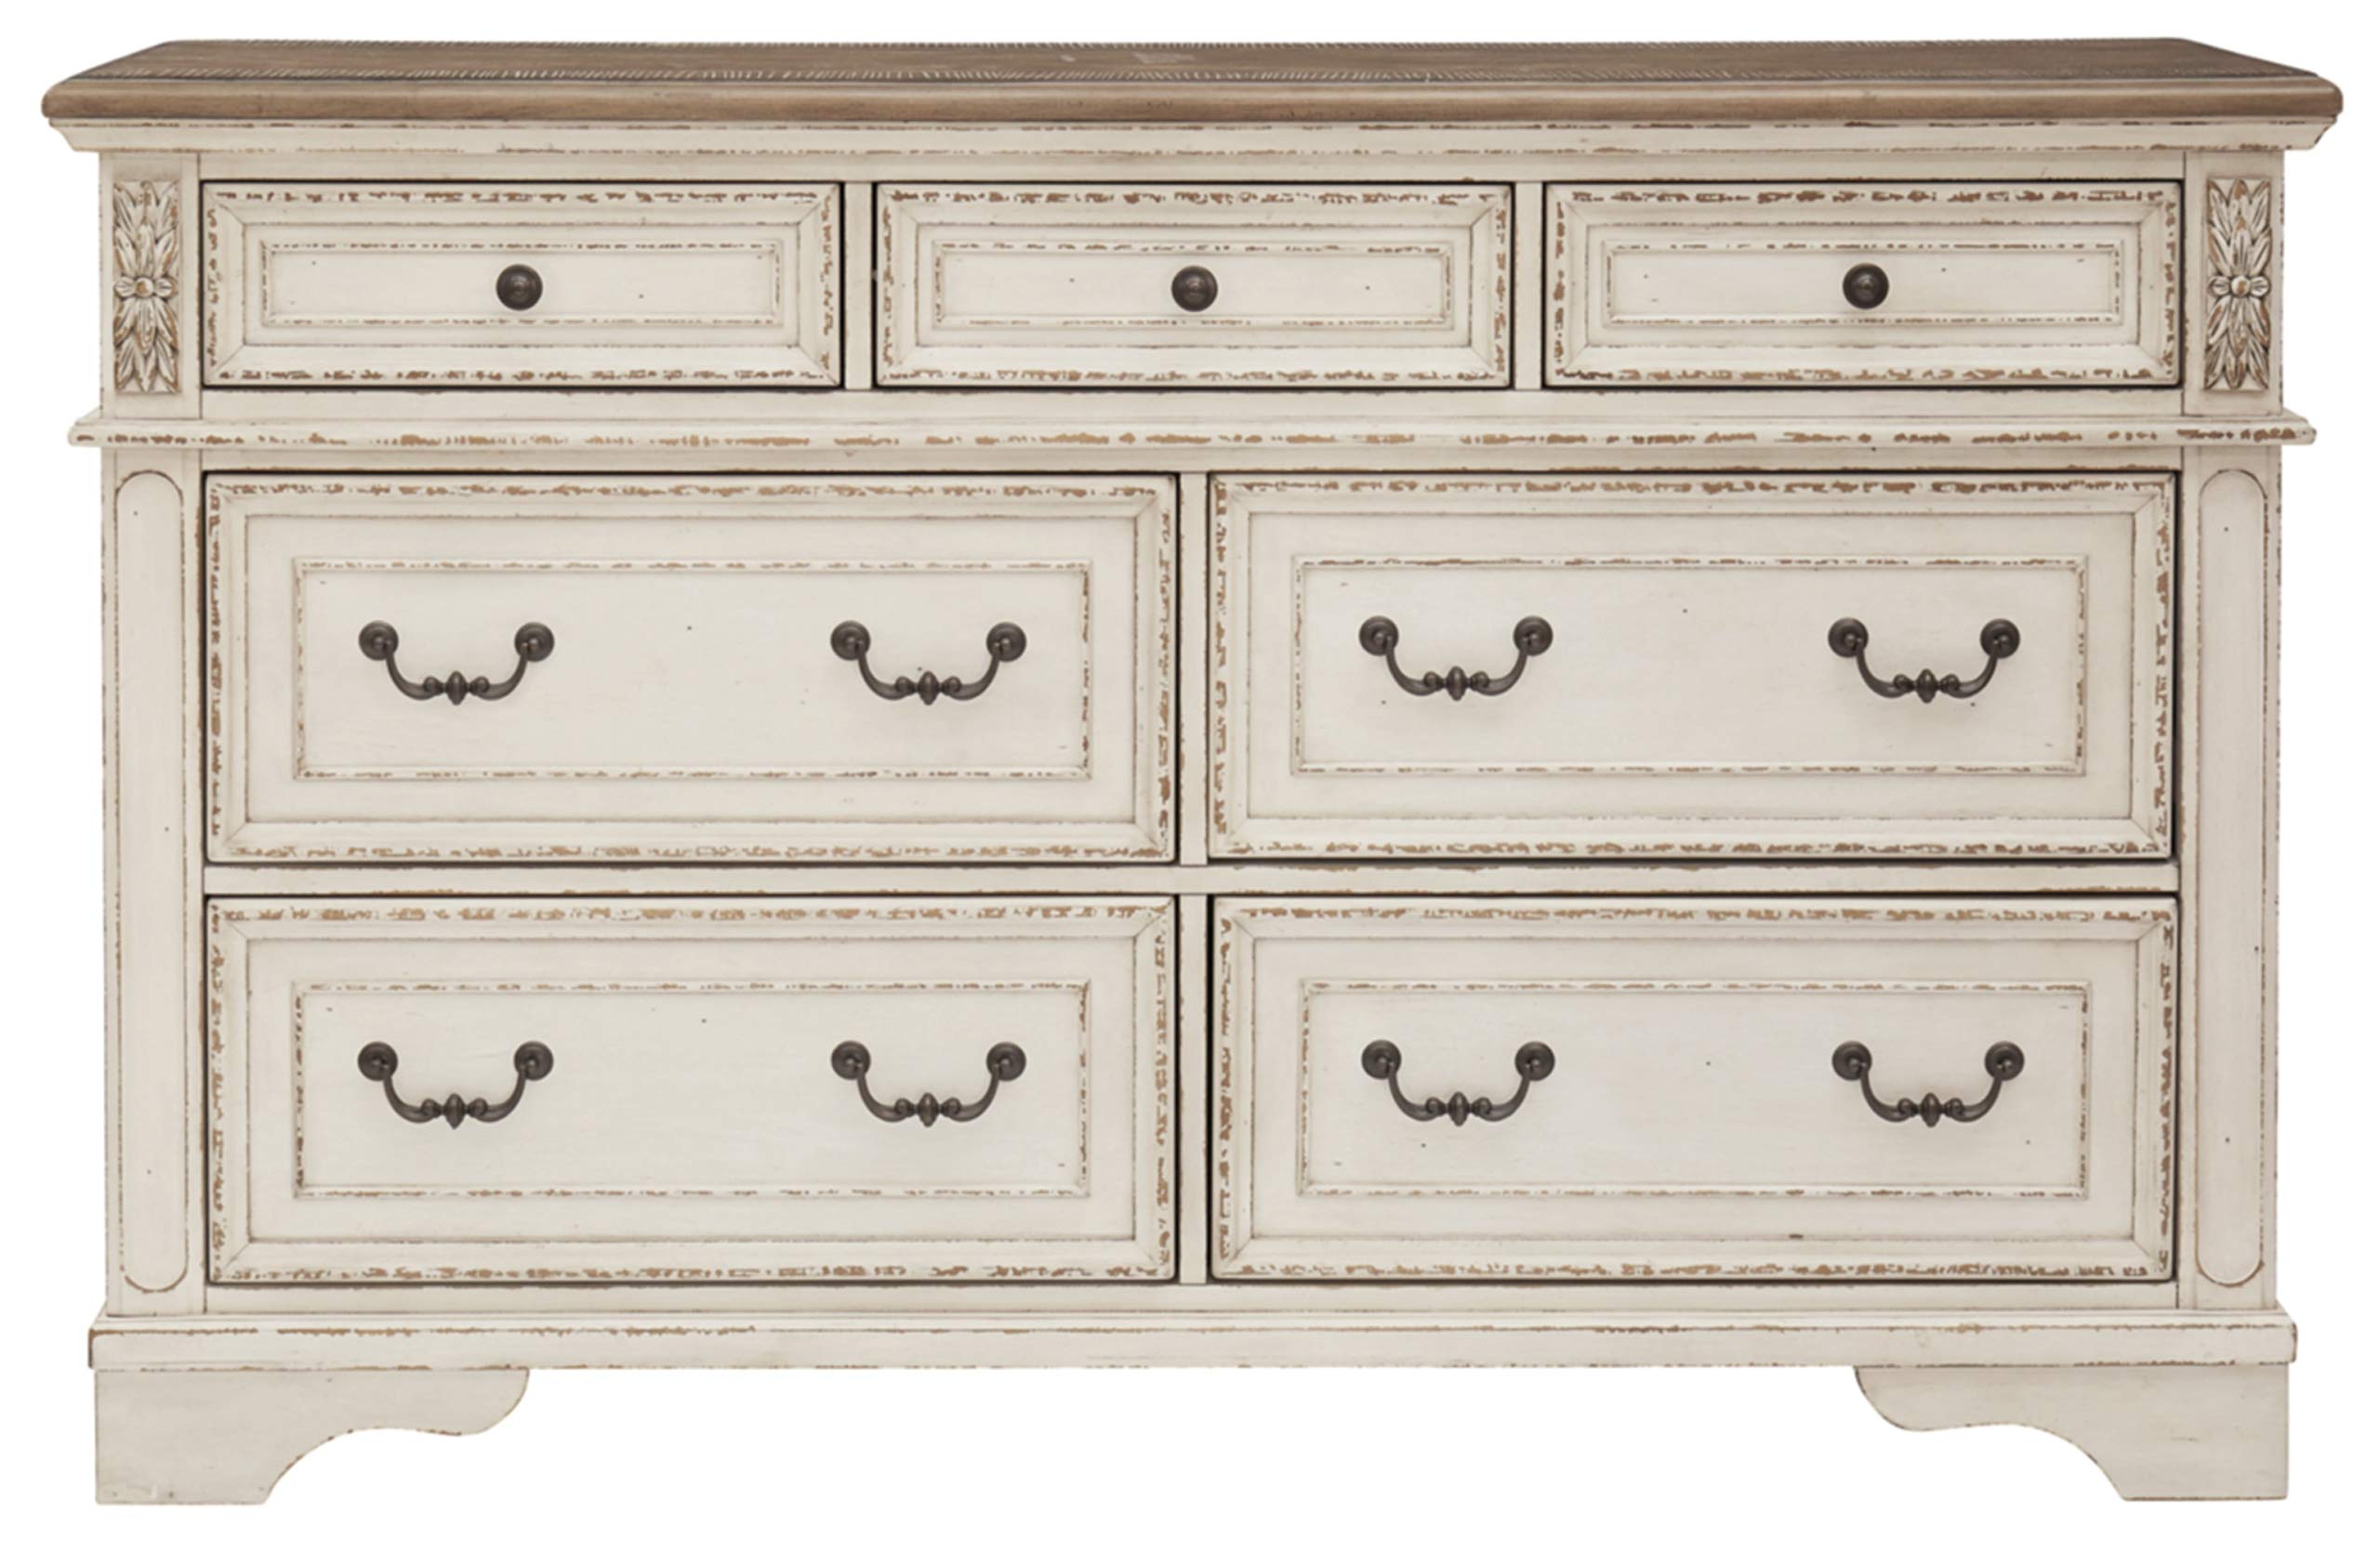
Step 4: Attach Drawer Fronts
With the drawer slides installed, it’s time to attach the drawer fronts to complete the visual aesthetics of your dresser. The drawer fronts are the visible part of the drawers and play a significant role in the overall appearance of the piece. Follow these steps to attach the drawer fronts:
- Place the drawer boxes inside the dresser, aligning them with the corresponding slides.
- Position the drawer fronts on the drawer boxes, ensuring they are evenly spaced and aligned with the rest of the dresser.
- Use a pencil to mark the mounting holes on both the drawer fronts and the drawer boxes.
- Pre-drill pilot holes on the marked points to prevent splitting or damaging the wood.
- Apply a small amount of wood glue to the back of the drawer front.
- Align the drawer front with the marks on the drawer box and press it firmly to adhere the glue.
- Secure the drawer front to the drawer box using screws. Be mindful of the length to prevent them from coming through the front of the drawer.
- Repeat this process for each drawer, ensuring that all the drawer fronts are securely attached.
- Allow the wood glue to dry according to the manufacturer’s instructions before proceeding.
Attaching the drawer fronts is a critical step in the installation process as it directly impacts the overall appearance of your dresser. Take your time to align them properly, ensuring that they are evenly spaced and visually appealing. The use of wood glue and screws will provide a secure and long-lasting attachment.
Once the wood glue is fully dry, you can move on to the next step of installing and aligning the drawers.
Read more: How To Lock A Dresser Drawer
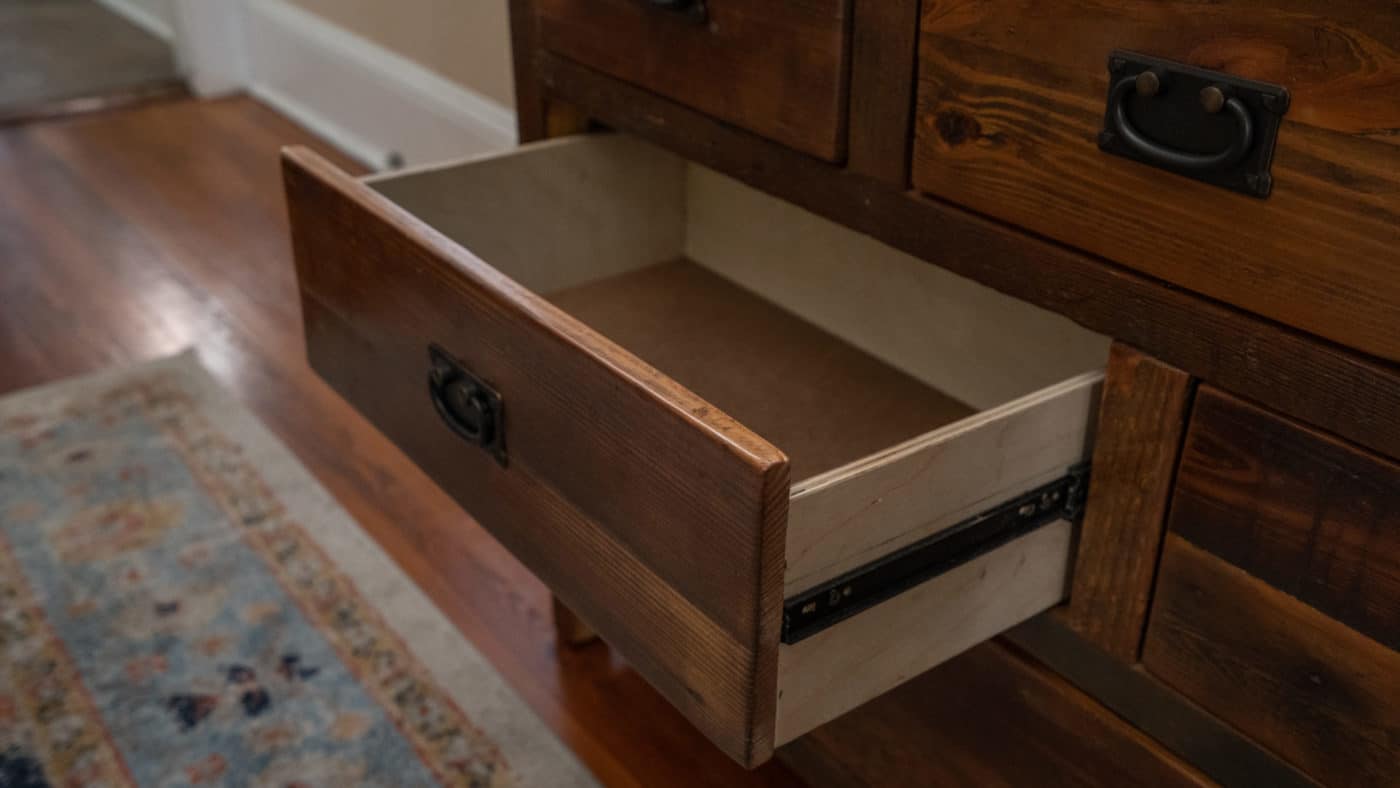
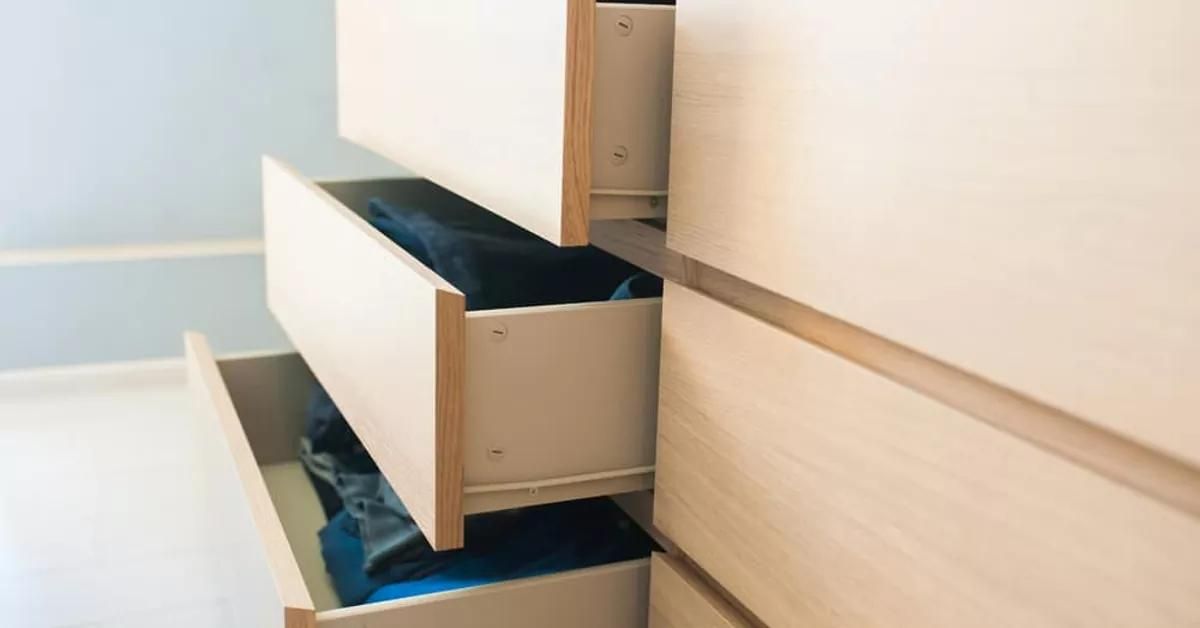
Step 5: Install and Align Drawers
Now that the drawer fronts are securely attached, it’s time to install and align the drawers within the dresser. Proper installation and alignment of the drawers are essential for smooth operation and functionality. Follow these steps to install and align the drawers:
- Starting with the top drawer, place it onto the drawer slides. Ensure that it fits properly and glides smoothly along the slides.
- Adjust the position of the drawer to align it with the surrounding drawer fronts and dresser frame. Use a level and measuring tape to ensure that the drawer is perfectly level and evenly spaced.
- Once the drawer is aligned, mark the inside of the drawer and the dresser frame where they meet. These marks will serve as a reference for future installations and adjustments.
- Repeat this process for each drawer, ensuring that they are installed and aligned correctly.
- If any adjustments and realignment are needed, use the marks you made in the previous step as a guide.
During the installation and alignment process, make sure to test the opening and closing of each drawer to ensure they glide smoothly and fit properly on the slides. If you encounter any issues, such as sticking or jamming, check for any obstructions or misalignments that may need to be corrected.
Taking the time to properly install and align the drawers will ensure their functionality and enhance the overall appearance of your dresser. Once you are satisfied with their installation and alignment, you can move on to the final step of testing the dresser drawers.
Step 6: Test the Dresser Drawers
After installing and aligning the drawers, it’s crucial to test their functionality to ensure they are working properly. Here’s how to test the dresser drawers:
- Begin by opening and closing each drawer individually to ensure they move smoothly along the drawer slides. Pay attention to any sticking, jamming, or uneven movement.
- If you encounter any issues, such as sticking or jamming, remove the drawer and check for any obstructions or misalignments. Make any necessary adjustments to ensure the drawers function properly.
- Load the drawers with items that represent the typical weight you would store in them. This will help you gauge if the drawers can support their intended contents without sagging or malfunctioning.
- Test the drawers with a variety of items, including clothing, accessories, or household items, to ensure that the drawers can accommodate different sizes and weights.
- Open and close the drawers multiple times to simulate regular usage and ensure that they continue to operate smoothly.
- Check for any rattling or loose components within the drawers. Tighten any screws or make necessary adjustments to eliminate any unwanted movement or noise.
Testing the dresser drawers is vital to ensure their functionality, durability, and overall satisfaction with your finished project. By thoroughly testing the drawers, you can identify and address any issues before finalizing the installation.
Once you have completed the testing process and are satisfied with the functionality and performance of your dresser drawers, you have successfully completed the installation process. Congratulations on your hard work and dedication to creating a functional and beautiful dresser!
Conclusion
Installing dresser drawers can be a challenging task, but with the right tools, materials, and step-by-step instructions, it becomes a manageable project. By following the steps outlined in this guide, you can successfully install dresser drawers and enhance the functionality and aesthetics of your dresser.
Remember to begin by gathering all the necessary tools and materials, ensuring that you have everything you need for the installation process. Measure and mark the drawer placement accurately to ensure proper alignment and spacing. Install the drawer slides securely, as they are essential for the smooth movement of the drawers. Attach the drawer fronts, paying attention to proper alignment and spacing for a visually appealing result. Install and align the drawers to ensure they fit properly and glide smoothly.
Finally, thoroughly test the drawers to ensure their functionality, durability, and capability to handle your storage needs. This step will allow you to make any necessary adjustments and ensure the long-term satisfaction of your dresser.
By following these steps, you can successfully install dresser drawers and enjoy a well-organized and aesthetically pleasing piece of furniture. Remember to take your time, double-check your measurements, and make any necessary adjustments along the way. With patience and attention to detail, you can create a dresser that not only serves its purpose but also adds beauty and functionality to your living space.
We hope this guide has been helpful to you. Good luck with your dresser drawer installation project!
Frequently Asked Questions about How To Install Dresser Drawers
Was this page helpful?
At Storables.com, we guarantee accurate and reliable information. Our content, validated by Expert Board Contributors, is crafted following stringent Editorial Policies. We're committed to providing you with well-researched, expert-backed insights for all your informational needs.


0 thoughts on “How To Install Dresser Drawers”