Home>Craft Storage>How To Make a Lamp Shade to Suit Your Home Aesthetic

Craft Storage
How To Make a Lamp Shade to Suit Your Home Aesthetic
Modified: December 6, 2023
Have you ever wanted to learn how to make a lamp shade? Well, customizing your own is now easier than ever with this handy guide!
(Many of the links in this article redirect to a specific reviewed product. Your purchase of these products through affiliate links helps to generate commission for Storables.com, at no extra cost. Learn more)
Lamps have been a staple in modern homes for centuries. They let us utilize more hours in the day, providing light to work by or unwind beside. Lamps today tend to all look alike though. More intricate pieces from the store may end up costing more, and the artistic-looking lamp shades can get downright expensive. So, why not try your hand at it yourself? Yes, making a lamp shade yourself! Without further ado, let’s take a look at how to make a lamp shade!
What Is a Lamp Shade?

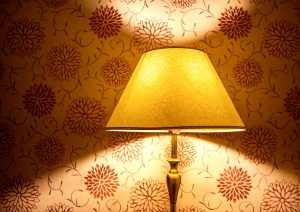
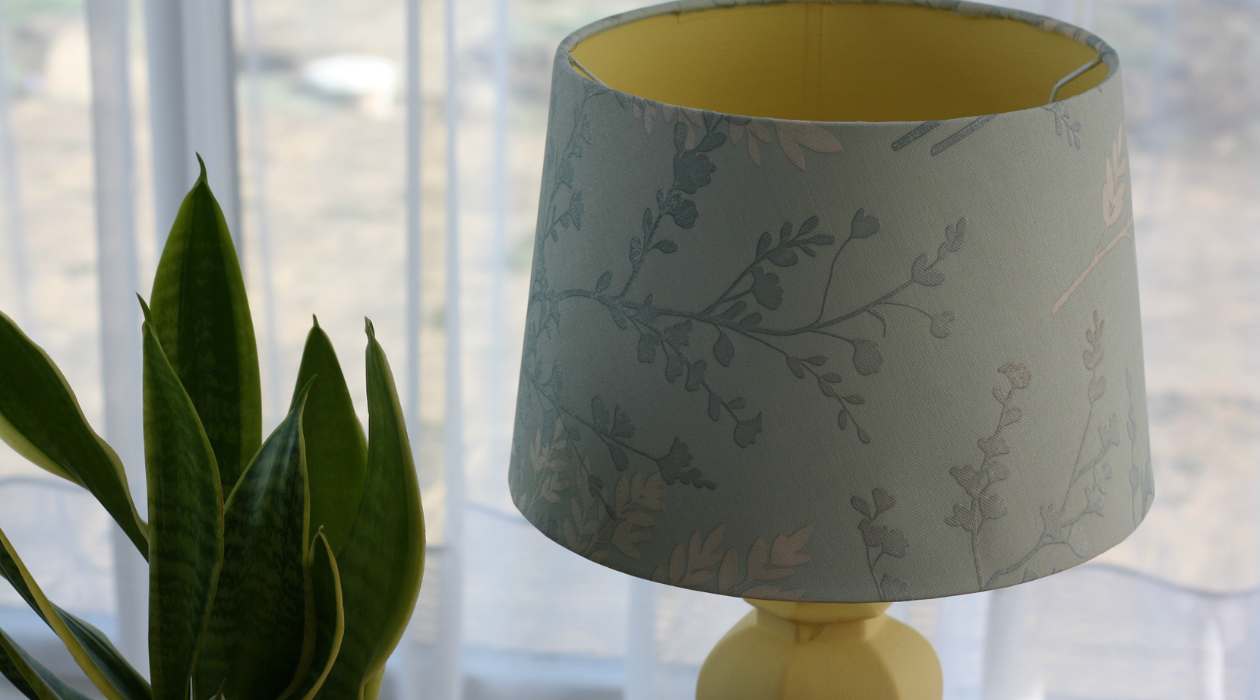
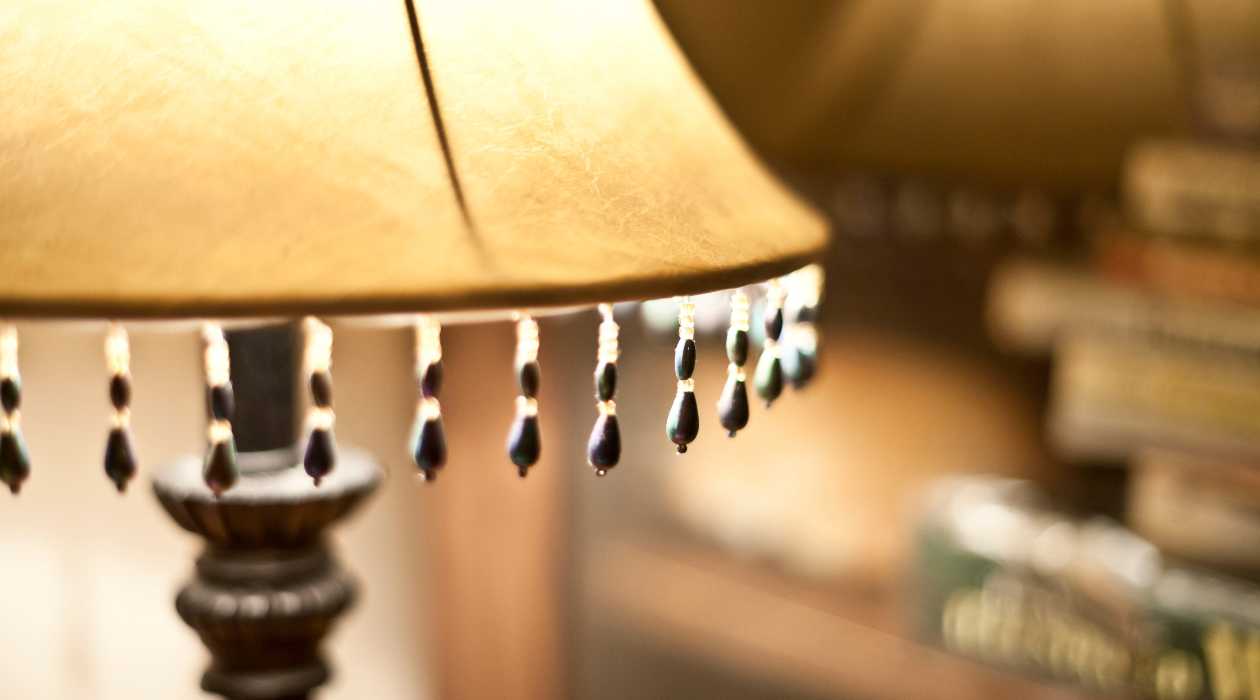
Lamp shades are attachments that fit over the bulb of a lamp. These clever contraptions diffuse and direct the light coming from a lamp’s source, keeping the direct light from hurting people’s eyes. These came into fashion only in the late 17th century, much later than lamps themselves. Today, lamp shades come in a handful of shapes and sizes, but the most common is the tapered, cylindrical design.
Read more: How To Make A Paper Lamp Shades
Why Learn How to Make a Lamp Shade?
You may be wondering why you’d want to make a DIY lamp shade. Well, it all comes down to customizability. When you learn how to make a lamp shade at home, you can make it look however you want. If you have a favorite color or want to compliment a specific room, you can simply buy the matching fabric. Alternatively, if you want a lamp shade that’s more stylish than functional, you can build all sorts of uniquely-shaped shades out of cardboard or metal. The possibilities are quite boundless.
DIY Lamp Shade Vs Store-Bought
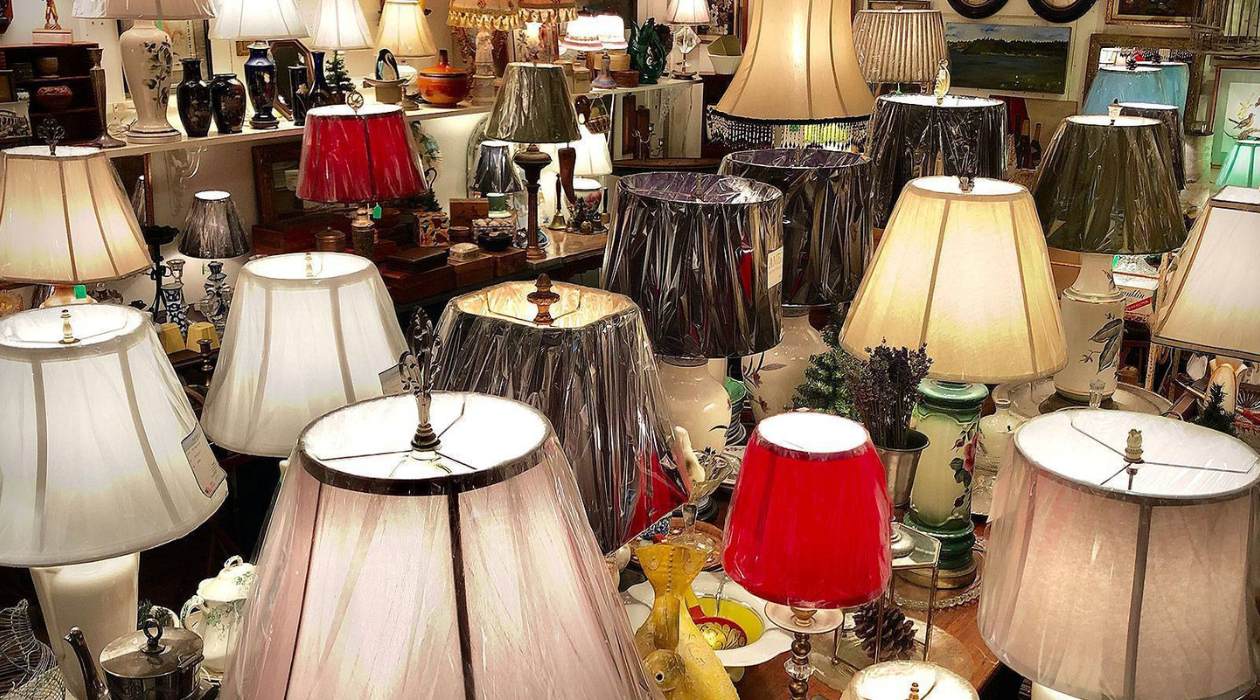
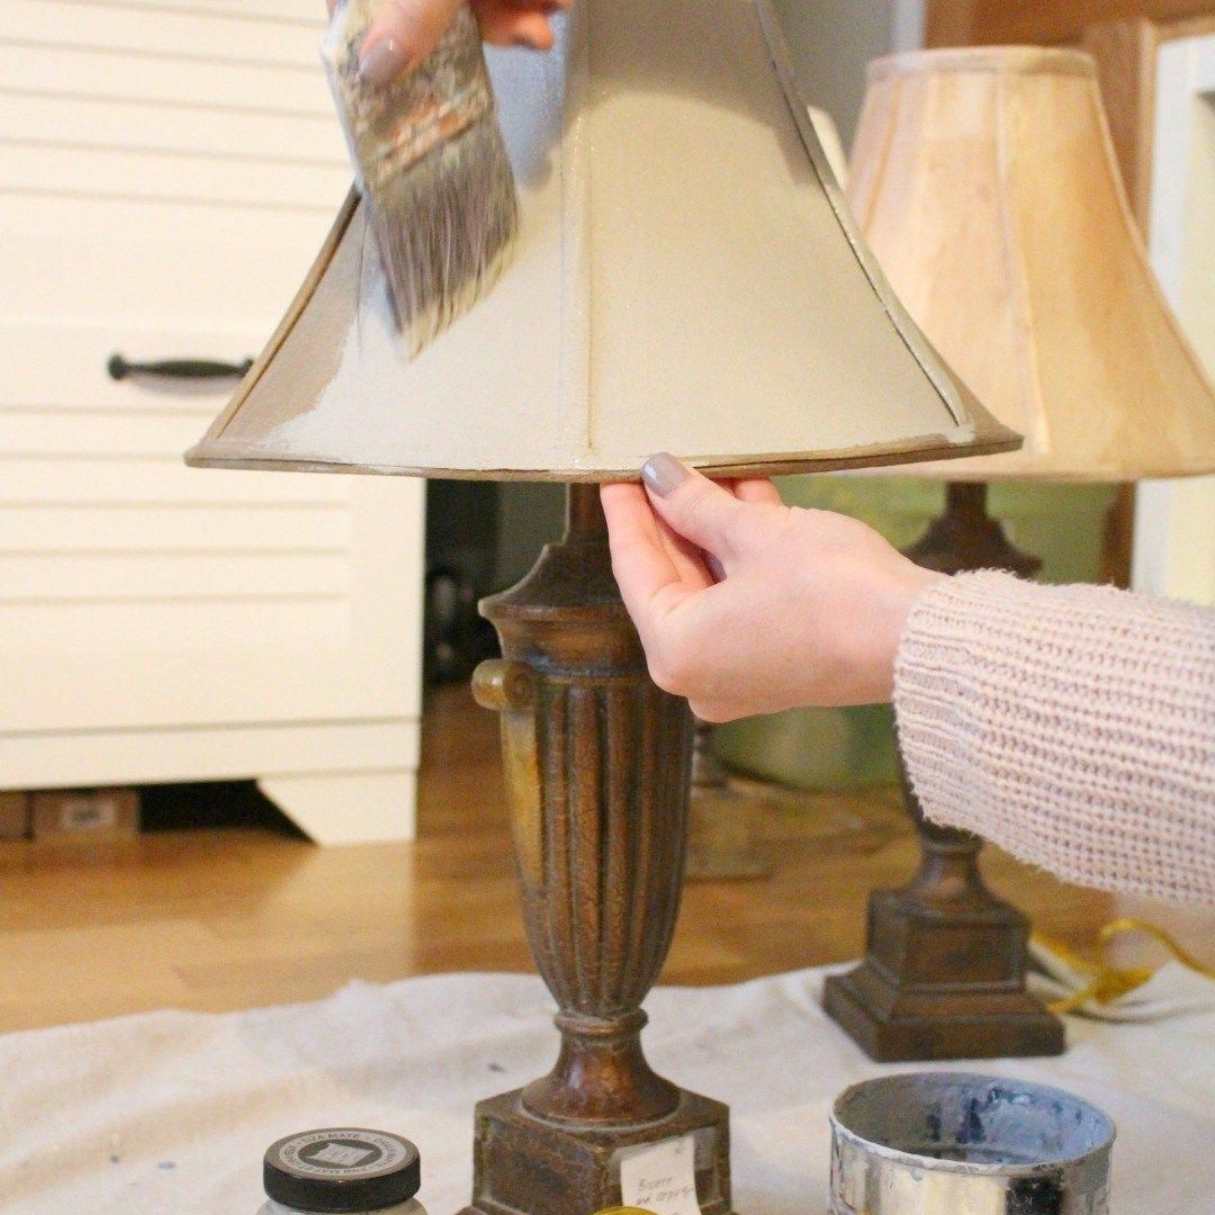
Still wondering why should you invest extra effort to craft what can be bought? After all, perfectly good lamp shades can be found at the store. For starters, learning how to make a lamp shade at home can actually be more sustainable. There are tons of lamps in antique and thrift stores that have had their shades broken. Many come with beautiful bases and are much cheaper than a full lamp. You may even have an old lamp of your own that you can restore or customize. Making lamp shades for these pieces saves them from the trash and encourages living sustainably.
Available options, price, and sturdiness are also factors to consider. Although there are many lamp shades on store shelves, a majority of them are in the standard colors of black, white, and beige. A few other shades may be on-hand, but they’re usually harder to find. Price-wise, it’s true that many of the simpler shades will cost you less. But, if you have your eye on a particularly fancy piece, chances are it’ll carry a steeper price tag. In addition, you can never guarantee the build of a cheaper store-bought lamp shade. By putting into practice how to make a lamp shade, you get to control the quality of all the materials. These factors begin to add up in the end, as seen in our summary below.
Pros and Cons of DIY Lamp Shades
Pros
- Highly customizable
- Build quality is under your control
- Encourages sustainability
- Satisfying to create
- Can be cheaper than store-bought ones
Cons
- More work than purchasing from the store
- May become pricier depending on the materials
How to Make a Lamp Shade at Home
If you’ve decided to learn how to make a lamp shade, then read on. This section tackles the different parts of your future lamp shade and how they fit together. If you’re curious about how this all works, you can even scroll down to the next section for a more in-depth explanation.
Read more: How To Make A Macrame Lamp Shade
Lamp Bases
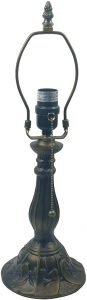
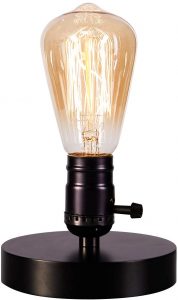
You may already have a base prepared, but we wanted to cover picking one out just in case. Whether you’re grabbing one from the store or thrifting for one, there are a few things to keep an eye on. A lamp base will ideally already have a harps holder installed. This is the part that goes around the bulb and holds up the shade. If your lamp shade can stand on its own, such as on a lantern-like lamp, the harps holder isn’t as important.
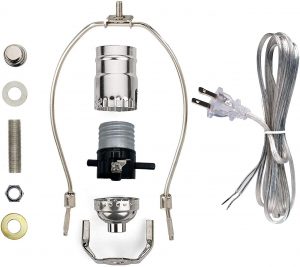
Building a lamp base from scratch is also an option if you pick up a lamp-making kit. These kits need to be wired and linked up to whatever stem you have on hand. Whether you carve one out yourself or transform an old piece, just be sure to research how to wire it up properly to avoid accidents.
Basic Lamp Shade Parts
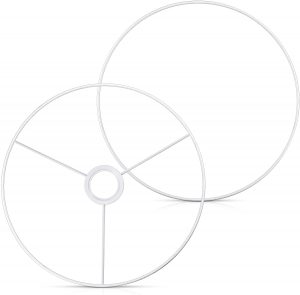

We can now move on to some of the basic parts of a lamp shade. If your lamp base doesn’t have a harps holder, now’s the time to install it so it can hold up the frame. The frame itself can be any shape. It acts as a skeleton for the rest of the lamp shade to conform to, so pick a shape that suits your base. To make a simple cylindrical lamp shade, pick up a set of lamp shade rings. Have them nearby for the next few steps.
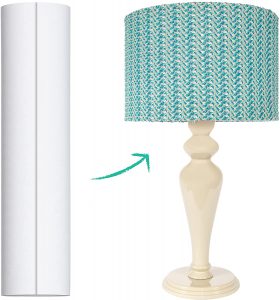
Next on our list of basic parts is the lamp styrene. Styrene is a flexible, flame-resistant plastic that makes the inner layer of a lamp shade. Measure out your styrene to the length of your lamp shade rings, adding almost an inch of overlap. Cut it as straight as possible and set it aside for later. Remember that the styrene goes over the frame, but under the cloth in the next step.
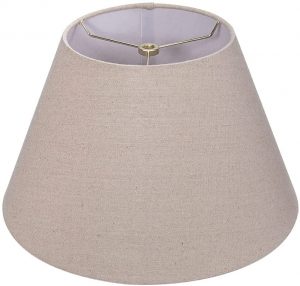
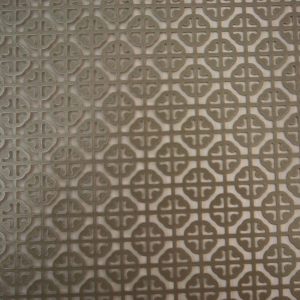
Lamp Shade Fabric
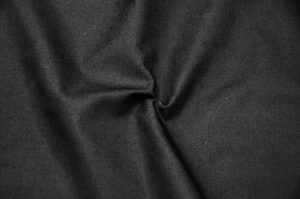
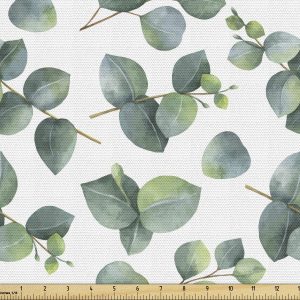
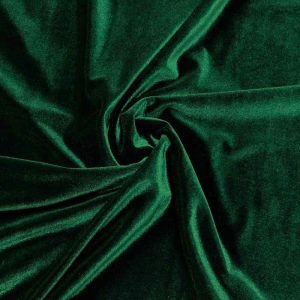
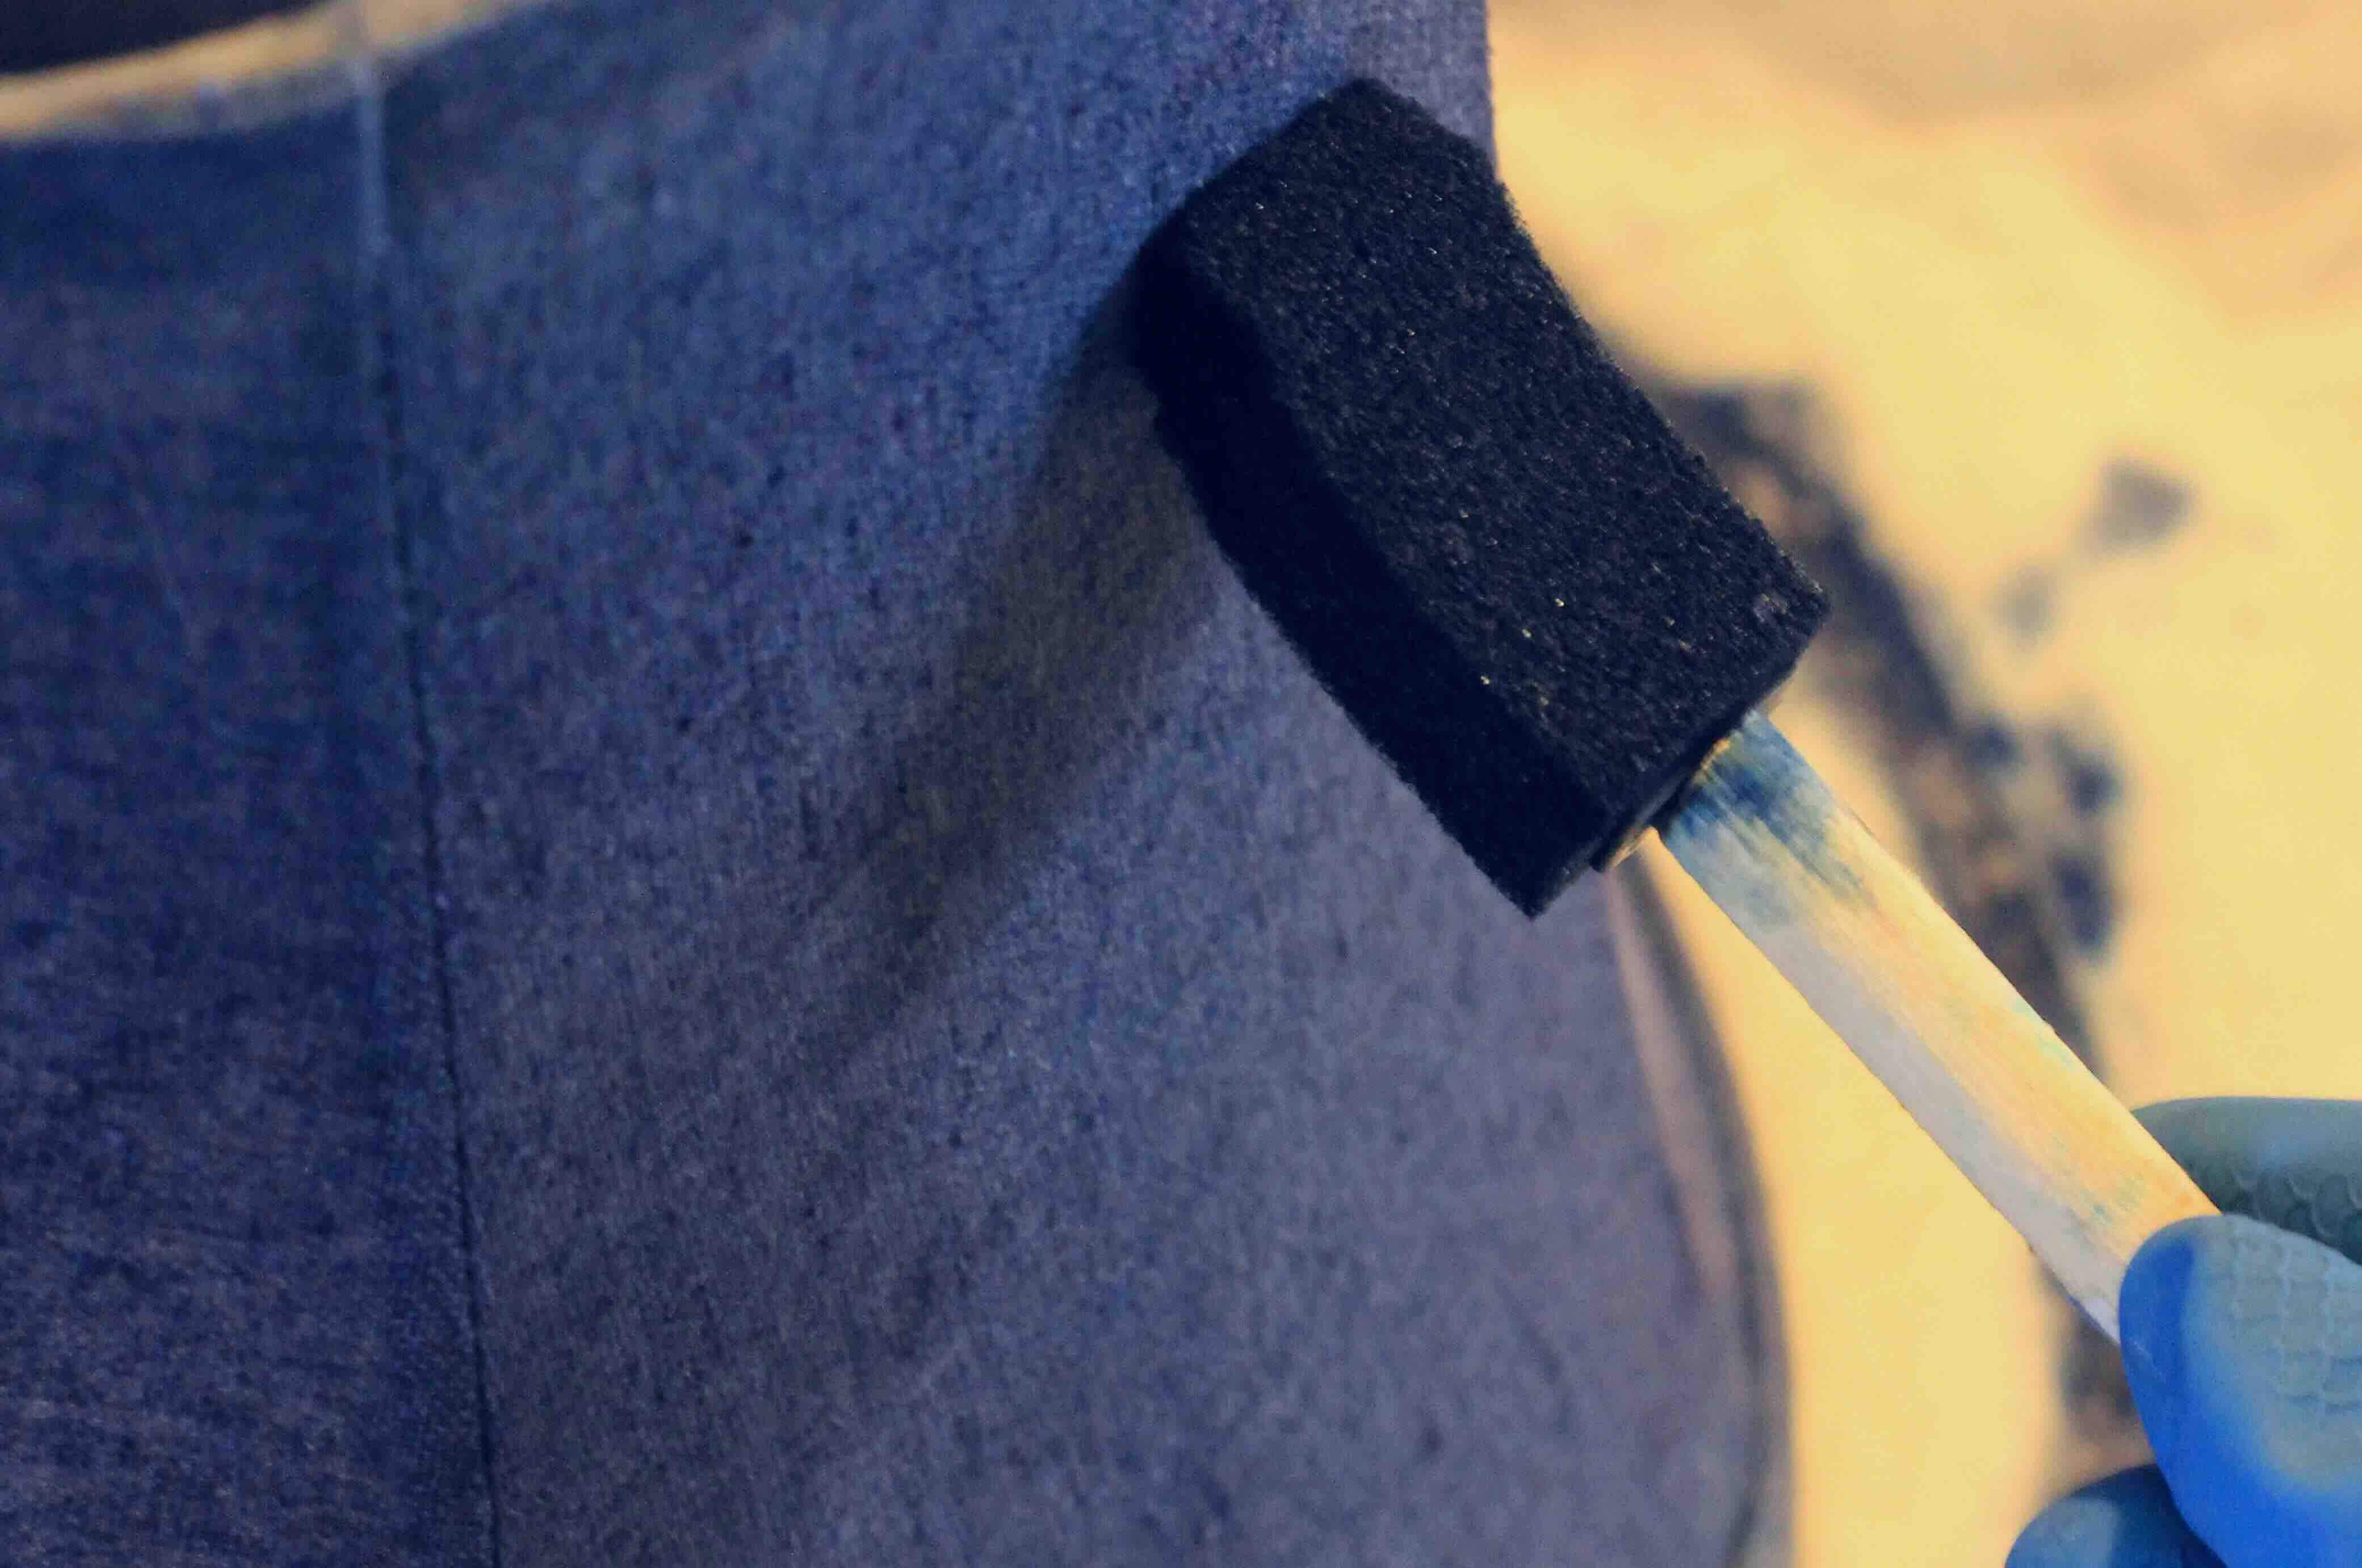
Fabric is the last part you need for your simple lamp shade. This is your chance to customize. Will you choose the classic cotton blend, a brave patterned look, or a luxurious velvet? Whichever your choice, lay the fabric down with your styrene on top. Using a ruler, measure out extra three-quarters of an inch from the styrene. Trace and cut out the fabric. Note that the border may need to increase or decrease depending on your frame. This is because the extra cloth on the top and bottom of the styrene must be enough to wrap around those parts of your frame. The additional cloth on the sides is folded in to ensure crisp, clean edges on your lamp shade’s seam.
Assembly is simple from there. Lamp styrene has an adhesive backing with a protective film. Align the styrene properly against the cloth and peel off the backing slowly. Stick down the styrene to the cloth as you peel. Use a large ruler or book to press down, avoiding lumps between the fabric and the styrene.
Next, begin wrapping the resulting sheet of styrene and cloth around your rings. Glue each ring right at the edge of the styrene as you do. Don’t paste the rings on the styrene itself or the rims will look a little odd. Make sure they’re on the cloth part. As you finish wrapping, close the lamp’s seam with more glue. Finally, encase the rings with the extra fabric. Tuck and paste them in place, and you’re done!
How to Make a Lamp Shade With Metal
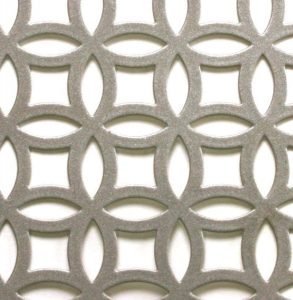
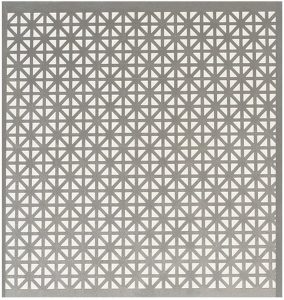
Making a metal lamp shade is quite different from making a fabric one. Many metal sheets simply aren’t big enough to fit around lamp shade rings. So, you can either combine two sheets together or make a smaller lamp shade. Wrapping an aluminum sheet around some metal rings is your best bet. Feel free to decorate the resulting cylinder with fake gems, metal ribbons, and other such baubles. It won’t provide as much light as a traditional cloth lamp shade, but you’ll definitely have a statement piece for your home. Put it over a short table lamp for a lantern-like look and you’re good to go. Just take care to choose a cooler bulb for this type of lamp shade. You wouldn’t want to accidentally hurt yourself on hot metal.
Read more: How To Make A Mica Lamp Shades
How To Make a Lamp Shade With Cardboard
If you want a fun activity with your kids, try making a cardboard lamp shade for their night light. Decide how tall you want the lamp shade to be and cut up a cardboard sheet to suit it. Next, measure out an equal panel on the cardboard sheet and score the sheet straight down from top to bottom. Fold and unfold the panels just to give an idea of where each one starts and ends.
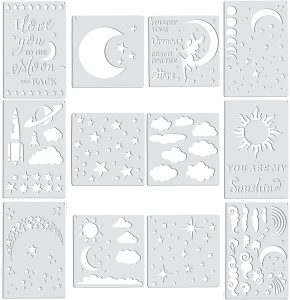
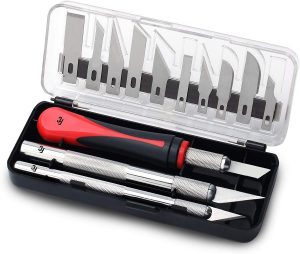
You can then let your kids use stencils to decorate. Let the little tykes paint and color to their hearts’ content. When they’re done, either you or an older child can use a craft knife to cut out some of the stencil shapes. Fold the lamp shade up again following your guides, making a multi-faced container. Glue that together and top it off with a cardboard cap. Plop their cardboard creation on a short lamp and you have yourself the perfect little bedside night light.
Make sure the lamp you pick doesn’t run too hot or you may risk the cardboard getting too warm. If this worries you, you can make even smaller night lights with these kinds of lamp shades. Simply use electric tea lights and cut the cardboard much shorter.
Additional Tips on How to Make a Lamp Shade
We hope you enjoyed our above guide on how to make a lamp shade. There are a few more tips we’d like to share with you before you head out to tackle your first project. Feel free to refer to these for both basic and complex lamp shades.
Tip 1: Picking a Cloth
Picking a cloth should be the easiest part of how to make a lamp shade, but there are a few things to remember. If you want the light to be strong, then a bright cloth is better, as it allows more light through. Darker cloths require stronger bulbs to achieve the same brightness. A sturdy fabric like cotton, velvet, or velour is best since they hold up well to the constant heat from the bulb. More sheer fabrics or fabrics with a lot of meltable fibers may not do well with hotter lamps.
Tip 2: Cutting Styrene and Cloth for Complicated Frames
More complex frames make cutting the cloth and styrene rather difficult. For these types, trace panels out as needed on the styrene and cut out the basic outline. If the frame is thick, be sure to account for the extra space between panels. Fold the styrene to conform to the frame. If folding isn’t an option, you can try cutting the panels out and attaching them with hot glue. Just be aware that this may damage the frame.
For the cloth, you may need to trace the panels on paper and cut them all out individually from the cloth. Leave a little space past your traced outlines to sew the panels together afterward. You can try using a soft pillow to help outline. Simply place the paper down on the pillow and push the frame onto it. This will make the paper conform to the panels somewhat, letting you trace away.
Read more: How To Make A Lamp Shade Frame
Tip 3: The Necessity of Styrene
Many classic and non-cloth lamps forgo the styrene layer entirely. You may do this as well if your bulb doesn’t produce too much heat or your material is heat-resistant. We advise using styrene for cloth in particular though, especially with bulbs that run hot. It protects the cloth and bounces light better if you have a dark lamp shade.
How Does a Lamp Shade Work?
It’s often fun to familiarize yourself with what you’re making before diving in. This section aims to tackle how lamp shades work. A rundown is also included on the different parts, which you may or may not be reassembling during your project.
Typical Lamp Shades
Lamp shades are mainly used to manipulate the light from a lamp. This is done by passing the light through two layers – the lamp shade’s lining and its cloth. Flame-resistant styrene is used in modern lamp shades for the lining. The material is typically white in color and bounces the light inside while also diffusing it outward. Meanwhile, the cloth in a majority of lamp shades is cream-colored and works with the lining to diffuse the light.
The bounced light also emerges from the top and bottom of the lamp, allowing the spaces below and above to be more strongly lit. Some lamp shades close off the top part as well, to keep the soft, diffused glow more consistent. This still maintains the ideal working space below the lamp. The spotlight effect is great for anyone trying to read or work beside the light.
Other Parts of A Lamp Shade
We’ve already explained the cloth and the lining of the lamp shade, but what about the other parts? Let’s start with the lamp shade’s frame. The lining and the cloth attach to the frame, which determines the shape of the lamp shade. For some lamp shades, the frame can be as simple as two large metal rings attached to the styrene lining. The styrene is stiff enough that it works double as part of the frame. Older and more complex lamp shades have more intricate designs with panels and unique shapes. The cloth and lining must cover and conform to the skeleton that the frame creates. The frame also has a criss-cross portion on top that helps the shade hang on the lamp harp.
The lamp harp isn’t technically part of the lamp shade, but it’s essential to have one nonetheless in this context. The lamp harp holds the lamp shade up and away from the bulb. This prevents the lamp shade from growing too hot or diffusing the light incorrectly. The lamp harp usually looks like two thin, wavy metal pieces that start near the base of the bulb and meet at the top. Typically, this attachment is already part of your lamp and doesn’t need to be removed when replacing your lamp shade.
Read more: How To Make A Stained Glass Lamp Shade
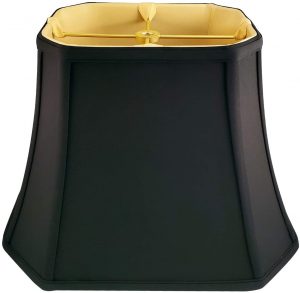
Decor-Focused Lamp Shades
Certain decorative lamp shades work very differently from classic lamp shades. For these types, diffusing light and refraction take a back seat to aesthetic appearance. Metal and cardboard DIY lamp shades tend to fall in this category. They still mostly hide the bulb from view, but the cut-outs and holes in the materials let light through directly. The light doesn’t get bounced around as much. It also isn’t defused, making the brightness stand out in starker contrast to the shadows.
All types of lamps have their place. Now that you know how they work, you’re better prepared to decide where they can be placed in your home. For work or leisurely reading, keep a more traditional lamp by your side. Decor-focused lamp shades are better suited as night lights or statement pieces.
Frequently Asked Questions about How To Make A Lamp Shade
-
Read more: How To Put A Lamp Shade On
What materials can be used to make a lampshade?
All sorts of materials can be used to make a DIY lamp shade. Cloth, metal, and even cardboard are all fine options. Just be aware of each of their strengths and weaknesses when making a lamp shade. Choose your material according to what you want the lamp shade for. Try to stick with cloth for classic lamp shades, though. Metal and cardboard are a little harder to work with without professional tools so they make for better statement pieces.
-
Will any lamp shade fit on any lamp?
No, the minimum size of a lamp shade is often determined by the lamp’s harps holder. This two-pronged holder springs up from the base of the light bulb and meets at the top of the lamp. It’s meant to hold a lamp shade up while keeping it a suitable distance from the bulb. If the lamp shade is too tiny, it will hit the harps holder and warp around it.
-
How do you know which lamp shade size goes on a lamp?
Make sure to measure the width of the lamp’s harps holder before you head to a store. Pick a lamp shade size that’s a little bigger so it won’t hit the holder when installed.
Conclusion
Congratulations! You’ve successfully learned how to make a lamp shade. We hope you enjoyed reading about the ins and outs of this nifty light attachment. At the very least, customizing your fixtures is sure to be more fun now that you have more options. The future of your room is already looking bright.
Was this page helpful?
At Storables.com, we guarantee accurate and reliable information. Our content, validated by Expert Board Contributors, is crafted following stringent Editorial Policies. We're committed to providing you with well-researched, expert-backed insights for all your informational needs.


0 thoughts on “How To Make a Lamp Shade to Suit Your Home Aesthetic”