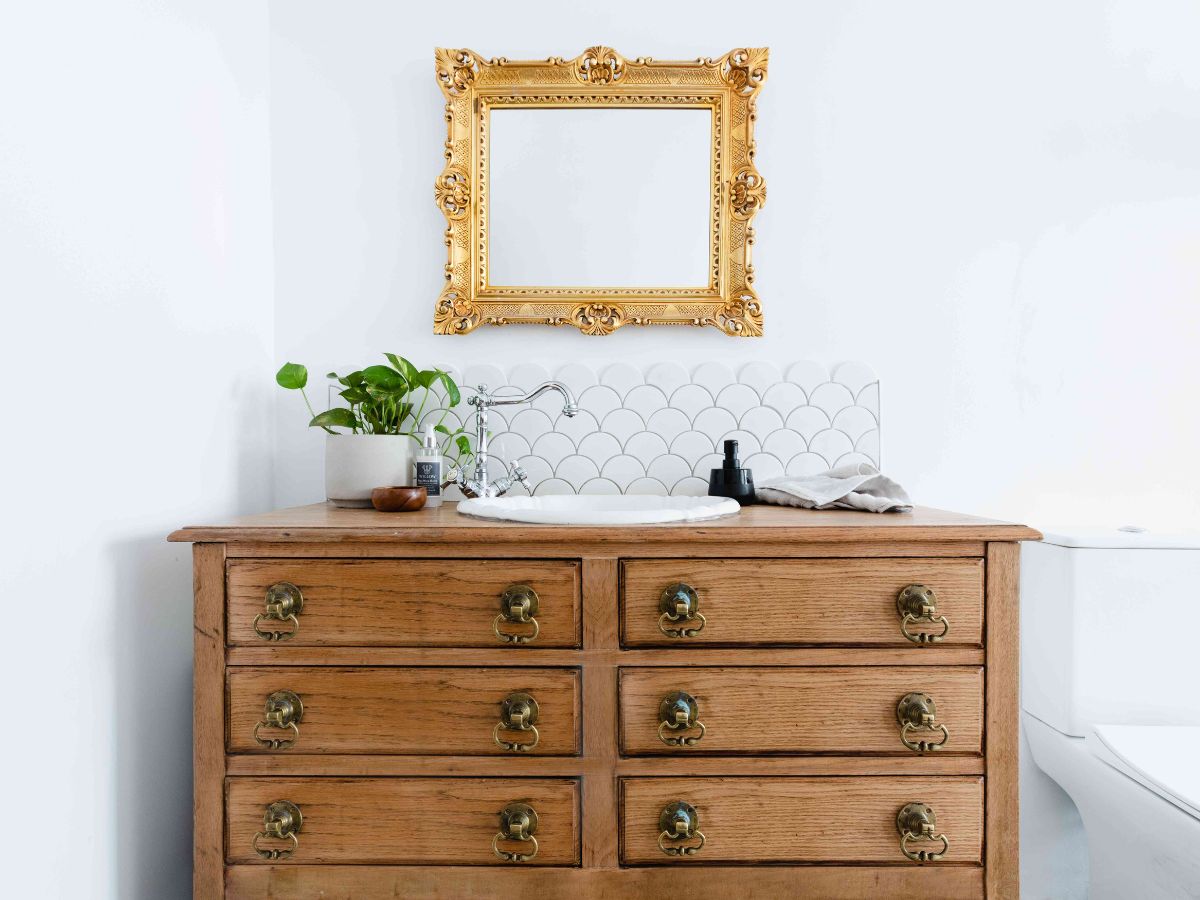
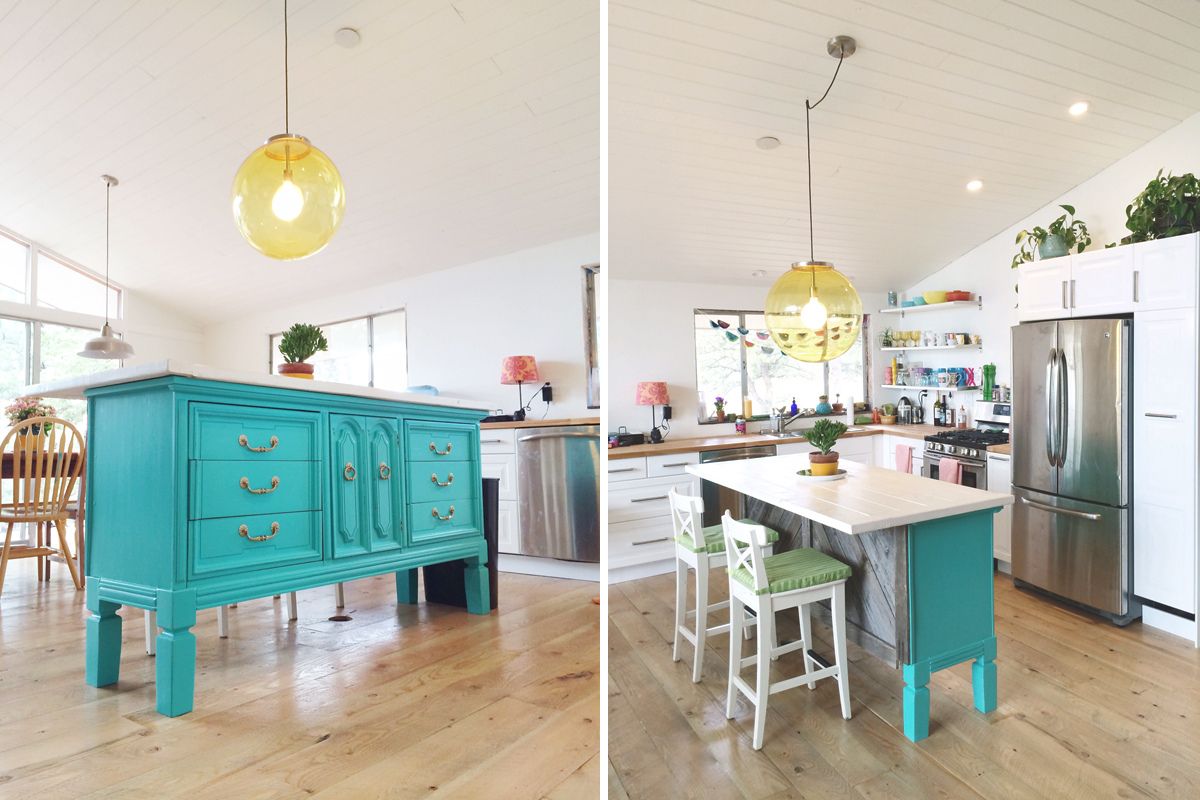
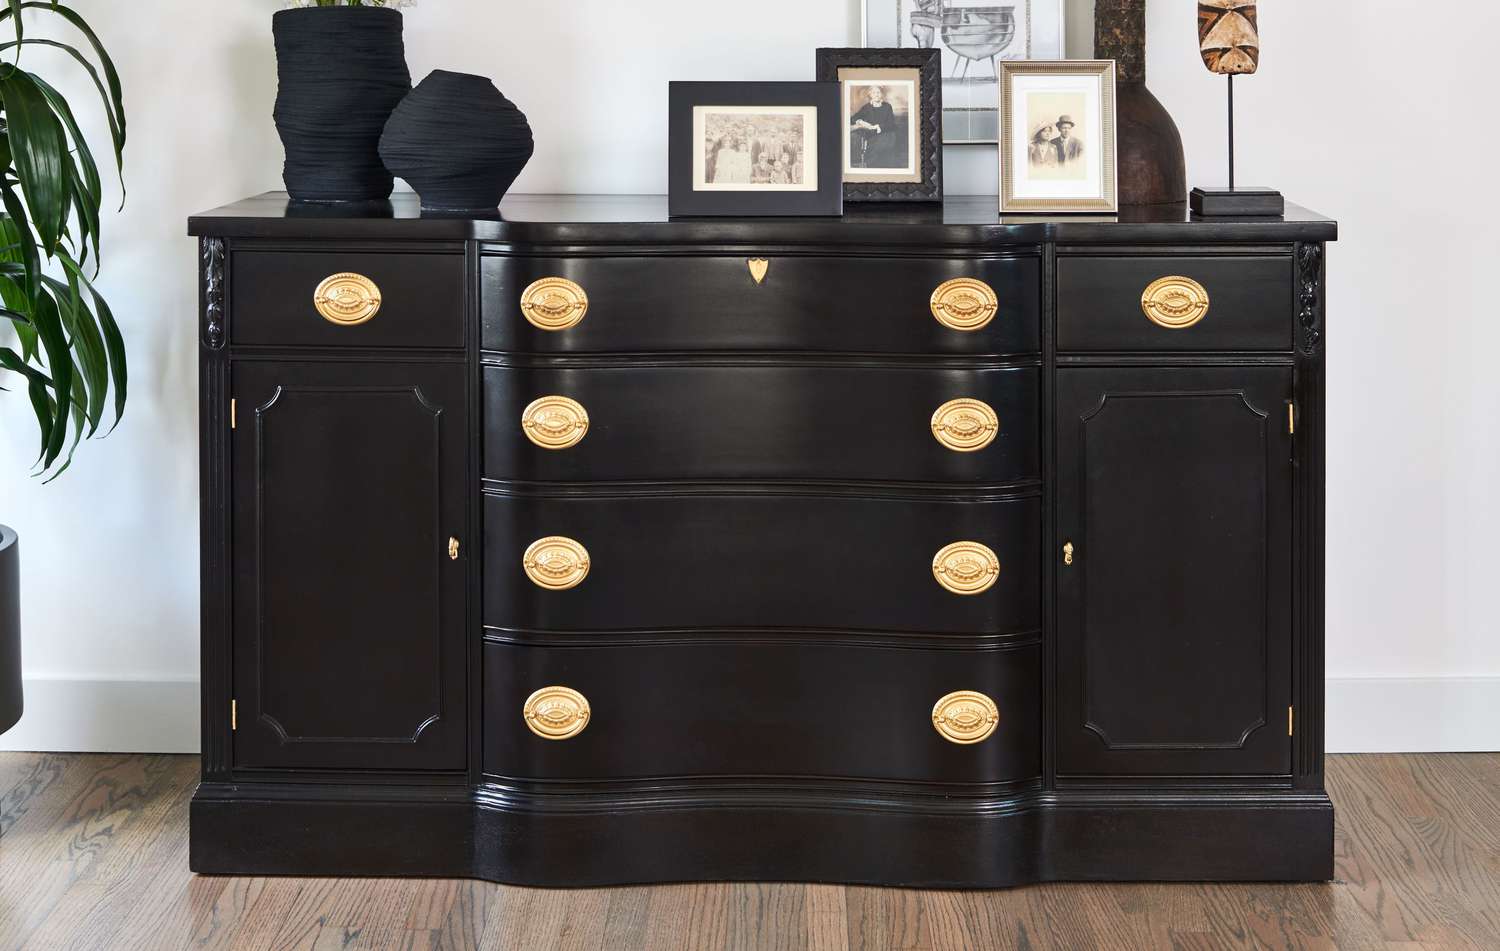
Furniture
How To Turn A Dresser Into A Cabinet
Modified: October 20, 2024
Learn how to repurpose a dresser into a stylish cabinet with our step-by-step guide. Transform your furniture and create a functional storage solution!
(Many of the links in this article redirect to a specific reviewed product. Your purchase of these products through affiliate links helps to generate commission for Storables.com, at no extra cost. Learn more)
Introduction
Welcome to our comprehensive guide on how to turn a dresser into a cabinet. If you have an old dresser lying around that you no longer need or want, transforming it into a functional and stylish cabinet is a great way to repurpose it. Not only will you give new life to your dresser, but you’ll also create a unique piece of furniture that can serve a variety of purposes in your home.
Whether you’re looking to add extra storage space in your kitchen, living room, bedroom, or any other area of your home, converting your dresser into a cabinet is a budget-friendly and creative solution. This DIY project allows you to customize the design, size, and color of your cabinet to match your personal style and home decor.
In this guide, we will take you through the step-by-step process of transforming your dresser into a cabinet. We will cover everything from gathering the necessary materials to adding shelves, installing doors, and applying a fresh coat of paint or finish. By following these instructions, you’ll be able to create a beautiful and functional cabinet that will not only provide ample storage but also become a standout piece in your home.
Before we dive into the steps, let’s go over the materials and tools you’ll need for this project.
Key Takeaways:
- Transforming a dresser into a cabinet is a budget-friendly and creative DIY project that allows you to repurpose old furniture, customize to match your decor, and maximize storage space in your home.
- By following the step-by-step guide, you can turn an old dresser into a functional and stylish cabinet, adding a unique piece of furniture to your home while enjoying the satisfaction of a successful DIY project.
Read more: How To Turn A Dresser Into A Bench
Step 1: Gather the necessary materials
Before you begin the transformation process, it’s essential to gather all the materials and tools you’ll need. Having everything ready will make the project run smoothly and efficiently. Here’s a list of the necessary materials:
- An old dresser: Look for a dresser that is sturdy and in good condition. Consider the size and style that will best suit your needs and home decor.
- Screwdriver: You’ll need a screwdriver to remove any hardware, such as handles or knobs, from the dresser.
- Sandpaper or sanding block: To ensure a smooth and even surface, have sandpaper or a sanding block on hand to prep the dresser before painting or finishing.
- Paint or finish: Choose a paint color or finish that complements your home decor. Consider using a water-based paint for easy cleanup.
- Paintbrushes or rollers: Depending on the size and texture of the dresser, select the appropriate paintbrushes or rollers for a professional-looking finish.
- Drill: If you plan to add shelves or install new hardware, a drill will be necessary to create the necessary holes.
- Shelf brackets or supports: If you want to add shelves to the cabinet, make sure to have the appropriate shelf brackets or supports that fit your desired dimensions.
- Doors: If you prefer a cabinet with doors, choose pre-made doors or consider making your own using plywood or other suitable materials.
- Hinges: For cabinets with doors, hinges are necessary to attach the doors securely to the cabinet.
- Knobs or handles: If you want to add a decorative touch to your cabinet doors, have knobs or handles ready for installation.
- Screws or nails: Depending on the type of doors and hardware you choose, you’ll need screws or nails to attach them securely to the dresser.
By gathering these materials and tools, you’ll be well-prepared to begin your dresser-to-cabinet transformation. Now that you’re equipped with everything you need, let’s move on to the next step: preparing the dresser.
Step 2: Prepare the dresser
Before you can start converting your dresser into a cabinet, it’s crucial to properly prepare the dresser. This step involves removing any existing hardware, such as handles or knobs, and ensuring that the surface is smooth and ready for painting or finishing. Follow these steps to prepare the dresser:
- Empty the dresser: Remove all items from the dresser, including clothing, accessories, or any other belongings.
- Take out the drawers: Carefully pull out each drawer and set them aside. This will make it easier to work on the dresser’s frame.
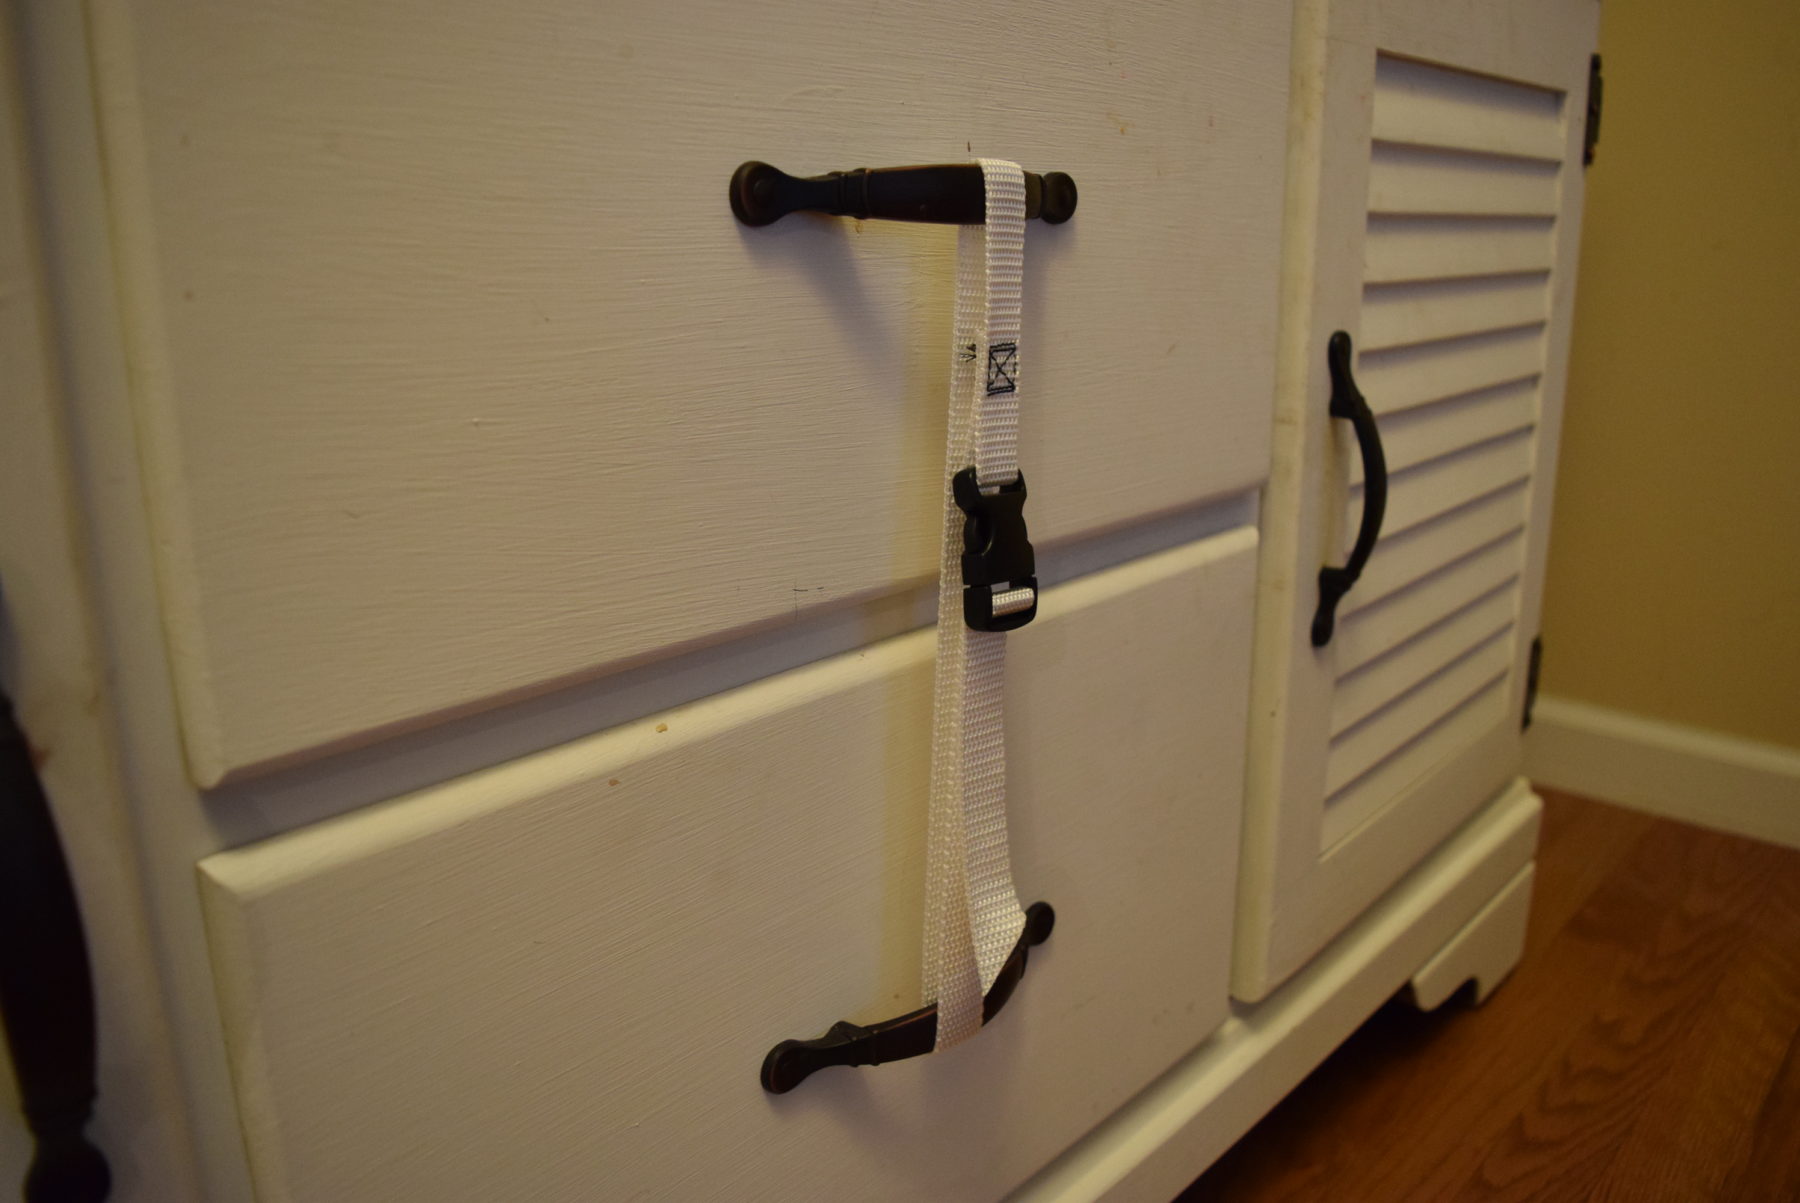
- Remove hardware: Use a screwdriver to remove any hardware attached to the dresser, such as handles, knobs, or decorative accents. Keep the hardware in a safe place if you plan to reuse it or replace it with new pieces later.
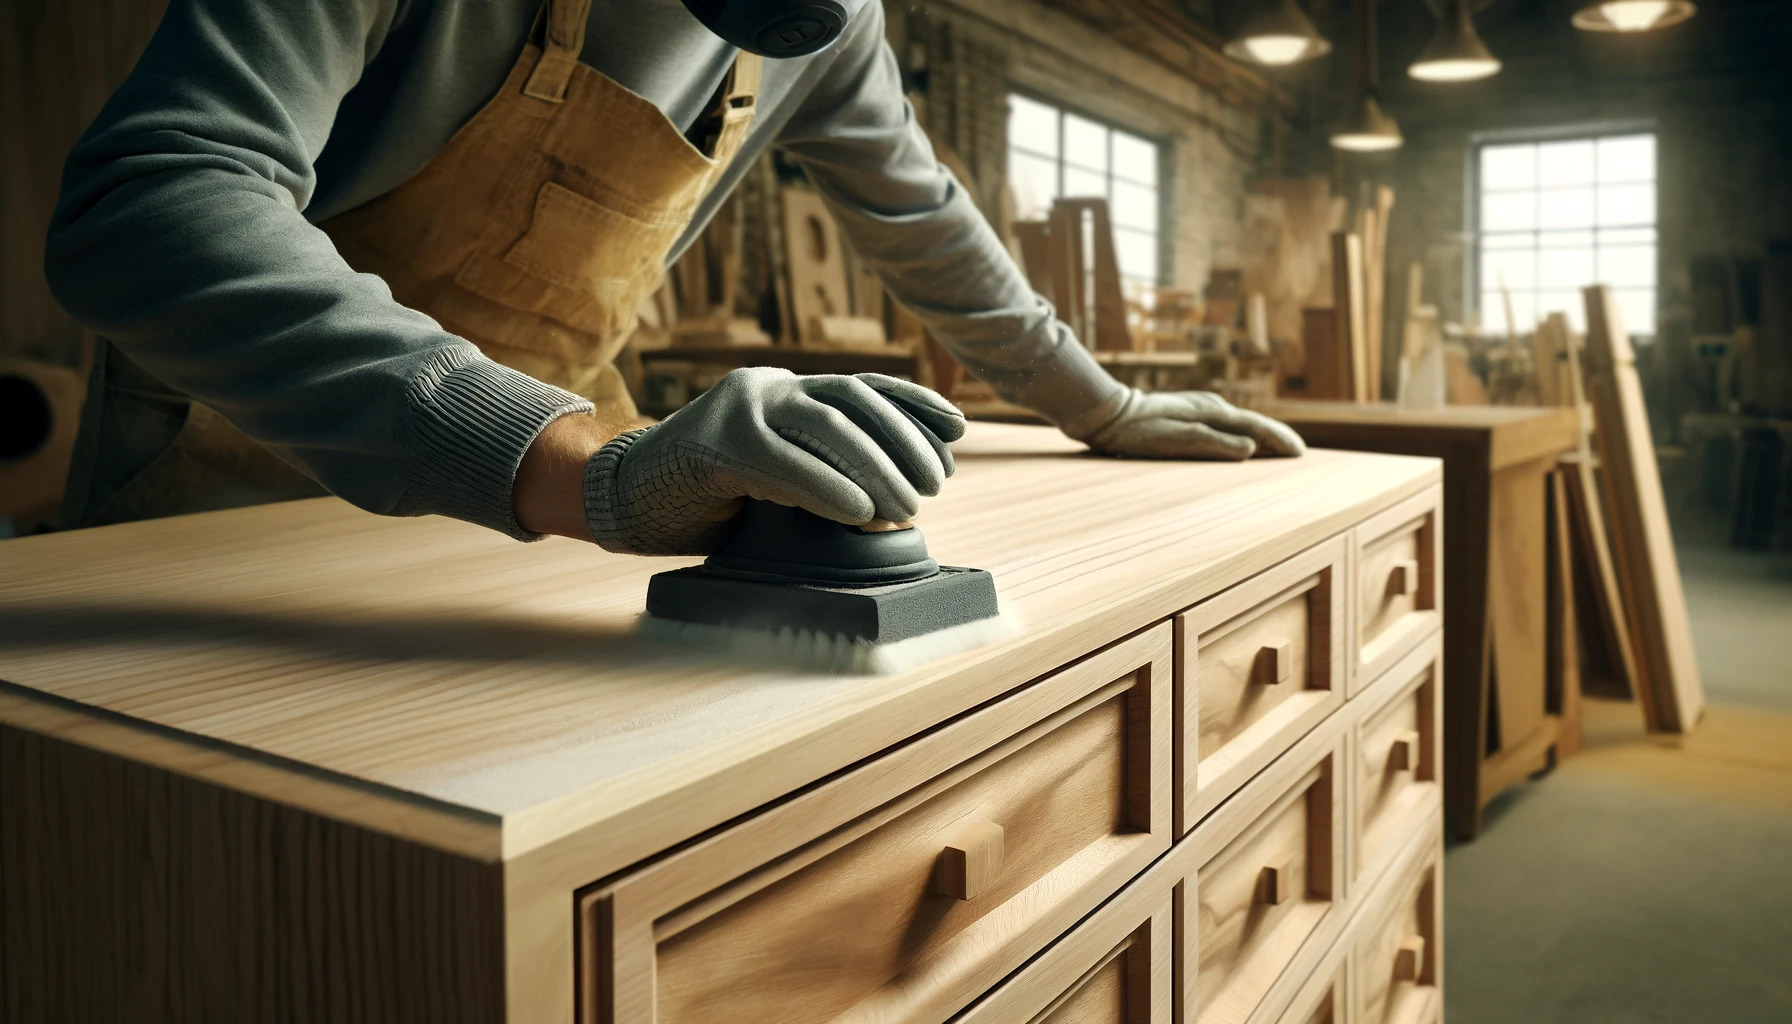
- Sand the surface: Use sandpaper or a sanding block to smooth out any rough spots, scratches, or imperfections on the dresser’s surface. Sanding will also help to remove any existing finish, allowing the paint or new finish to adhere better.
- Clean the dresser: After sanding, wipe down the entire dresser with a damp cloth to remove any dust, dirt, or debris. This will ensure a clean surface for painting or finishing.
By following these steps and taking the time to prepare your dresser properly, you’ll create an ideal base for your cabinet transformation. With the dresser prepped and ready, we can move on to the next step: removing the drawers.
Step 3: Remove the drawers
Now that the dresser has been prepared, it’s time to remove the drawers. Removing the drawers is necessary to create the open space needed to turn the dresser into a cabinet. Follow these simple steps to remove the drawers:
- Empty the drawers: Before removing the drawers, make sure they are completely empty. Take out any items or belongings stored inside.
- Inspect the drawer glides: Depending on the design of your dresser, the drawers may be equipped with glides that allow them to slide in and out. Check the underside of the drawers for any screws, clips, or mechanisms holding them in place.
- Release the drawer glides: If there are screws or clips securing the drawer glides, carefully remove them using a screwdriver or appropriate tool. This will vary depending on the type of glides used.
- Gently pull out the drawers: With the glides released, gently pull each drawer straight out from the dresser. Be mindful of any obstacles or obstructions that may make this step more challenging.
- Set aside the drawers: Once removed, place the drawers in a safe area where they won’t get damaged. You may choose to repurpose them for another project or store them for future use.
By removing the drawers, you will create an open space inside the dresser that can be utilized for shelves or left empty for larger storage items. With the drawers out of the way, we can now move on to the next step: adding shelves to the cabinet.
Step 4: Add shelves
With the drawers removed, it’s time to add shelves to your dresser cabinet. Adding shelves will maximize the storage capacity and organization potential of your cabinet. Follow these steps to add shelves:
- Measure the spaces for shelves: Take accurate measurements of the interior space in your dresser cabinet where you want to install shelves. Consider the height, width, and depth of the space to determine the size of shelves you’ll need.
- Purchase or cut shelves: Based on your measurements, purchase pre-made shelves that fit the dimensions you require. Alternatively, you can cut your own shelves from plywood or other suitable materials. Make sure the shelves are sturdy enough to hold the items you plan to store.
- Install shelf brackets or supports: If your dresser cabinet has built-in shelf supports, skip this step. Otherwise, use a drill to attach shelf brackets or supports inside the cabinet. Ensure they are level and securely fastened to hold the weight of the shelves and the items they will hold.
- Place the shelves: Once the brackets or supports are installed, position the shelves on top of them. Adjust them to the desired height and spacing, ensuring they are level and centered within the cabinet.
- Secure the shelves: To prevent the shelves from moving or falling, use screws, nails, or other suitable fasteners to secure them to the brackets or supports. This will provide stability and ensure the shelves can safely hold your belongings.
Adding shelves to your dresser cabinet will increase its functionality and provide more options for organizing your items. Whether you use the shelves to store books, dishes, clothing, or other belongings, this step will significantly enhance the usefulness of your transformed cabinet.
Now that the shelves are in place, we can move on to the next step: installing doors on the cabinet (if desired).
Before starting, make sure to measure the dresser and plan out the shelves and doors. Remove the drawers and add shelves for storage. Install hinges and handles for the doors. Sand and paint for a finished look.
Read more: How To Turn A Dresser Into A Bookshelf
Step 5: Install doors
If you prefer a more traditional cabinet look or want to hide the contents of your dresser cabinet, installing doors is the next step in the transformation process. Adding doors will not only enhance the appearance of the cabinet but also provide a functional way to keep items out of sight. Here’s how to install doors on your dresser cabinet:
- Measure and mark hinge placement: Determine where you want to place the hinges for the doors. Measure and mark the locations on both the cabinet frame and the doors. Ensure that the marks are level and evenly spaced.
- Attach the hinges to the doors: Use screws or nails to attach the hinges to the doors, following the marks you made in the previous step. Make sure the hinges are securely fastened and aligned with the edge of the doors.
- Attach the hinges to the cabinet frame: Align the hinges on the cabinet frame with the hinges on the doors. Secure the hinges to the frame using screws or nails. Double-check that the doors swing freely and align properly with the cabinet.
- Install door knobs or handles: If desired, install door knobs or handles on the doors. Measure and mark the desired locations, then attach the knobs or handles using screws or other appropriate fasteners.
- Test the doors: Open and close the doors several times to ensure they operate smoothly and securely. Make any necessary adjustments to the hinges or hardware if needed.
By installing doors on your dresser cabinet, you can achieve a more polished and cohesive look. It also allows you to keep your belongings neatly hidden while maintaining easy access to the storage space within.
Now that the doors are in place, we can move on to the next step: painting or finishing the cabinet.
Step 6: Paint or finish the cabinet
One of the final touches in transforming your dresser into a cabinet is to paint or finish the cabinet. This step allows you to give the cabinet a fresh new look and ensure it matches your desired aesthetic. Here’s how you can paint or finish your dresser cabinet:
- Choose a paint or finish: Decide on the color or type of finish you want for your cabinet. Consider the existing color scheme and decor of the room where the cabinet will be placed. Opt for a paint or finish that is specifically designed for furniture to ensure a durable and long-lasting result.
- Prepare the cabinet surface: Clean the cabinet surface thoroughly to remove any dust, dirt, or debris. If there are any rough spots, use sandpaper to smooth them out. Use a primer if necessary, especially if you are changing the color drastically or working with a glossy surface.
- Apply the paint or finish: Use a paintbrush or roller to apply an even coat of paint or finish to the cabinet. Start with the back and sides, moving on to the front and doors. Apply multiple coats if needed, allowing sufficient drying time between each coat.
- Allow for drying and curing: Follow the manufacturer’s instructions regarding drying and curing times for the paint or finish. Keep the cabinet in a well-ventilated area and away from dust or moisture while it dries and cures.
Painting or finishing the cabinet is a chance to add your personal touch and make the transformed dresser truly your own. Whether you choose a bold color to make a statement or a subtle finish to complement existing decor, this step will bring the entire project together.
Once the paint or finish has dried and cured, we can move on to the next step: reassembling the dresser cabinet.
Step 7: Reassemble the dresser cabinet
After the painting or finishing process is complete, it’s time to reassemble the dresser cabinet. This step involves putting all the elements back together to create a cohesive and functional piece of furniture. Follow these steps to reassemble the dresser cabinet:
- Reattach the hardware: If you removed any hardware, such as handles or knobs, during the preparation stage, now is the time to reattach them. Use a screwdriver to securely fasten the hardware back onto the doors and drawers as desired.
- Slide in the drawers: Carefully slide the drawers back into their respective slots, making sure they are aligned properly and slide smoothly. If necessary, adjust the glides or guides to ensure the drawers fit correctly.
- Check the doors: Double-check that the doors are aligned correctly and open and close smoothly. Make any necessary adjustments to the hinges or hardware if needed.
- Secure any loose parts: Check for any loose screws or fasteners and tighten them as necessary to ensure the stability and integrity of the dresser cabinet.
By reassembling the dresser cabinet, you’re bringing it back to its original functionality as a storage unit. Take your time during this step to ensure that everything fits and functions properly.
With the reassembly complete, we can move on to the final step: adding those finishing touches to make your dresser cabinet truly shine.
Step 8: Final touches
Congratulations! You’re almost done with transforming your dresser into a cabinet. The final step involves adding those finishing touches to make your cabinet truly shine and complete the transformation. Follow these suggestions to add those final touches:
- Decorative accents: Consider adding decorative accents such as trim molding, appliques, or stenciled designs to enhance the visual appeal of your cabinet. These extra touches can add a unique and personal touch to your piece.
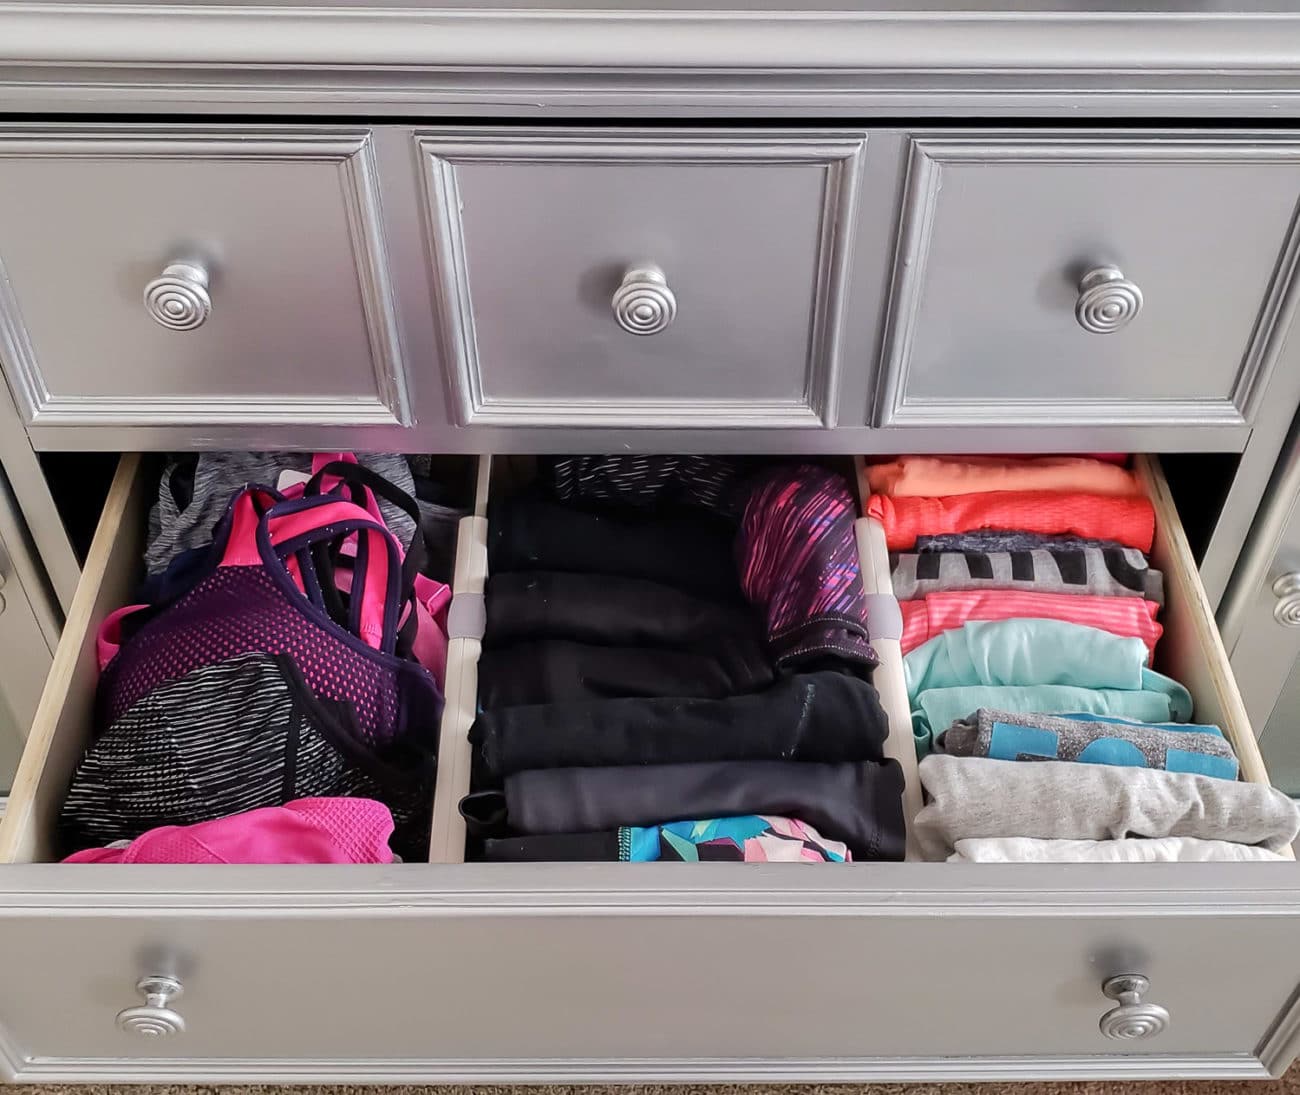
- Organizational features: To maximize the functionality of your cabinet, consider incorporating organizational features such as dividers, hooks, or baskets. These additions can help you keep your belongings organized and easily accessible.
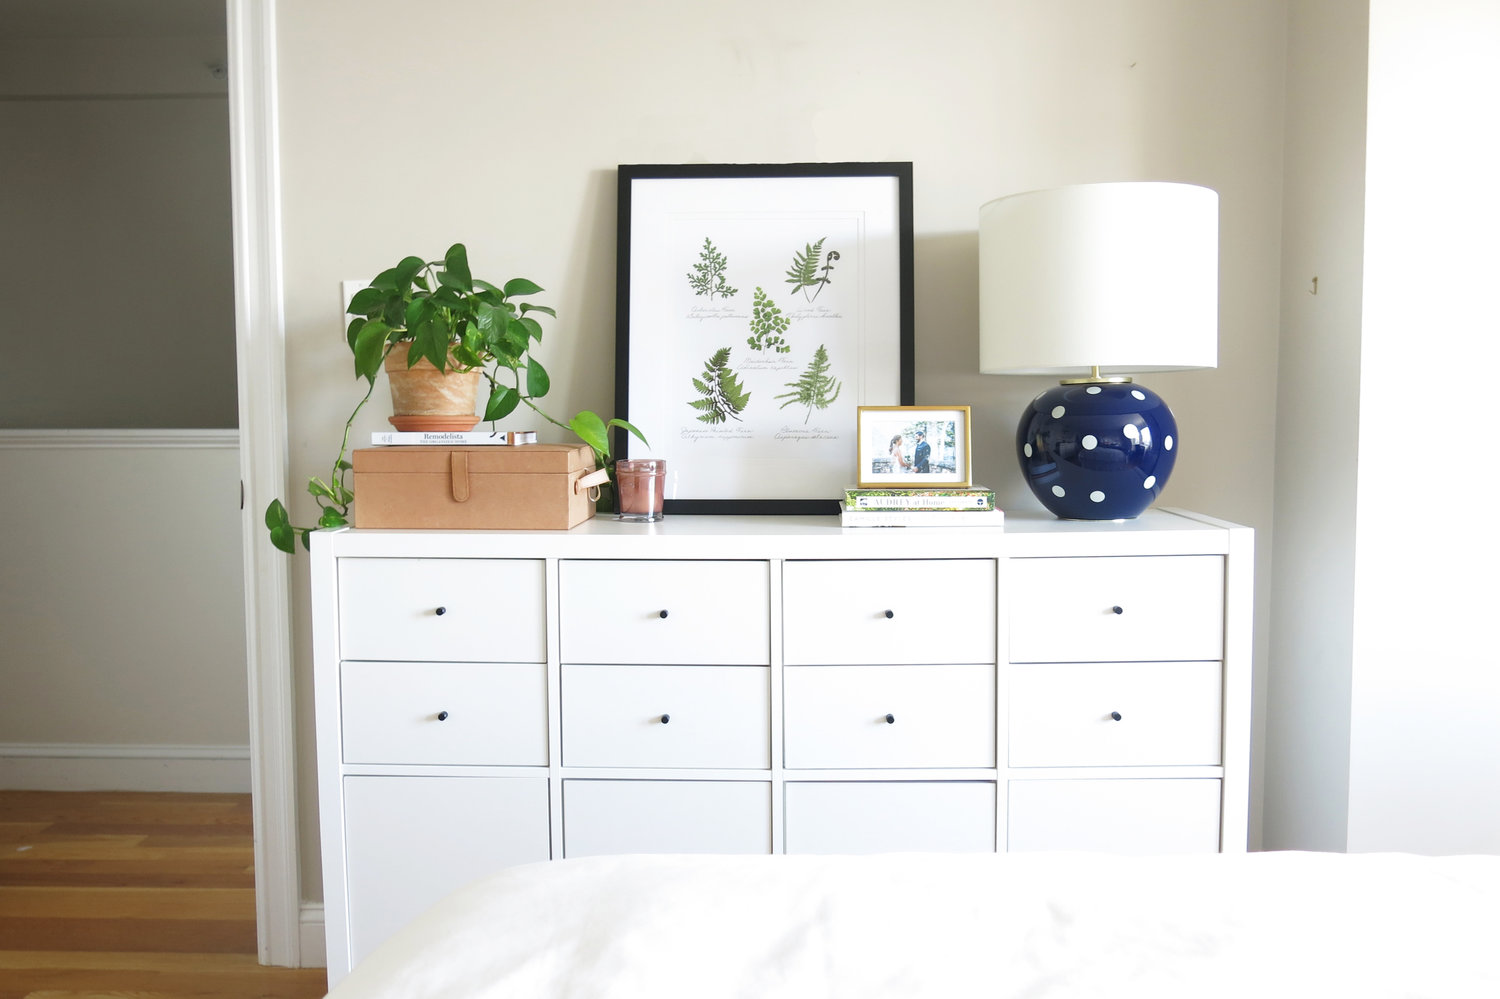
- Accessorize the cabinet: To showcase your cabinet and make it feel more inviting, place decorative items on top of the cabinet or style the shelves with your favorite decor pieces. This will not only add visual interest but also make the cabinet feel like a curated part of your home.
- Touch up any imperfections: Take a final look at your cabinet and if you notice any imperfections, such as uneven paint or scratches, touch them up with additional paint or finish. This attention to detail will ensure your cabinet looks polished and professional.
- Step back and admire your work: Once all the final touches are in place, step back and admire your newly transformed dresser cabinet. Appreciate the effort and creativity you put into turning an old piece of furniture into a beautiful and functional addition to your home.
Remember, the final touches are an opportunity to infuse your personal style and taste into the finished product. Don’t be afraid to get creative and make the cabinet truly reflect your unique personality.
With the final touches complete, your dresser cabinet is now ready to be enjoyed and utilized in your home. Whether it’s used to store kitchen essentials, display cherished items, or organize clothing, your transformed cabinet will serve as a functional and beautiful piece of furniture for years to come.
We hope you found this guide helpful in your journey to turn a dresser into a cabinet. Enjoy your new piece of furniture and the satisfaction of a successful DIY project!
Read more: How To Turn A Dresser Into A Changing Table
Conclusion
In conclusion, transforming a dresser into a cabinet is a rewarding and creative DIY project that allows you to repurpose an old piece of furniture and create a functional and stylish addition to your home. By following the step-by-step guide we’ve provided, you can successfully convert your dresser into a cabinet that meets your storage needs and matches your personal style.
Throughout the process, we’ve covered everything from gathering the necessary materials to preparing the dresser, removing the drawers, adding shelves, installing doors, painting or finishing the cabinet, reassembling the dresser cabinet, adding final touches, and ultimately enjoying the fruits of your labor. Each step plays a crucial role in achieving a beautifully transformed piece of furniture.
Not only does this DIY project allow you to save money by repurposing an existing item, but it also gives you the opportunity to customize the cabinet to fit your specific needs and preferences. Whether you choose to add shelves for increased organization, install doors for a more traditional look, or explore various paint or finish options to match your decor, the possibilities are endless.
Remember to take your time, enjoy the process, and pay attention to detail. This will ensure that your dresser-to-cabinet transformation is a success. Don’t be afraid to get creative and make the cabinet a reflection of your unique style and taste. The final result will be a one-of-a-kind piece of furniture that you can be proud of.
We hope this comprehensive guide has provided you with the knowledge and inspiration to embark on your dresser-to-cabinet transformation journey. Get ready to breathe new life into your old dresser and create a functional and visually pleasing cabinet that will enhance your home for years to come.
Frequently Asked Questions about How To Turn A Dresser Into A Cabinet
Was this page helpful?
At Storables.com, we guarantee accurate and reliable information. Our content, validated by Expert Board Contributors, is crafted following stringent Editorial Policies. We're committed to providing you with well-researched, expert-backed insights for all your informational needs.


0 thoughts on “How To Turn A Dresser Into A Cabinet”