Furniture
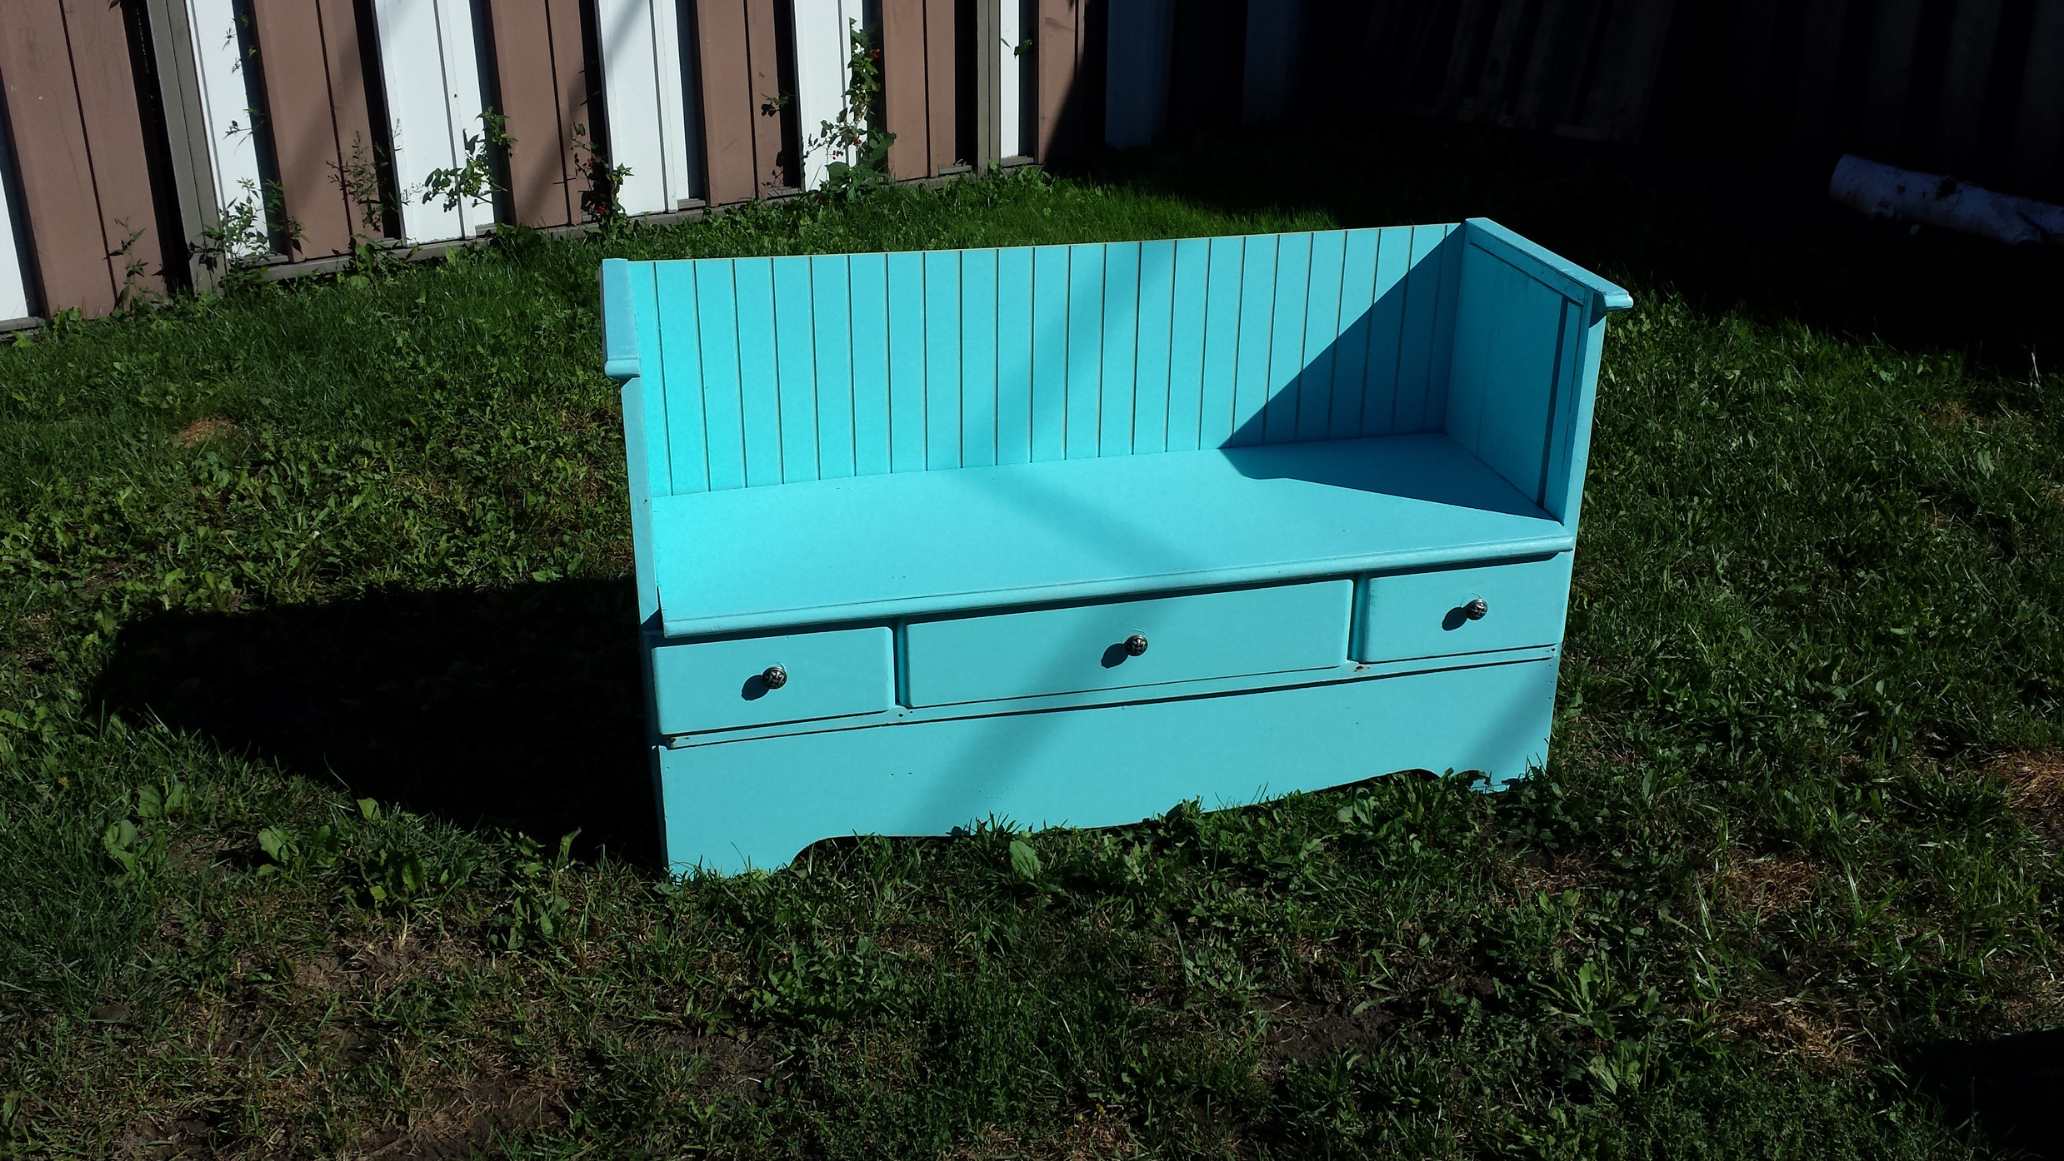
How To Turn A Dresser Into A Bench
Modified: October 20, 2024
Learn how to transform a dresser into a stunning bench with this step-by-step DIY tutorial. Repurpose your furniture and create a unique piece for your home.
(Many of the links in this article redirect to a specific reviewed product. Your purchase of these products through affiliate links helps to generate commission for Storables.com, at no extra cost. Learn more)
Introduction
Are you looking to add a unique and functional piece of furniture to your home? Why not transform an old dresser into a stylish bench? Not only is this a great way to repurpose furniture, but it also gives you the opportunity to create a customized piece that perfectly fits your space and style.
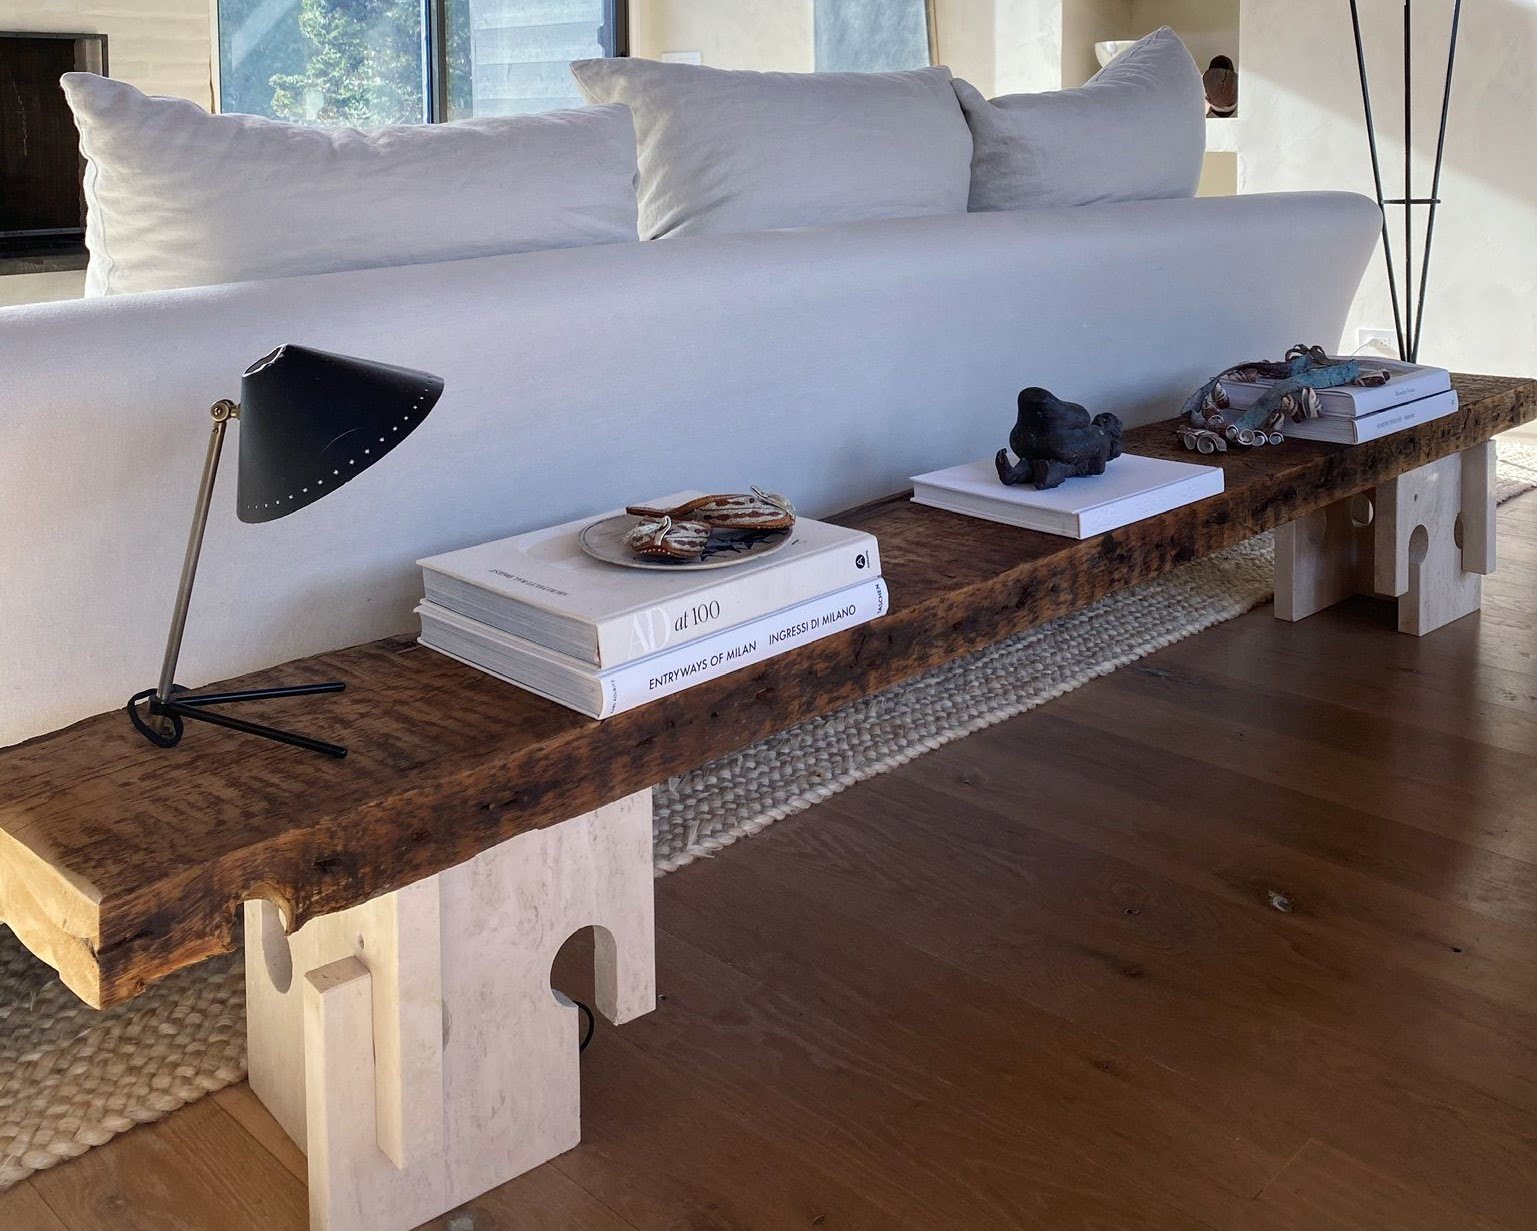
A dresser turned bench can be a versatile addition to any room. It can serve as a cozy seating area in the entryway, a charming accent in the bedroom, or a functional storage solution in the living room. With a little creativity and some basic tools, you can easily transform an old dresser into a beautiful and functional piece of furniture.
In this article, we will guide you through the step-by-step process of turning a dresser into a bench. We will cover everything from gathering the necessary materials and tools to adding the final touches. So, let’s get started!
Key Takeaways:
- Repurpose an old dresser into a stylish and functional bench with basic tools and creativity, adding a unique and personalized piece to your home decor.
- Embrace DIY creativity by transforming neglected furniture into a beautiful and eco-friendly bench, adding both seating and storage space to any room.
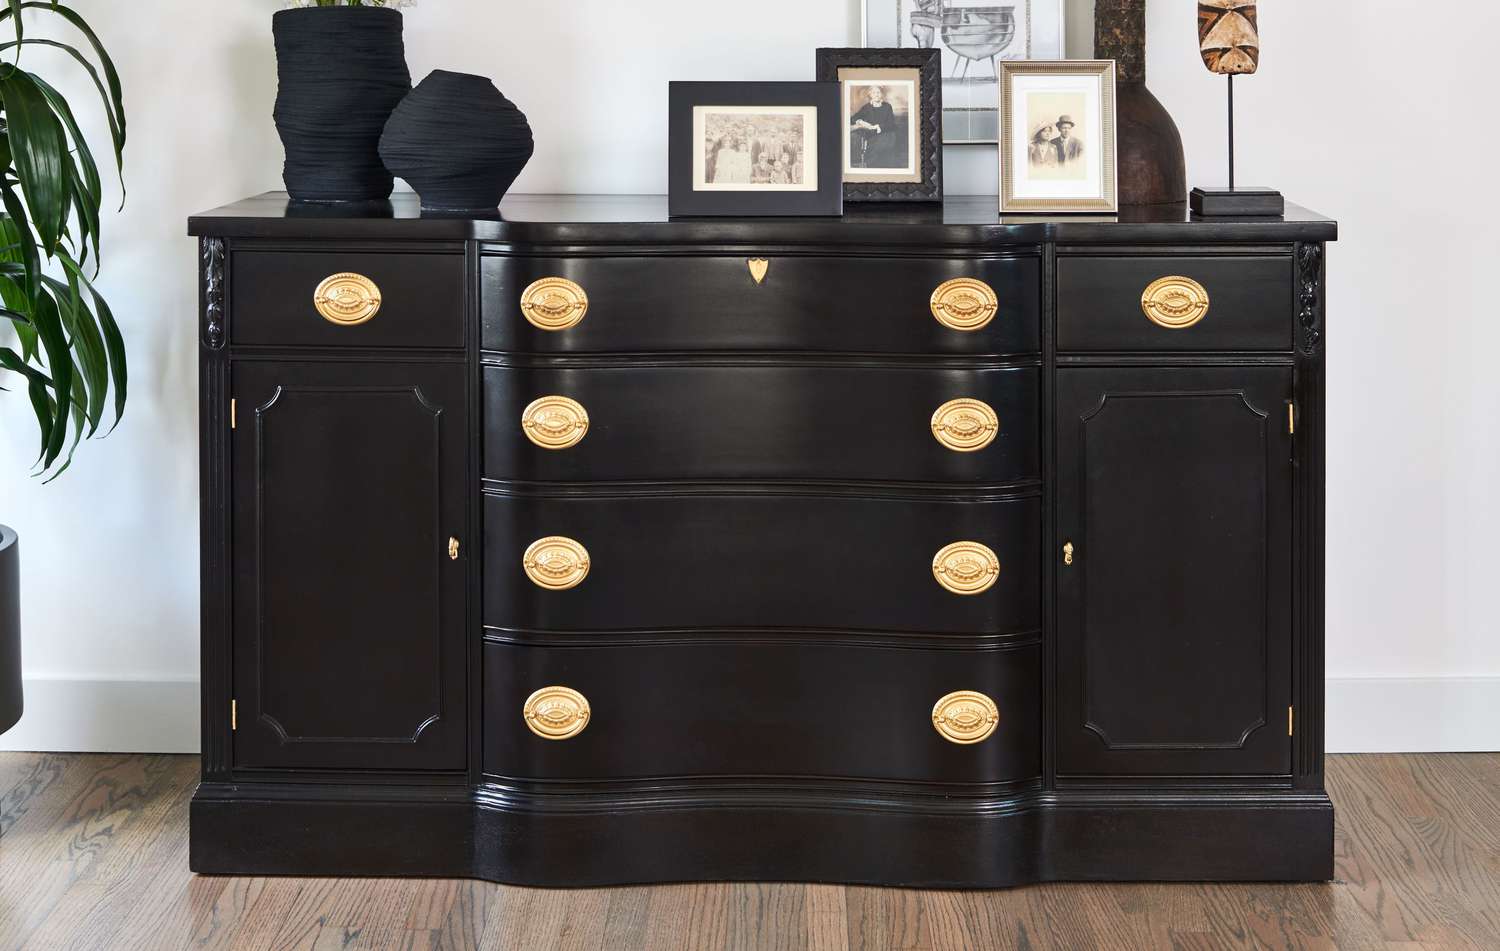
Read more: How To Turn A Dresser Into A Cabinet
Materials Needed
Before you begin the dresser to bench transformation project, it’s important to gather all the necessary materials and tools. Here are the items you’ll need:
- Old dresser
- Measuring tape
- Saw (circular saw or jigsaw)
- Drill
- Screwdriver
- Sandpaper (medium and fine grit)
- Paint or stain
- Paintbrush or roller
- Upholstery foam
- Fabric
- Staple gun
- Screws
- Wood glue
- Optional: Backrest material (wood or upholstery foam)
Make sure to gather all of these materials before you begin the project. You can find most of them at your local hardware store or online. Consider the size and style of your dresser when choosing the upholstery foam, fabric, and paint or stain to ensure a cohesive look for your bench.
Step 1: Gather Tools
Before diving into the dresser to bench transformation, you’ll need to make sure you have all the necessary tools. Here are the tools you’ll need for this project:
- Measuring tape: to measure the dimensions of the bench seat and backrest.
- Saw (circular saw or jigsaw): to cut the bench seat and backrest materials.
- Drill: to create pilot holes and attach the bench seat and backrest.
- Screwdriver: to tighten screws.
- Sandpaper (medium and fine grit): to smooth any rough surfaces.
- Paintbrush or roller: to apply paint or stain to the dresser and bench.
- Staple gun: to secure the upholstery fabric to the bench.
- Screws: to attach the bench seat and backrest.
- Wood glue: to reinforce joints and add stability.
Having the right tools on hand will streamline the transformation process and ensure that you can complete each step effectively. Check your toolbox or visit a local hardware store to gather all the necessary tools. Ensure that they are in good working condition before you get started.
Once you have all your tools ready, it’s time to move on to the next step: removing the drawers from the dresser.
Step 2: Remove Drawers
Now that you have gathered all the necessary tools, it’s time to begin the transformation process by removing the drawers from the dresser. Here’s how you can do it:
- Empty the dresser: Take out all the items from the dresser drawers and set them aside.
- Inspect the dresser: Examine the dresser to determine how the drawers are attached. Most dressers have drawer slides or tracks, so take note of how they are installed.
- Remove the drawers: Gently pull each drawer straight out, one at a time. If the drawers are stuck or difficult to remove, check for any screws or nails that may be securing them in place. Remove these fasteners using a screwdriver or hammer.
- Set aside the drawers: Put the removed drawers in a safe place, as you may want to repurpose them for other projects later.
- Inspect the drawer openings: Take a close look at the spaces left behind after removing the drawers. Make sure they are free of any debris, screws, or nails. If necessary, sand down any rough edges or surfaces.
By removing the drawers, you create a hollow space that will serve as the seating area of your bench. This step also allows you to better visualize the final design and make any necessary adjustments to the dresser structure. Once you have removed the drawers and prepared the dresser, you can move on to the next step: preparing the dresser for the bench transformation.
Step 3: Prepare Dresser
With the drawers removed, it’s time to prepare the dresser for the transformation into a bench. Follow these steps to ensure that the dresser is ready for the next stages:
- Clean the surface: Use a damp cloth or sponge to wipe down the entire dresser, removing any dust, grime, or stains. This will provide a clean canvas for the upcoming paint or stain application.
- Repair any damages: Inspect the dresser for any damaged or loose parts. Tighten loose screws and repair any cracks or chips in the wood using wood glue and clamps. If the dresser requires extensive repairs, it’s best to address them before proceeding.
- Fill any holes or gaps: If there are any unwanted holes or gaps on the dresser’s surface that you want to conceal, fill them in with wood filler. Follow the product instructions for proper application and drying times.
- Sand the dresser: Using medium-grit sandpaper, lightly sand the entire surface of the dresser, including the sides, top, and front. This will provide better adhesion for the paint or stain and create a smooth finish. Take care to remove any rough edges or splinters.
- Wipe off the dust: After sanding, use a clean, dry cloth to remove any sanding residue or dust. This will ensure a clean surface for the paint or stain to adhere to.
By preparing the dresser properly, you create a solid foundation for the bench transformation. This step not only improves the overall appearance but also helps to extend the longevity of the finished piece. Once you have prepared the dresser, it’s time to move on to the next step: cutting the bench seat.
Read more: How To Turn A Dresser Into A Bookshelf
Step 4: Cut Bench Seat
Now that the dresser is prepared, it’s time to move on to cutting the bench seat. Follow these steps to create the seating area for your dresser bench:
- Measure the dresser top: Use a measuring tape to determine the dimensions of the dresser top. Measure the width, depth, and desired length for the bench seat.
- Mark the measurements: On a sturdy piece of plywood or MDF board, use a pencil and ruler to mark the measurements for the bench seat. Make sure to leave extra space for any desired overhang or trim.
- Cut the bench seat: Using a saw (such as a circular saw or jigsaw), carefully cut along the marked lines to shape the bench seat. Take your time and make precise cuts to ensure a smooth and accurate fit.
- Test the fit: Place the cut bench seat onto the dresser top to check if it fits properly. Make any necessary adjustments by trimming the edges or sanding down the seat until it fits snugly onto the dresser.
Remember to prioritize safety when cutting the bench seat. Wear safety goggles and follow proper guidelines for using power tools. If you’re not comfortable using a saw, consider getting assistance from someone experienced.
Once the bench seat is cut and fits well on the dresser, you’re ready to move on to the next step: attaching the bench seat to the dresser.
Before starting the transformation, make sure to measure the dresser and plan the cuts carefully to ensure the final bench is the right size and shape.
Step 5: Attach Bench Seat
With the bench seat cut to the correct dimensions, it’s time to attach it securely to the dresser. Follow these steps to ensure a stable and durable attachment:
- Apply wood glue: Apply a thin, even layer of wood glue to the top of the dresser, covering the entire surface where the bench seat will be placed.
- Position the bench seat: Carefully place the cut bench seat onto the dresser, aligning it properly with the edges and corners. Press down firmly to ensure good contact between the wood glue and the bench seat.
- Add support: To further reinforce the attachment, use a drill to create pilot holes through the bench seat and into the dresser top. Then, insert screws into the pilot holes and tighten them securely using a screwdriver.
- Check for stability: Test the stability of the bench seat by applying gentle pressure and sitting on it (if it’s safe to do so). Make sure it feels sturdy and doesn’t wobble. If needed, add additional screws or adjust the attachment for a more secure fit.
By attaching the bench seat properly, you ensure that the bench is safe and comfortable for use. The combination of wood glue and screws provides a strong bond that will withstand daily use. Once the bench seat is securely attached, you can move on to the next step: adding a backrest.
Step 6: Add Backrest
Adding a backrest to your dresser-turned-bench not only enhances the comfort but also adds a stylish element to the piece. Follow these steps to add a backrest to your bench:
- Measure and mark the backrest: Measure the desired height of the backrest on the dresser’s vertical surface. Use a measuring tape and pencil to mark the height and width of the backrest.
- Cut backrest material: Depending on your design preference, you can use either wood or upholstery foam for the backrest. If using wood, cut it to the marked dimensions. If using upholstery foam, cut it slightly smaller than the marked dimensions.
- Position the backrest material: With the backrest material ready, position it against the marked area on the dresser. Make sure it aligns properly with the edges and provides comfortable support.
- Secure the backrest: Use a drill to create pilot holes through the backrest material and into the dresser. Insert screws into the pilot holes and tighten them securely with a screwdriver.
- Optional: Add additional support or decorative elements: If desired, you can add additional support to the backrest by attaching wooden braces or brackets. You can also get creative and add decorative elements such as trim, upholstery fabric, or cushions to enhance the look and comfort of the backrest.
Adding a backrest to your dresser bench brings both style and functionality to the piece. The backrest provides a comfortable place to lean against while adding visual interest. With the backrest in place, your dresser bench is nearly complete.
Now that the backrest is added, you can move on to the next step: sanding and painting the bench to give it a fresh new look.
Step 7: Sand and Paint
Now that your dresser bench is assembled, it’s time to give it a fresh new look by sanding and painting it. Follow these steps to ensure a smooth and beautiful finish:
- Sanding: Start by using medium-grit sandpaper to smooth out any rough surfaces, remove any remaining imperfections, and create a smooth base for painting. Focus on areas such as the bench seat, backrest, and legs. Use a fine-grit sandpaper for a final pass to achieve a silky-smooth finish.
- Clean the surface: After sanding, use a damp cloth or tack cloth to remove any dust or debris from the surface of the dresser bench. Make sure it is completely clean before moving on to the next step.
- Priming (optional): If you are painting your dresser bench with a light color or if the wood has knots or stains that may bleed through, it’s recommended to apply a primer. Primer helps to create a smooth and even base for the paint and prevents any discoloration or bleed-through.
- Painting: Choose a paint color that complements your decor. Use a paintbrush or roller to apply an even coat of paint to all surfaces of the dresser bench. Apply additional coats as needed, allowing sufficient drying time between each coat.
- Drying: Allow the paint to dry completely according to the manufacturer’s instructions. It’s important to ensure that the paint is fully cured before moving or using the dresser bench.
By sanding and painting the dresser bench, you not only give it a fresh new look but also protect the wood and enhance its durability. Choose a paint color and finish that matches your style and complements the overall aesthetic of your space.
Now that the dresser bench is painted and dry, you can move on to the final step: adding the finishing touches to complete the transformation.
Read more: How To Turn A Dresser Into A Changing Table
Step 8: Final Touches
Congratulations! You’re in the final stage of transforming your dresser into a beautiful and functional bench. Follow these steps to add the final touches and complete the project:
- Optional cushion or upholstery: If you want to add extra comfort and style to your bench, consider adding a cushion or upholstering the bench seat. Measure the dimensions of the bench seat and choose an appropriate cushion or fabric. Use a staple gun to securely attach the cushion or fabric to the bench seat, ensuring a snug and professional finish.
- Hardware and decorative elements: Consider adding decorative hardware or accents to enhance the overall look and functionality of your dresser bench. You can install drawer pulls or knobs on the sides of the bench or add decorative trim to the edges for an added touch of style.
- Protective finish: To prolong the life of your bench and protect the paint or stain, consider applying a protective finish. Options include clear varnish, sealant, or wax. Follow the manufacturer’s instructions to apply the finish evenly, allowing sufficient drying time between coats.
- Placement and styling: Finally, find the perfect spot in your home to place your newly transformed dresser bench. Whether it’s in the entryway, bedroom, or living room, arrange the bench with complementary decor such as pillows, throws, or plants to create a cozy and inviting seating area.
By adding these final touches, you can personalize your dresser bench and make it a standout piece in your home. The options are endless, so let your creativity guide you in choosing the perfect finishing elements to reflect your personal style.
That’s it! You’ve successfully completed the transformation of your dresser into a functional and stylish bench. Step back and admire your handiwork, and enjoy the new seating addition to your home!
Remember, this project can be customized to fit your preferences, so feel free to get creative and add your own unique touches along the way. Enjoy your upcycled dresser bench for years to come!
Conclusion
Transforming an old dresser into a stylish and functional bench is not only a great way to repurpose furniture but also allows you to add a unique piece to your home decor. By following the step-by-step process outlined in this article, you can turn a neglected dresser into a beautiful bench that adds both seating and storage space to any room.
Throughout this project, you learned the importance of gathering the necessary materials and tools, preparing the dresser, removing the drawers, cutting and attaching the bench seat, adding a backrest, and finally, sanding and painting the bench to give it a fresh new look. The addition of final touches such as upholstery, decorative elements, and a protective finish helps to personalize your bench and make it truly yours.
Not only does this project allow you to exercise your creativity, but it also provides a sense of accomplishment as you witness the stunning transformation of an old piece of furniture into a functional and stylish bench. Plus, repurposing furniture is an eco-friendly choice that reduces waste and contributes to sustainability.
So, why not give it a try? Take that old dresser gathering dust in your basement or garage and turn it into a beautiful bench that will become a focal point in your home. With a little effort and some basic tools, you can create a unique piece of furniture that brings both style and functionality to your living space.
Have fun with the process, and don’t be afraid to put your personal touch on the design. Embrace your inner DIY enthusiast and embark on this creative journey. Get ready to enjoy the satisfaction of giving new life to old furniture and impress your guests with your DIY skills!
Frequently Asked Questions about How To Turn A Dresser Into A Bench
Was this page helpful?
At Storables.com, we guarantee accurate and reliable information. Our content, validated by Expert Board Contributors, is crafted following stringent Editorial Policies. We're committed to providing you with well-researched, expert-backed insights for all your informational needs.


0 thoughts on “How To Turn A Dresser Into A Bench”