Furniture
How To Turn A Dresser Into A TV Stand
Modified: February 25, 2024
Learn how to transform a dresser into a stylish TV stand with this easy furniture makeover. Create functional and beautiful storage for your living room.
(Many of the links in this article redirect to a specific reviewed product. Your purchase of these products through affiliate links helps to generate commission for Storables.com, at no extra cost. Learn more)
Introduction
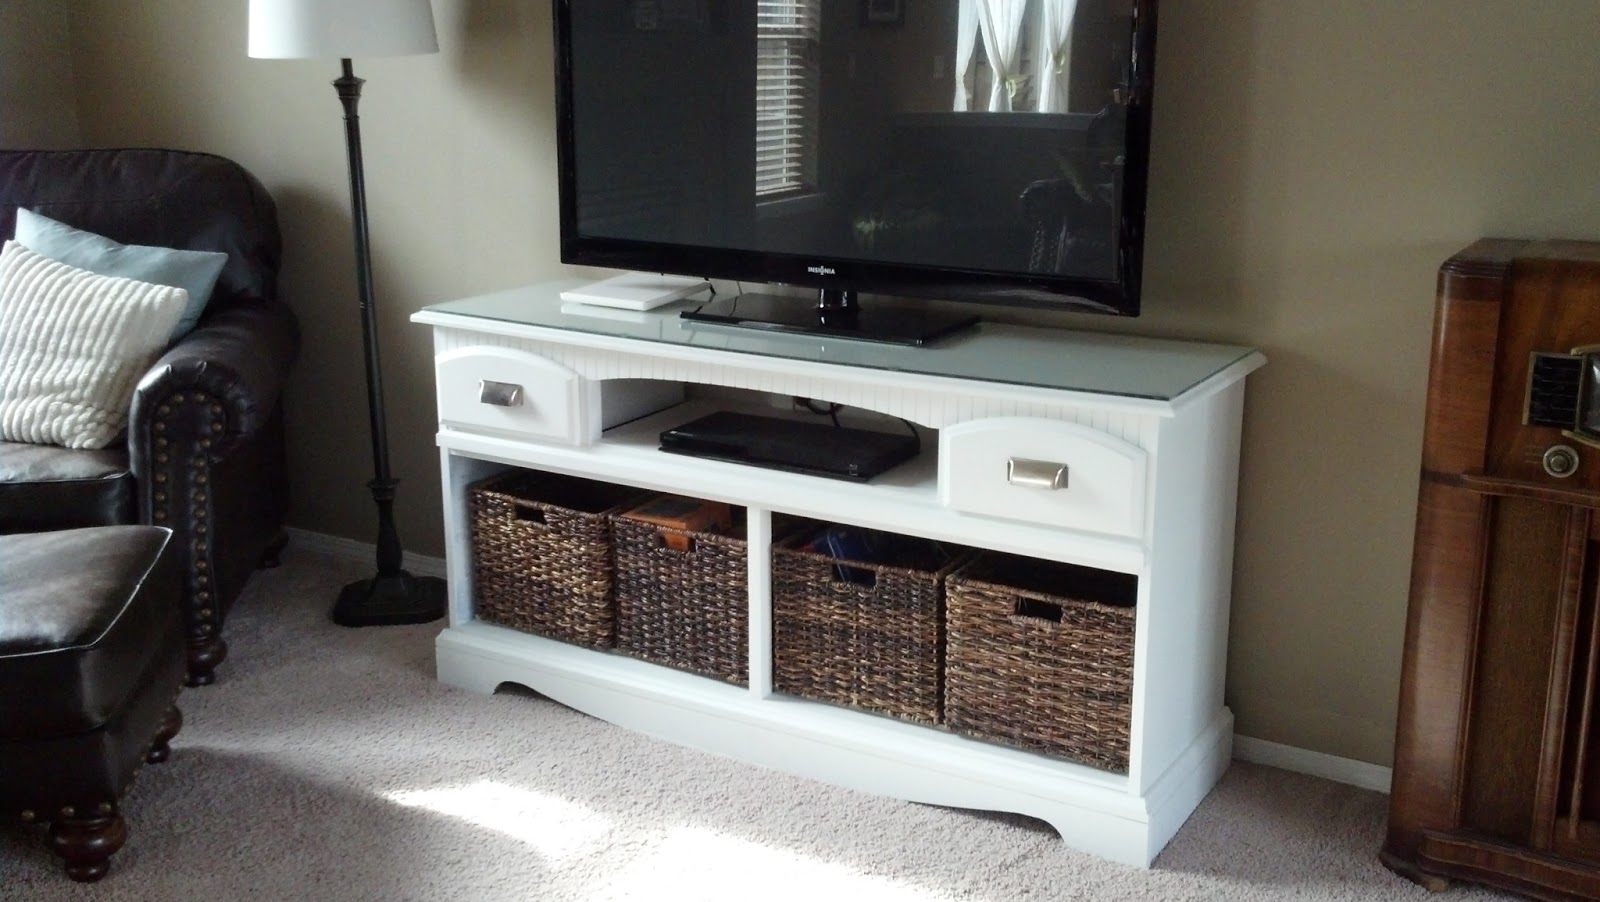
Are you looking to add a touch of creativity and functionality to your living room? Instead of purchasing a traditional TV stand, why not consider repurposing a dresser into a unique and stylish TV stand? Not only is this a cost-effective option, but it also allows you to showcase your DIY skills and unleash your creativity.
Converting a dresser into a TV stand is a fun and rewarding project that can transform an old piece of furniture into a functional and eye-catching centerpiece. With just a few simple steps, you can breathe new life into your dresser and create a custom TV stand that perfectly complements your home decor.
In this article, we will guide you through the process of turning a dresser into a TV stand. From choosing the right dresser to setting up your TV and accessories, we will cover all the essential steps to help you create a stunning and functional piece of furniture.
Before we dive into the details, it’s important to note that the specific steps may vary depending on the style and design of your dresser, as well as your personal preferences. However, by following these general guidelines, you will have a solid foundation to build upon and create a unique TV stand that suits your needs.
So, grab your tools and let’s get started on this exciting furniture transformation project!
Key Takeaways:
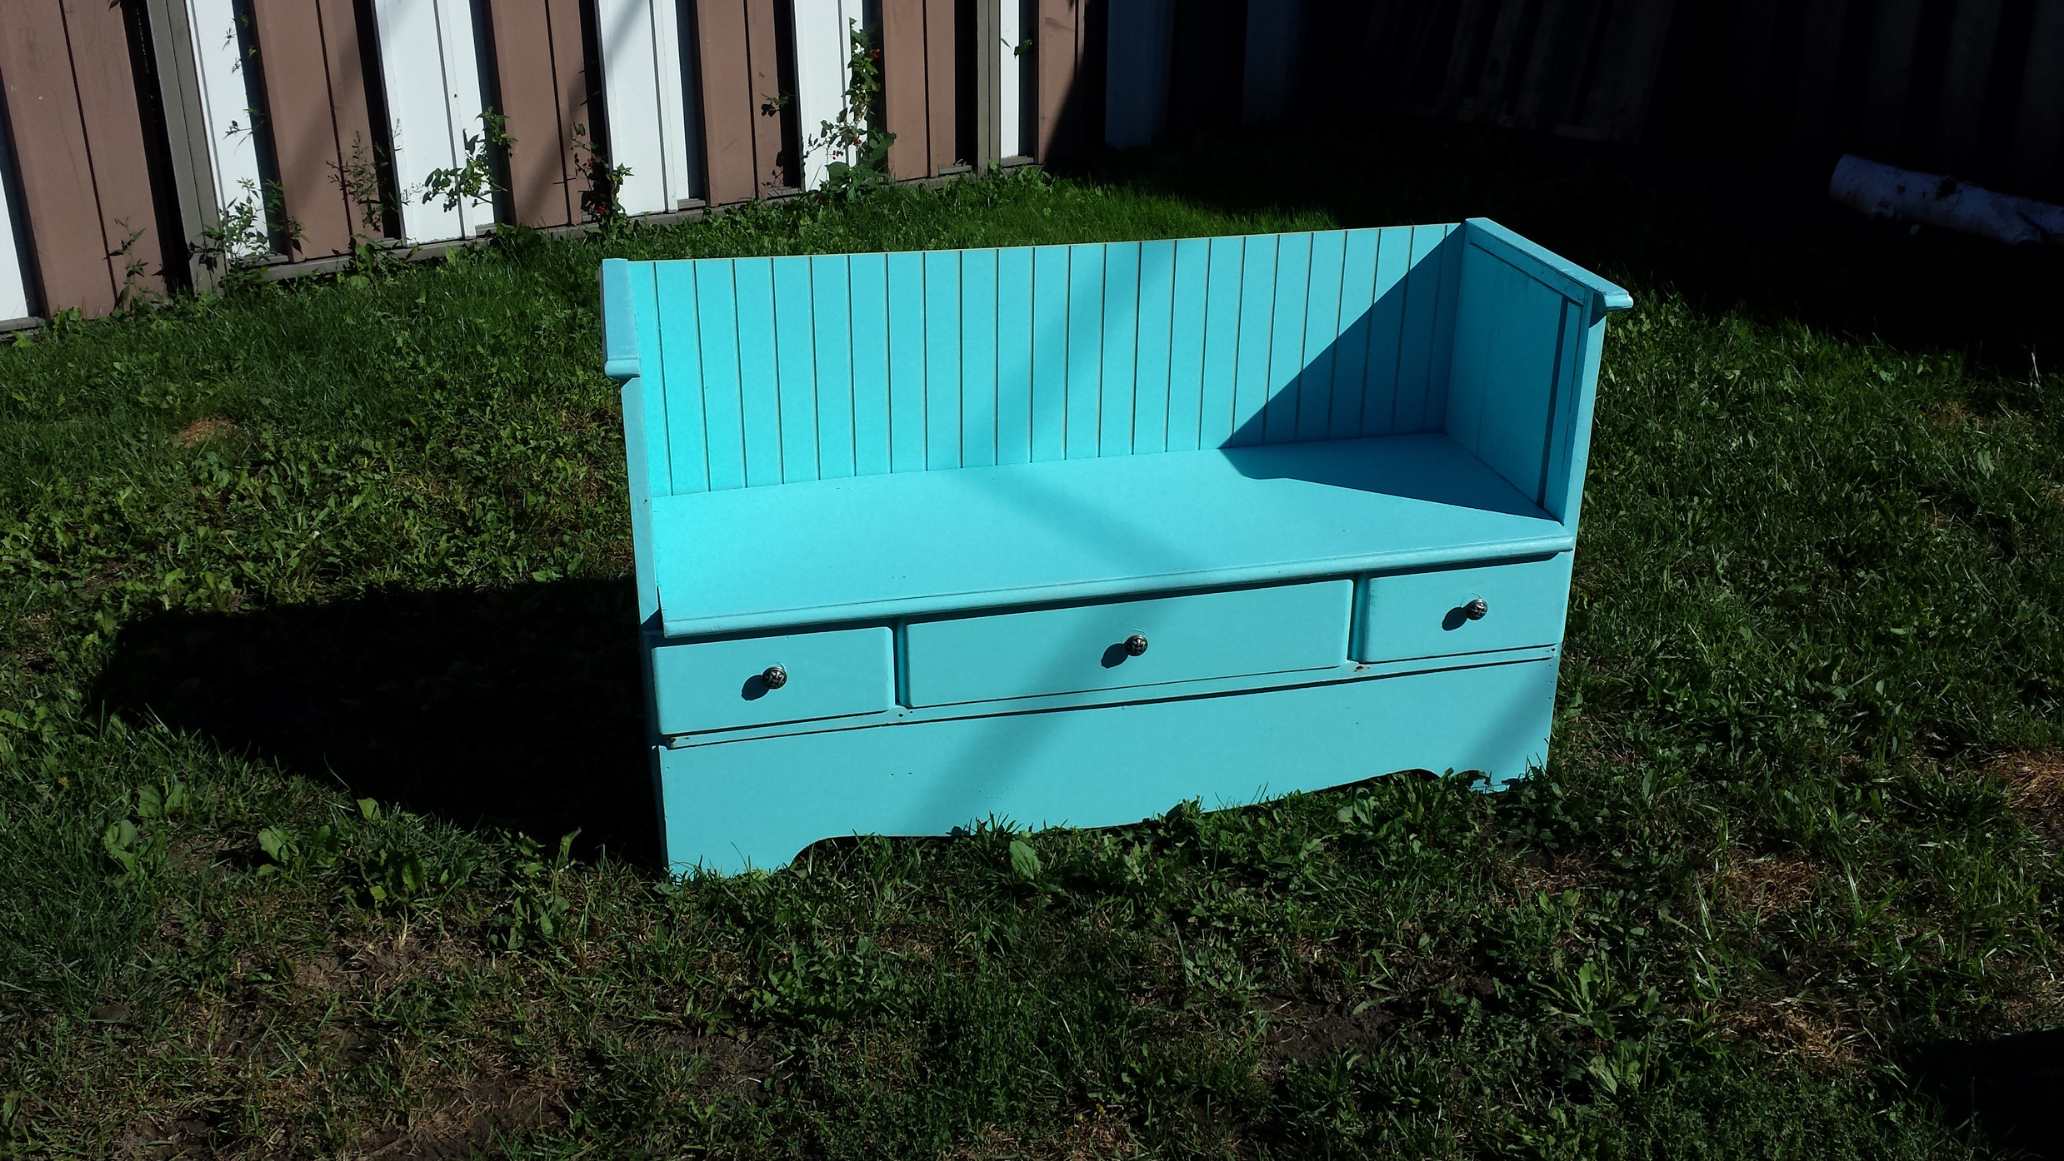
- Transform an old dresser into a stylish TV stand by repurposing and customizing it to match your home decor, saving money and showcasing your DIY skills.
- Follow step-by-step instructions to repurpose a dresser into a functional TV stand, from choosing the right dresser to setting up the TV and accessories, infusing your personal style and creativity.
Read more: How To Turn A Dresser Into A TV Stand
Step 1: Choosing the Right Dresser
The first step in turning a dresser into a TV stand is to find the right dresser to repurpose. When selecting a dresser, there are a few key factors to consider:
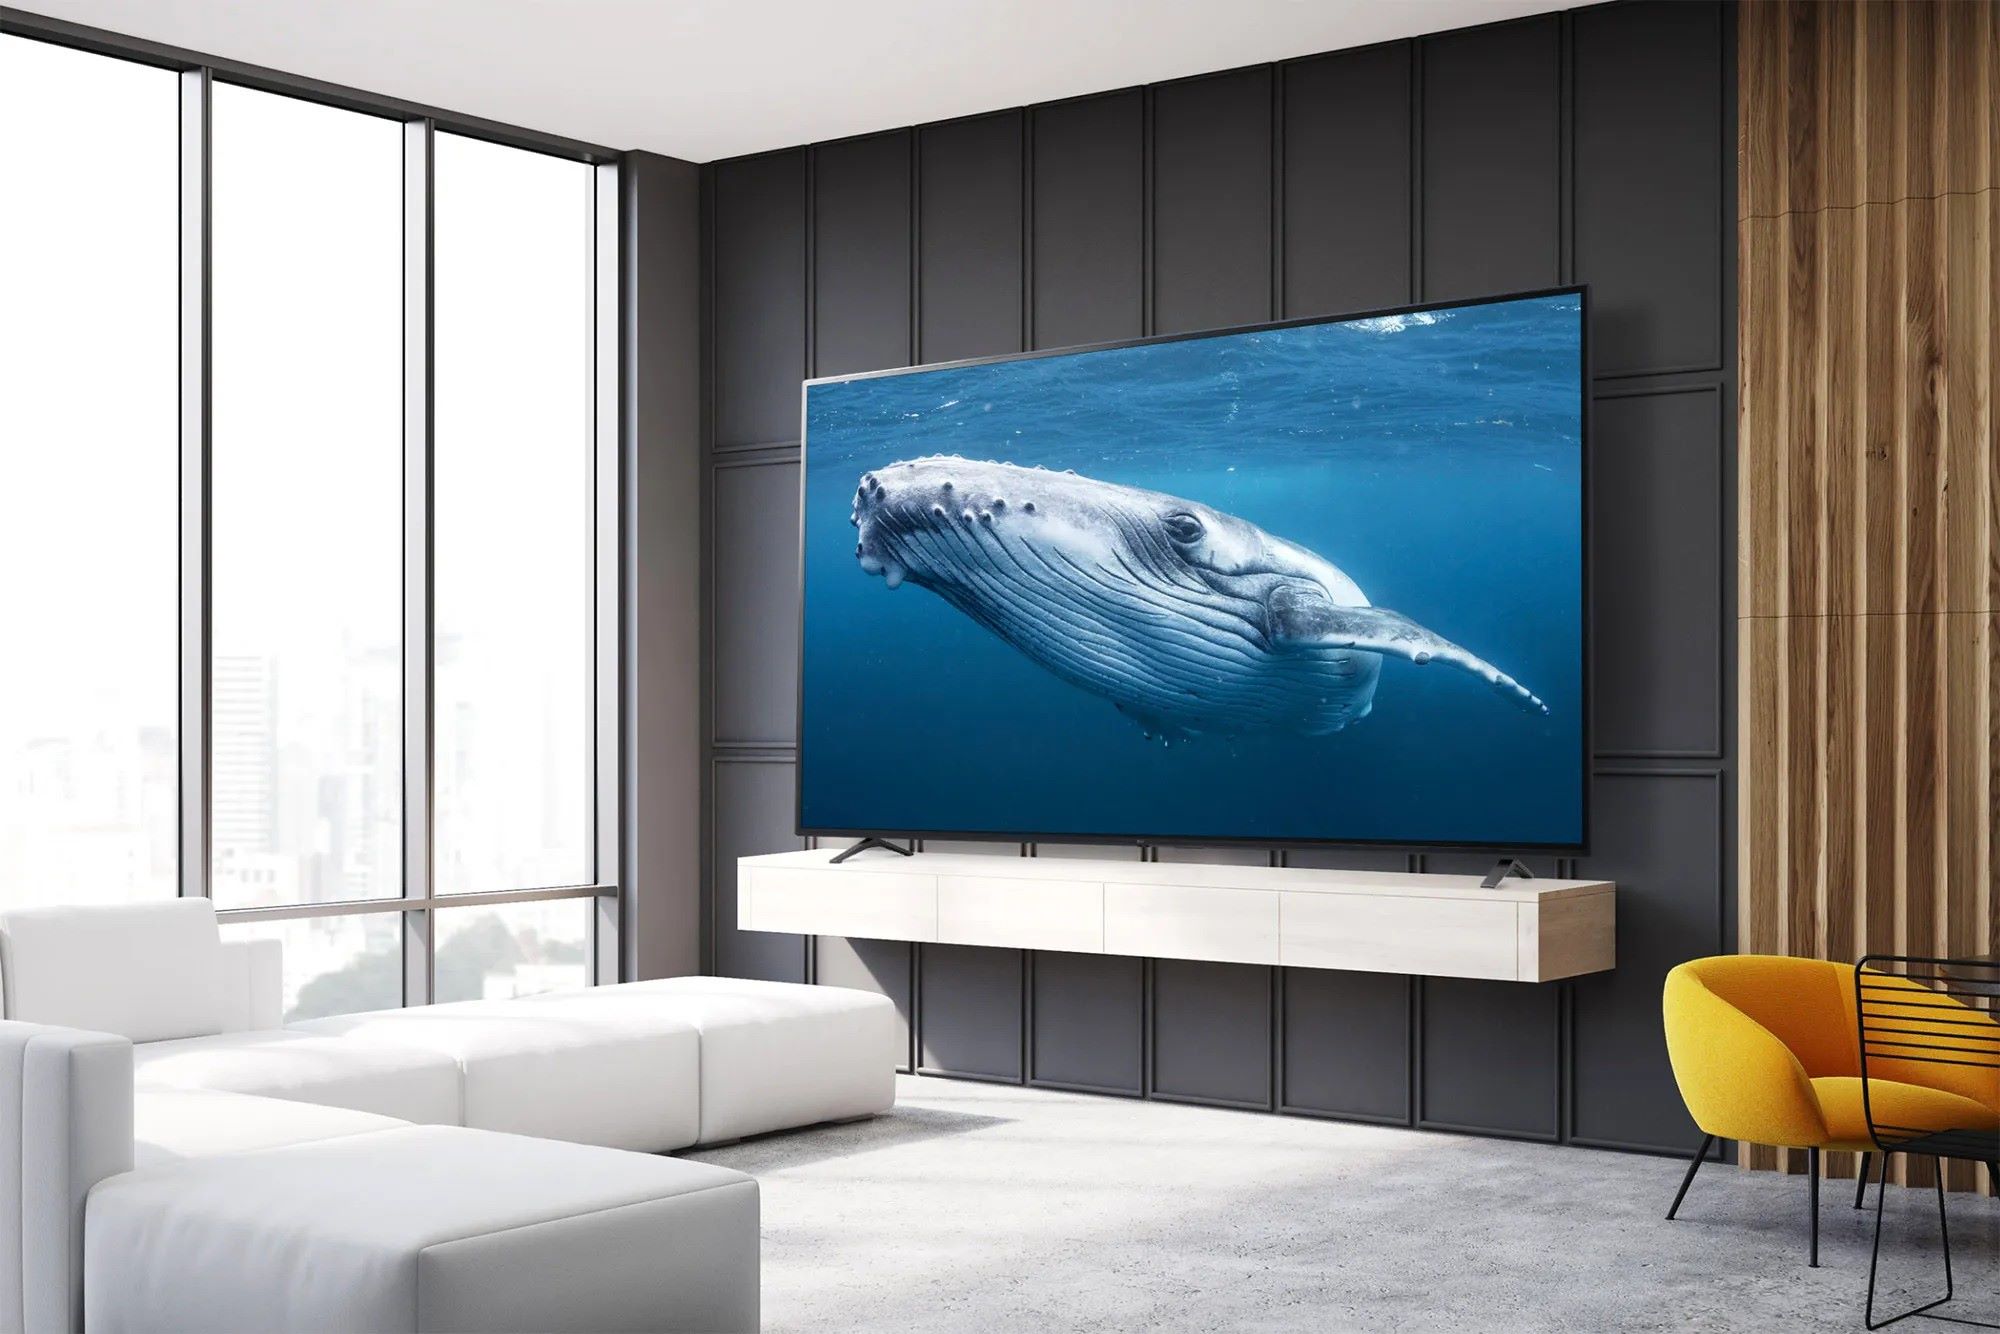
- Size and Proportions: The size of the dresser should be appropriate for the size of your TV. It should be wide enough to comfortably fit your TV, with some extra space on the sides for aesthetic purposes. Additionally, consider the height of the dresser to ensure that the TV will be positioned at a comfortable viewing level.
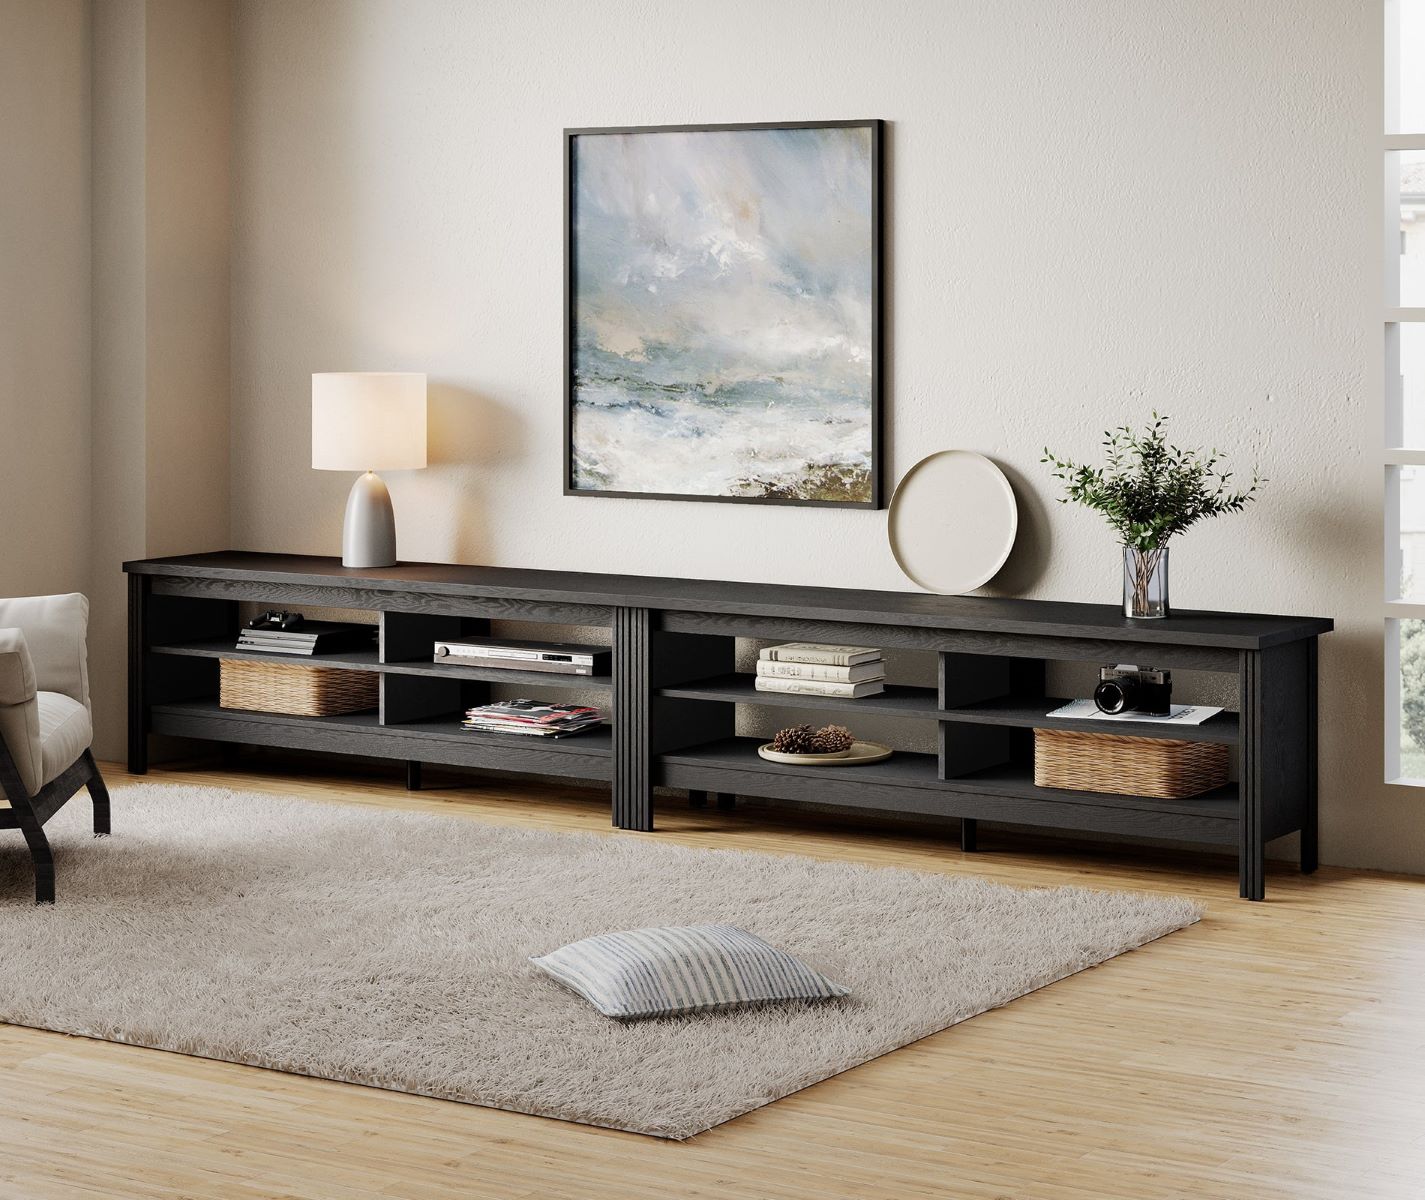
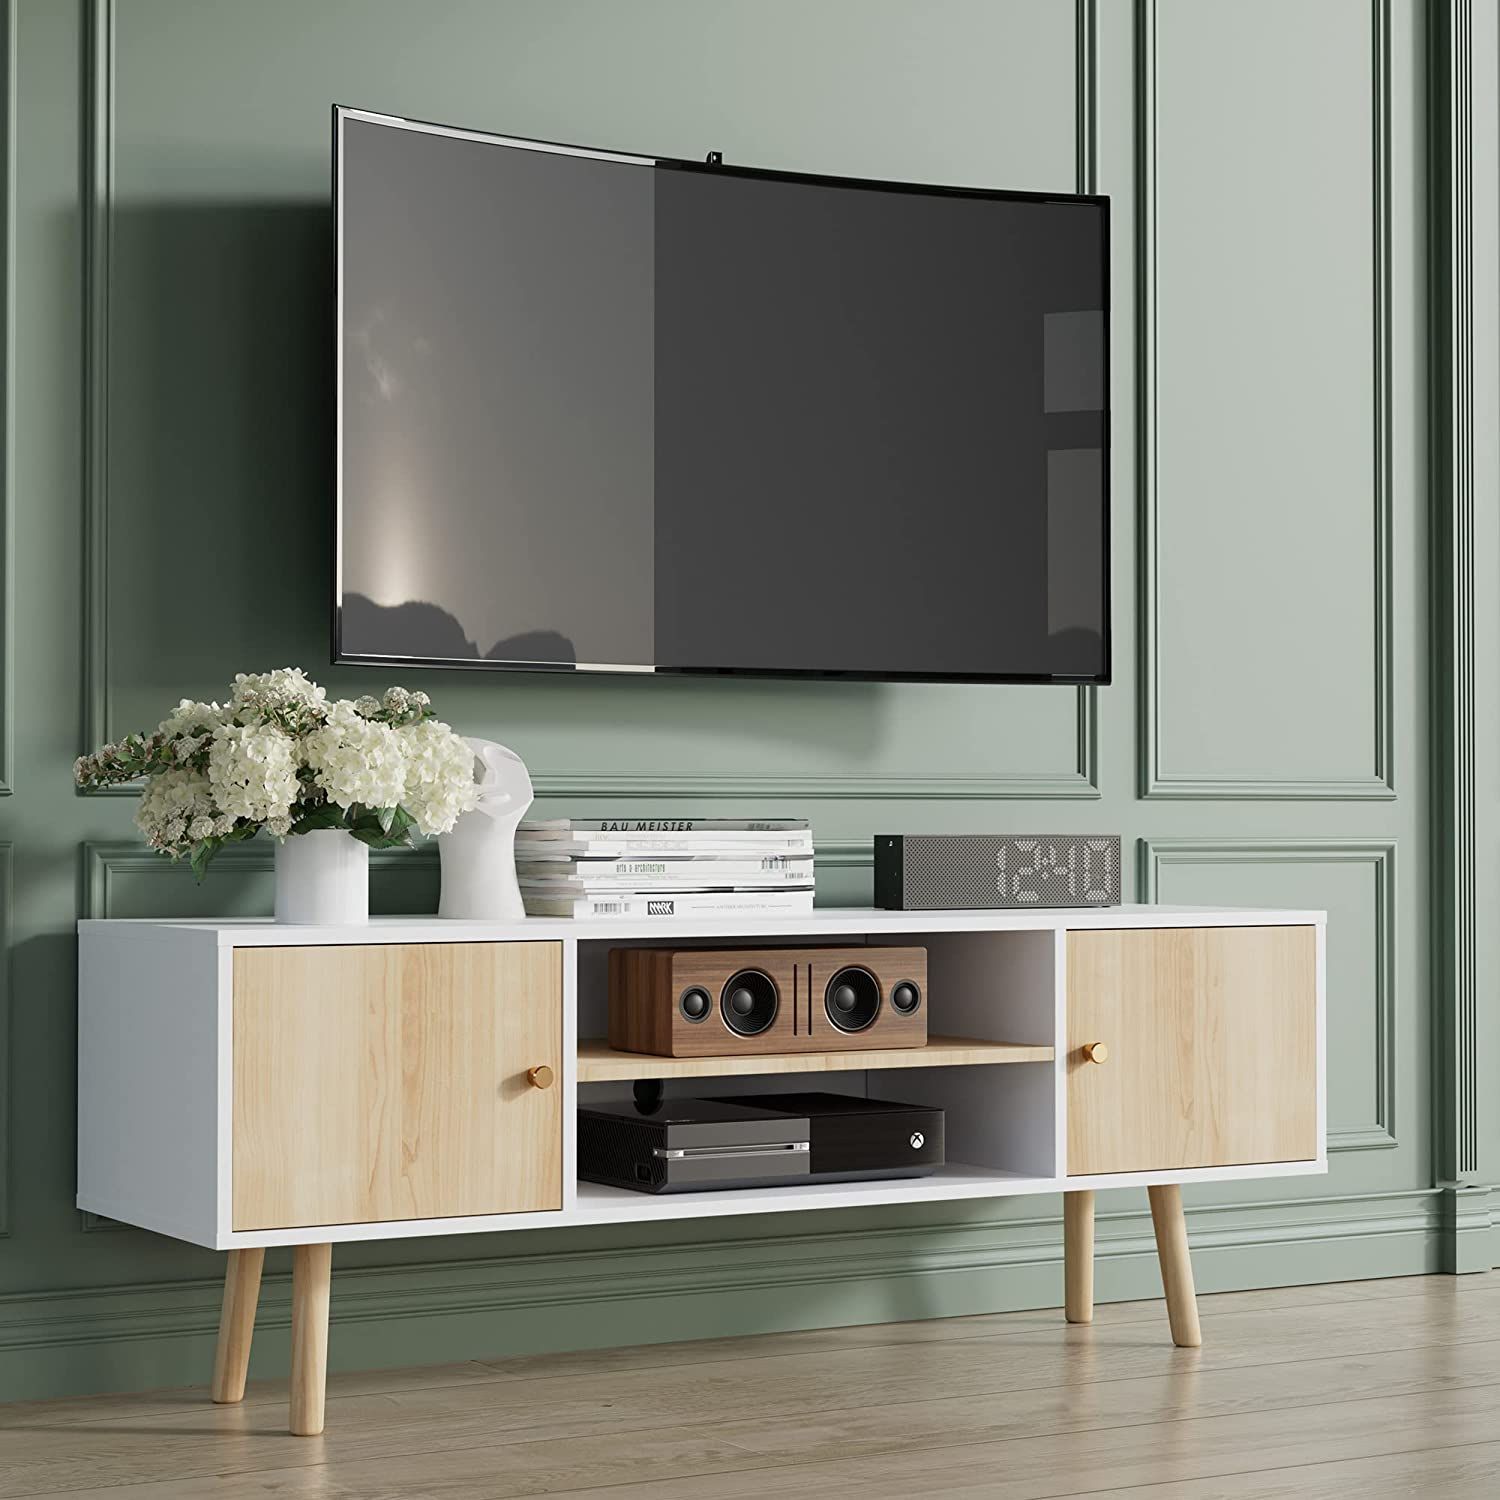
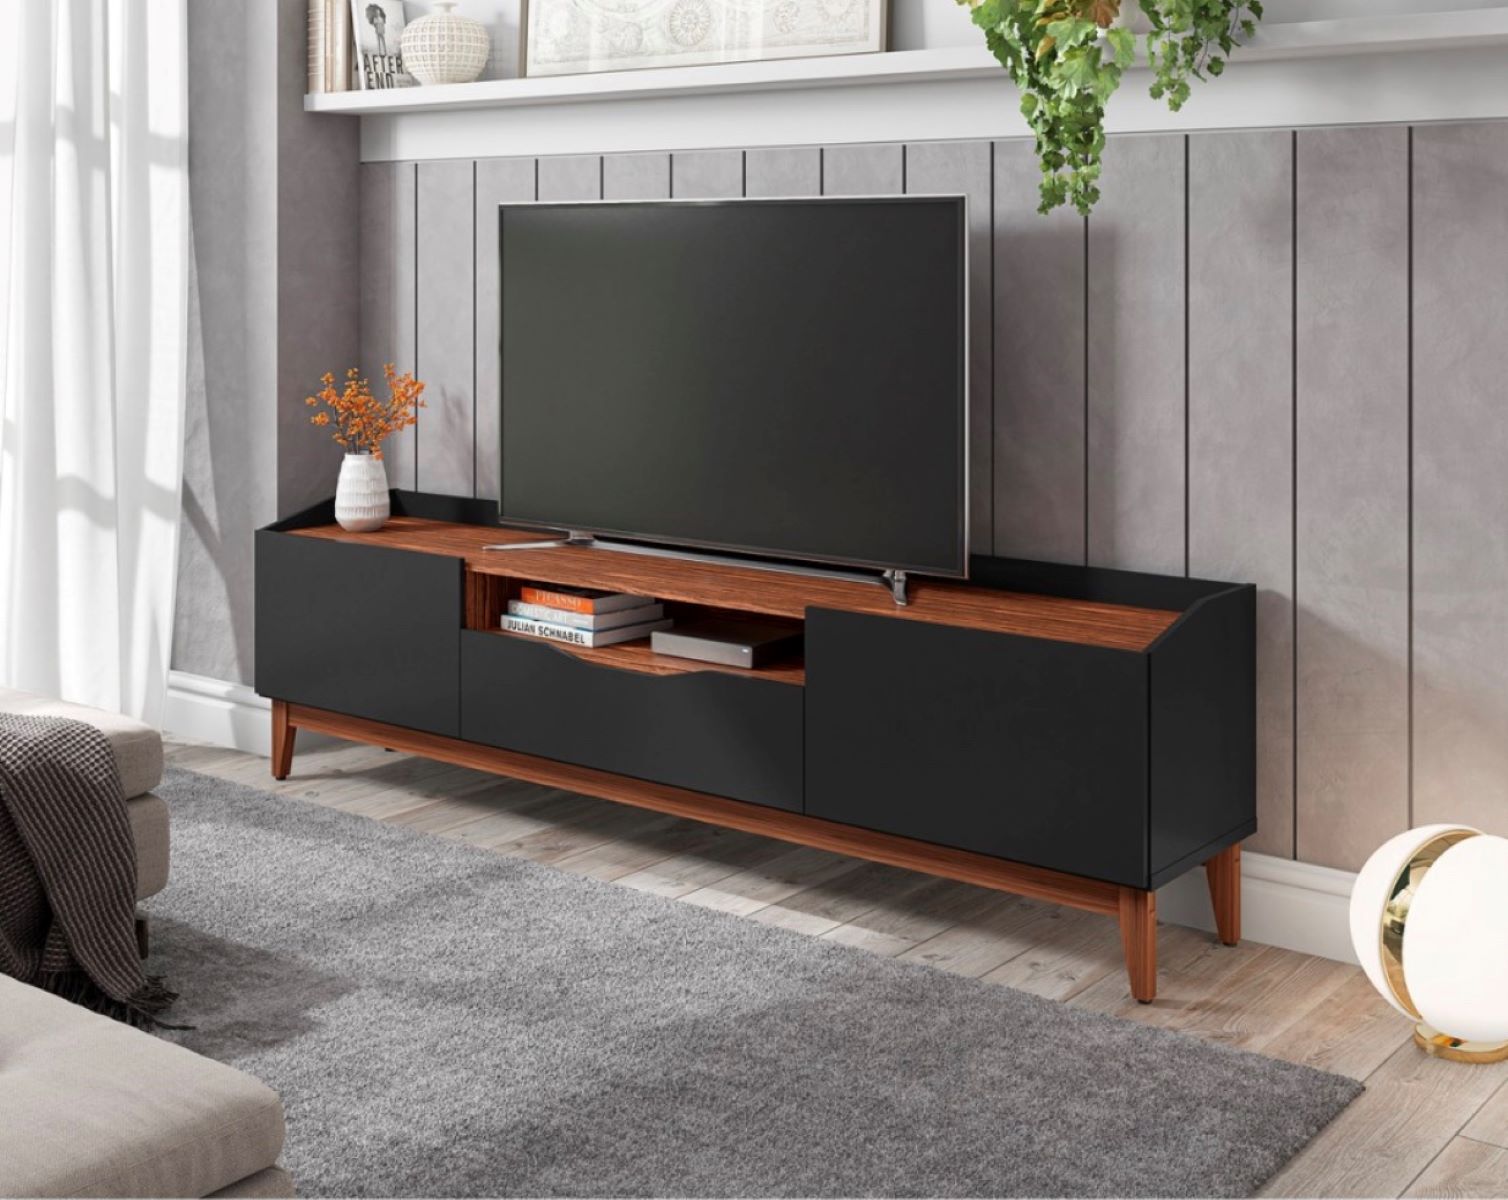
- Style and Design: Think about the overall style and design of your living room. Choose a dresser that matches or complements the existing decor. Whether you prefer a vintage, rustic, modern, or eclectic look, finding a dresser that aligns with your desired aesthetic will help create a cohesive and visually appealing TV stand.
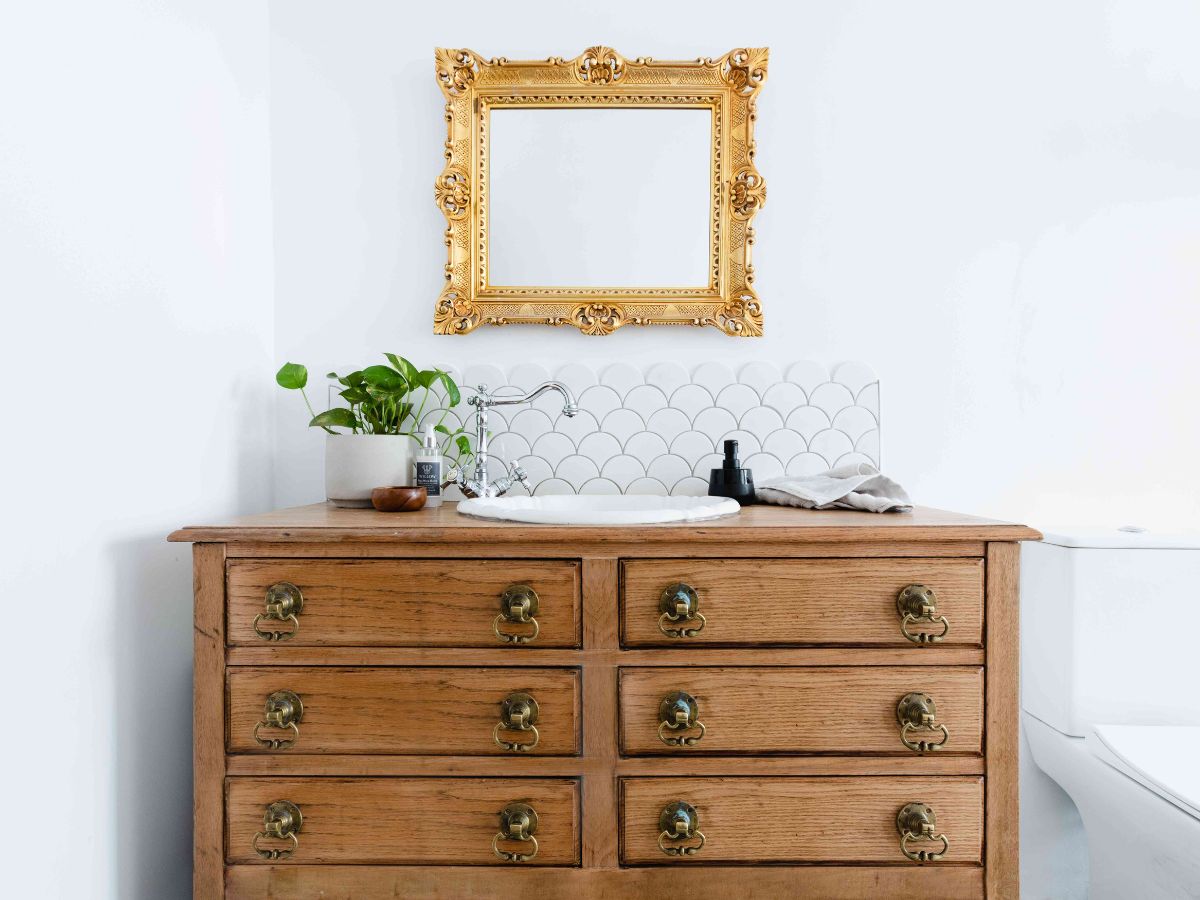
- Material and Quality: Consider the material and construction of the dresser. Solid wood dressers tend to be sturdier and more durable compared to those made of composite materials or particleboard. Assess the dresser’s overall condition to ensure it is structurally sound and suitable for transformation.
- Storage Options: Think about your storage needs. Dressers typically have multiple drawers, which can provide convenient storage for DVDs, gaming consoles, remote controls, and other accessories. Choose a dresser with a sufficient number of drawers or shelves to accommodate your needs.
Once you’ve considered these factors and have found a suitable dresser, you’re ready to move on to the next step: removing drawers and hardware.
Step 2: Removing Drawers and Hardware
With the dresser selected, it’s time to prepare it for its new role as a TV stand. The first task is to remove the drawers and any hardware that might interfere with the placement of the TV.
Start by emptying the drawers and setting them aside. Carefully remove any knobs, handles, or pulls attached to the front of the drawers. This step will help create a smooth and streamlined surface for the TV to sit on. It’s important to keep the hardware safe as you might want to reuse it later or replace it with new knobs that match your desired aesthetic.
After the drawers and hardware are removed, assess the internal structure of the dresser. Depending on the design and construction, there might be shelves or partitions that you want to remove or modify to create enough space for your TV and other electronic devices.
Using a screwdriver or drill, carefully remove any internal shelves or dividers that are obstructing the TV placement area. Be cautious while removing these elements to avoid damaging the dresser itself. If you encounter any stubborn screws or nails, use appropriate tools to safely remove them.
Once the drawers and extra internal components are removed, the dresser should be empty and ready for the next steps. Take a moment to clean the interior and exterior of the dresser, removing any dust, dirt, or residue that may have accumulated over time. This will make painting or refinishing the dresser easier and ensure a fresh start for your TV stand project.
Now that you’ve prepared the dresser by removing the drawers and hardware, it’s time to move on to step 3: measuring and marking.
Step 3: Measuring and Marking
Now that your dresser is cleared of drawers and internal components, it’s time to measure and mark the areas where your TV and other electronic devices will be placed.
Start by measuring the width and depth of the top surface of the dresser. These measurements will help you determine the appropriate size and placement for your TV. Make sure to account for any additional space you want to leave on the sides and front for aesthetic purposes.
Once you have the measurements, use a tape measure and a pencil to mark the exact placement of the TV on the dresser’s top surface. Double-check the measurements to ensure accuracy, as any slight misalignment can affect the overall balance and visual appeal of the TV stand.
In addition to marking the TV placement area, you should also consider marking the spots where you plan to make cable management holes. These holes will allow you to neatly route the cables and cords from your TV and other devices to the back of the dresser, keeping them hidden from view.
Take into account the location of power outlets and any other devices that will be connected to the TV stand. Consider leaving ample space for cable boxes, DVD players, or gaming consoles, ensuring that the cables can reach the necessary connections without straining or bending.
Make clear and visible markings for the cable management holes using a pencil or a small drill bit. It’s important to plan the cable management in advance, as it will make the installation and setup process much smoother and organized.
Once you have measured and marked the TV placement area and cable management holes, you are ready to move on to the next step: preparing the dresser for TV placement.
Step 4: Preparing the Dresser for TV Placement
Now that you have measured and marked the TV placement area, it’s time to prepare the dresser to securely hold your television.
Start by ensuring that the top surface of the dresser is clean and free from any dust, debris, or imperfections. Use a damp cloth or mild cleaner to wipe the surface and allow it to dry completely.
Next, you’ll need to provide stability and support for the TV. One option is to use a TV mount specifically designed for dressers. These mounts typically attach to the back of the dresser and securely hold the TV in place. Follow the manufacturer’s instructions to mount the TV bracket onto the dresser.
If you prefer not to use a TV mount, you can still provide stability by placing a thick piece of plywood or a flat board on top of the dresser. Make sure the plywood is cut to the appropriate size and securely fastened to the dresser using screws or brackets.
Regardless of the method you choose, ensure that the TV will be placed securely and won’t wobble or tip over. Safety should be a top priority when setting up your TV stand.
Before placing the TV on the dresser, it’s also a good idea to use adhesive strips or Velcro to secure any electronic devices, such as cable boxes or DVD players, to the top surface of the dresser. This will prevent them from sliding or falling off when adjusting cables or performing maintenance.
Once you have prepared the dresser to securely hold your TV, it’s time to move on to step 5: making cable management holes.
Read more: How To Mount A TV On A TV Stand
Step 5: Making Cable Management Holes
One of the crucial steps in turning a dresser into a TV stand is creating cable management holes. These holes will allow you to neatly route the cables and cords from your TV and other devices to the back of the dresser, keeping them organized and hidden from view.
To start, use a drill and an appropriately-sized drill bit to create holes in the back of the dresser. Position the holes strategically, near the TV placement area and where your other devices will be located. Make sure the holes are large enough to accommodate multiple cables if needed.
Place the drill bit against the back of the dresser at the desired spot for the cable management hole. Apply steady pressure while drilling, taking care not to drill too forcefully and damage the dresser. You can also use a smaller drill bit to create a pilot hole before using the larger drill bit to create the actual cable hole.
Once the cable management holes are drilled, use a file or sandpaper to smooth out any rough edges. This will prevent the cables from getting snagged or damaged when passing through the holes.
It’s important to plan the positioning and number of cable management holes based on the number of cables and cords you will be routing. Consider the power cords, HDMI cables, and any other necessary connections. You may want to use cable clips or zip ties inside the dresser to keep the cables organized and prevent tangling.
If your dresser has drawers below the TV placement area, you can also create smaller cable management holes within the drawers themselves. This will allow you to route cables from devices inside the drawers to the back of the dresser, keeping the cords concealed and out of sight.
Once the cable management holes are prepared, you’re almost ready to move on to the next steps of painting or refinishing the dresser. However, be sure to set up a temporary cable connection in the meantime to ensure everything fits and is in the correct position before finalizing the TV stand’s appearance.
Now that you have created cable management holes, it’s time to move on to step 6: painting or refinishing the dresser.
When turning a dresser into a TV stand, make sure to measure the dimensions of your TV and the dresser to ensure a proper fit. Also, consider adding holes for cords and ventilation for electronics.
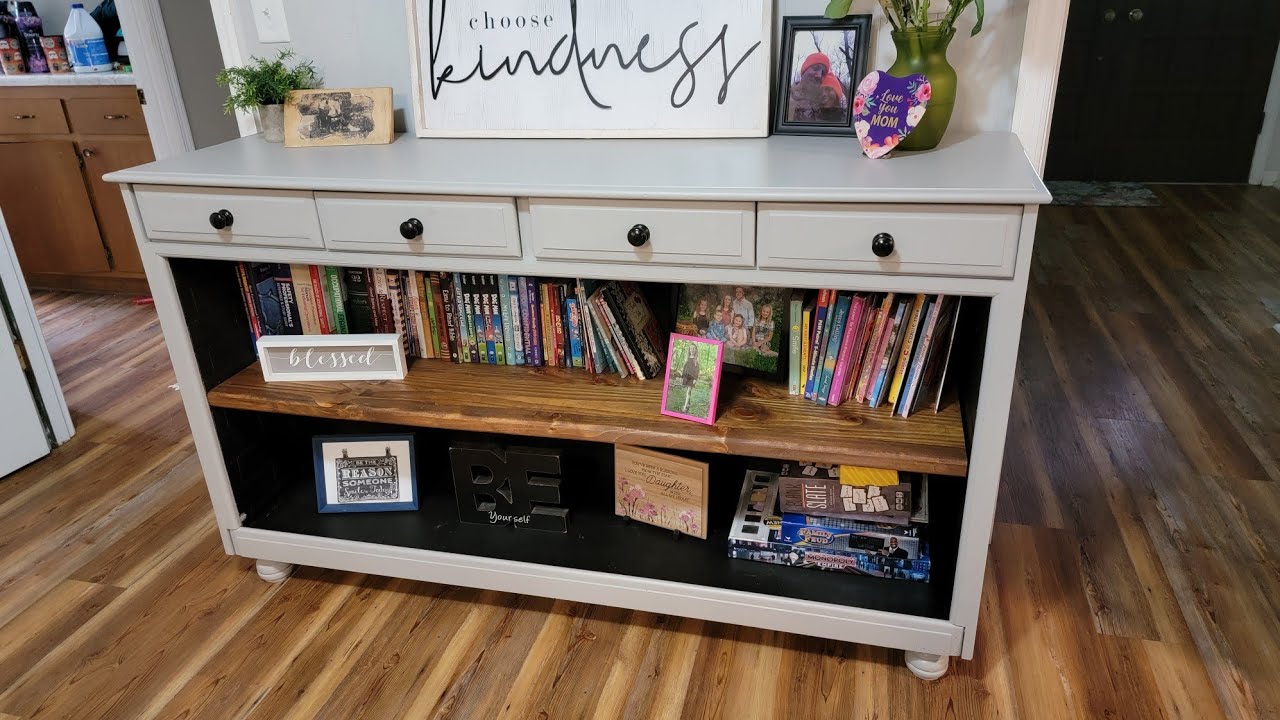
Step 6: Painting or Refinishing the Dresser
After preparing the dresser and creating cable management holes, it’s time to give it a fresh new look through painting or refinishing. This step allows you to customize the TV stand to match your personal style and existing home decor.
If you want to change the color or give the dresser a completely new look, painting is an excellent option. Start by cleaning the surface of the dresser to remove any dust or debris that may interfere with the paint application. Use a mild cleaner and a cloth to wipe down the dresser, then allow it to dry completely.
If the dresser has an existing finish, you will need to sand it down to create a smooth surface for the new paint. Use sandpaper or an electric sander to gently remove the old finish, taking care not to damage the dresser’s underlying structure. Once the old finish is removed, wipe away any dust and debris with a clean cloth.
Before applying the paint, it’s essential to prime the dresser. Priming helps the paint adhere better and provides a more even and durable finish. Use a primer specifically formulated for the type of paint you plan to use (acrylic, latex, etc.), following the manufacturer’s instructions for application and drying time.
Once the primer is dry, you can start painting the dresser in your desired color. Use a high-quality paintbrush or a paint roller for larger surfaces, ensuring smooth and even coverage. Apply multiple thin coats of paint, allowing each coat to dry before applying the next.
If you prefer a more natural look, you can choose to refinish the dresser instead of painting it. This involves sanding down the existing finish and applying a new stain or protective topcoat to enhance its natural beauty. Follow the same steps of cleaning, sanding, and applying the appropriate products as mentioned earlier.
Remember to pay attention to the details. Paint or refinish all visible surfaces, including the sides, front, and edges of the dresser. Take care not to paint or stain the areas where the TV will be placed, ensuring that it remains free of any potential damage or discoloration.
Allow the paint or stain to dry completely before proceeding to the next step. This might take a few hours or even overnight, depending on the paint or product you are using. Once the dresser is fully dry, you can continue the transformation process by adding legs or casters in step 7.
Now that you have given your dresser a fresh new look, it’s time to move on to the next step: adding legs or casters to elevate the TV stand.
Step 7: Adding Legs or Casters
Adding legs or casters to your dresser-turned-TV stand can not only enhance its visual appeal but also provide added functionality and mobility. Legs or casters elevate the TV stand, making it easier to clean underneath and reposition as needed.
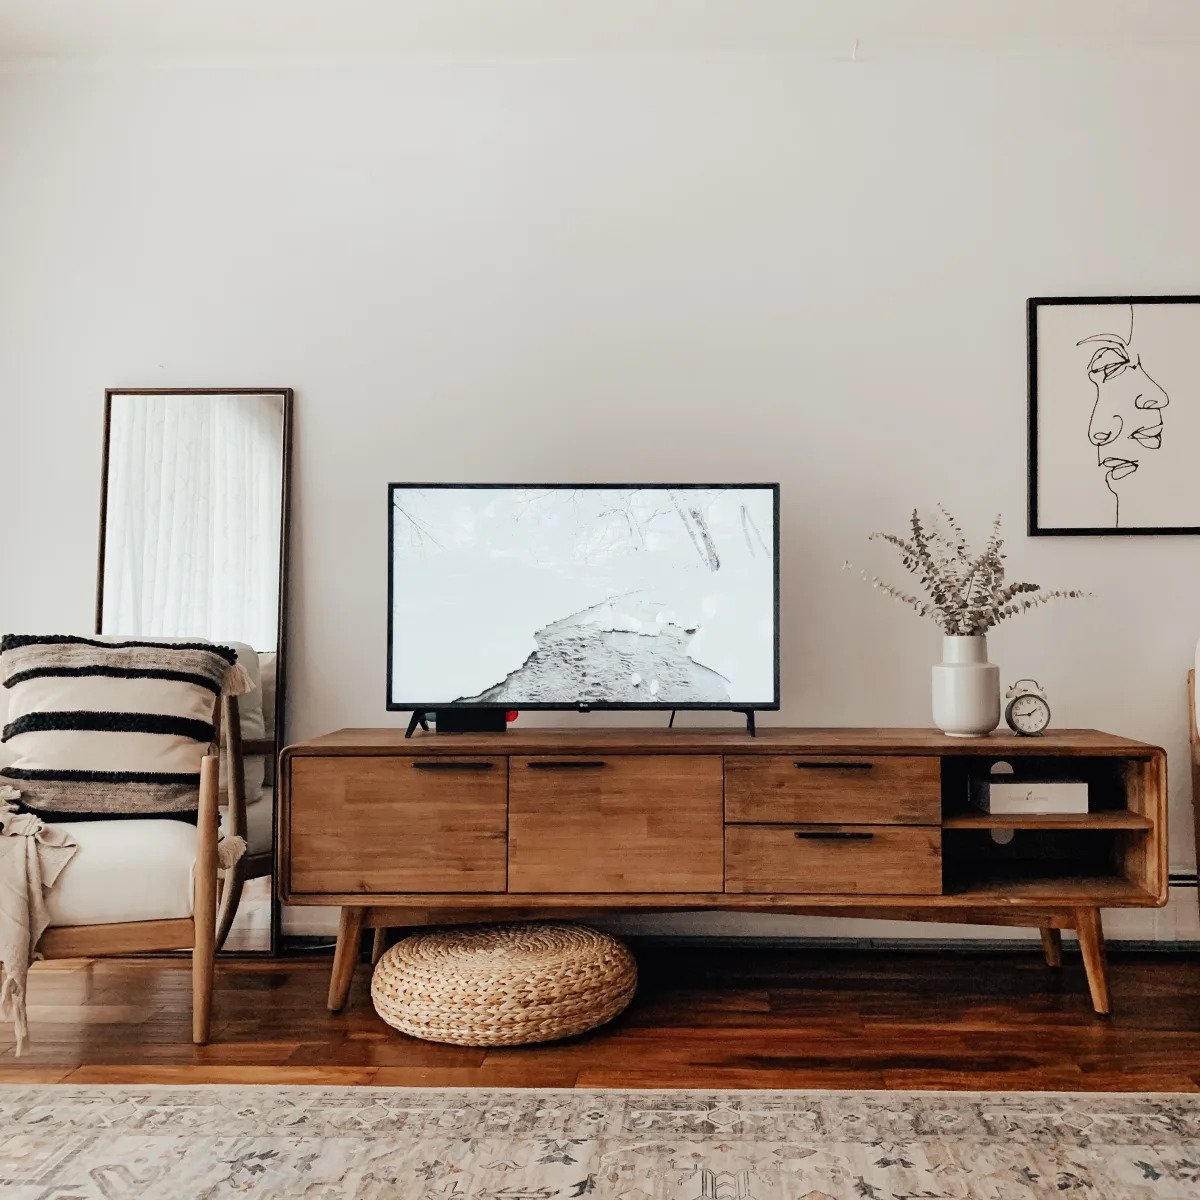
When choosing legs or casters, consider the overall style and design of your TV stand. If you want a more modern and sleek look, opt for slim and minimalist metal legs. For a vintage or rustic vibe, wooden legs can add warmth and charm. Casters, on the other hand, are a practical choice if you want the flexibility to move the TV stand around the room easily.
To install legs or casters, start by turning the dresser upside down, allowing you to access the bottom surface. Measure and mark the locations where the legs or casters will be attached. Ensure that they are evenly spaced and aligned for stability.
If you are installing legs, attach them using the provided screws or bolts. Make sure they are securely fastened to the bottom of the dresser, providing proper support for the weight of the TV and other devices. Use a screwdriver or drill to tighten the screws, but be careful not to overtighten and strip the holes.
If you prefer casters, select ones with appropriate weight capacity and swivel capability. Attach the casters to the bottom of the dresser using screws or bolts, ensuring they are evenly spaced and secured tightly. Consider using casters with locks or brakes, especially if you want to keep the TV stand in a fixed position.
Once the legs or casters are securely installed, carefully flip the dresser back to its upright position. Check for any wobbling or instability and make adjustments as necessary.
Adding legs or casters not only elevates the TV stand but also provides better air circulation and prevents potential damage to your flooring. Additionally, it allows for easy cleaning underneath the TV stand and gives you the flexibility to rearrange your living room layout.
Now that you have added legs or casters to your dresser, it’s time to move on to step 8: installing a shelf for your cable box or DVD player.
Step 8: Installing Shelf for Cable Box or DVD Player
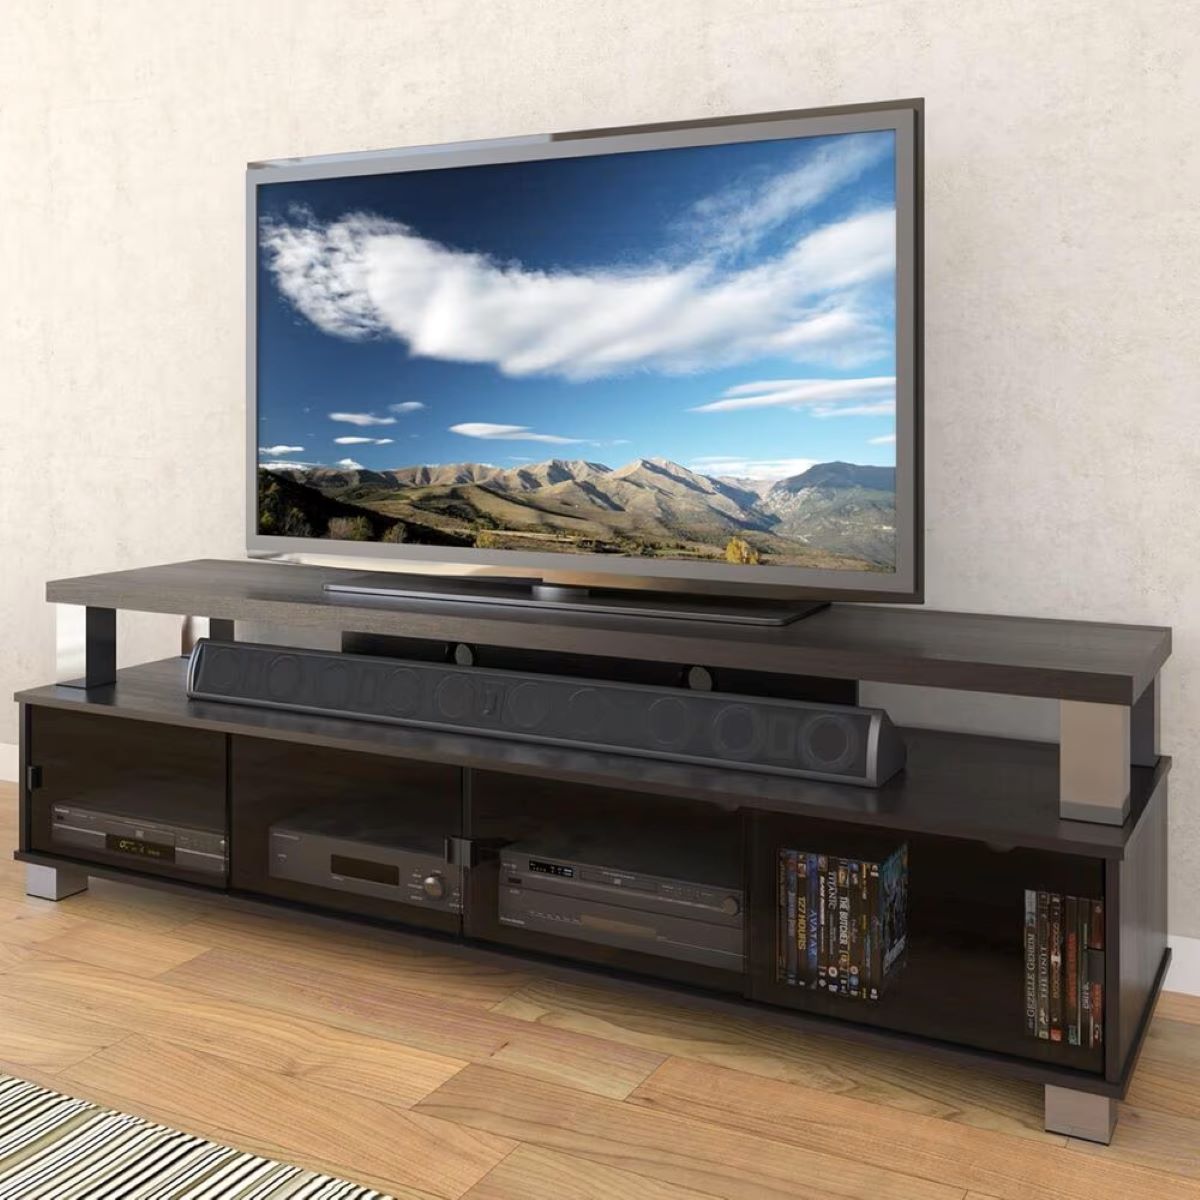
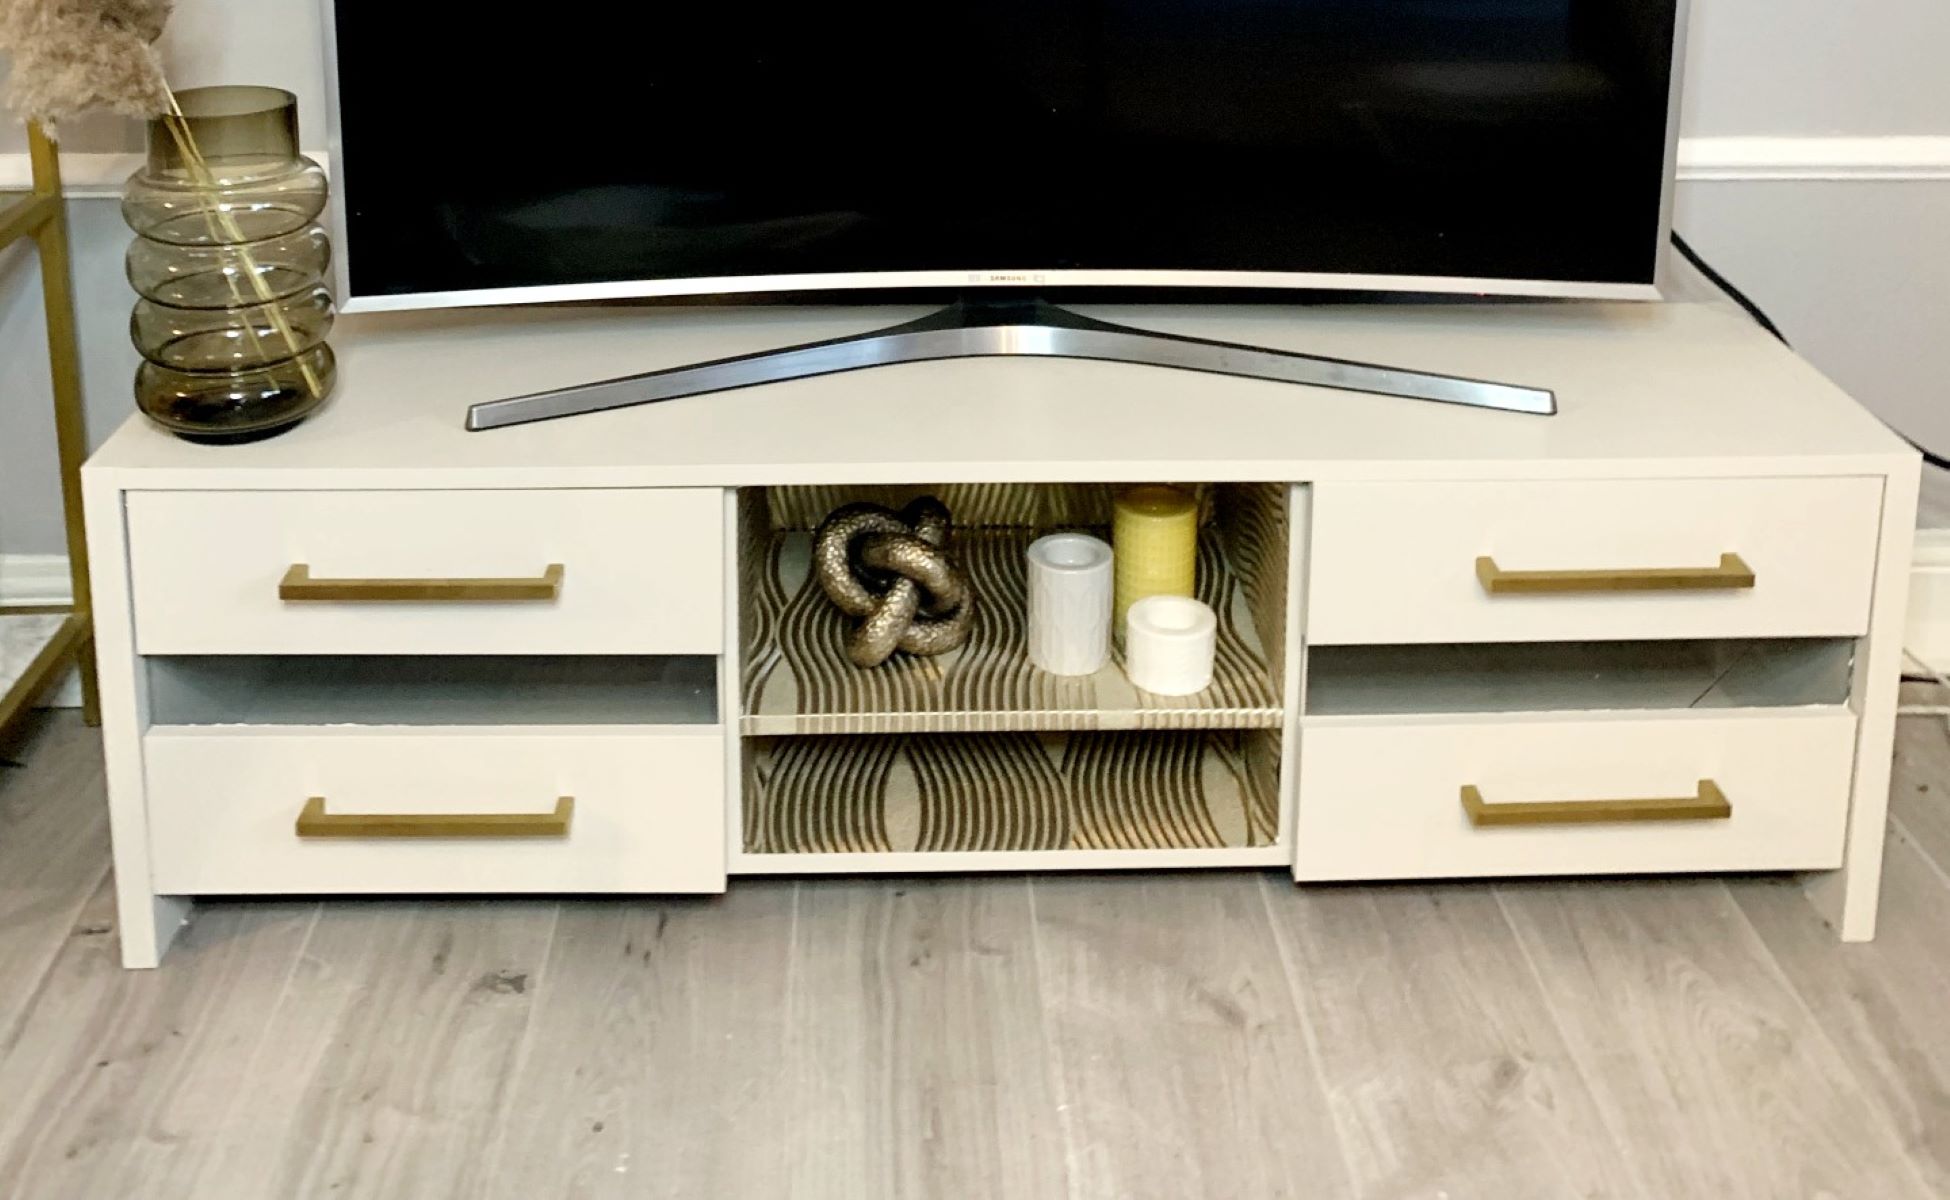
Installing a shelf for your cable box or DVD player adds functionality and convenience to your dresser-turned-TV stand. This allows you to keep your entertainment devices organized and easily accessible while maintaining a clutter-free look.
Start by measuring the height and depth of the space where you want to install the shelf. This will help you determine the appropriate size and ensure a proper fit for your cable box or DVD player.
Next, acquire a shelf or a piece of wood cut to the desired size. You can either purchase a pre-made shelf or create one yourself using sturdy wood or melamine board. Be sure to choose a material that can support the weight of your device and any additional items you plan to place on the shelf.
Position the shelf at the desired height within the dresser. Mark the areas where the shelf brackets or supports will be attached. Use a drill or screwdriver to secure the brackets or supports to the sides of the dresser, ensuring they are level and securely fastened.
Once the brackets or supports are in place, carefully place the shelf on top and ensure it sits evenly. You may need to adjust the position of the brackets or supports to achieve a level and sturdy shelf.
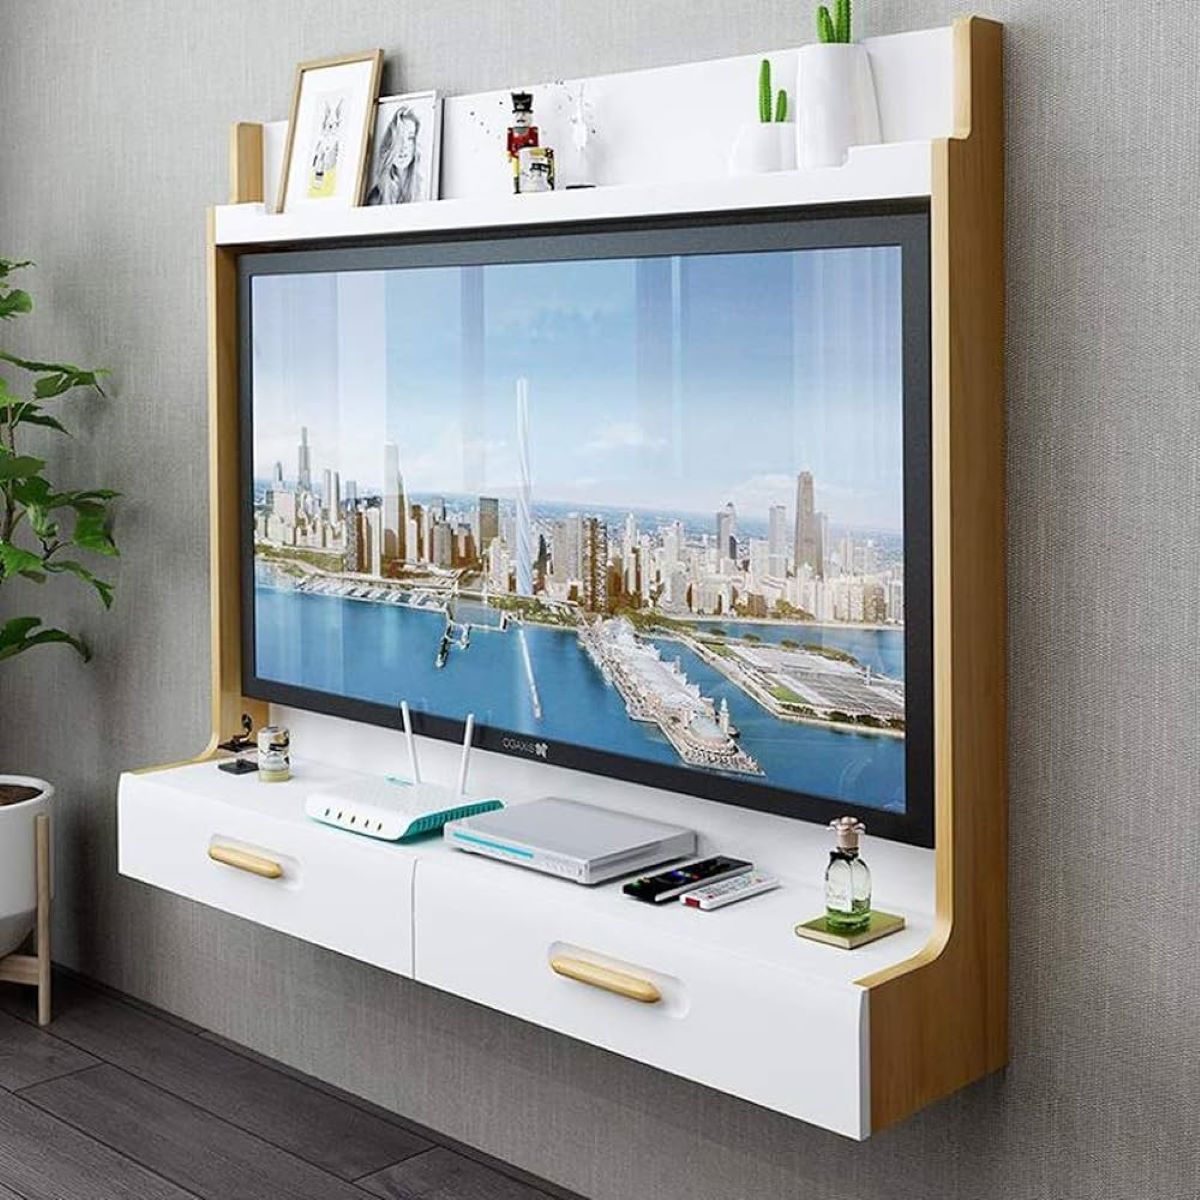
If you prefer a more seamless look, consider using hidden shelf supports or brackets that are concealed from view. These can give the appearance that the shelf is floating on the dresser, adding a touch of modern elegance to the TV stand.
After installing the shelf, place your cable box or DVD player on it, making sure it is centered and secure. You may also want to consider adding cable clips or ties to keep the cords organized and prevent them from dangling or getting tangled.
Having a dedicated shelf for your cable box or DVD player helps keep cables tidy and prevents them from cluttering the top surface of the dresser. It also makes it easier to connect and manage the devices without disrupting the overall aesthetic of the TV stand.
With the shelf installed, you are almost done with transforming your dresser into a functional TV stand. The next step, step 9, will cover setting up the TV and accessories.
Read more: How To Decorate A Dresser With A TV
Step 9: Setting Up the TV and Accessories
Congratulations! You’re in the final step of turning your dresser into a fully functional TV stand. Now it’s time to set up your TV and other accessories to complete the transformation.
Start by carefully placing your TV onto the designated area of the dresser, whether it’s on the mounted bracket or the plywood support. Ensure that the TV is centered and securely positioned, taking into consideration any viewing angle preferences.
Connect the necessary cables from your TV to the appropriate devices, such as the cable box, DVD player, or gaming console. Utilize the cable management holes you created earlier to pass the cables through, keeping them organized and hidden from view.
Make sure to measure the length of the cables to ensure they can reach the receptors without causing strain or tension. You may need to use cable extensions or relocate devices if necessary.
Once the TV and cable connections are set up, place your cable box, DVD player, or any other accessories on the installed shelf. Use the cable management system you established to neatly arrange and secure the cables, preventing them from becoming tangled or unsightly.
Take a moment to step back and assess the positioning of the TV, accessories, and any other decorative items you may want to add. Ensure everything is aesthetically pleasing and functions properly.
If desired, you can further personalize your TV stand by adding decorative elements such as picture frames, plants, or small decorative items that match your home decor style. These finishing touches can make your TV stand a unique and appealing focal point in your living room.
Before fully completing the setup, make sure to test everything – turn on the TV, check the cable connections, and adjust any settings or configurations as needed. Take the time to ensure the TV stand is stable, the cables are properly connected, and the devices are functioning correctly.
Once you’ve verified that everything is in place and working smoothly, sit back, relax, and enjoy your new DIY TV stand. Not only have you repurposed a dresser into a functional piece of furniture, but you’ve also added your personal touch and creativity to your living space.
With step 9 completed, you have successfully transformed your dresser into a stylish and functional TV stand. Now, sit back, relax, and enjoy your favorite shows on your custom-made TV stand!
Conclusion
Repurposing a dresser into a TV stand is a rewarding and creative project that allows you to showcase your DIY skills while creating a unique furniture piece for your living room. By following the steps outlined in this guide, you can successfully transform an old dresser into a functional and stylish TV stand.
From choosing the right dresser to painting or refinishing it, to adding legs or casters, and setting up the TV and accessories, each step plays a crucial role in the overall transformation process. Taking the time to plan, measure, and execute each step with precision will result in a TV stand that perfectly fits your needs and matches your personal style.
Throughout this journey, it’s important to embrace your creativity and make the TV stand your own, incorporating your unique design choices and decorative elements. Whether you prefer a modern, rustic, or eclectic look, infusing your personal style will make the TV stand a true reflection of your taste and personality.
Remember to prioritize functionality and safety while making design decisions. Ensuring stability, cable management, and suitable placement for your TV will provide a seamless and enjoyable viewing experience for years to come.
As you tackle this DIY project, take your time, be patient, and enjoy the process. Making a TV stand from a dresser not only saves you money but also allows you to repurpose an old piece of furniture and minimize waste.
So, whether you’re revamping your living room or simply looking for a creative project, repurposing a dresser into a TV stand is a fantastic option. It’s a testament to your DIY skills and adds a unique touch to your home decor.
Now that you have the knowledge and steps to guide you, it’s time to roll up your sleeves, find the perfect dresser, and embark on this exciting journey. Good luck, and have fun creating your one-of-a-kind TV stand!
Frequently Asked Questions about How To Turn A Dresser Into A TV Stand
Was this page helpful?
At Storables.com, we guarantee accurate and reliable information. Our content, validated by Expert Board Contributors, is crafted following stringent Editorial Policies. We're committed to providing you with well-researched, expert-backed insights for all your informational needs.

0 thoughts on “How To Turn A Dresser Into A TV Stand”