Home>Furniture>Outdoor Furniture>How To Make A Dog Hammock For Grooming
Outdoor Furniture
How To Make A Dog Hammock For Grooming
Modified: March 16, 2024
Learn how to make a comfortable dog hammock for outdoor grooming sessions with our easy-to-follow DIY guide. Create a relaxing space for your furry friend with durable outdoor furniture.
(Many of the links in this article redirect to a specific reviewed product. Your purchase of these products through affiliate links helps to generate commission for Storables.com, at no extra cost. Learn more)
Introduction
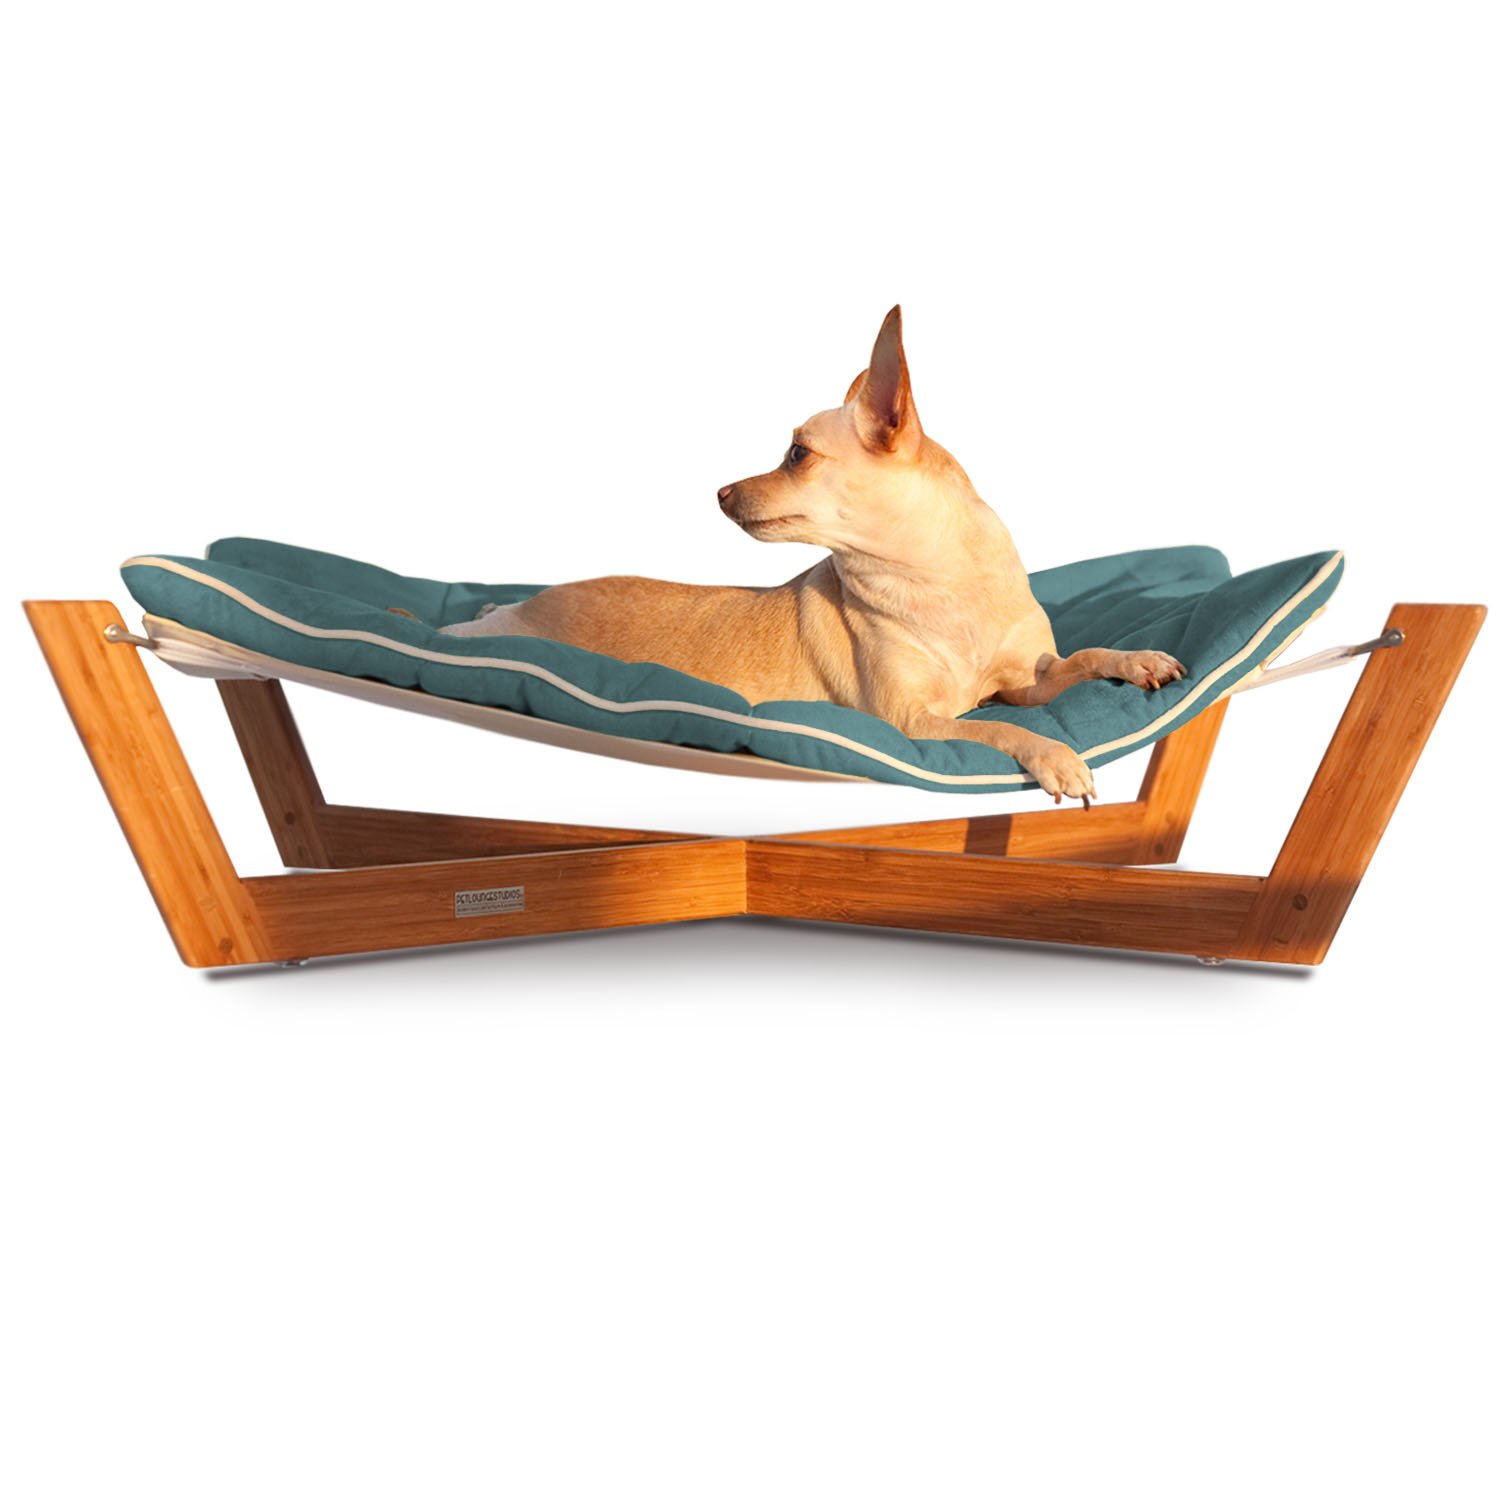
Welcome to the wonderful world of outdoor furniture! If you love spending time in your backyard or patio, you know the importance of having comfortable and stylish furniture to enhance your outdoor experience. One piece of outdoor furniture that has gained popularity in recent years is the dog hammock.
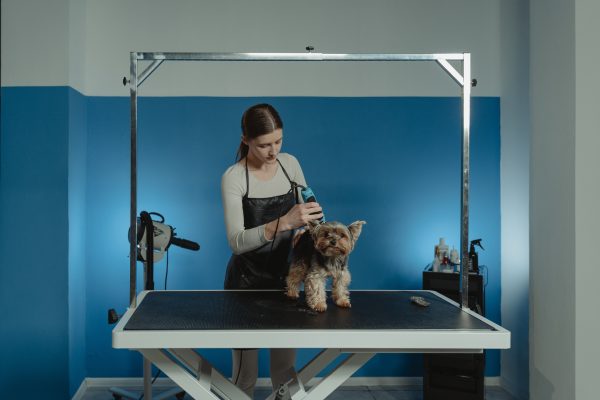
Designed specifically for grooming purposes, a dog hammock provides a safe and comfortable space for your furry friend during baths or grooming sessions. It not only keeps your dog secure and relaxed but also helps to prevent slipping and sliding on wet surfaces. Plus, it saves your back from having to bend over the bathtub or floor to groom your dog.
In this article, we will guide you through the process of making a dog hammock for grooming. With just a few materials and some basic sewing skills, you can create a custom hammock that perfectly fits your dog’s size and needs. So, let’s gather our materials and get started on this fun and practical DIY project!
Key Takeaways:
- Create a custom dog hammock for grooming using durable fabric, sewing skills, and sturdy hooks. Keep your furry friend safe and comfortable during grooming sessions while saving your back from bending over.
- Hang the hammock securely in a well-lit and hazard-free area, adjusting the height for your dog’s comfort. Always supervise your dog and introduce the hammock gradually with treats and positive reinforcement.
Read more: What Do You Hang A Dog Grooming Hammock On
Materials Needed
Before we dive into the steps of making a dog hammock for grooming, let’s gather all the necessary materials. You may already have some of these items at home, making this project even more budget-friendly. Here’s what you’ll need:
- Fabric: Choose a durable and waterproof fabric material that is also soft and comfortable for your dog. Options like nylon or polyester work well for this purpose. Consider the size of your dog and measure accordingly to ensure you have enough fabric to create a hammock that comfortably fits your furry friend.
- Thread: Make sure to select a thread that matches the color of your fabric or choose a contrasting color for added visual appeal.
- Measuring tape: This will come in handy for accurately measuring the fabric and ensuring the correct dimensions for your dog hammock.
- Sewing machine: While it is possible to sew the hammock by hand, having a sewing machine will make the process quicker and more efficient.
- Scissors: Sharp scissors are essential for cutting the fabric to the desired size and for trimming any excess thread.
- Snap hooks or carabiners: These will be used to hang the dog hammock securely. Choose sturdy, rust-proof options that can withstand the weight of your dog.
- Nylon webbing or strong fabric strips: These will be used to create loops that attach the hammock to the hooks or carabiners.
With these materials in hand, you’re now ready to start creating your dog hammock for grooming. Let’s move on to the next step!
Step 1: Measure and Cut Fabric
Now that you have gathered all the necessary materials, it’s time to start creating your dog hammock. The first step is to measure and cut the fabric to the desired size. Remember, you want the hammock to comfortably accommodate your dog, so make sure to take accurate measurements. Here’s how to do it:
- Measure your dog’s length: Begin by measuring your dog from the tip of their nose to the base of their tail. Add a few extra inches to this measurement to allow for some extra space in the hammock.
- Measure the desired width: Determine how wide you want the hammock to be. This will depend on the size of your dog and their comfort level. A width of around 24 to 36 inches usually works well.
- Mark and cut the fabric: Using a measuring tape and fabric marker, mark the measurements on the fabric. Make sure the fabric is spread out on a flat surface. Use sharp fabric scissors to carefully cut along the marked lines.
Once you have cut the fabric to the desired dimensions, you are ready to move on to the next step. In the following step, we will sew the edges to give the hammock a finished look and prevent fraying. Let’s continue the process and create a beautiful and functional dog grooming hammock!
Step 2: Sew the Edges
With the fabric cut to size, it’s time to sew the edges to give your dog hammock a neat and professional finish. This step is crucial for preventing fraying and ensuring the durability of the hammock. Follow these steps to sew the edges:
- Prepare your sewing machine: Set up your sewing machine with the appropriate thread and needle. Make sure the thread color matches your fabric.
- Fold and pin the edges: Take each side of the fabric and fold it over about half an inch to create a clean edge. Pin the folded edges in place to secure them.
- Sew along the edges: Starting at one corner of the fabric, begin sewing along the edge. Use a straight stitch and sew all the way to the opposite corner of the same side. Repeat this process for all four sides of the fabric, removing the pins as you go.
- Backstitch at the beginning and end: To ensure the stitches hold securely, backstitch at the beginning and end of each side. This involves sewing a few stitches backward and forward over the same spot.
- Trim any excess thread: After sewing all the edges, carefully trim any excess thread using sharp scissors. Be mindful not to cut through the fabric itself.
Once you have sewn all the edges and trimmed the thread, your dog hammock will have clean and finished edges that are less likely to fray. The next step is to attach loops to hang the hammock securely. Continue following the instructions to move on to the next step and complete your dog grooming hammock.
When making a dog hammock for grooming, use a sturdy and washable fabric like canvas or nylon. Make sure to securely attach the hammock to the grooming table to keep the dog safe and comfortable during grooming.
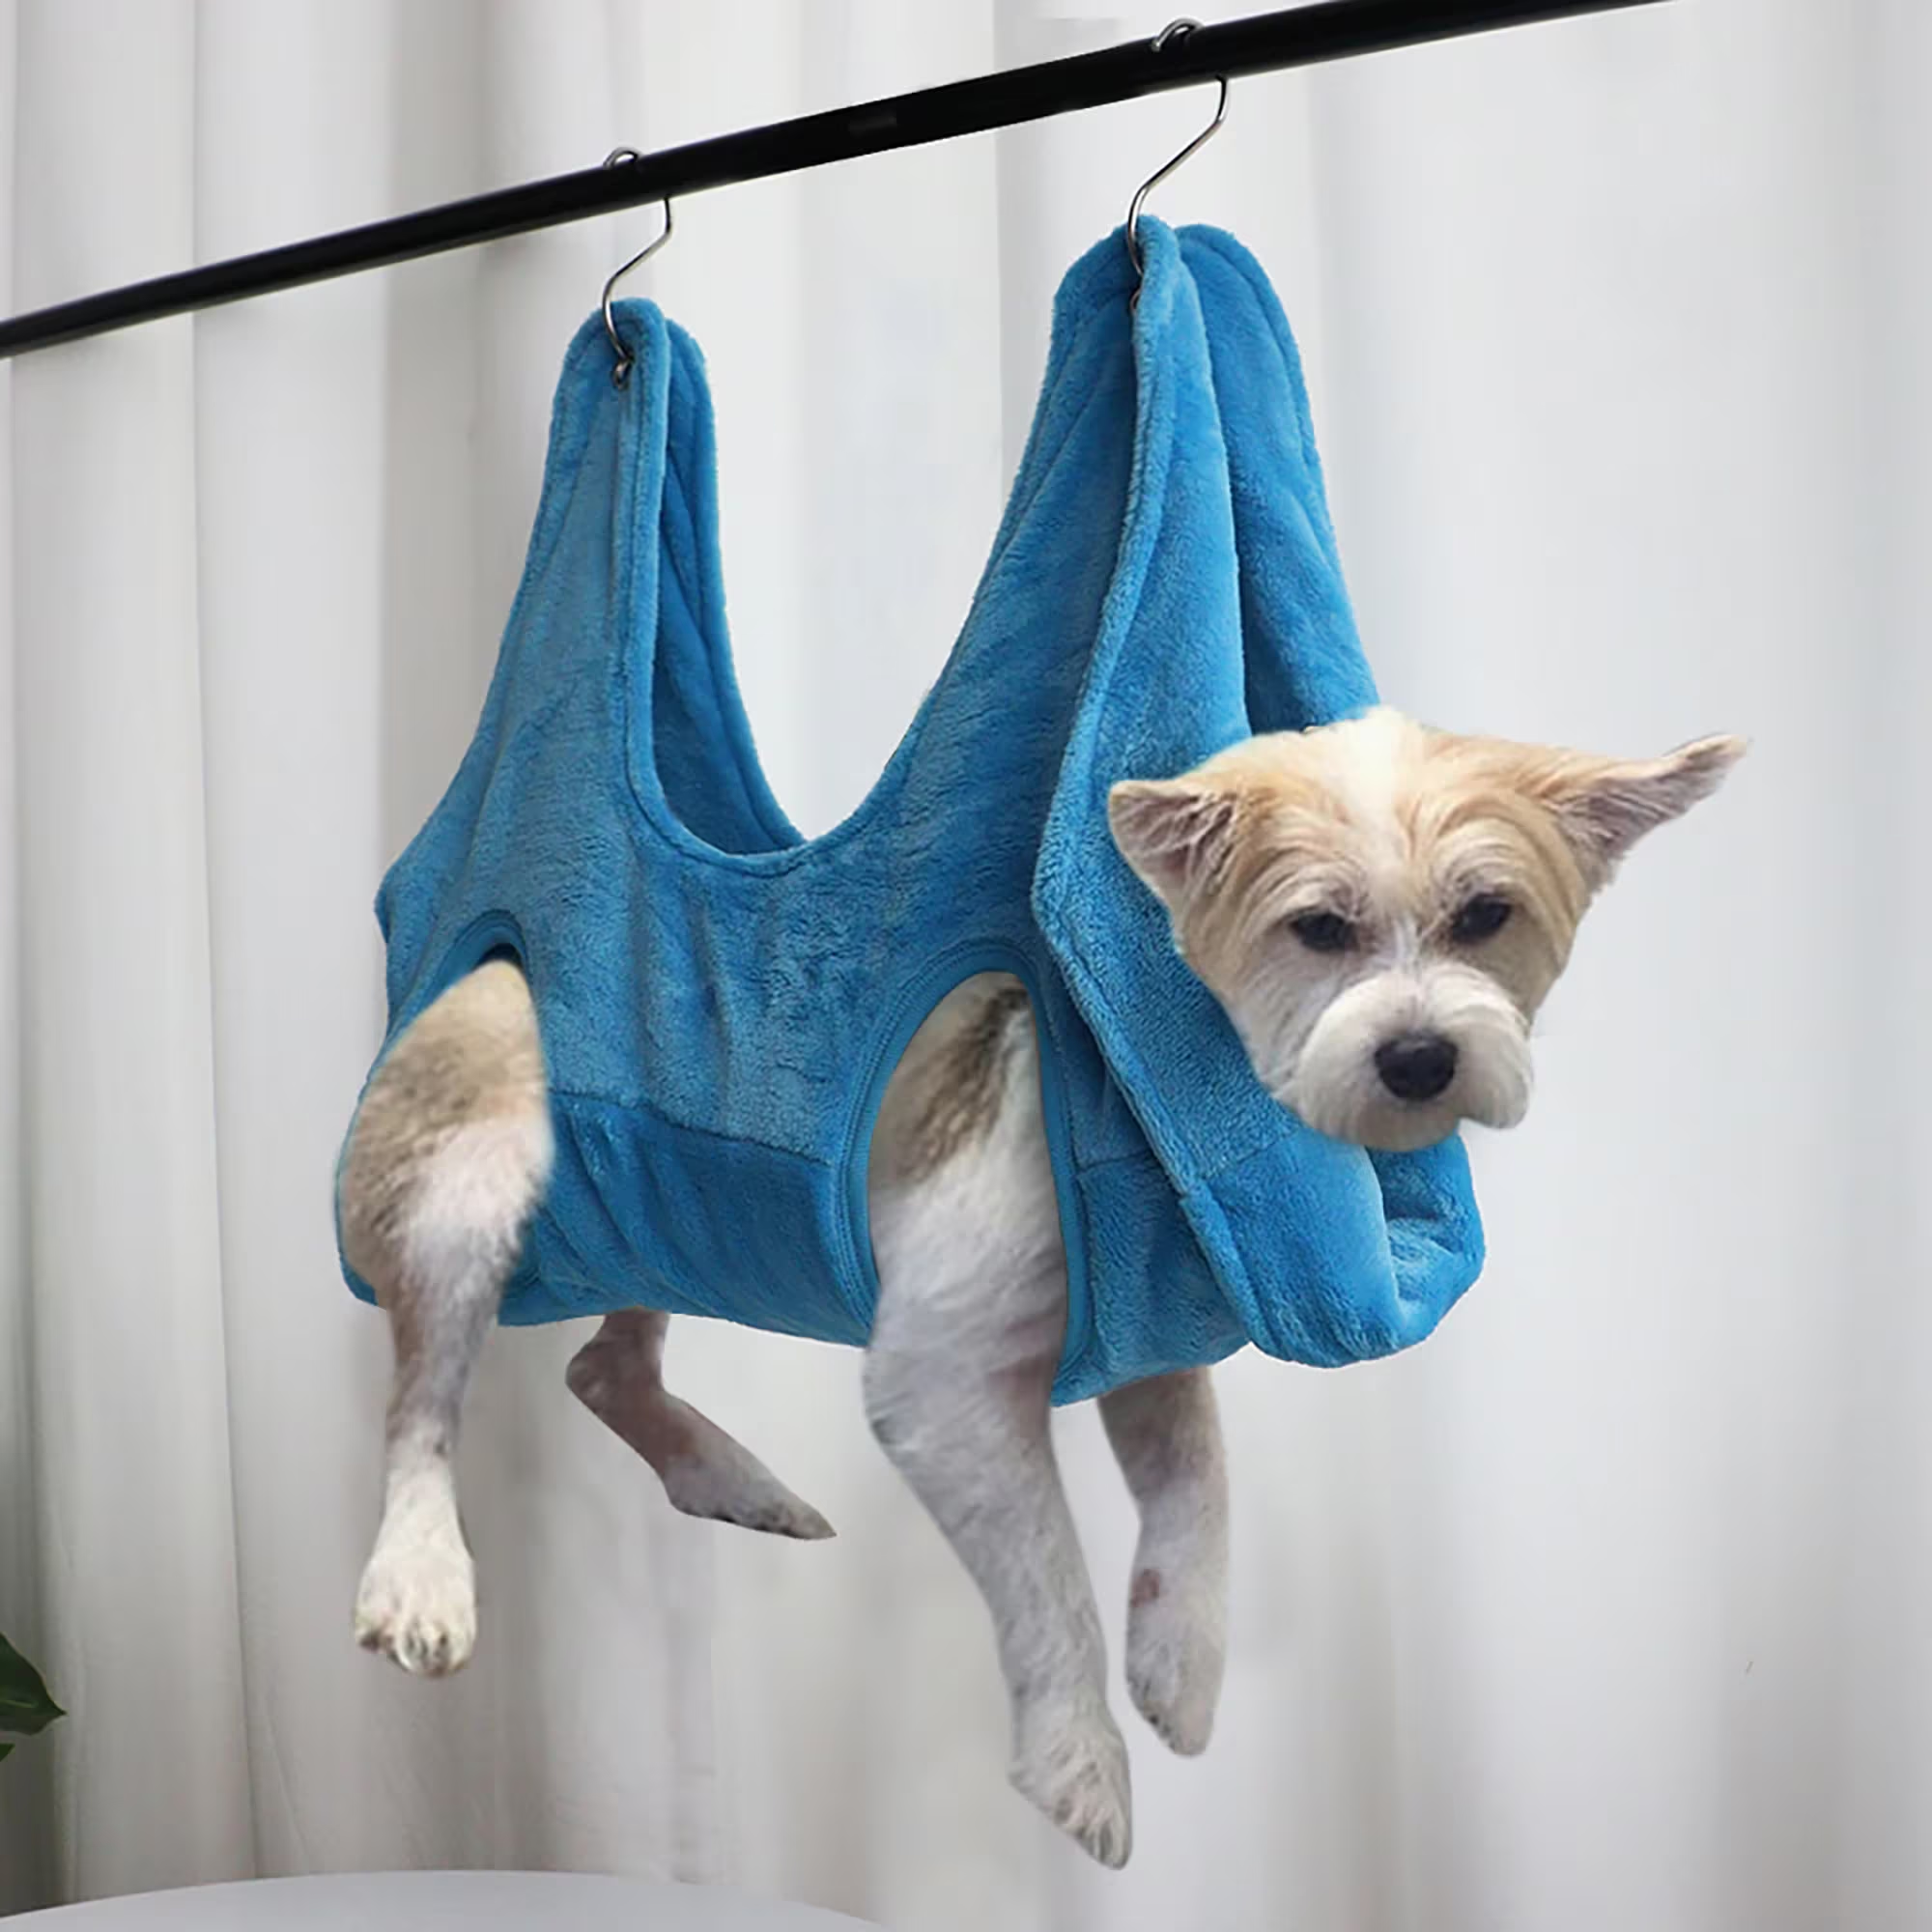
Step 3: Attach the Loops
Now that the edges of your dog hammock are neatly sewn, it’s time to attach loops that will allow you to hang the hammock securely. These loops will be used to connect the hammock to hooks or carabiners that can be easily attached to a sturdy and stable surface. Follow these steps to attach the loops:
- Measure and cut the nylon webbing or fabric strips: Start by measuring and cutting two strips of nylon webbing or strong fabric. Each strip should be around 6 to 8 inches long.
- Fold and position the strips: Take one strip of webbing and fold it in half to create a loop. Position the loop along one edge of the dog hammock, ensuring that it is evenly spaced and securely attached.
- Sew the loops in place: Using your sewing machine, stitch across the folded end of the loop to secure it to the edge of the hammock. Repeat this process for the other strip, ensuring it is positioned on the opposite edge of the hammock.
By attaching these loops, you have created anchor points for the hooks or carabiners that will hold your dog hammock in place. This step is vital for ensuring the safety and stability of the hammock during grooming sessions. In the next step, we will cover how to add the hooks and complete the setup of your dog grooming hammock. Let’s continue with the process and bring your project closer to completion!
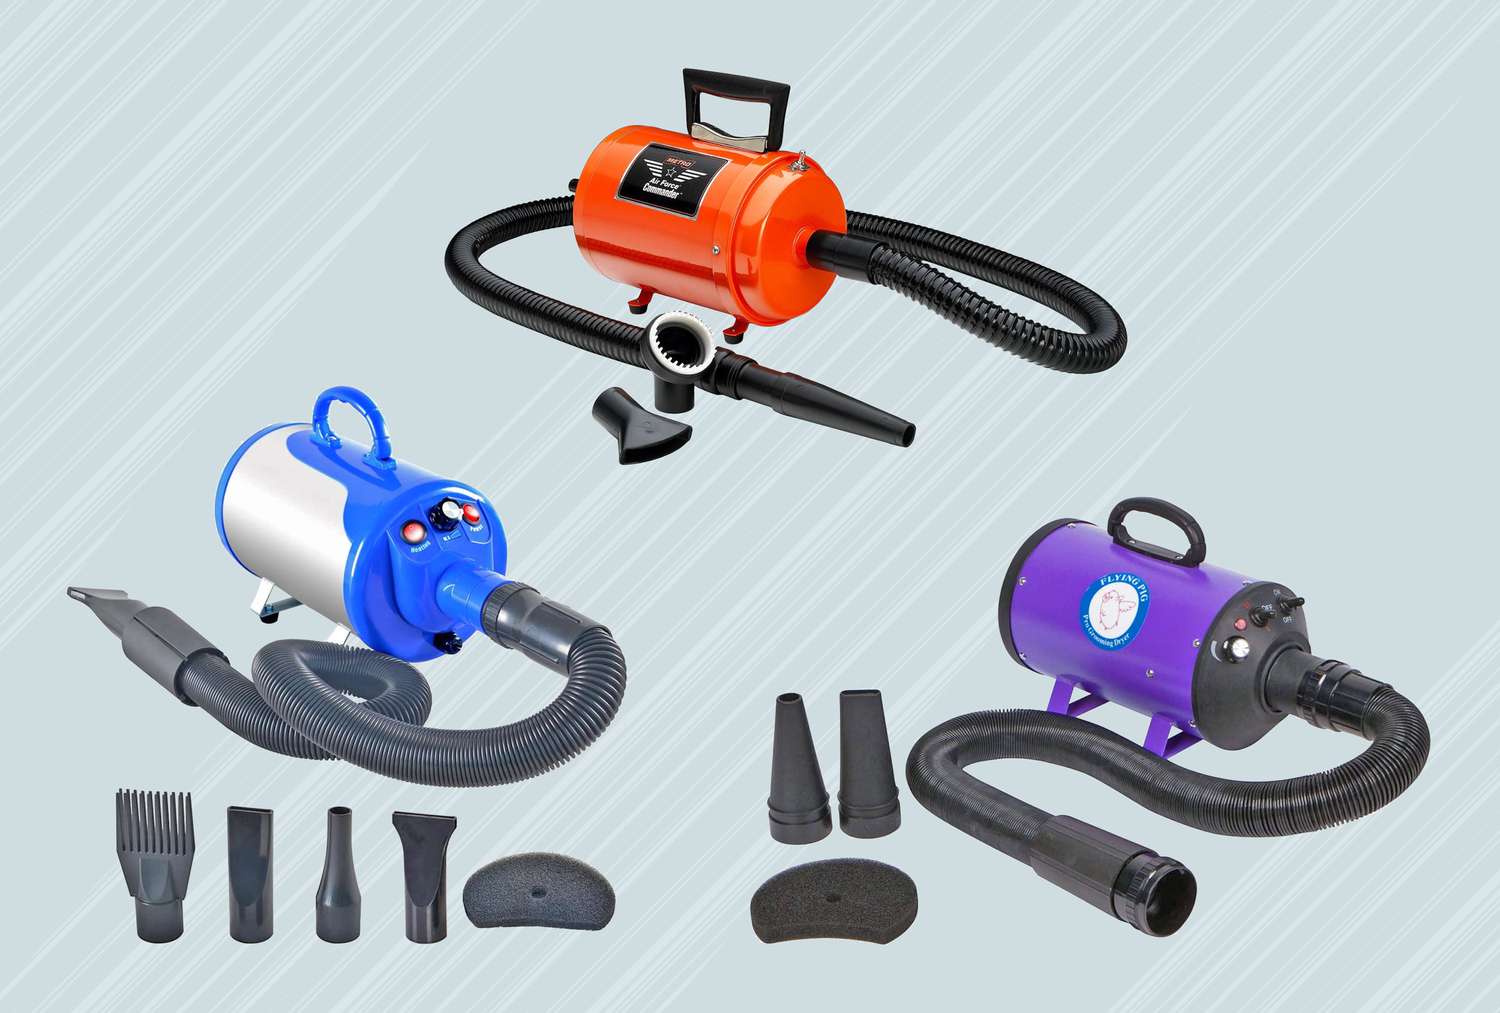
Read also: 9 Incredible Dog Grooming Dryer For 2024
Step 4: Add the Hooks
With the loops attached to your dog hammock, it’s time to add the hooks that will allow you to hang the hammock securely. These hooks should be strong, durable, and capable of holding the weight of your dog. Follow these steps to add the hooks:
- Choose the location for hanging: Determine the ideal location for hanging your dog hammock. This can be a sturdy beam or overhead fixture in your grooming area.
- Attach the snap hooks or carabiners: Open the snap hooks or carabiners and loop them through the loops that you previously sewed onto the hammock’s edges. Make sure they are secure and will not easily come undone.
- Hang the hammock: With the snap hooks or carabiners attached to the loops, find a secure spot to hang the dog hammock. Ensure that the hooks are fastened securely to prevent any accidents or interference during grooming sessions.
By adding the hooks, you have completed the setup of your dog grooming hammock. It’s important to test the stability and strength of the hooks and the hammock before placing your dog in it. Ensure that the hooks are properly secured and that the hammock can support the weight of your furry friend.
Now that your dog hammock is ready, let’s move on to the final step and hang the hammock in your grooming area.
Step 5: Hang the Hammock
Congratulations on reaching the final step of creating your dog grooming hammock! Now it’s time to hang the hammock in your grooming area. Follow these steps to ensure a secure and comfortable setup:
- Select the ideal location: Choose a location that provides enough space for your dog to stand, sit, or lie down comfortably in the hammock. Make sure the area is well-lit, easily accessible, and free from any potential hazards.
- Attach the hooks to a sturdy support: Attach the snap hooks or carabiners to a sturdy support such as a beam, hook, or overhead fixture. Ensure that the support can withstand the weight and movement of your dog.
- Adjust the height of the hammock: Depending on your dog’s size and preferences, you may need to adjust the height of the hammock. Ensure that it is low enough for your dog to comfortably step in and out of the hammock but high enough to prevent them from touching the ground during grooming.
- Test the stability: Before placing your dog in the hammock, test its stability by gently pulling on the fabric. Make any necessary adjustments to ensure that the hammock is securely hanging and will not swing or collapse.
- Introduce your dog to the hammock: Gradually introduce your dog to the hammock by allowing them to explore and get comfortable with it. Offer treats and positive reinforcement to create a positive association with the hammock.
Remember to always supervise your dog while they are in the grooming hammock. Keep an eye on their comfort level and ensure that they remain safe and secure throughout the grooming process.
With your dog hammock successfully hung and ready for use, you can now enjoy the convenience and comfort of grooming your beloved pet in a secure and stress-free environment. Happy grooming!
Conclusion
Congratulations on completing your DIY dog hammock for grooming! By following these steps and using simple materials, you have created a comfortable and secure space for grooming your furry friend. Not only does the dog hammock provide a safe environment, but it also saves you from the strain of bending over or kneeling on uncomfortable surfaces during grooming sessions.
With your custom-made hammock, you can now easily groom your dog without the worry of slipping or discomfort. The durable fabric, neatly sewn edges, and sturdy hooks ensure the longevity and reliability of the hammock.
Remember, always supervise your dog while they are in the hammock, and ensure that they are comfortable and at ease. Introduce the hammock gradually to allow your dog to become familiar with it, offering treats and positive reinforcement as needed.
Now, enjoy the convenience and pleasure of grooming your dog in the comfort of your own home. The dog hammock is not only a practical addition to your grooming routine but also a stylish and personalized touch to your outdoor furniture collection.
Thank you for joining us in this tutorial on how to make a dog hammock for grooming. We hope that this guide has been helpful and that you and your furry friend enjoy many happy grooming sessions together.
Frequently Asked Questions about How To Make A Dog Hammock For Grooming
Was this page helpful?
At Storables.com, we guarantee accurate and reliable information. Our content, validated by Expert Board Contributors, is crafted following stringent Editorial Policies. We're committed to providing you with well-researched, expert-backed insights for all your informational needs.

0 thoughts on “How To Make A Dog Hammock For Grooming”