Home>Furniture>Outdoor Furniture>How To Make A Hammock Out Of A Blanket


Outdoor Furniture
How To Make A Hammock Out Of A Blanket
Modified: April 22, 2024
Learn how to transform your blanket into a cozy outdoor hammock with this step-by-step guide. Create your own outdoor furniture and enjoy relaxation in the great outdoors.
(Many of the links in this article redirect to a specific reviewed product. Your purchase of these products through affiliate links helps to generate commission for Storables.com, at no extra cost. Learn more)
Introduction
Welcome to the world of DIY outdoor relaxation! If you’ve ever wanted to kick back and unwind in a hammock but don’t have one readily available, fear not. With just a simple blanket and a touch of creativity, you can transform your outdoor experience into a cozy and comfortable retreat.
In this article, we will guide you through the step-by-step process of making a hammock out of a blanket. Not only is this a fun and budget-friendly project, but it also allows you to customize your hammock to fit your unique style and preferences.
Whether you’re lounging in your backyard, camping in the great outdoors, or simply want to create a peaceful spot for relaxation, a homemade hammock made from a blanket can be the perfect solution. So, let’s gather our materials and get started on creating your own blissful oasis!
Key Takeaways:
- Create your own cozy hammock using just a blanket and some rope. It’s a budget-friendly and customizable DIY project for a relaxing outdoor retreat.
- Remember to prioritize safety, proper knots, and adjustments for a comfortable hammock experience. Enjoy your homemade oasis and connect with nature in style!
Read more: How To Make A Coat Out Of A Blanket
Step 1: Gather the necessary materials
Before you dive into making your blanket hammock, it’s important to gather all the materials you’ll need. Fortunately, you won’t need many items, and you might even have some of them lying around your house.
Here’s a list of the essential materials:
- A sturdy blanket: Choose a durable blanket that can withstand your weight and the outdoor elements. A heavy-duty blanket made of cotton or nylon is an excellent choice.
- Rope or strong cord: You’ll need some sturdy rope or cord to tie and secure your hammock. Look for ropes that are weather-resistant and have a high weight capacity.
- Two tree straps or carabiners: To hang your hammock between two fixed points, such as trees or poles, you’ll need either two tree straps or carabiners. Tree straps are gentle on trees and offer a wider range of adjustability, while carabiners provide a quick and easy setup.
- Scissors: You’ll need a pair of scissors to cut the rope and make any necessary adjustments to your blanket.
Once you have gathered all the materials, ensure that everything is in good condition and ready for use. Double-check the weight capacity of your blanket and rope to ensure they can support your weight and provide a safe and comfortable hammock experience.
With your materials in hand, you’re ready to move on to the next step: preparing the blanket. So, let’s get started on transforming your ordinary blanket into a cozy hammock!
Step 2: Prepare the blanket
Now that you have gathered all the necessary materials, it’s time to prepare your blanket for hammock construction. Start by finding a suitable location where you can lay out the blanket and work comfortably.
Follow these steps to prepare your blanket:
- Spread out the blanket: Lay the blanket flat on the ground or any surface where you have enough space to work without any obstructions. Smooth out any wrinkles or folds to ensure the surface is even.
- Decide on the width: Determine how wide you want your hammock to be. Generally, a width of around 4-5 feet is suitable for most people. You can use a measuring tape to mark the desired width on the blanket. Remember to leave enough space on each side for the hammock to hang securely.
- Trim the blanket: Using a pair of scissors, carefully trim the excess blanket material outside the marked width. Be sure to cut in a straight line to maintain an even hammock shape.
- Finish the edges: To prevent fraying and give the hammock a neater look, you can fold and sew the edges of the blanket. Alternatively, you can use fabric adhesive or iron-on hem tape to secure the edges. This step is optional but can add a professional touch to your homemade hammock.
By trimming and finishing the edges of your blanket, you are ensuring that it is the perfect size and shape for your hammock. Once you have completed these steps, it’s time to move on to the exciting part: tying the knots to create the hammock’s structure!
Step 3: Tie the knots
With your prepared blanket ready, it’s time to tie the knots that will form the structure of your hammock. These knots will provide the necessary support and stability for a comfortable lounging experience. Follow these steps to tie the knots correctly:
- Choose the anchor points: Select two sturdy anchor points, such as trees or poles, that are at an appropriate distance apart. Make sure they can support the weight and movement of the hammock.
- Attach the tree straps or carabiners: If you’re using tree straps, wrap them around the anchor points and secure them with either a loop or a carabiner. If you’re using carabiners, attach them directly to the anchor points.
- Attach the rope to the first anchor point: Take one end of the rope or cord and secure it to the first anchor point. You can use a simple knot or a carabiner, ensuring it is tight and secure.
- Thread the rope through the blanket: Starting at the secured end, thread the rope through the blanket’s edge on one side, leaving enough slack to create a comfortable sag in the middle.
- Repeat on the other side: Repeat the previous step on the other side of the blanket, threading the rope through the edge and leaving enough slack.
- Tie the rope to the second anchor point: Once you have threaded the rope through both sides of the blanket, secure the other end of the rope to the second anchor point. Again, use a secure knot or carabiner to ensure it doesn’t come undone.
When tying the knots, make sure they are tight and secure, but avoid over-tightening, as it may cause discomfort and diminish the hammock’s flexibility. Additionally, ensure that the blanket hangs evenly, with an equal amount of rope on both sides.
Once you have tied the knots and the hammock is hanging securely between the anchor points, it’s time to move on to the next step: hanging the hammock!
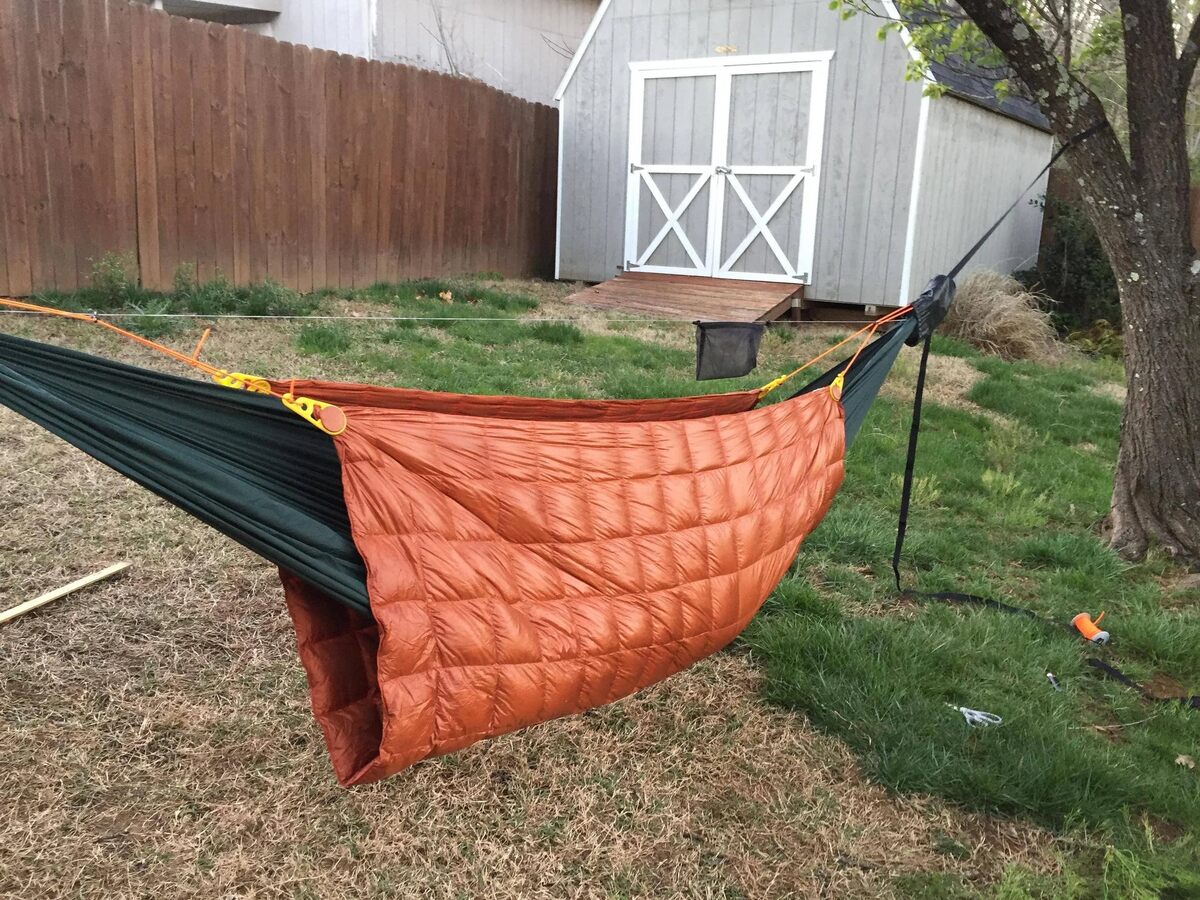
To make a hammock out of a blanket, tie the corners diagonally to create a strong and secure support. Then, tie the remaining corners to create a comfortable and relaxing bed.
Step 4: Hang the hammock
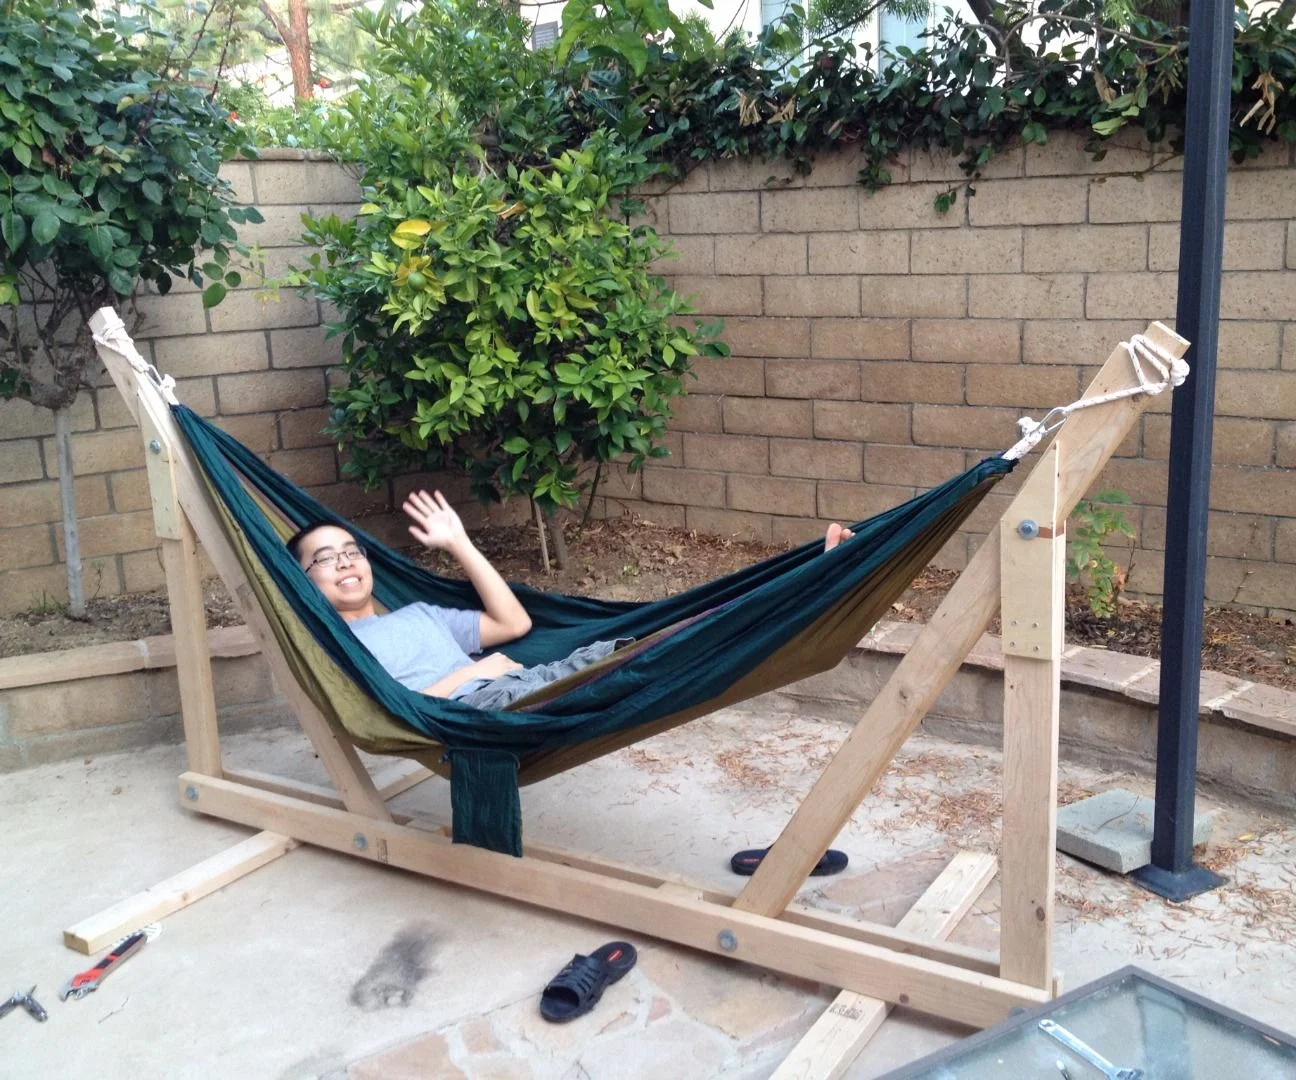
Now that you have tied the knots and the structure of your hammock is ready, it’s time to hang it between the chosen anchor points. Properly hanging your hammock will ensure a safe and comfortable experience. Follow these steps to hang your hammock:
- Measure the height: Determine the desired height at which you want your hammock to hang. Keep in mind that the optimal height is generally around 18 inches from the ground.
- Secure the hammock to the anchor points: Once you have measured the desired height, adjust the knots or carabiners on either end of the rope to achieve the proper length. Make sure both sides are even and level.
- Double-check the stability: Before getting into the hammock, ensure that it is securely attached to the anchor points and can support your weight. Give it a gentle tug to confirm its stability.
- Test the height and tension: Carefully sit or lie down in the hammock and test its height and tension. Adjust the knots or carabiners as needed to achieve the perfect balance of support and comfort.
It’s important to ensure that your hammock is properly secured and balanced to prevent accidents or discomfort. Take the time to double-check the stability and adjust the height and tension to your preference before fully relaxing in your newly hung hammock.
Now that you’ve successfully hung your hammock, it’s time for the final step: testing and adjusting for maximum comfort!
Read more: How To Make A Robe Out Of A Blanket
Step 5: Test and adjust
With your hammock securely hung, it’s time to test it out and make any necessary adjustments for optimal comfort. This step is crucial to ensure that your homemade hammock provides a relaxing and enjoyable experience. Here’s what you need to do:
- Test the comfort: Carefully lie down or sit in the hammock and evaluate its comfort level. Pay attention to how your body feels and whether there are any pressure points or areas of discomfort.
- Adjust the height: If you find that the hammock feels too high or too low, make the necessary adjustments to achieve your desired height. Remember, the ideal height is approximately 18 inches from the ground.
- Check the tension: Evaluate the tension of the hammock. You want it to have a gentle sag in the middle for a comfortable and relaxing experience. If it feels too tight, slightly loosen the ropes or cords. If it feels too loose, tighten them to an appropriate level of tension.
- Make additional adjustments: While in the hammock, pay attention to any other areas that may need adjustment. This could include the spacing of the knots or carabiners, the position of the blanket, or the angle of the hammock.
Take the time to test and adjust your hammock to your liking. Keep in mind that everyone has different preferences, so don’t hesitate to make the necessary changes for your comfort.
Once you have made all the adjustments, lie back, relax, and enjoy your homemade hammock. Bask in the tranquility of the outdoors, read your favorite book, or simply take a well-deserved nap. Your DIY hammock will provide you with a cozy and inviting space to unwind and connect with nature.
Now that you have successfully completed all the steps, take a moment to appreciate your handiwork and the joy it will bring to your outdoor experience.
Conclusion
Congratulations! You have successfully learned how to make a hammock out of a blanket. By following the steps outlined in this article, you have created a cozy and inviting space to relax and enjoy the outdoors. Not only is this DIY project budget-friendly, but it also allows you to customize your hammock to fit your style and preferences.
Remember, the key to a comfortable hammock lies in proper preparation, secure knots, and thoughtful adjustments. Take the time to gather the necessary materials, trim and finish the edges of your blanket, tie the knots securely, and hang your hammock at the right height. Test and adjust the tension and comfort to ensure the perfect lounging experience.
Whether you’re using your homemade hammock in your backyard, during a camping trip, or at a park, it will provide you with a peaceful retreat where you can unwind, relax, and connect with nature. Lounge with a book, take a nap, or simply enjoy the gentle sway of the hammock as you soak in the beauty of the outdoors.
Remember to always prioritize safety when using your hammock. Double-check the anchor points, weight capacity, and overall stability before use. Be mindful of your body’s positioning and don’t exceed the recommended weight limit.
Now that you have the knowledge and skills to create your own hammock, feel free to experiment with different materials, colors, and patterns. Personalize it to match your style and make it a true reflection of your outdoor oasis.
So, go ahead and start enjoying the benefits of your homemade hammock. Happy relaxing!
Frequently Asked Questions about How To Make A Hammock Out Of A Blanket
Was this page helpful?
At Storables.com, we guarantee accurate and reliable information. Our content, validated by Expert Board Contributors, is crafted following stringent Editorial Policies. We're committed to providing you with well-researched, expert-backed insights for all your informational needs.









0 thoughts on “How To Make A Hammock Out Of A Blanket”