Furniture
How To Paint An Old Dresser
Modified: January 9, 2024
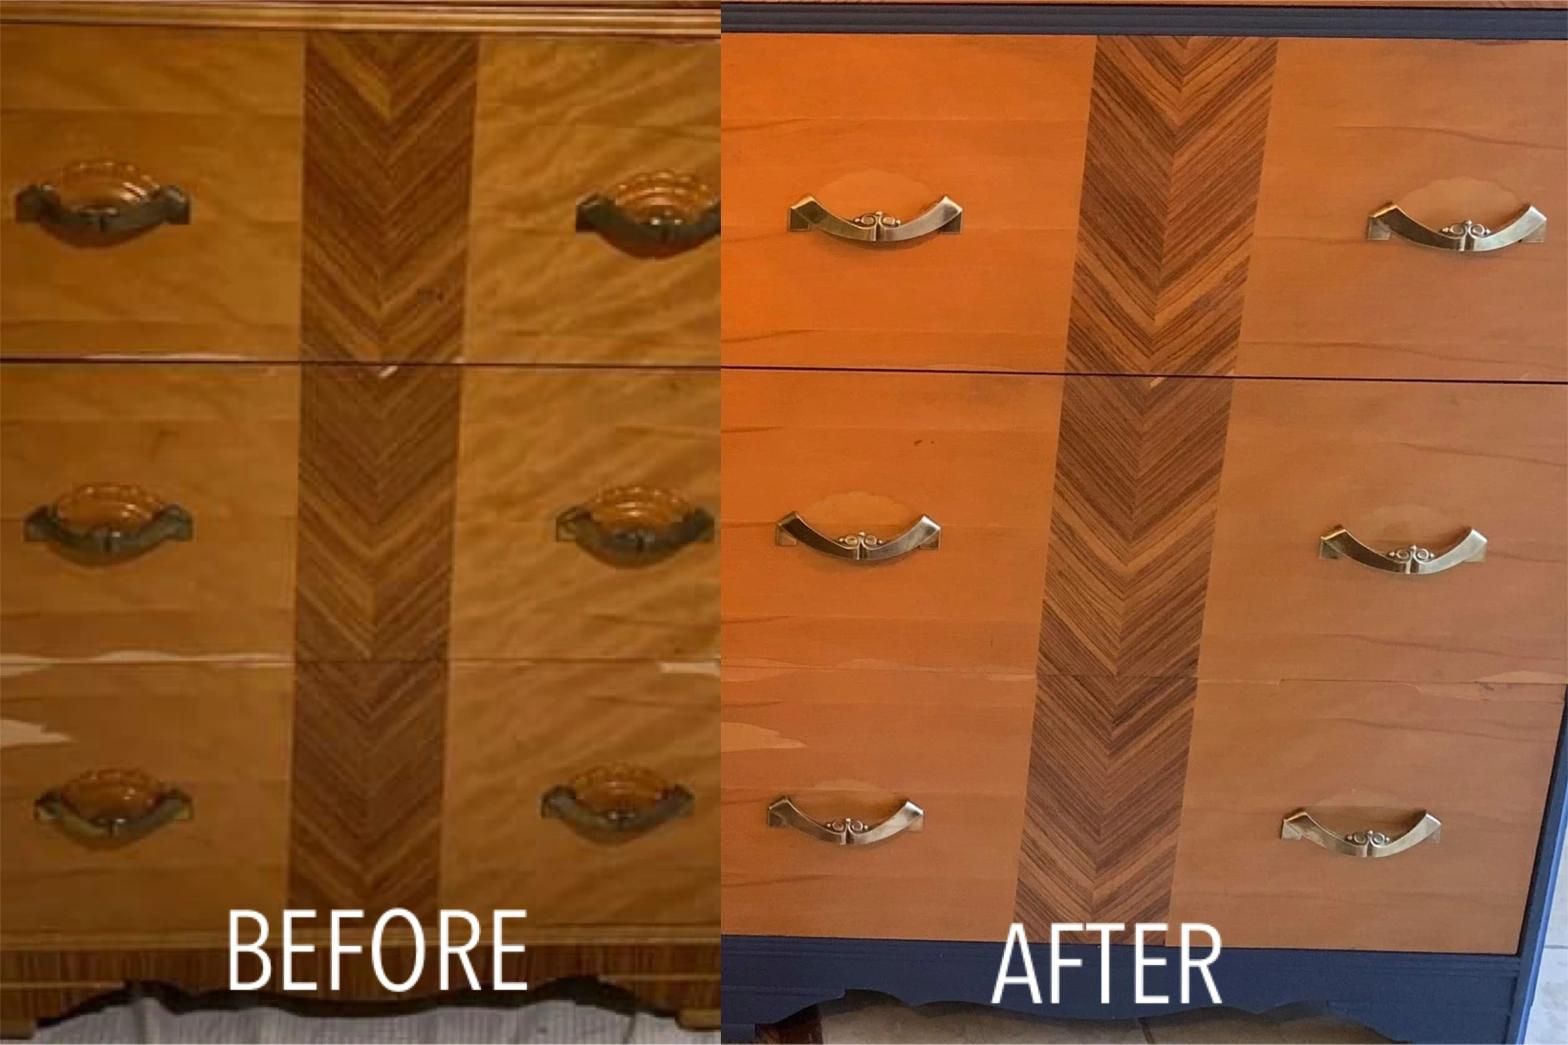
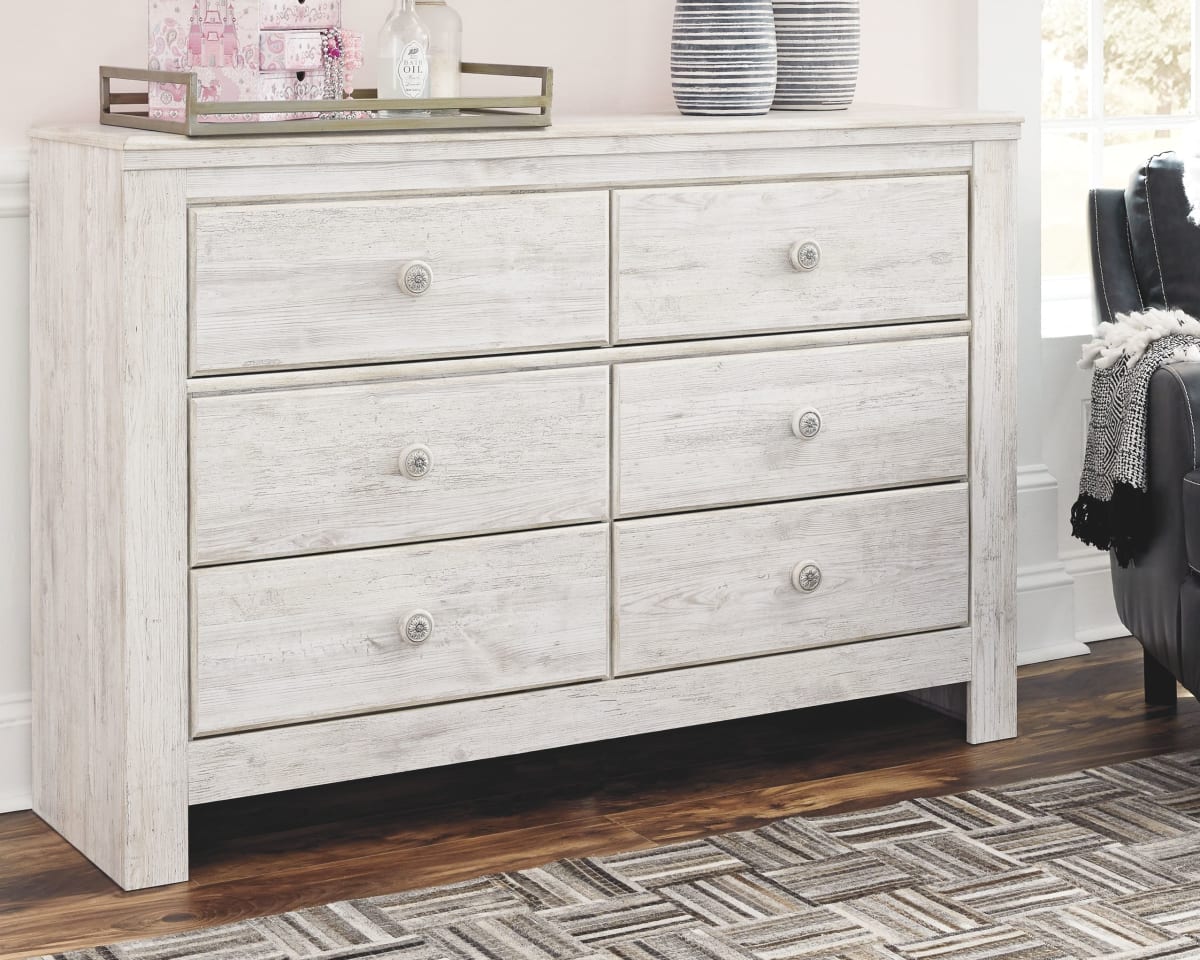
Transform your old dresser into a stunning piece of furniture with our step-by-step guide on how to paint it. Enhance its look and give it a new lease of life!
(Many of the links in this article redirect to a specific reviewed product. Your purchase of these products through affiliate links helps to generate commission for Storables.com, at no extra cost. Learn more)
Introduction
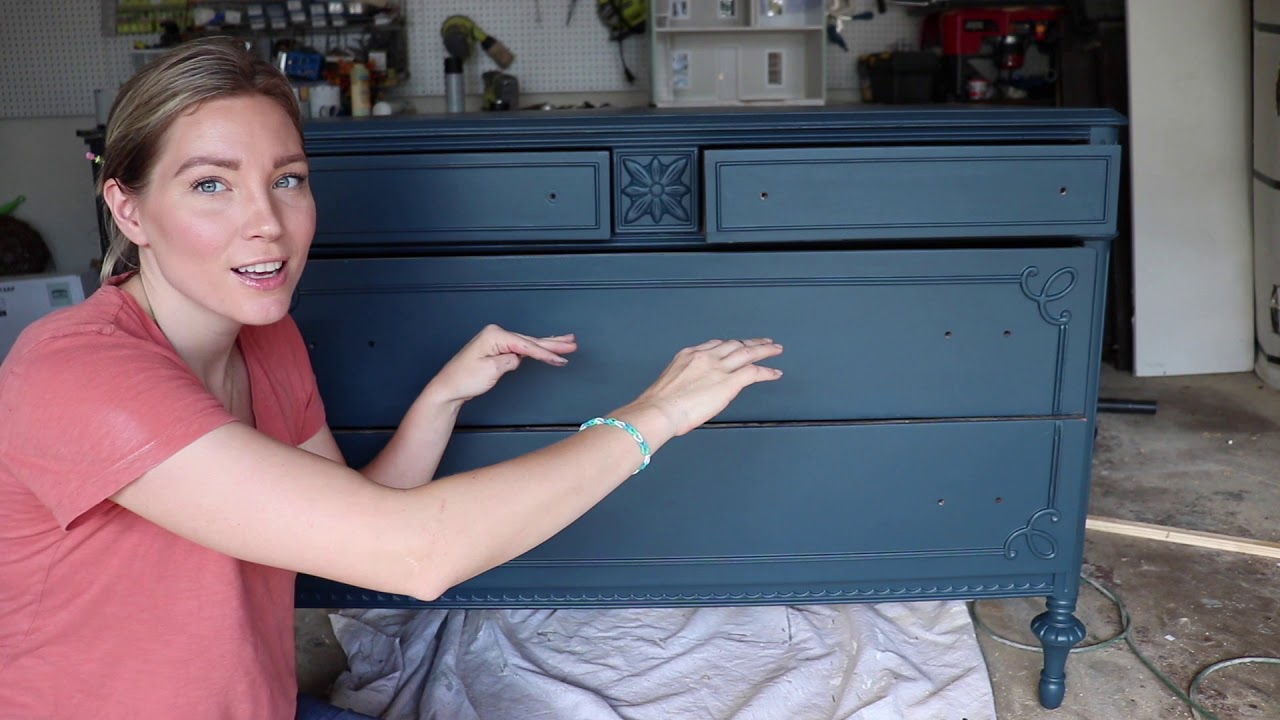
Welcome to the ultimate guide on how to paint an old dresser! If you have an old, worn-out dresser that is begging for a fresh new look, you’ve come to the right place. Painting is a fantastic way to breathe new life into your furniture and transform it into a stylish and unique piece that perfectly complements your home decor.
Whether you’re a DIY enthusiast or a beginner looking for a fun project, painting an old dresser is a great way to get creative and add a personal touch to your furniture. Plus, it’s a cost-effective alternative to buying brand new furniture, allowing you to repurpose and revitalize what you already have.
In this comprehensive guide, we’ll take you through the step-by-step process of painting an old dresser, from preparing the surface to adding finishing touches. We’ll also provide you with some valuable tips and tricks along the way to ensure that your painted dresser turns out beautifully.
But before we dive into the painting process, let’s talk about the importance of properly preparing your dresser.
Why Preparing the Dresser is Important
Preparing the dresser is a crucial step that should not be overlooked. It helps ensure that the paint adheres properly to the surface, resulting in a smooth, durable finish that will last for years to come. Skipping or rushing through the preparation stage can lead to uneven application, peeling, or chipping of the paint.
Additionally, proper preparation allows you to clean and repair any damages or imperfections on the dresser. It gives you the opportunity to smooth out rough spots, fill in gouges or scratches, and remove any old paint or varnish that may interfere with the final result.
By taking the time to prep your dresser, you’ll create a clean canvas that’s ready to be transformed into a stunning work of art.
Now that we understand the importance of preparation, let’s move on to the first step: preparing the dresser.
Key Takeaways:
- Transform your old dresser into a stunning, personalized piece by following the comprehensive painting guide. From preparation to sealing, unleash your creativity and revitalize your furniture with a cost-effective and enjoyable DIY project.
- Achieve a professional-looking finish by carefully selecting the right paint, applying multiple coats, and adding finishing touches. Properly sealing the paint ensures durability, protecting your newly painted dresser for years to come.
Read more: How To Clean An Old Dresser
Step 1: Preparing the Dresser
Before you can start painting your old dresser, it’s essential to properly prepare the surface. This step involves cleaning the dresser, removing hardware, and protecting the surrounding area.
1. Clean the Dresser: Begin by removing all items from the dresser and giving it a thorough cleaning. Use a mild detergent mixed with water to wipe down the surface, removing any dirt, grease, or grime. Pay close attention to areas that are often overlooked, such as corners, edges, and grooves. Once cleaned, allow the dresser to dry completely before moving on to the next step.
2. Remove Hardware: Take off any handles, knobs, or pulls from the dresser. This will make the painting process easier and ensure that you achieve a smooth and even finish. Use a screwdriver or a drill to unscrew the hardware, and keep them in a safe place where they won’t get lost or damaged.
3. Protect the Surrounding Area: Painting can be a messy process, so it’s important to protect the surrounding area from any accidental spills or splatters. Cover the floor with a drop cloth or old newspapers to catch any paint drips. If you’re painting indoors, open windows or use a fan to ensure proper ventilation.
By taking the time to properly prepare your dresser, you’ll set yourself up for success in the next steps of the painting process. Now that the dresser is clean, the hardware is removed, and the surrounding area is protected, you’re ready to move on to step 2: sanding the surface.
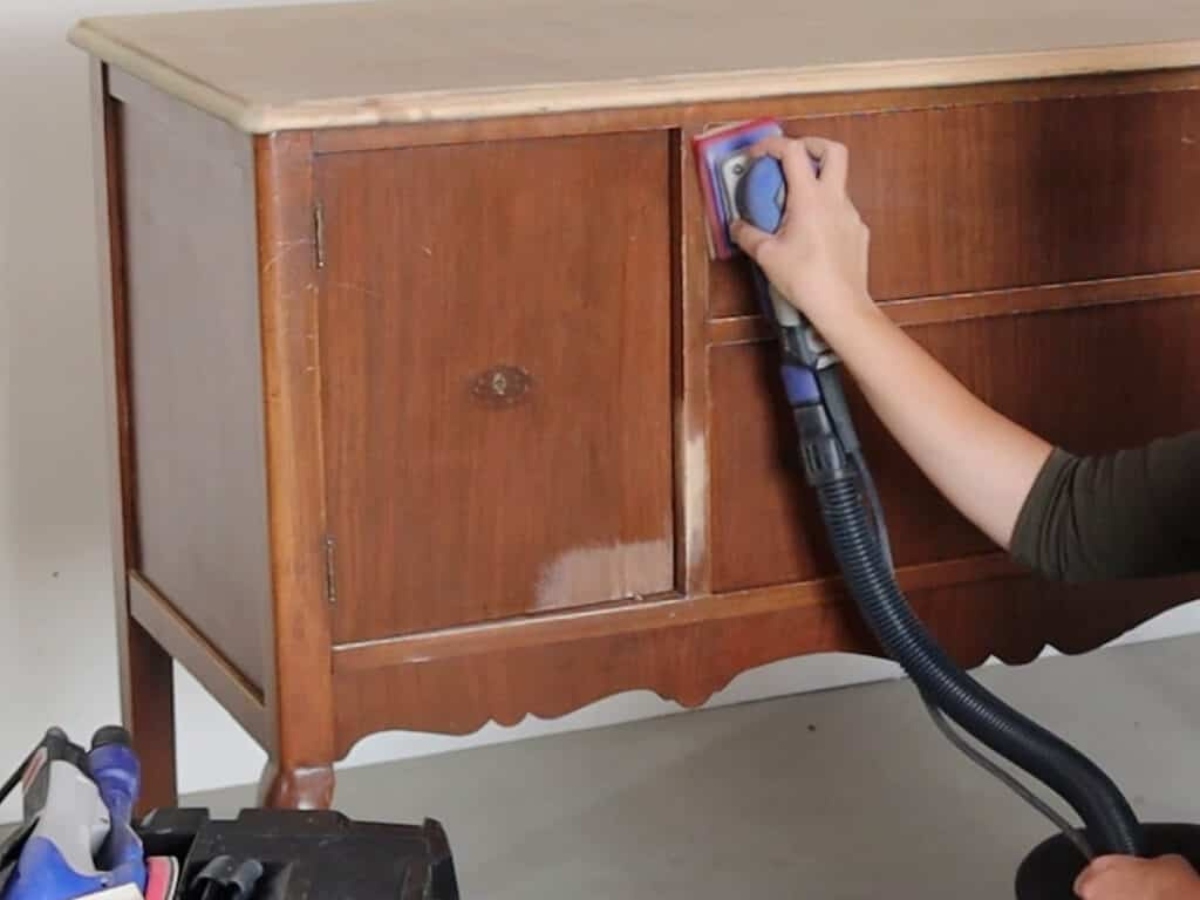
Step 2: Sanding the Surface
Sanding the surface of the dresser is an important step in the painting process. It helps create a smooth and even surface for the paint to adhere to, ensuring a professional-looking finish.
1. Gather the Supplies: Before you start sanding, gather the necessary supplies. You’ll need sandpaper in various grits (starting with a coarser grit and finishing with a finer grit), a sanding block or sanding sponge, and a face mask and safety goggles for protection.
2. Start with Coarse Grit Sandpaper: Begin by using a coarse grit sandpaper (around 80 or 100 grit) to remove any existing finish or rough spots on the dresser’s surface. Sand in the direction of the wood grain, applying even pressure. Be cautious not to press too hard, as it may damage the wood. You want to create a slightly rough surface to help the paint adhere better.
3. Progress to Finer Grit Sandpaper: Once you’ve removed the existing finish and achieved a smooth surface, switch to a finer grit sandpaper (around 150 or 180 grit). Repeat the sanding process, this time focusing on smoothing out any imperfections or scratches left behind by the coarse grit sandpaper. Sand in the direction of the wood grain until the surface feels smooth and free of blemishes.
4. Use a Sanding Block or Sanding Sponge: To ensure even sanding, consider using a sanding block or sanding sponge rather than sandpaper alone. This will help distribute pressure more evenly and prevent uneven sanding marks.
5. Remove Sanding Dust: After sanding, it’s essential to remove any sanding dust from the surface of the dresser. Use a tack cloth or a lint-free cloth slightly dampened with water to wipe away the dust. This step ensures a clean surface for the next stages of the painting process.
By sanding the surface of your dresser, you’ll create a perfect foundation for the paint to adhere to. This step helps the paint bond better to the wood, resulting in a longer-lasting and more professional-looking finish. With the sanding process complete, you’re ready to move on to step 3: removing old paint or varnish.
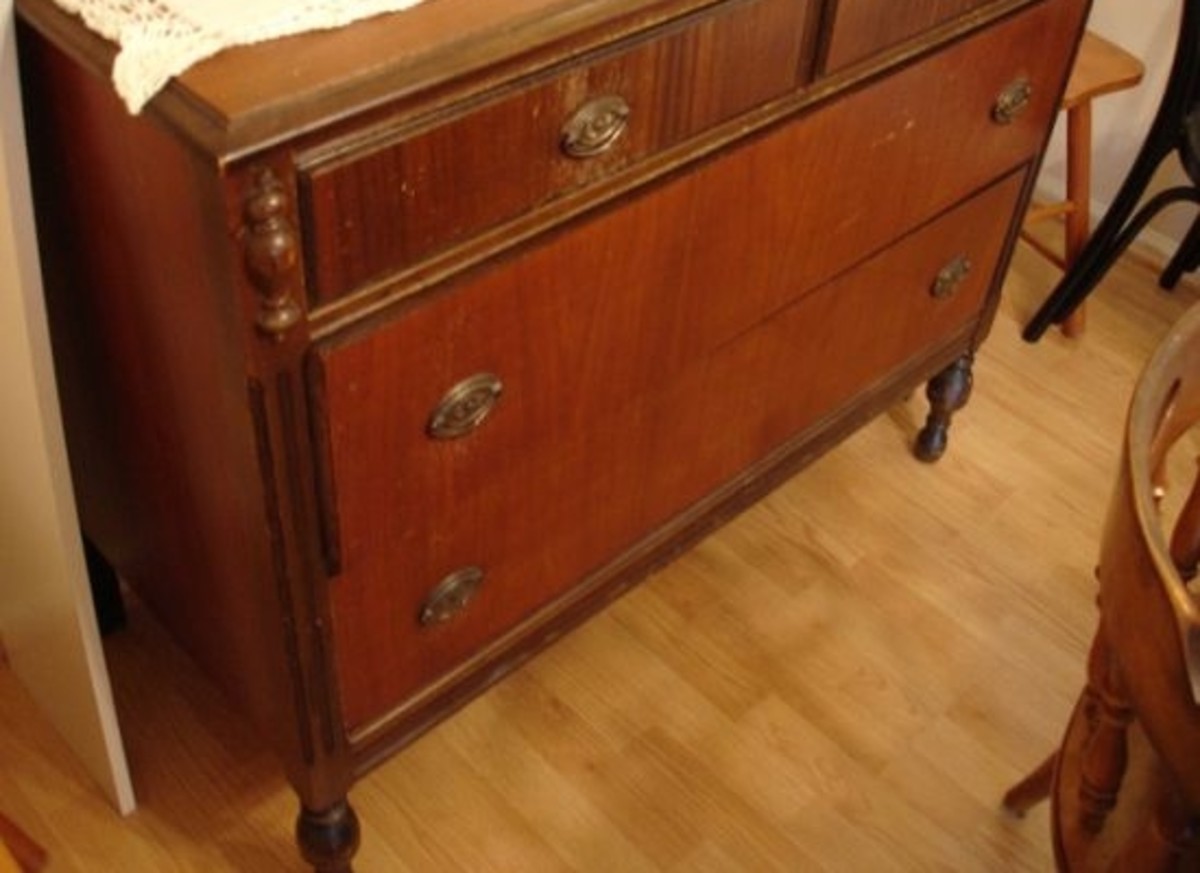
Step 3: Removing Old Paint or Varnish
If your old dresser has layers of paint or varnish that you want to remove before painting, this step is for you. Removing old paint or varnish allows you to achieve a fresh and clean surface for your new paint job.
1. Assess the Existing Finish: Before you begin the paint removal process, assess the type of finish on your dresser. If you’re unsure, do a small test area with a paint stripper or remover to determine the best approach. Different types of finishes may require different removal methods.
2. Choose the Right Paint Remover: There are several options available for removing old paint or varnish, including chemical strippers, heat guns, and sanding. Chemical strippers are effective for most finishes, while heat guns are better suited for small areas or stubborn paint. Sanding can be used in combination with the other methods to achieve a smoother surface.
3. Follow the Instructions: Regardless of the method chosen, carefully read and follow the instructions provided by the manufacturer. Different products have varying application times and removal techniques, so it’s crucial to understand the process before starting.
4. Apply the Paint Remover: If using a chemical stripper, apply it generously to the surface with a brush or roller. Allow the remover to penetrate the old paint or varnish according to the instructions. Be sure to work in a well-ventilated area and wear protective gloves and eyewear.
5. Remove the Old Paint or Varnish: Once the paint remover has loosened the old finish, use a scraper or putty knife to gently remove it. Work in small sections, taking care not to gouge or damage the wood. For stubborn areas, you may need to repeat the application of the paint remover and use a scrub brush or fine steel wool to assist in the removal process.
6. Sand the Surface: After removing the old paint or varnish, sand the surface lightly to smooth out any remaining rough spots or residue. Use a fine-grit sandpaper and follow the previous sanding instructions to ensure a smooth and even surface.
7. Clean the Dresser: Once the old paint or varnish is removed and the surface is sanded, clean the dresser to remove any debris or dust. Use a mild detergent and water to wipe down the surface, and allow it to dry completely before proceeding to the next step.
By removing the old paint or varnish from your dresser, you’ll create a blank canvas for your new paint job. This step ensures a clean and smooth surface, allowing the fresh coat of paint to adhere properly and provide a beautiful finish. Now that the old finish is removed, you’re ready to move on to step 4: priming the dresser.
Step 4: Priming the Dresser
Priming is a crucial step in the painting process, especially when working with a previously painted or stained dresser. Primer helps create a smooth and even base for the paint, ensuring better adhesion and a longer-lasting finish.
1. Gather the Supplies: Before you start priming, gather the necessary supplies. You’ll need a high-quality primer suitable for your dresser’s material, a paintbrush or roller, a paint tray, and painter’s tape (if needed).
2. Prepare the Surface: Ensure that the dresser’s surface is clean and dry before applying the primer. Remove any dust or debris with a lint-free cloth or tack cloth.
3. Protect Surrounding Areas: If there are areas of the dresser you don’t want to prime or paint, use painter’s tape to protect them. This could include edges, hardware holes, or any decorative details you want to keep unpainted.
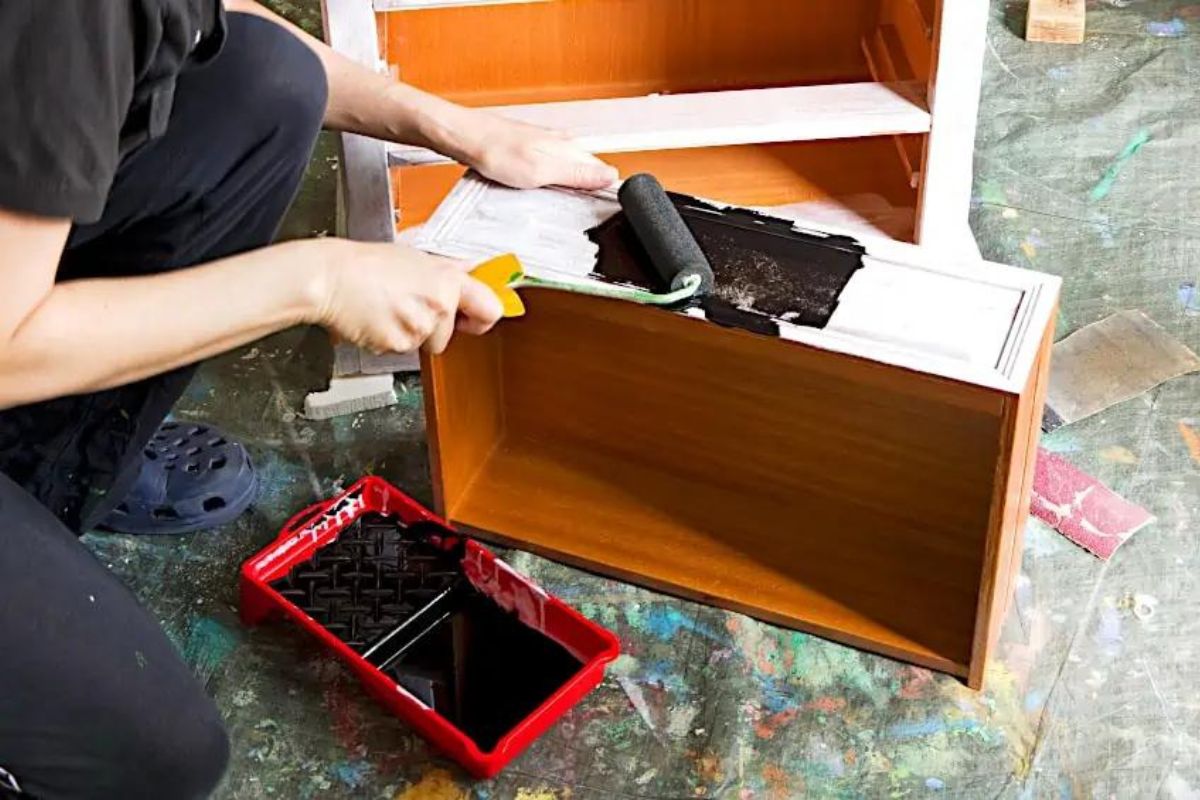
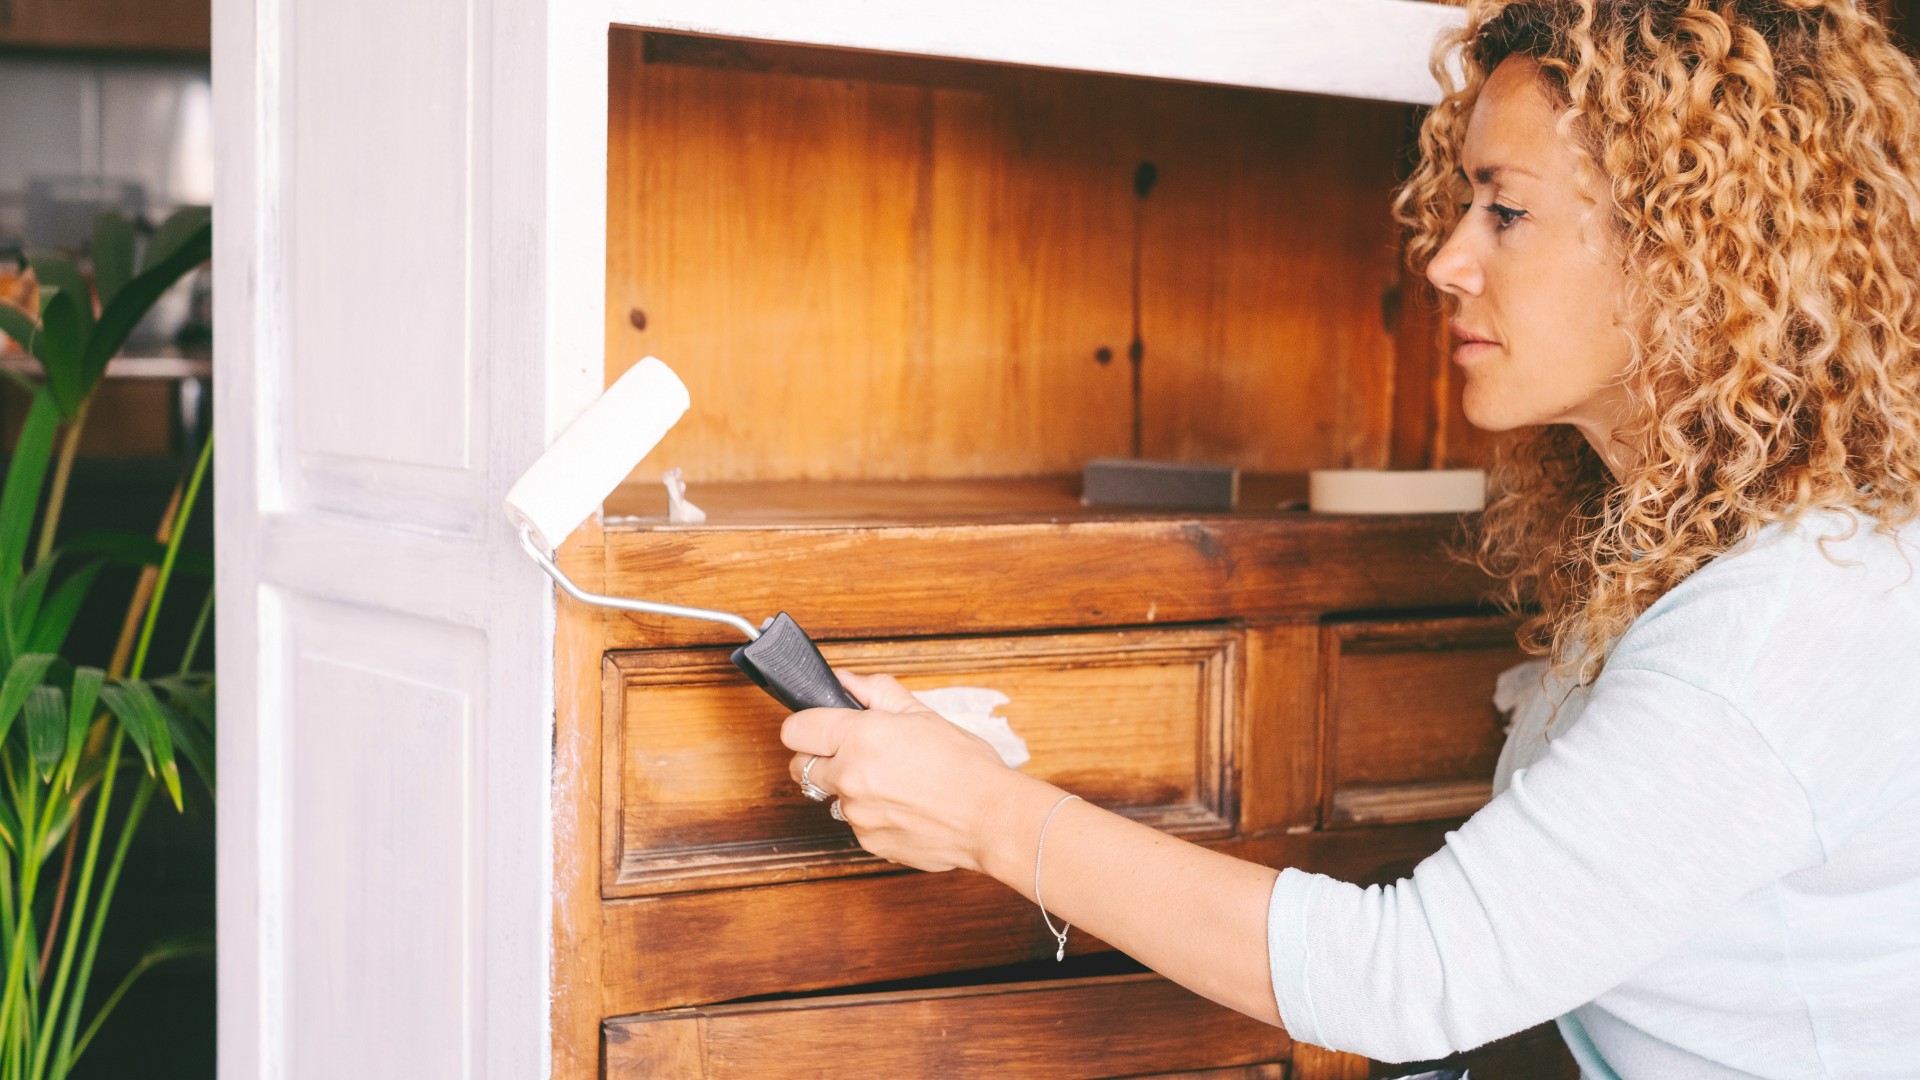
4. Apply the Primer: Dip your paintbrush or roller into the primer and begin applying it to the dresser. Start with the flat surfaces and work your way to the edges and corners. Use long, even strokes to ensure a smooth and even coverage. If using a roller, backroll the surface to eliminate any brush or roller marks.
5. Allow the Primer to Dry: Follow the manufacturer’s instructions to determine the drying time for the primer. It’s essential to allow the primer to dry completely before moving on to the next steps. This usually takes a few hours, but it may vary depending on the primer and environmental conditions.
6. Sand the Primed Surface (optional): If you notice any imperfections or rough spots on the primed surface, you can lightly sand them with fine-grit sandpaper. This step will help create an even smoother surface for the paint to adhere to.
7. Clean the Surface: After sanding (if necessary), clean the primed surface to remove any sanding dust. Use a lint-free cloth or tack cloth and wipe down the entire dresser.
Priming your dresser is a crucial step that ensures optimal adhesion and a smooth finish for your paint. It creates a durable base that helps prevent stains, allows for better paint coverage, and promotes a longer lifespan for your painted dresser. With the primer applied and dry, you’re now ready to choose the right paint in step 5.
Before painting an old dresser, make sure to clean and sand the surface to remove any existing finish or imperfections. This will help the paint adhere better and result in a smoother finish.
Read more: How To Refurbish An Old Dresser
Step 5: Choosing the Right Paint
Choosing the right paint for your dresser is essential to achieve a beautiful and long-lasting finish. Consider factors such as the type of paint, finish, and color to ensure that it suits your style and withstands everyday wear and tear.
1. Select the Paint Type: There are several types of paint suitable for furniture, including latex, oil-based, and chalk paint. Latex paint is the most popular choice due to its durability, easy cleanup, and availability in a wide range of colors. Oil-based paint provides a smoother finish but requires longer drying times and has a stronger smell. Chalk paint creates a vintage, matte finish and is ideal for achieving a distressed or shabby chic look.
2. Consider the Finish: The finish refers to the level of shine or smoothness of the paint. Common finishes for furniture include satin, semi-gloss, and high-gloss. Satin finish provides a subtle sheen and is easy to clean, making it a popular choice for dressers. Semi-gloss and high-gloss finishes offer more shine and reflectivity, but they may highlight imperfections. Consider your personal preference and the style you want to achieve.
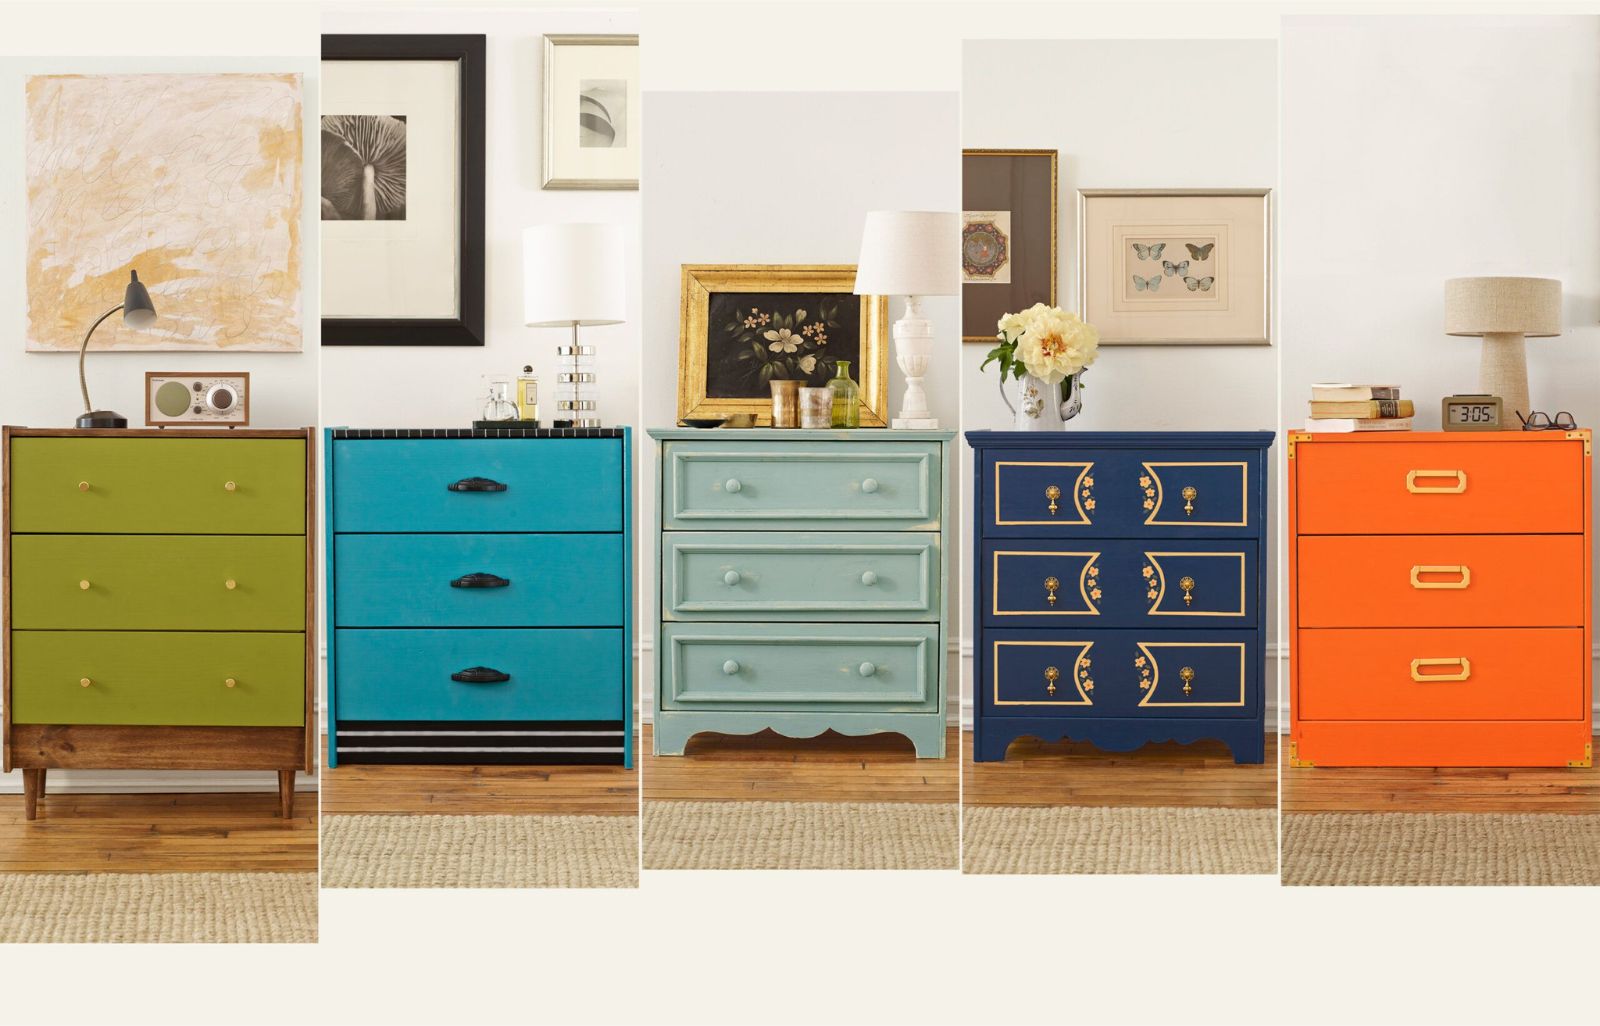
3. Test the Color: Selecting the right color for your dresser can be a fun and creative process. Take into account the existing color scheme of the room, your personal style, and the overall aesthetic you want to achieve. Consider testing paint samples on a small section of the dresser or creating a mood board to visualize how the color will look in your space.
4. Quality Matters: Investing in high-quality paint will ensure better coverage, durability, and a smoother finish. Cheaper paints may require more coats and can chip or wear off easily. Look for reputable paint brands known for their quality and read customer reviews to make an informed decision.
5. Consider Primer and Paint Combos: Some paint brands offer primer and paint combinations, commonly known as two-in-one or paint-and-primer-in-one products. These can be a time-saving option, especially if your dresser is in good condition or if you’ve already primed it. However, if your dresser has significant imperfections or you prefer a separate primer, choose a regular paint and apply a separate primer coat.
By carefully selecting the right type of paint, finish, and color, you’ll ensure that your dresser reflects your personal style and withstands the test of time. Take your time in this step to ensure that you choose the perfect paint for your dresser. With the paint selected, you’re ready to move on to step 6: applying the paint to your dresser.
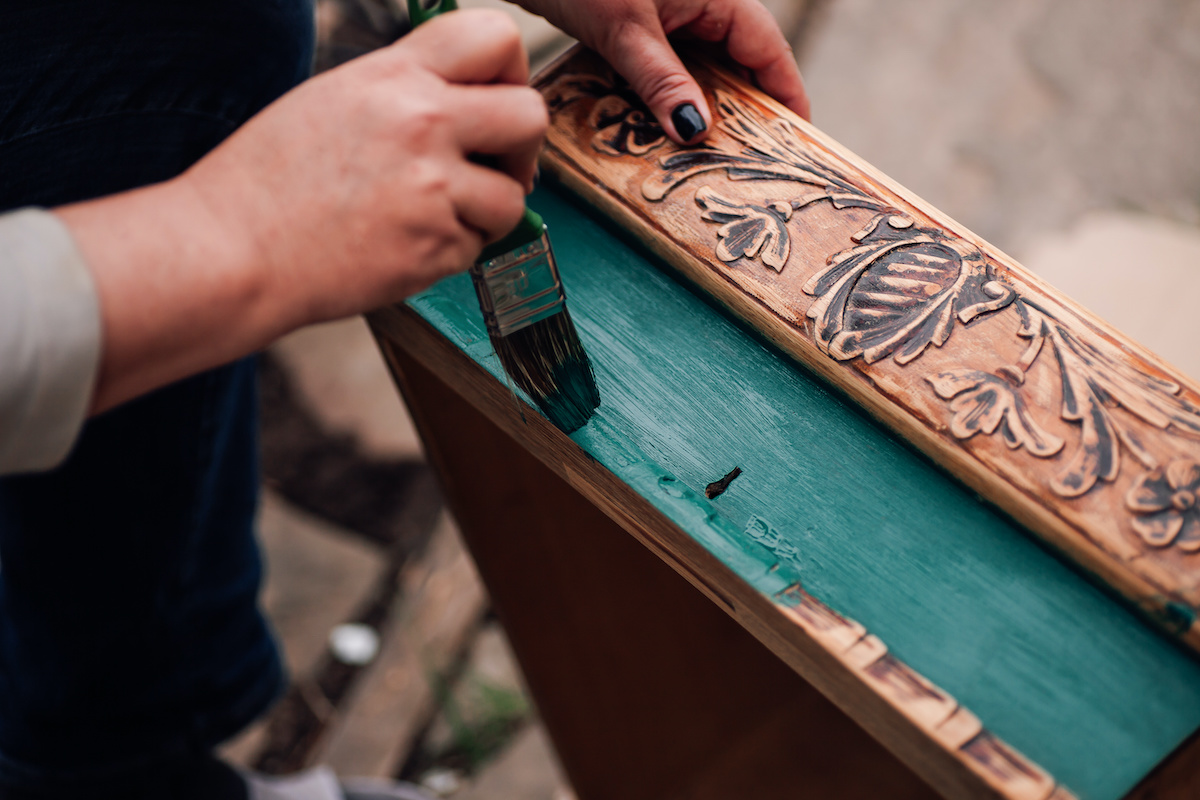
Step 6: Applying the Paint
Now comes the fun part – applying the paint to your dresser! This step requires some patience and attention to detail to ensure a smooth and flawless finish. Follow these steps to achieve professional-looking results.
1. Prepare the Work Area: Set up a well-ventilated area, preferably outdoors or in a well-ventilated room, to paint your dresser. Lay down a drop cloth or old newspapers to protect the floor from any paint drips or spills.
2. Stir the Paint: Before you start applying the paint, thoroughly stir it with a paint stirrer to ensure an even consistency. This step helps distribute any settled pigments or solvents in the paint, ensuring a uniform color.
3. Start with the Edges and Corners: Begin by painting the edges and corners of the dresser using a small brush. This allows you to get into tight spaces and ensure complete coverage in those areas. Use smooth, even strokes and be mindful of any drips or excess paint.
4. Move to the Flat Surfaces: Once you’ve painted the edges and corners, use a roller or a larger brush to apply the paint to the flat surfaces of the dresser. Work systematically, starting from one side and moving to the next. Apply the paint in thin, even coats, allowing each coat to dry before applying the next. This helps prevent drips and ensures a smoother finish.
5. Apply Multiple Coats if Necessary: Depending on the type of paint and the desired opacity, you may need to apply multiple coats of paint. Allow each coat to dry fully before proceeding to the next one. Follow the instructions provided by the paint manufacturer regarding the recommended drying time between coats.
6. Check for Drips and Imperfections: As you paint, keep an eye out for any drips, brush marks, or uneven areas. If you notice any imperfections, gently smooth them out with a brush or a foam roller while the paint is still wet. Taking the time to address these issues during the painting process will result in a neater and more professional-looking finish.
7. Allow the Final Coat to Dry: Once you’ve achieved the desired coverage and finish, allow the final coat of paint to dry completely. This usually takes a few hours, but refer to the paint’s instructions for specific drying times. Avoid placing any items on the dresser until the paint is fully cured.
Remember to clean your brushes and rollers thoroughly after each coat of paint to maintain their quality and prevent dried paint buildup. With the paint applied and dried, you’re ready to move on to step 7: adding finishing touches to your painted dresser.
Step 7: Adding Finishing Touches
Now that you’ve painted your dresser and achieved a beautiful new color, it’s time to add some finishing touches to enhance its overall look and functionality. Here are some ideas to consider:
1. Replace or Upgrade Hardware: Swapping out the old hardware with new knobs, handles, or pulls can instantly give your dresser a fresh and updated look. Choose hardware that complements the style and color of your painted dresser for a cohesive and polished appearance.
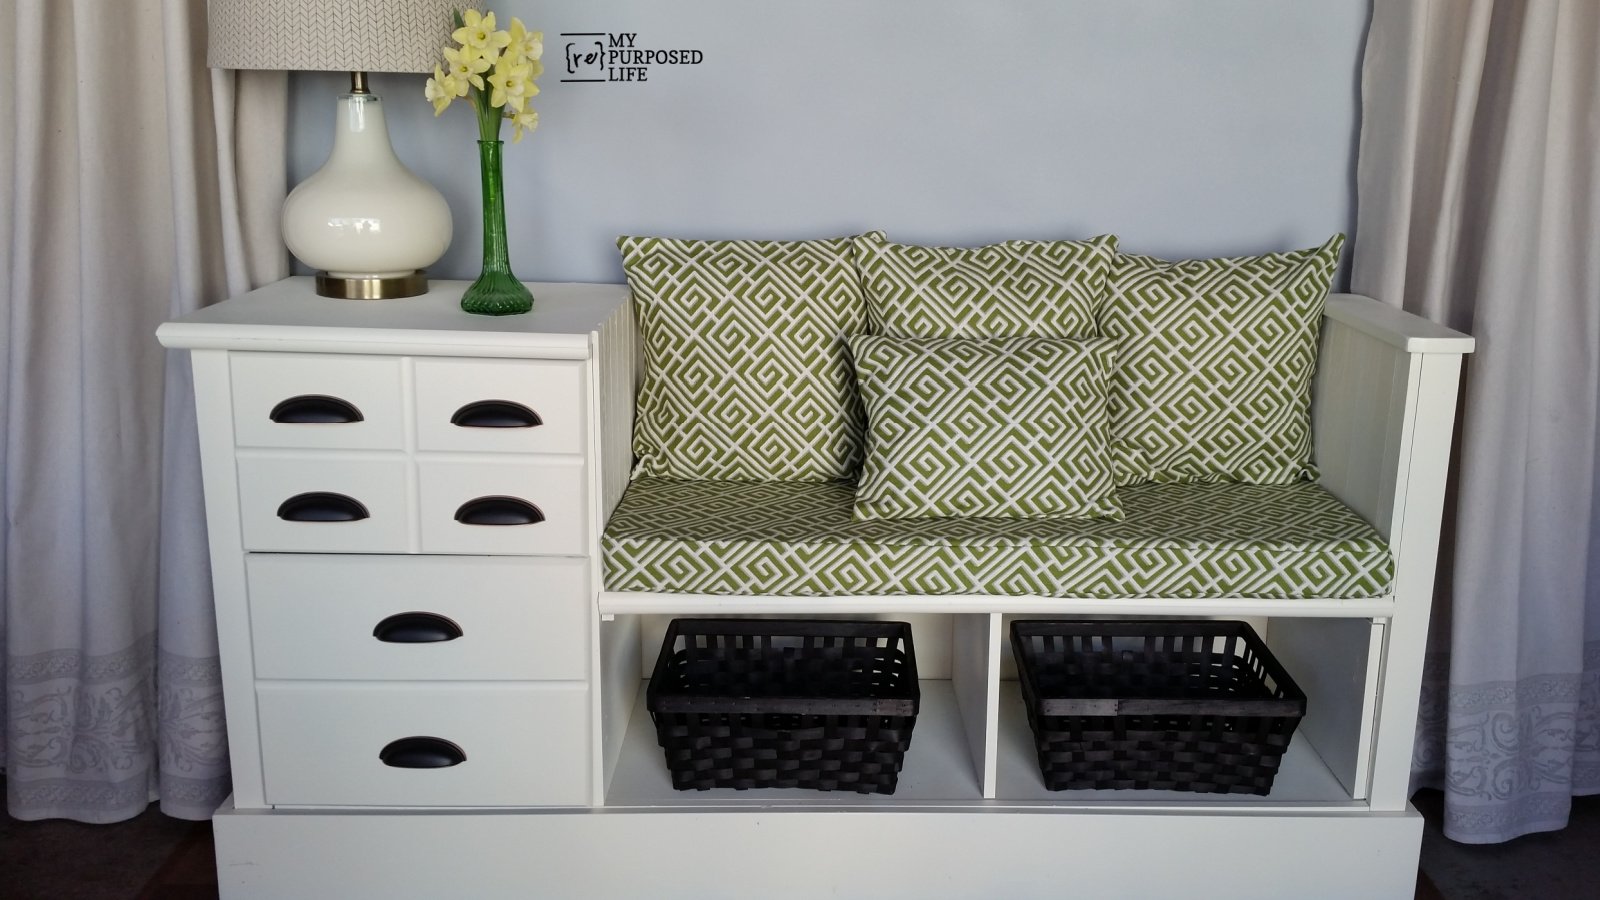
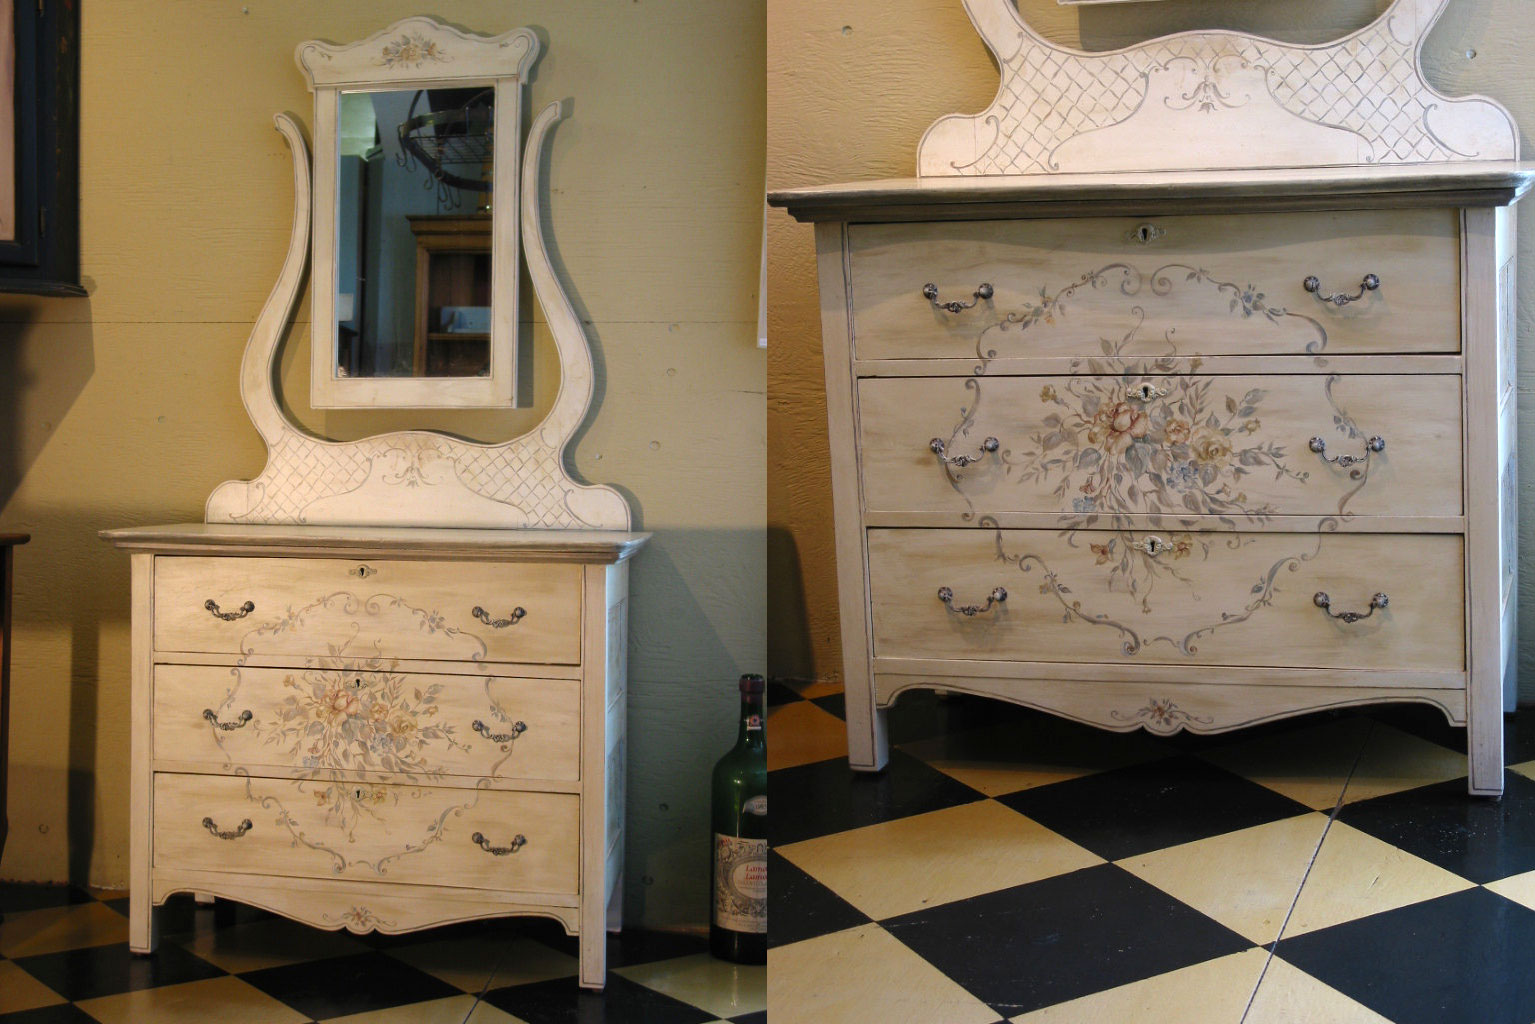
2. Add Decorative Accents: Consider adding decorative accents such as appliques, molding, or stencils to further personalize your dresser. These details can add charm and character to your piece and make it stand out as a unique focal point in your room.
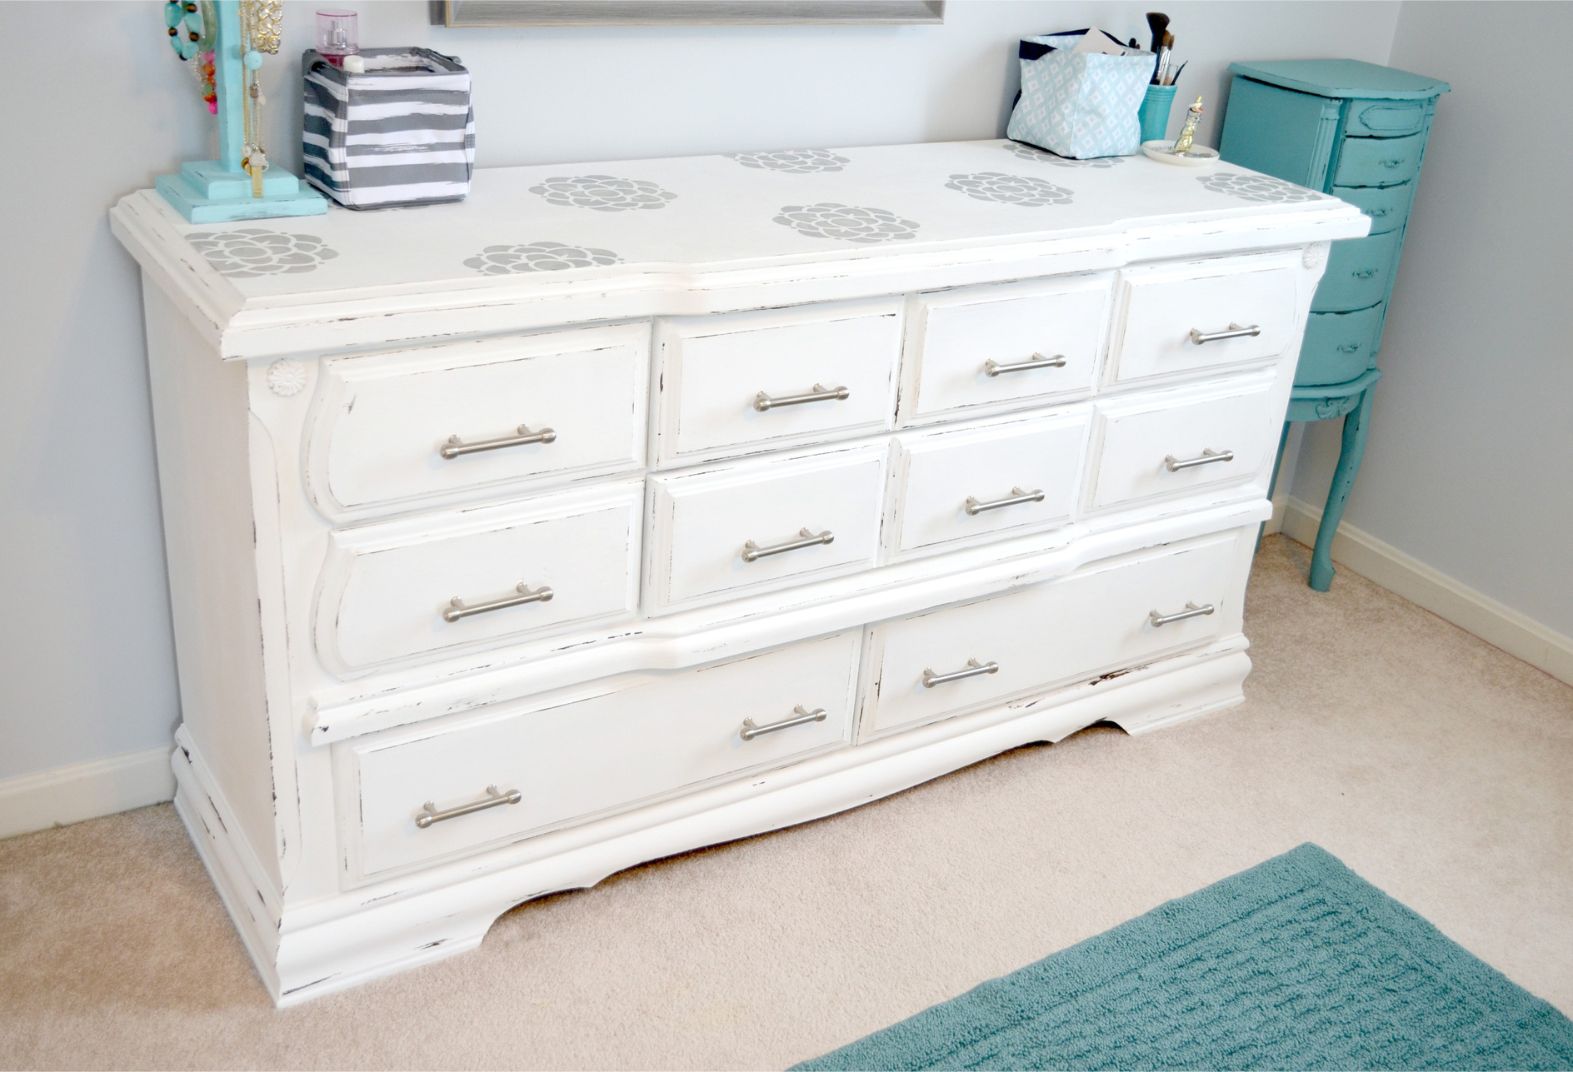
3. Create a Distressed Look: If you prefer a vintage or antique appearance, you can create a distressed look on your painted dresser. Use sandpaper or a damp cloth to gently remove some paint from edges, corners, and areas that would naturally experience wear over time. This technique adds a vintage charm and texture to your piece.
4. Apply a Decorative Finish: Experiment with different decorative techniques to create a unique finish on your painted dresser. Consider techniques such as color washing, glazing, or distressing with crackle medium. These techniques add depth and interest to the surface of your dresser, making it a conversation-worthy piece in your home.
5. Protect the Surface: To ensure the longevity of your painted dresser, consider applying a protective topcoat. This can be a clear furniture wax, polyurethane, or a varnish that adds an additional layer of durability and resistance to everyday wear and tear. Follow the manufacturer’s instructions for application and drying times.
6. Style with Decorative Elements: Once your dresser is fully complete, style it with decorative elements such as a mirror, artwork, or plants to elevate its appearance. This adds a personal touch and creates a visually appealing vignette in your space.
7. Enjoy and Maintain: Finally, step back and admire your beautifully painted and finished dresser. Regularly dust and clean your dresser to keep it looking its best. Avoid placing hot objects or heavy items directly on the surface to prevent damage. With proper care, your painted dresser will continue to enhance your space for years to come!
By adding these finishing touches, you’ll transform your painted dresser into a stunning and personalized piece that reflects your style and adds character to your space. With the finishing touches complete, you’re ready to move on to the final step: sealing the paint.
Step 8: Sealing the Paint
Sealing the paint on your dresser is the final step in the painting process. It helps protect the finish, increases durability, and adds a professional touch to your project. Here’s how to properly seal the paint on your dresser:
1. Choose the Right Sealer: There are several options for sealing furniture paint, including clear furniture wax, polyurethane, or a water-based varnish. Consider the level of durability and sheen you want to achieve when selecting the sealer. Matte, satin, or gloss finishes are available to suit your preference.
2. Prep the Surface: Before applying the sealer, ensure the painted surface is clean, dry, and free from any dust or debris. Use a lint-free cloth or a tack cloth to gently wipe down the dresser to remove any particles that may interfere with the sealant’s adhesion.
3. Apply the Sealer: Follow the manufacturer’s instructions for the specific sealer you’ve chosen. Use a clean brush, roller, or cloth to apply an even and thin layer of the sealer to the entire dresser surface. Work in small sections, ensuring complete coverage. Take care to avoid drips, pooling, or heavy application, as this can result in an uneven or tacky finish.
4. Allow the Sealer to Dry: Pay attention to the recommended drying time specified by the sealer manufacturer. Allow the dresser to dry undisturbed in a well-ventilated area. Keep in mind that humidity and temperature can affect drying times, so it’s essential to follow the guidelines provided by the manufacturer.
5. Sand and Repeat (optional): If desired, you can lightly sand the dried sealer with a fine-grit sandpaper to create a smoother surface. This step helps remove any imperfections or brush marks and allows for better adhesion of subsequent sealant coats. Remember to wipe away any sanding dust before applying additional coats.
6. Apply Additional Coats (optional): Depending on the level of protection and finish you desire, you may choose to apply multiple coats of sealer. Follow the manufacturer’s instructions for the recommended number of coats and drying times between each application. Lightly sand and wipe the surface between coats for the best results.
7. Finishing Touches: After the final coat of sealer has dried completely, carefully inspect the dresser for any touch-up areas or imperfections. Use a fine-tip brush to address any small areas that may need additional touch-up. Once satisfied with the finish, you can reattach any hardware that was removed earlier.
By properly sealing the paint on your dresser, you’ll ensure its longevity and protect it from everyday wear and tear. The sealing process provides an added layer of durability and creates a beautiful finish that will make your painted dresser stand out in any room. With the sealing completed, you can now step back and appreciate your stunning, newly painted and sealed dresser!
Read more: How To Tell How Old A Dresser Is
Conclusion
Congratulations! You’ve successfully transformed your old dresser into a stunning piece of furniture through the art of painting. By following the steps outlined in this comprehensive guide, you’ve learned how to properly prepare the dresser, sand the surface, remove old paint or varnish, prime the surface, choose the right paint, apply the paint, add finishing touches, and seal the paint. The result is a beautifully painted dresser that reflects your personal style and adds charm and character to your space.
Painting an old dresser is not only a creative and enjoyable project but also a cost-effective way to breathe new life into your furniture and enhance your home decor. It allows you to repurpose and revitalize what you already have, eliminating the need to purchase new furniture.
Remember, the key to a successful painted dresser lies in the preparation, attention to detail, and the use of high-quality materials. Properly preparing the surface, choosing the right paint and primer, and following the correct application techniques will ensure a durable and professional-looking finish.
Throughout this guide, we’ve provided useful tips and techniques to help you achieve the best results. Don’t be afraid to get creative and add your personal touch to the project. Whether you opt for a distressed look, decorative accents, or a unique color combination, let your imagination guide you to create a dresser that truly reflects your style and taste.
Lastly, maintain your newly painted dresser by regularly cleaning it and avoiding harsh chemicals or abrasive cleaners that may damage the finish. With proper care, your painted dresser will continue to bring joy and beauty to your space for years to come.
Thank you for joining us on this journey of transforming an old dresser into a work of art through the power of paint. Enjoy your revitalized piece and the satisfaction of knowing that you’ve created something beautiful and unique!
Frequently Asked Questions about How To Paint An Old Dresser
Was this page helpful?
At Storables.com, we guarantee accurate and reliable information. Our content, validated by Expert Board Contributors, is crafted following stringent Editorial Policies. We're committed to providing you with well-researched, expert-backed insights for all your informational needs.

0 thoughts on “How To Paint An Old Dresser”