Home>Garden Essentials>How To Toast Pumpkin Seeds In A Pan
Garden Essentials
How To Toast Pumpkin Seeds In A Pan
Modified: March 15, 2024
Learn how to toast pumpkin seeds in a pan with this simple garden recipe. Enjoy a delicious and nutritious snack that's easy to make.
(Many of the links in this article redirect to a specific reviewed product. Your purchase of these products through affiliate links helps to generate commission for Storables.com, at no extra cost. Learn more)
Introduction
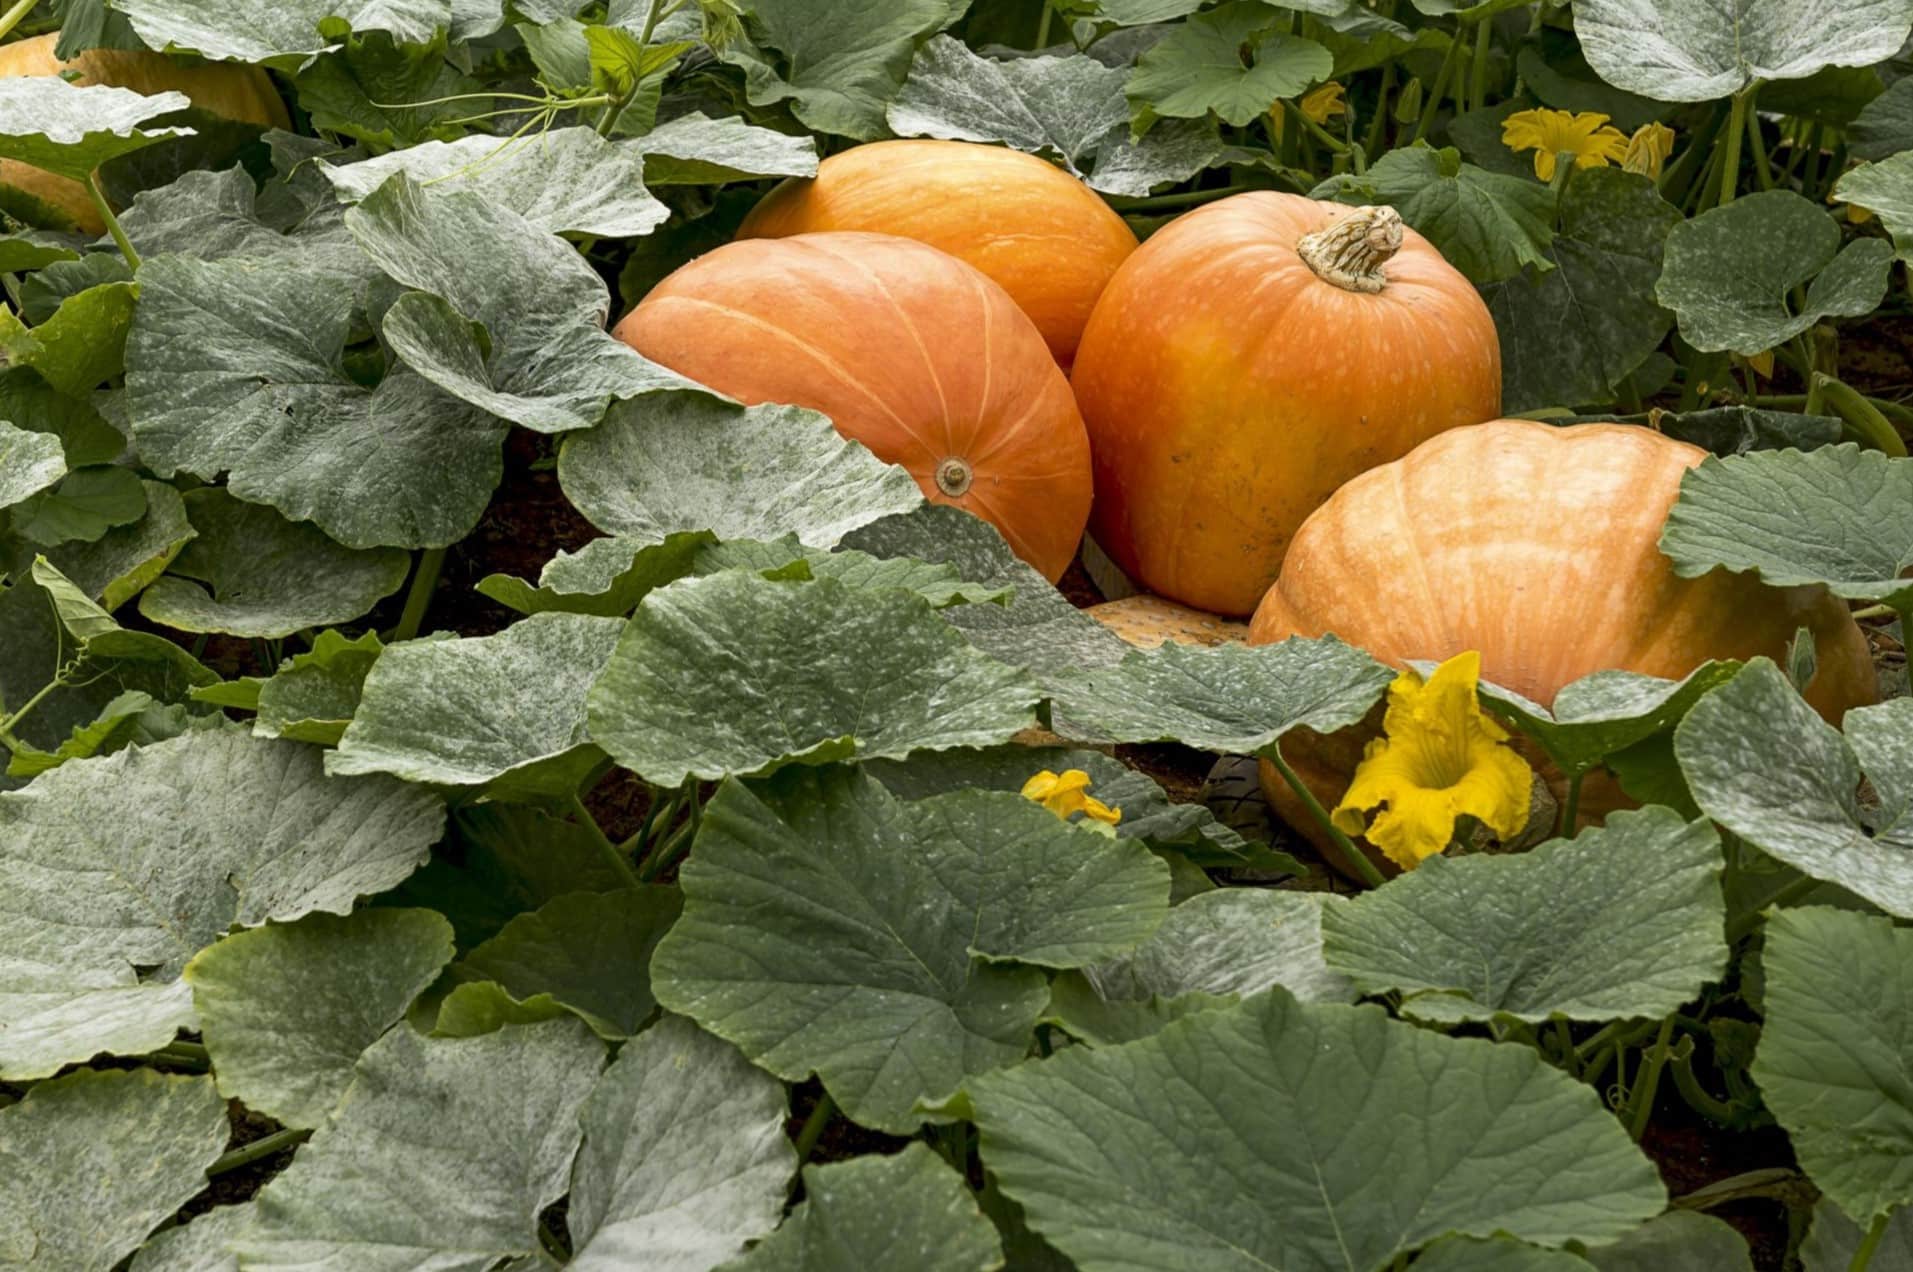
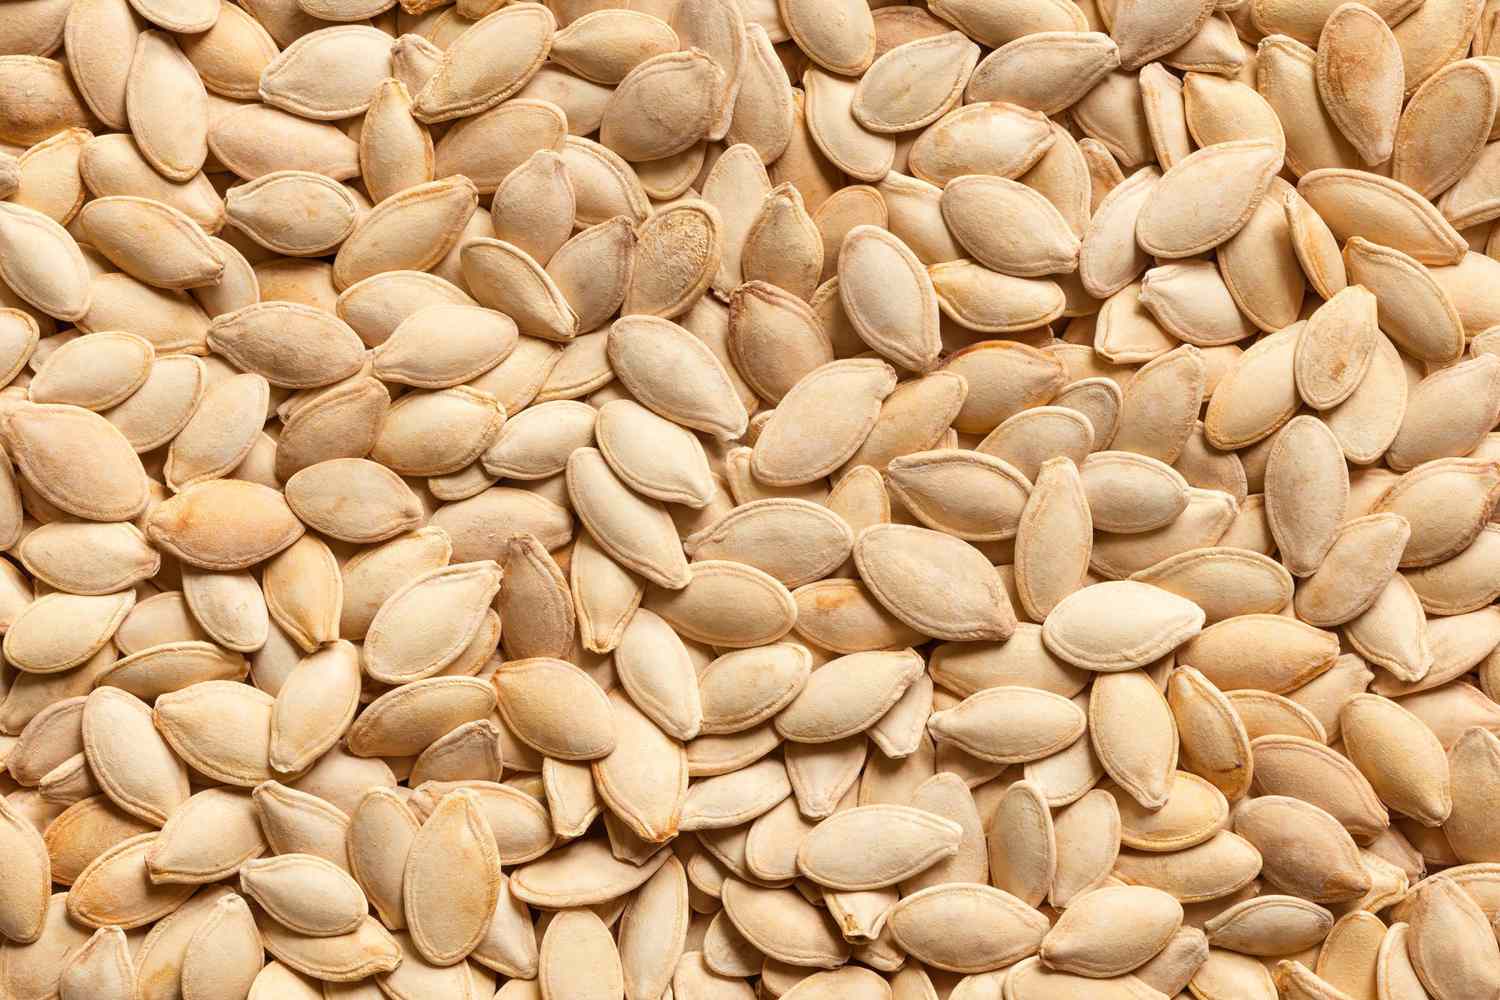
Are you looking for a delicious and healthy snack to enjoy during the autumn season? Look no further than toasted pumpkin seeds! Pumpkin seeds, also known as pepitas, are not only packed with nutrients but also offer a crunchy texture and a delicious nutty flavor. They make for a perfect on-the-go snack or a delightful addition to salads, soups, and other dishes.
In this article, we will guide you through the simple process of toasting pumpkin seeds in a pan. This method is quick, convenient, and allows you to have full control over the flavors and level of toastiness. Whether you have just carved a pumpkin or purchased a bag of raw pumpkin seeds, we have got you covered!
But before we delve into the toasting process, let's gather and prepare the pumpkin seeds.
Key Takeaways:
- Toasting pumpkin seeds in a pan is a simple and fun way to create a crunchy and flavorful snack. Experiment with different seasonings to customize the taste to your liking!
- Don’t let those pumpkin seeds go to waste! With just a few steps, you can turn raw pumpkin seeds into a delicious and nutritious treat that’s perfect for any occasion.
Read more: How To Toast Shelled Pumpkin Seeds
Step 1: Gather and Prepare the Pumpkin Seeds
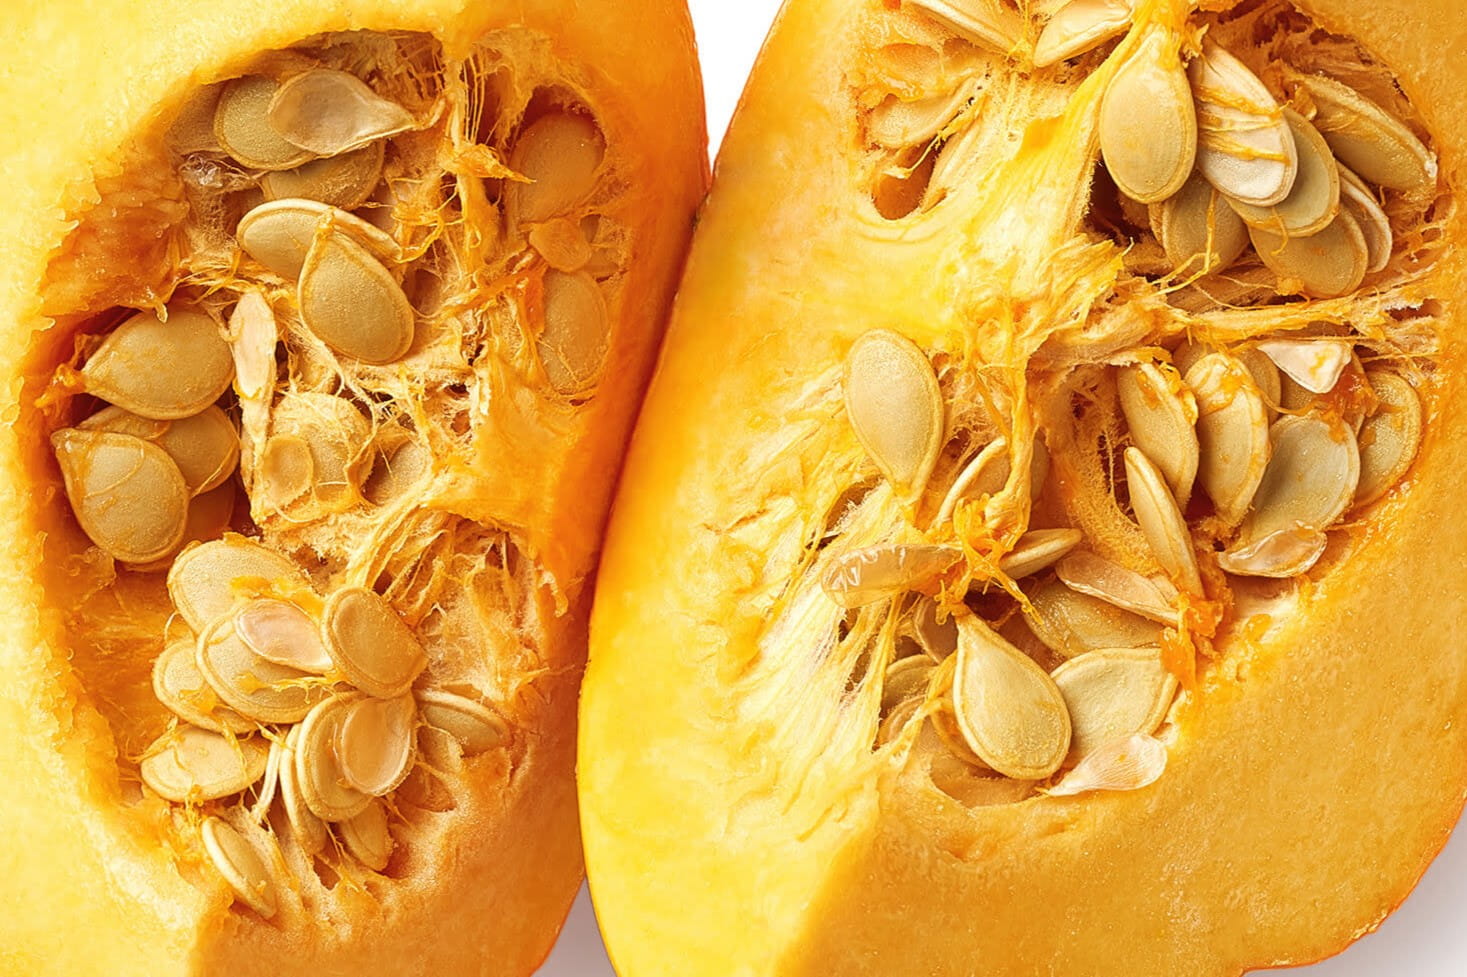
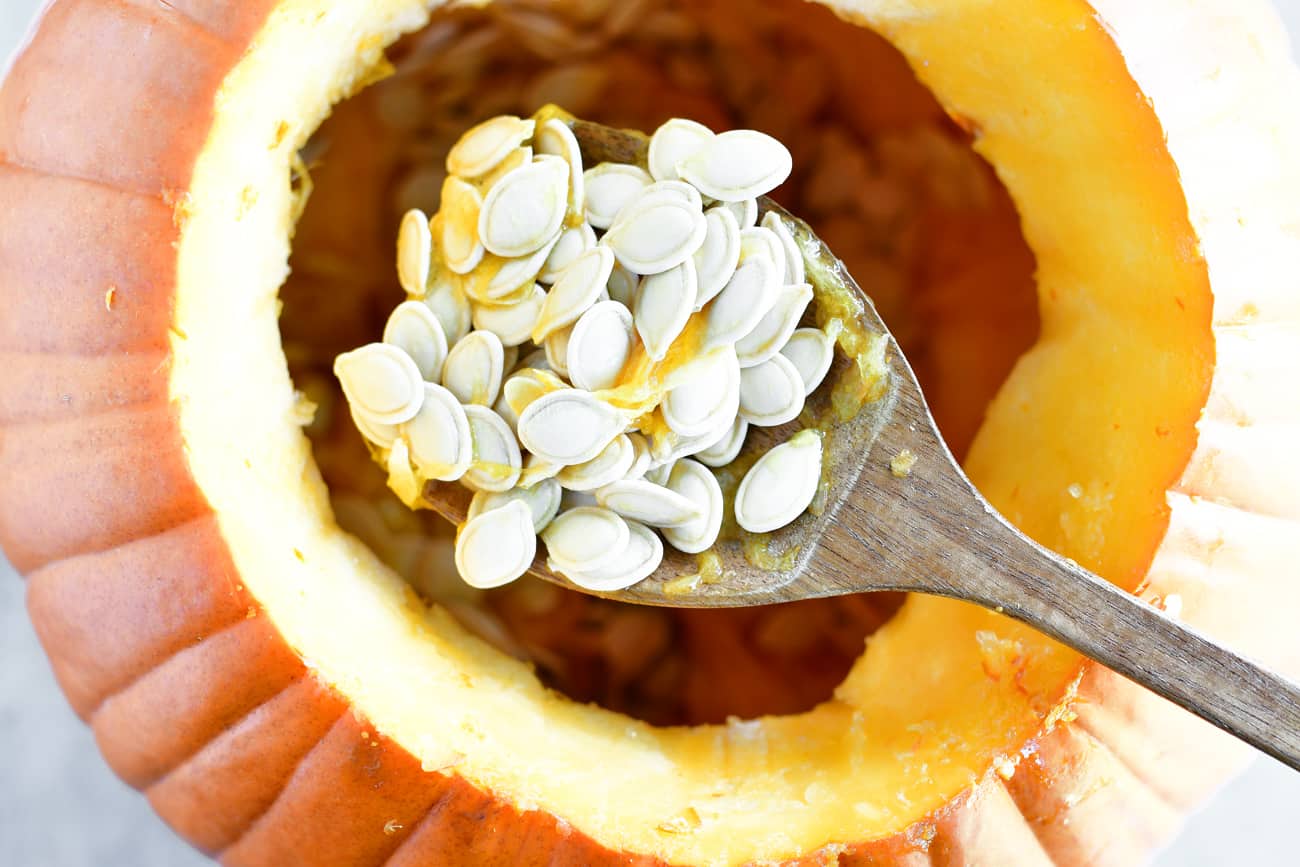
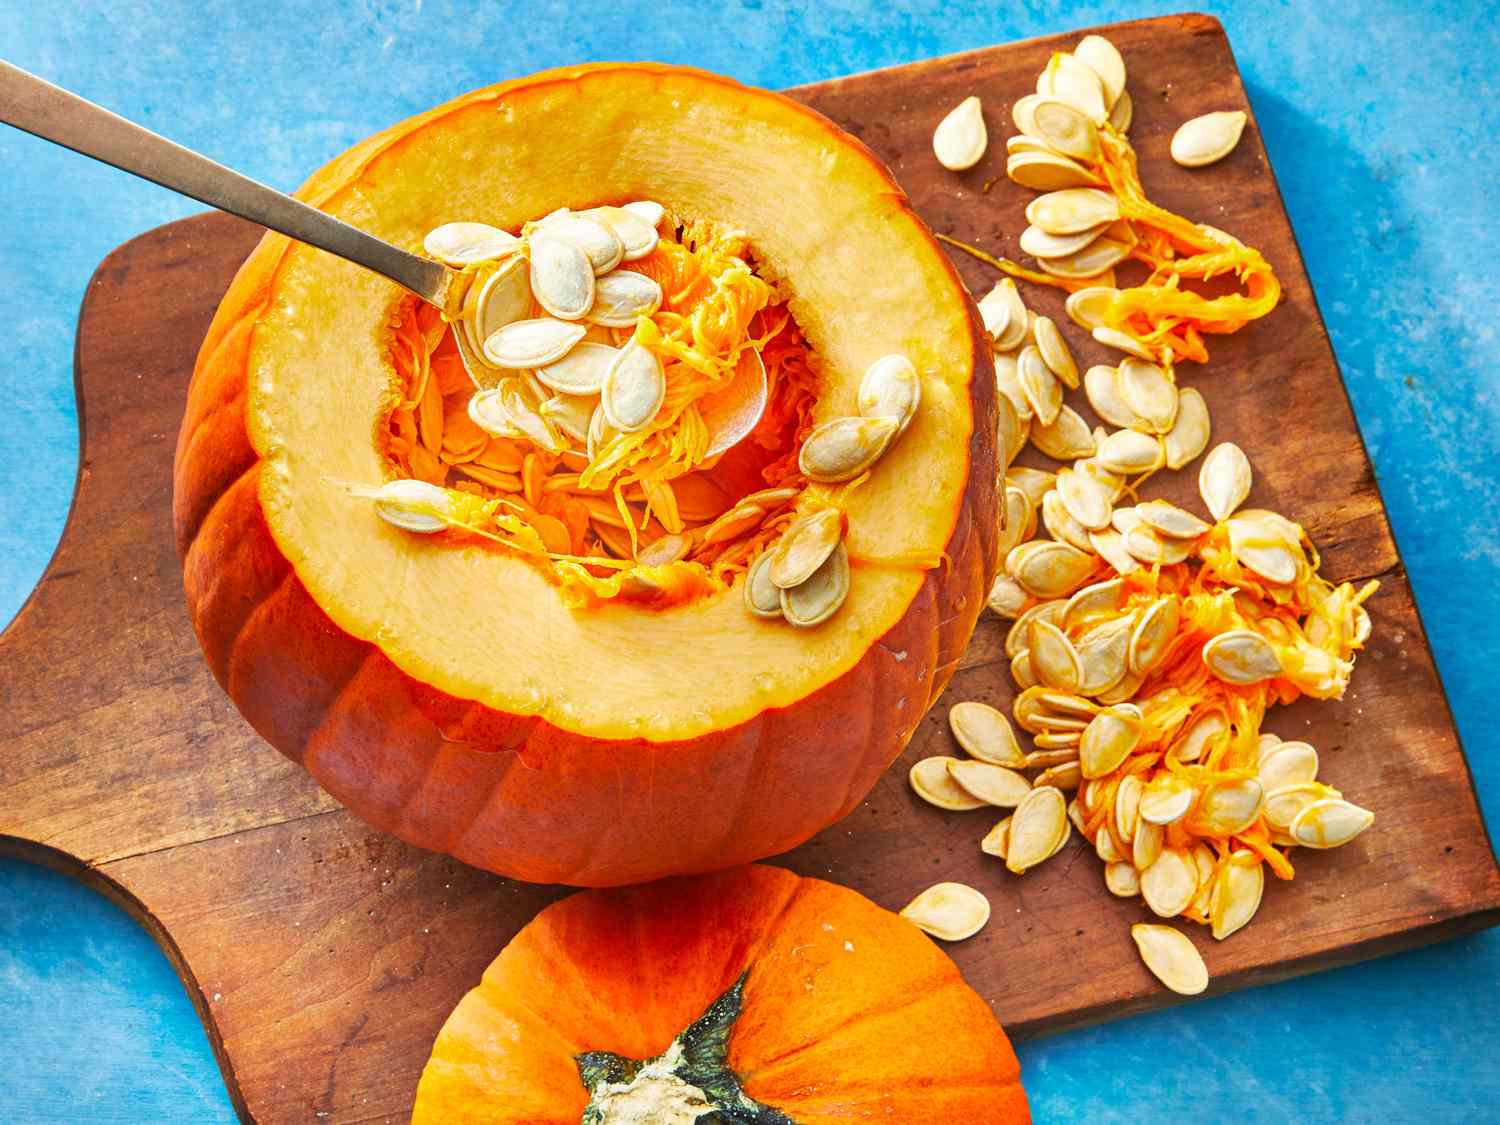
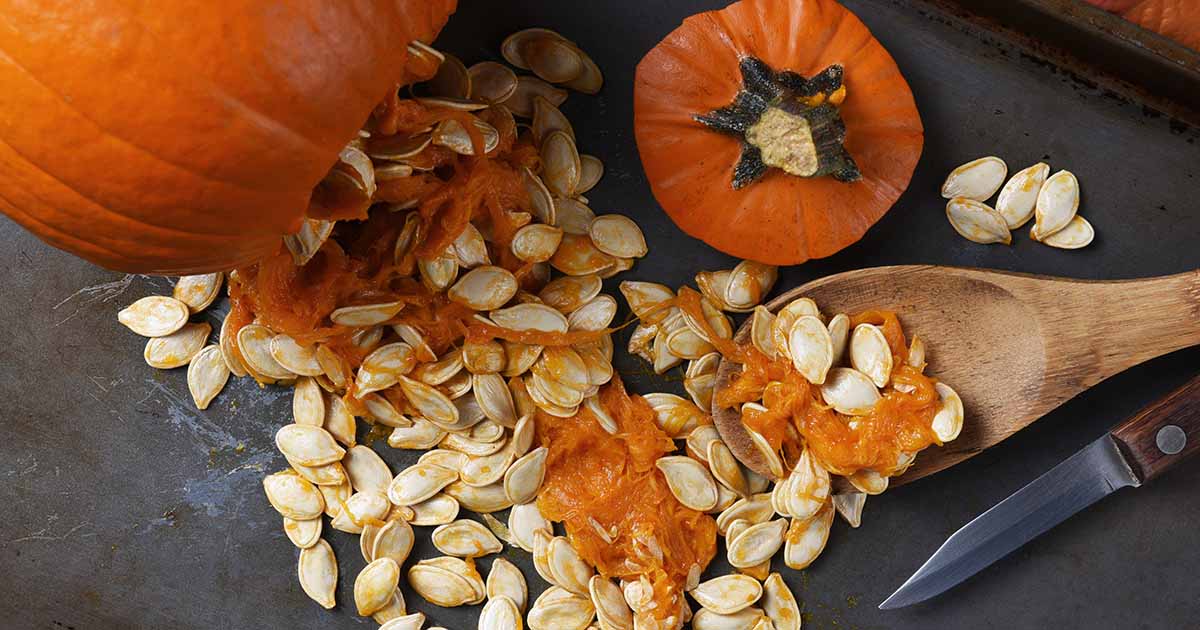
The first step in toasting pumpkin seeds is to gather and prepare the seeds. If you have just carved a pumpkin, simply rinse the seeds in a colander under cold water to remove any pulp or debris. If you have purchased raw pumpkin seeds, make sure they are clean and free from any dirt or impurities.
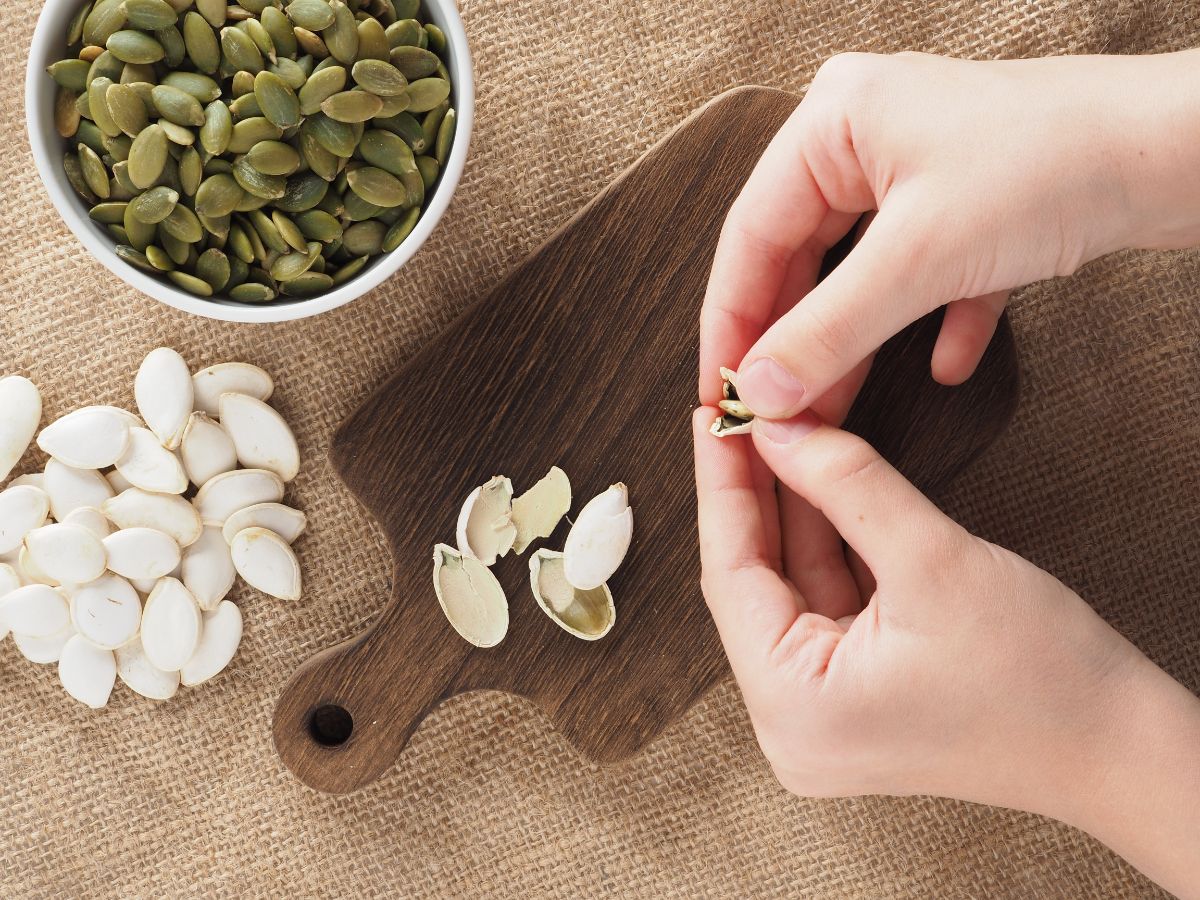
Once the seeds are clean, you can choose to remove the outer shell or keep them intact. Removing the shell can make the seeds easier to digest and result in a lighter texture, but it is purely a personal preference.
If you decide to remove the shell, gently crack it open by placing the seed between your thumb and forefinger and applying light pressure. Be careful not to crush the seed itself. Once cracked, you can peel off the shell. This step can be time-consuming, so feel free to skip it if you prefer to keep the shell intact.
After preparing the seeds, give them a final rinse to ensure they are completely clean and ready for toasting. Now that we have our pumpkin seeds ready, it's time to move on to the next step: heating the pan.
Step 2: Heat the Pan
Now that you have gathered and prepared the pumpkin seeds, it’s time to heat the pan. Choose a medium-sized, heavy-bottomed pan or skillet, preferably one with a non-stick surface. The size of the pan should be suitable to accommodate the quantity of pumpkin seeds you have.
Place the pan on your stovetop over medium heat. Allow the pan to warm up for a few minutes, ensuring it is evenly heated before moving on to the next step. A properly heated pan is crucial for even toasting and preventing the seeds from sticking.
While the pan is heating up, it’s a good time to gather the additional ingredients you will need, such as oil and seasonings. Let’s move on to step 3 and prepare the oil and seasonings for the pumpkin seeds.
Step 3: Add Oil and Seasonings
Once the pan is heated, it’s time to add oil and seasonings to enhance the flavor of the pumpkin seeds. You have a variety of options when it comes to selecting the oil and seasonings, so feel free to get creative and experiment with different combinations.
A popular choice for oil is extra virgin olive oil, as it adds a delicate and pleasant flavor. You can also opt for other oils like avocado oil, coconut oil, or even melted butter for a richer taste. Use approximately 1 tablespoon of oil for every 1 cup of pumpkin seeds. Adjust the amount according to the quantity of seeds you have.
In terms of seasonings, the possibilities are endless. You can go for a classic combination of salt and pepper, or add a dash of paprika, garlic powder, cayenne pepper, or your favorite spice blend for an extra kick of flavor. Start with 1/2 teaspoon of salt and adjust to taste. Add other seasonings according to your preference, keeping in mind that a little goes a long way.
Begin by drizzling the oil evenly over the heated pan. Use a spatula or spoon to spread the oil and ensure it coats the entire surface. Next, sprinkle the seasonings over the oil, distributing them evenly. Give the mixture a gentle stir to combine the oil and seasonings.
Now that the oil and seasonings are prepared, it’s time to move on to the next step: adding the pumpkin seeds to the pan.
Step 4: Add Pumpkin Seeds to the Pan
With the pan heated and the oil and seasonings ready, it’s time to add the prepared pumpkin seeds. Carefully pour the pumpkin seeds into the pan, making sure they are spread out evenly. Use a spatula or spoon to distribute them in a single layer, avoiding any overcrowding.
Keeping the pumpkin seeds in a single layer ensures that they toast evenly and allows for better heat distribution. If your pan is not large enough to accommodate all the seeds in a single layer, you can toast them in multiple batches.
Once all the pumpkin seeds are in the pan, gently press them down with the back of a spoon to ensure they are in contact with the hot surface. This will help promote even toasting and maximize the flavor and crunchiness of the seeds.
Now that the pumpkin seeds are added to the pan, it’s time to move on to the exciting step of toasting them to perfection.
After removing the seeds from the pumpkin, rinse them and pat them dry. Heat a pan over medium heat and add the seeds. Stir frequently for 5-7 minutes until they are golden brown and crispy. Enjoy!
Read more: How To Toast Squash Seeds
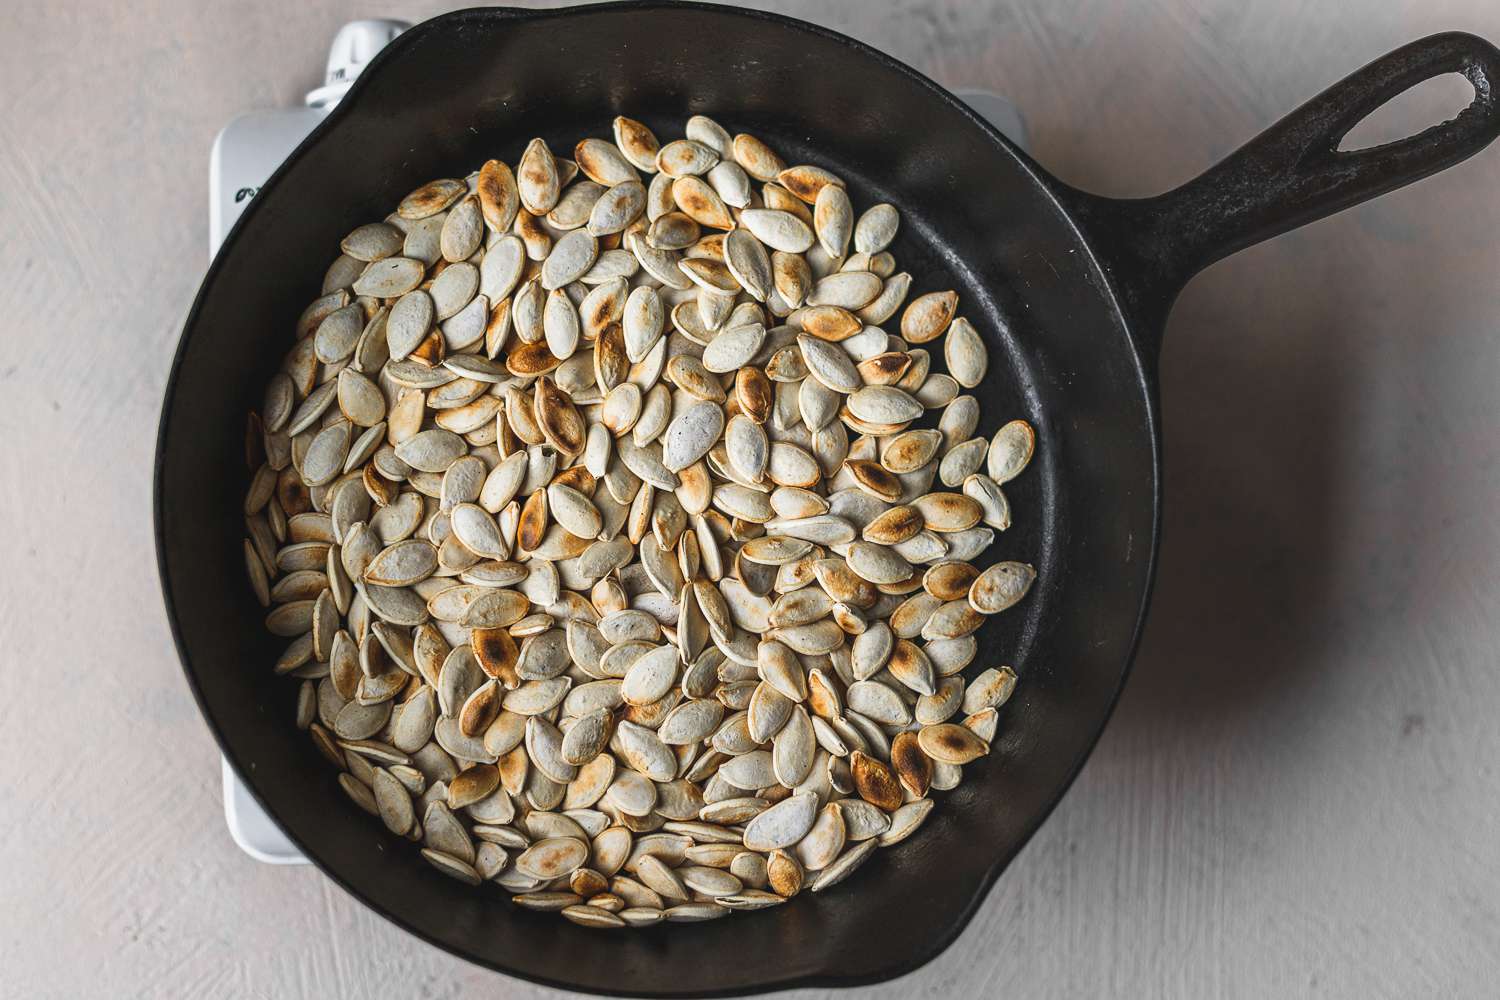
Step 5: Toast the Pumpkin Seeds
Now comes the moment of truth – it’s time to toast the pumpkin seeds! Turn the heat to medium-low and allow the seeds to toast slowly. This gradual approach prevents them from burning and ensures a delicious crunch.
Let the pumpkin seeds toast for about 5-7 minutes, or until they start to turn golden brown. The exact cooking time may vary depending on the heat of your stovetop, so keep a close eye on them to prevent overcooking.
As the seeds start to toast, you’ll notice an inviting aroma filling your kitchen. The heat will start to activate the natural oils within the seeds, bringing out their rich flavor and creating that irresistible crunch.
Remember to occasionally stir the seeds gently to prevent them from sticking to the pan. You can use a spatula or shake the pan back and forth to ensure even toasting on all sides. This will help maintain an even color and prevent any burnt spots.
Once the pumpkin seeds have reached a golden brown color and you can hear a slight popping sound, they are ready to be taken off the heat. Be cautious not to overcook them, as they can quickly turn from perfectly toasted to burnt and bitter.
Now that the pumpkin seeds are toasted to perfection, let’s move on to the next step: stirring and monitoring the seeds to ensure an evenly toasted batch.
Step 6: Stir and Monitor the Seeds
As you continue to toast the pumpkin seeds, it’s important to stir and monitor them to achieve an even and perfectly toasted batch. Stirring helps to prevent any uneven cooking and ensures that all sides of the seeds are exposed to the heat.
Use a spatula or a wooden spoon to gently stir the pumpkin seeds every minute or so. This will help redistribute the heat and promote even toasting. Pay close attention to any areas that may be browning faster than others and adjust the heat if needed.
While stirring, also monitor the seeds for any signs of burning. Keep your senses sharp and listen for any cracking or popping sounds. These indicate that the seeds are toasting nicely. If you notice any seeds turning dark brown too quickly or smelling burnt, lower the heat immediately and remove them from the pan.
Remember that the toasting process can be quick, so it’s important to stay vigilant. Don’t walk away from the pan or get caught up in other tasks. Keeping a close eye on the seeds will ensure that you achieve a perfectly toasted and flavorful batch of pumpkin seeds.
Once you are satisfied with the level of toastiness, it’s time to move on to step 7: removing the seeds from the heat.
Step 7: Remove from Heat
After the pumpkin seeds have achieved the desired level of toastiness, it’s time to remove them from the heat. Turn off the stove and carefully transfer the pan to a cool burner or a heat-resistant surface.
Allow the pumpkin seeds to cool down for a few minutes in the pan. This will not only prevent them from overcooking but also give them a chance to crisp up further. During this resting period, the residual heat will continue to work its magic, resulting in a delightful crunch.
While the seeds are cooling, you may notice that they become even crispier. This is normal and a sign that you have successfully toasted them to perfection. The seeds will also firm up a bit as they cool, making them easier to handle. Take this time to prepare a container or airtight bag for storing the toasted pumpkin seeds.
Now that the pumpkin seeds have cooled down, it’s time to move on to step 8: preparing them for storage to enjoy whenever you desire a delicious and nutritious snack.
Step 8: Cool and Store the Toasted Pumpkin Seeds
After removing the pumpkin seeds from the heat and allowing them to cool, it’s time to prepare them for storage. Properly storing your toasted pumpkin seeds will help maintain their freshness and crunch, allowing you to enjoy them as a snack or as a tasty addition to your favorite recipes.
Transfer the cooled pumpkin seeds to a clean and dry container or an airtight bag. Make sure the container is tightly sealed to prevent any moisture or air from getting in. Storing the seeds in an airtight container will help retain their texture and flavor for a longer period.
If you prefer to season your pumpkin seeds further, this is the perfect time to do so. You can experiment with different flavors by adding various spices, herbs, or even a sprinkle of sea salt. Toss the seeds gently in the container to evenly distribute the seasoning.
Once the seeds are seasoned and stored, it’s important to find a cool and dry place to keep them. A pantry or cupboard away from direct sunlight is ideal. Proper storage conditions will help extend their shelf life and ensure that they remain crispy and flavorful.
Remember to label your container with the date of toasting. This will help you keep track of freshness and ensure that you consume the seeds within a reasonable timeframe. Toasted pumpkin seeds are best enjoyed within a few weeks, although they can last up to several months if stored properly.
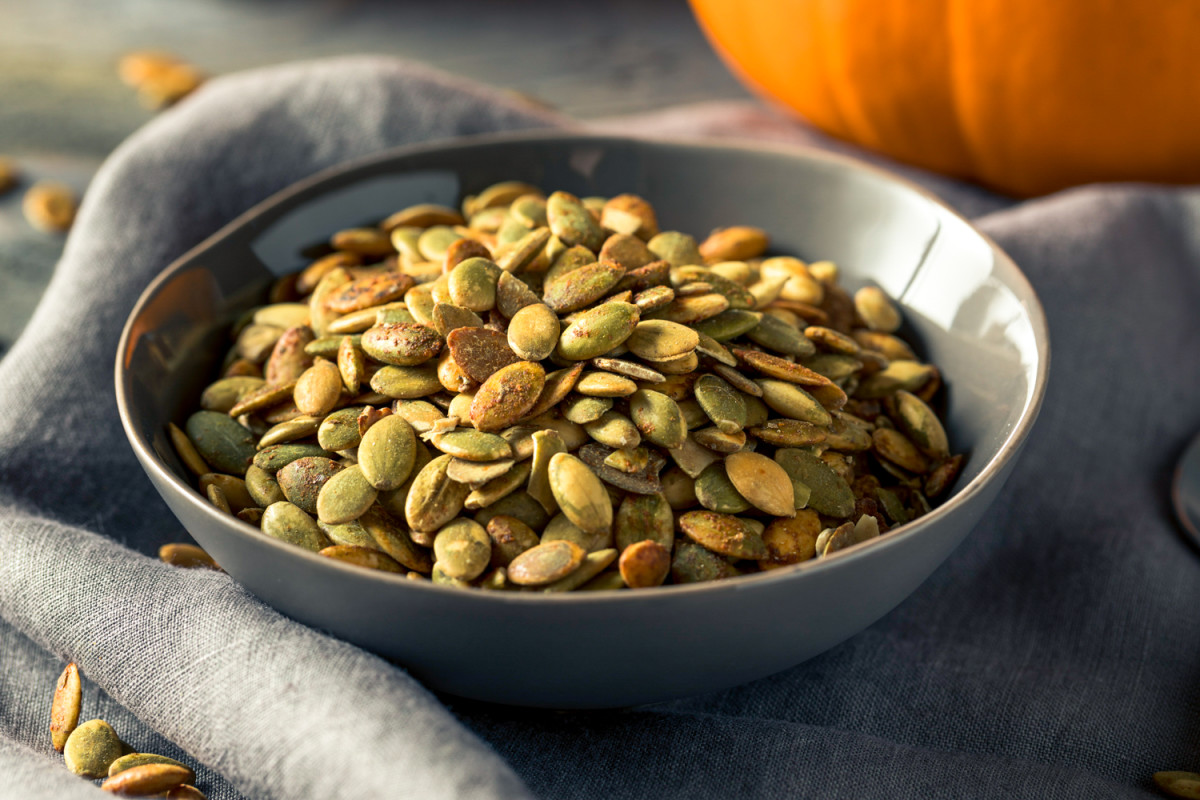
Now that you have successfully toasted, cooled, and stored your pumpkin seeds, it’s time to grab a handful and enjoy! Whether as a standalone snack, a topping for salads and soups, or a crunchy addition to baked goods, toasted pumpkin seeds are a versatile and nutritious treat that you can savor any time of the day.
Congratulations on your homemade toasted pumpkin seeds! Enjoy the delightful combination of crunchiness and flavor that will surely satisfy your snack cravings. Happy snacking!
Read more: How Long To Toast Sesame Seeds
Conclusion
Toasting pumpkin seeds in a pan is a simple and rewarding process that allows you to create a delicious and nutritious snack. With just a few steps, you can transform raw pumpkin seeds into crispy, flavorful treats that are perfect for any occasion.
By following the steps outlined in this article, you can gather and prepare the pumpkin seeds, heat the pan, add oil and seasonings, toast the pumpkin seeds to a golden brown color, stir and monitor them to prevent burning, remove them from the heat, and finally, cool and store them for future enjoyment.
Toasted pumpkin seeds offer a delightful combination of texture and taste. They can be enjoyed on their own as a snack, sprinkled over salads, added to soups, or incorporated into your favorite recipes for added crunch and flavor. Plus, they are packed with nutrients like protein, fiber, and essential vitamins and minerals.
So next time you carve a pumpkin or have raw pumpkin seeds on hand, don’t let them go to waste. Toast them in a pan and experience the joy of homemade toasted pumpkin seeds.
Remember, you can experiment with different seasonings and flavors to suit your taste preferences. Whether you prefer them salted, spicy, or with a touch of sweetness, the toasting process allows you to customize the flavor profiles to your liking.
So go ahead and give it a try! Gather those pumpkin seeds, fire up the stove, and embark on a journey of toasting perfection. You’ll be amazed at how simple and satisfying it is to create your own batch of toasted pumpkin seeds.
Enjoy the nutty aroma, the crispy texture, and the burst of flavor that only homemade toasted pumpkin seeds can offer. Happy toasting!
Frequently Asked Questions about How To Toast Pumpkin Seeds In A Pan
Was this page helpful?
At Storables.com, we guarantee accurate and reliable information. Our content, validated by Expert Board Contributors, is crafted following stringent Editorial Policies. We're committed to providing you with well-researched, expert-backed insights for all your informational needs.


0 thoughts on “How To Toast Pumpkin Seeds In A Pan”