Home>Garden Essentials>How To Toast Shelled Pumpkin Seeds
Garden Essentials
How To Toast Shelled Pumpkin Seeds
Modified: August 23, 2024
Discover the ultimate guide on how to toast shelled pumpkin seeds in your garden. Transform your harvest into a delicious and healthy snack with our expert tips and techniques.
(Many of the links in this article redirect to a specific reviewed product. Your purchase of these products through affiliate links helps to generate commission for Storables.com, at no extra cost. Learn more)
Introduction
Welcome to this guide on how to toast shelled pumpkin seeds! If you’ve ever carved a pumpkin for Halloween or cooked with fresh pumpkin, you may have wondered what to do with all those seeds. Instead of discarding them, toasting pumpkin seeds is a wonderful way to transform them into a delicious and nutritious snack. Not only are they a great source of protein and healthy fats, but they are also packed with essential nutrients like magnesium, zinc, and antioxidants.
Whether you’re a seasoned cook or a novice in the kitchen, toasting shelled pumpkin seeds is a simple and enjoyable process. In this article, I will walk you through the step-by-step instructions to help you achieve perfectly toasted pumpkin seeds that are crispy, flavorful, and addictive.
But before we dive into the toasting process, let’s talk about selecting and cleaning the pumpkin seeds to ensure the best results.
Key Takeaways:
- Don’t toss those pumpkin seeds! Toasting them is easy and fun, and you’ll end up with a delicious and nutritious snack packed with protein, healthy fats, and essential nutrients.
- Get creative with flavors! Whether you like them salty, spicy, or sweet, there’s a toasted pumpkin seed flavor for everyone. Experiment with different seasonings and spices to find your favorite combination.
Read more: How To Toast Pumpkin Seeds In A Pan
Step 1: Selecting and cleaning the pumpkin seeds
The first step in toasting shelled pumpkin seeds is selecting the right seeds and properly cleaning them. Here’s what you need to do:
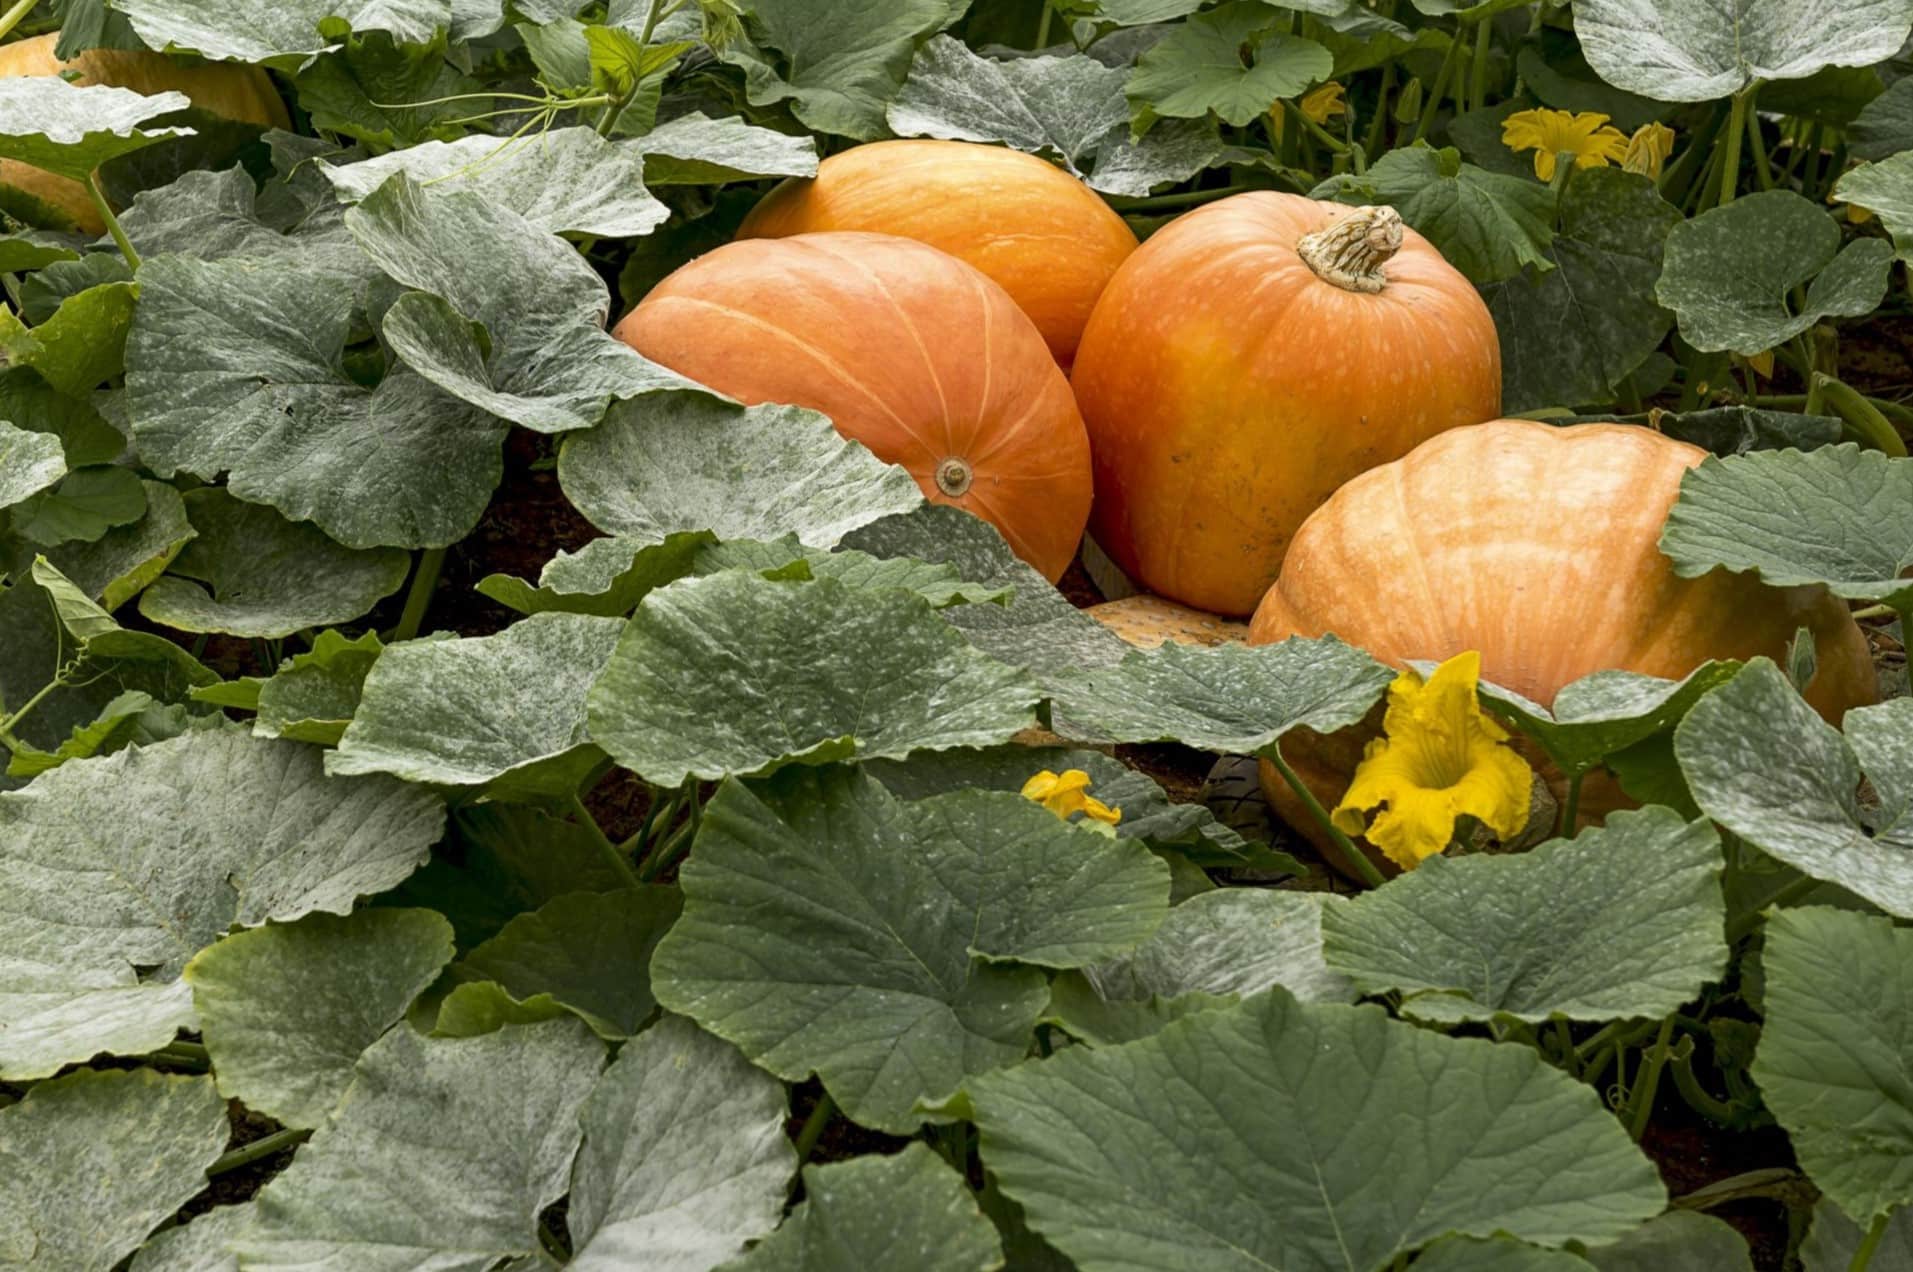
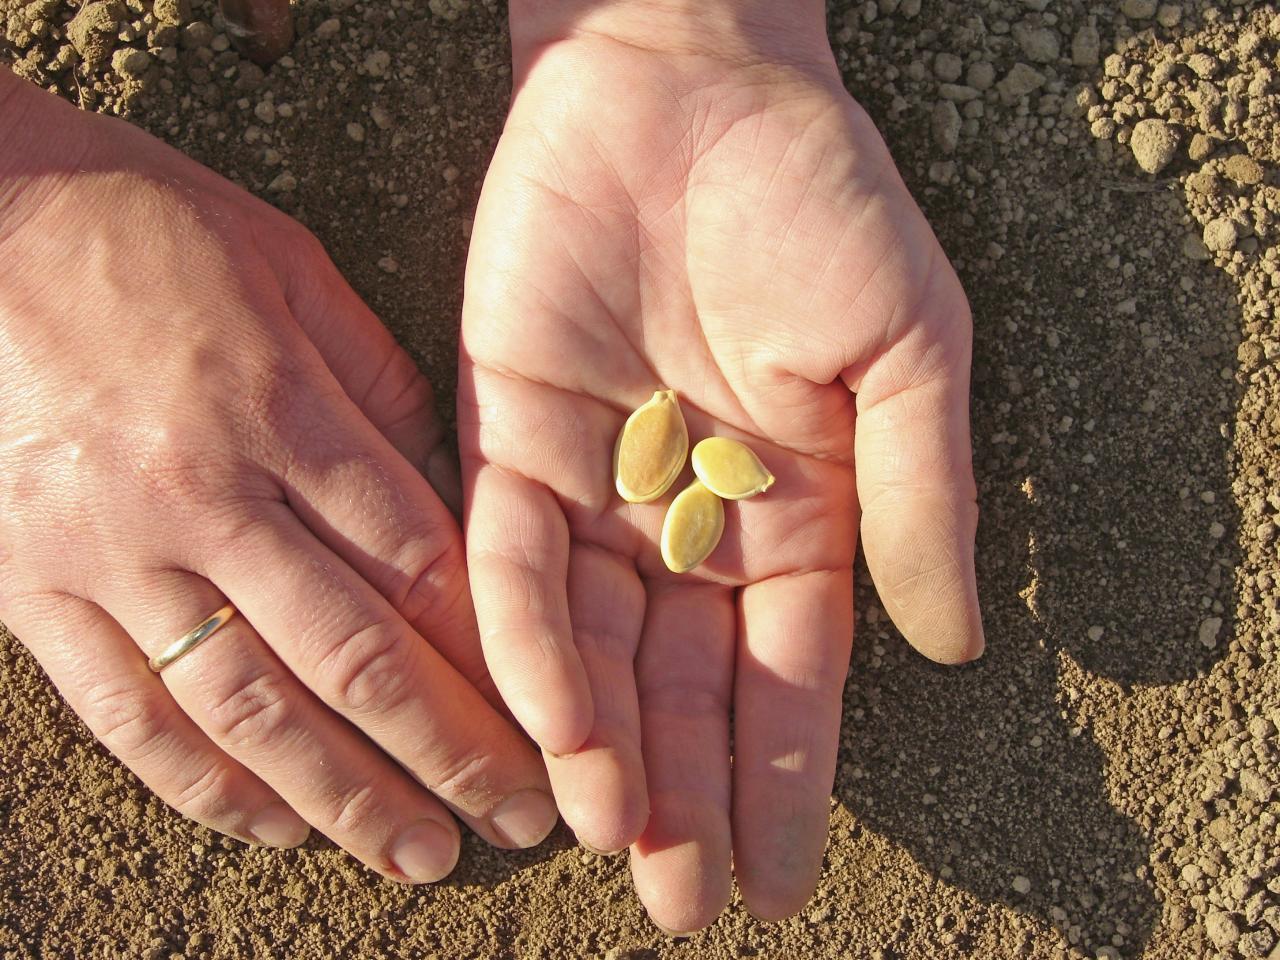
- Choose a ripe, mature pumpkin: Look for a pumpkin that feels heavy for its size and has a vibrant orange color. Avoid using pumpkins that are overly soft or have blemishes.
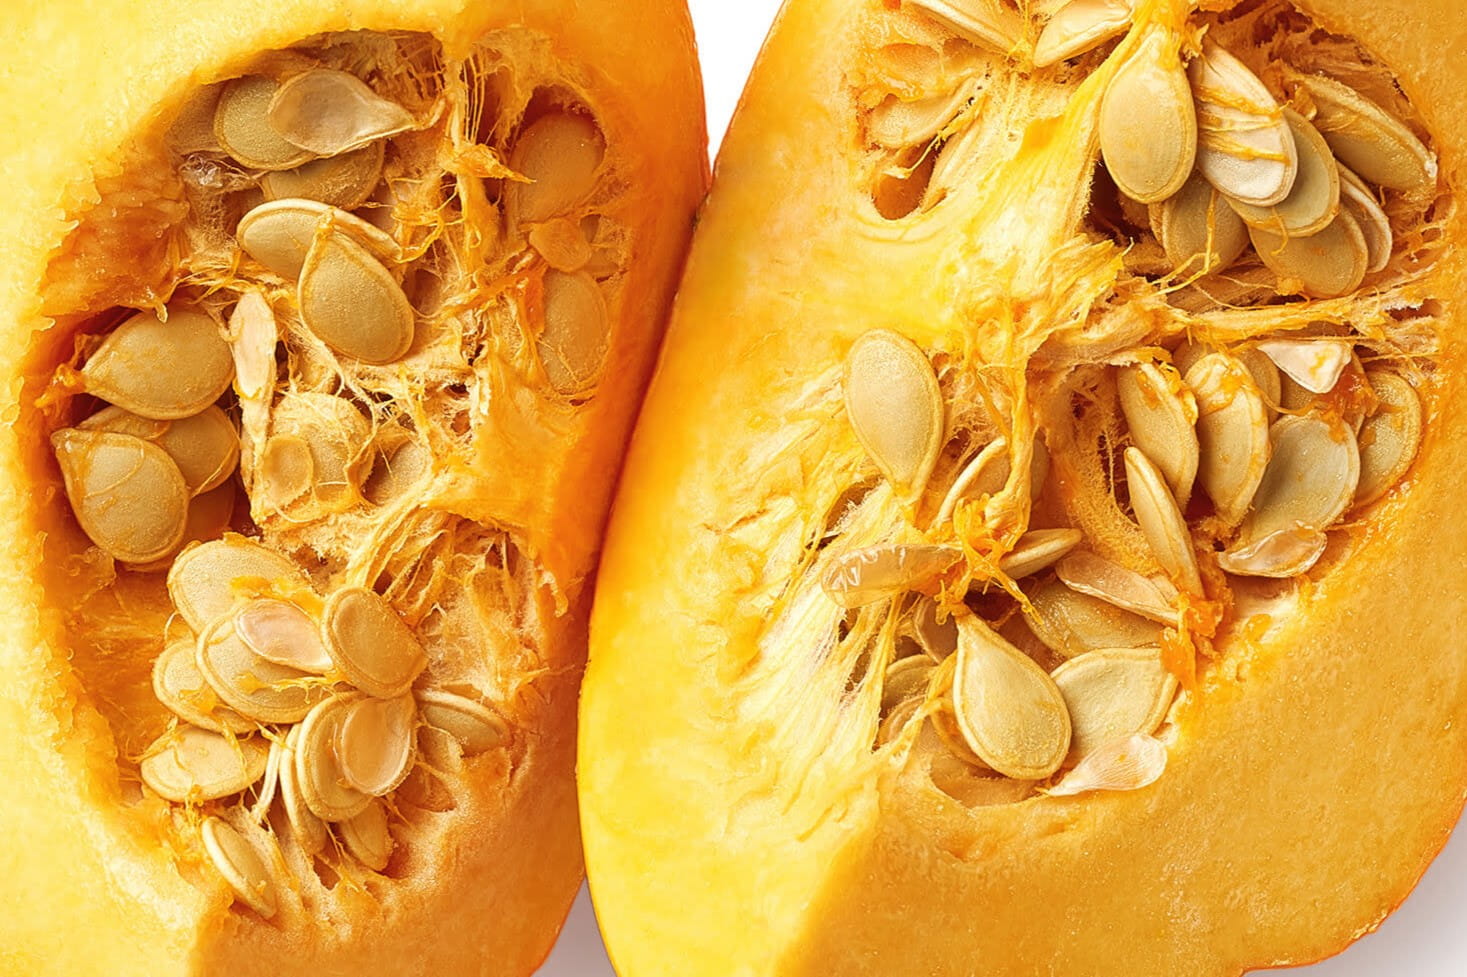
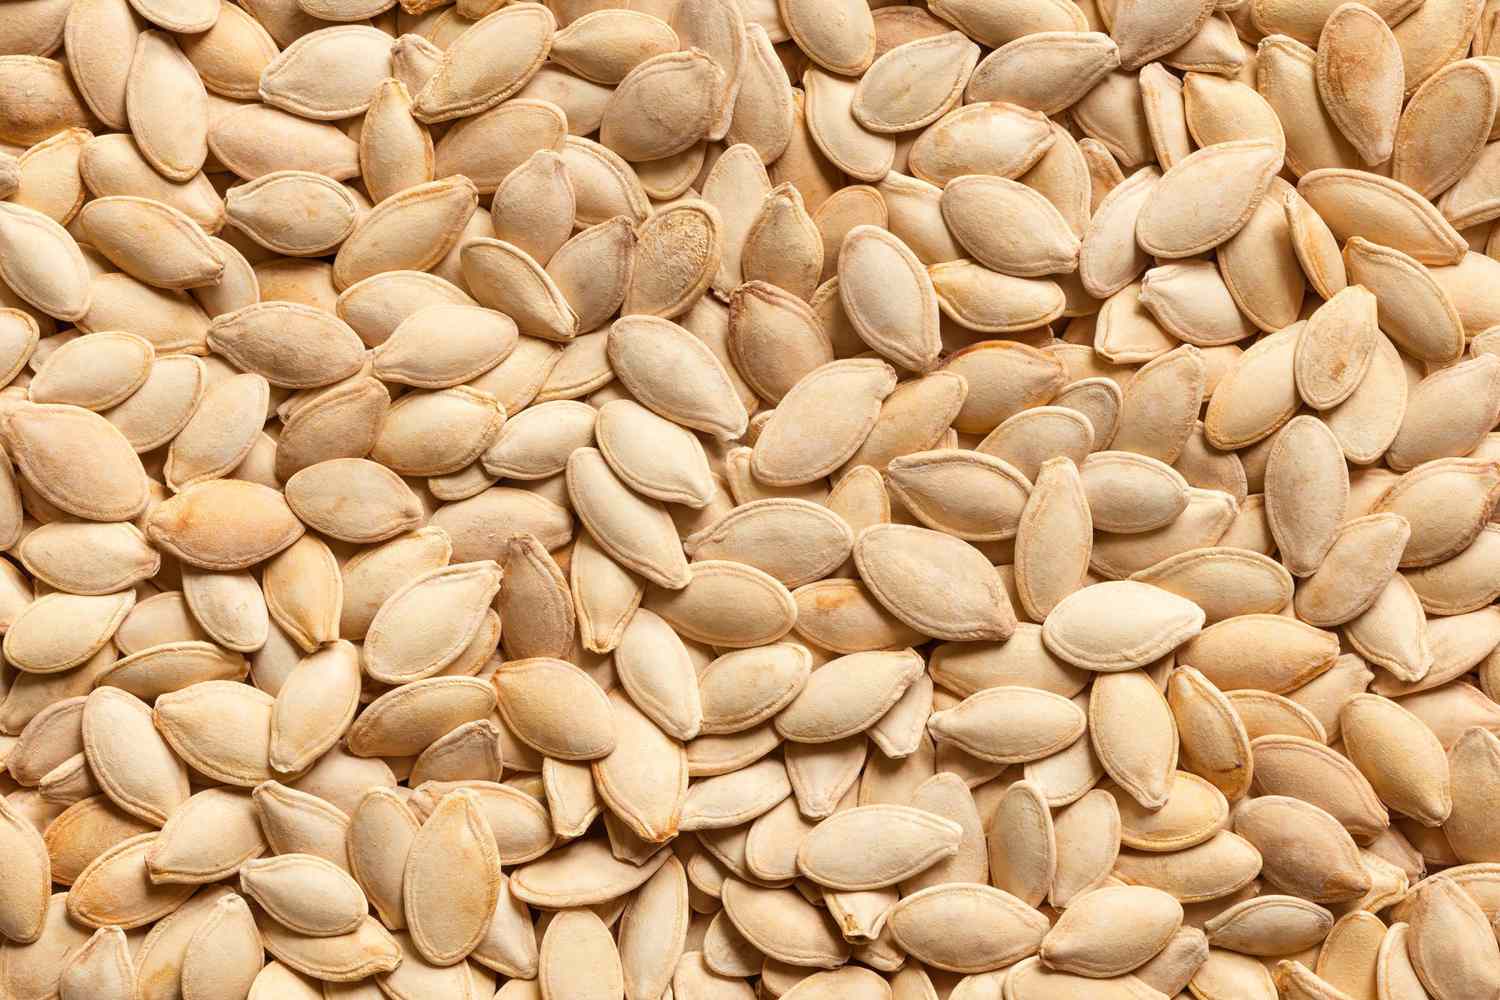
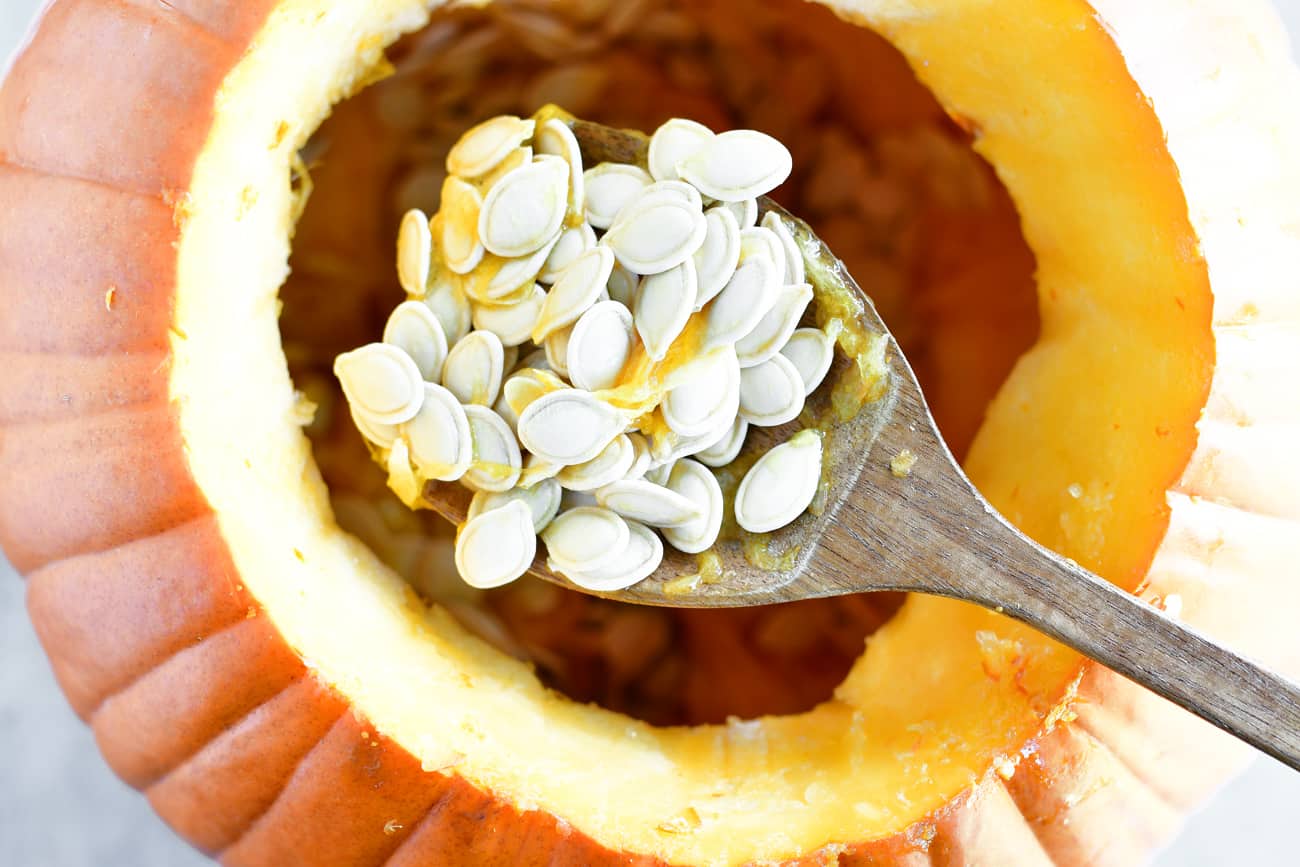
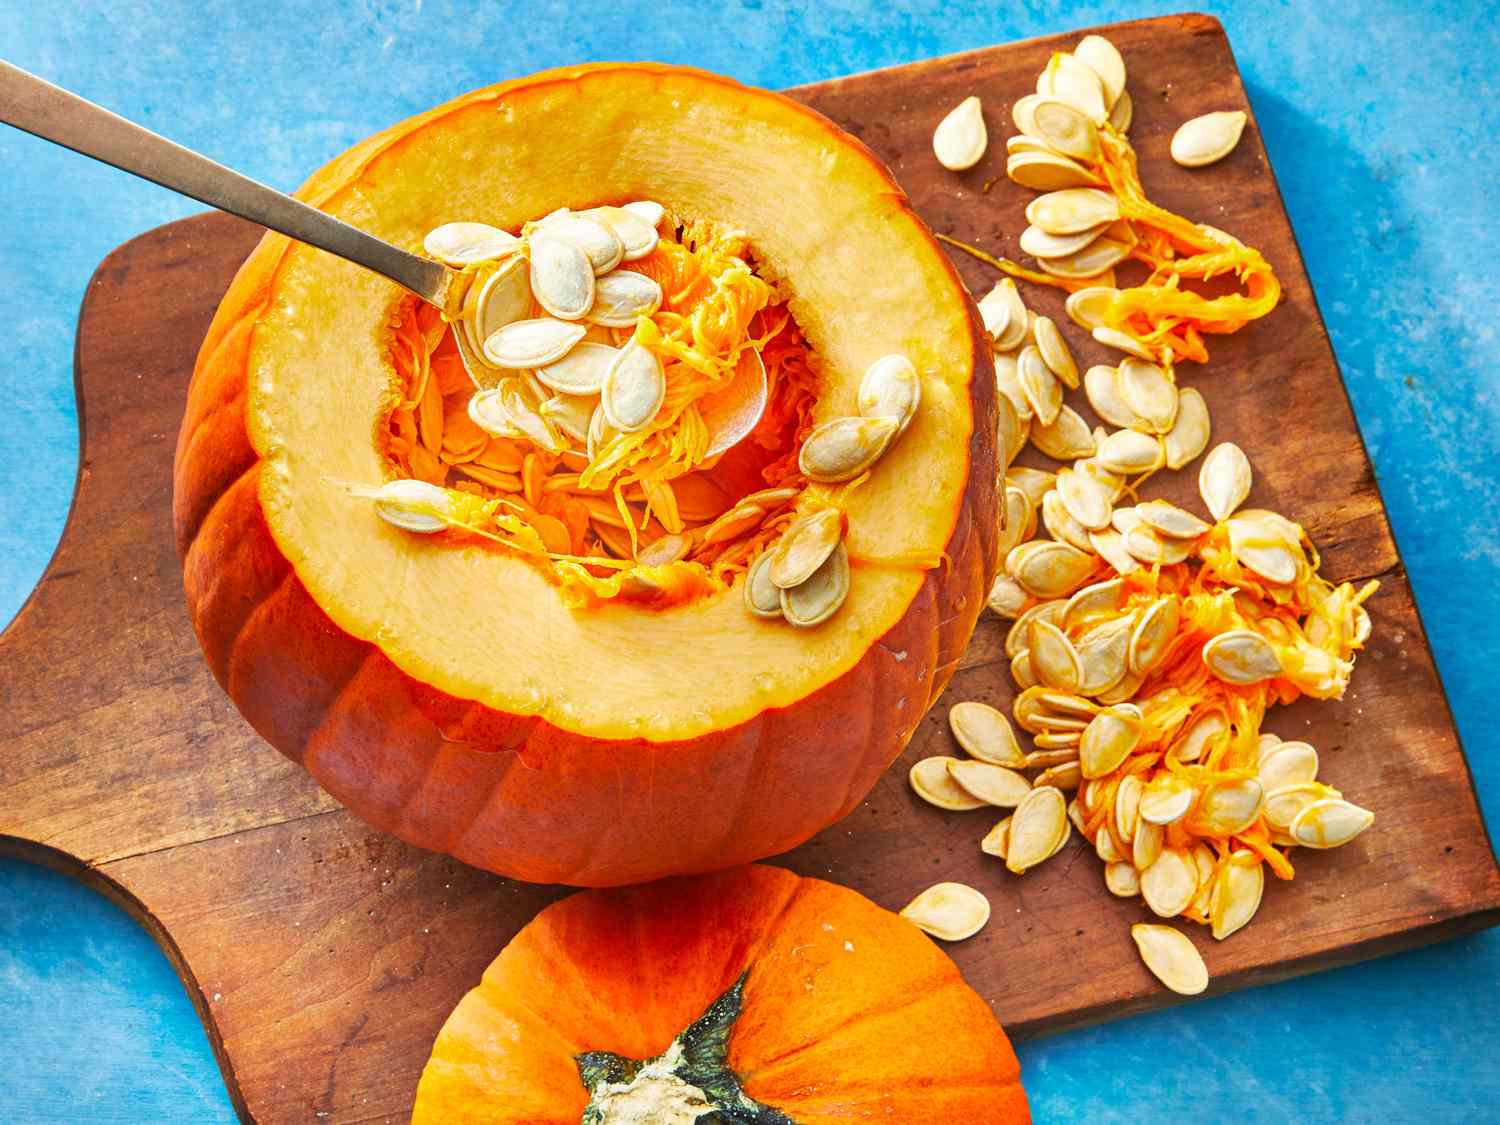
- Scoop out the seeds: Cut open the pumpkin and scoop out the seeds using a spoon or your hands. Place the seeds in a bowl and remove any attached pumpkin flesh.
- Rinse the seeds: Place the seeds in a colander and rinse them under cold running water. Rub them gently to remove any remaining pumpkin pulp. This step is important to ensure that the seeds are clean and free from any debris.
- Pat dry the seeds: After rinsing, spread the seeds out on a clean kitchen towel or paper towel. Gently pat them dry to remove excess moisture. It’s crucial to dry the seeds thoroughly as any remaining moisture can affect the toasting process.
Now that you have selected and cleaned the pumpkin seeds, it’s time to move on to the next step: boiling the seeds to enhance their texture and flavor.
Step 2: Boiling the pumpkin seeds
Boiling pumpkin seeds before toasting them can help improve their texture and ensure they cook evenly. Follow these steps to boil the pumpkin seeds:
- Transfer the cleaned and dried pumpkin seeds to a medium-sized saucepan.
- Add water to the saucepan, using a ratio of 2 cups of water for every 1/2 cup of pumpkin seeds. You can adjust the amount of water depending on the quantity of seeds you have.
- Bring the water to a boil over medium-high heat. Once it comes to a boil, reduce the heat to low and let the seeds simmer for about 10 minutes. This parboiling process will help soften the outer shell and make the seeds easier to digest.
- After 10 minutes, remove the saucepan from the heat and drain the pumpkin seeds using a colander. Discard the water.
- Give the seeds a final rinse under cold water to remove any residual debris.
Now that the pumpkin seeds have been boiled and prepped, it’s time to move on to the toasting process, which will transform them into a delicious and crunchy snack. Read on for step 3: toasting the pumpkin seeds.
Step 3: Toasting the pumpkin seeds
Now that you have boiled and prepared the pumpkin seeds, it’s time to toast them to perfection. Follow these steps to achieve crispy and flavorful toasted pumpkin seeds:
- Preheat your oven: Start by preheating your oven to 350°F (175°C). This ensures that the pumpkin seeds will cook evenly and become nice and crispy.
- Prepare a baking sheet: Line a baking sheet with parchment paper or lightly grease it with cooking spray. This will prevent the pumpkin seeds from sticking to the pan.
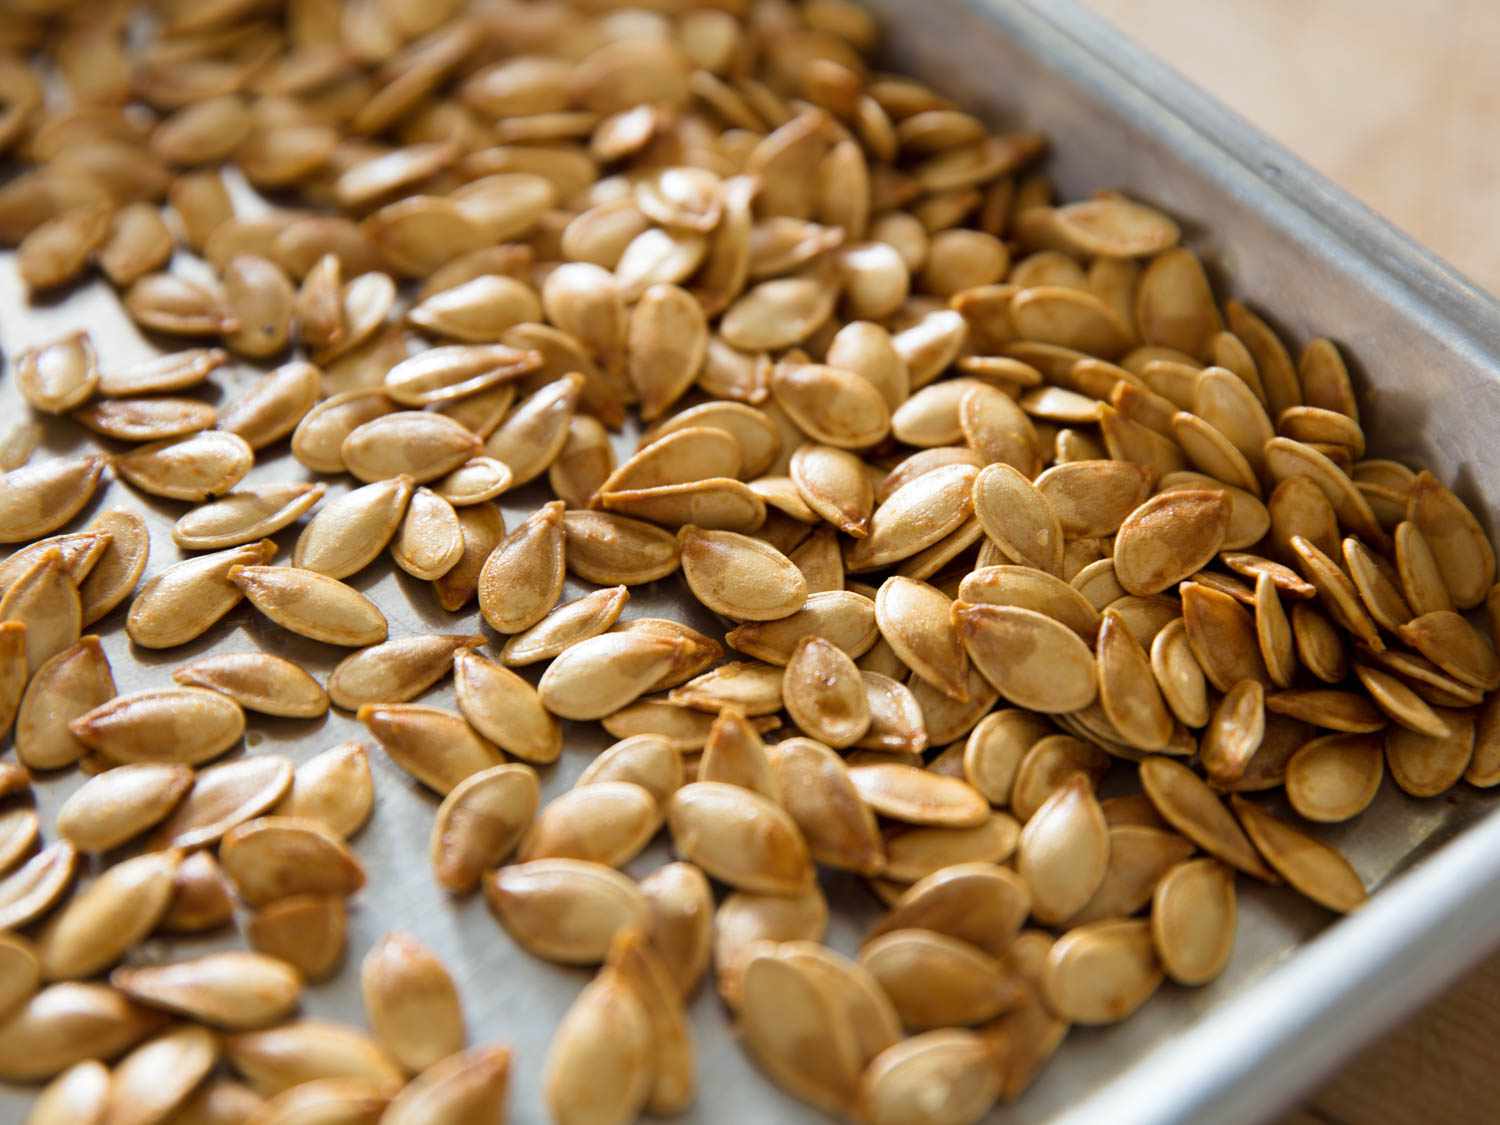
- Spread the pumpkin seeds: Take the drained and rinsed pumpkin seeds and spread them out in an even layer on the prepared baking sheet. Make sure they are spread out and not overlapping each other for even toasting.
- Season the seeds (optional): This is where you can get creative! You can simply sprinkle the seeds with a bit of salt for a classic flavor, or you can experiment with various seasonings such as garlic powder, paprika, cayenne pepper, or even a hint of cinnamon for a sweet and savory twist. Toss the seeds gently to coat them evenly with the desired seasonings.
- Place the baking sheet in the preheated oven: Carefully place the baking sheet with the seasoned pumpkin seeds in the preheated oven. Let them bake for approximately 10-15 minutes, or until they turn golden brown and crispy. Be sure to stir or shake the pan occasionally to prevent the seeds from burning or sticking.
- Check for doneness: To test if the pumpkin seeds are ready, take a small sample and let it cool for a few seconds. If it’s crispy and crunches when you bite into it, the seeds are done. If they still feel soft or chewy, they may need a few more minutes in the oven.
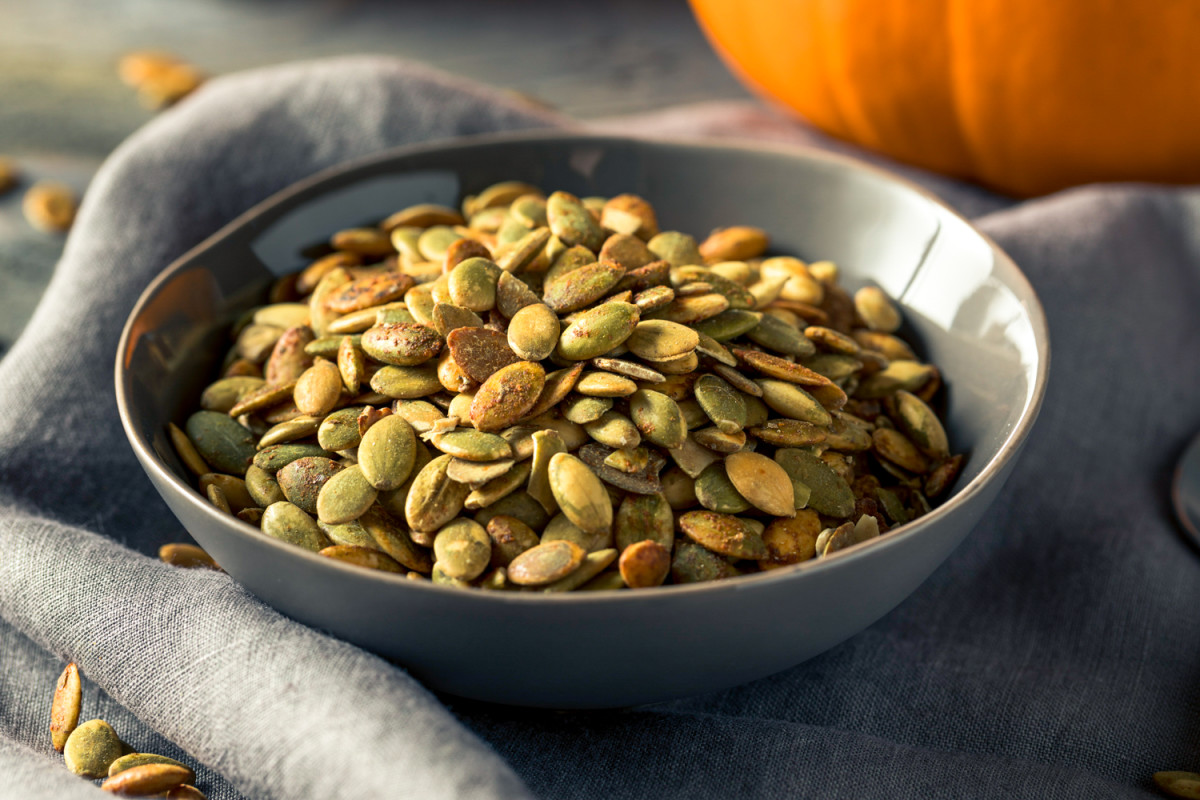
Once the pumpkin seeds are toasted to perfection, remove them from the oven and let them cool completely on the baking sheet. They will continue to crisp up as they cool. Now, let’s move on to the exciting step of adding delicious flavors to your toasted pumpkin seeds.
After removing the seeds from the pumpkin, rinse them and pat them dry. Toss them in a bowl with a little oil and your choice of seasonings, then spread them on a baking sheet and bake at 300°F for 20-30 minutes, stirring occasionally, until golden brown. Enjoy!
Step 4: Flavoring the toasted pumpkin seeds
Now that you have successfully toasted the pumpkin seeds, it’s time to take them to the next level by adding some exciting flavors. Here’s how you can flavor your toasted pumpkin seeds:
- Salt and pepper: For a classic and simple flavor, toss the toasted pumpkin seeds with a sprinkle of salt and freshly ground black pepper. This enhances their natural nuttiness and gives them a satisfying savory taste.
- Spicy kick: If you love a bit of heat, add some spice to your toasted pumpkin seeds. You can sprinkle them with cayenne pepper, paprika, or chili powder for a spicy kick. Adjust the amount of spice according to your preference for a mild or fiery flavor.
- Garlic and herbs: For a fragrant and savory option, toss the toasted pumpkin seeds with garlic powder, dried herbs such as rosemary or thyme, and a pinch of salt. This combination adds a burst of aromatic flavors that pairs well with the nuttiness of the seeds.
- Sweet and cinnamon: For a unique and sweet twist, coat the toasted pumpkin seeds with a mixture of melted butter, honey or maple syrup, and a sprinkle of cinnamon. This creates a delightful blend of sweet and savory flavors that is reminiscent of fall and warmth.
After flavoring the toasted pumpkin seeds, give them a gentle toss or stir to ensure the flavors are evenly distributed. Let them cool completely before transferring them to an airtight container for storage.
Which flavor combination will you choose for your toasted pumpkin seeds? The possibilities are endless, so feel free to get creative and experiment with different seasonings and spices. Now, let’s move on to the final step: storing your delicious toasted pumpkin seeds.
Read more: How To Remove Pumpkin Seed Shell
Step 5: Storing the toasted pumpkin seeds
After spending all that time toasting and flavoring your pumpkin seeds, it’s important to store them properly to maintain their freshness and crunch. Follow these steps to store your toasted pumpkin seeds:
- Cool the seeds completely: Before transferring the toasted pumpkin seeds to a storage container, make sure they have cooled completely. This prevents any moisture buildup that can lead to a loss of crispiness.
- Choose an airtight container: Select a clean, dry, and airtight container for storing your toasted pumpkin seeds. This can be a glass jar, a resealable plastic bag, or airtight plastic or metal containers.
- Place the seeds in the container: Transfer the cooled toasted seeds to the chosen container. Make sure to fill it only about three-quarters full to allow room for air circulation.
- Keep in a cool, dark place: Store the container in a cool, dark, and dry place such as a pantry or cupboard. Avoid storing them near sources of heat or direct sunlight, as they can shorten the shelf life and affect the taste.
- Label and date the container: It’s always a good idea to label the container with the date of storage. This will help you keep track of their freshness and ensure that you consume them within a reasonable timeframe.
Properly stored, toasted pumpkin seeds can stay fresh and flavorful for up to several weeks. However, for the best taste and texture, it’s recommended to consume them within the first few weeks.
When you’re ready to enjoy your toasted pumpkin seeds, you can eat them as a tasty snack on their own, sprinkle them on salads, soups, or yogurt, or use them as a crunchy topping for baked goods. Just be mindful of any allergies or dietary restrictions when incorporating them into your recipes.
Now that you know how to toast, flavor, and store pumpkin seeds, you can confidently turn those leftover seeds into a delicious and nutritious treat. Enjoy the process and savor the end result – crispy, flavorful toasted pumpkin seeds that will satisfy your snacking desires!
Happy toasting!
Conclusion
Congratulations! You have reached the end of this comprehensive guide on how to toast shelled pumpkin seeds. By following the step-by-step instructions, you have learned how to transform ordinary pumpkin seeds into a delightful and nutritious snack.
From selecting and cleaning the pumpkin seeds to boiling, toasting, flavoring, and storing them, each step is crucial in ensuring the best results. Toasted pumpkin seeds are not only a delicious and crispy treat, but they are also packed with essential nutrients like protein, healthy fats, magnesium, zinc, and antioxidants.
Remember to get creative with flavors by experimenting with different seasonings and spices. Whether you prefer the classic salt and pepper combination or venture into the realm of sweet and savory with maple syrup and cinnamon, there is a flavor profile for everyone.
Once your toasted pumpkin seeds are ready, make sure to store them in an airtight container in a cool, dry place. This will help them retain their freshness and crunchiness for a longer period of time.
Whether you enjoy them as a standalone snack, use them as a topping for various dishes, or incorporate them into your favorite recipes, toasted pumpkin seeds offer a delightful and versatile option.
So, the next time you find yourself with a pile of pumpkin seeds after carving a pumpkin or preparing fresh pumpkin puree, don’t throw them away. Instead, follow this guide and enjoy the experience of transforming them into a delicious and nutritious snack.
Thank you for joining us on this pumpkin seed toasting journey. Happy toasting, and may your toasted pumpkin seeds bring joy and delight to your taste buds!
Frequently Asked Questions about How To Toast Shelled Pumpkin Seeds
Was this page helpful?
At Storables.com, we guarantee accurate and reliable information. Our content, validated by Expert Board Contributors, is crafted following stringent Editorial Policies. We're committed to providing you with well-researched, expert-backed insights for all your informational needs.


0 thoughts on “How To Toast Shelled Pumpkin Seeds”