Home>Construction & Tools>Building Materials>How To Fix A Brick Wall

Building Materials
How To Fix A Brick Wall
Modified: March 9, 2024
Learn how to fix a brick wall using the right building materials and techniques. Our expert guide will help you restore your wall with ease. Discover the best methods for repairing brick walls.
(Many of the links in this article redirect to a specific reviewed product. Your purchase of these products through affiliate links helps to generate commission for Storables.com, at no extra cost. Learn more)
Introduction
Welcome to the comprehensive guide on how to fix a brick wall. Whether you're a seasoned DIY enthusiast or a novice looking to tackle your first home improvement project, this article will equip you with the knowledge and skills needed to restore the integrity and aesthetics of your brick wall.
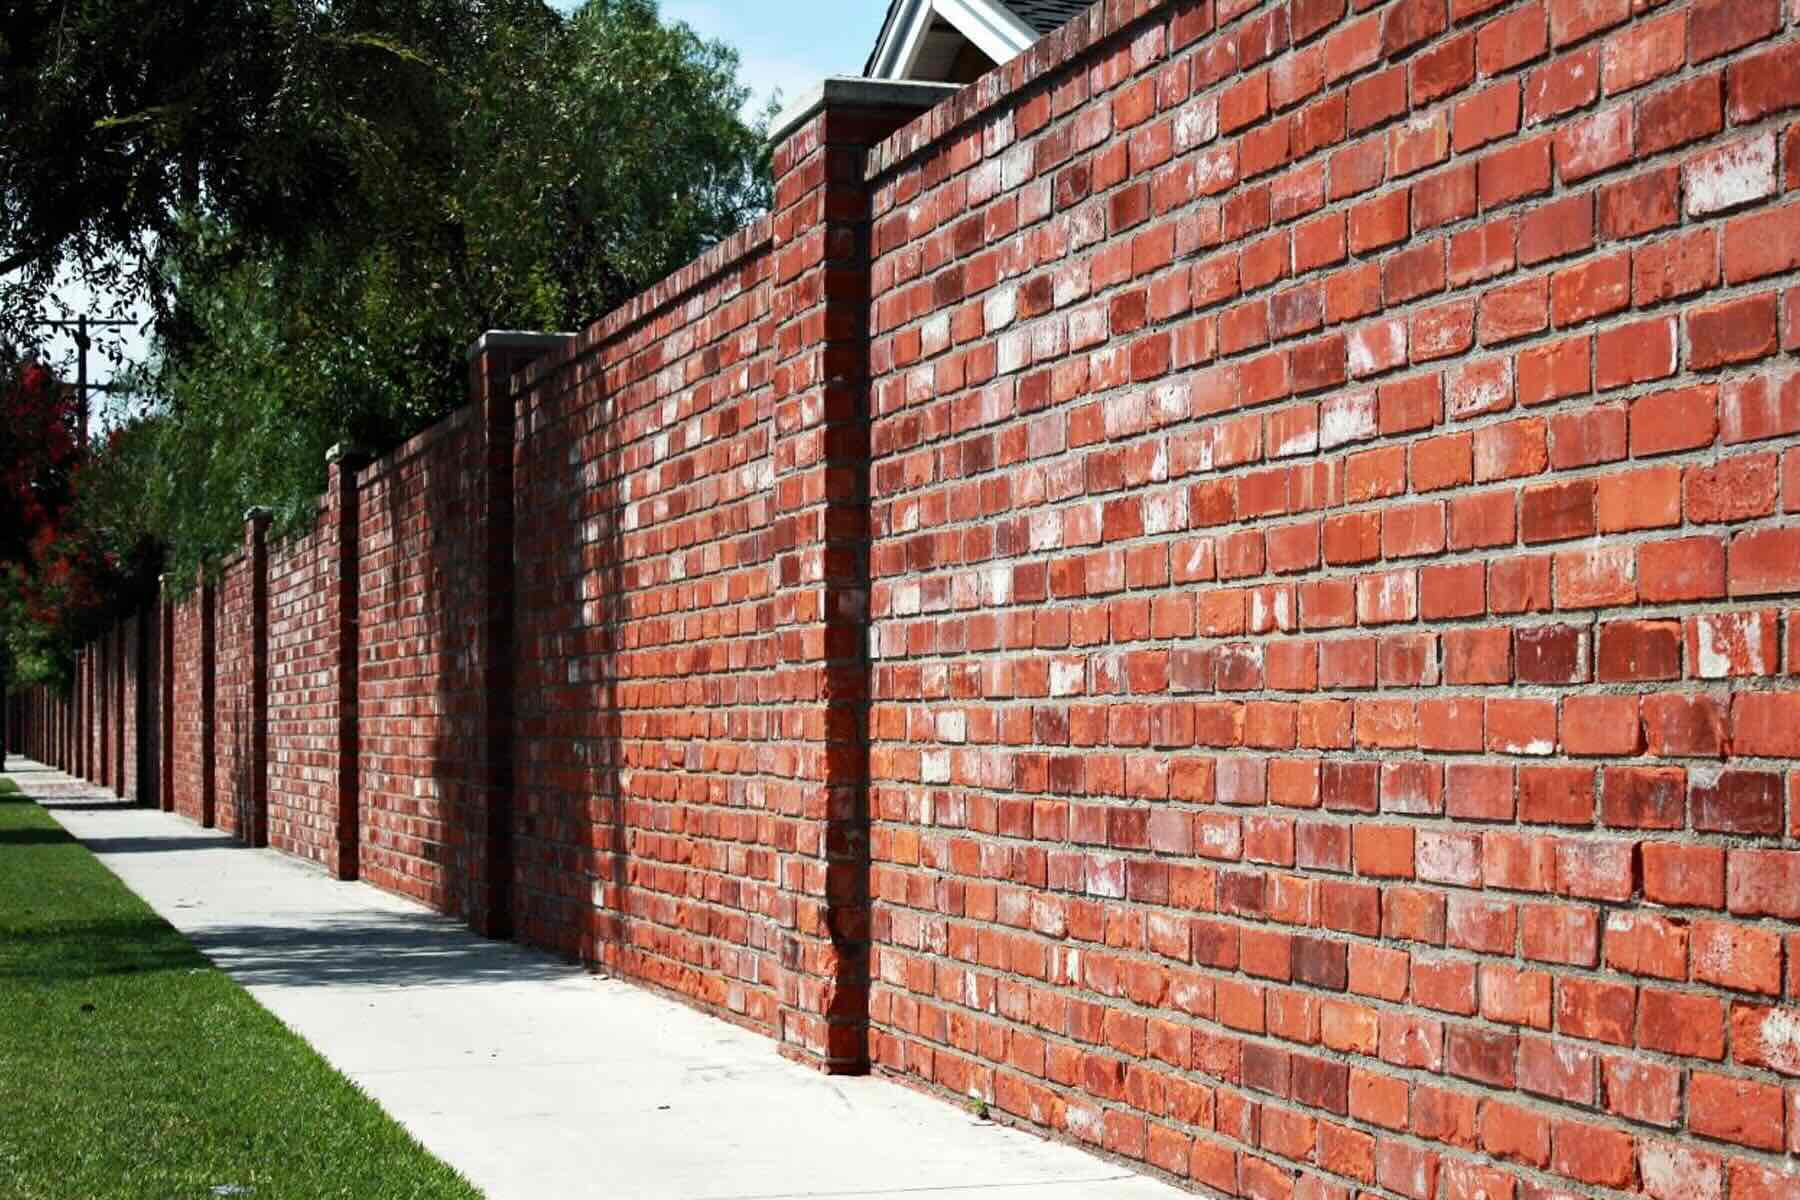
Brick walls are renowned for their durability and timeless appeal, but over time, they may succumb to wear and tear, weather damage, or structural issues. The good news is that with the right approach and a bit of elbow grease, you can breathe new life into your brick wall, enhancing its strength and visual allure.
Throughout this guide, we'll delve into the step-by-step process of assessing the damage, gathering the necessary materials and tools, and executing the repair with precision. From removing damaged bricks to mixing and applying mortar, each stage is crucial to achieving a seamless and long-lasting restoration.
Whether you're addressing minor cracks or undertaking a more extensive repair, this guide will provide you with the insights and techniques required to navigate the task with confidence. By the end, you'll be well-prepared to take on the challenge of fixing your brick wall, revitalizing its structural integrity and enhancing the charm of your living space. So, roll up your sleeves and let's dive into the art of brick wall restoration.
Key Takeaways:
- Assess the damage and gather the right materials and tools before fixing a brick wall. This sets the stage for a successful restoration and ensures a seamless transition from damage to renewal.
- Carefully remove damaged bricks, prepare the area, and apply mortar with precision. This meticulous approach ensures a visually cohesive and enduring repair, celebrating the timeless allure of brickwork.
Read more: How To Fix A Brick Wall That Is Separating
Assessing the Damage
Before diving into the repair process, it’s essential to thoroughly assess the extent of the damage to your brick wall. This initial step will guide the subsequent actions and ensure that the repair is tailored to the specific needs of your wall.
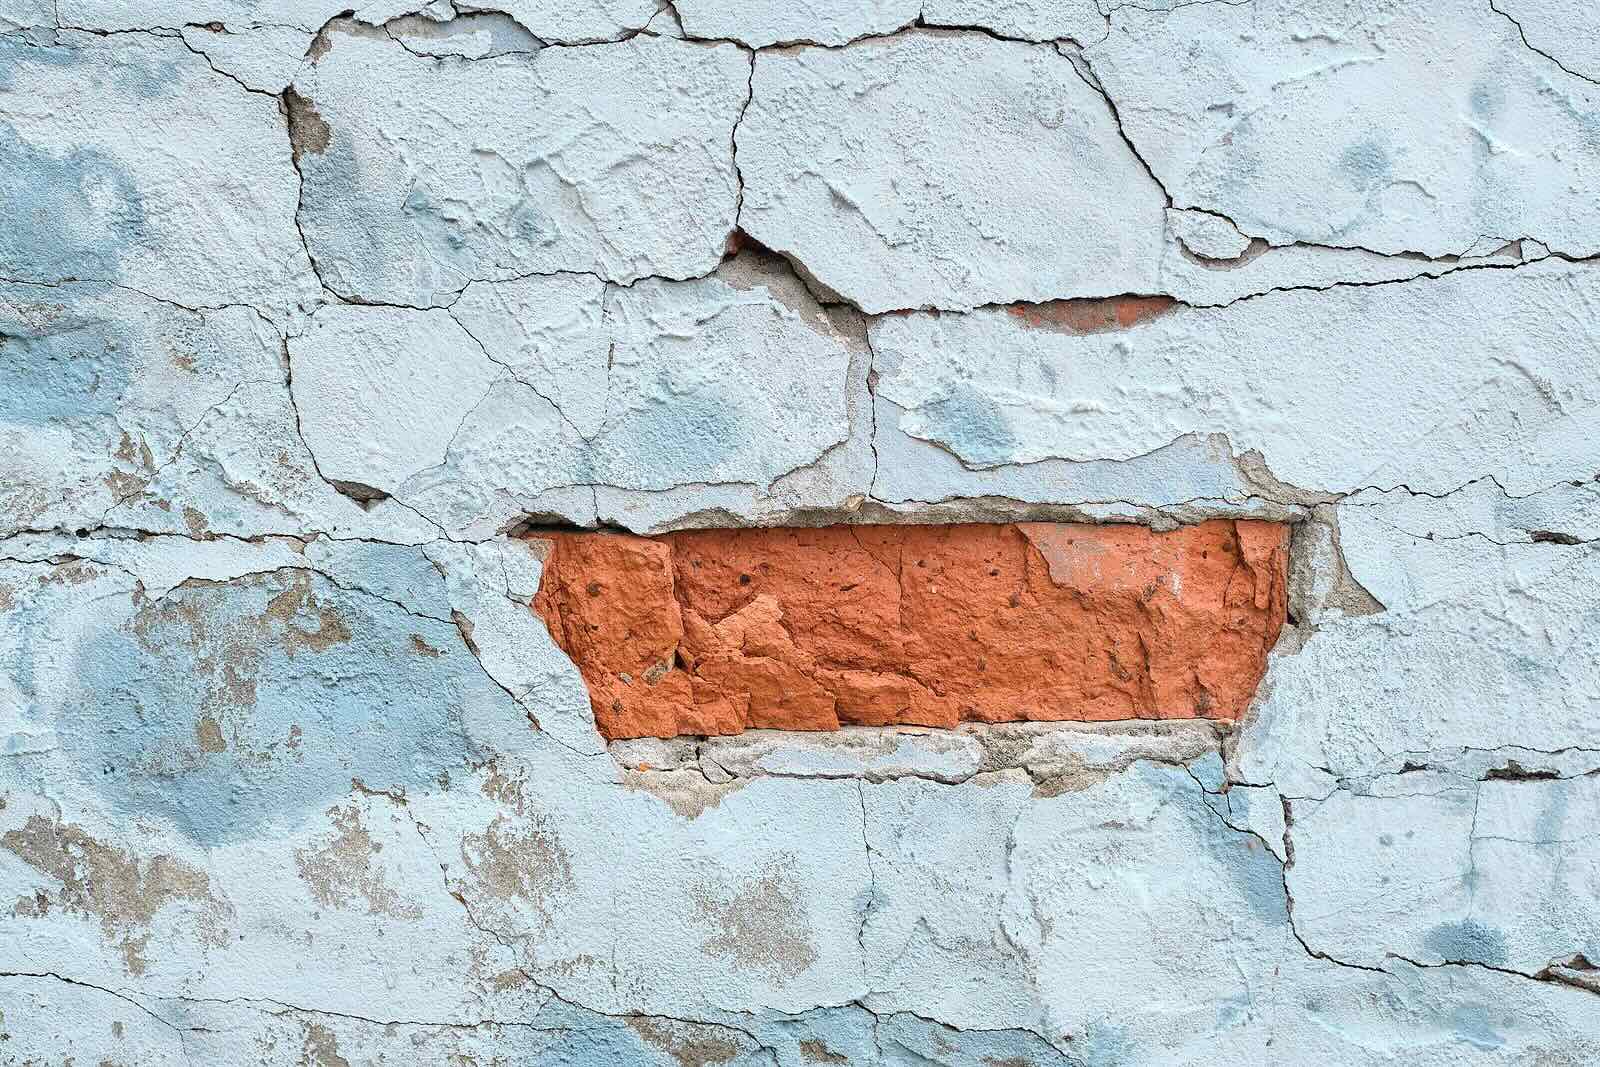
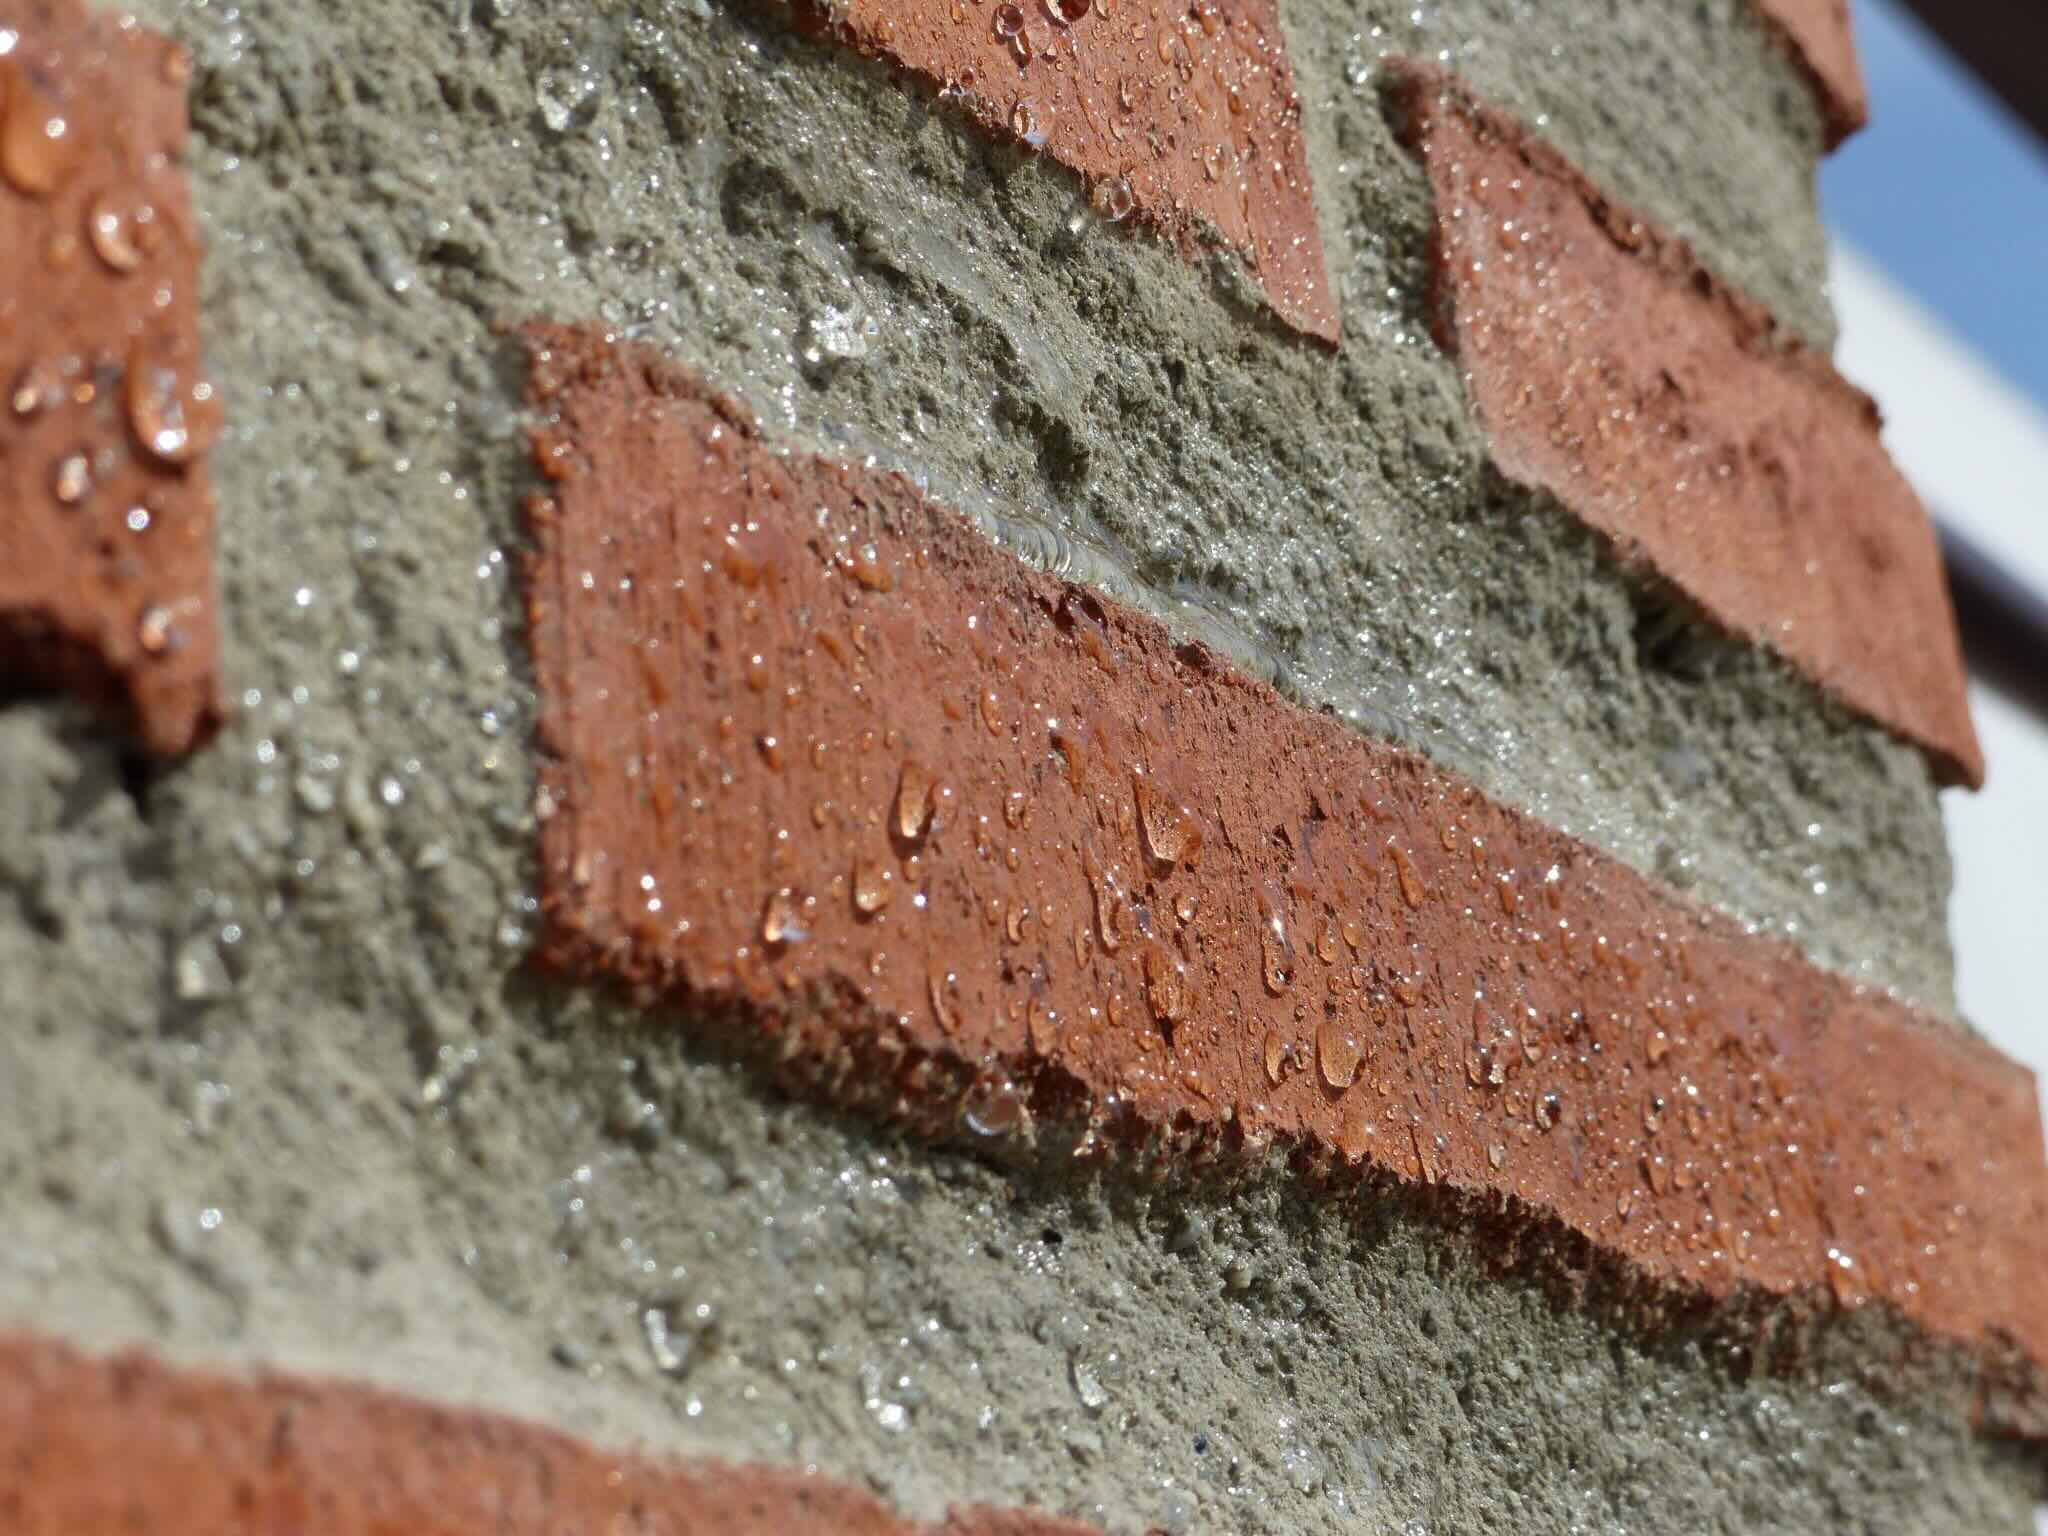
Start by conducting a visual inspection of the brick wall, paying close attention to any visible cracks, spalling, or areas of discoloration. Additionally, check for signs of water damage, such as efflorescence or damp spots, as these can indicate underlying issues that need to be addressed.
Next, gently tap the bricks with a rubber mallet to identify any hollow-sounding areas, which could signify loose or deteriorating bricks. Additionally, inspect the mortar joints for signs of erosion, crumbling, or gaps that may compromise the wall’s stability.
It’s also crucial to consider the broader context of the damage. For instance, if the wall is located in a region prone to seismic activity or extreme weather, the repair approach may need to account for these factors to ensure long-term resilience.
Once you’ve assessed the visible damage, consider seeking professional guidance if the issues appear complex or extensive. Consulting a qualified mason or structural engineer can provide valuable insights and ensure that the repair process aligns with industry best practices.
By thoroughly assessing the damage, you’ll gain a clear understanding of the repair requirements and be better equipped to proceed with confidence. This proactive approach sets the stage for a successful restoration, laying the groundwork for the subsequent steps in the repair process.
Gathering Materials and Tools
With a comprehensive understanding of the damage to your brick wall, the next step is to gather the necessary materials and tools for the repair process. Equipping yourself with the right resources is essential for executing the restoration with precision and efficiency.
Here’s a list of essential materials and tools you’ll need:
Materials:
- Replacement bricks: Ensure that the size, color, and texture closely match the existing bricks in your wall for a seamless finish.
- Mortar mix: Choose a high-quality mortar mix suitable for brick repairs, considering factors such as weather resistance and load-bearing capabilities.
- Water: For mixing the mortar to the appropriate consistency.
- Masonry cleaner: If your wall requires cleaning before the repair, select a suitable masonry cleaner to remove dirt, grime, and efflorescence.
- Protective sealant: Consider applying a protective sealant to the repaired area to enhance durability and weather resistance.
Tools:
- Chisel and hammer: For carefully removing damaged bricks and mortar.
- Masonry trowel: Essential for applying the mortar with precision and smoothing it to the desired finish.
- Joint raker: Useful for removing deteriorated mortar from the joints, preparing them for re-pointing.
- Wire brush: Ideal for cleaning and prepping the brick and mortar surfaces.
- Safety gear: Including gloves, safety goggles, and a dust mask to protect yourself during the repair process.
Before starting the repair, ensure that you have all the necessary materials and tools readily available. This proactive approach minimizes interruptions during the process, allowing you to focus on the task at hand and maintain a consistent workflow.
By gathering the right materials and tools, you’re setting the stage for a well-prepared and successful brick wall repair. With everything in place, you’re ready to embark on the next steps, bringing your vision of a restored and resilient brick wall to fruition.
Read more: How To Fix A Crumbling Brick Wall
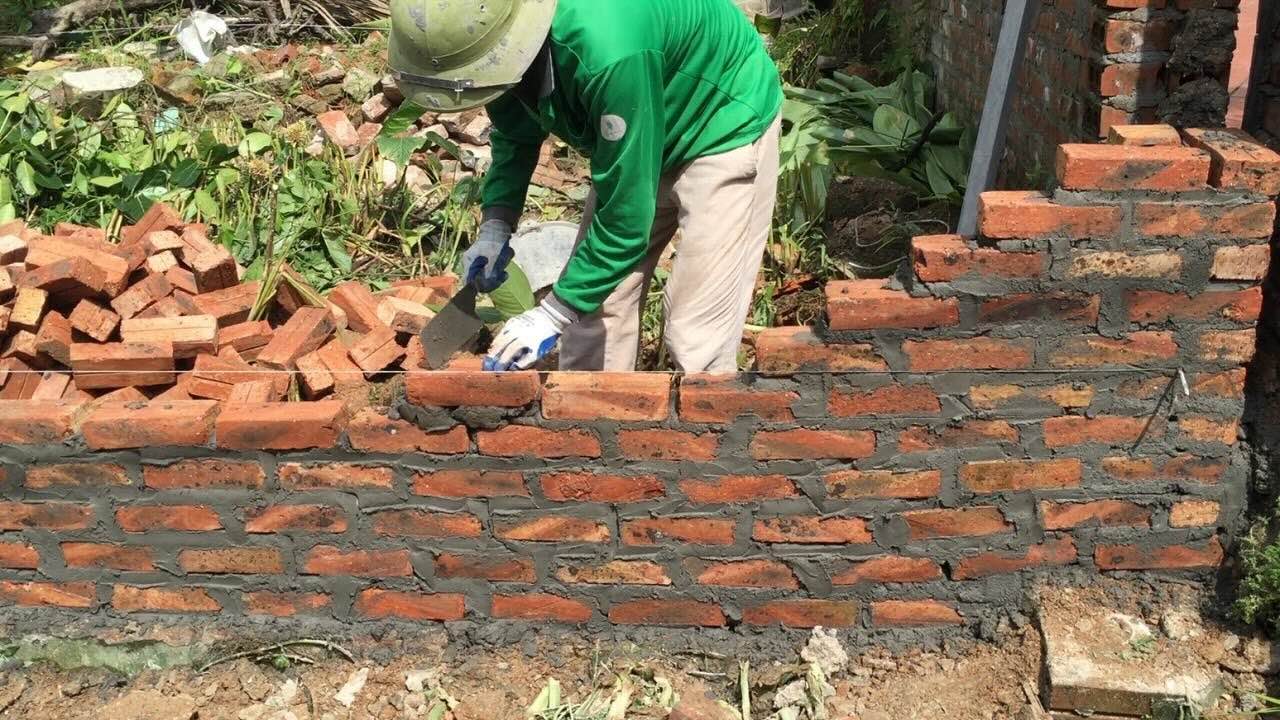
Removing Damaged Bricks
Once you’ve gathered the necessary materials and tools, it’s time to roll up your sleeves and begin the repair process by removing the damaged bricks. This step requires precision and care to ensure that the surrounding structure remains intact and ready for the replacement bricks.
Start by carefully examining the damaged bricks and their surrounding mortar joints. Use a chisel and hammer to gently chip away the mortar surrounding the damaged bricks. Take your time to avoid causing unnecessary stress to the adjacent bricks and the surrounding mortar. Once the mortar is sufficiently loosened, carefully pry out the damaged bricks using the chisel and hammer.
When removing the bricks, pay attention to any signs of deterioration or damage in the surrounding area. If you notice compromised mortar or additional bricks showing signs of wear, consider addressing these issues before proceeding with the replacement process. This proactive approach ensures that the repaired section integrates seamlessly with the rest of the wall, promoting its structural integrity.
As you remove the damaged bricks, take note of their orientation and the pattern in which they were laid. This information will be invaluable when it comes time to replace the bricks, ensuring that the new ones align harmoniously with the existing structure.
Throughout the removal process, prioritize safety by wearing appropriate protective gear, including gloves and safety goggles. Additionally, be mindful of the surrounding environment, taking care to contain and dispose of the removed bricks and mortar debris responsibly.
By approaching the removal of damaged bricks with patience and precision, you’re laying a solid foundation for the subsequent stages of the repair process. With the damaged bricks safely removed, you’re ready to transition to the next critical phase: preparing the area for the replacement bricks and mortar.
Preparing the Area
With the damaged bricks successfully removed, the next crucial step in the brick wall repair process is preparing the area for the installation of replacement bricks and mortar. This phase sets the stage for a seamless and durable restoration, ensuring that the new components integrate harmoniously with the existing structure.
Begin by meticulously cleaning the exposed brick and mortar surfaces in the repair area. Use a wire brush to remove any residual mortar, dirt, or debris, ensuring that the surfaces are clean and free from impediments. This preparatory step is essential for promoting strong adhesion and a uniform finish when installing the replacement bricks and applying the new mortar.
After cleaning the surfaces, assess the condition of the mortar joints in the surrounding area. If the existing mortar shows signs of erosion or damage, it may be necessary to re-point these joints to fortify the overall integrity of the wall. Using a joint raker, carefully remove the deteriorated mortar, taking care not to disturb the adjacent bricks. Once the joints are cleaned and prepared, they’ll be ready for the application of fresh mortar during the replacement process.
As you prepare the area, pay close attention to the alignment and spacing of the surrounding bricks. Ensuring that the replacement bricks fit snugly and align seamlessly with the existing structure is crucial for achieving a visually cohesive and structurally sound repair. Take the time to assess the layout and orientation of the adjacent bricks, making any necessary adjustments to accommodate the replacement bricks.
Throughout the preparatory phase, maintain a keen focus on safety and precision. Wear appropriate protective gear, including gloves and safety goggles, and work methodically to create a clean and well-prepared canvas for the subsequent stages of the repair process.
By diligently preparing the repair area, you’re setting the stage for a successful and enduring restoration of your brick wall. With the surfaces cleaned, the mortar joints fortified, and the layout meticulously assessed, you’re ready to proceed to the pivotal stage of installing the replacement bricks and applying the new mortar.
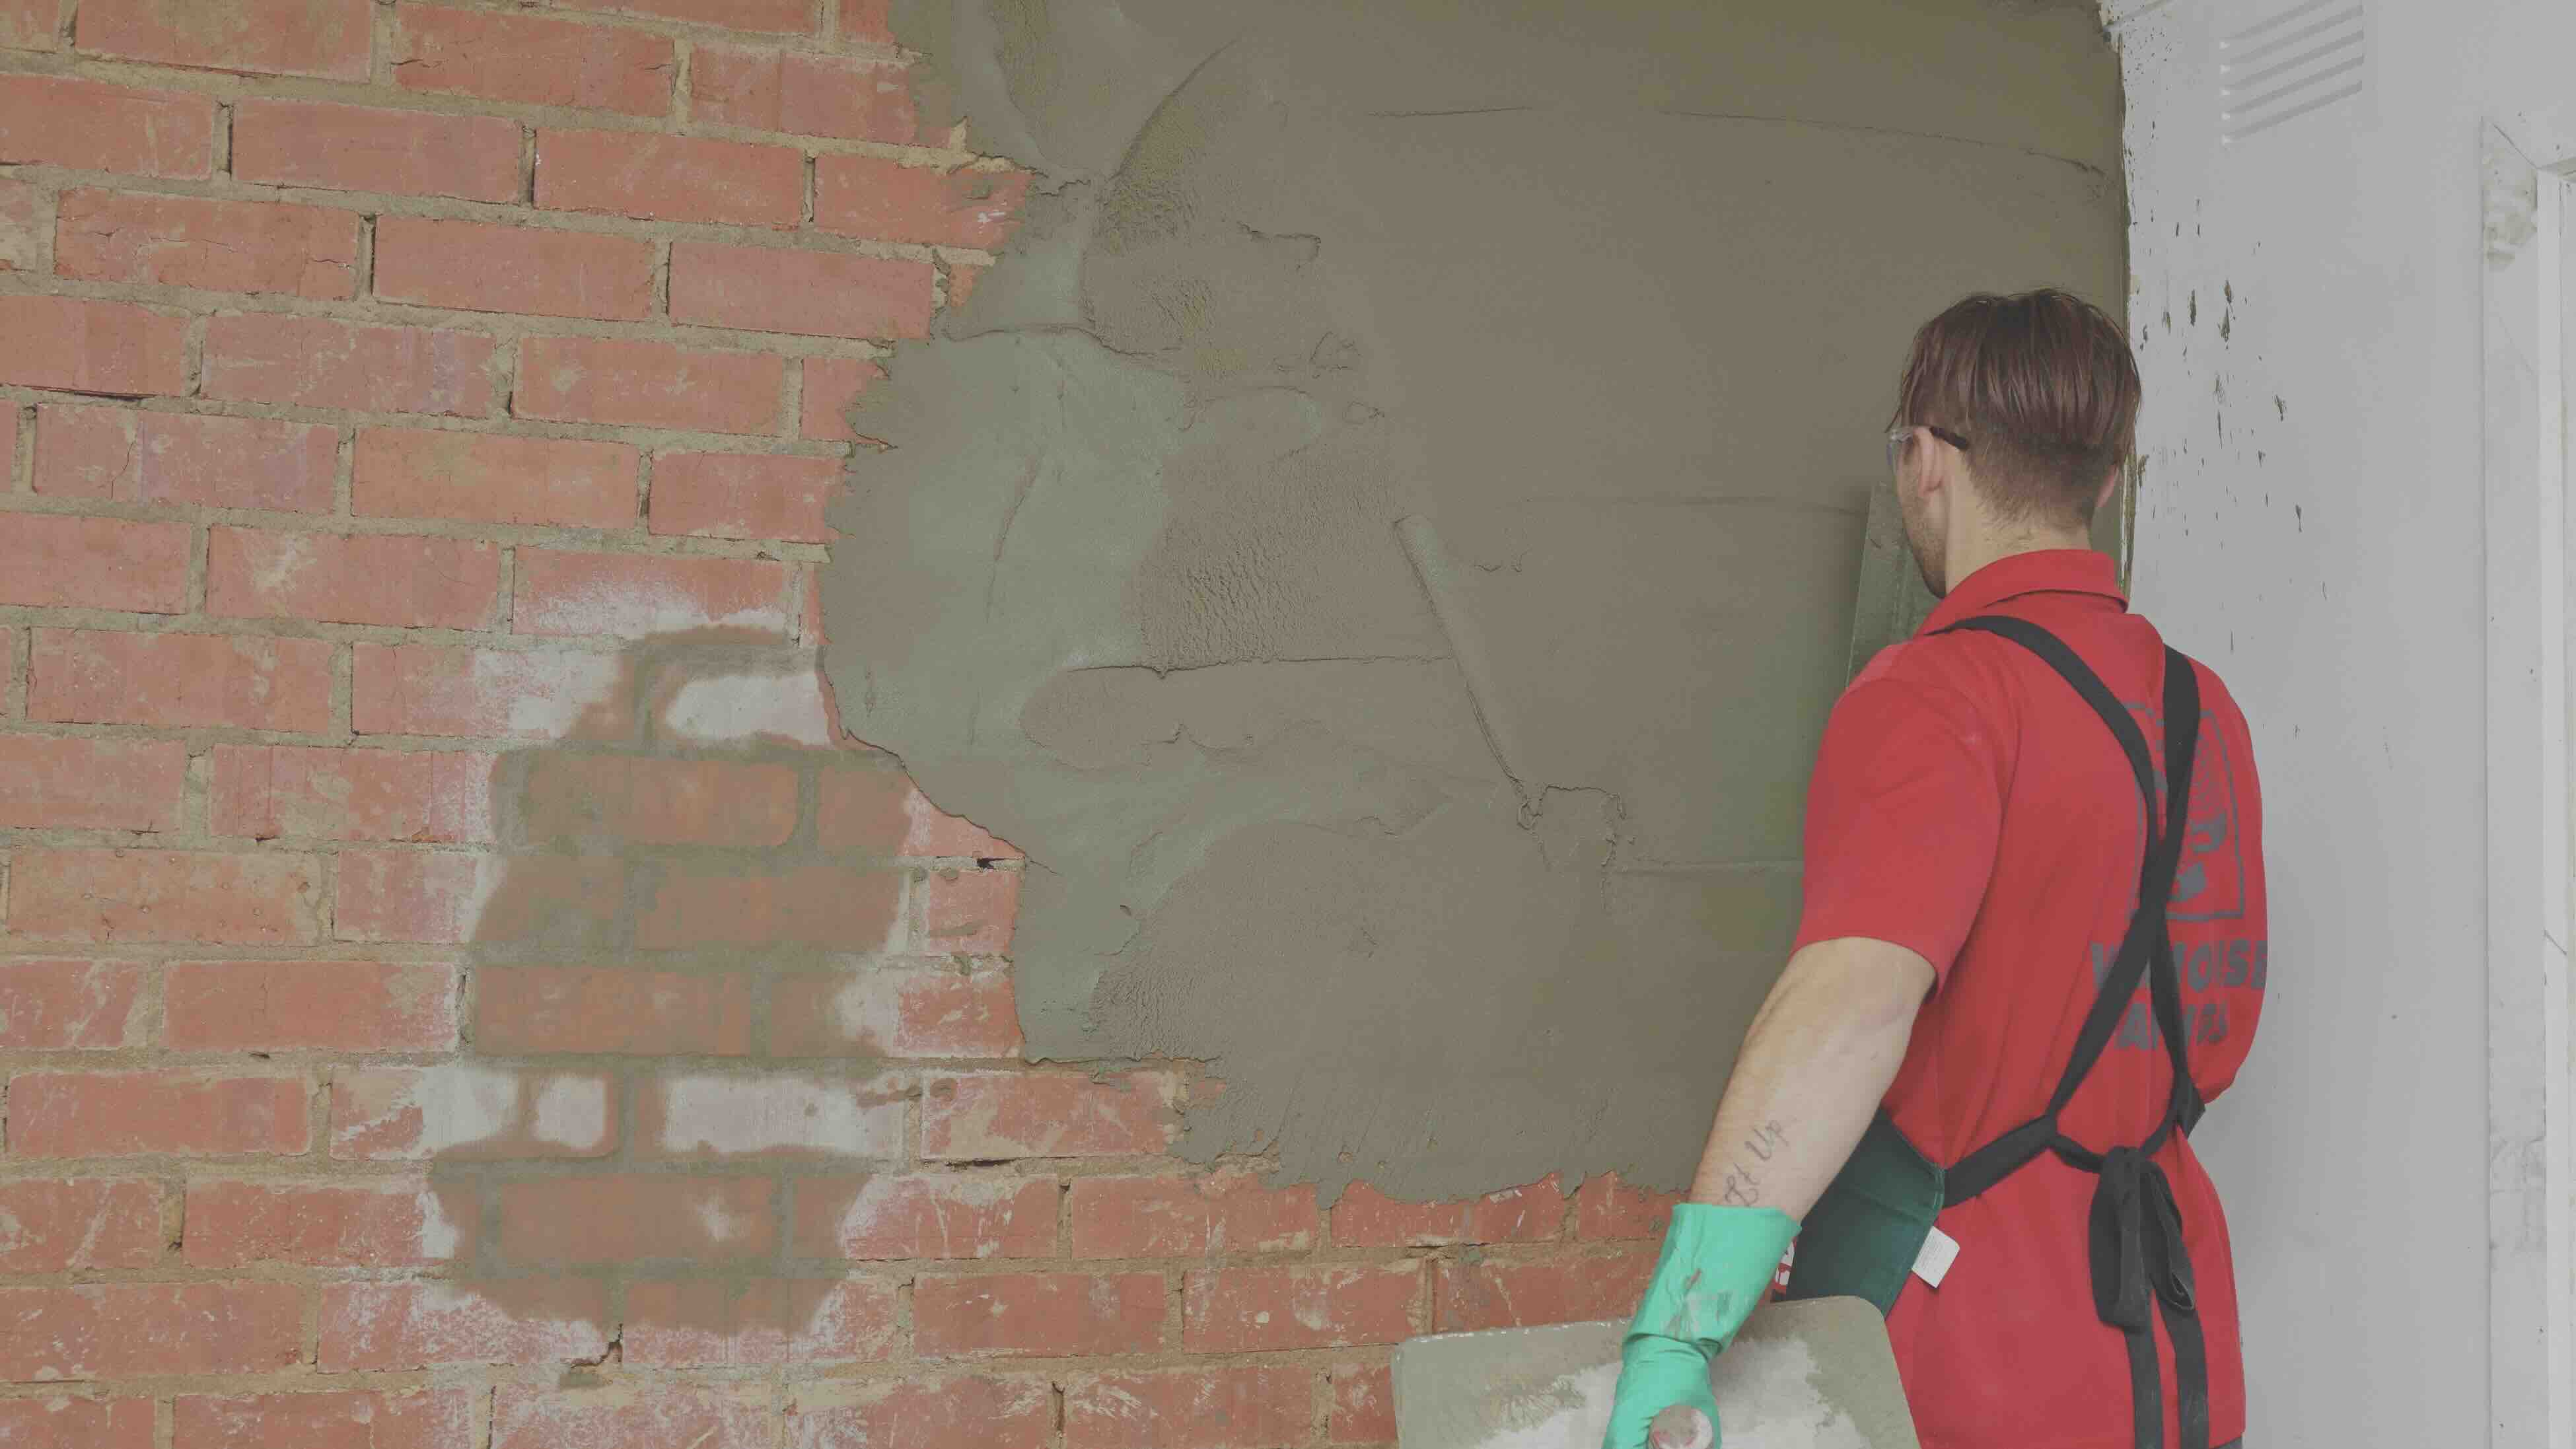
Mixing and Applying Mortar
As you embark on the journey of restoring your brick wall, the meticulous process of mixing and applying mortar plays a pivotal role in ensuring a durable and visually appealing repair. Properly mixed and applied mortar not only provides structural support but also contributes to the overall aesthetic integrity of the wall.
Begin by selecting a high-quality mortar mix that aligns with the specifications required for brick repairs. Consider factors such as weather resistance, load-bearing capabilities, and color consistency to ensure a seamless blend with the existing mortar. Follow the manufacturer’s guidelines for mixing the mortar, paying close attention to the water-to-mix ratio to achieve the desired consistency.
Once the mortar is mixed to the appropriate texture, use a masonry trowel to apply a generous amount to the cleaned and prepared surfaces within the repair area. Spread the mortar evenly, ensuring that it fills the spaces left by the removed bricks and interfaces smoothly with the existing mortar joints. Take care to maintain a consistent thickness of mortar to support the replacement bricks effectively.
When applying the mortar, strive for precision and uniformity, as these factors are essential for creating a seamless transition between the existing and replacement components of the wall. Smooth the mortar with the masonry trowel, ensuring that it aligns flush with the surrounding surfaces and complements the overall texture of the wall.
As you work with the mortar, be mindful of the weather conditions, particularly temperature and humidity, as these factors can influence the setting and curing process. If necessary, take measures to protect the freshly applied mortar from adverse weather conditions to promote optimal curing and adhesion.
Throughout the mixing and application of mortar, maintain a keen eye for detail and craftsmanship. By approaching this phase with care and precision, you’re laying the groundwork for a resilient and visually cohesive repair. With the mortar skillfully applied, you’re ready to transition to the next critical stage: replacing the bricks to complete the restoration of your brick wall.
To fix a brick wall, start by cleaning the damaged area and removing any loose bricks or mortar. Then, mix a new batch of mortar and carefully replace the bricks, making sure they are level and secure. Finally, let the mortar dry completely before applying any finishing touches.
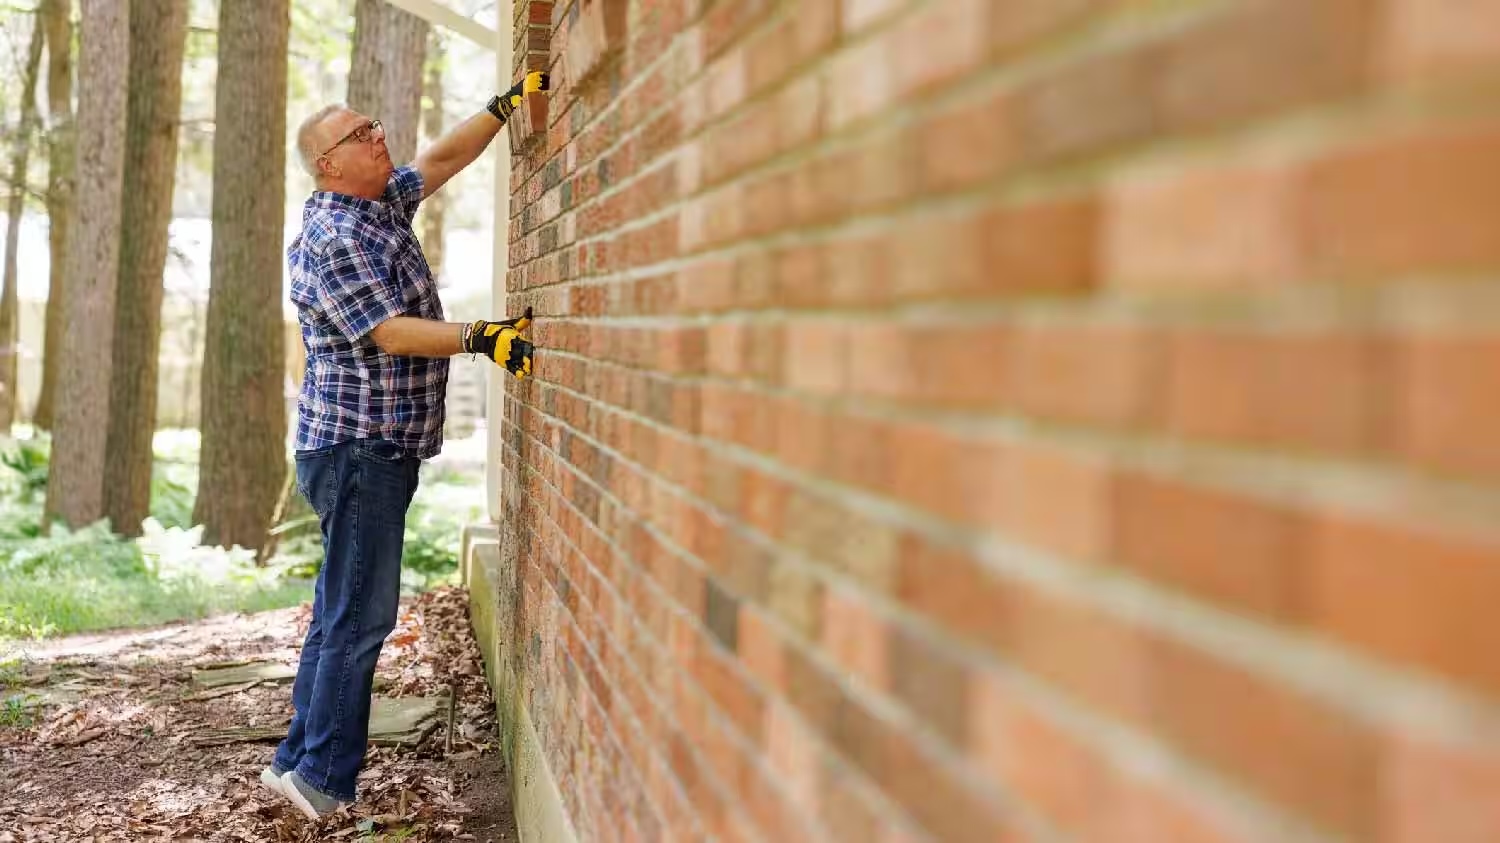
Replacing Bricks
With the mortar skillfully applied, the pivotal moment of replacing the bricks arrives, marking a significant stride in the restoration of your brick wall. This phase demands precision, attention to detail, and a keen eye for alignment to seamlessly integrate the replacement bricks with the existing structure.
Begin by carefully placing the replacement bricks into the prepared areas, ensuring a snug fit and alignment with the surrounding bricks. Take note of the orientation and pattern of the adjacent bricks, aiming to replicate their layout to maintain visual continuity and structural integrity. As you position each brick, press it gently into the mortar bed, allowing it to set securely while maintaining a consistent joint width.
As you progress with the brick replacement, periodically step back to assess the alignment and aesthetic harmony of the newly installed bricks within the context of the entire wall. This reflective approach allows for adjustments as needed, ensuring that the replacement bricks seamlessly blend with the existing ones, creating a cohesive and visually pleasing result.
Throughout the replacement process, prioritize the uniformity of joint spacing and the flush integration of the replacement bricks with the surrounding structure. This attention to detail contributes to the overall strength and visual appeal of the restored wall, reflecting the craftsmanship and care invested in the repair.
After all replacement bricks are securely in place, use a masonry brush or jointing tool to finish the mortar joints, ensuring a smooth and consistent texture that complements the overall aesthetic of the wall. This final touch not only enhances the visual appeal but also contributes to the durability and weather resistance of the repair.
As you complete the replacement of the bricks, take a moment to appreciate the transformation taking place before your eyes. The restoration of your brick wall reflects not only a commitment to structural integrity but also a celebration of craftsmanship and the timeless allure of brickwork.
With the replacement bricks seamlessly integrated and the mortar joints expertly finished, the final stages of the repair process come into view, bringing you one step closer to the completion of your brick wall restoration.
Read more: How To Render A Brick Wall
Finishing Touches
As the restoration of your brick wall nears completion, the application of finishing touches serves as the crowning moment, adding finesse and durability to the repair. These final steps not only elevate the visual appeal of the restored wall but also contribute to its long-term resilience and weather resistance.
Begin by thoroughly cleaning the repaired area to remove any residual mortar, dust, or debris. A gentle rinse with water and a soft-bristled brush can help achieve a clean and polished surface, allowing the true beauty of the restored brickwork to shine through.
Following the cleaning process, consider applying a protective sealant to the repaired section of the wall. A high-quality masonry sealant can safeguard the mortar and bricks from moisture, UV exposure, and environmental elements, enhancing the longevity and durability of the repair.
As you apply the sealant, ensure that it is distributed evenly and allowed to cure according to the manufacturer’s recommendations. This proactive measure fortifies the repaired area, providing an additional layer of defense against the effects of weather and time.
Once the sealant has cured, take a moment to step back and admire the transformation that has taken place. The restored brick wall stands as a testament to your dedication to preserving its integrity and timeless appeal, ready to grace your living space for years to come.
Throughout the finishing touches, maintain a focus on craftsmanship and attention to detail, ensuring that every aspect of the repair reflects your commitment to excellence. By infusing the final stages of the restoration with care and precision, you’re not only enhancing the visual allure of the wall but also fortifying its resilience for the future.
With the finishing touches applied, the journey of restoring your brick wall draws to a close, leaving behind a revitalized and enduring testament to the timeless beauty of brickwork. As you stand back to admire the completed repair, take pride in knowing that your efforts have preserved the structural integrity and aesthetic charm of this architectural treasure.
With the restoration journey now concluded, your revitalized brick wall stands as a testament to the enduring allure and timeless appeal of this beloved building material.
Conclusion
Congratulations on completing the transformative journey of restoring your brick wall. Through meticulous assessment, careful preparation, and skilled execution, you have breathed new life into this architectural feature, preserving its structural integrity and timeless allure. As you reflect on the journey from assessing the damage to applying the finishing touches, take pride in the craftsmanship and dedication that have revitalized this enduring symbol of strength and beauty.
By carefully assessing the damage, you gained a comprehensive understanding of the repair requirements, setting the stage for a targeted and effective restoration process. Gathering the necessary materials and tools equipped you with the resources needed to execute the repair with precision and efficiency, ensuring a seamless transition from damage to renewal.
The meticulous process of removing damaged bricks and preparing the area laid the groundwork for the seamless integration of replacement bricks and mortar, setting the stage for a visually cohesive and structurally sound repair. With attention to detail and craftsmanship, the replacement bricks were seamlessly integrated, harmonizing with the existing structure to create a unified and enduring testament to the art of brickwork.
As the restoration journey drew to a close, the application of finishing touches elevated the visual appeal and durability of the repair, safeguarding the wall from the effects of time and weather. The protective sealant serves as a shield, fortifying the repaired area and ensuring its resilience for years to come.
As you stand back to admire the completed repair, take pride in knowing that your efforts have preserved the timeless allure and structural integrity of this architectural treasure. The revitalized brick wall stands as a testament to the enduring beauty and strength of this beloved building material, ready to grace your living space for generations to come.
Thank you for embarking on this journey of restoration with dedication and care. Your commitment to preserving the enduring allure of brickwork has not only revitalized a structure but also celebrated the timeless craftsmanship and beauty that define this cherished building material.
May your revitalized brick wall stand as a lasting testament to the enduring allure and timeless appeal of this beloved building material, enriching your living space with its strength and beauty for years to come.
Frequently Asked Questions about How To Fix A Brick Wall
Was this page helpful?
At Storables.com, we guarantee accurate and reliable information. Our content, validated by Expert Board Contributors, is crafted following stringent Editorial Policies. We're committed to providing you with well-researched, expert-backed insights for all your informational needs.


0 thoughts on “How To Fix A Brick Wall”