Home>Garden Essentials>How To Germinate Peach Seed
Garden Essentials
How To Germinate Peach Seed
Modified: March 15, 2024
Learn how to successfully germinate peach seeds in your garden with our step-by-step guide. Start growing your own peach trees today and enjoy fresh, homegrown fruit.
(Many of the links in this article redirect to a specific reviewed product. Your purchase of these products through affiliate links helps to generate commission for Storables.com, at no extra cost. Learn more)
Introduction
Growing your own peaches from seed can be a rewarding and fulfilling experience. Not only will you have a bountiful harvest of juicy, fresh peaches, but you will also gain a deeper appreciation for the beauty and intricacy of nature’s processes. Germinating peach seeds is not only a fun project to undertake, but it also allows you to potentially grow unique and interesting varieties of peaches.
In this article, we will guide you through the process of germinating peach seeds, step by step. By following these instructions and providing the optimal growing conditions, you can increase the chances of successful germination and eventually enjoy the fruits of your labor.
Before we dive into the process, it is important to note that germinating peach seeds requires some patience and dedication. Peach trees typically take several years to grow from seed to fruit-bearing maturity, so it’s important to approach this endeavor with a long-term mindset. With that in mind, let’s get started!
Key Takeaways:
- Growing peaches from seeds is a patient and rewarding process. By following the steps outlined in this guide, you can experience the joy of nurturing peach seeds into healthy seedlings and eventually enjoying homegrown peaches.
- While growing peaches from seed may result in variations, the journey of witnessing seedlings emerge and grow into mature peach trees is a delightful adventure. Embrace the process with patience and consistent care.
Read more: How Do You Germinate A Peach Pit
Step 1: Collecting Materials
Before you begin the process of germinating peach seeds, it’s essential to gather all the necessary materials. Here’s what you’ll need:
- Peaches: Start by selecting ripe and healthy peaches from a local grocery store or farmers market. Look for peaches that are free from bruises, blemishes, or signs of rot.
- Knife: You’ll need a sharp knife to carefully remove the peach pit from the fruit.
- Dishcloth or towel: Have a dishcloth or towel on hand to wipe away any excess juice or residue while handling the peaches.
- Bowl or container: Find a small bowl or container to hold the peach pits as you collect them.
- Plastic bag or envelope: Prepare a plastic bag or envelope to store the collected peach pits for the stratification process.
Once you have gathered all the materials, you are ready for the next step: preparing the peach seeds for germination.
Step 2: Preparing the Peach Seed
Now that you have collected your peach pits, it’s time to prepare them for germination. Here’s how to do it:
- Clean the pits: Start by rinsing the peach pits under cool running water to remove any leftover flesh or debris. Gently scrub the pits with a soft brush or cloth to ensure they are clean.
- Dry the pits: After cleaning, place the peach pits on a paper towel or clean cloth to dry. Let them sit in a well-ventilated area for a few days until they are completely dry. This step is important to prevent mold or fungal growth during the stratification process.
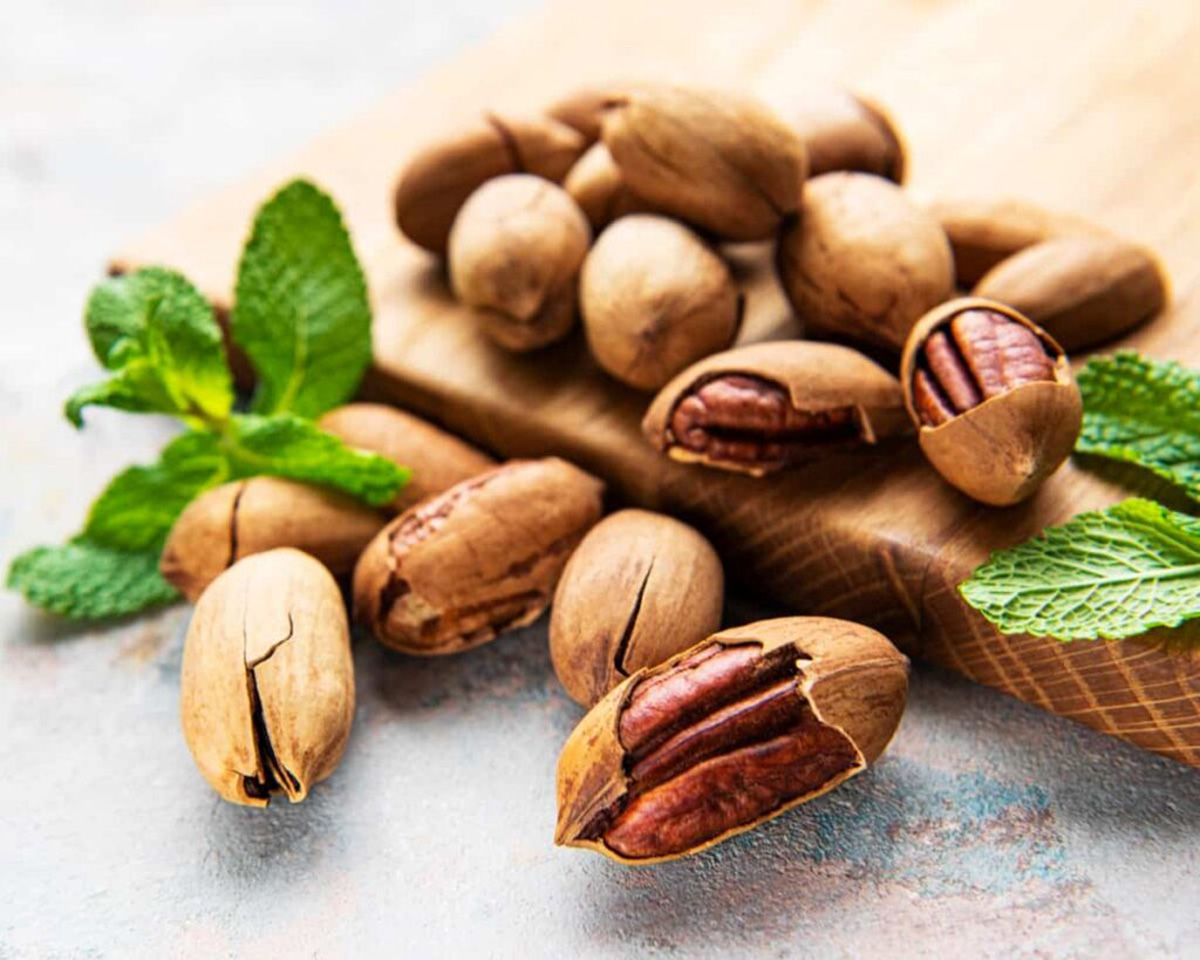
- Crack the pits: Once the pits are dry, carefully crack them open using a nutcracker or a pair of pliers. Be gentle to avoid damaging the seed inside. Extract the seed from the cracked pit, being careful not to harm the delicate embryo.
- Inspect the seeds: Examine the extracted seeds for any signs of damage or deformities. Discard any seeds that appear shriveled, discolored, or malformed. It’s best to work with seeds that are plump, firm, and healthy-looking.
By following these steps, you ensure that your peach seeds are clean, dry, and ready for the next stage of the germination process. Now, it’s time to move on to stratifying the peach seeds.
Step 3: Stratifying the Peach Seed
Stratification is a process that simulates the natural winter conditions for the peach seed, allowing it to break dormancy and prepare for germination. To stratify your peach seeds, follow these steps:
- Moisten the medium: Start by moistening a medium for the seeds, such as peat moss, vermiculite, or a mixture of peat and sand. Make sure the medium is damp but not overly wet.
- Place the seeds: Take the cleaned and inspected peach seeds and spread them evenly on top of the damp medium. Make sure they are not touching each other to avoid mold or fungal growth.
- Cover the seeds: Gently sprinkle a thin layer of the moist medium over the peach seeds to cover them. The layer should be approximately 1/4 to 1/2 inch thick.
- Label and seal: Label the container with the date and the variety of peach seeds you are stratifying. Cover the container with a lid or plastic wrap to create a sealed environment.
- Refrigerate the container: Place the sealed container in the refrigerator at a temperature of around 32 to 40 degrees Fahrenheit (0 to 4 degrees Celsius). This cold but not freezing temperature will mimic winter conditions.
- Maintain the moisture: Check the moisture level of the medium periodically and mist it with water if needed to keep it slightly damp. Avoid over-watering, as excessive moisture can lead to rotting.
- Duration of stratification: Allow the peach seeds to stratify in the refrigerator for approximately 8 to 12 weeks. This period of cold storage is crucial for breaking the seed’s dormancy and triggering germination.
Stratification is an essential step in the germination process, as it replicates the natural conditions that peach seeds require to sprout. Once the stratification period is complete, it’s time to move on to planting the peach seeds.
Step 4: Planting the Peach Seed
After the stratification period, it’s time to plant the peach seeds and start the germination process. Follow these steps to plant your peach seeds:
- Select containers: Choose small pots or seed trays with drainage holes to plant your peach seeds. Make sure the containers are clean and sterilized to prevent any potential diseases.
- Prepare the soil: Use a well-draining potting mix or a combination of compost, sand, and loam to create the planting medium. Peach trees thrive in slightly acidic soil, so it’s beneficial to adjust the pH level if necessary using sulfur or lime.
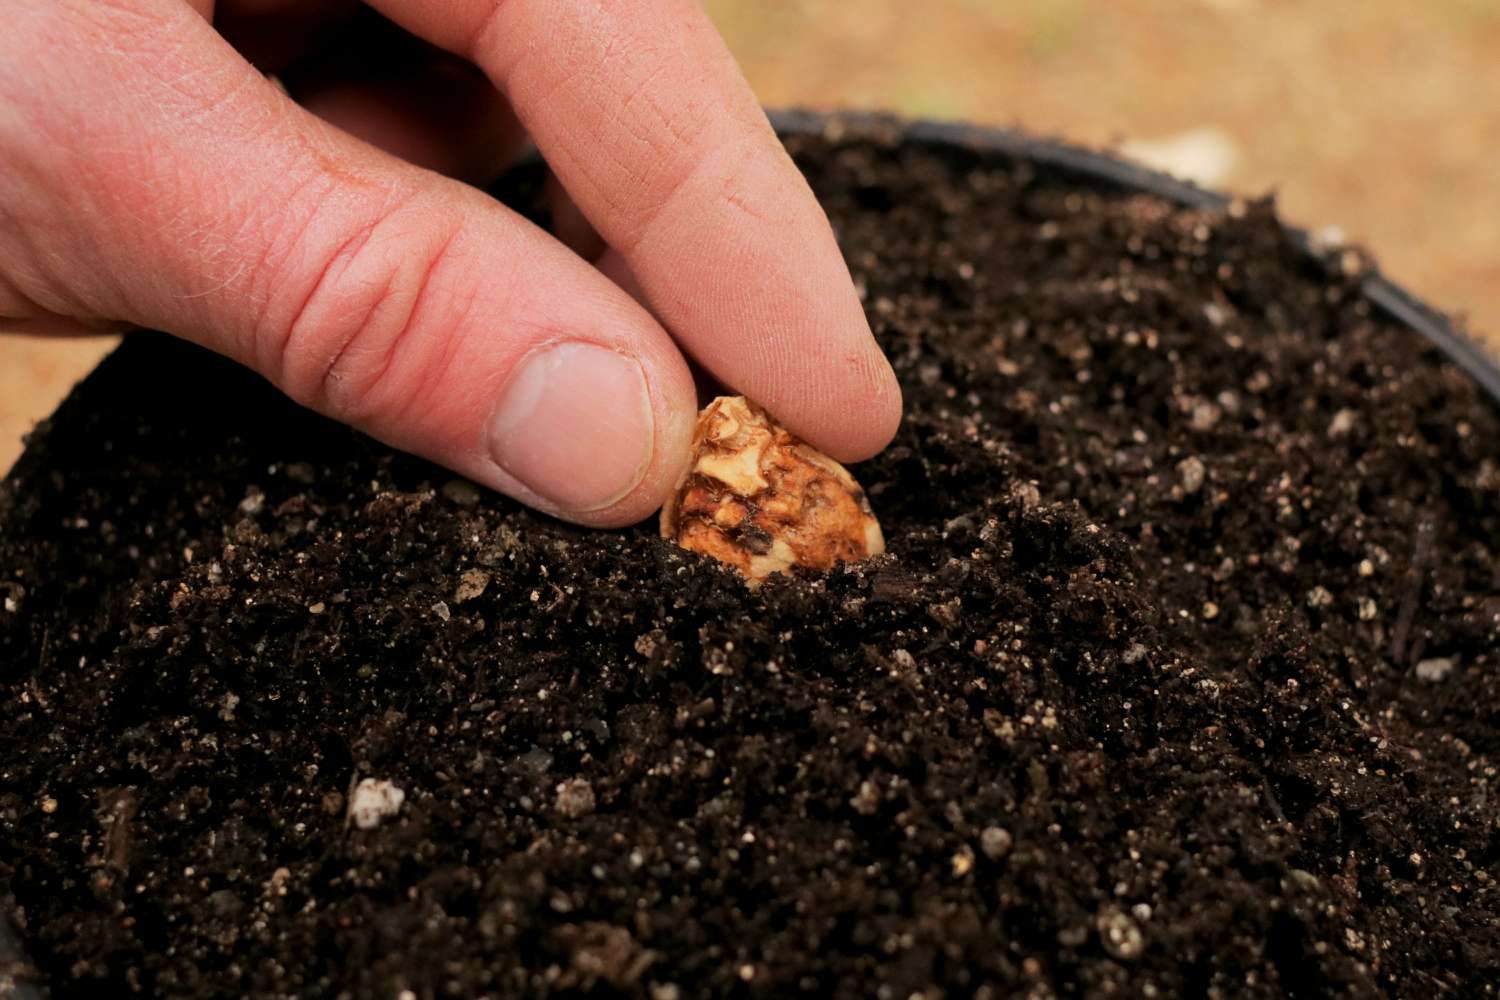
- Plant the seeds: Make a small hole in the planting medium, approximately 1 inch deep. Place a single peach seed into the hole and cover it gently with soil. Press the soil lightly to ensure good seed-to-soil contact.
- Water the seeds: Give the newly planted peach seeds a thorough watering, allowing the soil to become moist but not soaking wet. Ensure that the water drains through the drainage holes of the container to prevent waterlogging.
- Label and provide warmth: Label each container with the variety of peach seeds you have planted. Place the containers in a warm, well-lit area, such as a sunny windowsill or a greenhouse, where they can receive at least 6-8 hours of sunlight per day.
- Keep the soil moist: Monitor the moisture level of the soil and water the containers whenever the top inch of soil feels dry. Avoid overwatering, as excessive moisture can lead to root rot.
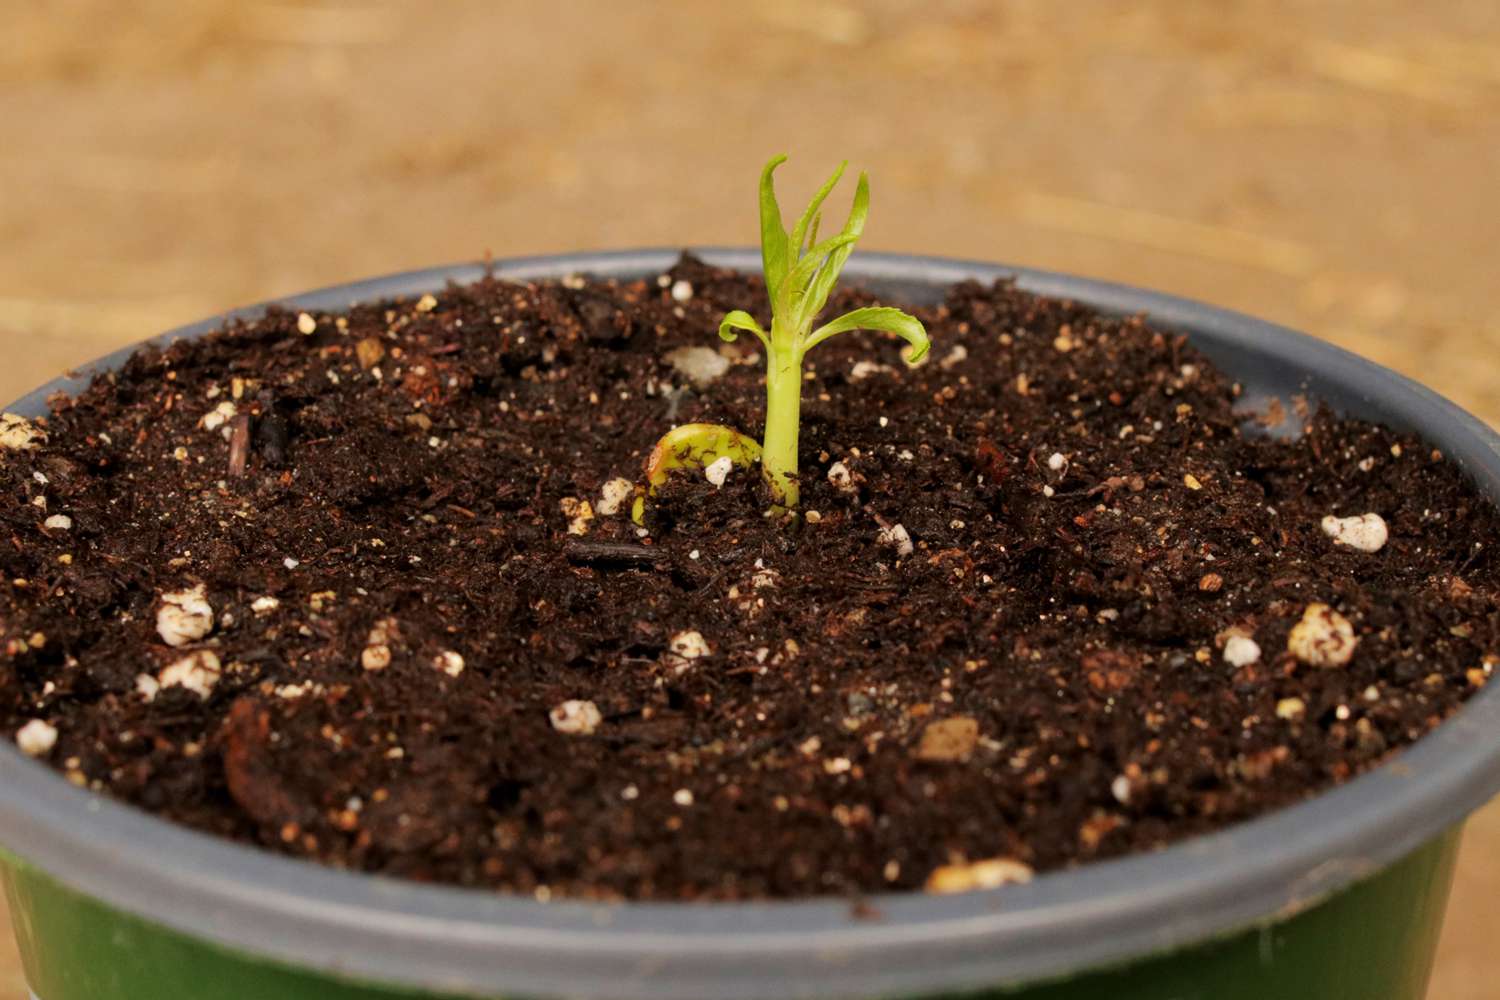
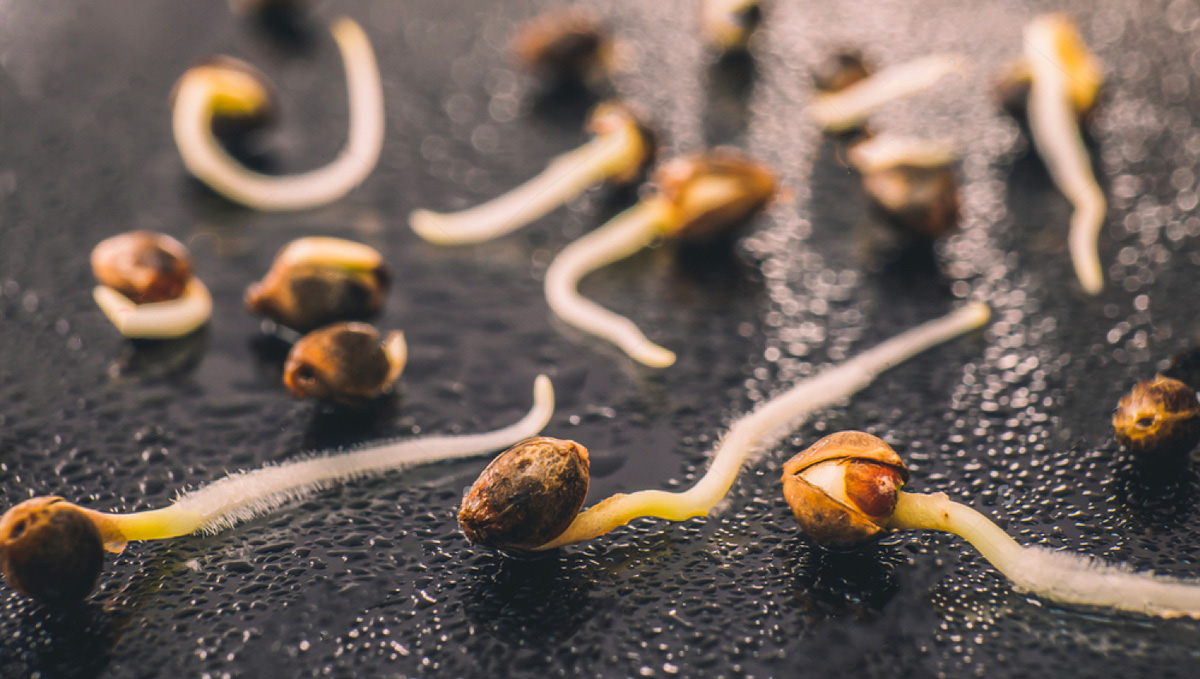
- Germination period: Be patient and allow time for the peach seeds to germinate. Depending on the variety and conditions, germination can take anywhere from a few weeks to a couple of months.
By following these steps, you have successfully planted the peach seeds and set the stage for germination. Now, it’s time to provide optimal growing conditions and care for the germinating peach seeds.
To germinate a peach seed, first remove the seed from the fruit and wash off any remaining flesh. Then, place the seed in a damp paper towel inside a plastic bag and store it in the refrigerator for 8-10 weeks. After this cold stratification period, plant the seed in a pot with well-draining soil and keep it moist. It may take several weeks for the seed to germinate, so be patient!
Read more: How To Plant Peach Seeds
Step 5: Providing Optimal Growing Conditions
Once the peach seeds have germinated and started to grow, it’s crucial to provide them with the optimal growing conditions to ensure their healthy development. Here are some key factors to consider:
- Temperature: Peach trees prefer moderate temperatures, typically ranging between 60 to 75 degrees Fahrenheit (15 to 24 degrees Celsius). Avoid extreme temperature fluctuations, as they can stress the young seedlings.
- Sunlight: Place the containers in a location where the seedlings can receive full sun or at least 6-8 hours of direct sunlight each day. Adequate sunlight is essential for photosynthesis and promoting strong, healthy growth.
- Watering: Maintain a consistent watering routine, keeping the soil moist but not soggy. Use your finger to check the moisture level and water whenever the top inch of soil feels dry. Avoid overwatering, as it can lead to root rot.
- Air circulation: Adequate air circulation helps prevent diseases and ensures healthy growth. Avoid overcrowding the seedlings and provide sufficient space between containers to allow for proper airflow.
- Fertilization: After the seedlings have developed their first set of true leaves, you can start fertilizing them. Use a balanced, water-soluble fertilizer, following the instructions on the package. Apply the fertilizer every 4-6 weeks during the growing season.
- Weeding and pruning: Regularly remove any weeds or competing plants that may hinder the growth of the peach seedlings. Additionally, prune any damaged or weak branches to promote a strong and well-shaped tree as it grows.
- Pest and disease control: Monitor the seedlings for any signs of pests or diseases, such as aphids or fungal infections. Utilize organic pest control methods or consult with a local gardening expert to address any issues that may arise.
By providing these optimal growing conditions, you are giving your peach seedlings the best chance for success. Now, let’s move on to caring for the germinating peach seeds in the next step.
Step 6: Caring for the Germinating Peach Seed
As your peach seedlings continue to grow, they require regular care and attention to ensure their healthy development. Here are some essential tips for caring for germinating peach seeds:
- Watering: Keep the soil consistently moist but not waterlogged. Water the seedlings whenever the top inch of soil feels dry. Ensure that the water reaches the root zone to encourage deep and strong root development.
- Thinning: If multiple seedlings have sprouted in one container, thin them out by carefully removing the weaker seedlings, leaving only the healthiest and strongest ones. This allows for better air circulation and gives each seedling space to grow.
- Support: As the seedlings grow taller, they may need support to prevent bending or breaking. Use bamboo stakes or wooden dowels to gently prop up the stem if necessary, being careful not to damage the roots.
- Mulching: Apply a layer of organic mulch, such as straw or wood chips, around the base of each seedling. Mulching helps conserve moisture, suppresses weeds, and regulates soil temperature. Keep the mulch a few inches away from the stem to prevent moisture-related issues.
- Pruning: Regularly inspect the peach seedlings for any damaged or crossing branches. Prune these branches using clean and sharp pruning shears to promote a strong structure and eliminate potential disease or pest entry points.
- Monitor pests and diseases: Keep an eye out for common peach tree pests, such as aphids, scales, or peach tree borers. Regularly inspect the leaves, stems, and branches for any signs of damage or infestation. If necessary, use appropriate organic pest control methods to address any issues.
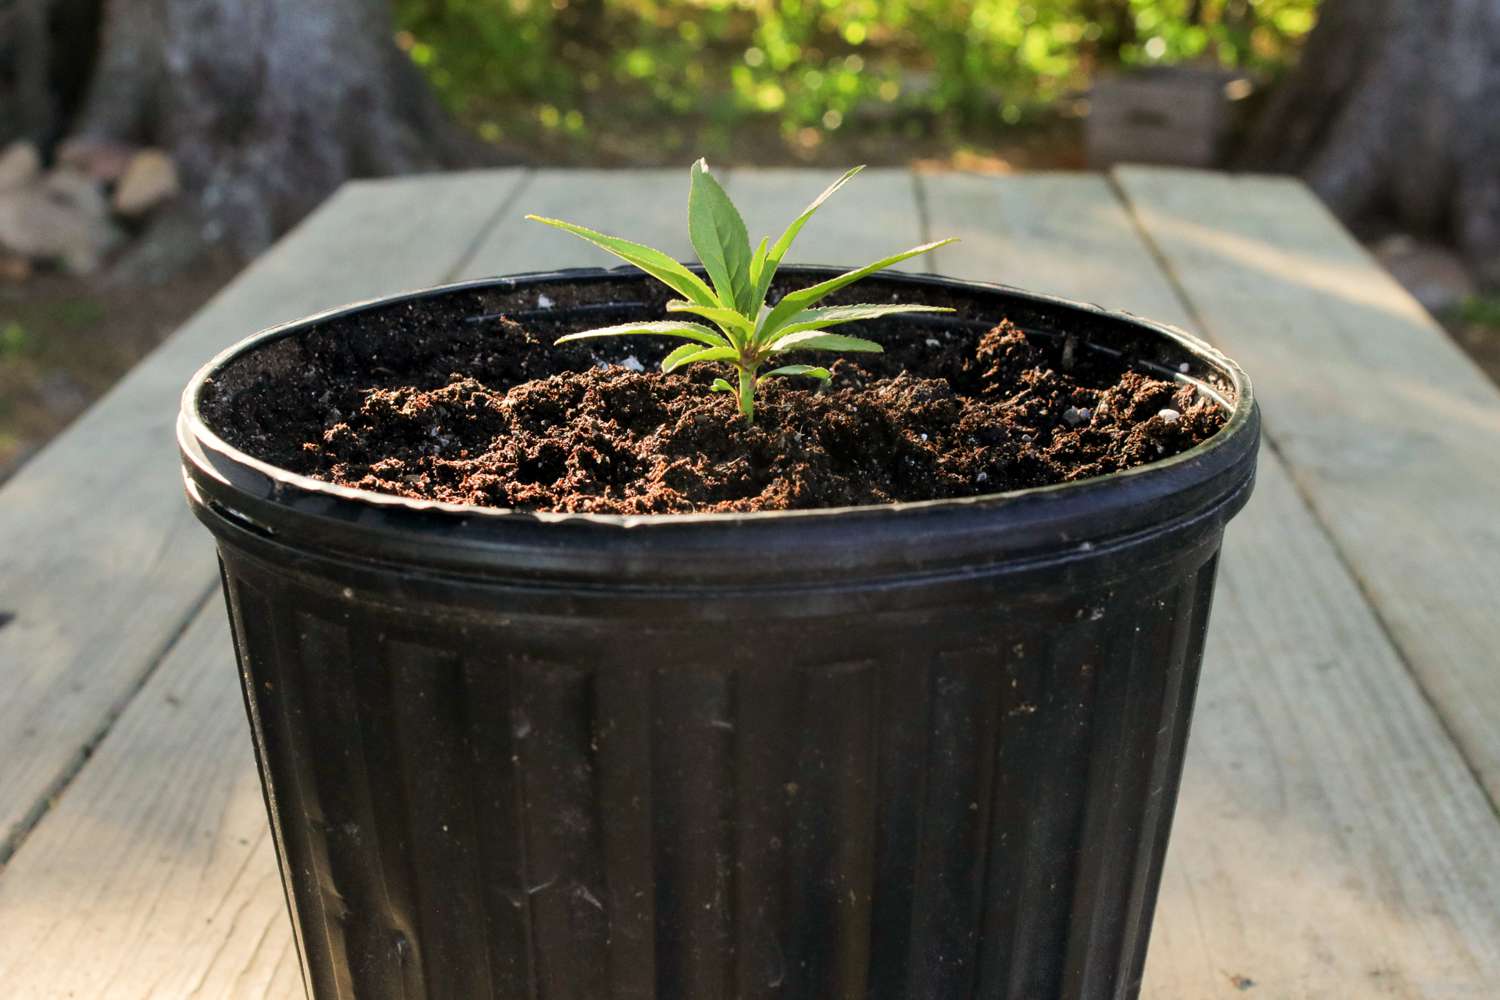
- Transplanting: As the seedlings grow larger and develop a strong root system, they may outgrow their initial containers. When the seedlings have reached a height of 6-12 inches, it’s time to transplant them into larger pots or into the ground, ensuring adequate spacing between trees.
By providing proper care and attention to your germinating peach seeds, you are setting them up for healthy growth and a better chance of reaching their full potential. In the next step, we will discuss the process of transplanting the seedlings.
Step 7: Transplanting the Seedlings
As your peach seedlings grow larger and stronger, it’s time to transplant them from their containers to their permanent growing location. Follow these steps to successfully transplant your peach seedlings:
- Choose the right time: The best time to transplant your peach seedlings is in early spring or late fall when the weather is mild. Avoid transplanting during extreme hot or cold conditions.
- Prepare the planting hole: Dig a hole in the ground that is wide and deep enough to accommodate the entire root system of the seedling. Ensure that the hole is well-drained and amended with organic matter.
- Remove the seedling from the container: Gently tap the sides of the container to loosen the root ball. Carefully slide the seedling out, being mindful not to damage the roots. If the roots are tightly bound, use your fingers to gently tease them apart before planting.
- Place the seedling in the hole: Position the seedling in the center of the hole, making sure that the soil level is even with or slightly above the level of the surrounding soil. This helps prevent water pooling around the trunk and promotes healthy drainage.
- Backfill and firm the soil: Fill the hole with soil, using your hands to gently firm it around the root system. Be careful not to compact the soil too tightly, as this can hinder root growth. Water the seedling thoroughly after planting to settle the soil.
- Provide support: If the seedling is tall or weak, it may require support to prevent leaning or bending. Place a wooden stake next to the trunk and use soft plant ties to secure the seedling to the stake. This helps the seedling establish an upright growth habit.
- Mulch and water: Apply a layer of organic mulch around the base of the seedling, leaving a few inches of space around the trunk to prevent moisture-related issues. Water the newly transplanted seedling deeply and regularly, especially during dry periods.
- Monitor and care: Keep a close eye on the transplanted seedling and provide ongoing care. Regularly water, monitor for pests and diseases, and apply organic fertilizers as needed to support its growth and development.
Transplanting the seedlings is a significant step in their journey towards becoming mature peach trees. By following proper techniques and providing proper care, you are setting them up for success in their new growing environment.
Congratulations! You have now completed all the necessary steps to germinate peach seeds and nurture them into seedlings. With time, care, and patience, you will be rewarded with the delight of homegrown peaches. Enjoy the process and the anticipation of a delicious harvest!
Note: It’s important to remember that growing peaches from seed may result in variations in fruit quality and characteristics. If you desire specific traits or want predictable fruit production, consider obtaining grafted or budded peach trees from a reputable nursery.
Conclusion
Growing peaches from seed can be a rewarding and fulfilling experience, allowing you to witness the miracle of nature firsthand. By following the steps outlined in this guide, you now have the knowledge and tools to successfully germinate peach seeds and nurture them into healthy seedlings. While the process requires patience and dedication, the end result—a bountiful harvest of homegrown peaches—is well worth the effort.
Throughout the journey, you have learned how to collect ripe peaches, prepare and stratify the seeds, plant them, and provide optimal growing conditions. You have also gained insights into caring for the germinating peach seeds until they are ready to be transplanted. Each step is essential in nurturing the seedlings and maximizing their chances of becoming robust peach trees.
Remember, growing peaches from seed may yield variations in fruit quality and characteristics. If you desire specific traits or predictable fruit production, consider obtaining grafted or budded peach trees from a reputable nursery.
As you embark on your peach-growing adventure, embrace the joys and challenges that come with it. Witness the delicate emergence of the seedlings, marvel at their growth, and take pride in successfully nurturing them into mature peach trees. Along the way, don’t forget the importance of patience, consistent care, and monitoring for pests and diseases.
So, gather your materials, collect your peach pits, and get started on this exciting journey of growing peaches from seed. With a little bit of knowledge and a whole lot of love for gardening, you can experience the satisfaction of enjoying your very own homegrown, juicy peaches—a true testament to your labor of love and the wonder of nature’s transformation.
Frequently Asked Questions about How To Germinate Peach Seed
Was this page helpful?
At Storables.com, we guarantee accurate and reliable information. Our content, validated by Expert Board Contributors, is crafted following stringent Editorial Policies. We're committed to providing you with well-researched, expert-backed insights for all your informational needs.


0 thoughts on “How To Germinate Peach Seed”