Home>Garden Essentials>How To Grow Calla Lily Seeds

Garden Essentials
How To Grow Calla Lily Seeds
Modified: May 6, 2024
Learn how to grow calla lily seeds in your garden and enjoy the beauty of these elegant flowers. Discover helpful tips for successful cultivation and blooming.
(Many of the links in this article redirect to a specific reviewed product. Your purchase of these products through affiliate links helps to generate commission for Storables.com, at no extra cost. Learn more)
Introduction
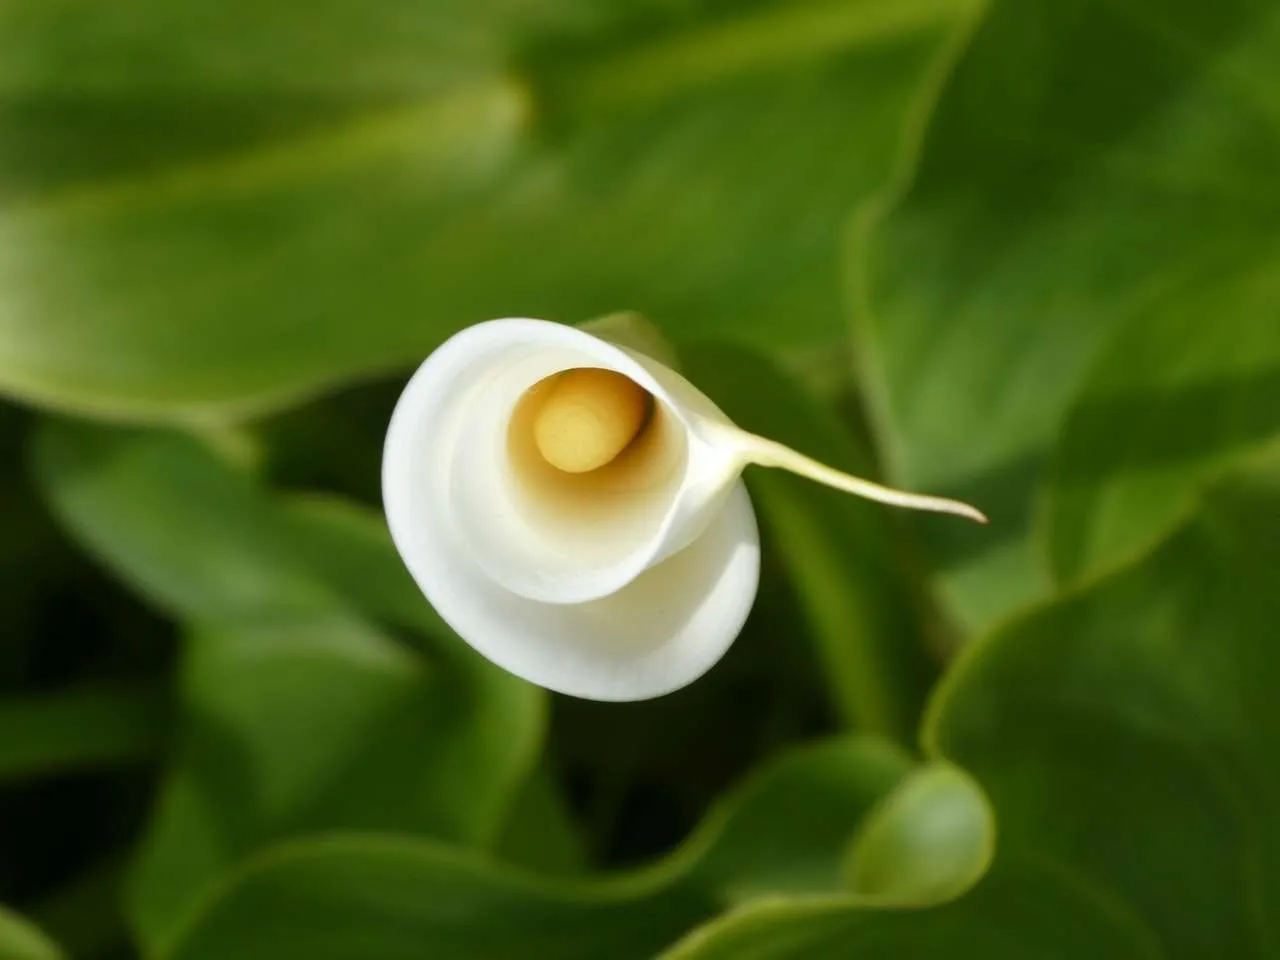
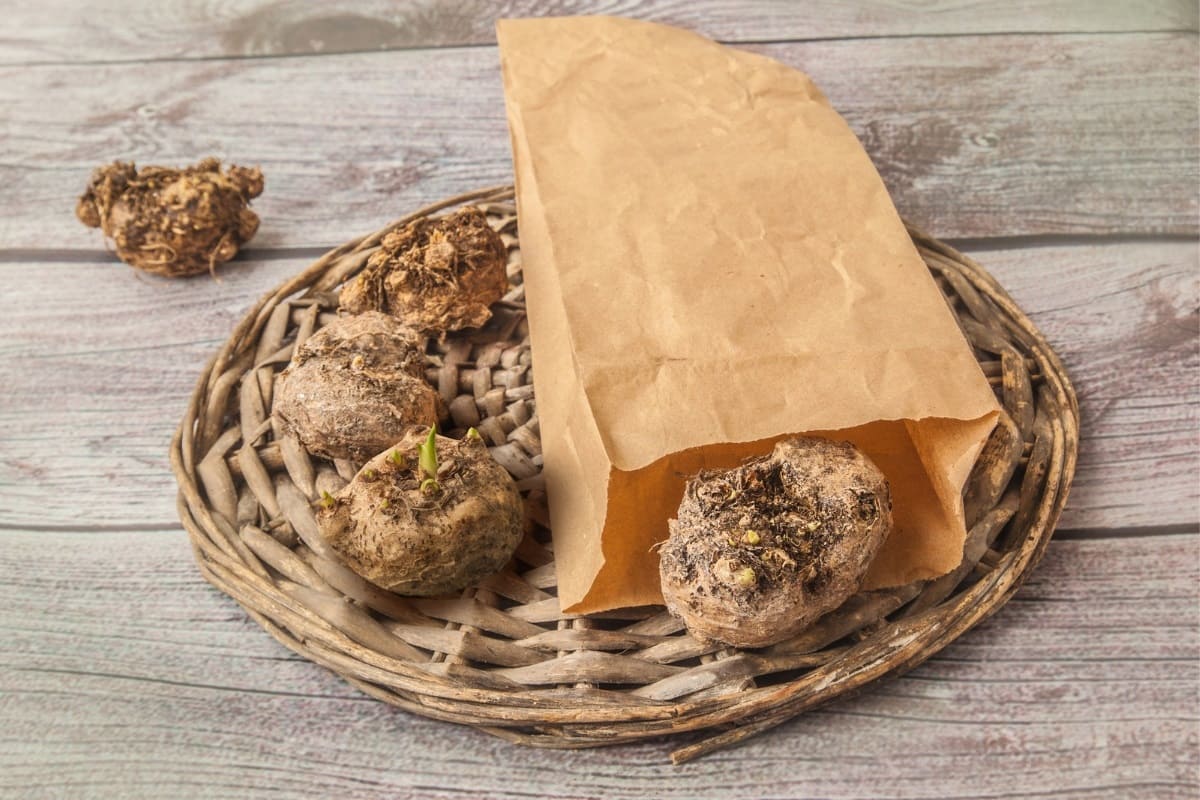
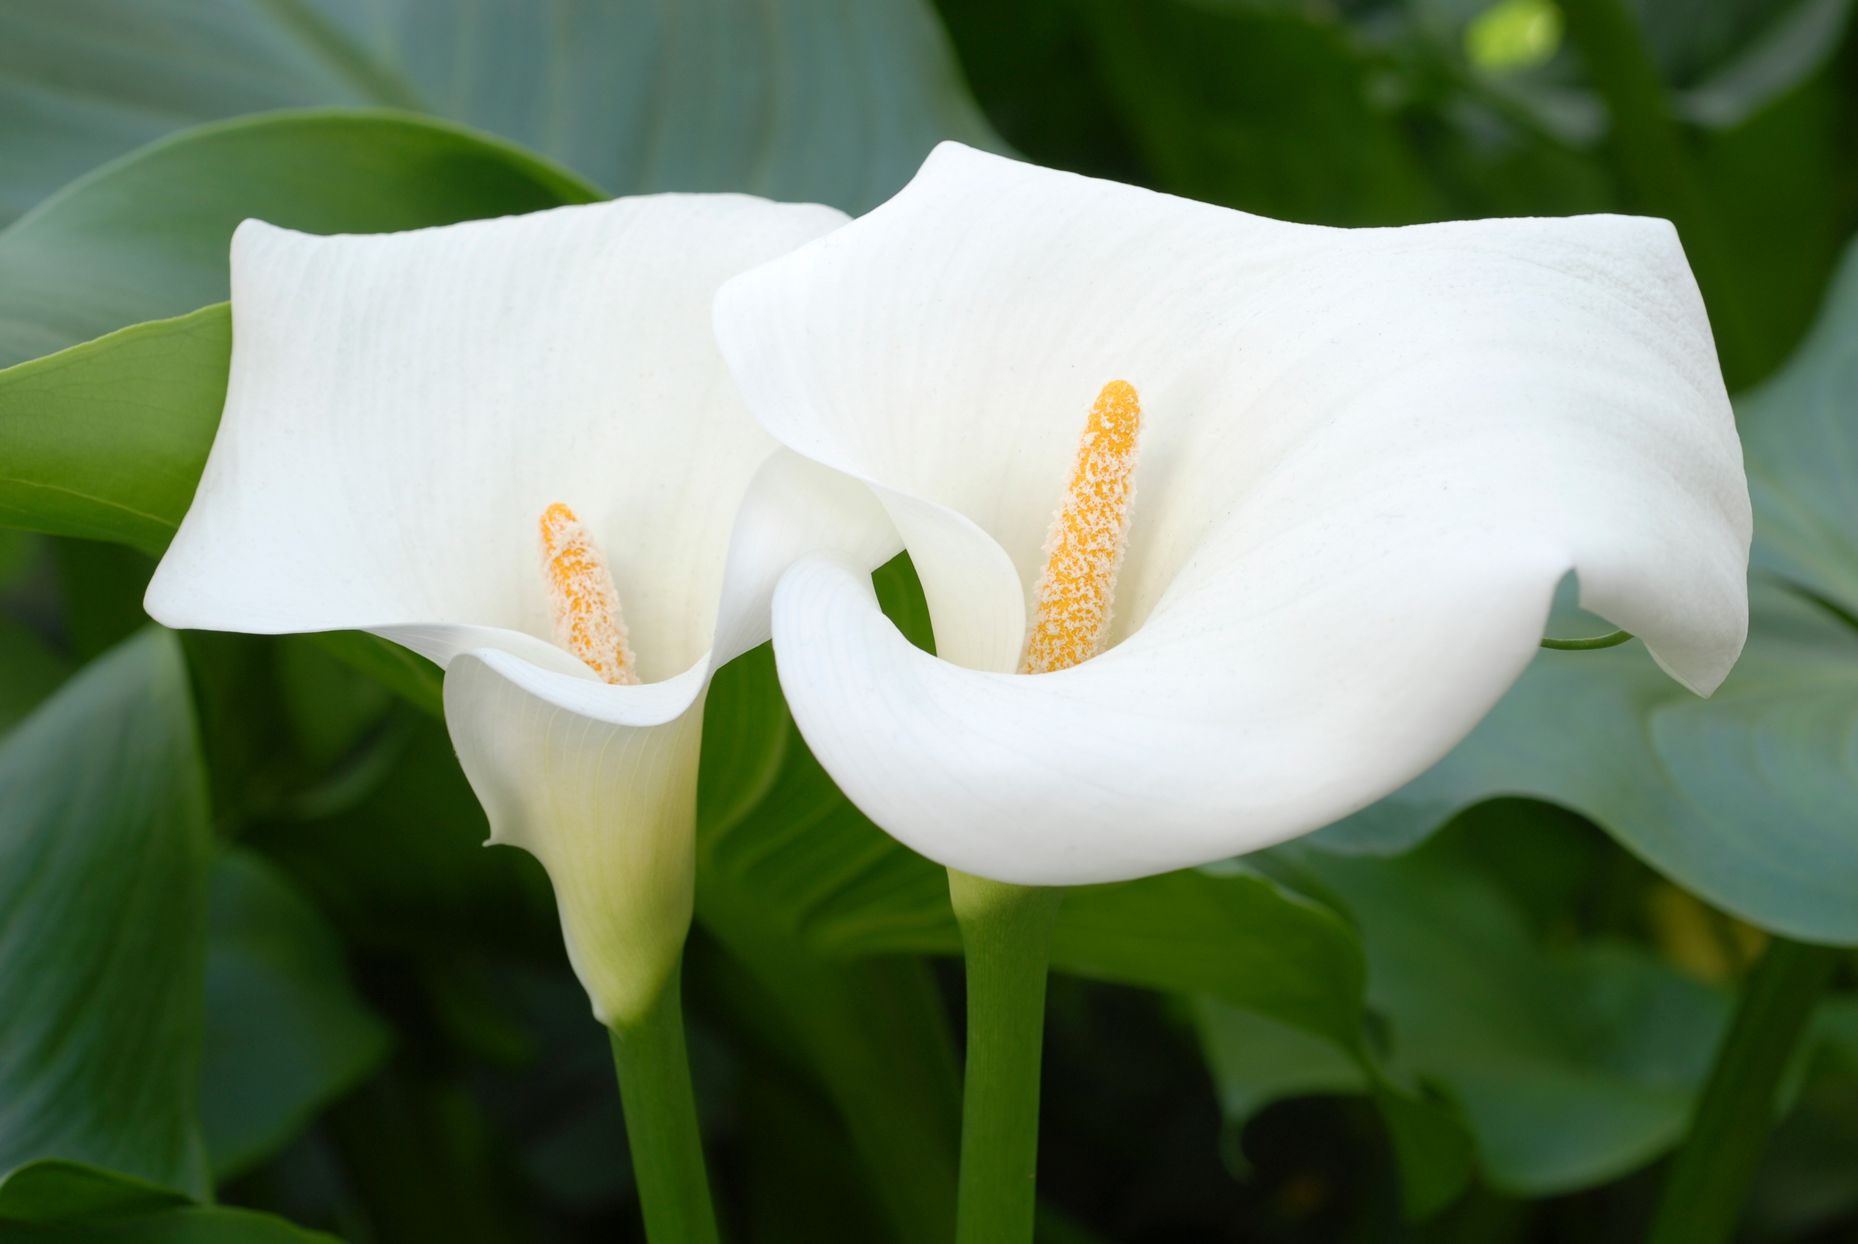
Welcome to the world of gardening and the enchanting journey of growing calla lily seeds! Calla lilies, known for their elegant and trumpet-shaped blossoms, are a popular choice among gardeners for adding beauty and sophistication to their outdoor spaces. While calla lilies are typically propagated through tubers, growing them from seeds can be a rewarding and exciting experience.
Whether you are a seasoned gardener looking to try your hand at a new challenge or a beginner eager to dive into the world of seed propagation, this article will guide you through the process of successfully growing calla lily seeds.

Before we delve into the details, it’s essential to understand that growing calla lily seeds requires patience and careful attention. The process may take several months before you can witness the vibrant blooms, but the anticipation and joy that come with nurturing these seeds make it worth the wait.
Now, let’s embark on this gardening journey together and discover the secrets to growing calla lily seeds.
Key Takeaways:
- Choose high-quality, fresh calla lily seeds from reputable suppliers to ensure successful germination and vibrant blooms in your garden. Consider your local climate and growing zone when selecting the right seeds.
- Provide optimal growing conditions, including sunlight, temperature, humidity, and soil moisture, to ensure healthy and vibrant calla lily plants. Implement preventative measures to protect your plants from pests and diseases.
Read more: How To Grow Calla Lilies From Seed
Choosing the Right Seeds
When it comes to growing calla lilies from seeds, selecting the right seeds is crucial for ensuring successful germination and healthy plant growth. Here are a few factors to consider when choosing calla lily seeds:
- Variety: Calla lilies come in various colors and sizes, ranging from classic white to vibrant shades of pink, yellow, and purple. Decide on the specific variety you want to grow and look for seeds that match your desired color and size.
- Quality: To increase the chances of successful germination, it’s important to choose high-quality seeds. Look for suppliers or nurseries that specialize in selling reliable and reputable calla lily seeds.
- Freshness: Fresh seeds have a higher viability rate, meaning they are more likely to germinate successfully. Check the packaging or inquire about the freshness of the seeds before making a purchase.
- Source: Opt for seeds that are sourced from a reputable and trusted supplier. This ensures that you are getting seeds that have been properly handled, stored, and are free from any diseases or pests.
- Growing Zone: Consider your local climate and growing zone when selecting calla lily seeds. Some varieties may be more suitable for cooler climates, while others thrive in warmer regions. Choose seeds that are well-suited to your specific growing conditions.
By taking these factors into consideration, you can set yourself up for success right from the start. Remember, choosing the right seeds is the first step towards growing healthy and beautiful calla lilies.
Preparing the Soil
Proper soil preparation is essential for providing an optimal growing environment for calla lily seeds. Follow these steps to prepare the soil:
- Choose the Right Location: Calla lilies thrive in well-draining soil and prefer areas with partial shade or full sunlight. Select a location in your garden that receives at least six hours of sunlight per day.
- Clear the Area: Remove any weeds, rocks, or debris from the planting area. This ensures that the calla lily seeds have ample space to grow and eliminates competition for resources.
- Loosen the Soil: Use a garden fork or tiller to loosen the soil to a depth of about 8 to 10 inches. This helps improve drainage and allows the calla lily seeds to spread their roots easily.
- Amend the Soil: Calla lilies prefer slightly acidic to neutral soil with a pH range of 6.0 to 7.0. If your soil is too acidic or alkaline, use a soil test kit to determine the pH level. To amend the soil, add organic matter such as compost or well-rotted manure to improve its fertility and texture.
- Ensure Drainage: Calla lilies dislike sitting in waterlogged soil, so it’s crucial to ensure proper drainage. If the soil in your garden retains excess water, consider incorporating materials like sand or perlite to improve drainage.
By preparing the soil properly, you create a favorable environment for calla lily seeds to establish roots and grow into healthy plants. Remember to check the soil moisture regularly and adjust watering accordingly to maintain optimal conditions for your calla lilies.
Planting Calla Lily Seeds
Now that you have chosen your calla lily seeds and prepared the soil, it’s time to plant them and kickstart their growth journey. Here’s how to plant calla lily seeds:
- Timing: Calla lily seeds are typically planted in the spring once the risk of frost has passed. This allows the seeds to germinate and grow in the optimal temperature range of 65-75°F (18-24°C).
- Seed Treatment: Some gardeners recommend soaking calla lily seeds in water for 24 hours prior to planting. This can help soften the seed coat and enhance germination rates. However, it’s not mandatory and you can skip this step if desired.
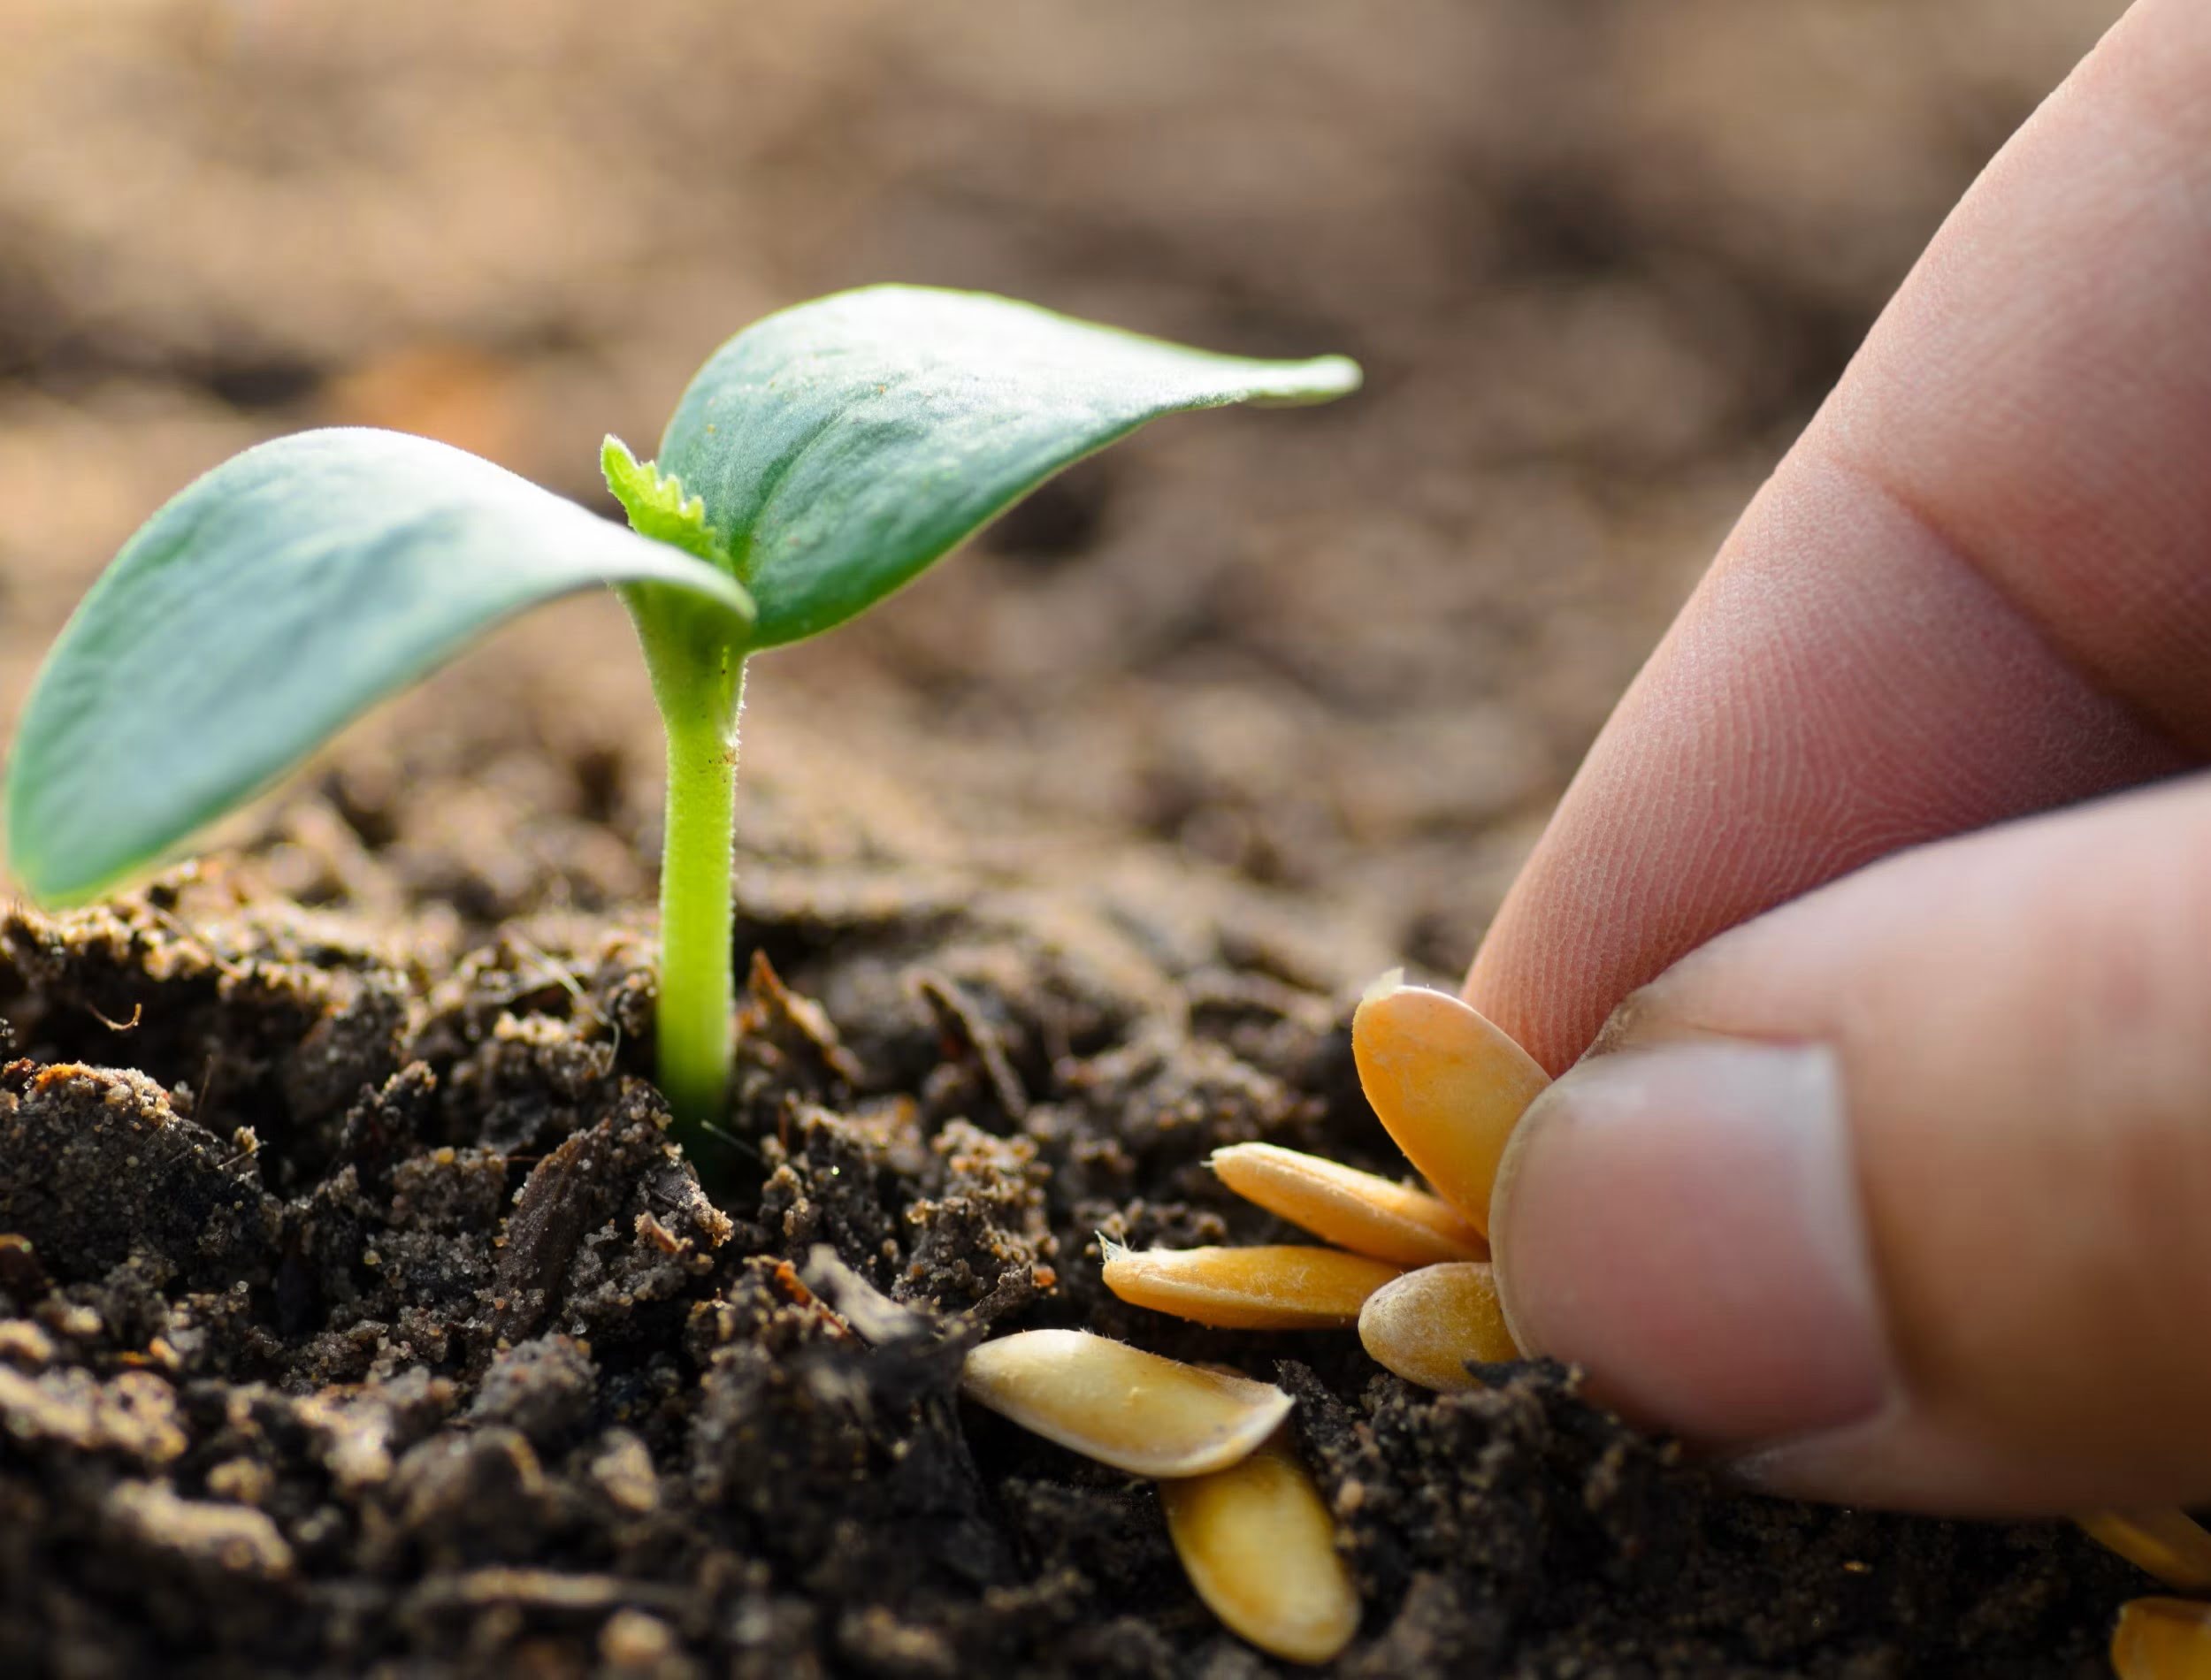
- Sowing the Seeds: Create small furrows or holes in the prepared soil, about 1 inch deep. Place the calla lily seeds inside the furrows, spacing them about 6-8 inches apart. Cover the seeds with soil, gently pressing it down to ensure good seed-to-soil contact.
- Moisture: After planting, provide ample moisture to the seeds by gently watering the area. Avoid overwatering, as excessive moisture can cause the seeds to rot. Maintain a moist, but not waterlogged, environment throughout the germination process.
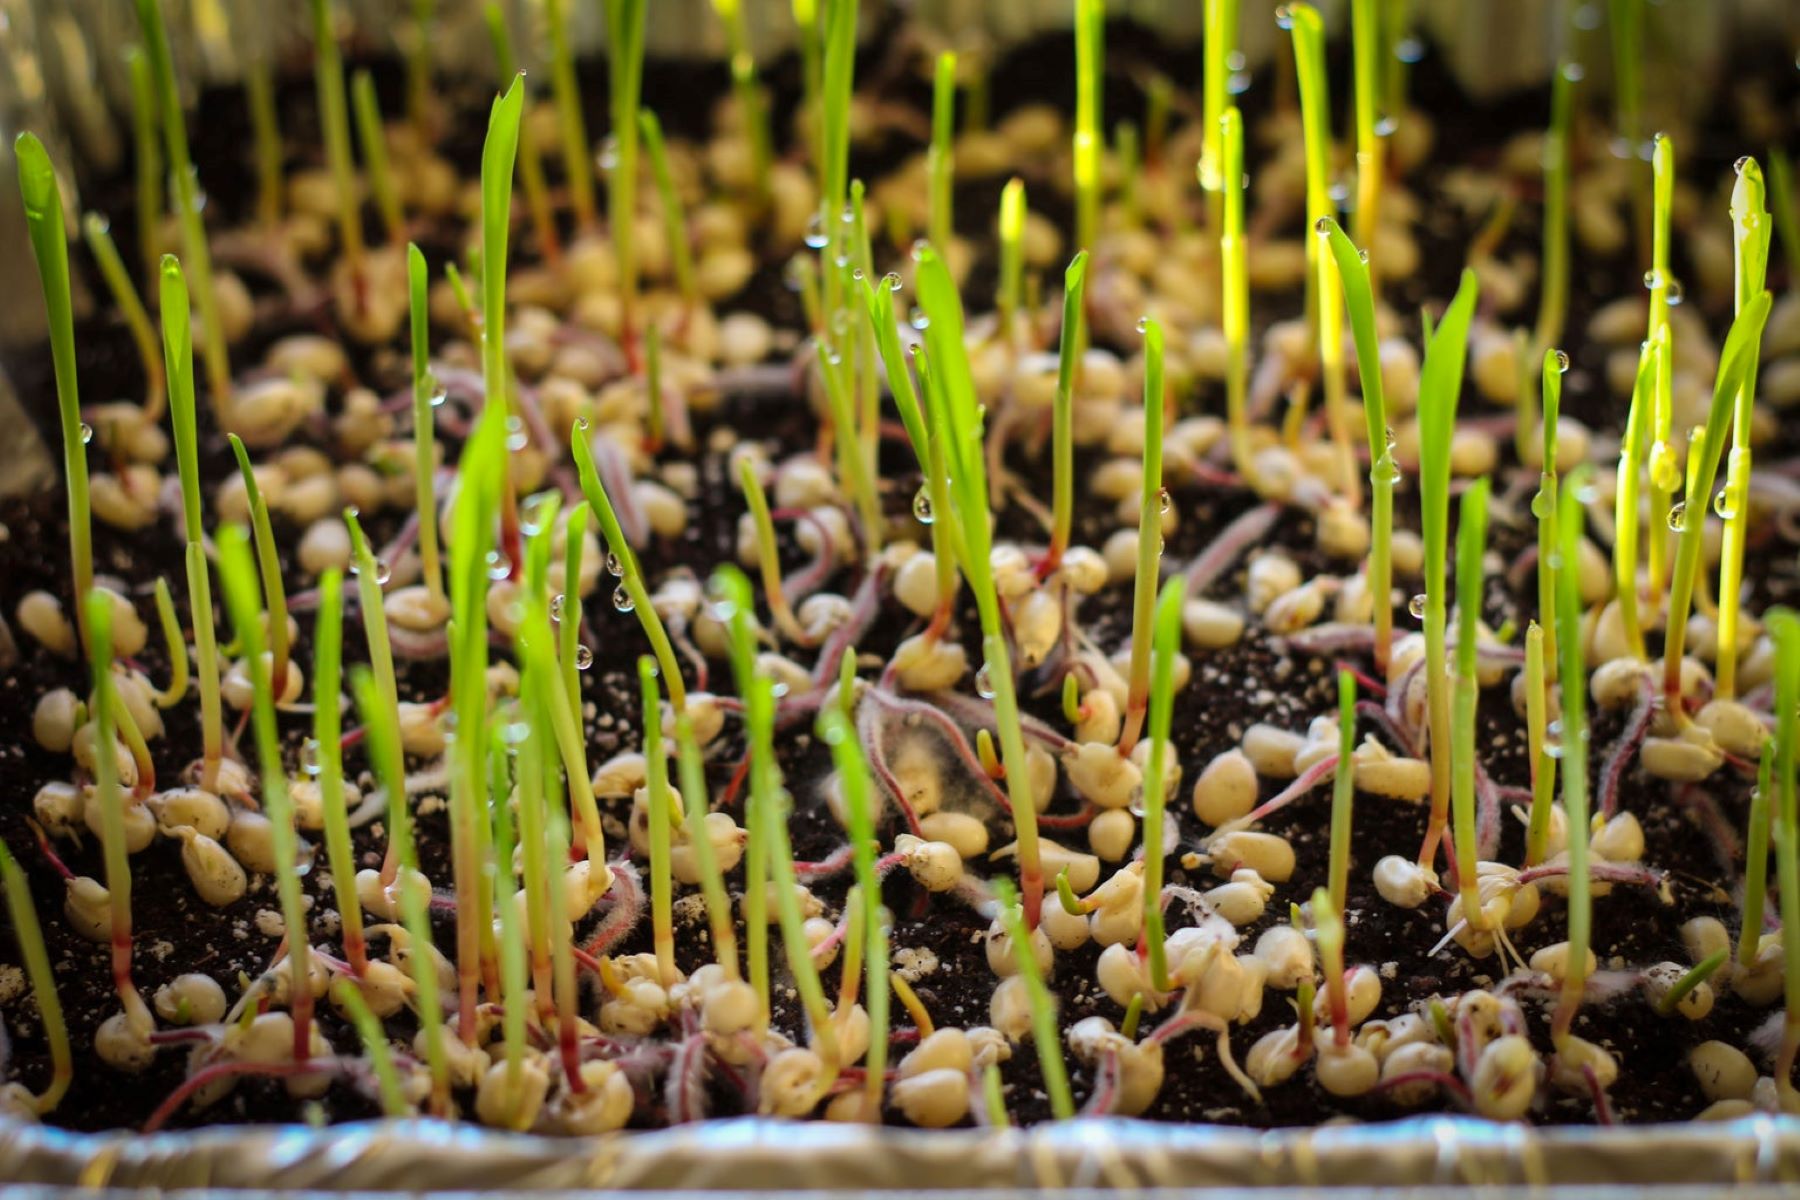
- Germination: Calla lily seeds usually take 2-4 weeks to germinate. Keep the soil consistently moist, and provide warmth and adequate sunlight to promote germination. A seedling heat mat can be used to maintain the ideal temperature if necessary.
- Thinning: Once the seedlings have emerged, you may need to thin them out if they are overcrowded. This allows the remaining seedlings to have sufficient space to grow and prevents competition for resources.
Remember to monitor the progress of your calla lily seedlings regularly and provide the necessary care to ensure their healthy growth. Soon enough, you will see the beautiful foliage and delicate blooms of your calla lilies gracing your garden.
Providing the Ideal Growing Conditions
Creating the ideal growing conditions is essential for the healthy development and vigorous growth of calla lily plants. Here are some factors to consider when providing the optimal environment for your calla lilies:
- Sunlight: Calla lilies thrive in bright, indirect sunlight. Ensure that your plants receive at least 4-6 hours of sunlight daily. If your location has intense heat, provide some afternoon shade to prevent scorching of the leaves.
- Temperature: Calla lilies prefer moderate temperatures and are sensitive to extreme cold or heat. The ideal temperature range for their growth is between 65-75°F (18-24°C). Protect your plants from frost and extreme temperature fluctuations by providing shelter or using appropriate covers.
- Humidity: Calla lilies appreciate moderate humidity levels. If you live in a dry climate, you can increase humidity around your plants by placing a tray filled with water near them or using a humidifier. It’s important to find a balance as excessive humidity can lead to fungal diseases.
- Air Circulation: Adequate air circulation is crucial for preventing the development of fungal diseases. Avoid planting calla lilies in crowded or poorly ventilated areas. Prune nearby plants or thin out foliage to promote airflow around your calla lilies.
- Soil Moisture: Calla lilies prefer slightly moist soil. Water your plants regularly, keeping the soil consistently moist but not waterlogged. Overwatering can lead to root rot and other fungal diseases. Mulching around the base of the plants can help retain moisture and regulate soil temperature.
- Fertilization: Feed your calla lilies with a balanced fertilizer every 4-6 weeks during the growing season. Choose a fertilizer specifically formulated for flowering plants and follow the package instructions for application rates. Avoid over-fertilizing, as it can lead to excessive foliage growth at the expense of flower production.
By providing the ideal growing conditions, you can ensure that your calla lilies thrive and produce stunning blooms. Regular monitoring, proper watering, and occasional fertilization will keep your plants healthy and vibrant throughout the growing season.
Read more: When To Harvest Calla Lily Seeds
Watering and Fertilizing
Proper watering and fertilizing practices are essential for the optimal growth and blooming of calla lilies. Here are some guidelines to follow:
Watering:
Calla lilies require consistent moisture to thrive, but they are sensitive to overwatering. Here are some watering tips:
- Frequency: Water your calla lilies deeply once or twice a week, depending on the weather conditions. Adjust the frequency based on the moisture level of the soil. Aim to keep the soil consistently moist, but not waterlogged.
- Soil Check: Before watering, check the moisture level of the soil by feeling the top inch with your finger. If it feels dry, it’s time to water. If it’s still moist, hold off on watering for a day or two.
- Watering Technique: Apply water directly to the base of the plant, avoiding the leaves. This helps prevent foliar diseases and allows the roots to absorb water efficiently. Consider using a soaker hose or drip irrigation system to ensure deep, targeted watering.
- Container-Grown Calla Lilies: If you are growing calla lilies in containers, ensure proper drainage to prevent waterlogged roots. Allow excess water to drain out of the container, and never let the plants sit in standing water.
Fertilizing:
Fertilizing calla lilies is crucial for providing them with the necessary nutrients for healthy growth and abundant blooms. Here are some tips for fertilizing your calla lilies:
- Fertilizer Selection: Choose a balanced, water-soluble fertilizer with equal ratios of nitrogen (N), phosphorus (P), and potassium (K). Look for a fertilizer labeled specifically for flowering plants.
- Application Timing: Start fertilizing your calla lilies when new growth appears in the spring. Apply the fertilizer every 4-6 weeks during the growing season, following the package instructions for the recommended application rates.
- Application Technique: Dilute the fertilizer according to the package instructions and apply it around the base of the plants. Avoid direct contact with the leaves and stems, as it can cause leaf burn. Water the plants after fertilizing to help the nutrients penetrate the soil.
- Organic Alternatives: If you prefer using organic fertilizers, you can opt for compost or well-rotted manure. Apply a thin layer of organic matter around the base of the plants, ensuring it doesn’t touch the stems. Organic fertilizers promote slow-release nutrients and improve soil fertility over time.
By following these watering and fertilizing guidelines, you can provide your calla lilies with the essential elements they need for healthy growth, strong roots, and stunning blooms. Remember to adjust the watering and fertilizing practices based on the specific needs and growing conditions of your calla lilies.
Protecting from Pests and Diseases
Like any plant, calla lilies are susceptible to pests and diseases that can hinder their growth and affect their overall health. However, with proper preventative measures and early detection, you can ensure the well-being of your calla lilies. Here are some tips to help protect your plants:
Read more: How To Grow Lily Seeds
Pest Prevention:
- Inspect Regularly: Regularly check your calla lilies for signs of pest activity, such as chewed foliage, discolored leaves, or bug infestations. Early detection is key to preventing widespread damage.
- Remove Weeds and Debris: Weeds and debris can harbor pests and diseases. Remove any nearby weeds, fallen leaves, or plant debris to eliminate hiding places for pests and reduce the risk of infection.
- Attract Beneficial Insects: Encourage beneficial insects, such as ladybugs, lacewings, and praying mantises, to take up residence in your garden. These beneficial insects feed on pests and can help naturally control their populations.
- Use Organic Pest Control: If necessary, use organic pest control methods, such as insecticidal soaps, neem oil, or diatomaceous earth, to target specific pests. Always follow the instructions on the product labels and apply treatments sparingly and selectively.
- Physical Barriers: If you have persistent pests like slugs or snails, create physical barriers around your calla lilies. Use copper tape or diatomaceous earth to create a barrier that pests find difficult to cross.
Disease Prevention:
- Sanitation: Maintaining cleanliness in and around your calla lilies is crucial for disease prevention. Remove and dispose of any infected or dead foliage promptly to prevent the spread of diseases.
- Avoid Overcrowding: Plant your calla lilies with adequate spacing to allow for airflow and reduce the risk of fungal diseases. Overcrowding can create a humid environment that promotes the development and spread of diseases.
- Watering Techniques: Avoid overhead watering, as it can promote the spread of fungal diseases. Instead, water the plants at the base to keep the foliage dry.
- Well-Drained Soil: Calla lilies thrive in well-drained soil, and excess moisture can lead to root rot and other diseases. Ensure that the soil has proper drainage by amending it with organic matter and avoiding overwatering.
- Use Disease-Resistant Varieties: Consider selecting calla lily varieties that are known to be resistant to common diseases in your area. Disease-resistant varieties have a higher chance of staying healthy and are less susceptible to infections.
By implementing these preventative measures and practicing good garden hygiene, you can minimize the risks of pests and diseases, allowing your calla lilies to grow and flourish beautifully.
Harvesting and Storing Seeds
Once your calla lilies have bloomed and produced seeds, you may want to harvest and store them for future planting. Here’s how you can go about harvesting and storing calla lily seeds:
Harvesting Seeds:
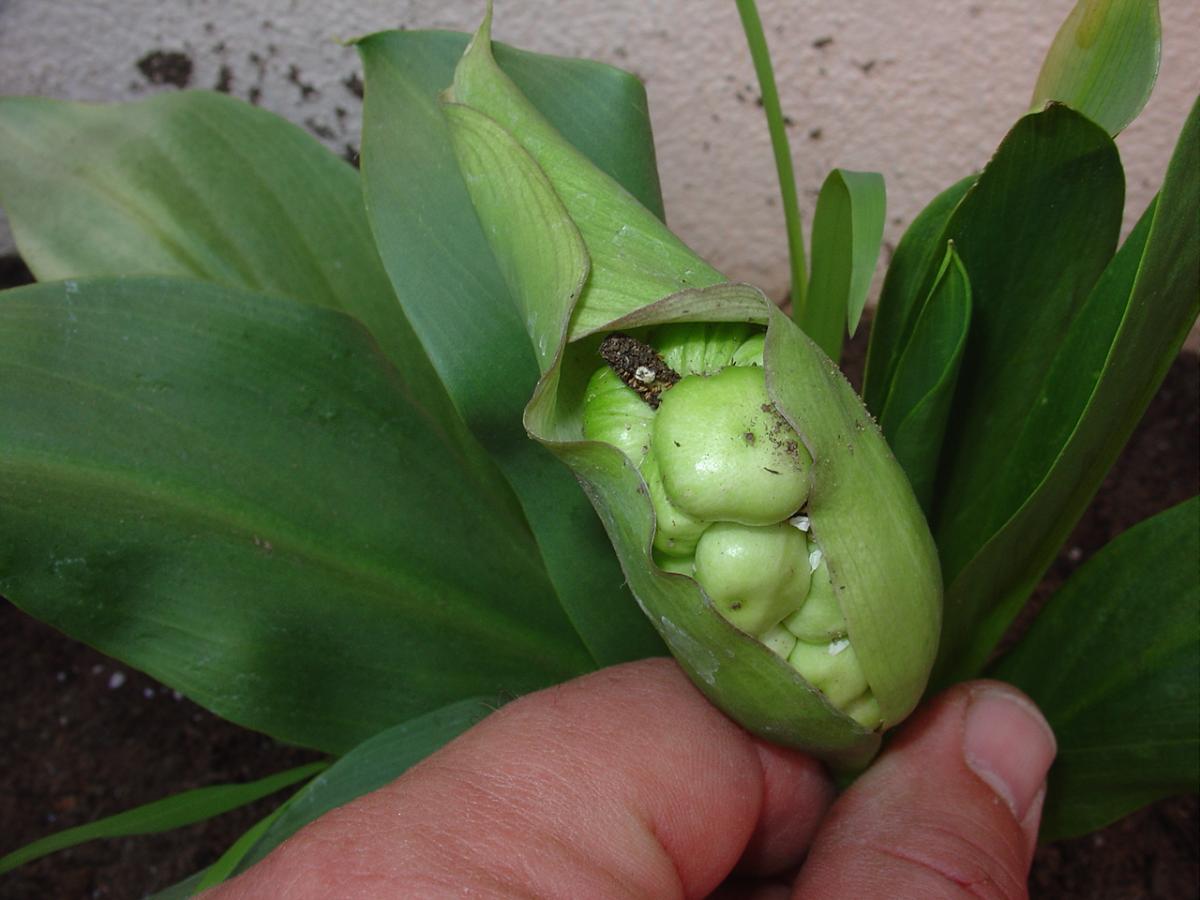
- Timing: Allow the flowers to fade and the seed pods to develop fully on the plant before harvesting the seeds. The seed pods are usually green when immature and turn brown or black when mature.
- Seed Pod Inspection: Inspect the seed pods and make sure they have turned completely brown or black. This indicates that the seeds are fully matured and ready for harvesting.
- Seed Pod Removal: Gently pluck the seed pods from the plant using your fingers or small scissors. Place them in a paper bag or a container for further processing.
- Drying: Allow the seed pods to dry in a cool, ventilated area for about a week. This helps ensure that the seeds are fully dried and ready for storage.
- Seed Extraction: Once the seed pods have dried, gently crush or open them to extract the small, shiny seeds. Be careful not to damage the seeds during this process.
Read more: How To Grow Water Lily Seeds
Storing Seeds:
- Cleaning: Remove any debris or chaff from the harvested calla lily seeds by gently blowing on them or using a fine sieve. This helps ensure that only clean and viable seeds are stored.
- Storage Containers: Place the cleaned seeds in an airtight container, such as a small glass jar or a resealable bag. Make sure the container is clean and dry to prevent moisture build-up.
- Labeling: Label the storage container with the date of harvest and the variety of calla lily seeds. This will help you keep track of the seeds and their viability over time.
- Cool and Dry Location: Store the seeds in a cool, dark, and dry location to maintain their viability. A refrigerator or a dry, cool basement are suitable options. Avoid storing them in areas prone to temperature fluctuations or high humidity.
- Viability Testing: If you plan to store the calla lily seeds for an extended period, it’s a good idea to periodically test their viability. This can be done by sowing a small batch of seeds and observing their germination rate.
By following these steps, you can successfully harvest and store calla lily seeds, allowing you to propagate these beautiful flowers in the future or share them with fellow gardeners.
After the calla lily blooms, allow the seed pods to mature and turn brown. Then, collect the seeds and plant them in a well-draining soil mix. Keep the soil consistently moist and provide bright, indirect light for the seeds to germinate and grow.
Conclusion
Congratulations! You’ve now learned the ins and outs of growing calla lilies from seeds. This rewarding process allows you to witness the magic of plant growth, from tiny seeds to stunning blossoms. By choosing the right seeds, preparing the soil, providing ideal growing conditions, and taking preventative measures against pests and diseases, you can ensure the success of your calla lily plants.
Remember, patience is key when growing calla lilies from seeds. It may take time for the seeds to germinate and for the plants to reach maturity, but the wait will be well worth it. The beauty and elegance of calla lily blooms will grace your garden and bring joy to your heart.
As you continue on your gardening journey, don’t forget to share your knowledge and experiences with other garden enthusiasts. The joy of gardening grows when we connect and learn from each other.
So, roll up your sleeves, grab your calla lily seeds, and get ready to embark on a wonderful gardening adventure. Enjoy the process, and may your calla lilies flourish and bring you endless delight!
Now that you've mastered growing calla lily seeds, why not expand your gardening prowess further? Our next guide offers step-by-step instructions on setting up vibrant window displays with your favorite blooms. Whether you have a small ledge or a sunny windowsill, this planting guide will show you how to transform any space into a lush, floral paradise. Perfect for urban gardeners or anyone looking to add a splash of color to their home.
Frequently Asked Questions about How To Grow Calla Lily Seeds
Was this page helpful?
At Storables.com, we guarantee accurate and reliable information. Our content, validated by Expert Board Contributors, is crafted following stringent Editorial Policies. We're committed to providing you with well-researched, expert-backed insights for all your informational needs.

0 thoughts on “How To Grow Calla Lily Seeds”