Home>Garden Essentials>How To Make Fake Grass

Garden Essentials
How To Make Fake Grass
Modified: September 2, 2024
Learn how to create a lush garden look with artificial grass. Our step-by-step guide will help you achieve the perfect fake grass for your outdoor space.
(Many of the links in this article redirect to a specific reviewed product. Your purchase of these products through affiliate links helps to generate commission for Storables.com, at no extra cost. Learn more)
Introduction
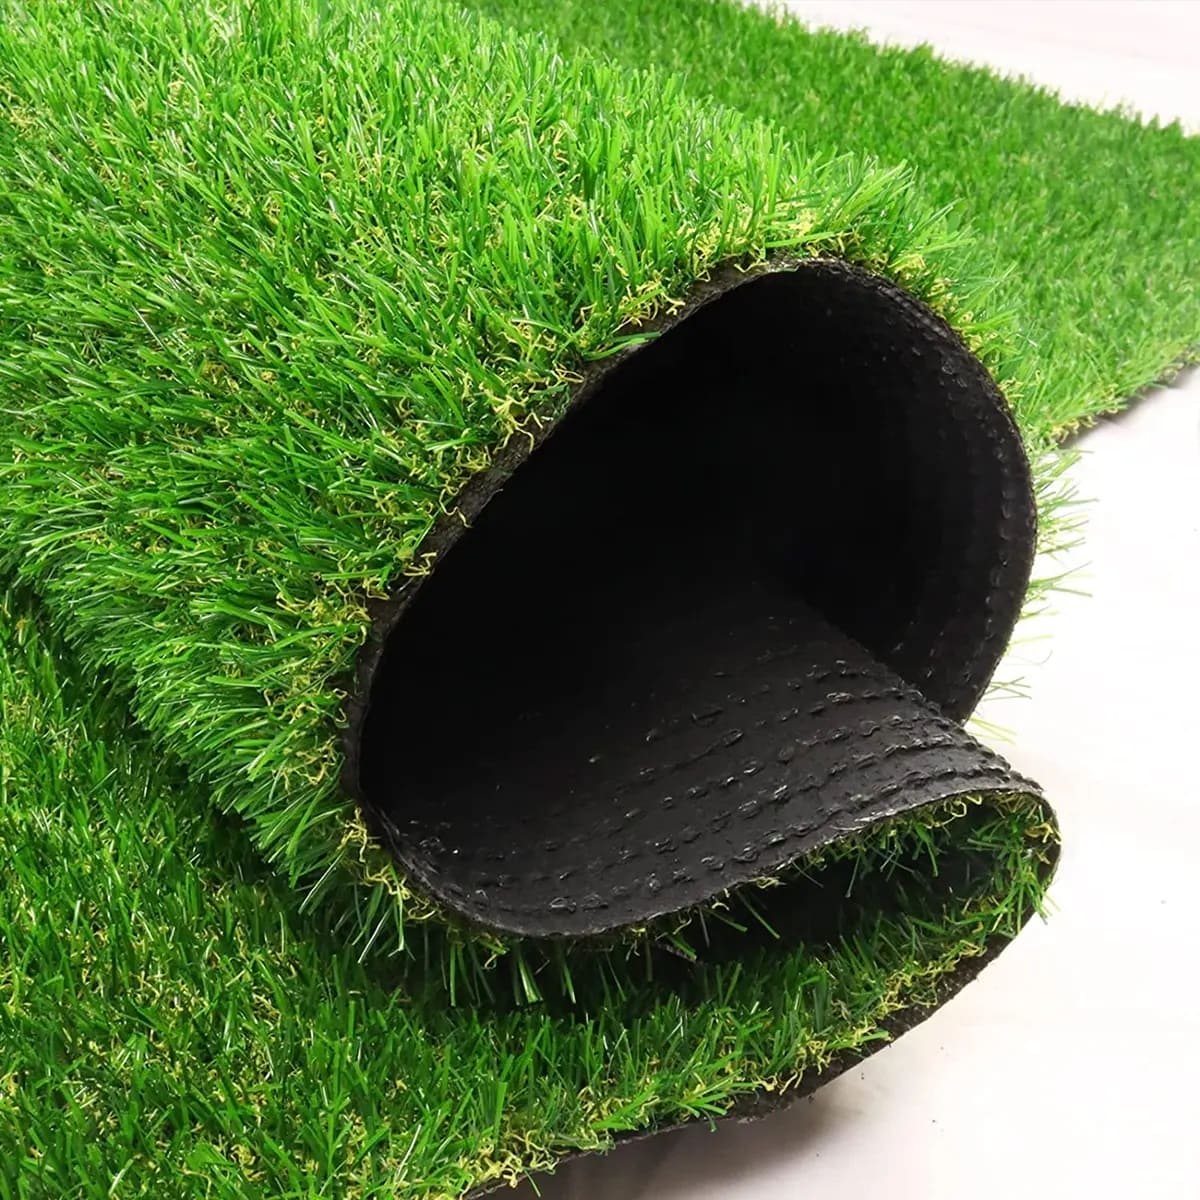
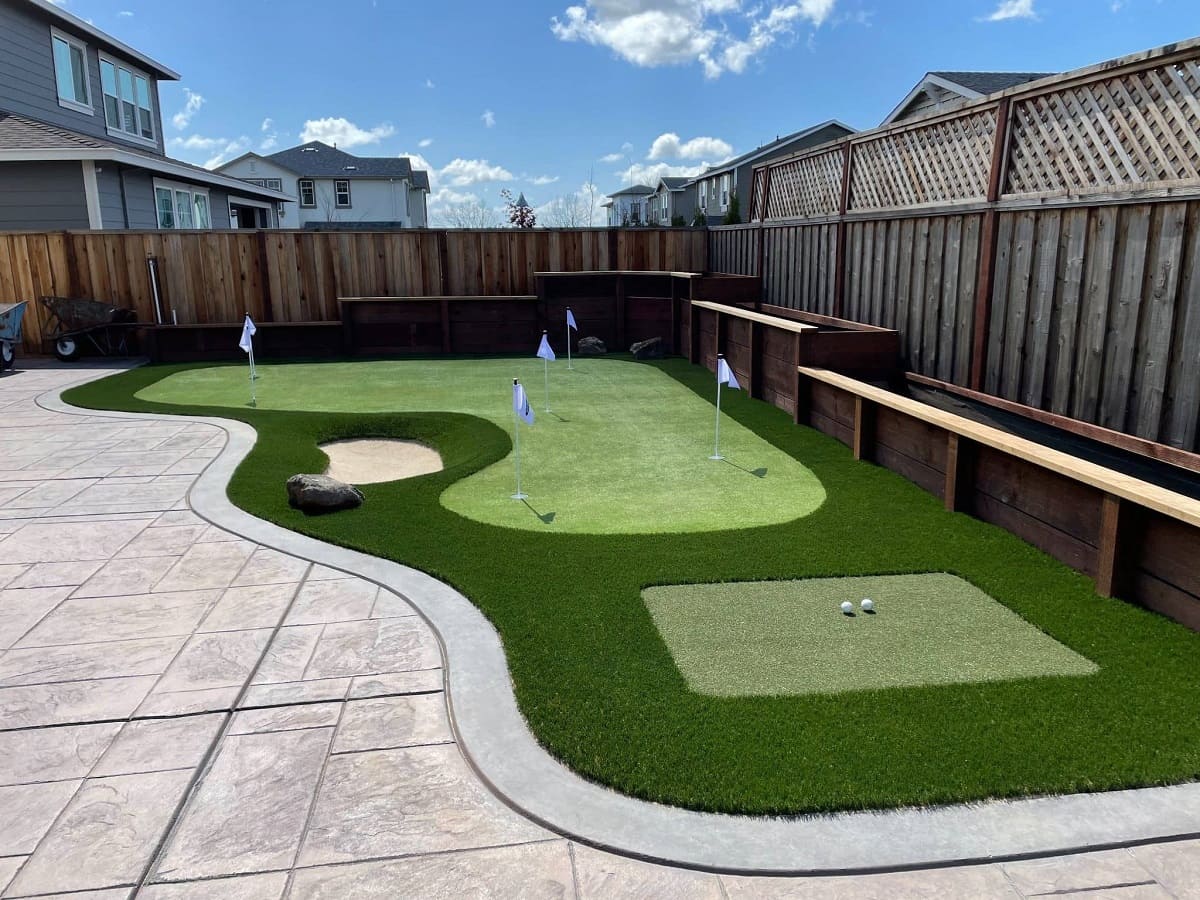
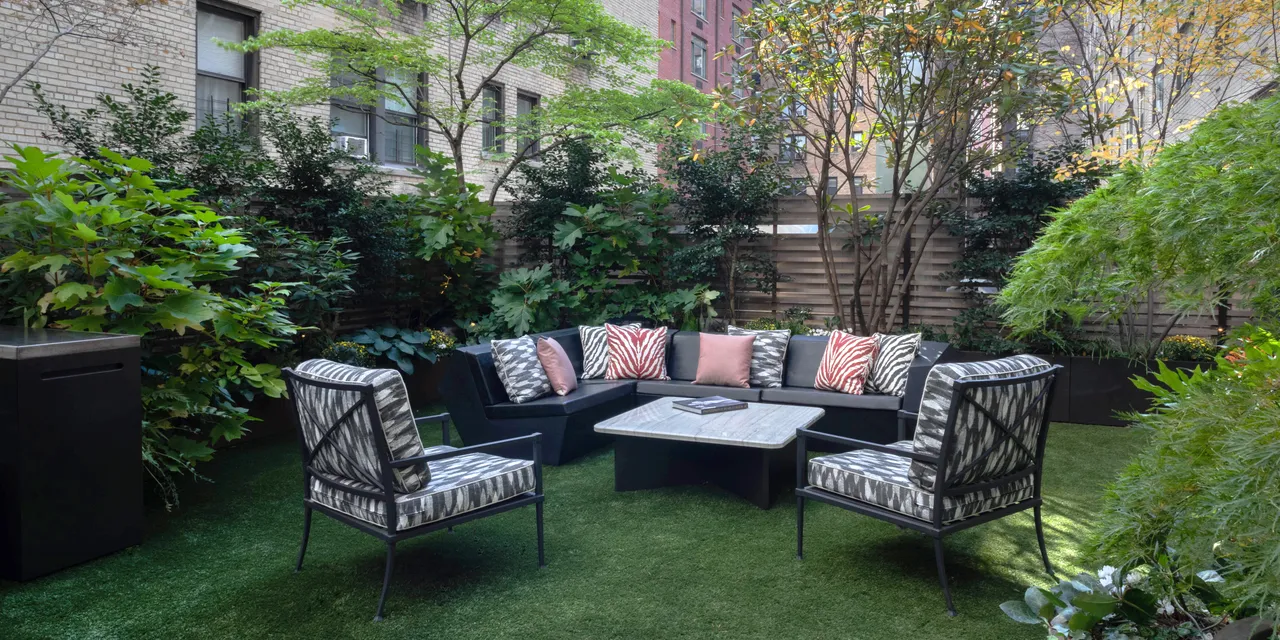
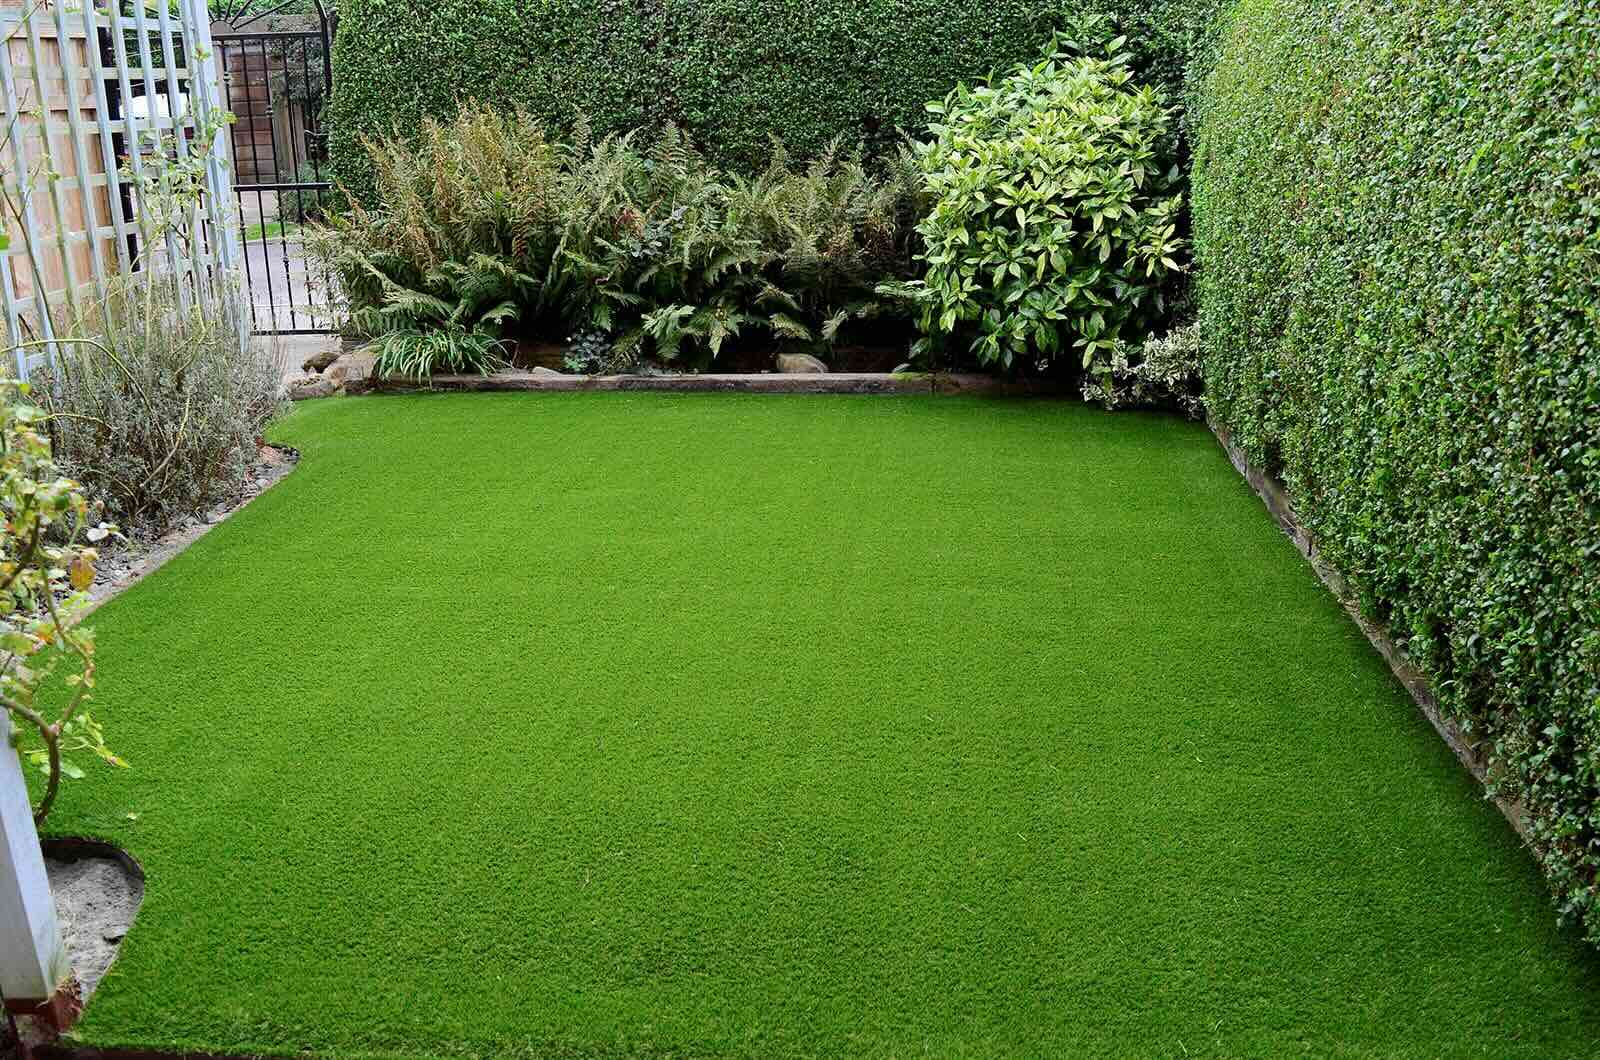
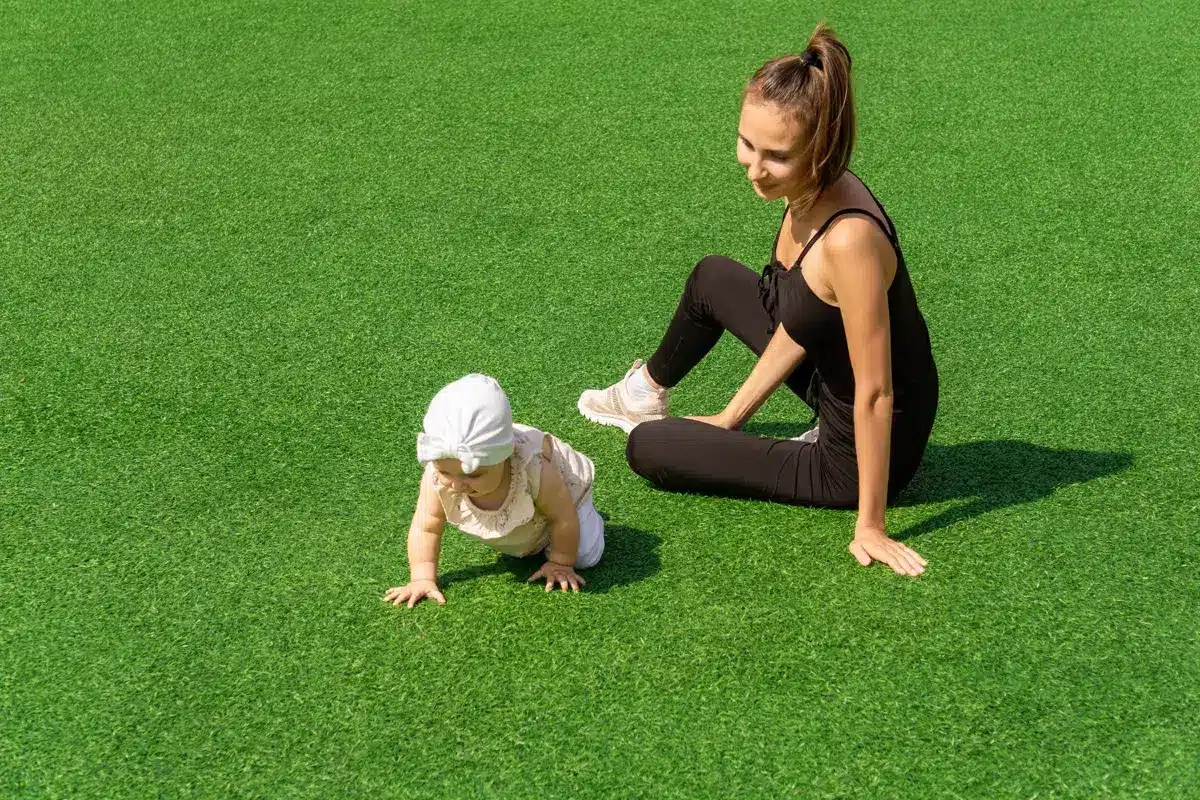
Welcome to the world of fake grass, where you can enjoy the lush greenery of a perfectly manicured lawn without the hassle of regular upkeep. Artificial grass, also known as synthetic turf, has become increasingly popular in recent years due to its low maintenance requirements and long-lasting durability. Whether you are looking to transform your backyard, spruce up your balcony, or create a safe and inviting play space for your children, fake grass offers an excellent alternative to natural grass.
In this comprehensive guide, we will walk you through the process of installing fake grass step by step, ensuring that you achieve the best possible results. From preparing the base to maintaining the grass, we will cover all the necessary materials, tools, and techniques needed to create a beautiful and functional artificial lawn.
Before we get started, it’s important to note that while artificial grass does provide many advantages, it may not be suitable for all situations. Factors such as excessive shade, poor drainage, or extremely hot climates may affect the performance and lifespan of fake grass. Additionally, there are different types of artificial turf available on the market, each with its own unique characteristics and applications. It’s crucial to do your research and choose a high-quality, appropriate option that suits your specific needs.
Now, let’s dive into the world of fake grass and uncover the secrets to a stunning, low-maintenance lawn.
Key Takeaways:
- Transform your outdoor space with low-maintenance artificial grass. Follow the step-by-step guide to create a lush, green environment without the hassle of mowing, watering, or dealing with bare patches.
- Regular brushing and maintenance will keep your artificial grass looking beautiful and functional. Enjoy the benefits of a stunning, hassle-free lawn all year round.
Read more: How To Make Fake Rocks For Landscaping
Materials Needed
Before you begin the installation process, gather the following materials to ensure a smooth and successful project:
- Artificial grass: Choose a high-quality synthetic turf that suits your aesthetic preferences and intended use. Make sure it is durable, UV-resistant, and has good drainage capabilities.
- Tools: You will need a variety of tools, including a shovel, rake, wheelbarrow, utility knife, measuring tape, hammer, nails, and a power brush or broom.
- Underlay: Depending on the condition of your base, you may require an underlay to provide additional cushioning, drainage, and weed control. Common options include weed barriers, geotextile membranes, and shock pads.
- Ground preparation materials: If your soil is unstable or has poor drainage, you may need to amend it with materials such as crushed rock, gravel, or sand to create a stable and level base.
- Adhesive or turf tape: To secure the edges and seams of the artificial grass, you will need adhesive or turf tape specifically designed for synthetic turf.
- Infill (optional): Infill materials such as silica sand or rubber granules may be used to improve the stability, cushioning, and cooling properties of the artificial grass. Check with the manufacturer for recommended infill options.
Make sure to purchase the correct amount of materials based on the size of the area you plan to cover. It’s always better to have a little extra to account for any mistakes or adjustments that may be necessary during the installation process.
With all the necessary materials in hand, you are now ready to embark on your fake grass installation journey. Let’s move on to the first step: preparing the base.
Step 1: Prepare the Base
The key to a successful artificial grass installation lies in creating a solid and level base. Follow these steps to ensure a stable foundation for your fake grass:
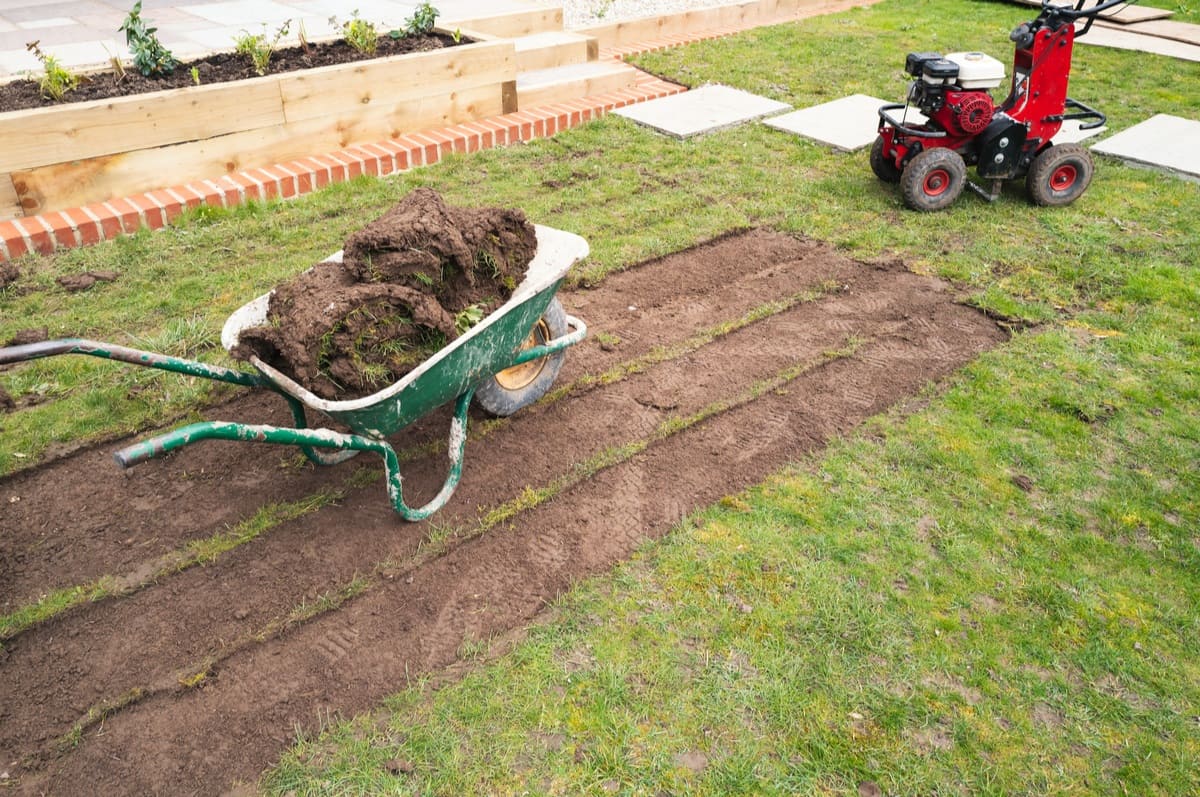
- Clear the area: Start by removing any existing vegetation, rocks, or debris from the area where you plan to install the synthetic turf. Use a shovel or rake to thoroughly clear the space.
- Assess the soil: Check the quality and composition of your soil. If it is compacted or has drainage issues, it may be necessary to improve its condition. You can do this by aerating, tilling, or adding organic matter.
- Level the ground: Use a rake or shovel to flatten and level the area. Remove any high spots and fill in any low areas to ensure a smooth surface.
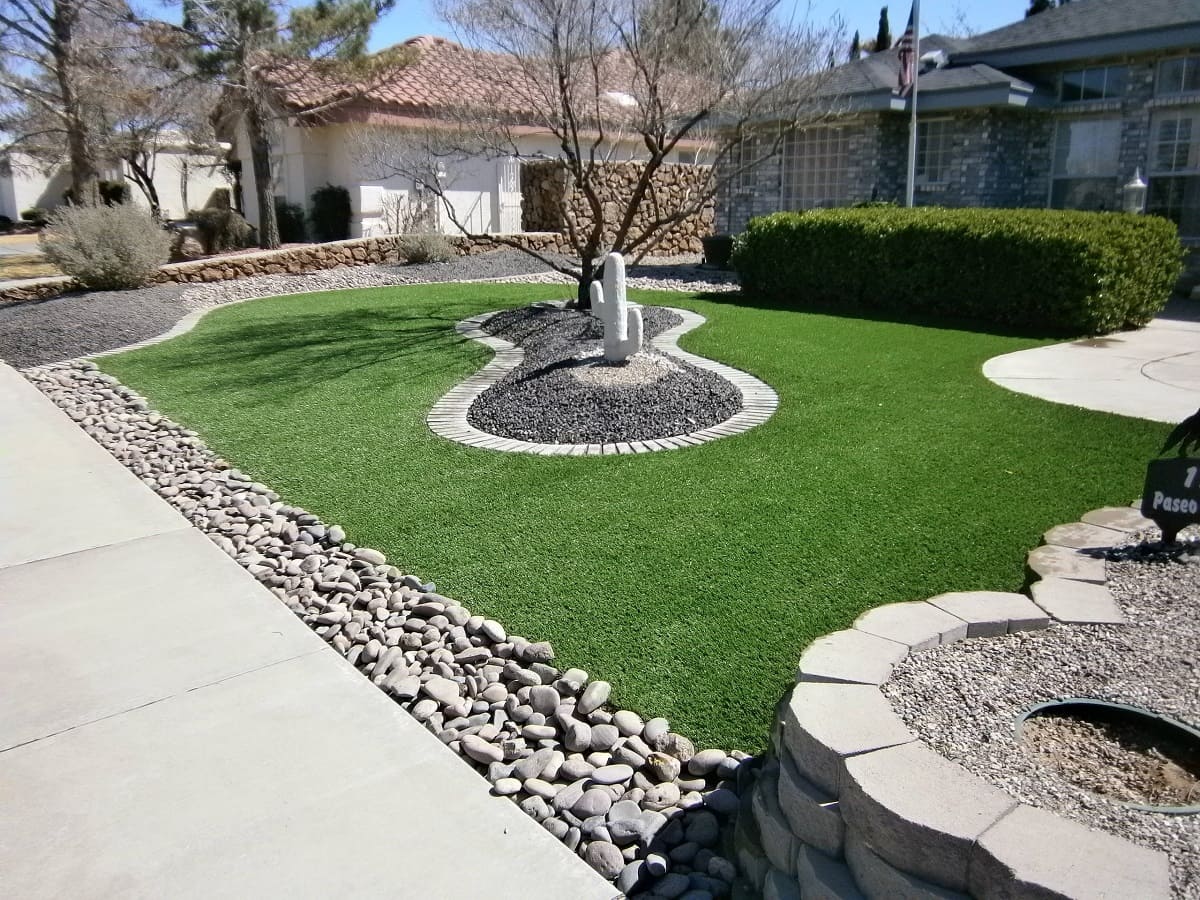
- Add a border: If desired, install a border around the perimeter of the area using timber, bricks, or other suitable materials. This will help contain the artificial grass and give it a neat, finished appearance.
- Compact the soil: Use a plate compactor or hand tamper to compact the soil. This will provide a stable base and prevent future sinking or shifting of the fake grass.
It’s important to note that if you are installing artificial grass over a hard surface, such as concrete or asphalt, the base preparation process may differ. Consult the manufacturer’s instructions or seek professional advice for the specific requirements in such cases.
Once you have completed the base preparation, you’re ready to move on to the next step: installing the underlay. In the following section, we will guide you through the process of creating a solid foundation for your artificial grass.
Step 2: Install the UnderlayInstalling an underlay beneath your artificial grass can provide several benefits, including improved drainage, cushioning, and weed control. Follow these steps to install the underlay:
- Roll out the underlay: Start by rolling out the underlay material over the prepared base. Make sure it covers the entire area and overlaps the edges slightly.
- Trim the underlay: Use a utility knife to trim the underlay to fit the shape of the area. Make clean cuts and ensure there are no gaps or overlaps.
- Secure the underlay: Use landscaping staples or adhesive to secure the underlay to the ground. Space the staples or apply the adhesive according to the manufacturer’s recommendations.
- Join multiple sections: If you need to use multiple sections of underlay, overlap the edges and secure them together with adhesive or turf tape. Ensure a smooth and seamless transition.
- Test drainage: Before proceeding to the next step, test the drainage of the underlay by pouring water over it. Observe how well water drains through the underlay and adjust as necessary.
Installing an underlay can help prolong the lifespan of your artificial grass and provide a more comfortable and safe surface. However, keep in mind that not all situations may require an underlay, especially if you have good soil conditions and sufficient drainage in place. Consult the manufacturer’s guidelines or seek professional advice to determine the necessity of an underlay for your specific project.
With the underlay in place, it’s time to move on to the next step: laying the synthetic grass. In the following section, we will guide you through the process of installing the artificial grass and achieving a seamless, natural-looking result.
Step 3: Lay the Synthetic Grass
Now that the base and underlay are prepared, it’s time to lay the synthetic grass. Follow these steps to ensure a smooth and successful installation:
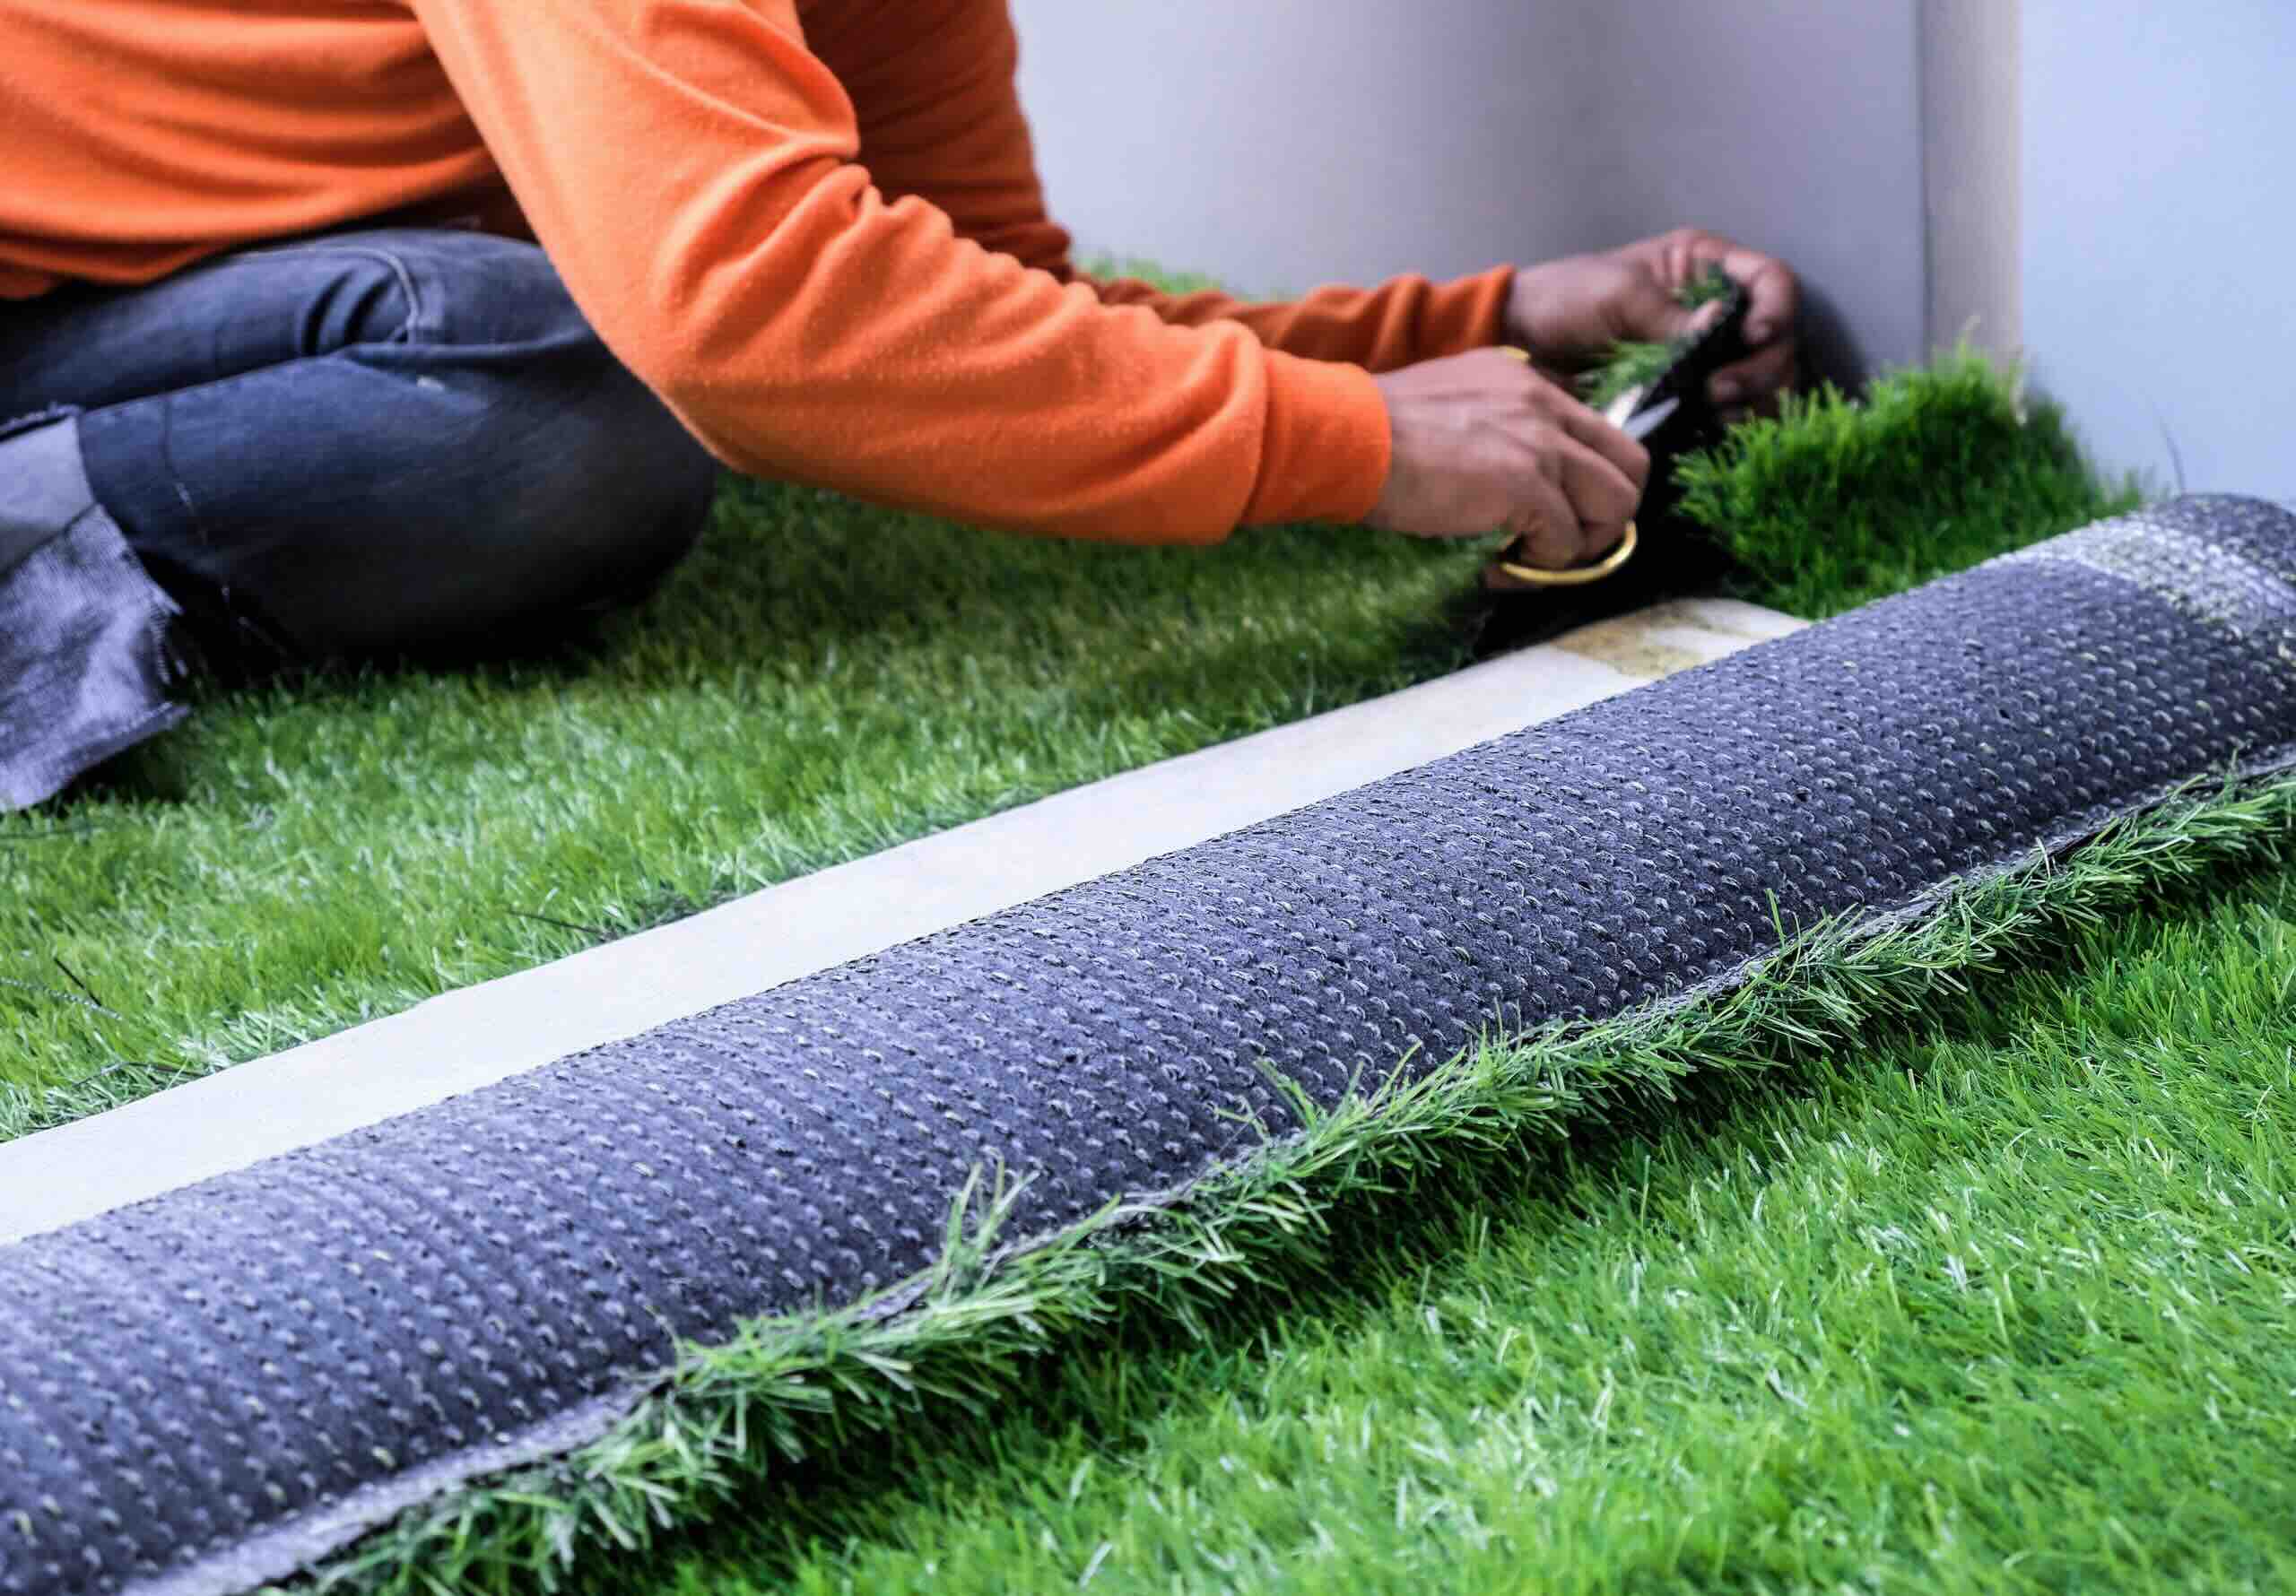
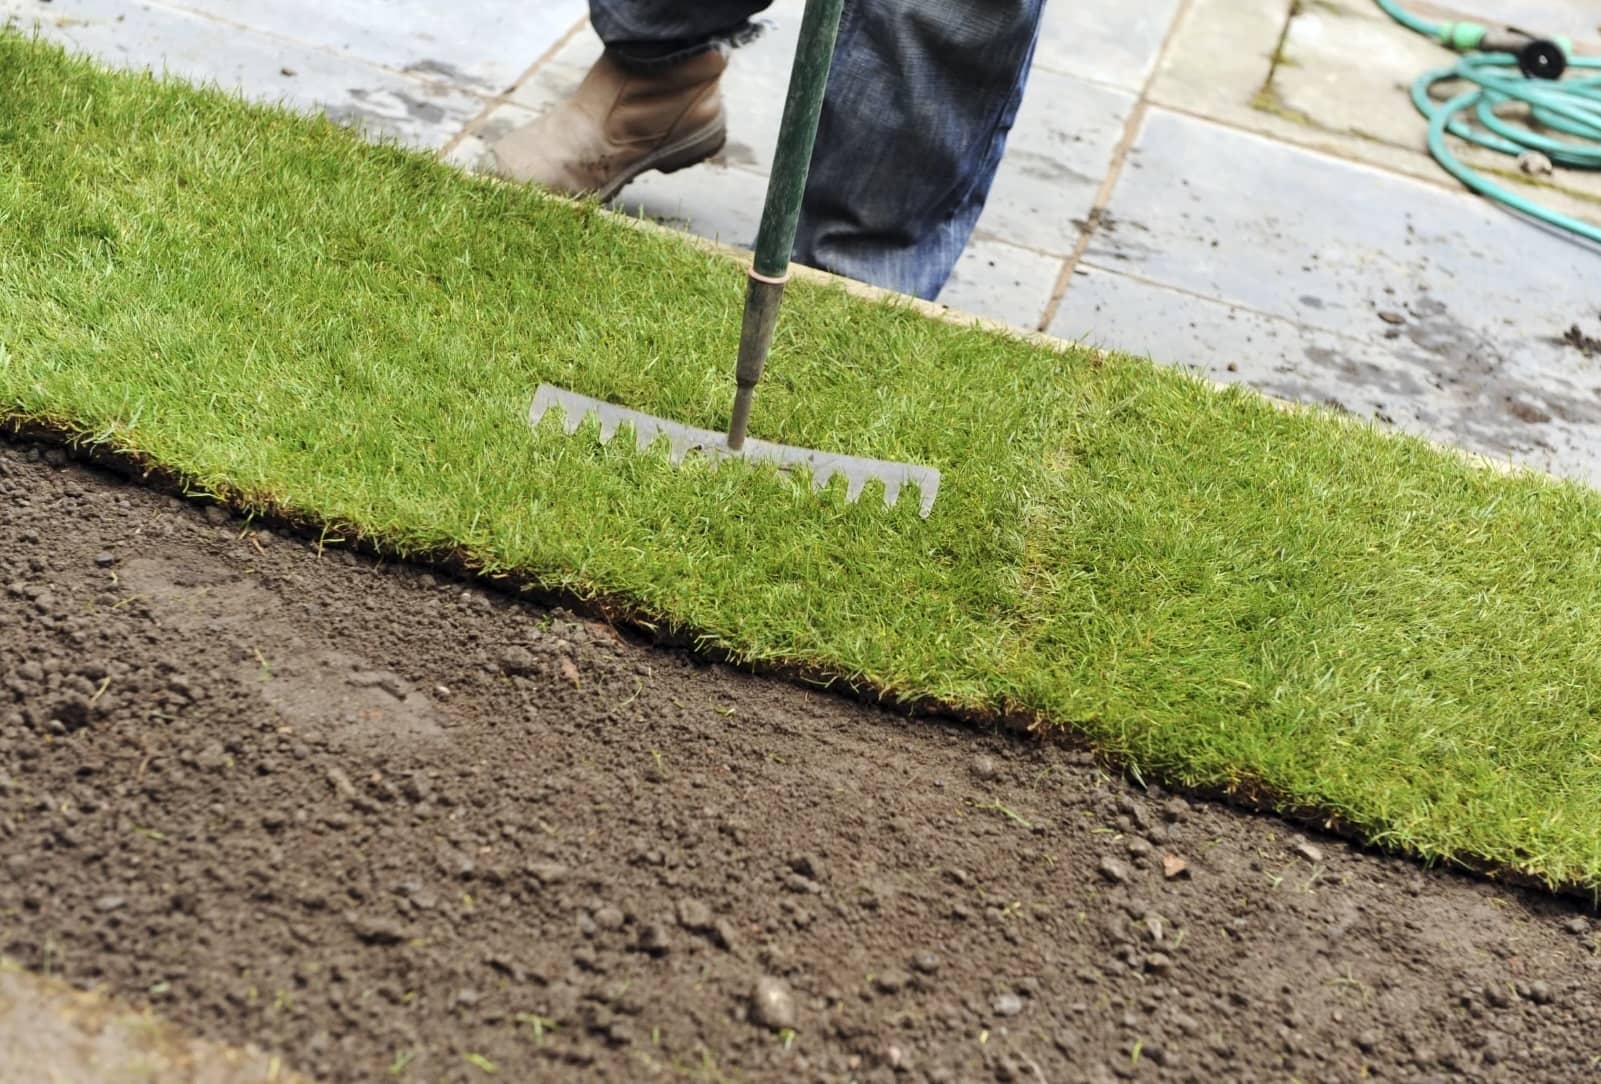
- Roll out the artificial grass: Start by unrolling the synthetic turf over the prepared area. Make sure the grass fibers are facing the desired direction and that there is enough excess material to trim later.
- Position the grass: Adjust the position of the artificial grass to ensure it fits snugly within the borders or edges. Make sure there are no gaps or overlaps.
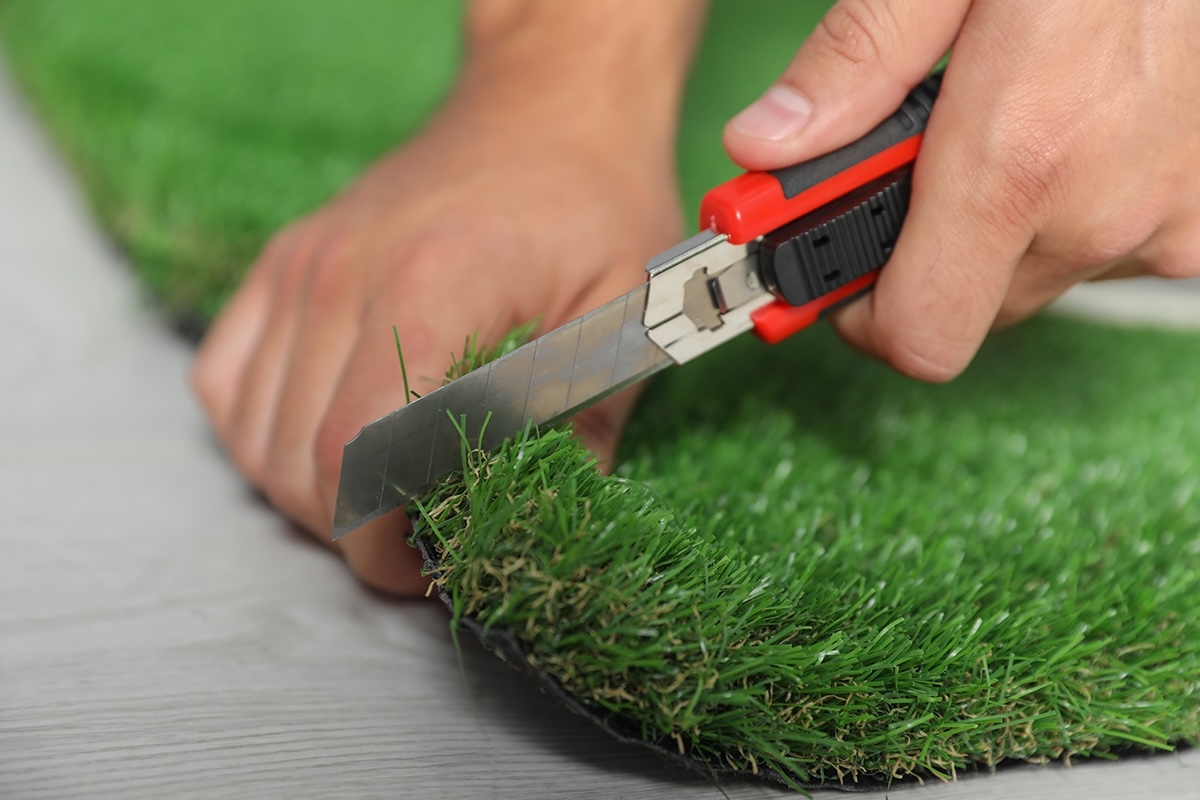
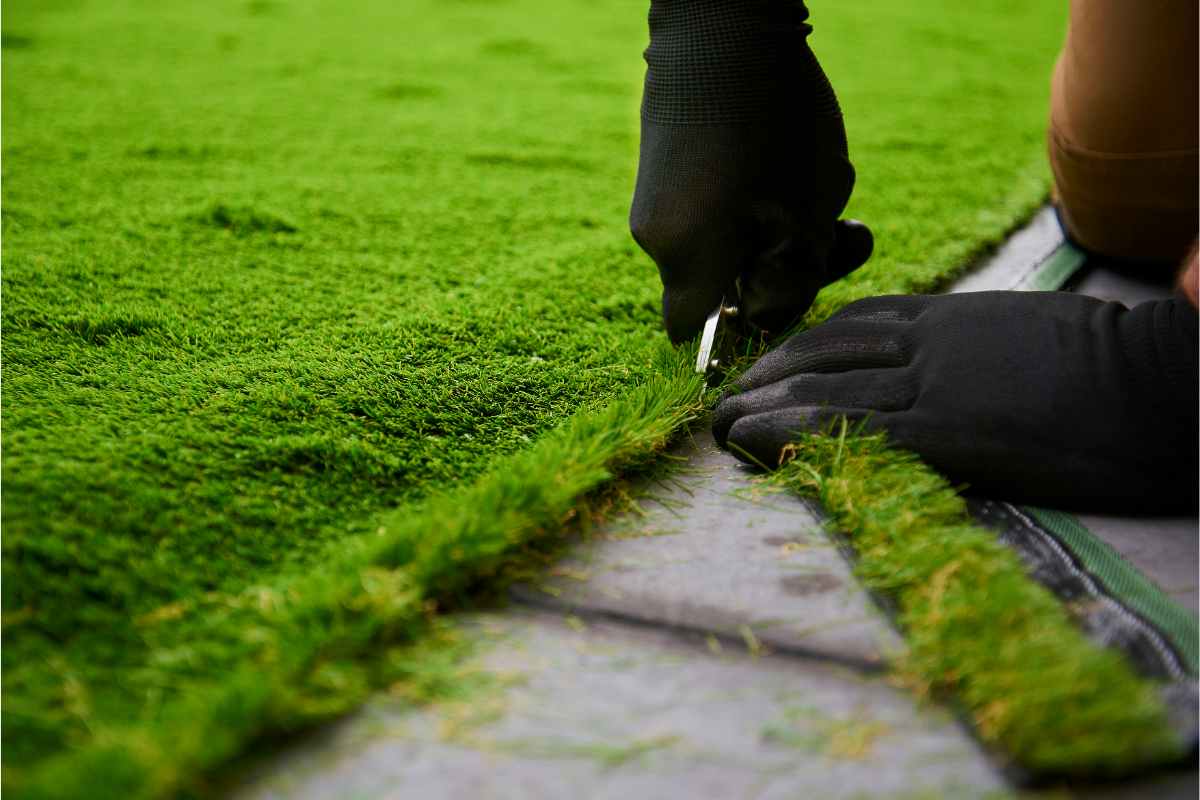
- Cut the grass: Use a sharp utility knife to trim the excess grass along the edges. Make clean, straight cuts to achieve a neat and seamless finish.
- Join multiple sections: If you need to use multiple sections of synthetic grass, align the edges and secure them together using adhesive or turf tape. Ensure a seamless transition between sections.
- Smooth out wrinkles: Gently smooth out any wrinkles or folds in the artificial grass. This can be done by hand or by using a stiff bristle brush or power broom.
- Check the alignment: Double-check the alignment of the grass to ensure it is straight and even. Adjust as necessary before proceeding.
During the installation process, it’s important to handle the synthetic grass with care to avoid damaging the fibers or backing. Avoid walking on the freshly laid grass or placing heavy objects on it until the installation is complete.
Once the synthetic grass is laid and aligned, it’s time to secure it in place. In the next step, we will guide you through the process of securing the grass to ensure it stays in position and withstands regular use.
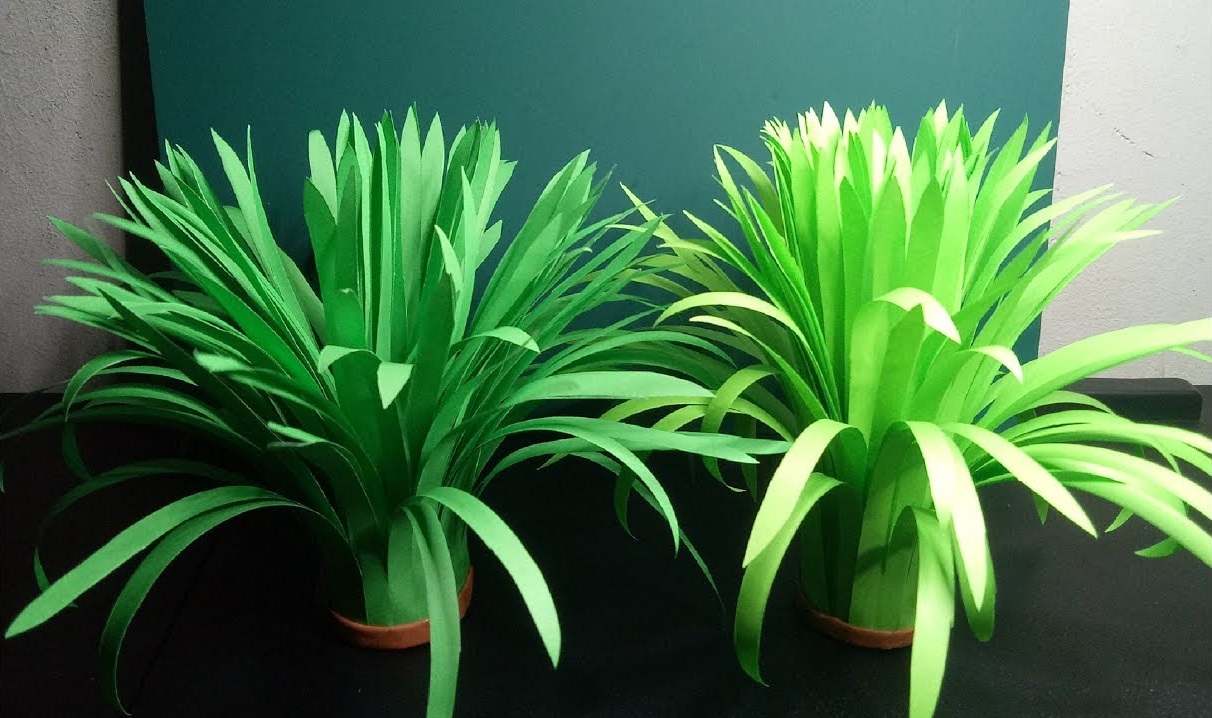
When making fake grass, use a combination of green and brown yarn or fabric to create a natural look. Cut the material into small pieces and attach it to a base using glue or a backing material. Brush the grass to give it a more realistic texture.
Step 4: Secure the Grass
To ensure that your artificial grass stays securely in place, follow these steps to properly secure it:
- Secure the edges: Use landscape spikes or galvanized nails to secure the edges of the synthetic grass to the ground. Space them approximately every 6-12 inches along the perimeter. Be careful not to drive the nails too deep to avoid damaging the synthetic turf.
- Install anchor pins: For larger areas or areas with heavy foot traffic, it is recommended to install anchor pins through the center of the synthetic grass to provide additional stability. Space the anchor pins approximately every 12-24 inches across the entire area.
- Stretch and tighten: If there are any wrinkles or loose areas in the artificial grass, gently pull and stretch the material to tighten it. Make sure the grass is taut and smooth.
- Trim excess material: Once the grass is securely in place, use a utility knife to trim any excess material along the edges. Make clean cuts to achieve a neat and polished look.
Securing the synthetic grass is crucial to ensure that it remains in place, especially during heavy winds or intense activities on the lawn. It’s important to follow the manufacturer’s guidelines and recommendations for securing the specific type of synthetic grass you have chosen.
In the next step, we will guide you through the process of trimming and shaping the grass to achieve the desired aesthetic and functionality.
Step 5: Trim and Shape the Grass
Trimming and shaping the synthetic grass is the next step in creating a polished and natural appearance. Follow these steps to effectively trim and shape the grass:
- Identify areas to trim: Walk around the lawn and identify any areas where the grass edges are uneven or extend beyond the desired boundaries. These areas will need to be trimmed.
- Outline the cutting lines: Use marking spray or small flags to outline the cutting lines along the edges of the grass. This will help guide your trimming process.
- Trim the excess grass: Using a sharp utility knife or turf cutter, carefully cut along the marked lines to trim the excess grass. Take your time and make precise, straight cuts to achieve a clean and professional finish.
- Shape the grass: If there are any specific areas or curves that require shaping, use the utility knife or scissors to carefully cut the grass to the desired shape. Take care not to damage the grass fibers or backing.
- Brush the grass: After trimming and shaping, use a power brush or broom with stiff bristles to brush the grass fibers upright. This will enhance the natural appearance and ensure the fibers are evenly distributed.
By trimming and shaping the grass, you can create crisp and defined edges, giving your artificial lawn a polished and professional look. Make sure to take your time, work carefully, and regularly step back to assess the overall appearance.
In the next step, we will explore the option of adding infill to your synthetic grass, which can help improve its stability and performance.
Step 6: Add Infill (Optional)
Adding infill to your artificial grass is an optional step that can provide several benefits, depending on your specific needs and preferences. Infill materials such as silica sand or rubber granules can improve the stability, cushioning, and cooling properties of the synthetic turf. Here’s how to add infill to your fake grass:
- Select the appropriate infill material: Choose the type of infill material that best suits your requirements and the recommendations of the artificial grass manufacturer. Silica sand is often used for general infill purposes, while rubber granules are popular for sports applications.
- Distribute the infill: Use a spreader or shovel to evenly distribute the infill material across the entire surface of the synthetic grass. Make sure to distribute it in a way that fills the space between the grass fibers without causing them to mat down.
- Work the infill into the grass: Use a power brush or broom to gently work the infill material into the grass fibers. This helps to ensure proper distribution and integration of the infill throughout the artificial lawn.
Adding infill can help improve the stability of the artificial grass, prevent wrinkling or shifting, and provide a more comfortable surface to walk and play on. Additionally, infill can help weigh down the grass and reduce the chance of it being affected by strong winds or heavy use.
Keep in mind that not all types of artificial grass require or are compatible with infill. Consult the manufacturer’s guidelines and recommendations to determine if infill is necessary for your specific synthetic turf.
In the final step, we will discuss how to brush and maintain your fake grass to ensure its longevity and attractiveness.
Step 7: Brush and Maintain the Grass
Proper maintenance is essential to keep your artificial grass looking lush, clean, and well-maintained. Follow these steps to brush and maintain your fake grass:
- Regularly brush the grass: Use a power brush or broom with stiff bristles to brush the synthetic grass regularly. This helps to keep the grass fibers upright, prevent matting, and maintain a natural appearance. Brush against the grain to lift the fibers and ensure even distribution of infill.
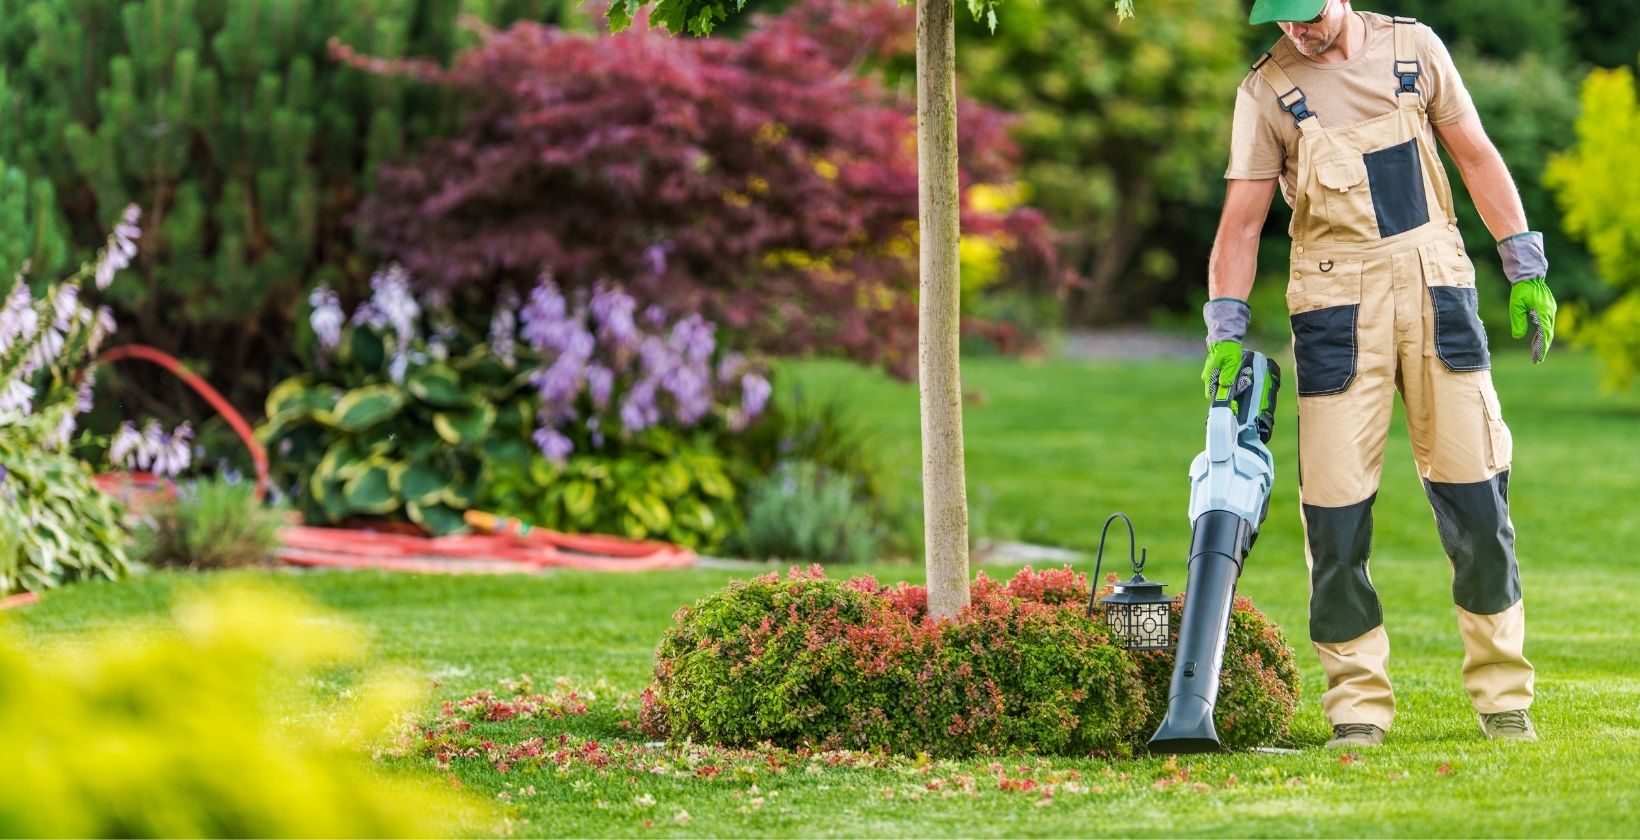
- Remove debris: Regularly remove leaves, twigs, and other debris from the surface of the artificial grass. This can be done by hand or using a leaf blower or rake. Clearing the surface helps to maintain the aesthetic appeal and prevent blockage of the drainage system.
- Address stains or spills: If any stains or spills occur on the artificial grass, clean them promptly. Use a mild detergent or artificial grass cleaner along with water to gently scrub the affected area. Rinse thoroughly and allow it to air dry. Avoid using harsh chemicals or solvents that may damage the grass fibers.
- Control weeds: While artificial grass is designed to be weed-resistant, occasional weed growth may still occur. Inspect the surface regularly and remove any weeds manually or with the help of a weed killer that is safe for use on artificial turf.
- Protect from hot objects: Avoid placing hot objects such as grills or fire pits directly on the synthetic grass. Use a heat-resistant mat or place them on a non-grass surface to prevent any potential damage.
- Perform regular inspections: Periodically inspect the condition of your artificial grass to identify any signs of wear, damage, or needed repairs. Address these issues promptly to prevent further deterioration.
Regular brushing and maintenance will help extend the lifespan of your artificial grass and ensure it remains beautiful and functional for years to come. Follow the manufacturer’s guidelines for specific maintenance recommendations tailored to your synthetic turf.
Congratulations! You have successfully completed the installation and maintenance of your fake grass, creating a stunning and hassle-free alternative to natural grass. Sit back, relax, and enjoy your beautiful, low-maintenance artificial lawn.
If you have any further questions or need assistance, feel free to reach out to us. Happy gardening!
Read more: How To Make Fake Grass Smell Better
Conclusion
Congratulations! You have now learned how to install, maintain, and enjoy the benefits of artificial grass. By following the step-by-step guide outlined in this article, you can transform your outdoor space into a stunning, low-maintenance oasis.
Artificial grass offers numerous advantages over natural grass, including saving time, water, and energy. With its realistic appearance and durability, fake grass provides a lush and green environment that requires minimal upkeep. No more mowing, watering, or dealing with unsightly bare patches or weeds. Instead, you can enjoy a consistently beautiful lawn all year round.
Remember to choose a high-quality synthetic turf that suits your needs and the specific requirements of your space. Proper preparation of the base, installation of an underlay (if necessary), securing the grass, trimming and shaping, and adding infill (optional) will ensure a professional and long-lasting result.
To maintain the pristine appearance of your artificial grass, regular brushing, debris removal, stain treatment, weed control, and inspections are crucial. Taking care of your fake grass will help it retain its natural look and functionality for years to come.
Whether you’re looking to revamp your backyard, create a safe play area for children, or add some greenery to your balcony, artificial grass provides an excellent solution. It offers the beauty of a perfectly manicured lawn without the regular maintenance and environmental impact of natural grass.
Now it’s time for you to put your newfound knowledge into action. Get started on transforming your outdoor space with the beauty and convenience of artificial grass. Sit back, relax, and enjoy your beautiful, maintenance-free lawn!
Should you have any questions or need further assistance, don’t hesitate to reach out. Happy gardening!
Frequently Asked Questions about How To Make Fake Grass
Was this page helpful?
At Storables.com, we guarantee accurate and reliable information. Our content, validated by Expert Board Contributors, is crafted following stringent Editorial Policies. We're committed to providing you with well-researched, expert-backed insights for all your informational needs.

0 thoughts on “How To Make Fake Grass”