Home>Garden Essentials>How To Plant Morning Glory Seeds
Garden Essentials
How To Plant Morning Glory Seeds
Modified: May 6, 2024
Learn how to plant morning glory seeds and create a beautiful garden with our comprehensive guide. Discover tips and techniques for successful gardening.
(Many of the links in this article redirect to a specific reviewed product. Your purchase of these products through affiliate links helps to generate commission for Storables.com, at no extra cost. Learn more)
Introduction
Welcome to the wonderful world of morning glories! These vibrant, trumpet-shaped flowers have been captivating gardeners for centuries with their stunning beauty and enchanting fragrance. Whether you are a seasoned gardener or a beginner looking to add some color to your outdoor space, planting morning glories from seeds is a rewarding and satisfying experience.
In this article, we will guide you through the step-by-step process of planting morning glory seeds, from choosing the right location to harvesting and enjoying the blooms. So, grab your gardening gloves and let’s dive in!
Morning glories, scientifically known as Ipomoea, belong to the family Convolvulaceae and are native to tropical and subtropical regions of the Americas. They are climbers that can reach impressive heights of up to 10 feet or more, making them perfect for adding vertical interest to fences, trellises, or arbors.
Not only are morning glories visually stunning, but they are also known to attract butterflies, bees, and hummingbirds, making your garden a hub of activity and adding to the overall ecosystem. Plus, their fast growth rate and prolific blooming make them a delightful addition to any garden.
Before we get started, it’s important to note that morning glory seeds are toxic if ingested, so keep them out of reach of children and pets. Now, let’s jump into the first step of this exciting gardening journey: choosing the right location for your morning glories.
Key Takeaways:
- Morning glories thrive in sunny, well-drained soil and need support to climb. Regular care, proper watering, and vigilance against pests and diseases are essential for their vibrant blooms.
- Harvesting and enjoying morning glory flowers is a delightful experience. From creating stunning bouquets to saving seeds for future planting, these enchanting flowers bring joy to any garden.
Read more: How To Use Morning Glory Seeds
Step 1: Choosing the Right Location
When it comes to morning glories, location is everything. These plants thrive in full sunlight, so you’ll want to choose a spot in your garden that receives at least 6 to 8 hours of direct sunlight each day. This will ensure that your morning glories grow vigorously and produce an abundance of vibrant blooms.
In addition to sunlight, morning glories prefer well-drained soil. They can tolerate a wide range of soil types, from sandy to loamy, but it’s important to avoid soil that is too heavy or compacted. If you have clay soil, you can improve drainage by adding organic matter such as compost or well-rotted manure to the planting area. This will help create a loose and fertile soil environment that morning glories love.
Another factor to consider when choosing a location is vertical support. Morning glories are climbers, and they need something to latch onto as they grow. You can provide trellises, fences, or arbors for them to climb on, or you can even grow them along existing structures like pergolas or walls.
Lastly, consider the proximity to other plants. Morning glories are vigorous growers and can quickly overwhelm neighboring plants if they have the opportunity. To avoid overcrowding and competition, make sure to give your morning glories enough space to spread out without encroaching on other plants.
Now that you have chosen the perfect location for your morning glories, it’s time to move on to the next step: preparing the soil.
Step 2: Preparing the Soil
Preparing the soil is an essential step in ensuring the success of your morning glory seeds. Good soil preparation creates a favorable environment for seed germination and healthy plant growth.
First, start by removing any weeds or grass from the planting area. Clearing the space will prevent competition for nutrients and water, giving your morning glory seeds a better chance to thrive.
Next, loosen the soil using a garden fork or tiller. This helps to improve aeration and drainage, making it easier for the plant’s roots to penetrate the soil. If the soil is compacted, you can also incorporate some organic matter, such as compost or well-rotted manure, to improve its structure and fertility.
It’s a good idea to perform a soil test to determine the pH level of your soil. Morning glories prefer a slightly acidic to neutral soil pH ranging from 6.0 to 7.0. If the pH is too low (acidic) or too high (alkaline), you can adjust it by adding amendments such as lime to raise the pH or sulfur to lower it.
After preparing the soil, it’s time to sow the morning glory seeds. But before we get to that, let’s briefly discuss the best time to plant morning glories.
Morning glory seeds are best planted after the last frost has passed and the soil has warmed up. In most regions, this falls in early to mid-spring. Planting at the right time ensures that the seeds have favorable growing conditions and reduces the risk of cold damage.
Now that you have prepared the soil and determined the ideal planting time, you’re ready to move on to the exciting step of sowing the morning glory seeds. But don’t forget to keep reading for more helpful tips and information on caring for your morning glories!
Step 3: Sowing the Seeds
It’s finally time to sow the morning glory seeds and watch them sprout into beautiful vines! Here’s how to do it:
1. Start by creating small furrows in the prepared soil, about ¼ to ½ inch deep. Space the furrows about 6 to 12 inches apart, depending on the variety of morning glories you are planting.
2. Carefully place the morning glory seeds along the furrows, spacing them about 4 to 6 inches apart. It’s a good practice to sow a few extra seeds to ensure germination, as not all seeds may sprout.
3. Once the seeds are in place, gently cover them with a thin layer of soil. Avoid burying them too deep, as morning glory seeds require light to germinate.
4. Lightly water the prepared planting area to moisten the soil. Be careful not to overwater, as excessive moisture can cause the seeds to rot.
5. Now, it’s time to be patient and wait for the magic to happen. Morning glory seeds usually germinate within 1 to 2 weeks, depending on environmental conditions such as temperature and moisture.
6. As the seedlings emerge, thin them out if necessary, leaving only the strongest and healthiest plants. This allows each plant to have enough space and resources for optimal growth.
Remember, morning glories are climbers, so it’s essential to provide support for the growing vines. You can set up trellises, install a fence, or create a makeshift structure for them to climb on. Secure the vines gently to the support system as they grow, helping them find their way up.
Once your morning glory plants have established themselves, it’s time to move on to the next step: watering and care. Stay tuned for valuable tips on how to keep your morning glories healthy and thriving!
Step 4: Watering and Care
Proper watering and care are essential for the health and growth of your morning glory plants. Here are some tips to keep your morning glories thriving:
1. Watering: Morning glories prefer consistently moist soil. Water the plants regularly, especially during dry periods. Aim to keep the soil evenly moist, but be careful not to overwater, as excessive moisture can lead to root rot. Water at the base of the plant to avoid wetting the leaves, as this can lead to fungal diseases.
2. Mulching: Applying a layer of mulch around the base of the morning glory plants helps to retain soil moisture and suppress weed growth. Use organic mulch, such as straw or wood chips, and spread it around the plants, keeping it a few inches away from the stems to prevent rotting.
3. Fertilizing: Morning glories are relatively low-maintenance plants and do not require heavy fertilization. However, a light application of balanced, slow-release fertilizer in early spring can provide a nutrient boost to promote healthy growth. Follow the package instructions for the recommended dosage and frequency.
4. Pruning: Morning glories can be vigorous growers and may require occasional pruning to keep them in check. Remove any dead or damaged foliage and trim back excessive growth to maintain a tidy appearance. Pruning also helps to encourage branching and more abundant blooming.
5. Support: As your morning glory vines grow, continue to provide support for them to climb on. Regularly check the vines and gently secure them to the support system as needed. Avoid excessive tugging or pulling, as this can damage the plants.
6. Pest and Disease Control: Morning glories are generally resistant to pests and diseases. However, keep an eye out for common issues like aphids, spider mites, or powdery mildew. If you spot any problems, use organic pest control methods or consult with a local garden center for appropriate remedies.
Now that you know how to water and care for your morning glories, it’s time to move on to step 5: supporting the vines. Stay tuned for valuable advice on ensuring the upward growth of your beautiful morning glory plants!
Plant morning glory seeds in well-drained soil, about 1/2 inch deep and 6 inches apart. Water regularly and provide support for the vines to climb. Morning glories thrive in full sun and can be started indoors before the last frost.
Read more: How To Eat Morning Glory Seeds
Step 5: Supporting the Vines
Morning glory vines are ambitious climbers, and providing them with proper support is essential for their upward growth. Here’s how you can support and guide your morning glory vines:
1. Trellises and Fences: Install trellises or fences along the planting area to give the morning glory vines something to latch onto. Secure the trellis or fence firmly in the ground to ensure stability. As the vines grow, gently weave them through the openings or tie them with soft twine to encourage upward growth.
2. Arbors and Pergolas: If you have arbors or pergolas in your garden, morning glories can beautifully adorn these structures. Plant the morning glory seeds close to the base of the arbors or pergolas and guide the young vines towards them. As they grow, train the vines to wrap around the posts or beams, creating a stunning display of cascading blooms.
3. Make-shift Structures: If you don’t have trellises or arbors, you can create your own support structures using bamboo sticks, wooden stakes, or even recycled materials. Drive the stakes into the ground near the morning glory plants, being careful not to damage the roots. Secure the vines to the stakes using soft ties or garden twine, adjusting as necessary to ensure vertical growth.
4. Regular Checks: As your morning glories grow, regularly inspect the vines and support structures. Make sure the vines are securely attached and not being weighed down or restricted by other plants or objects. Adjust the ties or reposition the vines as needed to ensure proper growth and prevent tangling.
Supporting the vines not only helps to maintain an upright and tidy appearance but also encourages better air circulation and sunlight exposure, which promotes overall plant health and blooming. With the right support in place, your morning glory vines will reach impressive heights and reward you with a magnificent display of colorful flowers.
Now that your vines are being well-supported, let’s move on to step 6: dealing with pests and diseases. Read on to learn how to protect your morning glories from common issues in the garden!
Step 6: Dealing with Pests and Diseases
Morning glories are generally resilient plants, but they can sometimes fall victim to pests and diseases. Here are some tips for identifying and dealing with common issues that may affect your morning glory plants:
1. Aphids: Aphids are small, sap-sucking insects that can cluster on the leaves and stems of morning glory plants. To control aphids, you can spray a solution of soapy water or use organic insecticidal soap. Alternatively, you can introduce beneficial insects like ladybugs or lacewings, which are natural predators of aphids.
2. Spider Mites: Spider mites are tiny pests that suck plant juices, causing yellowing leaves and webbing. Regularly misting the morning glory plants with water can help deter spider mites. For severe infestations, you can use insecticidal soap or horticultural oil, following the package instructions carefully.
3. Powdery Mildew: Powdery mildew is a fungal disease that appears as a white, powdery coating on the leaves. Improve air circulation around the plants by spacing them adequately and avoiding overcrowding. If powdery mildew develops, remove infected leaves and treat with a fungicidal spray specifically formulated for powdery mildew control.
4. Caterpillars: Some caterpillars, like the tobacco budworm or the morning glory leafcutter, may occasionally feed on morning glory leaves. Handpick and remove the caterpillars if you spot them. If the infestation is severe, you can use a biological insecticide or consult with a local garden center for pest control recommendations.
Remember to regularly inspect your morning glory plants for any signs of pests or diseases. Early detection and prompt action can help prevent the spread and minimize damage. Additionally, maintaining good plant hygiene, such as removing fallen leaves and debris, can aid in preventing pest and disease issues.
Now that you know how to handle common issues, let’s move on to the exciting final step: harvesting and enjoying your morning glories!
Step 7: Harvesting and Enjoying Your Morning Glories
After all the hard work of planting and caring for your morning glories, the time has finally come to harvest and enjoy the beautiful blooms. Here’s how to make the most of your morning glory flowers:
1. Blooming Period: Morning glories typically start blooming in mid to late summer, and the blooming season can continue well into fall. The flowers open in the morning and usually close by midday, so make sure to plan your harvest accordingly.
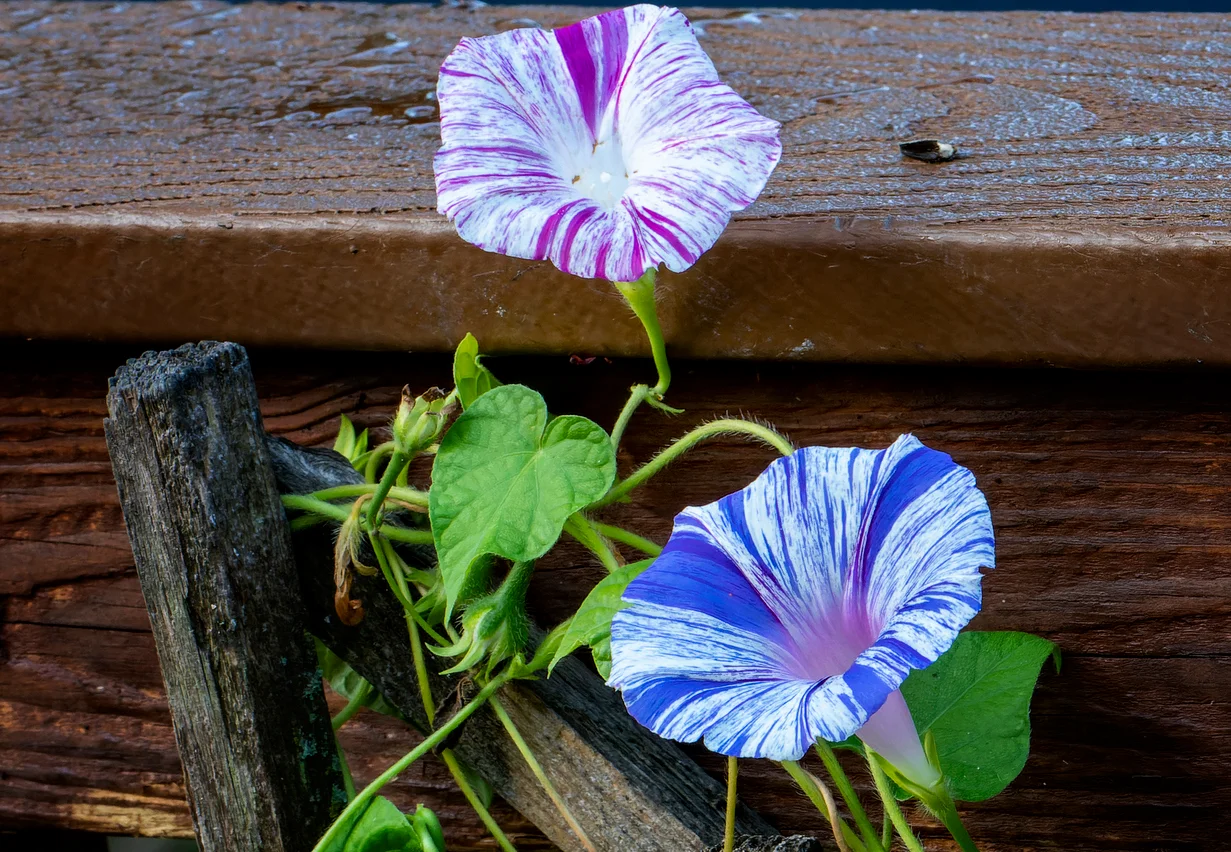
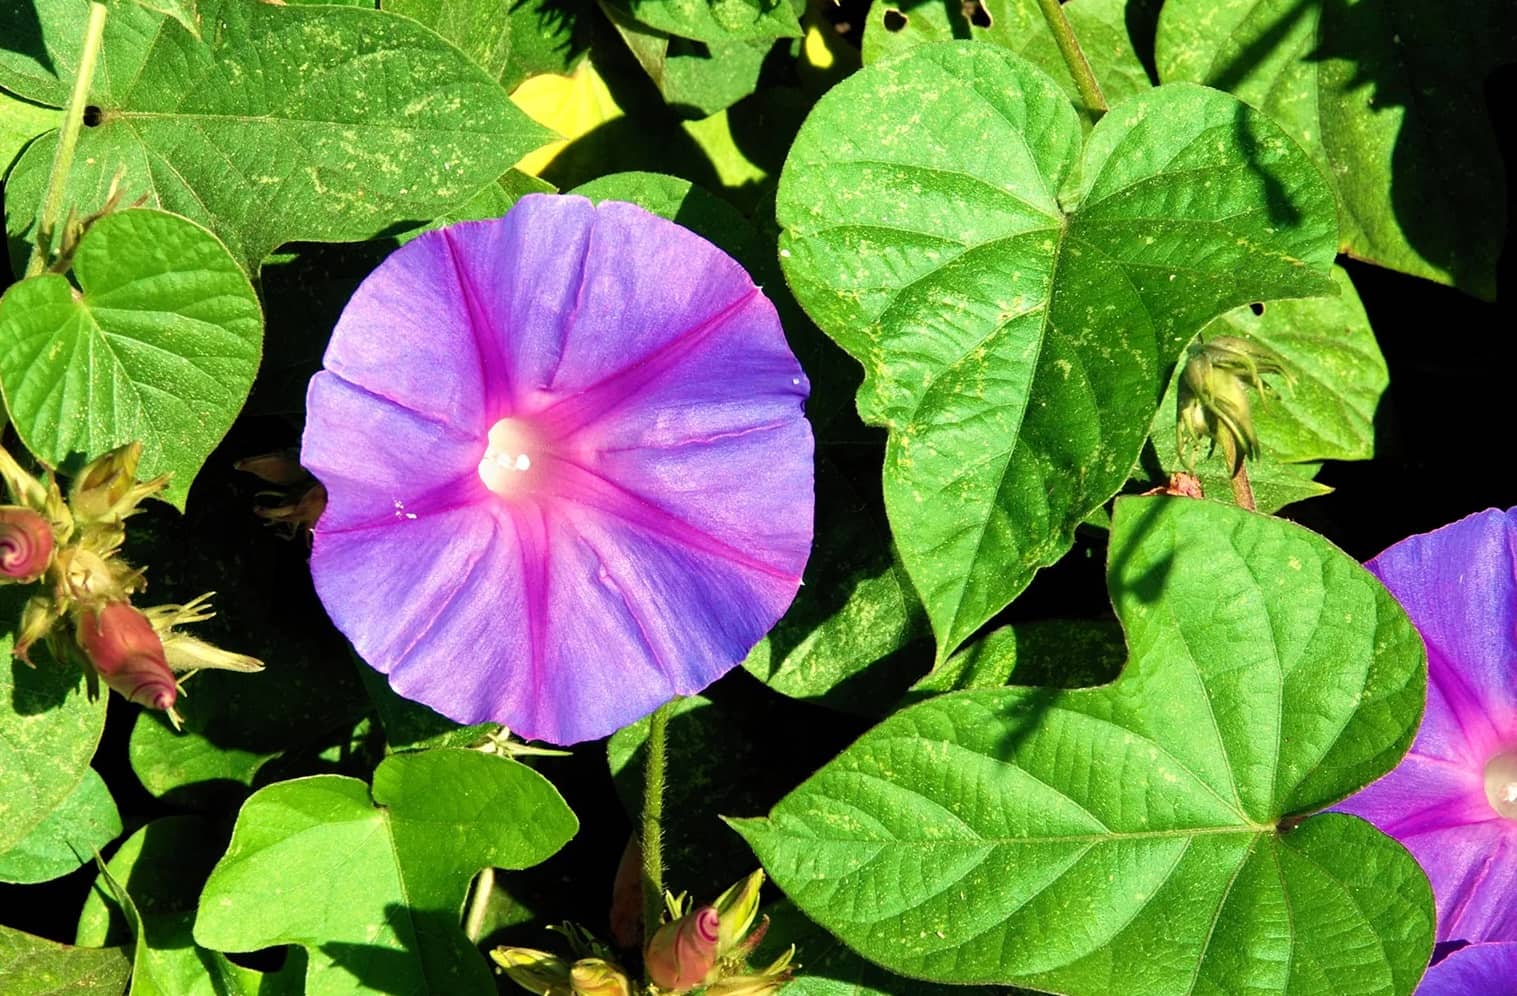
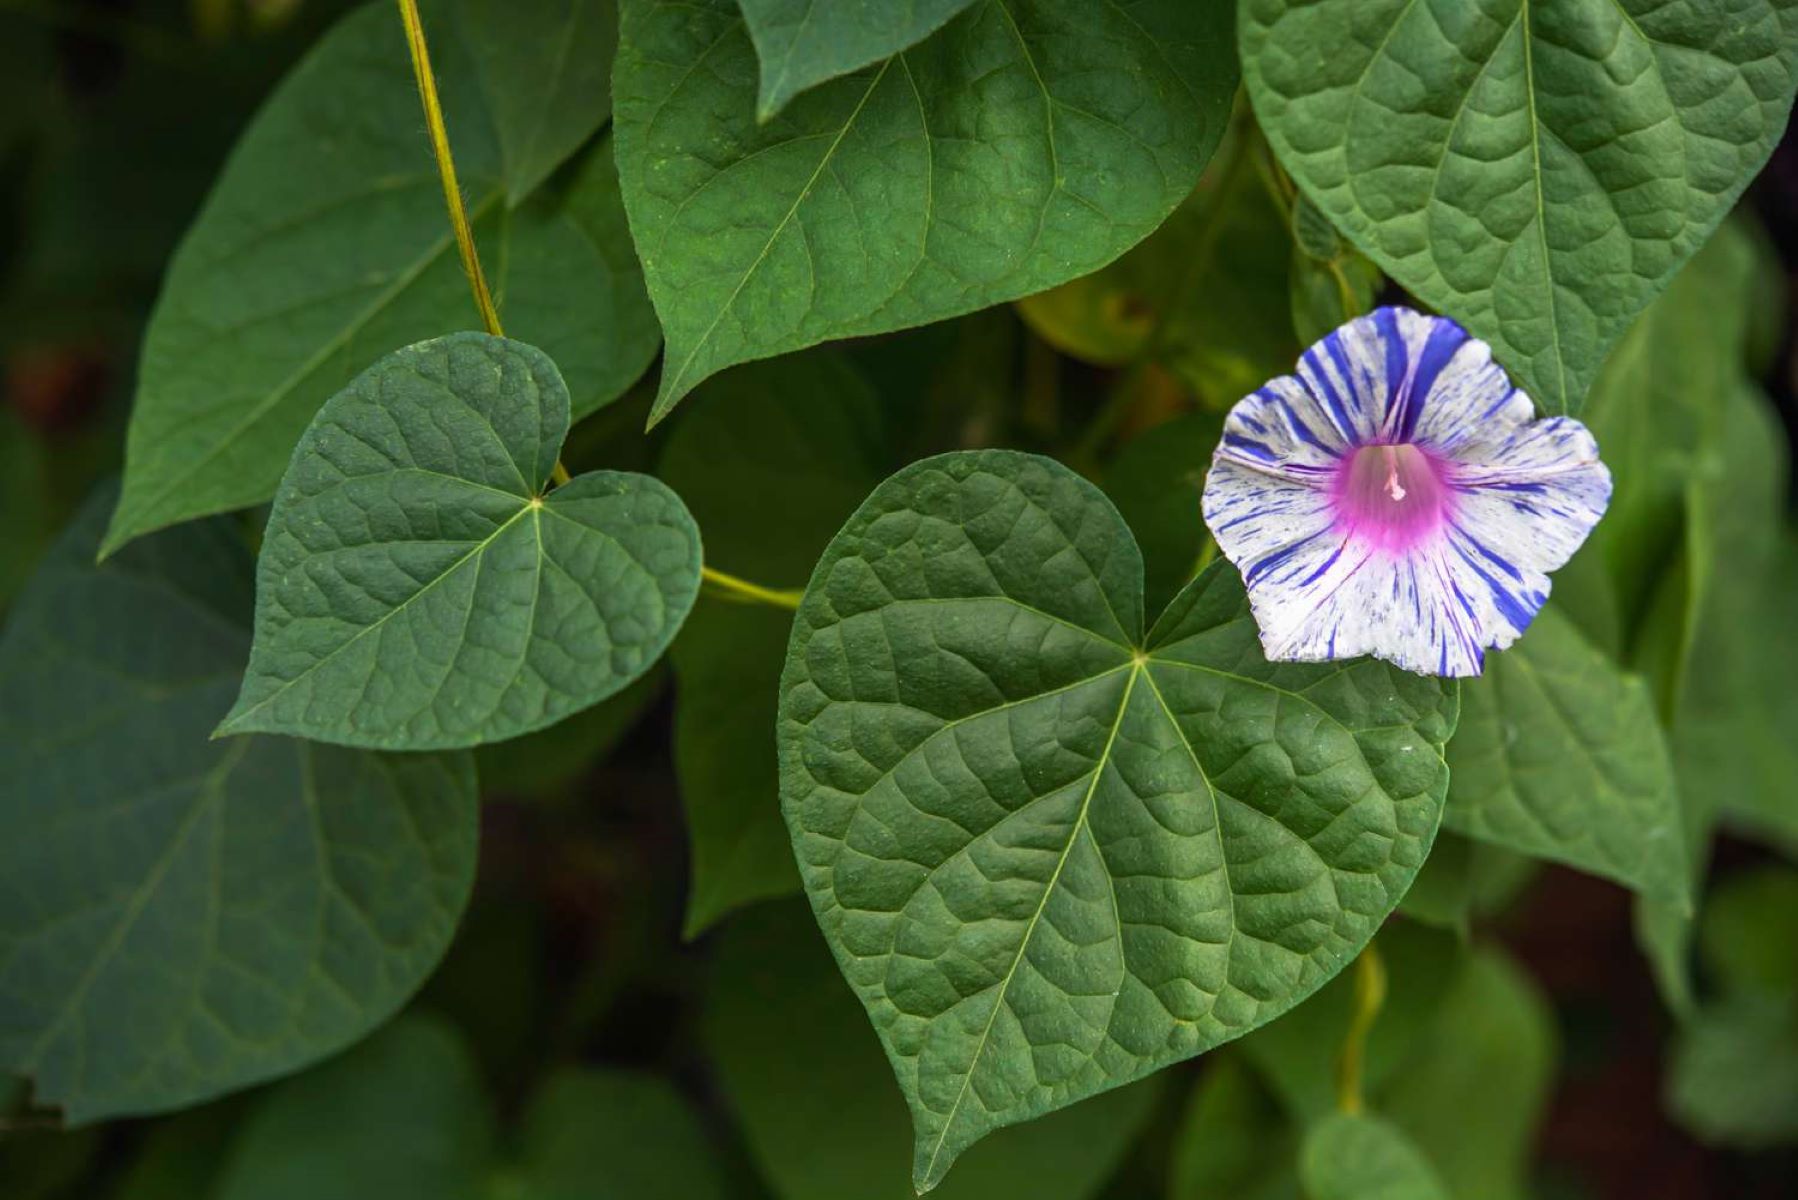
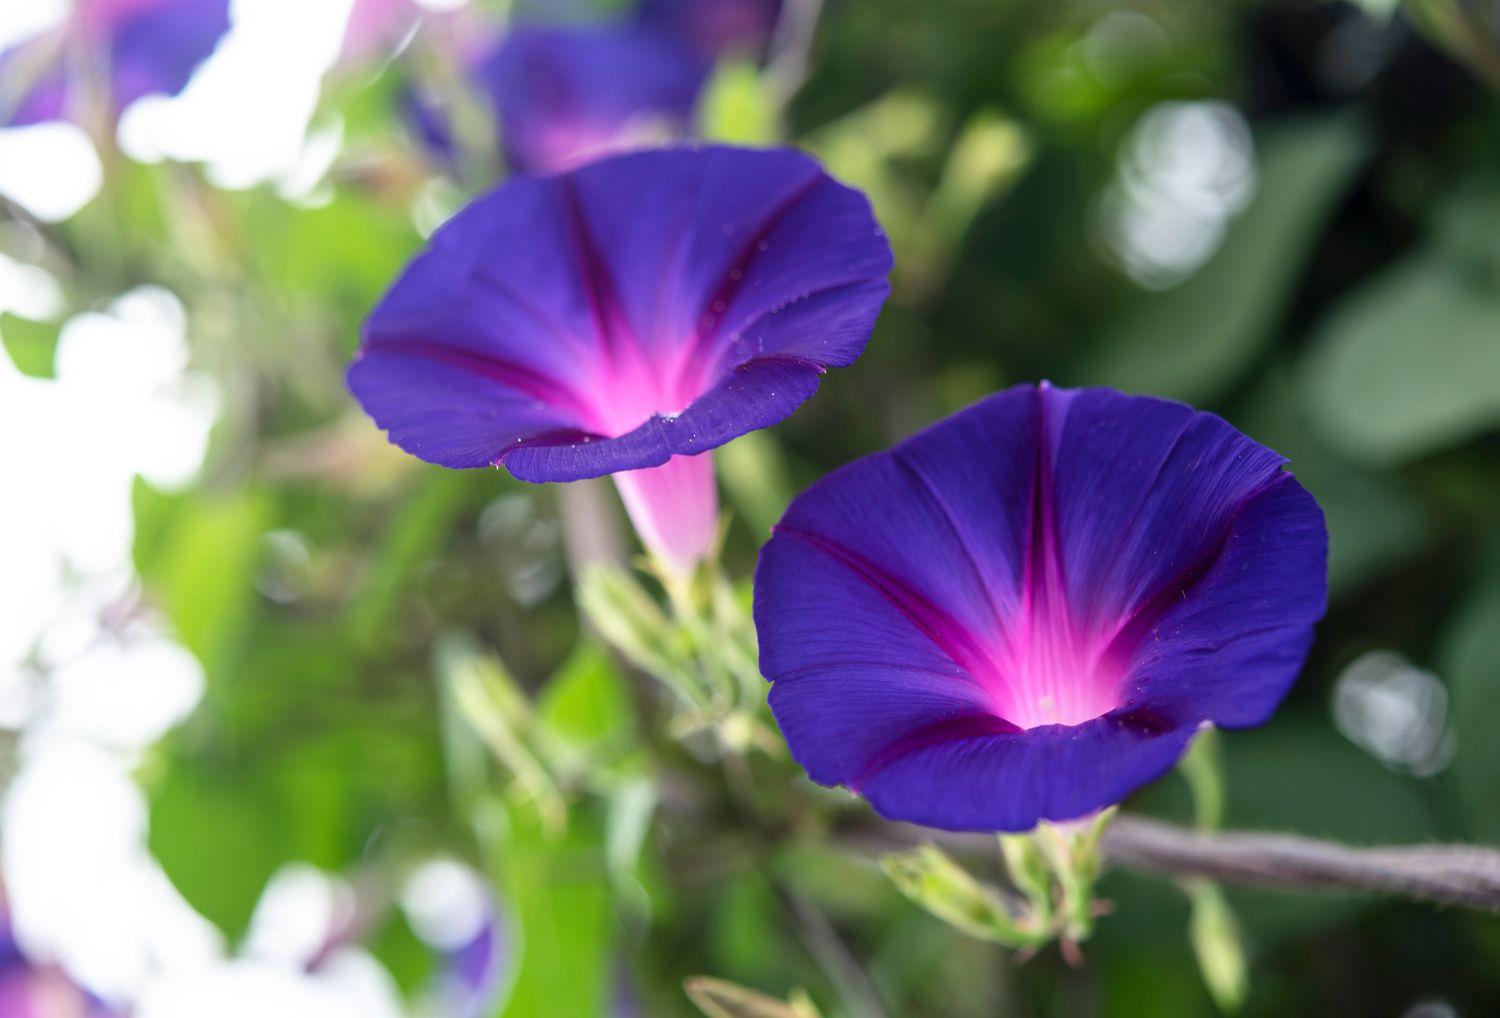
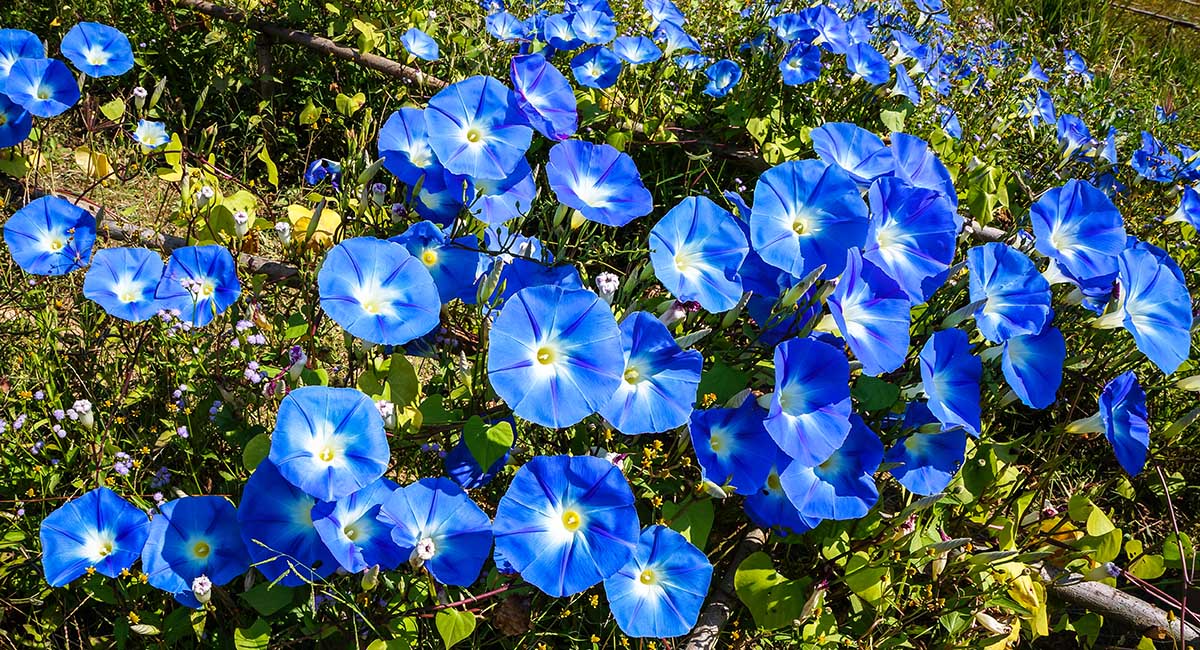
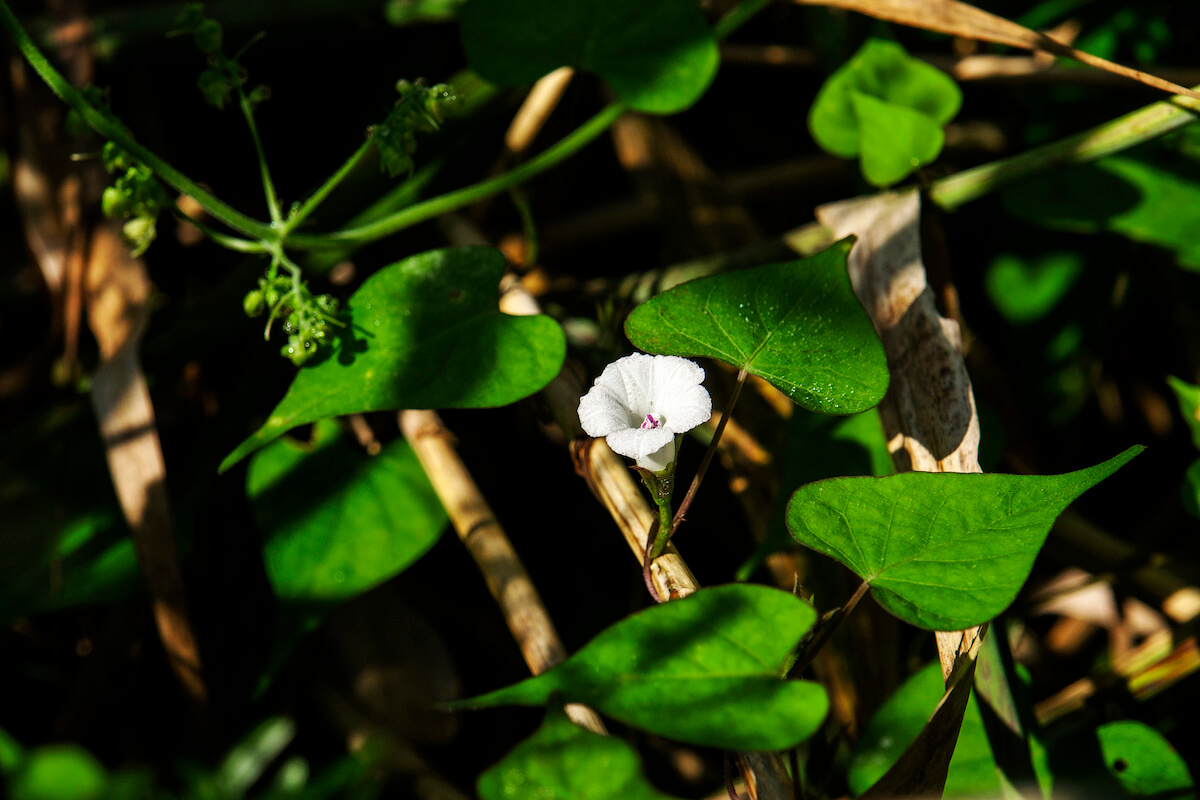
2. Flower Selection: Choose flowers that are fully open and vibrant in color for the most striking display. Morning glories come in a variety of hues, including shades of blue, purple, pink, and white. Feel free to mix and match colors to create stunning floral arrangements.
3. Harvesting: To harvest morning glory flowers, simply snip the stem just below the flower head. Use clean, sharp scissors or pruning shears to ensure a clean cut. Avoid removing too many flower heads from the plants to allow for continuous blooming.
4. Displaying: Morning glory flowers are gorgeous on their own or can be mixed with other complementary flowers to create beautiful bouquets. Remove any leaves from the stems that will be submerged in water and place the flowers in a clean vase filled with fresh water. Change the water every few days to prolong the vase life of the blooms.
5. Drying and Saving Seeds: If you want to preserve the beauty of your morning glories, you can also dry the flowers. Hang them upside down in a cool, well-ventilated area for a couple of weeks until they are completely dry. Once dry, gently remove the seeds from the dried flowers and store them in a cool, dry place for future planting.
6. Enjoying the Beauty: Beyond the physical harvest, take time to simply enjoy the presence of morning glories in your garden. These enchanting flowers not only add visual appeal but also attract pollinators like butterflies and bees, enhancing the biodiversity of your outdoor space.
By following these steps, you can fully savor the beauty and joy that morning glories bring to your garden and home. So, sit back, relax, and bask in the splendor of your flourishing morning glory plants.
As we conclude this article, we hope that you have found the information and guidance helpful in planting and caring for morning glories. Now go ahead and showcase your green thumb as you bring these lovely flowers into your outdoor oasis!
Conclusion
Congratulations! You have reached the end of our comprehensive guide on planting morning glory seeds. We hope that this article has provided you with valuable insights and practical tips to embark on your own morning glory gardening journey.
Morning glories, with their vibrant colors and delicate blooms, can transform any garden into a mesmerizing tapestry of floral beauty. From choosing the right location and preparing the soil to sowing the seeds, providing support, and dealing with pests and diseases, each step plays a crucial role in ensuring the success of your morning glory plants.
Remember to give your morning glories plenty of sunlight, well-drained soil, and the appropriate structural support to climb. Regular watering, proper care, and the occasional pruning will help your plants thrive. Be vigilant in monitoring for pests and diseases, and take prompt action if any issues arise.
As your morning glory plants start to bloom, take the time to enjoy their exquisite flowers. Whether you choose to cut and display them in a vase or let them brighten your garden, their beauty is sure to captivate your senses.
Lastly, don’t forget to save some seeds for the next planting season. Drying and storing the seeds will allow you to continue the cycle of planting and enjoying these stunning flowers year after year.
We hope that your journey with morning glories brings you joy, relaxation, and an added touch of natural beauty to your outdoor space. Gardening is a rewarding experience that connects us to the wonders of nature, and morning glories are the perfect companions on this enchanting journey.
So, go ahead and immerse yourself in the world of morning glories. Let your creativity blossom as you witness the transformation from tiny seeds to magnificent vines, and enjoy the delights they bring to your garden and your life.
Happy gardening!
Ready to enhance your garden even further? After mastering morning glories, consider exploring creative border options with our selection of garden fencing ideas. For those looking to add variety, our guide on planting a vibrant flower garden offers everything needed for vibrant blooms. Curious about how quickly new seeds sprout? Our detailed instructions on speed of seed germination provide clear insights.
Frequently Asked Questions about How To Plant Morning Glory Seeds
Was this page helpful?
At Storables.com, we guarantee accurate and reliable information. Our content, validated by Expert Board Contributors, is crafted following stringent Editorial Policies. We're committed to providing you with well-researched, expert-backed insights for all your informational needs.


0 thoughts on “How To Plant Morning Glory Seeds”